kenwood double din dash kit


 10/23/13, 11:56 AM
#162
GT Member
Join Date: August 24, 2013
Posts: 102
Likes: 0
Received 0 Likes
on
0 Posts
No message at top - Working normally or ignition is off.
ODBII Disabled - Comm turned off in setting or setting is Auto and we detect a scan tool.
OBDII Disconnected - We tried to communicate but we received no response. We cannot see any CAN messages. Usually wiring problem.
I would disconnect everything from the OBDII bus and try again. I know it sounds redundant, but please check the wiring again.
Thanks,
10/23/13, 12:00 PM
#163
GT Member
Join Date: August 24, 2013
Posts: 102
Likes: 0
Received 0 Likes
on
0 Posts
For those of you that have already performed an install, suggestions on where to place the Maestro RR (required with the new Dash Kit), and perhaps also a SiriusXM SXV200 module? Definitely want to avoid rattles/noises after the install. Also - may need to be able to get to Maestro RR for periodic updates with PC?
Dash Kit arrived today - looks fantastic and completely agree with others - perfect match on the color/finish! At the moment - only wish was could replace the Rear Defog button on the far right with Max AC - almost required year round in Houston! Suspect there may be more "wish list items" - but - initial impression is - was worth the wait! Great job ADS!
Plan to go with DNX 890HD, and add on a back up camera as well.
Cheers,
10/23/13, 03:09 PM
#164
Bullitt Member
We have three states:
No message at top - Working normally or ignition is off.
ODBII Disabled - Comm turned off in setting or setting is Auto and we detect a scan tool.
OBDII Disconnected - We tried to communicate but we received no response. We cannot see any CAN messages. Usually wiring problem.
I would disconnect everything from the OBDII bus and try again. I know it sounds redundant, but please check the wiring again.
Thanks,
I concur. Even though I don't work for iDataLink, I was trying to say the same thing (politely) - triple-check your wiring job. While possible, it's very unlikely you have a defective Maestro unit if everything else is functioning correctly. Also, check your wires along the entire length - you might have an accidental break in the wire somewhere - splice in some new wires close to the Maestro harness just to verify.
Last edited by ColSaulTigh; 10/23/13 at 03:10 PM.
10/23/13, 03:23 PM
#165
GT Member
Join Date: August 24, 2013
Posts: 102
Likes: 0
Received 0 Likes
on
0 Posts
I was referring specifically to the image he supplied. It says "Disconnected" at the top.
I concur. Even though I don't work for iDataLink, I was trying to say the same thing (politely) - triple-check your wiring job. While possible, it's very unlikely you have a defective Maestro unit if everything else is functioning correctly. Also, check your wires along the entire length - you might have an accidental break in the wire somewhere - splice in some new wires close to the Maestro harness just to verify.
I concur. Even though I don't work for iDataLink, I was trying to say the same thing (politely) - triple-check your wiring job. While possible, it's very unlikely you have a defective Maestro unit if everything else is functioning correctly. Also, check your wires along the entire length - you might have an accidental break in the wire somewhere - splice in some new wires close to the Maestro harness just to verify.
Cheers!
Last edited by 12v Guy; 10/23/13 at 04:02 PM.
10/23/13, 04:06 PM
#166
Member
Join Date: March 29, 2013
Posts: 44
Likes: 0
Received 0 Likes
on
0 Posts
12V Guy-I have a question.
My voice button on the steering wheel is programed for one push to access sync voice commands and the continuous hold of the button is programed for phone voice commands but when I press once for the sync voice commands it automatically switches over to my Sync USB 2 and starts playing music, then a few seconds later the voice prompt comes on and says "USB 2" and I have to respnd or it goes through the voice menu. I like it switches to USB 2 but the voice prompt is annoying two seconds after music starts. Any ideas on how to only have one action start when I long press the voice command button?
Thanks
10/23/13, 04:12 PM
#167
Member
Join Date: March 29, 2013
Posts: 44
Likes: 0
Received 0 Likes
on
0 Posts
(Any ideas on how to only have one action start when I long press the voice command button?)
That should read "Any ideas on how to only have one action start when I single press the sync voice command button."
Sorry for any confusion, I proof read it and still missed the mistake until after I posted it. The long press for sync phone voice menu works fine.
That should read "Any ideas on how to only have one action start when I single press the sync voice command button."
Sorry for any confusion, I proof read it and still missed the mistake until after I posted it. The long press for sync phone voice menu works fine.
Last edited by arazor; 10/23/13 at 04:15 PM.
10/24/13, 10:07 AM
#168
GT Member
Join Date: August 24, 2013
Posts: 102
Likes: 0
Received 0 Likes
on
0 Posts
(Any ideas on how to only have one action start when I long press the voice command button?)
That should read "Any ideas on how to only have one action start when I single press the sync voice command button."
Sorry for any confusion, I proof read it and still missed the mistake until after I posted it. The long press for sync phone voice menu works fine.
That should read "Any ideas on how to only have one action start when I single press the sync voice command button."
Sorry for any confusion, I proof read it and still missed the mistake until after I posted it. The long press for sync phone voice menu works fine.
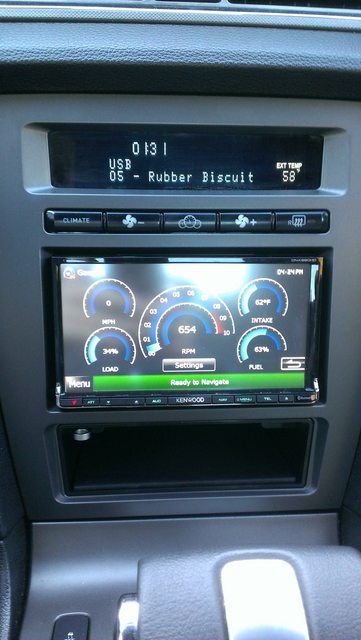
this is a tough question and I will do best I can to answer it. The press on voice (short press) is a command to give Sync Media Player a voice command. In order to process that command, we have to first place the radio and car into the Sync source. That is why the switch to USB (or USB2 or BT Streaming depending on what you used last) happens. Once we know the car is ready to listen to you, the voice prompt comes.
You will notice that if you press the voice button (short press) while already listening to USB, USB 2, Line In, or BT Streaming the prompt will be immediate since we are already in a source, ready to respond.
There is no way to change this functionality. If you want to go to the source, but not via voice, just use the Media button to do so. Short press forward one source in the loop, long press back one source in the loop (unless you changed from default).
Alternately, you can just press the telephone button when the voice prompt happens to cancel it. No need to say anything.
Hope this helps and is clear.
Cheers,
10/24/13, 07:40 PM
#169
Member
Join Date: March 29, 2013
Posts: 44
Likes: 0
Received 0 Likes
on
0 Posts
12V Guy,
Yes very clear and thanks for the response. I didn't think about just hitting the phone button to cancel the voice, I had been just responding with the cancel command. Still a very good system and the more I use it the more comfortable I get with it. Thanks again for the information.
Yes very clear and thanks for the response. I didn't think about just hitting the phone button to cancel the voice, I had been just responding with the cancel command. Still a very good system and the more I use it the more comfortable I get with it. Thanks again for the information.
10/25/13, 12:20 PM
#170
Bullitt Member
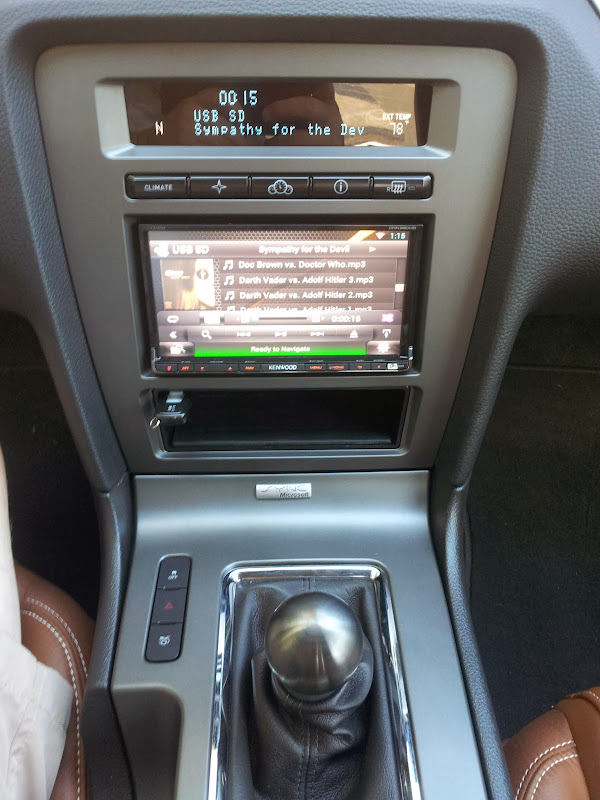
Finally got around to installing mine - works perfectly - fit is a bit off though - there's a gap between the bottom of the kit and the center console dash that didn't exist with my other (MEtra) kit. I don't see any way of adjusting it either...thoughts?
10/25/13, 05:35 PM
#171
GT Member
Join Date: August 24, 2013
Posts: 102
Likes: 0
Received 0 Likes
on
0 Posts
How are all the features working out for you??
Thanks,
Last edited by 12v Guy; 10/25/13 at 06:25 PM.
10/25/13, 05:45 PM
#172
Member

Join Date: October 13, 2013
Posts: 5
Likes: 0
Received 0 Likes
on
0 Posts
Just got the kit installed today and I also have the same gap at the bottom. This doesn't particularly bother me, and I can't remember if OEM had the same issue.
So far I am loving this setup.
So far I am loving this setup.
10/25/13, 06:22 PM
#173
Bullitt Member
I will pull the OEM panel and take some pics/measurements. I won't be able to do this until Monday - I have a busy weekend.
10/25/13, 06:24 PM
#174
GT Member
Join Date: August 24, 2013
Posts: 102
Likes: 0
Received 0 Likes
on
0 Posts
 10/25/13, 11:59 PM
#176
Bullitt Member
Thanks
10/26/13, 04:53 AM
#177
Bullitt Member
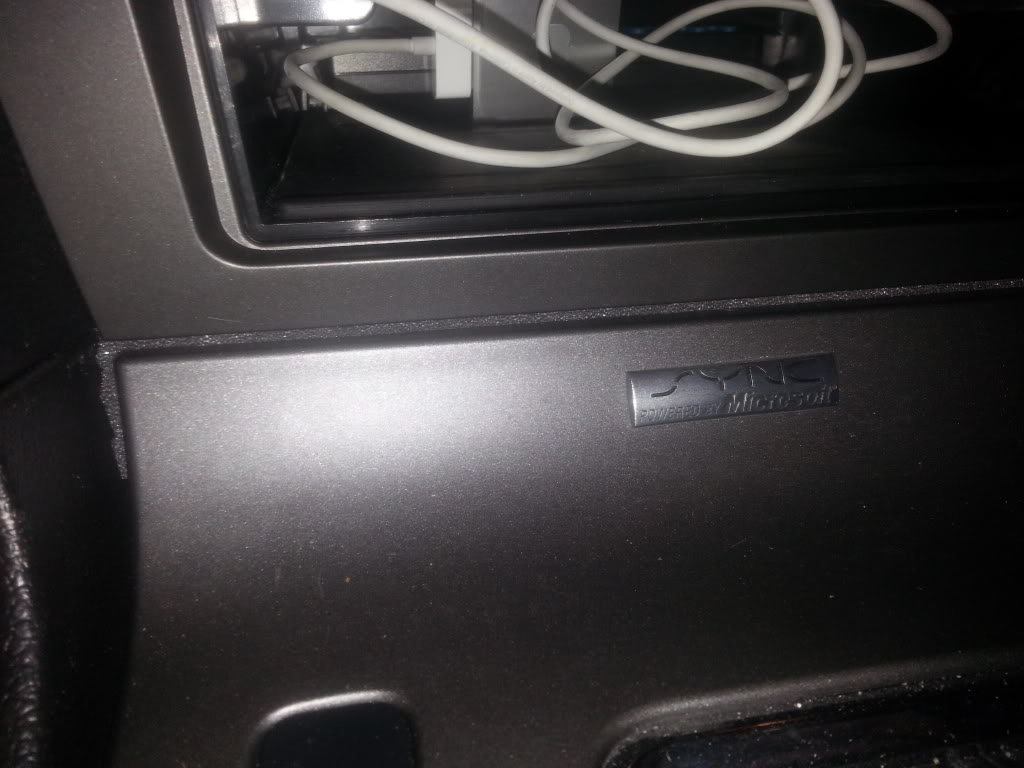
Here's a pic of my oem panel in place...there is a gap at the bottom. I'm installing the kit later this week and will take some after pics to see if there is a difference.
10/28/13, 09:03 AM
#178
GT Member
Join Date: August 24, 2013
Posts: 102
Likes: 0
Received 0 Likes
on
0 Posts
All,
We are double checking our stuff, but we are pretty sure the dimensions match. If we have issues, we'd try to resolve them so you are all happy. We strive for 100% happy customers. I am interested in jdub2k5's solution as I think he may have done what we think will work. It is might be possible to shim up the bottom panel with some foam tape underneath.
FWIW, these two gaps look very similar and we do know for sure there is some slop in the OEM panel.
10/28/13, 05:25 PM
#179
Member
Join Date: March 29, 2013
Posts: 44
Likes: 0
Received 0 Likes
on
0 Posts
12V Guy,
I am really missing not having the time displayed on the Sync screen. I'm sure you looked at this but if we had the Sirius aftermarket module installed could you pick up a time signal off that to display through the Maestro unit on the Sync screen?
There's got to be some way to get Kenwood to pass the time function to you guys. For all the technology built into these units a very small request.
Maybe some one will root the H/U soon.