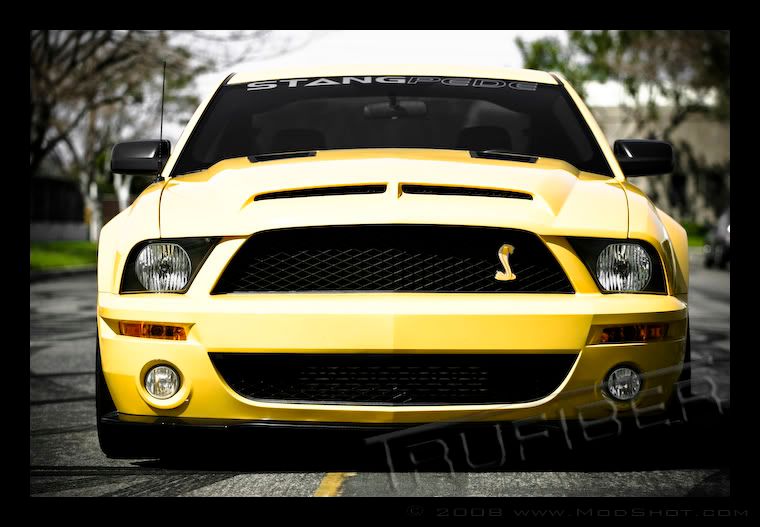
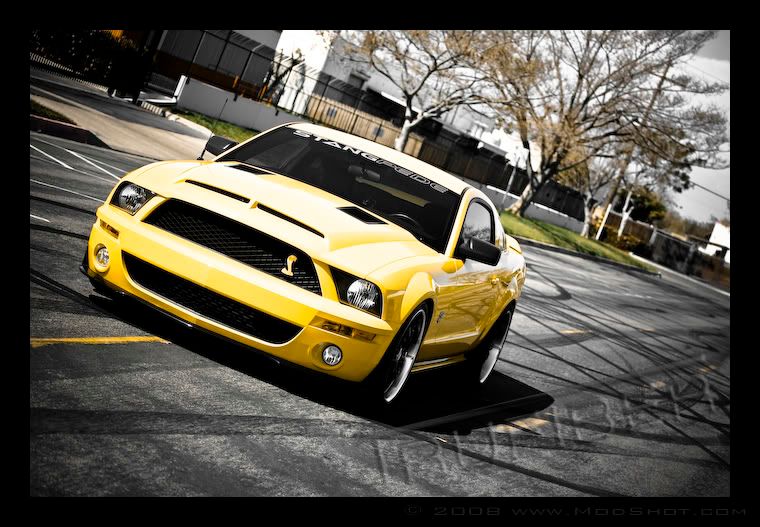
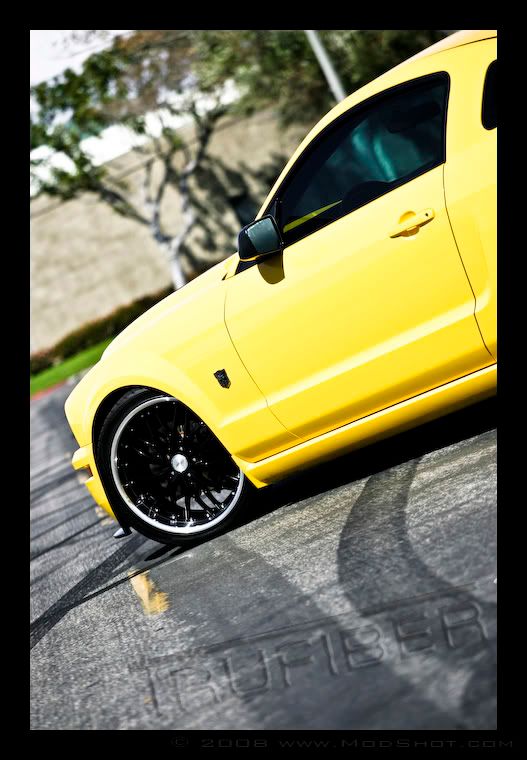
TRUFIBER HOODS for Those with GT500 front Fascia!
#521
Mach 1 Member


Join Date: October 14, 2006
Location: Tucson, Arizona
Posts: 716
Likes: 0
Received 0 Likes
on
0 Posts
.... the SS hoods are having issues with forcing too much ambient air into the MAF and causing the car to surge and die. Shelby has a restrictor plate that goes in now, but many have gotten their hoods without it.
More info here for those with inquiring minds:
http://forum.teamshelby.com/forums/i...howtopic=25812
Willie,
The vents are parallel and are 21 1/2 inches apart.... Hope this helps.
Absolutely! I now know the factory stripes will fit without modifying the extractors like Louie had to do. The end product with stripes should look like this '68 GT500KR I saw at Barrett-Jackson earlier this year.
Willie
More info here for those with inquiring minds:
http://forum.teamshelby.com/forums/i...howtopic=25812
Willie,
The vents are parallel and are 21 1/2 inches apart.... Hope this helps.
Absolutely! I now know the factory stripes will fit without modifying the extractors like Louie had to do.
 The end product with stripes should look like this '68 GT500KR I saw at Barrett-Jackson earlier this year.
Willie
#522
Team Mustang Source


Join Date: August 3, 2005
Location: Mustang/Tuttle, Oklahoma
Posts: 1,652
Likes: 0
Received 2 Likes
on
2 Posts
Just went by the paint & body shop and my hood is now in primer....Looks good overall, but all I can say is PIN HOLES!!!!!!!!!! Thousands of them all over the hood. I know a few are to be expected, but this hood has it's fair share. It's not a big deal.....easily fixable, just a few more man hours involved. I hope to have pics by the end of next week.
#523
Just went by the paint & body shop and my hood is now in primer....Looks good overall, but all I can say is PIN HOLES!!!!!!!!!! Thousands of them all over the hood. I know a few are to be expected, but this hood has it's fair share. It's not a big deal.....easily fixable, just a few more man hours involved. I hope to have pics by the end of next week.
If they used the hi-build primer then the pin holes could be in the primer itself, that is a common issue w/hi-build primer.
If it was just a primer sealer then the pin holes are likely in the hoods gel coat.
Last edited by Twisted; 3/15/08 at 08:58 AM.
#527
I was looking at the other pics wondering what type of emblem was on your fender. It cracked me up when I saw this pic. Overall your car looks awesome. I would invert the colors on the cobra emblem though - either have it black or chrome with yellow in the recessed areas.
Last edited by Deric; 3/17/08 at 05:24 AM.
#528


Join Date: February 2, 2006
Posts: 1,405
Likes: 0
Received 0 Likes
on
0 Posts
You're killing me with the badges.
On another note anyone have any tips on getting a hood ready for paint to save on some man hours?
On another note anyone have any tips on getting a hood ready for paint to save on some man hours?
#529
Oklacop,
Can you measure the front vent opening for us? Phil told me they are the same size as the old hood....but they sure look narrower to me.
2006GT500,
I am no expert but I'll tell you what I am going to do. I plan to clean the hood very well, then it the entire thing with 400 grit sandpaper. I was going to go to the trouble to spray it with high-build primer, but with all the chemical reactions possible with today's paints, I decided just to do the sanding and leave the paint to the experts.
#530
Team Mustang Source


Join Date: August 3, 2005
Location: Mustang/Tuttle, Oklahoma
Posts: 1,652
Likes: 0
Received 2 Likes
on
2 Posts
Guytonius,
The hood is at the shop, but I should be able to stop by and get some measurements for you. I can guarantee the front vents are narrower. They appear to be the same length, but there is no way they are the same width/height. I'll get by there today or tomorrow. If it doesn"t have fresh primer or paint on it I'll get the measurement. I'm assuming you say my comparison pics on the previous page. Without actually measuring it, I'd guess the new vents are 1/4" shorter.
The hood is at the shop, but I should be able to stop by and get some measurements for you. I can guarantee the front vents are narrower. They appear to be the same length, but there is no way they are the same width/height. I'll get by there today or tomorrow. If it doesn"t have fresh primer or paint on it I'll get the measurement. I'm assuming you say my comparison pics on the previous page. Without actually measuring it, I'd guess the new vents are 1/4" shorter.
Last edited by OKLACOP; 3/18/08 at 06:24 AM.
#531
You posted the distance between the louvers on the new version, what is the distance on version 1? I am 1500miles from my car or I would measure myself...
Thanks!
#532
Team Mustang Source


Join Date: August 3, 2005
Location: Mustang/Tuttle, Oklahoma
Posts: 1,652
Likes: 0
Received 2 Likes
on
2 Posts
Are the actual louvered openings smaller or is it due to the non removable louvers. The rim of the originals is pretty wide and I am having them glassed in so only the louver section will show.
You posted the distance between the louvers on the new version, what is the distance on version 1? I am 1500miles from my car or I would measure myself...
Thanks!
You posted the distance between the louvers on the new version, what is the distance on version 1? I am 1500miles from my car or I would measure myself...
Thanks!
When I spoke to Phil prior to getting the second hood he said the extractor vents on the new hood were smaller. I really don't notice any difference in the vents themselves, just the border.
#533
Mach 1 Member


Join Date: October 14, 2006
Location: Tucson, Arizona
Posts: 716
Likes: 0
Received 0 Likes
on
0 Posts
....You posted the distance between the louvers on the new version, what is the distance on version 1?
Read Reply #277 on this thread for the answer.
Willie
Read Reply #277 on this thread for the answer.
Willie
#534
okay here's the low down.
the distance between the edges of the heat extractors is 49.5-50cm or around ~19.5"
my 10.5" stripes with 1.5" gap wont clear the heat extractors so i decided to make them a bit smaller by filling them with fiberglass and molding them onto the hood ( i didn't see the point of having them removable, or fit on by double sided tape )
Whatever. It is what it is. If the stripes run through the louver, they will be painted to match the stripe..... But I would prefer if the stripe ran inside of the louvers. My flange will be gone, just the louvers will remain.
Actually surprised that with the number of these hoods out there now, no one has painted one with the oem shelby stripes to match the rest of the car.....
#535
Mach 1 Member


#537
Spent most of the afternoon over at the body shop doing some custom work on the venom hood. We located and drilled the holes for the twist lock KR hood latches and as soon as we set them in place realized that they just were never going to look right unless they were recessed like on the real KR hood.
Well, 4 hours later most of the work to recess them is done, with a 4" square plate adheared to the back of the upper skin as the load point for the latches, 2 1/4" by 1/8" deep recess and located as on the KR. As we want to end up with a fully finished interior, required a good deal of rework to smooth and finish the under side of the latch area.
Also I think we found why several of the gen 1 venom hoods are cracking after exposure to high speed. The ram air coming in the front vents is not contained in the front air passage, indeed the air pressure generated is directed between the two shells and applying pressure to push them apart. This is a great deal of force because of the large surface area of the two shells.
Since we had the front edge of the inside shell opened up for the hood latches, we used 3M body adhesive (self leveling so it would run between the two panels where they are very close together in the center of the hood, right behind the ram air intake vents. The two shells are now bonded toghether as one unit. I could not believe the difference in the rigidity of the hood surface. It never seemed all that loose but the difference is amazing. Funny what a little adhesive tying the structures together can do.
Further, the top and bottom surfaces are now fully sanded and all defects repaired for priming. Also the brackets for the hood struts are mounted and back filled for strength. Next are the louvers prep and integrating, then the primer. Slow progress as the shop is busy and I agreed to take available time in exchange for a break on billed hours and mostly free materials except final paint.
#539
Team Mustang Source


Join Date: August 3, 2005
Location: Mustang/Tuttle, Oklahoma
Posts: 1,652
Likes: 0
Received 2 Likes
on
2 Posts
I've tried to get measurements for those of you who have asked, but every time I go by the shop the hood is in the booth. I was told late yesterday afternoon that it was painted tungsten and they would start with the stripes on Monday. I should have it by Wednesday. I haven't forgotten about getting you guys the measurements on the generation 2 venom hood. Hopefully soon.
FYI......I did learn that the stock hood bolts don't work with this generation 2 venom hood. They worked on my first hood, but this one seems to have different threads.
FYI......I did learn that the stock hood bolts don't work with this generation 2 venom hood. They worked on my first hood, but this one seems to have different threads.
#540
Yes please do tell all such as website, item #, price ect.....
I found these http://www.cobranda.com/hoodpins.html
I found these http://www.cobranda.com/hoodpins.html
Last edited by Twisted; 3/22/08 at 09:02 PM.


