
*Updated* Arin's Uber "76" Mustang II Buildup


Thread Starter
Post *****
Joined: May 13, 2004
Posts: 18,616
Likes: 3
From: Berkeley/Redwood City, CA
after one round of upholstery cleaner (2 coats on the passenger seat, 1 on drivers) and two or three rounds of bleach...
the passenger seat (originally the dirtier one) is definitely improving, the drivers needs a bit more work though
edit: forgot pics
the passenger seat (originally the dirtier one) is definitely improving, the drivers needs a bit more work though
edit: forgot pics
NTTAWWT
Joined: January 27, 2007
Posts: 14,456
Likes: 35
From: That town you drive through to get to Myrtle Beach
apparently the seats aren't the only things that need cleaning 
if you're having a really difficult time, try some steam, it's pretty good at loosening the gunk
if you're having a really difficult time, try some steam, it's pretty good at loosening the gunk
Thread Starter
Post *****
Joined: May 13, 2004
Posts: 18,616
Likes: 3
From: Berkeley/Redwood City, CA
Honestly, the bleach with the plastic scrubber of the upholstery cleaner seems to be doing the trick, just taking time. My thumbs a bit sore though, so i probably wont hit it again til tomorrow. some of the steel belt on the tire cut my hand up a bit lol
Thread Starter
Post *****
Joined: May 13, 2004
Posts: 18,616
Likes: 3
From: Berkeley/Redwood City, CA
no new seat pics yet, havent had a chance to scrub em again, but the grille is finally back in and finally... TURN SIGNALS. i bought these LED strips years ago but they have two wires and the original ones had three, and i guess that scared me away. with a clarksonian "how hard can it be" i cut the old ones off and just experimented til they worked and flashed. unfortunately, they lost the functionality of running lights, but whatever, I have foglights for tthat.
the strips aren't very bright, but they are there. and thats all the state of california asks for. i think.. lol
anywho pics and video: http://s164.photobucket.com/albums/u...-09-10_689.mp4
the strips aren't very bright, but they are there. and thats all the state of california asks for. i think.. lol
anywho pics and video: http://s164.photobucket.com/albums/u...-09-10_689.mp4
Thread Starter
Post *****
Joined: May 13, 2004
Posts: 18,616
Likes: 3
From: Berkeley/Redwood City, CA
went to oreillys to pick up some itnerior dye, just to try it out
This used 2 cans of duplicolor red fabric/vinyl spray. there were a few fisheye areas on the vinyle that i guess i didn't clean as well as I thought, but overall, I'm liking how much red has been added. I am going to need many more cans of this though. I figure two more will cover the passenger seat, mostly, one more for touchups on each seat, its probably gonna take another can or two after that for the rear seats and a guy on a honda forum used 5 cans on his carpet. this red REALLY pops on the vinyl/leather. it took a few coats for it to really get up to par with the cloth, and its still not there yet, but imma see how it dries.
now to leave the heater on and window open, hopefully that'll cure it a bit faster
but anyway, the results of an hour or so putting the red back in porno red:
Thread Starter
Post *****
Joined: May 13, 2004
Posts: 18,616
Likes: 3
From: Berkeley/Redwood City, CA
another slight update 
Finally got a center console, of sorts. I don't know how this tray/container/whatever it is even got into my house, but i remember the moment i saw it, it was destined for greatness.
Reused the factory console mount bracket holess. gotta love (basically) free mods lol
Finally got a center console, of sorts. I don't know how this tray/container/whatever it is even got into my house, but i remember the moment i saw it, it was destined for greatness.
Reused the factory console mount bracket holess. gotta love (basically) free mods lol
Thread Starter
Post *****
Joined: May 13, 2004
Posts: 18,616
Likes: 3
From: Berkeley/Redwood City, CA
real updates this time.
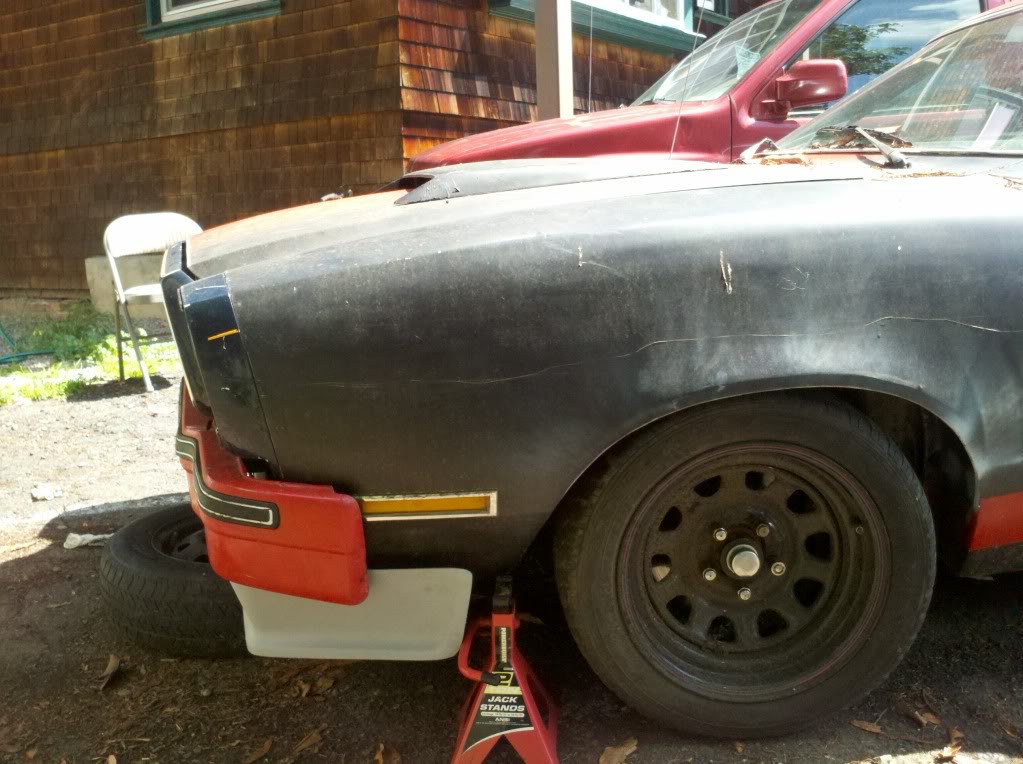
got the bumper on, need to redrill the lower mount holes though, they were like 1/4" off but she doesnt get driven much right now, so I left it alone to tackle bigger projects like...
DROP SPINDLES. After a million freaking years (well, it feels like it at least) these danged things are finally on the car. dropped the nose a fair bit. The wheel well gap has definitely decreased and it was a PITA to get the jack out of there afterwards lol
anyhow, pichas
got the bumper on, need to redrill the lower mount holes though, they were like 1/4" off
but she doesnt get driven much right now, so I left it alone to tackle bigger projects like...DROP SPINDLES. After a million freaking years (well, it feels like it at least) these danged things are finally on the car. dropped the nose a fair bit. The wheel well gap has definitely decreased and it was a PITA to get the jack out of there afterwards lol
anyhow, pichas
Thread Starter
Post *****
Joined: May 13, 2004
Posts: 18,616
Likes: 3
From: Berkeley/Redwood City, CA
thanks!
Not a lot of time today, I've got class in a little while, but since the sun was shining, decided to go mock up the air dam now that I've actually got a bumper at least somewhat on there lol
its a bit wide on each side.. i may need to make a fender extension of some kind to hide the gap, or possibly bend the lower fender into a better shape
anywho
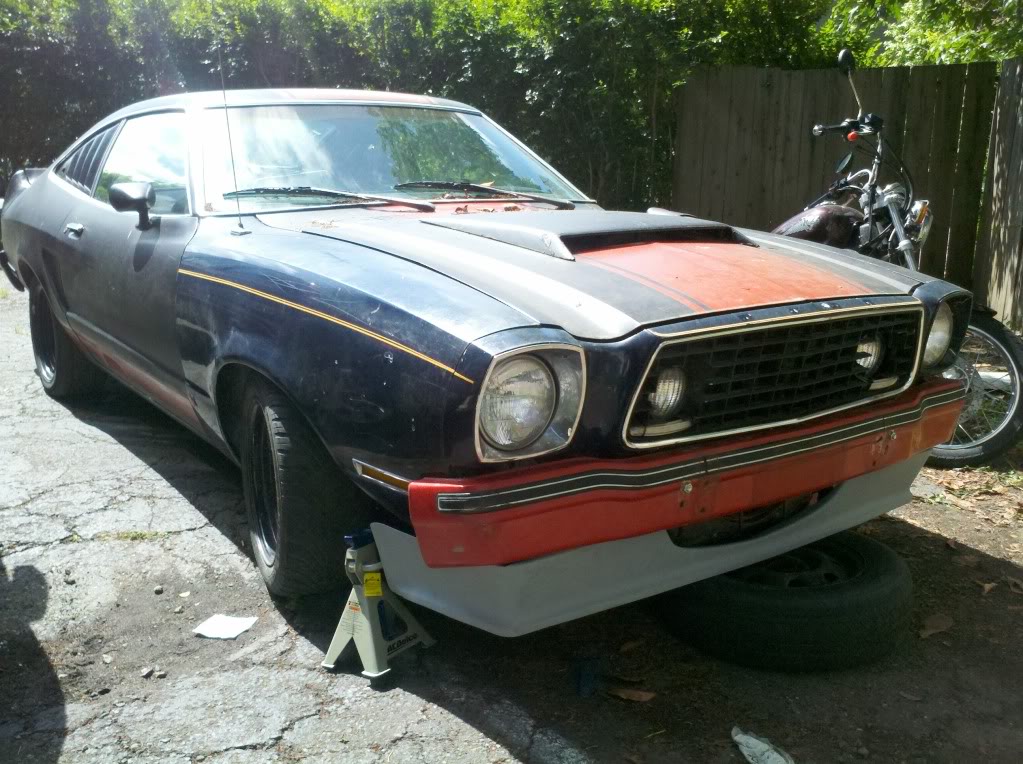
Thread Starter
Post *****
Joined: May 13, 2004
Posts: 18,616
Likes: 3
From: Berkeley/Redwood City, CA
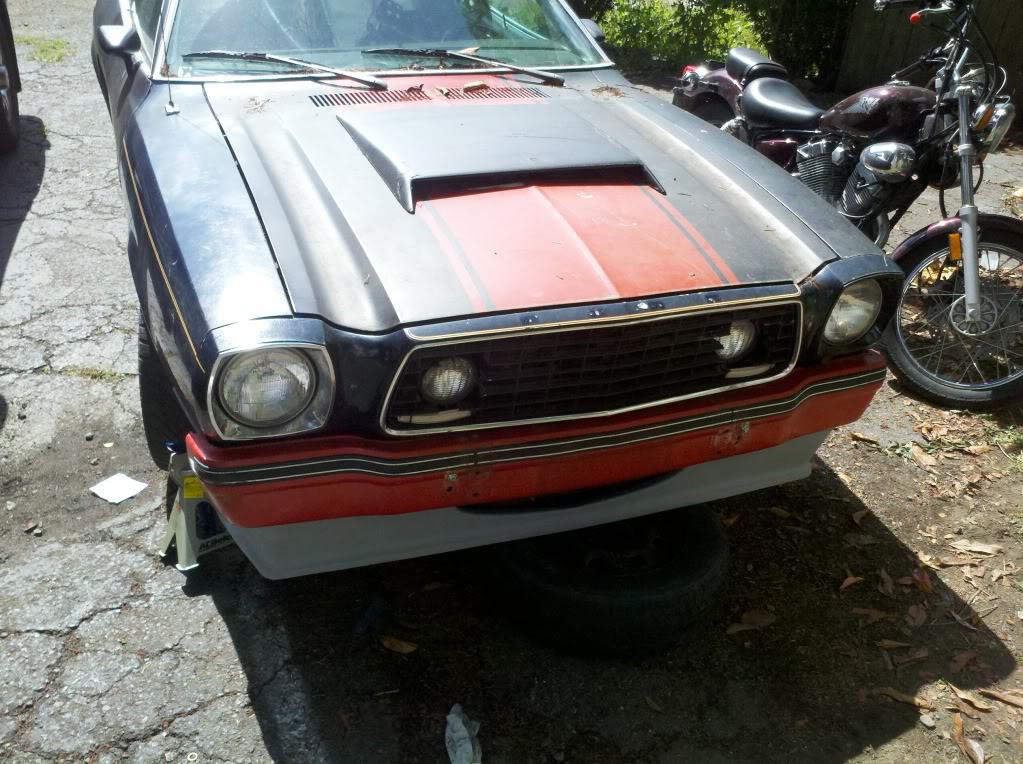
I cant wait to actually mount the danged thing. that, plus some wider wheels/tires out back and the fox GT sideskirts will look pretty excelllent
its fantastic working on this car again
its fantastic working on this car again
Thread Starter
Post *****
Joined: May 13, 2004
Posts: 18,616
Likes: 3
From: Berkeley/Redwood City, CA
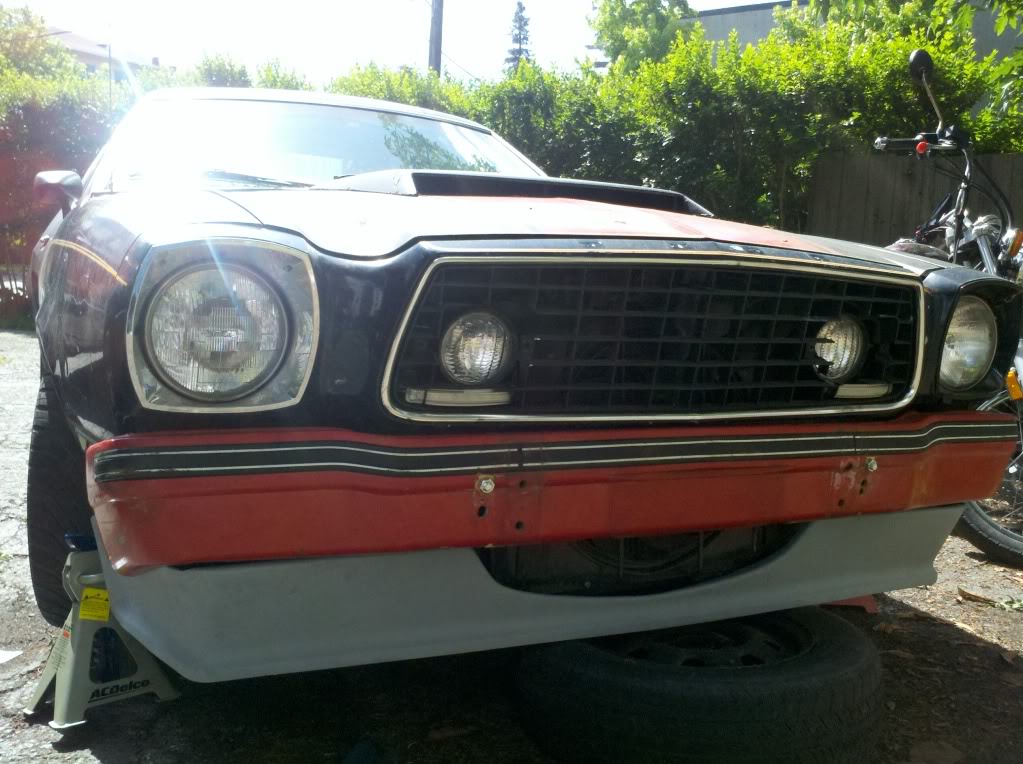
After that I'm gonna pick up some universal bracketry at the hardware store and hang that air dam. Once its centered and mounted I can see if its easier/better to make a new panel to hide that gap, or do what some of the more custom builds of IIs ive seen where they actually to metalwork to the bottom part of the fender to make it more flush. I also have to trim the inner lip at the opening in the center so that I can mount it a bit closer (hits the radiator right now)
probably gonna leave the marker lights there, but I've still got that whole can of VHT nightshade left, so the tails and all the markers are gonna get tinted as well.
Then maybe I can start thinking about a paint job again. I think I'll have one with clearcoat this time
so much to do lol
Thread Starter
Post *****
Joined: May 13, 2004
Posts: 18,616
Likes: 3
From: Berkeley/Redwood City, CA
after a metric ***-ton of work today, one seat is finally in lol. they fought me every step of the way, and once i sat down and leaned back, i could tell the right side of it is broken somewhere inside lol. i suppose thats the real price of free stuff 
that being said, it looks pretty sweet, and it is still better in terms of seat positioning than the original. I think i might just work in a temporary support for now, and then after i swap the other one in as the passenger seat, maybe find a racign bucket or something.
that being said, it looks pretty sweet, and it is still better in terms of seat positioning than the original. I think i might just work in a temporary support for now, and then after i swap the other one in as the passenger seat, maybe find a racign bucket or something.