Adding the OEM nav


 2/28/14, 11:14 AM
#303
V6 Member
Join Date: July 21, 2012
Location: Missouri
Posts: 86
Likes: 0
Received 0 Likes
on
0 Posts
Just got my new switch today along with my pony puddle/heated/blind spot mirrors today. Dropping to -30 C tomorrow, so I won't be doin the mirrors this weekend.
Switch was easy, though.
You can see the difference here. The nav switch does not have OK on it. Thanks Muskoka for figuring this one out. I suspected, but never got around to checking it out as it was no big deal to me. Cheap fix.
Switch was easy, though.
You can see the difference here. The nav switch does not have OK on it. Thanks Muskoka for figuring this one out. I suspected, but never got around to checking it out as it was no big deal to me. Cheap fix.
2/28/14, 11:26 AM
#308
Legacy TMS Member
Thread Starter
You are wanting to pull the entire thing out? I did not know that is what you were wanting to do.
I would point out that it is not necessary to pull it out. Dash removal instructions don't call for that. Just disconnect the steering shaft.
Unless you are not pulling out the dash?
I would point out that it is not necessary to pull it out. Dash removal instructions don't call for that. Just disconnect the steering shaft.
Unless you are not pulling out the dash?
2/28/14, 03:46 PM
#311
V6 Member
Join Date: July 21, 2012
Location: Missouri
Posts: 86
Likes: 0
Received 0 Likes
on
0 Posts
I just purchased a complete kit. Well at least I hope it is. I sent him a list and pictures of every part I need and he is currently disassembling it. I'm not looking forward to taking the dash out at all.
2/28/14, 05:12 PM
#312
Hi Jim
Just thought that you might like to look at this drawing and the Notes at the bottom. The system has to reset after you install the dual system evaporator housing plenum. I look forward to hearing how you like the dual zone.
I have a complete set of drawings and can upload any that might be of help to any one doing this conversion.
Rob
2/28/14, 05:22 PM
#313
Legacy TMS Member
Thread Starter
Good to know about the reset, thanks.
When it comes time to do this, I may ask you for the instructions on how to remove the auto tranny shifter.
I will wait until it warms up, though.
Cheers.
When it comes time to do this, I may ask you for the instructions on how to remove the auto tranny shifter.
I will wait until it warms up, though.
Cheers.
2/28/14, 09:30 PM
#314
Hi Jim
You do not have to remove the auto trans shifter. Just the same as you did for the wiring harness and dash removal. The Evaporator housing is right there after the dash is removed. When you receive the dual zone evaporator housing you will see the screws to remove to get the plenum removed. The replacement process is very easy. Just make sure that you order the door actuator with the evaporator housing and you are in good shape.
Rob
2/28/14, 10:58 PM
#315
Legacy TMS Member
Thread Starter
The auto shifter box is bulky and much more in the way that a manual stick. I had a hell of a time trying to get the dash out of the car and back in again with it in place. It would be WAY easier if I had removed it. But I couldn't figure out how to get it off.
As for the actuator, I already have that.
As for the actuator, I already have that.
3/3/14, 09:13 PM
#316

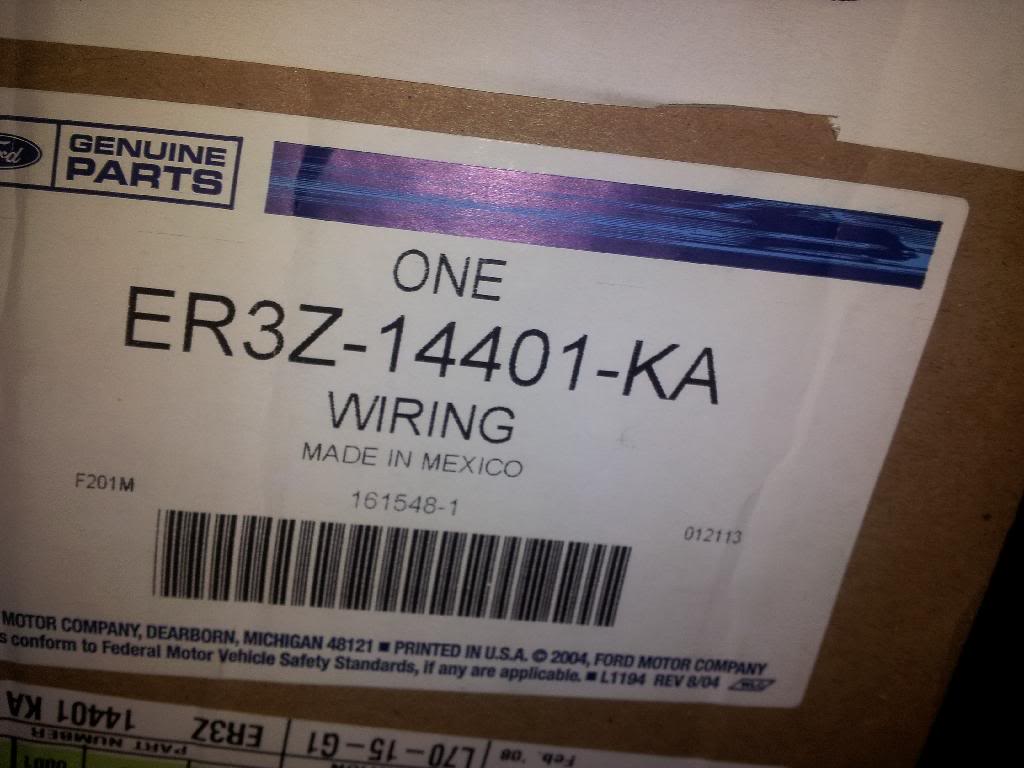
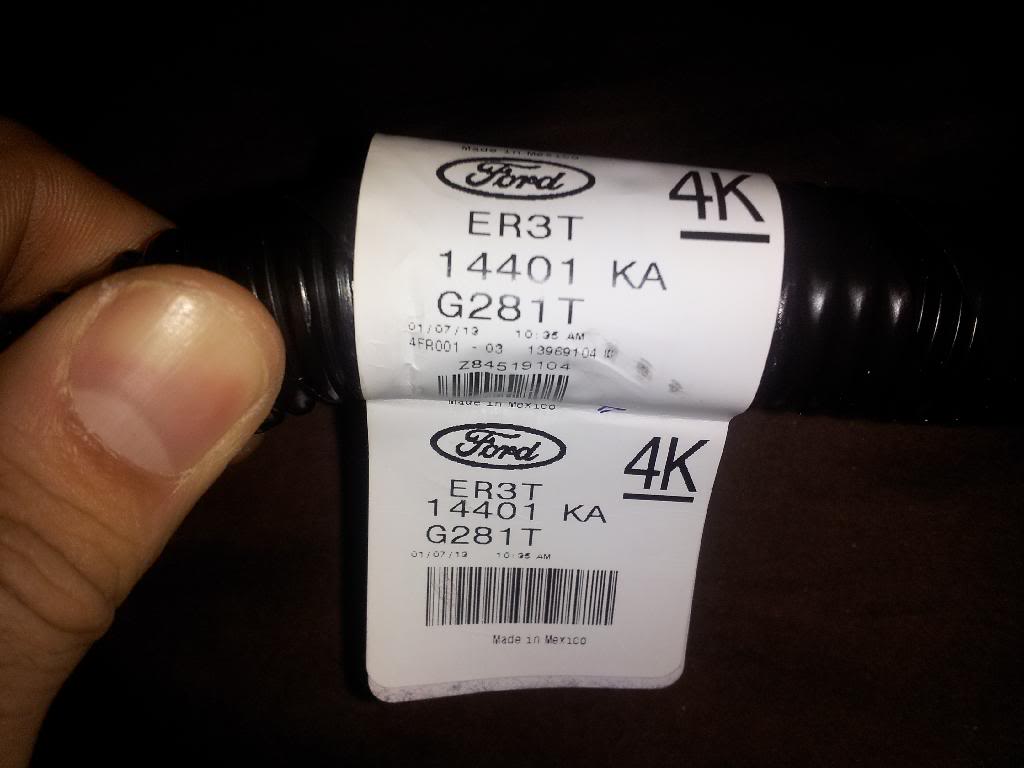
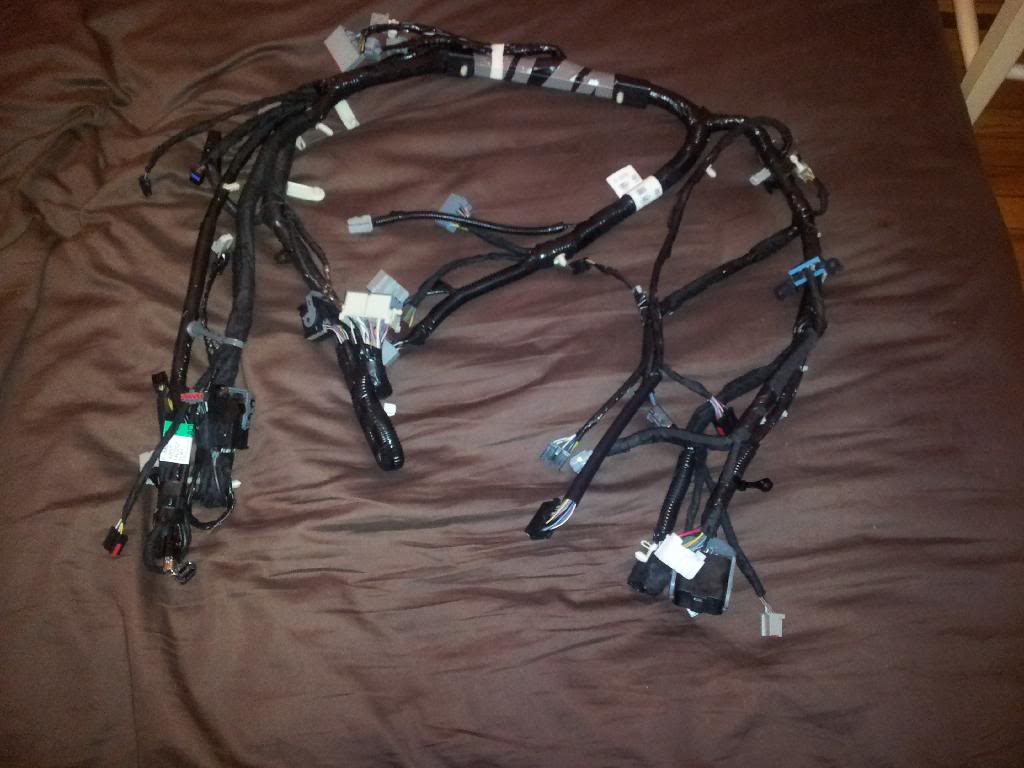
Hey guys thanks Muskoka for the pdf files. I just got my main harness today. Wow Jim you weren't kidding there is a lot of plug and play. Question why does the label of the box say ER3Z and the label on the harness say ER3T
Last edited by defiance772; 3/3/14 at 09:16 PM.
3/3/14, 10:53 PM
#317
Hi
Ford has always had two different component numbering systems since the 1940,s.
I will try to explain the difference, and welcome input from those more knowledgeable than I.
There may be many different versions of the same part since the engineering department makes adjustments and changes to a part. The service parts department will usually have one replacement part number for a part that may have several engineering part numbers.
1. When a part is designed by the engineering department of Ford, it is given a specific part number to be used on the assembly line. As they re engineer the same part they may update their part number. The main part number group will identify the part i.e. 14401. 14401 will always be the main under dash wiring harness for all years since the 1940's. The prefix, and suffix numbers of a part will be assigned by the engineering department and specified for use by the assembly line. The prefix will have the year, model of car where the part was originally designed for and used in ( some parts may have been designed by the Lincoln division and subsequently used in Fords and Mercury's). The suffix will also indicate update versions of that specific part. Since the engineering department is continually updating, changing, and improving parts there can be many versions of the same part (that is why the build date of a car, and Vin number,is important since it will determine which version of a specific part was used in the manufacturing process). When a car is ordered or build for stock, the build sheet for that specific car and Vin number (bar coded) will have on it all the necessary sub assemblies and part numbers to assemble a unique car. The assembly line workers will have bins with parts in them as well as pre assembled sub assemblies(i.e. dashes, engines,transmissions etc.) to install in the car (or truck). When a car comes down the assembly line, the worker, (due to the computer age) will already know the engineer number of a specific part that he has been assigned to install.
All of the engineer part numbered parts and sub assemblies are recorded so that specific Vin numbered car has a permanent record of the components used.
The engineering number of a part may be close to the "Parts Department" number but rarely are they the same.
2.The Service Parts and accessories departments have different part numbers for the same component. Since the 1940's when Ford introduced the current part numbering system, the numbers, used by the parts department have always been different from the engineering number.
The first number used in the part is usually the decade that that specific version of a part was introduced. The second number is usually the year. Then the main group number and finally the version of that part. The decade of the 1940's was given the prefix letter A. Each type of vehicle produced by Ford has a letter or letters used to identify it.
Case in point. For a 1969 Mustang under dash wiring harness the part number would be as follows.
C-- the decade 1960's
9-- the year within that decade 1969
Z-- The part was originally designed for the Mustang
Z -- Z was the code for Mustang, W was for Cougar, A was for full sized
14401-- Main group identifying number (under dash wiring harness)
A- Engineering version update of that part.
There fore the parts department number C9ZZ-14401-A was an under dash wiring harness for a 1969 Mustang, with out air, or tach, built before April 15th 1969.
The engineering numbers for the same part was C9ZB-14401-AB and C9ZB-14401-AE and C9ZB-14401-AH and C9ZB-14401-BJ. Again one Service and Parts department number for several engineered versions of the same part.
As an example, sometimes the engineering department will change the length or type of tape used to wrap a wiring harness, therefore changing the part number for a part that is essentially the same.
The great thing about Ford part numbers is that the main group number has always been the same. (14401 for under dash wiring harness). GM and Chrysler's numbering system are totally different and very confusing. When a parts and service department personal knows the main group numbers it is much easier for them to locate part numbers and make sure that they are providing the correct part for service.
I hope that this explains the difference and I would welcome any further questions or input regarding this subject.
Rob
3/10/14, 08:57 AM
#320
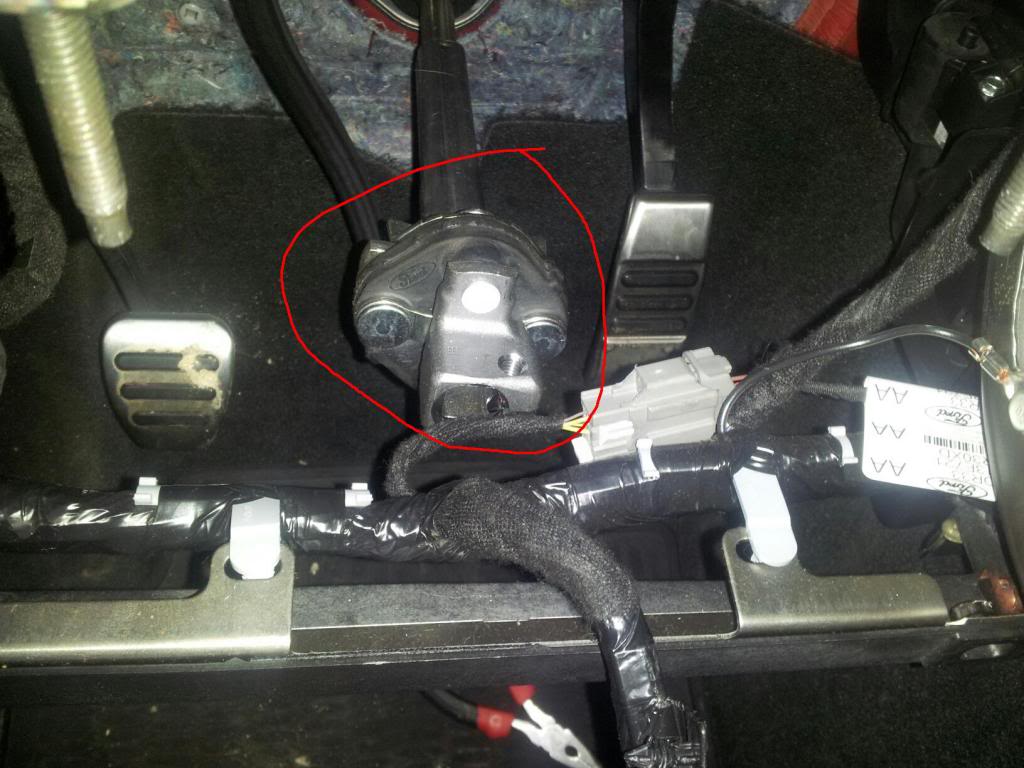
Hey everybody. I'm just waiting for my evaportor assembly coming in tomorrow. But I'm finally ready for the removable of the Dash. Everything is gone even the steering wheel which I was afraid of turning this thing steering wheel shaft. Am I ok with moving that thing up and down but as long as I don't turn it left or right. Am I right?
Hey Muskoka and Jim I ordered an attenna harness to AR3Z 10E928 A. I see something similar to that in my car already. Is that the same harness. Also I left the climate control module last because it's so hard to remove. How do you remove pain in the a $$ piece.
Also will I still need this now that I have the navigation system. It's a little black box located at the right center vents
Last edited by defiance772; 3/10/14 at 09:07 AM.