Project Aztec Gold Part 1: Engine Detail and Tune-Up
A thorough engine detail should be a part of your tune-up regime.
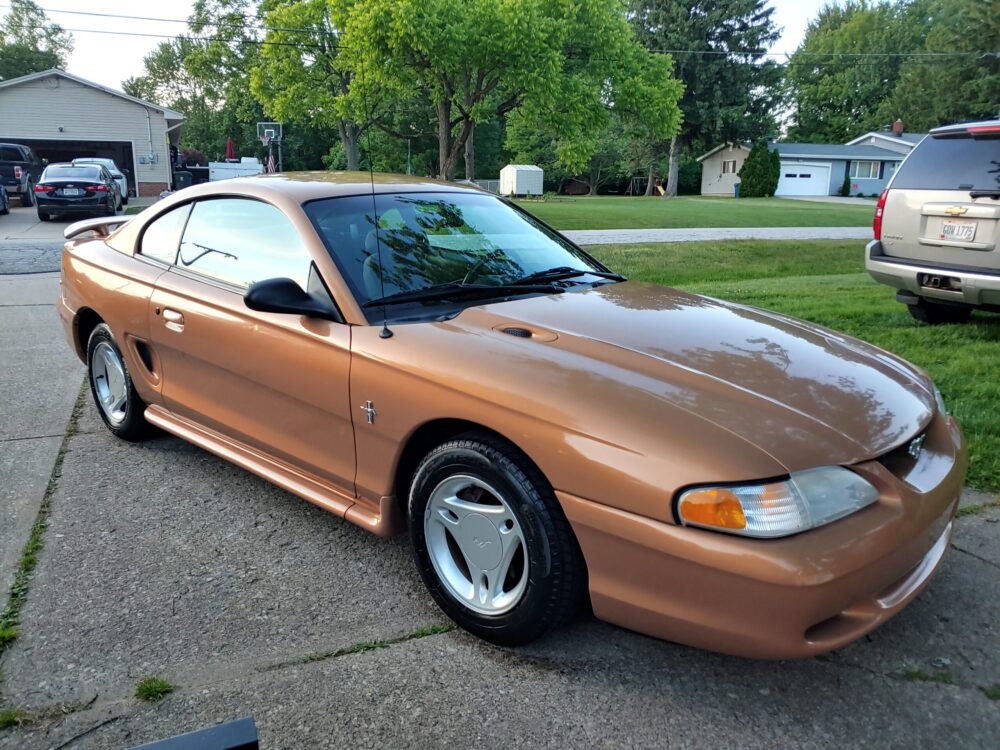
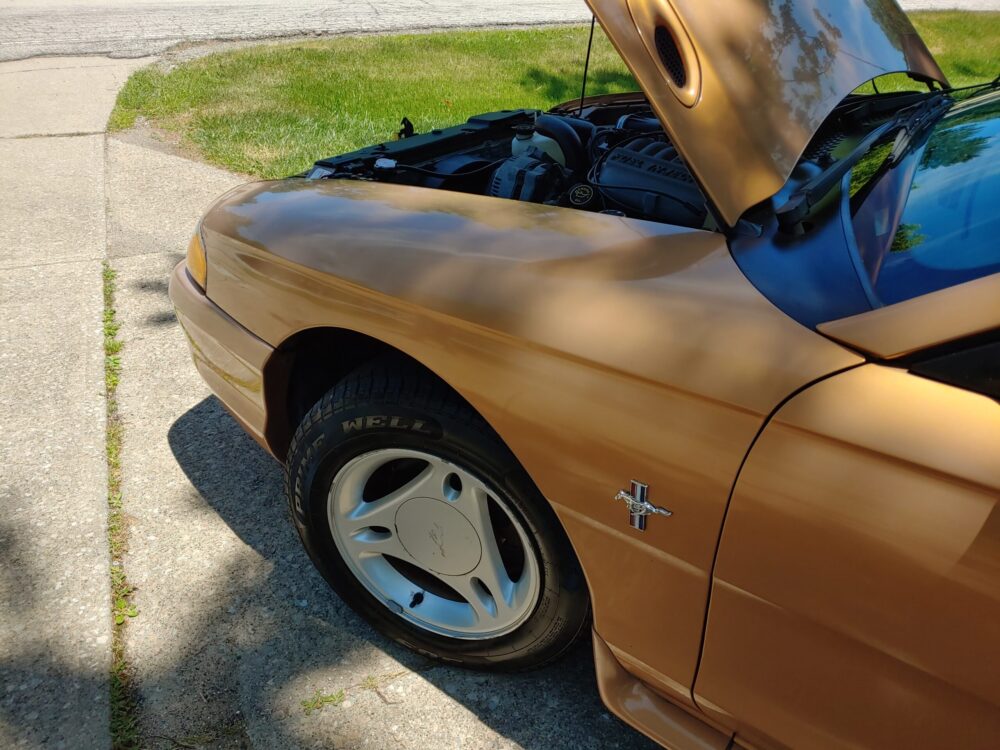
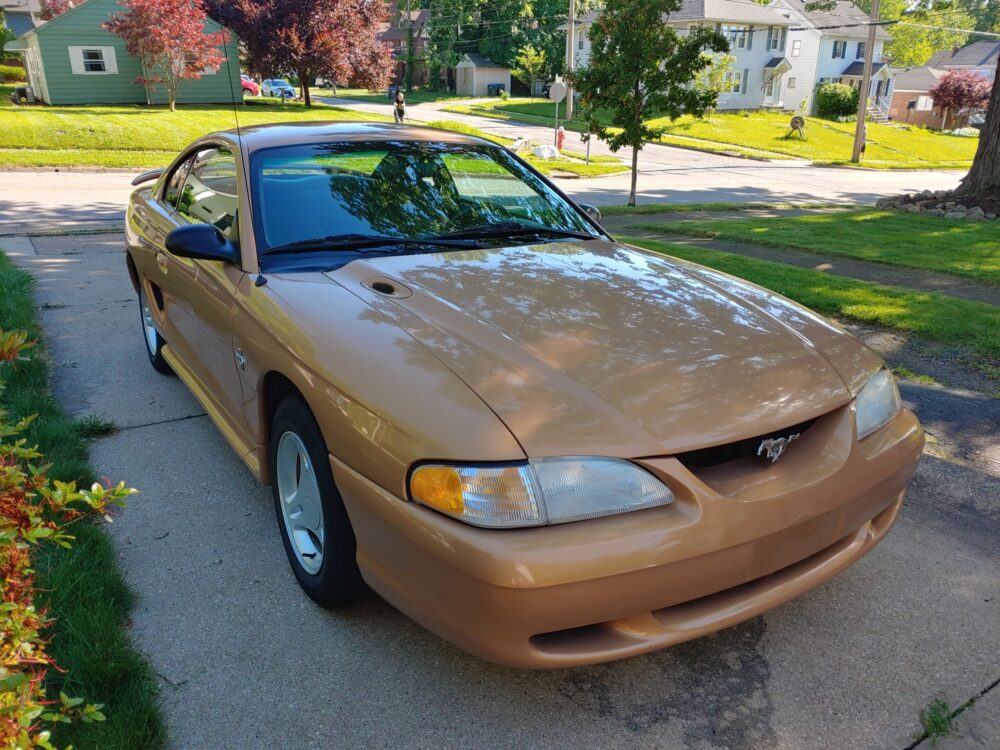
Last year, I was aimlessly browsing Facebook Marketplace when I saw this 1997 Mustang. There’s nothing particularly special about a V6 automatic coupe, but this one stood out because it was painted in one of my favorite SN95 colors, Aztec Gold. Aztec Gold Mustangs are tremendously rare — it was only offered in 1997, and just 1,135 Mustangs left the factory painted that color. You just don’t see very many.
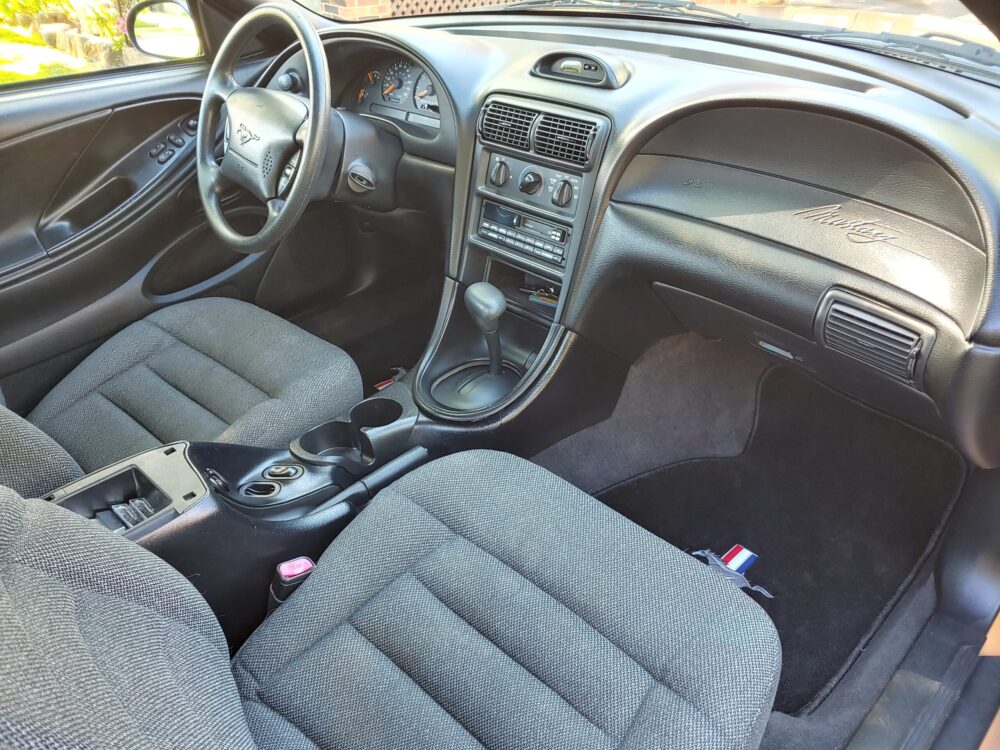
I figured that this would make a great Mustang for my girlfriend, who loves riding in my 1996 SVT Cobra. After a short test drive, we made a deal and brought this Mustang home for a paltry $850. All things considered, we got a good deal. The car had just 71,000 miles on the odometer and a remarkably clean interior.
The car has a few issues, though, which the seller was admittedly honest about. The main issue — and the one we’re tackling today — is the leaking water pump. The seller warned us of coolant seeping past the O-ring on the metal coolant pipe that goes into the water pump, and before long, we began to notice coolant seeping from the weep hole as well. It needed to be replaced soon, so I ordered a new water pump, thermostat, and Fel-Pro gaskets from Rock Auto.
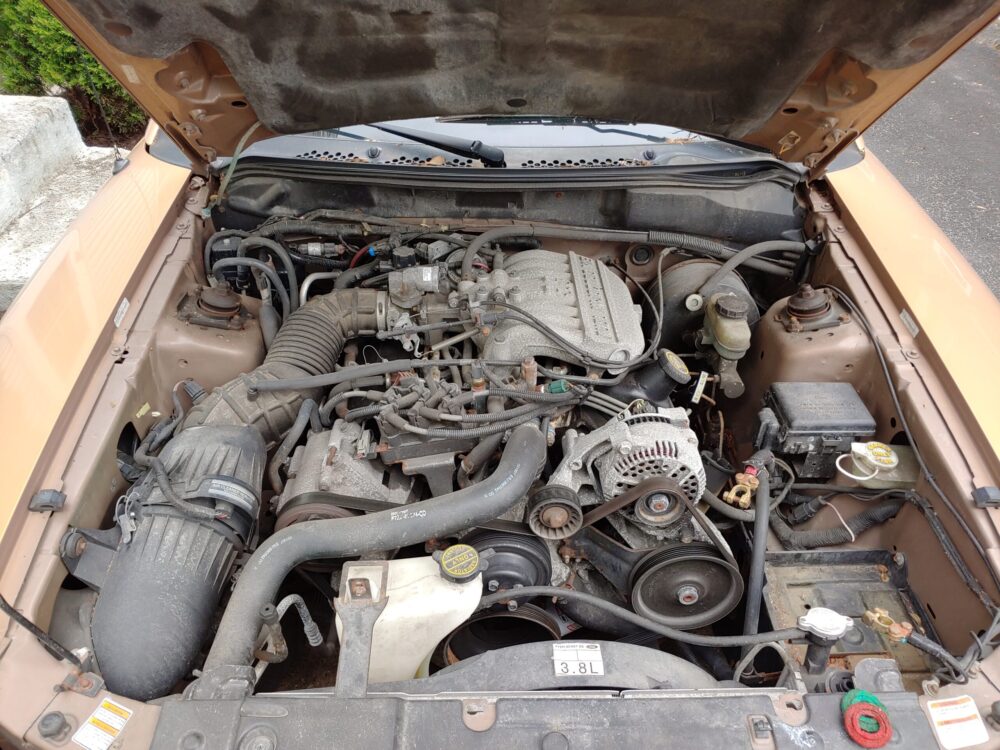
I also picked up a fresh battery, a set of spark plugs, a fresh air filter, and fresh fluids for a more complete engine tune-up. Since I hate working on dirty engines, we started out by detailing the engine bay, using the method outlined by ChrisFix in his engine bay detailing video.
Cleaning Up
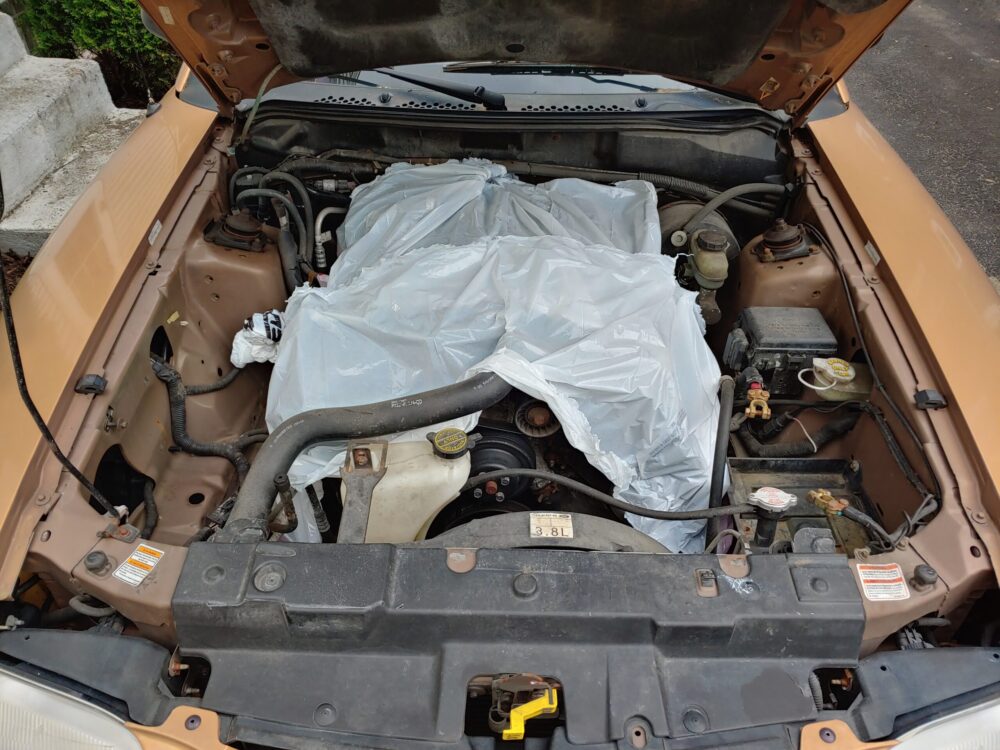
To start with, we removed the air intake and battery. Then, we vacuumed loose dirt and dust from the engine bay, using a brush to loosen up more stubborn debris. Next, we plugged the air intake with a towel and covered the engine with plastic before using a hose to gently wash the underside of the hood, the fender liners, and the radiator support. After that, we removed the plastic and attacked the engine bay with an assortment of cleaners and brushes.
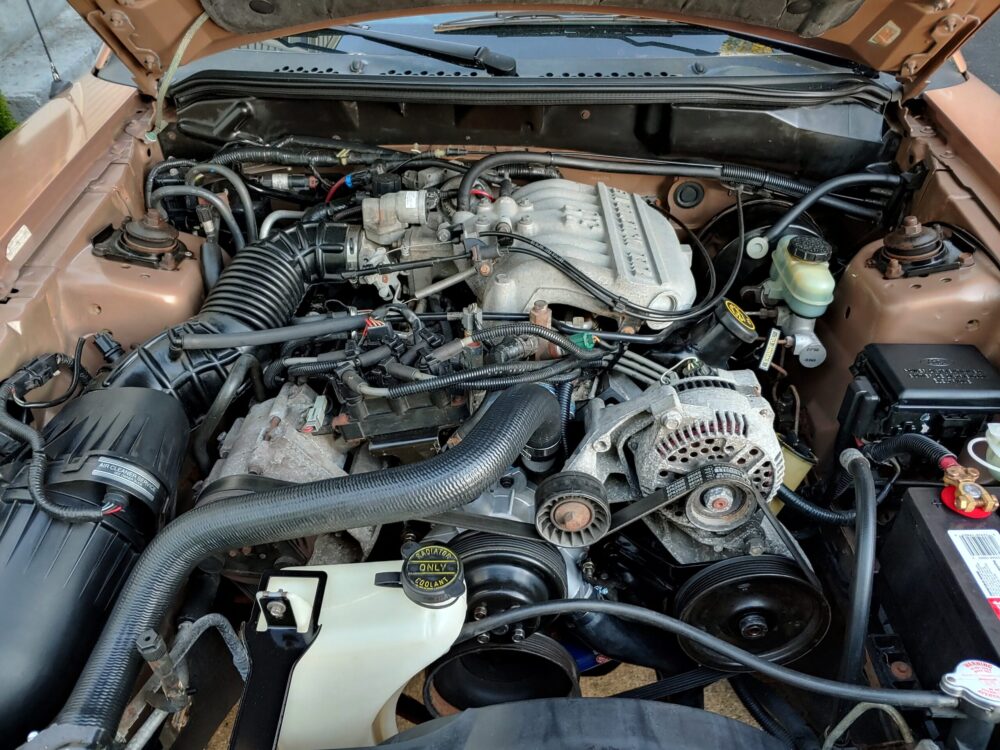
Once everything was clean, we used trim restorer on the plastic and rubber parts, giving them a fresh, clean look that’s not too shiny and won’t attract dust. We’d say that this was the most satisfying part of detailing the engine bay. The process took about four hours from start to finish, but the results are dramatic. Despite some rusty fasteners and oxidized aluminum, the engine bay looks much cleaner overall, and it made for a much nicer place to spend time while I replaced the water pump and spark plugs.
Another benefit of cleaning your engine bay is that it gives you an opportunity for a thorough inspection. You might find leaks or broken and worn parts. In my case, I found some melted wire loom next to the thermostat housing. Thankfully, the wires inside were safe, but I made sure to install new wire loom to keep those wires protected from engine heat.
Tune-up Time
With everything under the hood looking good, I started to work on installing the new parts. The spark plugs were the first item to be replaced. The wires appeared to be in great shape, but the plugs were a mess. Two had cracked insulators, and all of them were pretty worn down. They appeared to be the original Motorcraft plugs installed back in the 1990s. Save for the two rear-most plugs on the driver’s side, the job went fast.
Next, we removed the rubber air silencer from the intake and chucked it in the trash. It’s a rite of passage for all SN95 owners, so I let my girlfriend do the honors. The air filter looked pretty dirty, so it was a good thing we had a replacement. Next, we drained the oil replaced the oil and filter. I always write the date and mileage on the top of the filter with a Sharpie for reference later.
Disassembly
With the rest of the tune-up complete, it was time to tackle the water pump. The first step is to drain as much coolant as you can from the engine. I accomplished this by disconnecting the lower radiator hose from the radiator and draining it into a pan. I also removed the coolant reservoir tank for easier access and drained that into my pan as well.
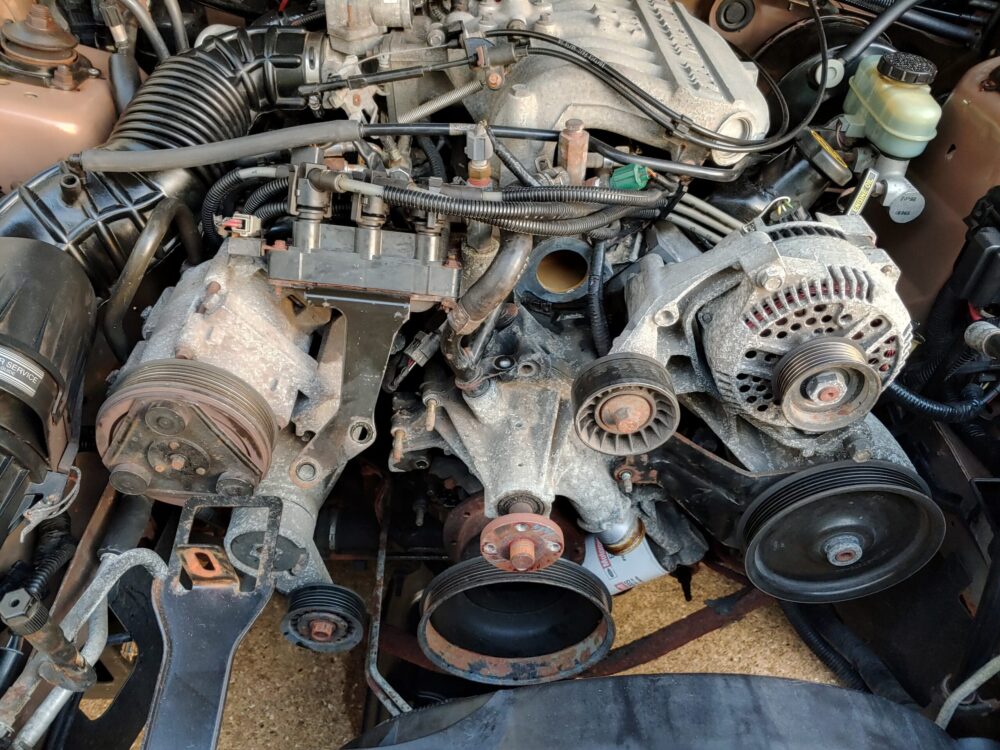
Next, I loosened the water pump pulley bolts before removing the belt. The belt was recently replaced by a previous owner, so I saved it to re-use it when I was done. There are nearly a dozen bolts holding the water pump on, and a handful of those are studs that are used to mount brackets for the ignition coil and the power steering pump bracket. You’ll need to buy or rent a power steering pulley tool to gain access to the other two bolts for the bracket. Use jam nuts to remove (and later, re-install) the studs.
With the brackets, bolts, and studs removed, I was able to remove the old water pump, but there was a problem. The metal coolant pip up top — the one that had been leaking — was previously “fixed” with gobs of red RTV silicone in a poor attempt at stopping the offending leak. Getting the pipe free was challenging, but once it was, I was able to remove the old pump, scrape off the gasket material, and do the same for the thermostat housing.

Painting & Prep
Before I re-installed everything, I cleaned up and painted a few small parts that were rusty or oxidized — the power steering pump bracket, the upper coolant reservoir bracket, and the thermostat housing. Once they were clean, I sprayed them with a few coats of engine enamel, and then baked the finish in my toaster oven at 200 degrees for a half hour to help cure the finish. Once the paint is baked on, it feels almost as hard as powder coat.
Just be aware that any part that is touching the pan or the rack will sag from the heat, so place the parts “face up” or make some stand-offs for the parts to sit on. Also, never cure parts in an oven that you use to prepare food. I bake my paints with a toaster oven that I have dedicated to that purpose.
I also cleaned up the water outlet pipe, masked off the engine bay, and shot it with some engine enamel to stave off rust. The heat of the engine should cure it to a finish nearly as strong as the other parts I painted.
While I prepped, painted, and cured those parts, I soaked the rusty hardware in white vinegar for a couple of hours. After I cleaned them up, I soaked them in Aerokroil overnight to prevent oxidation. While white vinegar does a great job of removing rust, it can also remove any protective coating your hardware may have.
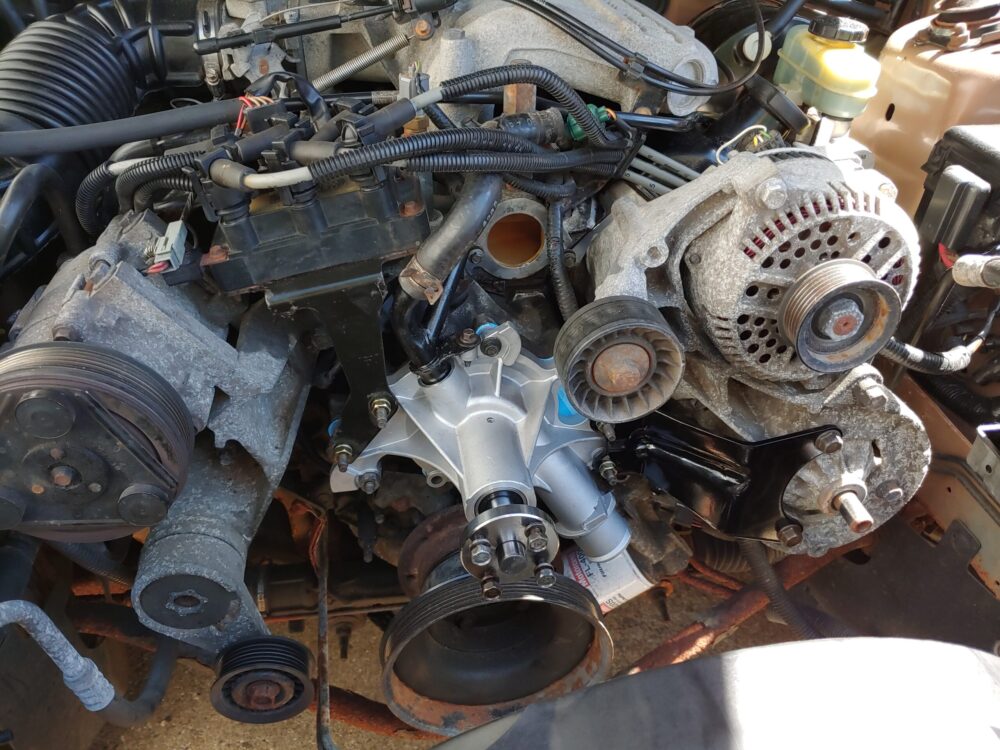
Water Works
Re-assembly was far easier. Some silicone lubricant on the new O-ring helped the water hose to slide into place, while some high-tack gasket sealant kept the gasket in place while I lined up the pump and inserted the studs. The nuts on the end of the studs were looking pretty bad, even after cleaning, so I picked up some fresh nuts and washers. Finally, I installed the new battery and fresh radiator hoses, and re-installed my belt, reservoir, and air intake.
With everything back together, it was time to fill and bleed the system. Remove the pipe plug near the intake manifold and fill your radiator and your reservoir. Place a pan under the car to catch any overflow. Re-install the pipe plug and let the car idle with the radiator cap off, keeping the radiator full of coolant.
With the cooling system bled, it was time for a test drive. The car felt great, and it’s good to know that I will probably never have to give that 3.8 V6 another ounce of attention until it’s time to pull it out and swap it with a V8. There are still a few other issues to tackle in the meantime, though, so stay tuned to see what’s next for my Aztec Gold Mustang!
Photos: Cam VanDerHorst
You must be logged in to post a comment.