
*Updated* Arin's Uber "76" Mustang II Buildup
 11/7/11 | 02:13 PM
#2061
Thread Starter
Post *****
Joined: May 13, 2004
Posts: 18,614
Likes: 3
From: Berkeley/Redwood City, CA
After some googling I *think* the drum is what you'd get in a 5 lug conversion kit for a fox (based on the markings on the drum) which I'm fairly certain is from a ford ranger, though I'm not entirely sure.
Called the shop up, they said as soon as they can ask the mechanics that installed them they'd give me a call back. In either case, drum hardware kits are in the $20 range and the drum itself looks to be about $30. Maybe I can get to a junkyard this weekend and get one for even cheaper...
Called the shop up, they said as soon as they can ask the mechanics that installed them they'd give me a call back. In either case, drum hardware kits are in the $20 range and the drum itself looks to be about $30. Maybe I can get to a junkyard this weekend and get one for even cheaper...
11/7/11 | 04:45 PM
#2062
Legacy TMS Member
Joined: February 2, 2004
Posts: 7,582
Likes: 670
From: Insane
Ooh, drum brake newbie! 
One sage bit of advice, young sir: Needle. Nose. Vice Grips. The big ones.
The other bits are easy, and you can find instructions just about everywhere. Lubricate the back plate and all other moving surfaces with plenty of brake grease, and use the Vice Grips for the big return springs. You just wrangle them on, and then unclamp. Done.
 11/8/11 | 06:08 PM
#2065
Thread Starter
Post *****
Joined: May 13, 2004
Posts: 18,614
Likes: 3
From: Berkeley/Redwood City, CA
Well I ordered the hardware kit for about $10. Later tonight when I get back from class I'll be making a summit order as well for the drum and something else thats a bit cool 


 11/9/11 | 01:21 PM
#2068
Thread Starter
Post *****
Joined: May 13, 2004
Posts: 18,614
Likes: 3
From: Berkeley/Redwood City, CA
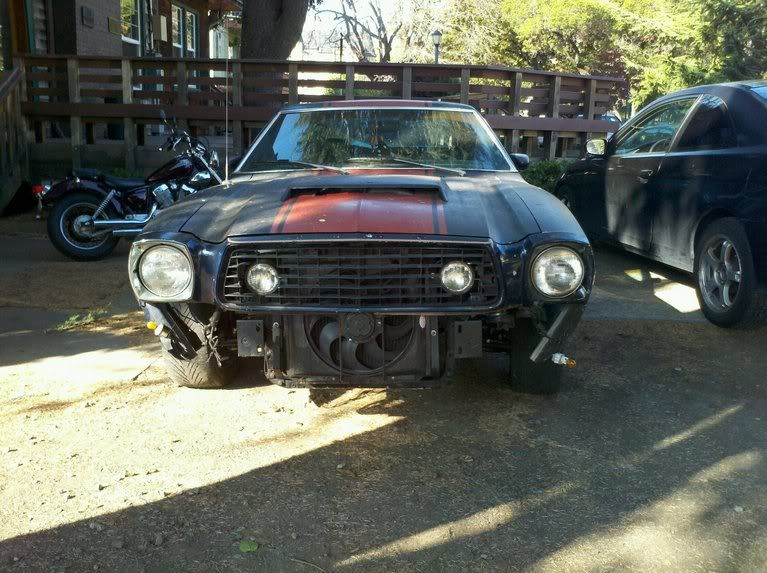
alright I picked up the new rear tires today but I'm probably not going to put the wheels on until i fix that rear brake.
BUT
i saw these on a local forum for $20. I've seen them modded on our cars before so I figured it was worth checking out. its a dirty mock up, but i'll figure out mounting and how to modify it to fit later
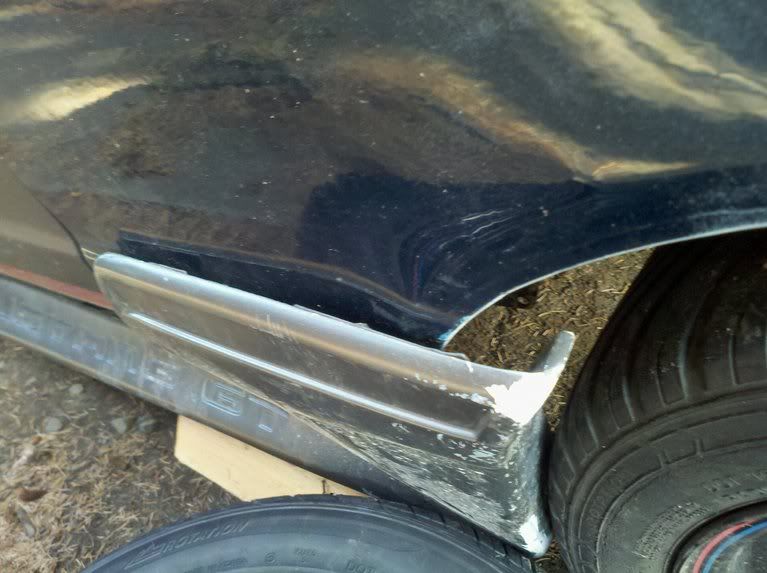
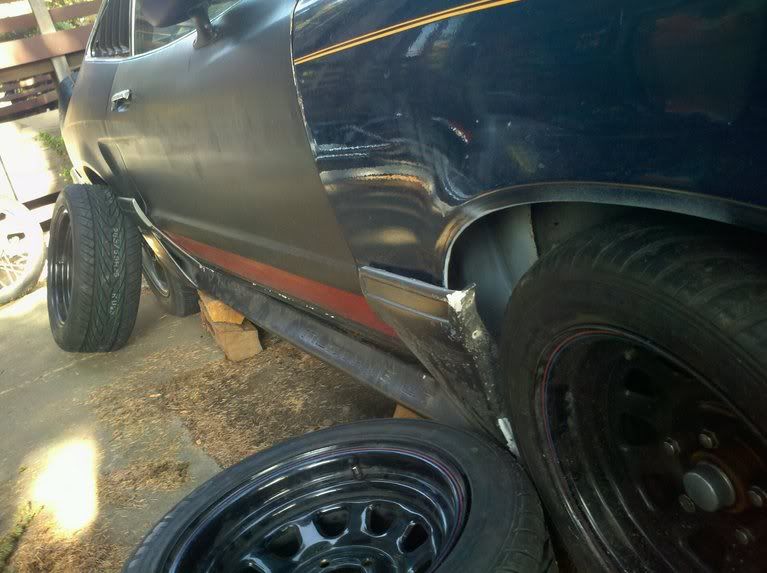

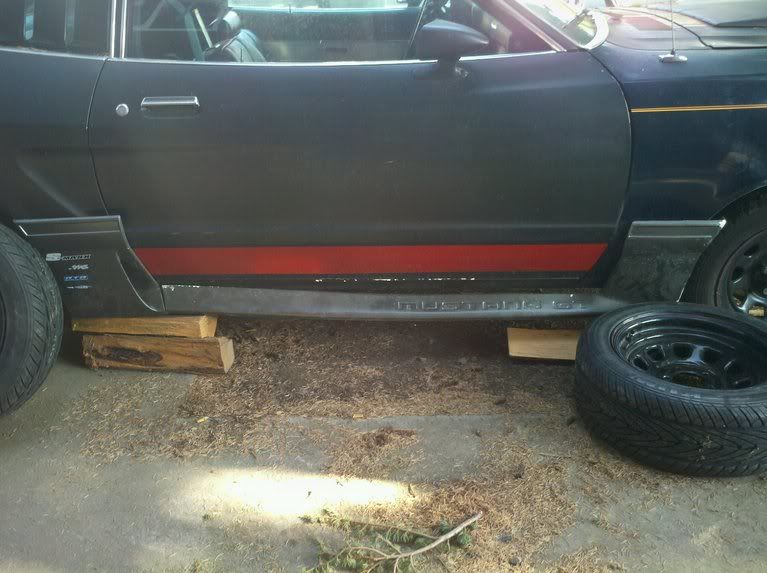
Its about an inch or two too long, so it will need to be sectioned a bit. I think these, combiined with an eventual front bumper and the air dam i have in my parents garage lol, will be pretty sweet
BUT
i saw these on a local forum for $20. I've seen them modded on our cars before so I figured it was worth checking out. its a dirty mock up, but i'll figure out mounting and how to modify it to fit later
Its about an inch or two too long, so it will need to be sectioned a bit. I think these, combiined with an eventual front bumper and the air dam i have in my parents garage lol, will be pretty sweet
11/10/11 | 05:49 PM
#2069
Thread Starter
Post *****
Joined: May 13, 2004
Posts: 18,614
Likes: 3
From: Berkeley/Redwood City, CA
Still trying to get the bullitt running right now (sensor and fuel filter have been replaced, to no avail). in the process, the battery died. so I hooked it up to a battery charger and then set to work on the II, while I waited for wonderful goodies from the big brown truck.
First i decided to keep dremeling on the original grille. I never really liked the rectangular turn signals, and I really like the round fogs I have now. It just looks so... bare. So I trimmed and ground the rectangular section in the grille to better accommodate the round fogs. I also managed to find a few cracks and glue them right up. They are still a little rough; there will be filler and more sanding to really smooth the whole thing out.
I also need to make some brackets to move the foglights forwards a few inches. as it sits now, they are set back farther than the grille and up close its pretty crummy looking as is.
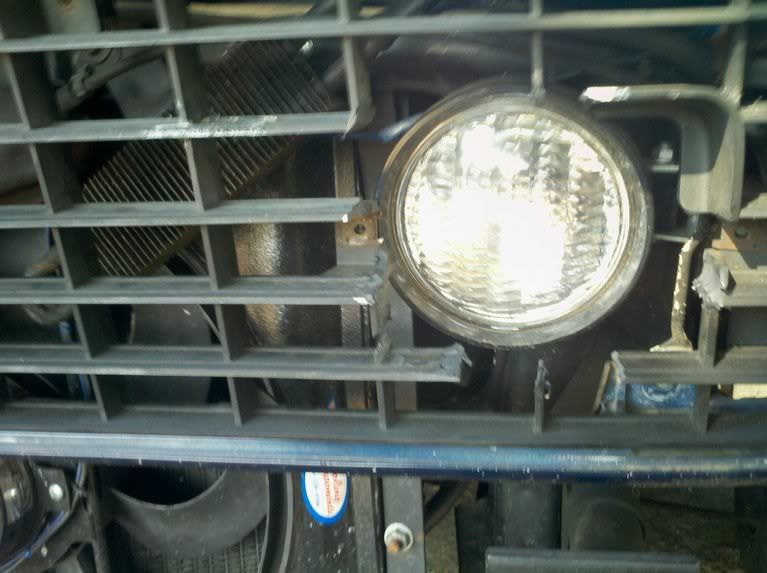
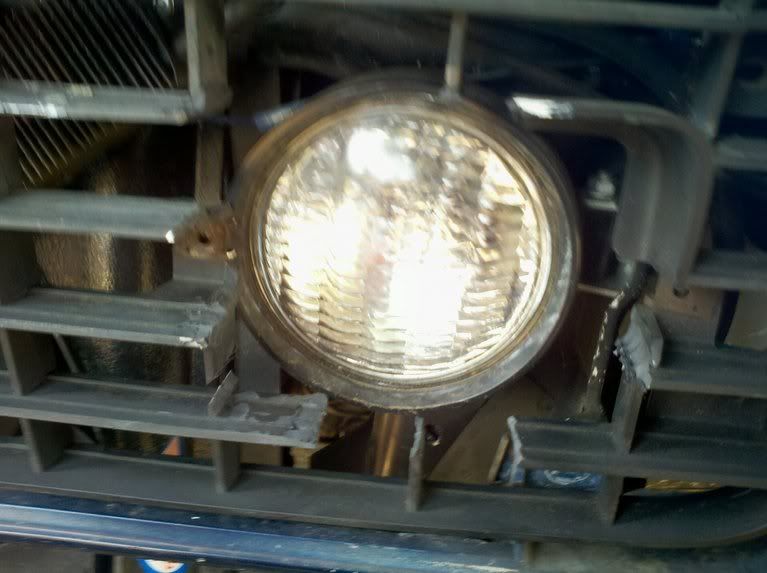
But a little bit of sheetmetal and some bolts and this will hopefully come together pretty nicely.
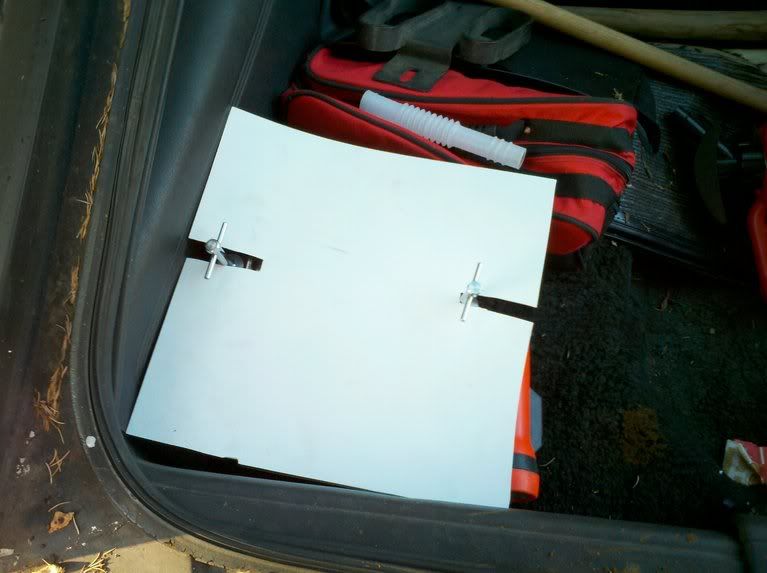
After that I finally rolled the fender on the driver's side, and checked to see if the UCA mount was put on the correct way and :gasp: it was! So after that and a spritz of primer, I lowered the car back down and put the new tires on the rear end. No pics of that, although since I do have the worlds rustiest hatch I went and made a splash shield for the trunk mounted battery. Super ghetto but its better than nothing
When I put the steel wheels back on though, I really understood why my wheel flew off the other day. I went to loosen the side that was undamaged and man, most of them were hand tight as well. When I pulled the wheel off I really got the see. The material for the OEM ford wheel was way thicker at the mounting surface than my cheap steelies. I would need longer wheel studs if I wanted to run newer wheels. But as it sits now, I really like black ones again. I don't remember what the backspacing is on the steel ones, but they're alot closer to correct as the tires sit farther out than before. Still not flush with the fender, but much better than before
Finally, some awesome awesome things came today:
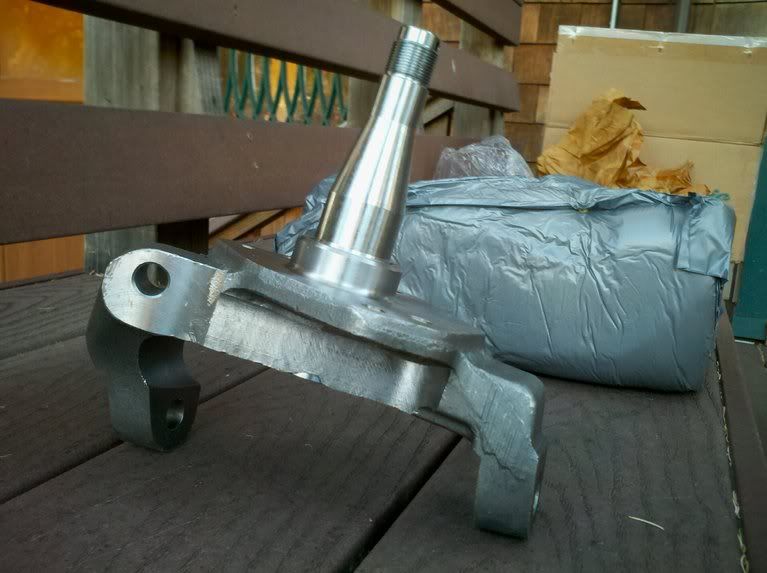
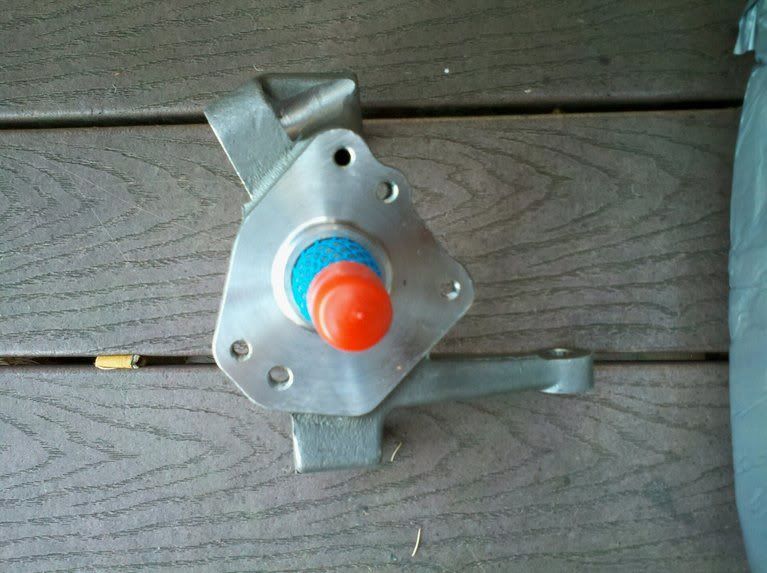
2" forged drop spindles!. now I can lower the nose down 2" so it isn't slanted up at the front without cutting coils or otherwise negatively affecting the suspension geometry. good thing I rolled those fenders. Install soon, hopefully. Got a big paper to write this week, so it might not be til after that.
or it might be a perfect study break

First i decided to keep dremeling on the original grille. I never really liked the rectangular turn signals, and I really like the round fogs I have now. It just looks so... bare. So I trimmed and ground the rectangular section in the grille to better accommodate the round fogs. I also managed to find a few cracks and glue them right up. They are still a little rough; there will be filler and more sanding to really smooth the whole thing out.
I also need to make some brackets to move the foglights forwards a few inches. as it sits now, they are set back farther than the grille and up close its pretty crummy looking as is.
But a little bit of sheetmetal and some bolts and this will hopefully come together pretty nicely.
After that I finally rolled the fender on the driver's side, and checked to see if the UCA mount was put on the correct way and :gasp: it was! So after that and a spritz of primer, I lowered the car back down and put the new tires on the rear end. No pics of that, although since I do have the worlds rustiest hatch I went and made a splash shield for the trunk mounted battery. Super ghetto but its better than nothing
When I put the steel wheels back on though, I really understood why my wheel flew off the other day. I went to loosen the side that was undamaged and man, most of them were hand tight as well. When I pulled the wheel off I really got the see. The material for the OEM ford wheel was way thicker at the mounting surface than my cheap steelies. I would need longer wheel studs if I wanted to run newer wheels. But as it sits now, I really like black ones again. I don't remember what the backspacing is on the steel ones, but they're alot closer to correct as the tires sit farther out than before. Still not flush with the fender, but much better than before
Finally, some awesome awesome things came today:
2" forged drop spindles!. now I can lower the nose down 2" so it isn't slanted up at the front without cutting coils or otherwise negatively affecting the suspension geometry.
good thing I rolled those fenders. Install soon, hopefully. Got a big paper to write this week, so it might not be til after that.or it might be a perfect study break
11/11/11 | 04:43 AM
#2071

Banned
Joined: November 11, 2011
Posts: 1
Likes: 0
when i go? gee, as soon as i can afford gas (even with the six lol)
$3 a gallon is killin me.
meeting up would be great. but lets not count my chicken before it hatches here
i still have to buy it. it'd be really cool to see you guys  PARTY AT LALOS!!!!!!!!
 11/11/11 | 11:49 AM
#2073
 11/11/11 | 12:32 PM
#2075

Post *****
Joined: December 14, 2007
Posts: 20,005
Likes: 4
From: State of Jefferson Mountains USA
11/11/11 | 12:46 PM
#2076
Thread Starter
Post *****
Joined: May 13, 2004
Posts: 18,614
Likes: 3
From: Berkeley/Redwood City, CA
I know but what purpose does an automated spammer that reposts an old post from the first page serve? I don't understand spammers lol
also i havent banned anyone in this thread until now as far as i can remember..
also i havent banned anyone in this thread until now as far as i can remember..
Last edited by future9er24; 11/11/11 at 12:47 PM.
4/24/12 | 09:27 PM
#2077
Thread Starter
Post *****
Joined: May 13, 2004
Posts: 18,614
Likes: 3
From: Berkeley/Redwood City, CA
Could it be? An actual uppdate for this car? GASP
As it stands I haven't had much time to tinker lately. I got the brake fixed and the wheels back on, but its making a faint grinding noise I'll have to figure out whats up with that before any long drives. I also noticed that the electric fans are no longer running
  Again, not sure why. I know one is supposed to be running full time and the second is operated by a toggle in the cabin. neither ones turns on
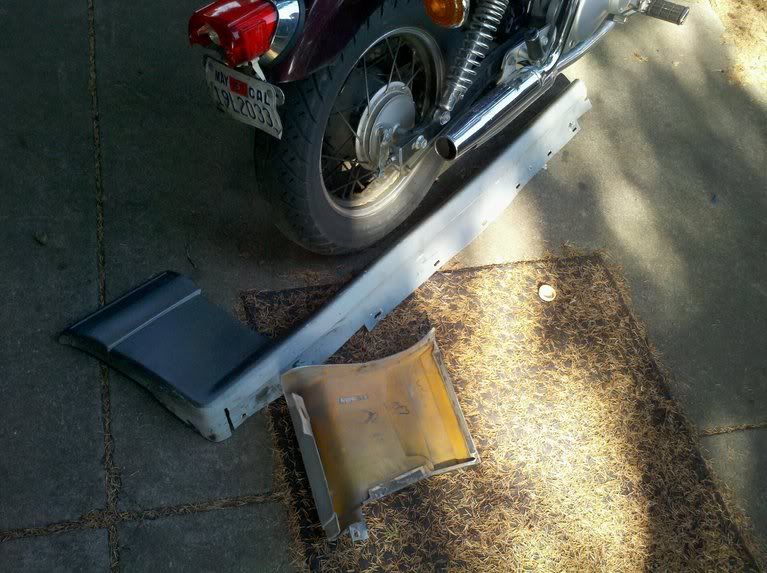
HOWEVER today I did get a chance to do some simple work on the front bumpper. I picked up a red one from some guy parting out a II a few hours away and today I gutted the girder inside of it out and started trimming the bumper up to mount it closer to the body. I can't stand the aircraft carrier look the stock ones have (hence the old bull bar and the bumperless look of today lol)
I still need to drill the bumper and get bolts, but i removed hecksa material to get the top closer. I also had to trim a few chunks out of the bottom in order to get it close to flush with the shock absorbing part of the bumper thats still attached to the car. Theres also two studs that were used to hold in the heavy girder that i had to grind away. i still need to finish it up, because it wont mount flush until i do, but ill get to that with my dremel later. it was just too tight for the angle grinder lol.
anywho, heres the important part: pichas. my buddy josh is helping hold the bumper in place for the photos
edit: stock bumper for those that don't know lol

As it stands I haven't had much time to tinker lately. I got the brake fixed and the wheels back on, but its making a faint grinding noise
I'll have to figure out whats up with that before any long drives. I also noticed that the electric fans are no longer running Again, not sure why. I know one is supposed to be running full time and the second is operated by a toggle in the cabin. neither ones turns onHOWEVER today I did get a chance to do some simple work on the front bumpper. I picked up a red one from some guy parting out a II a few hours away and today I gutted the girder inside of it out and started trimming the bumper up to mount it closer to the body. I can't stand the aircraft carrier look the stock ones have (hence the old bull bar and the bumperless look of today lol)
I still need to drill the bumper and get bolts, but i removed hecksa material to get the top closer. I also had to trim a few chunks out of the bottom in order to get it close to flush with the shock absorbing part of the bumper thats still attached to the car. Theres also two studs that were used to hold in the heavy girder that i had to grind away. i still need to finish it up, because it wont mount flush until i do, but ill get to that with my dremel later. it was just too tight for the angle grinder lol.
anywho, heres the important part: pichas. my buddy josh is helping hold the bumper in place for the photos
edit: stock bumper for those that don't know lol
Last edited by future9er24; 4/24/12 at 09:29 PM.
4/25/12 | 02:11 PM
#2078
Thread Starter
Post *****
Joined: May 13, 2004
Posts: 18,614
Likes: 3
From: Berkeley/Redwood City, CA
whats this? two relevant posts in this thread in as many days? don't worry, hell hasn't frozen over, I just got a sweet deal on some new seats today:
Yes they are dirty, but that can be remedied. After all they are PORNO RED!! FINALLY!
I've been hoping to have some porno red interior components since I first bought this car
I also picked up some 3 95 GT wheels as well. I'm starting to build racing sets for when I start autoXing I got the wheels and the seats together for $35! the tire is trash, but for the money, i couldn't resist
but alas, pichas once more.
Yes they are dirty, but that can be remedied. After all they are PORNO RED!! FINALLY!
I've been hoping to have some porno red interior components since I first bought this car
I also picked up some 3 95 GT wheels as well. I'm starting to build racing sets for when I start autoXing
but alas, pichas once more.
4/25/12 | 02:22 PM
#2080
Thread Starter
Post *****
Joined: May 13, 2004
Posts: 18,614
Likes: 3
From: Berkeley/Redwood City, CA
Yeah they are going to get thoroughly cleaned before they get into that car. The nice thing is though, fox seats bolt right up to mustang II seat rails. and if i can't get rid of it all, theres always seat covers.
Though i remember there used to be a set of seat covers that fit on fox seats but looked like 60s era seats. might have to save up for those
Though i remember there used to be a set of seat covers that fit on fox seats but looked like 60s era seats. might have to save up for those