
The one and only GABE's '13 GT Build Thread!


Thread Starter
Legacy TMS Member
Joined: August 7, 2011
Posts: 5,246
Likes: 567
From: NC
Lol, I just wish the weather would cooperate so I could drive the thing again, lol
Thanks man .... I'm actually keeping the 18" SVT wheels for autocrossing and/or drag racing. The new gray AMR wheels are because I've always wanted 20's on the back of the car, and I like to be a bit different, so doing 19x10's on the front and 20x10's on the back will certainly be a bit different, lol
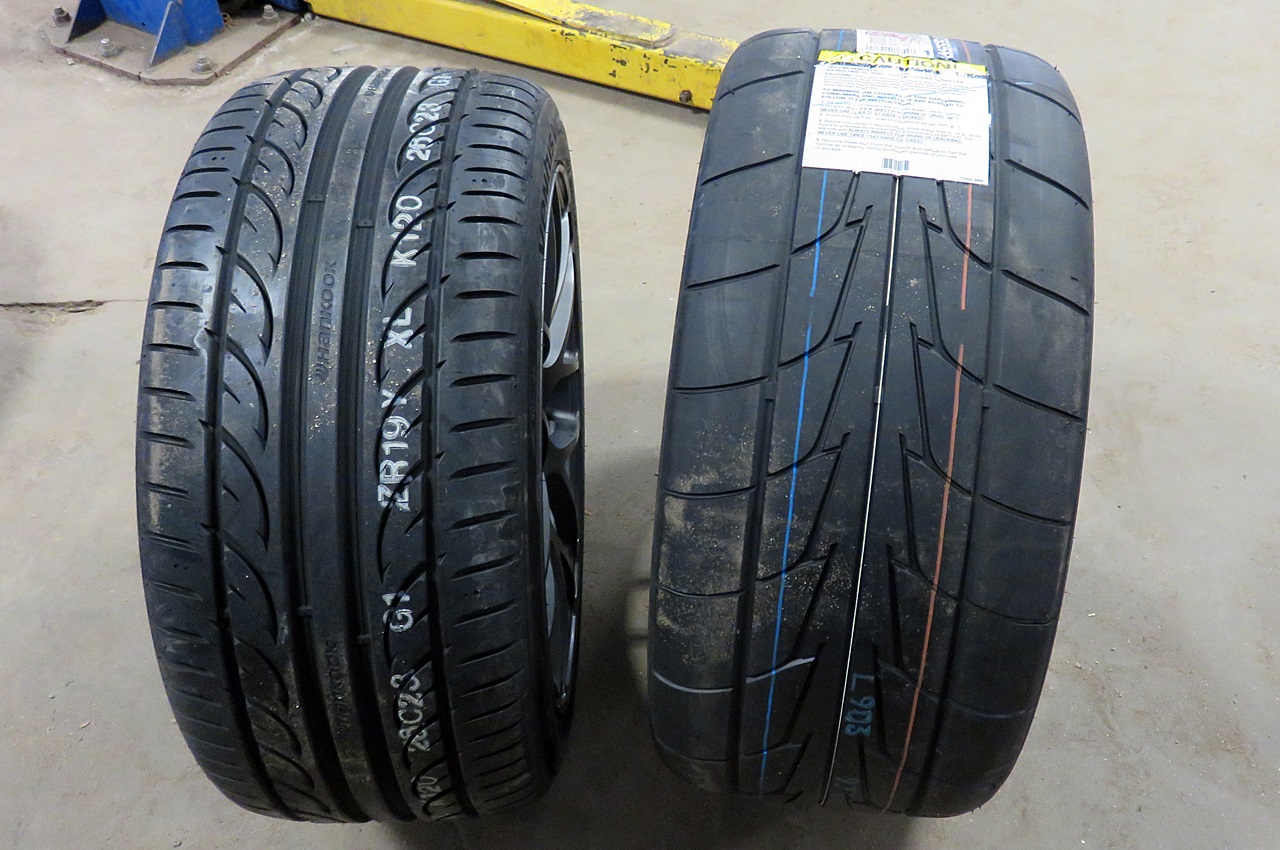
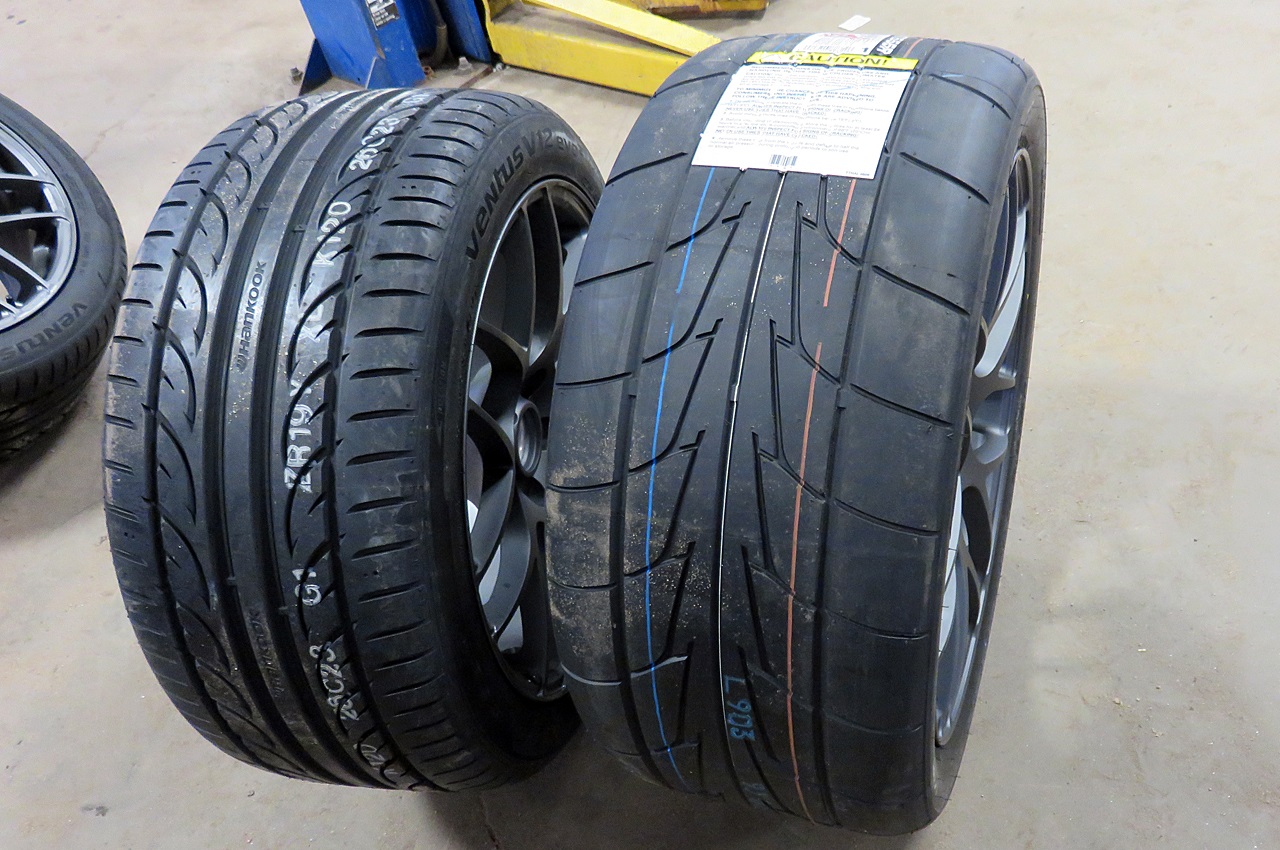
Tires will be 275/40/19's in the front and 305/35/20 drag radials on the back.
Lol ..... there will always be more. I already have a Steeda shifter for a T56 Magnum XL transmission ... now I just need the transmission itself, 
The TB, I liked it enough, but JDM wouldn't send me another tune for more power unless I signed a "won't hold them responsible" thing, I had a VMP fuel pump voltage booster ready to go too, but they wouldn't tune for it, and when they did, they sprung that on me.
I may end up going back to my local tuner ... he had an issue originally tuning my set-up, but he's figured out the problem since then and I feel that he'd set me up with the most safe power I can get out of anything ... I want a bigger TB again soon, along with a fuel pump booster since I'm already at 96% fuel pump duty cycle when WOT over 5,000 RPM ....
Lol, thanks Tony!
Tires will be 275/40/19's in the front and 305/35/20 drag radials on the back.
The TB, I liked it enough, but JDM wouldn't send me another tune for more power unless I signed a "won't hold them responsible" thing, I had a VMP fuel pump voltage booster ready to go too, but they wouldn't tune for it, and when they did, they sprung that on me.
I may end up going back to my local tuner ... he had an issue originally tuning my set-up, but he's figured out the problem since then and I feel that he'd set me up with the most safe power I can get out of anything ... I want a bigger TB again soon, along with a fuel pump booster since I'm already at 96% fuel pump duty cycle when WOT over 5,000 RPM ....
Lol, thanks Tony!
Last edited by Gabe; Mar 12, 2015 at 02:41 PM.
Thread Starter
Legacy TMS Member
Joined: August 7, 2011
Posts: 5,246
Likes: 567
From: NC
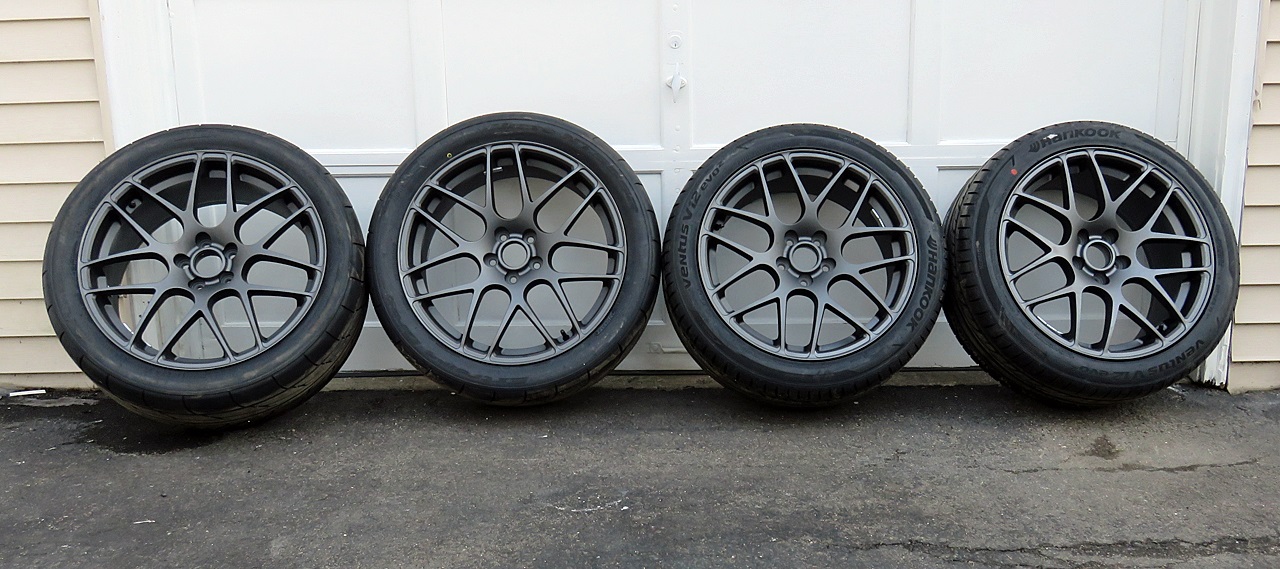
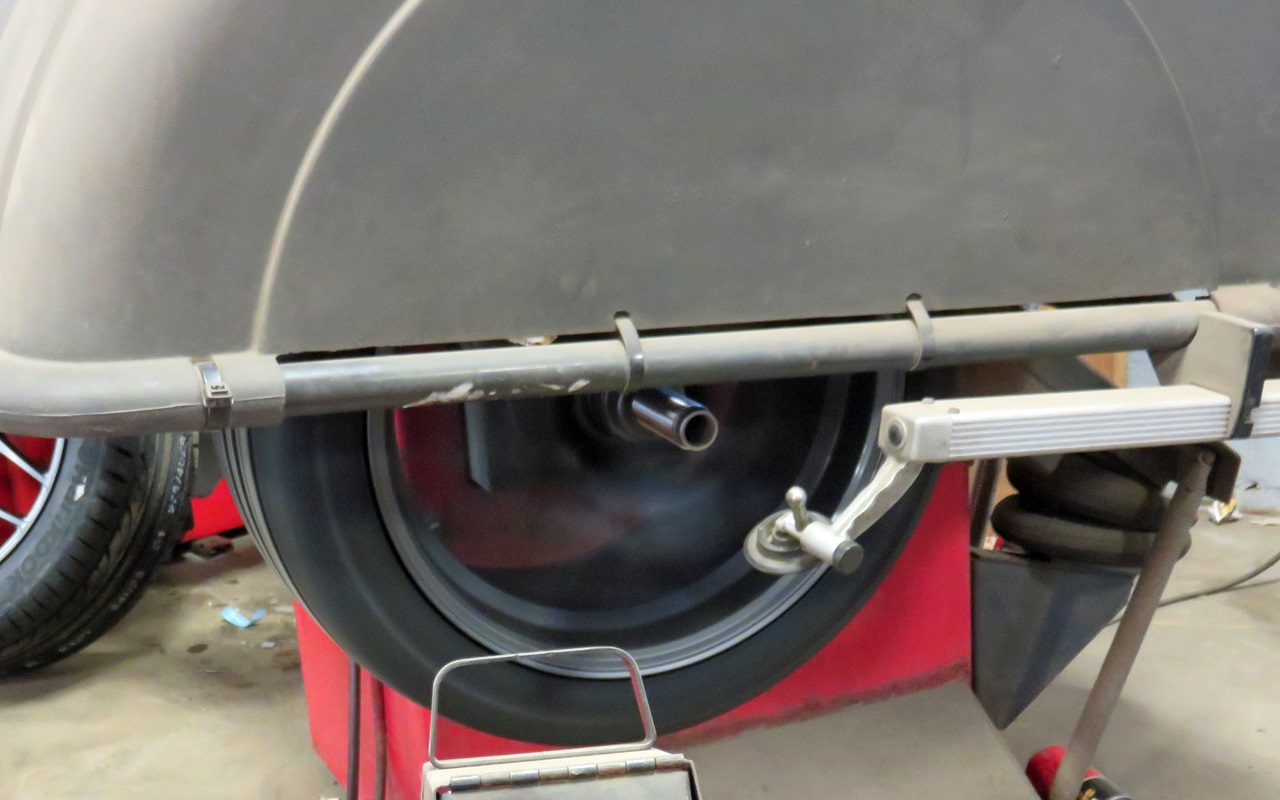
Today I got the new summer tires and wheels mounted/balanced by a buddy at the dealership he works at.
I plan on darkening the wheel weights, but here they are as they came off the machines and gone into storage, for now:
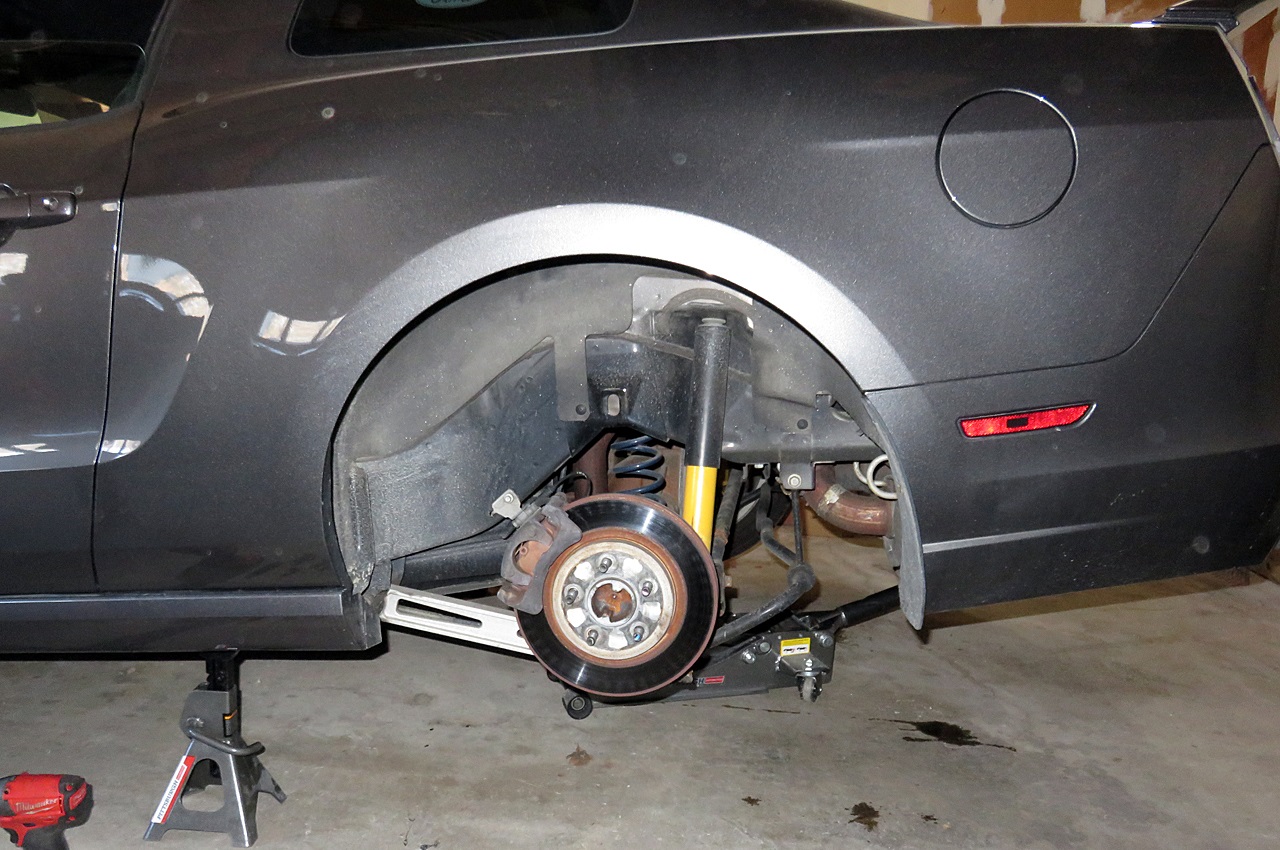
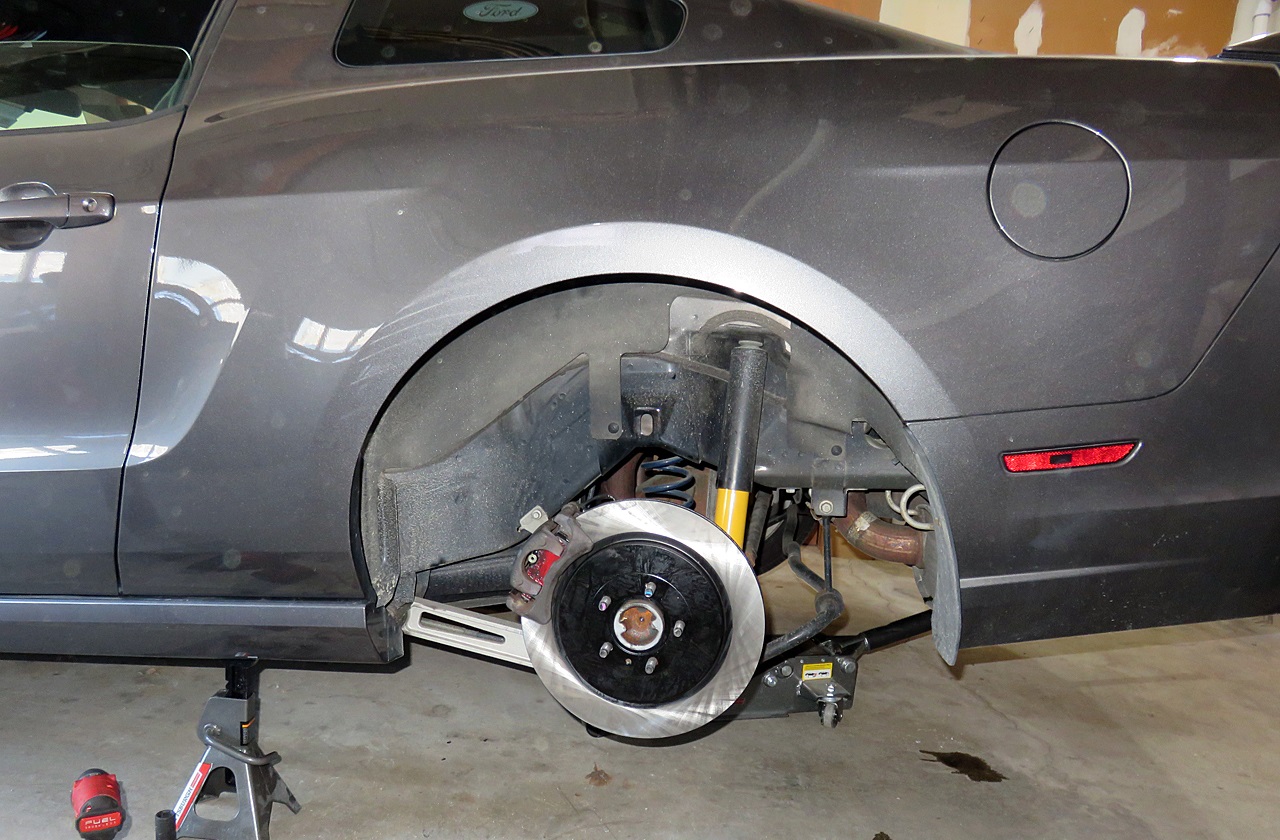
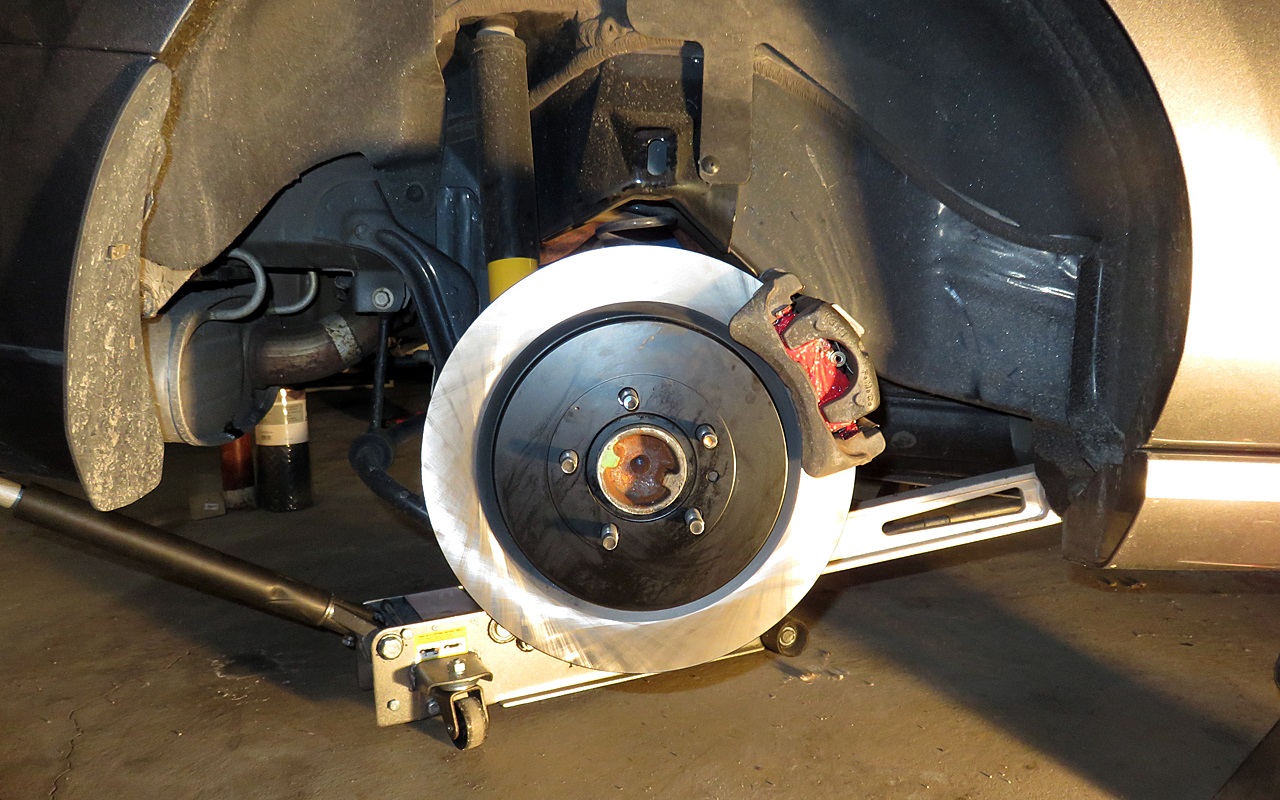
I also went ahead and started the 14" rear rotor upgrade, got the driver side done before I had to run up to get the wheels/tires done:
Stock:
New 14" :
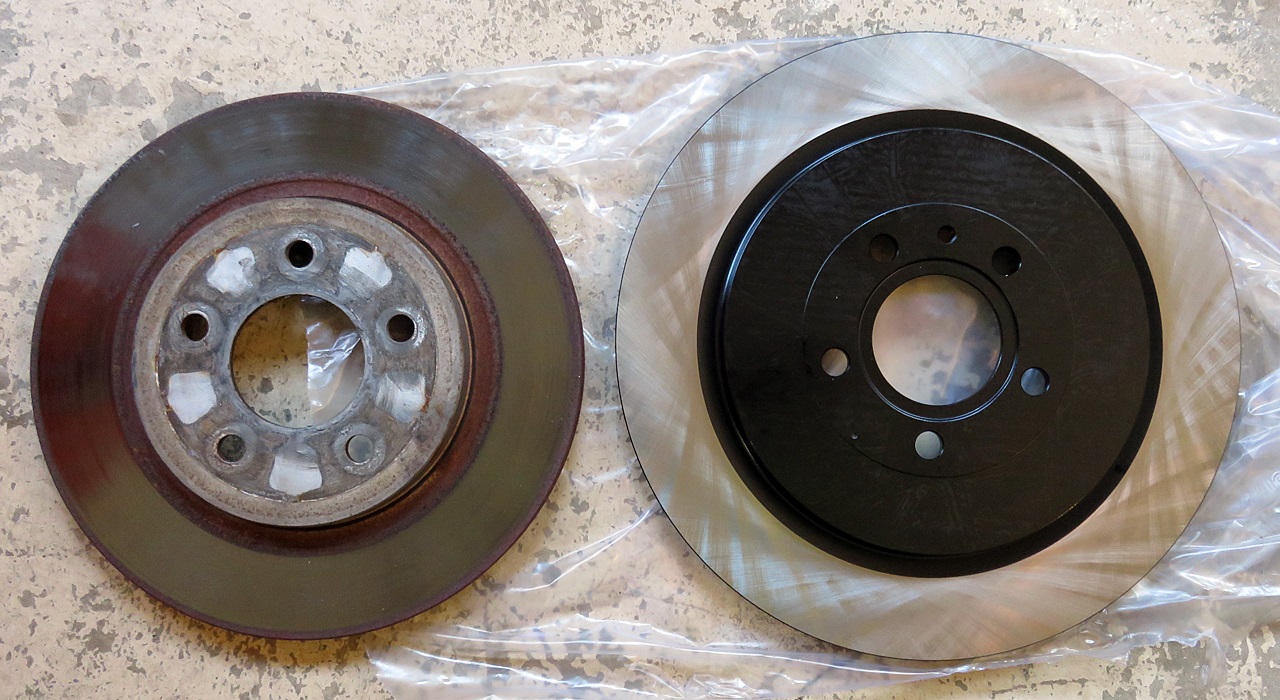
The stock 11.8" rear rotor on the left, the new 13.9" '13-'14 GT500 rear rotor on the right ... slight size difference, eh? LOL ....

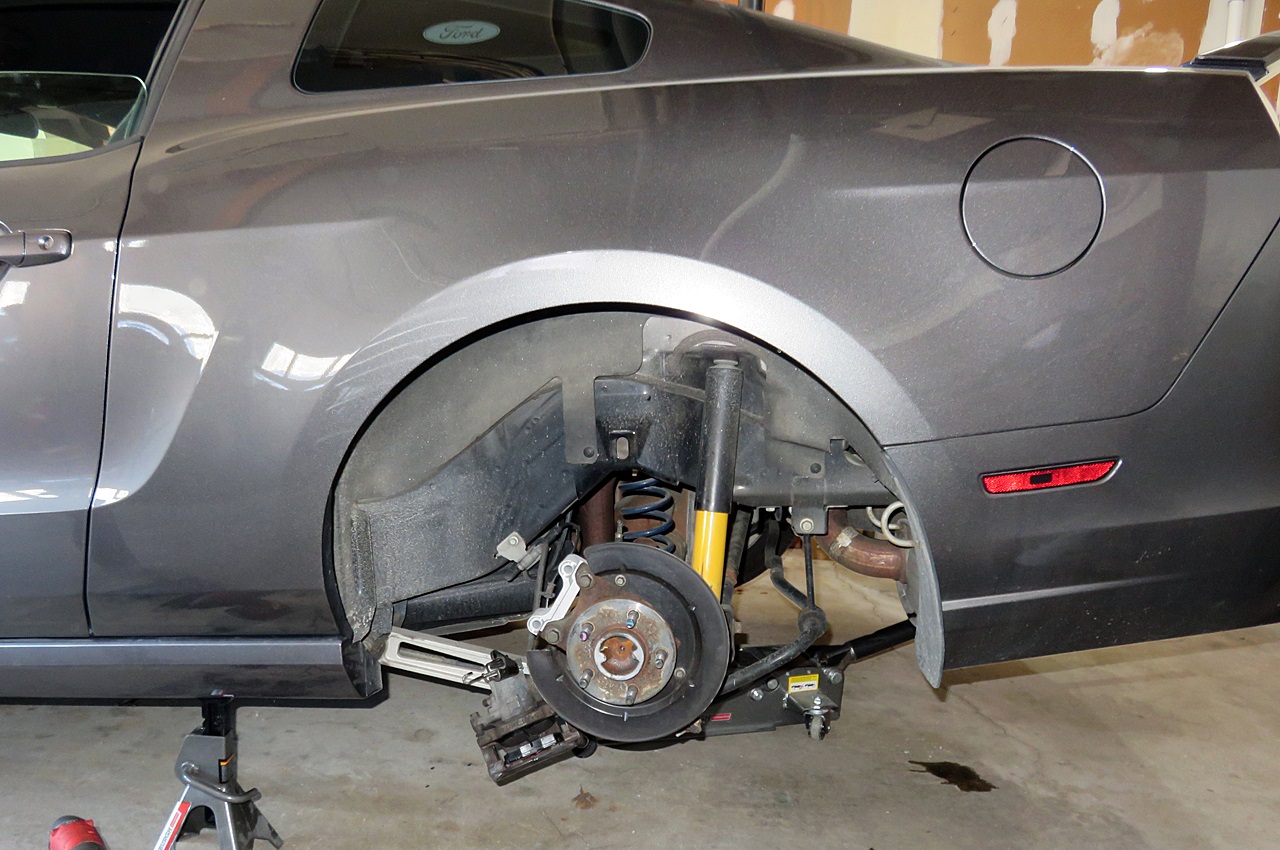
Stock pads up top, new Hawk HPS pads on the bottom:

Caliper-relocating bracket installed:
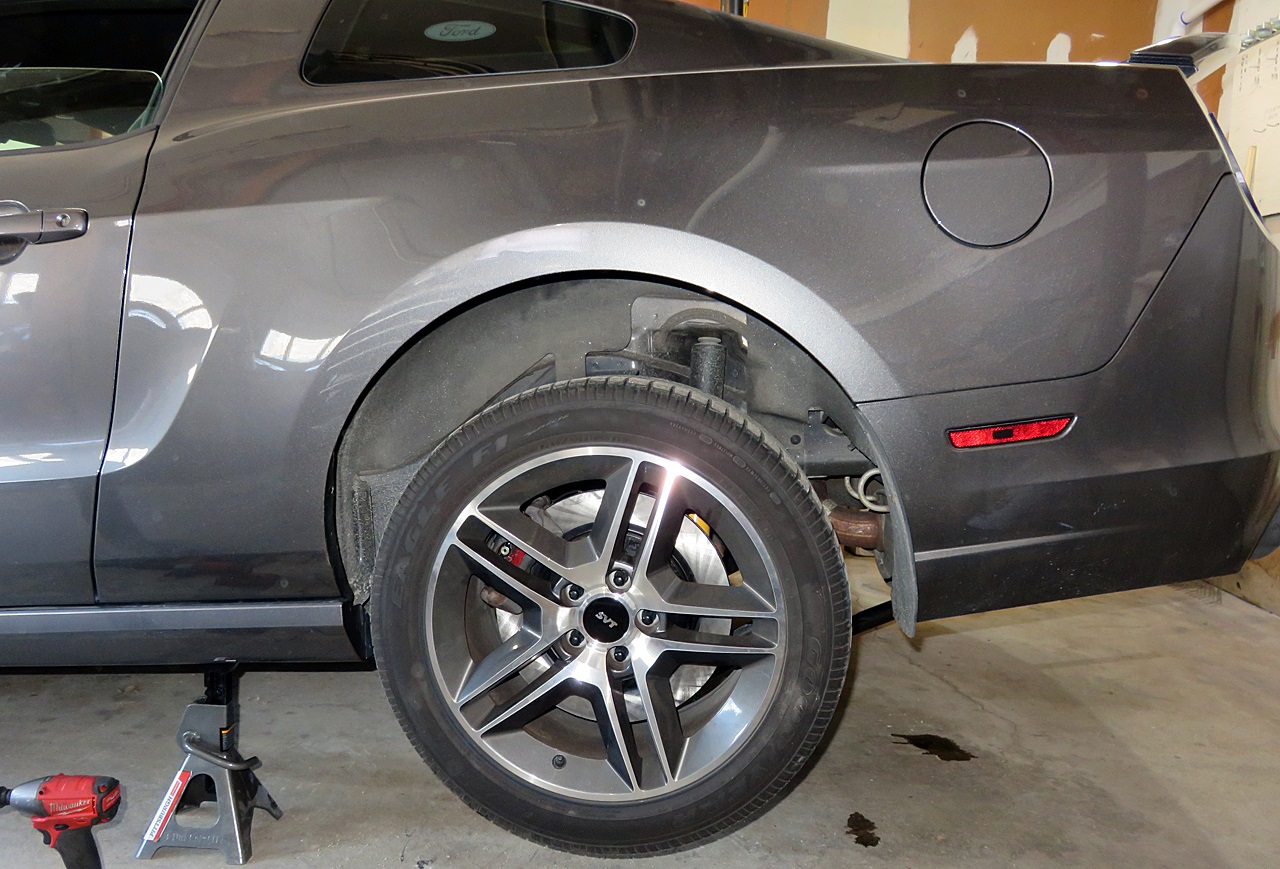
And a pic of the 18" wheel back on, which will stay on until the World Of Wheels show at the end of the month, when the new wheels will get installed.
I plan on darkening the wheel weights, but here they are as they came off the machines and gone into storage, for now:
I also went ahead and started the 14" rear rotor upgrade, got the driver side done before I had to run up to get the wheels/tires done:
Stock:
New 14" :
The stock 11.8" rear rotor on the left, the new 13.9" '13-'14 GT500 rear rotor on the right ... slight size difference, eh? LOL ....
Stock pads up top, new Hawk HPS pads on the bottom:
Caliper-relocating bracket installed:
And a pic of the 18" wheel back on, which will stay on until the World Of Wheels show at the end of the month, when the new wheels will get installed.
Bullitt Member
Joined: October 3, 2012
Posts: 499
Likes: 0
From: Near Chattanooga, TN
Gabe, wheels look great, I noticed you are running a stock rear sway bar? Have you left the front sway bar stock as well? BTW how do you like your koni's are they what you expected?
Keep it up love the updates.
Keep it up love the updates.
Thread Starter
Legacy TMS Member
Joined: August 7, 2011
Posts: 5,246
Likes: 567
From: NC
Love the Konis, the adjustability came in handy during autocross events.
Thread Starter
Legacy TMS Member
Joined: August 7, 2011
Posts: 5,246
Likes: 567
From: NC
Today I went ahead and finished the rear 14" brake upgrade, then test-fitted the new AMR wheels.
The right-rear brake set-up:
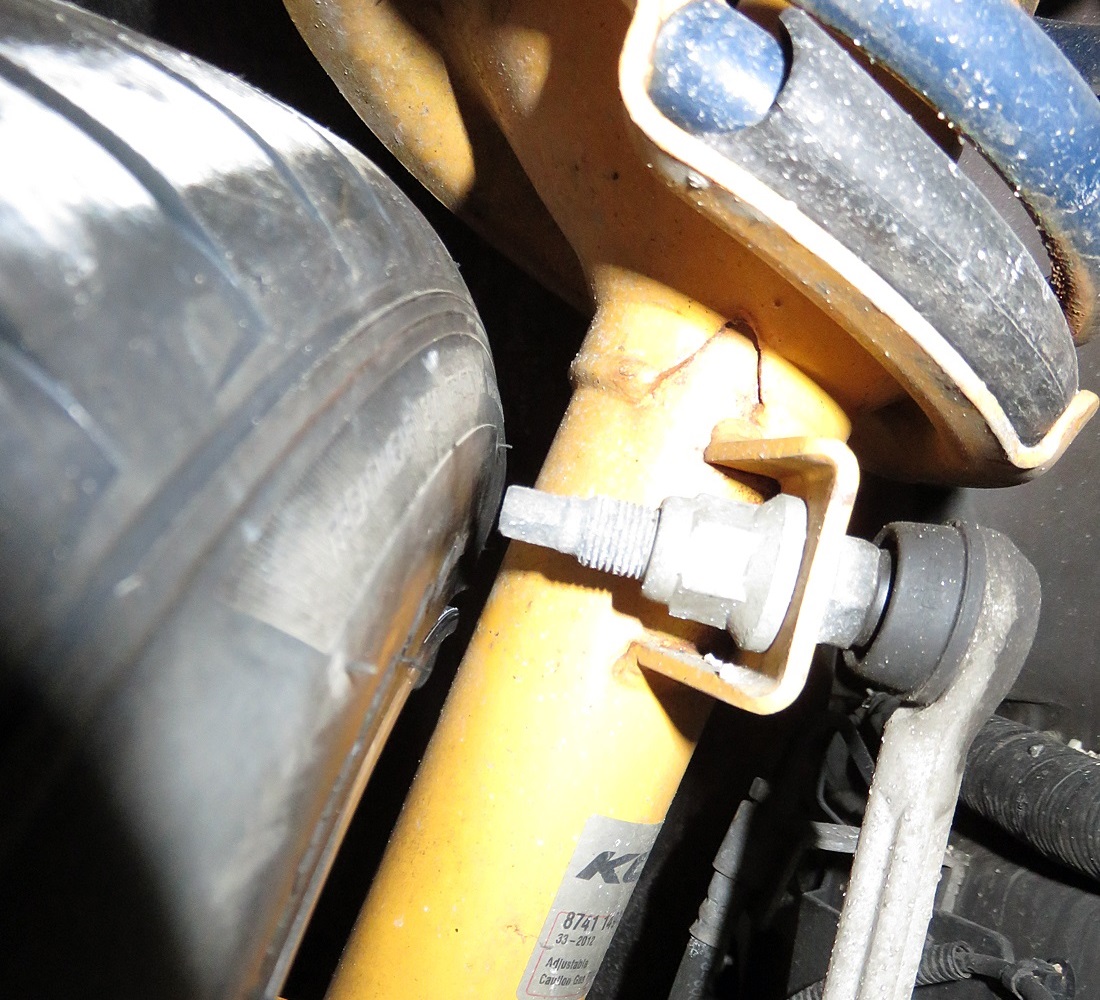
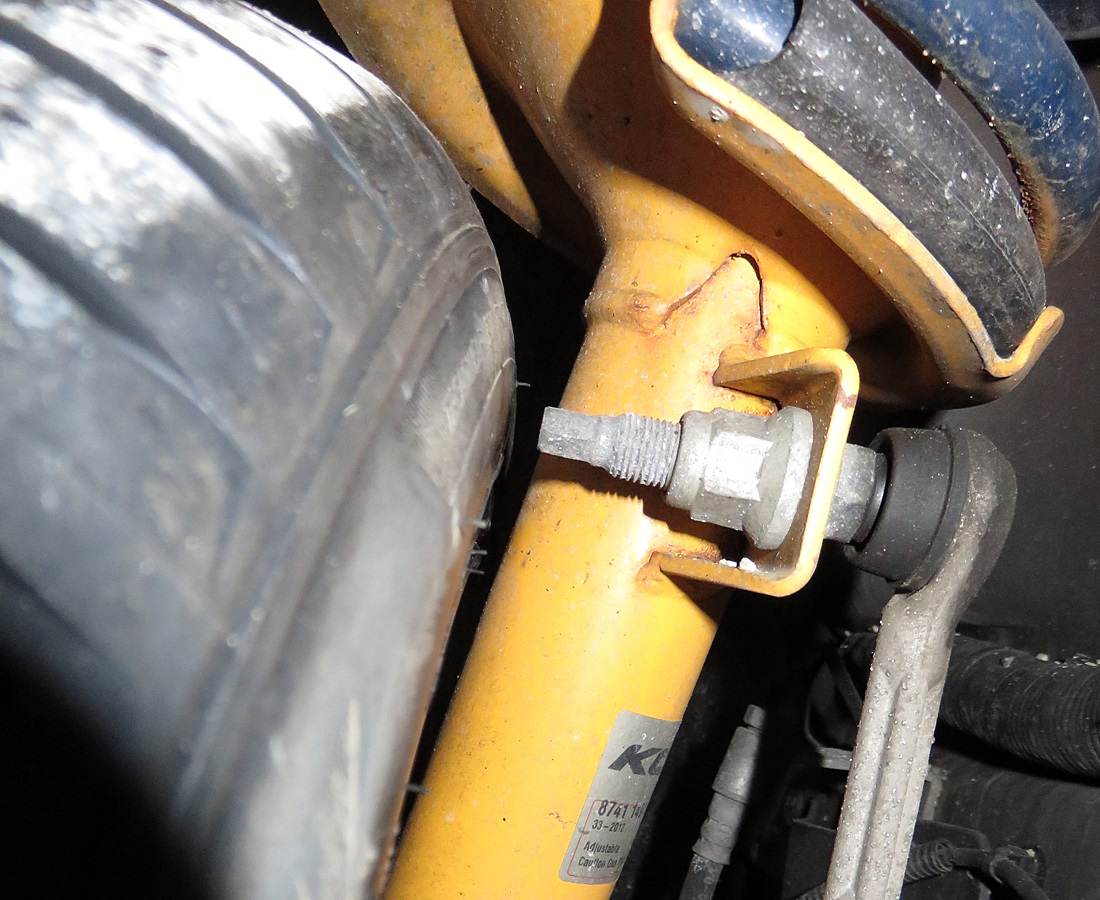
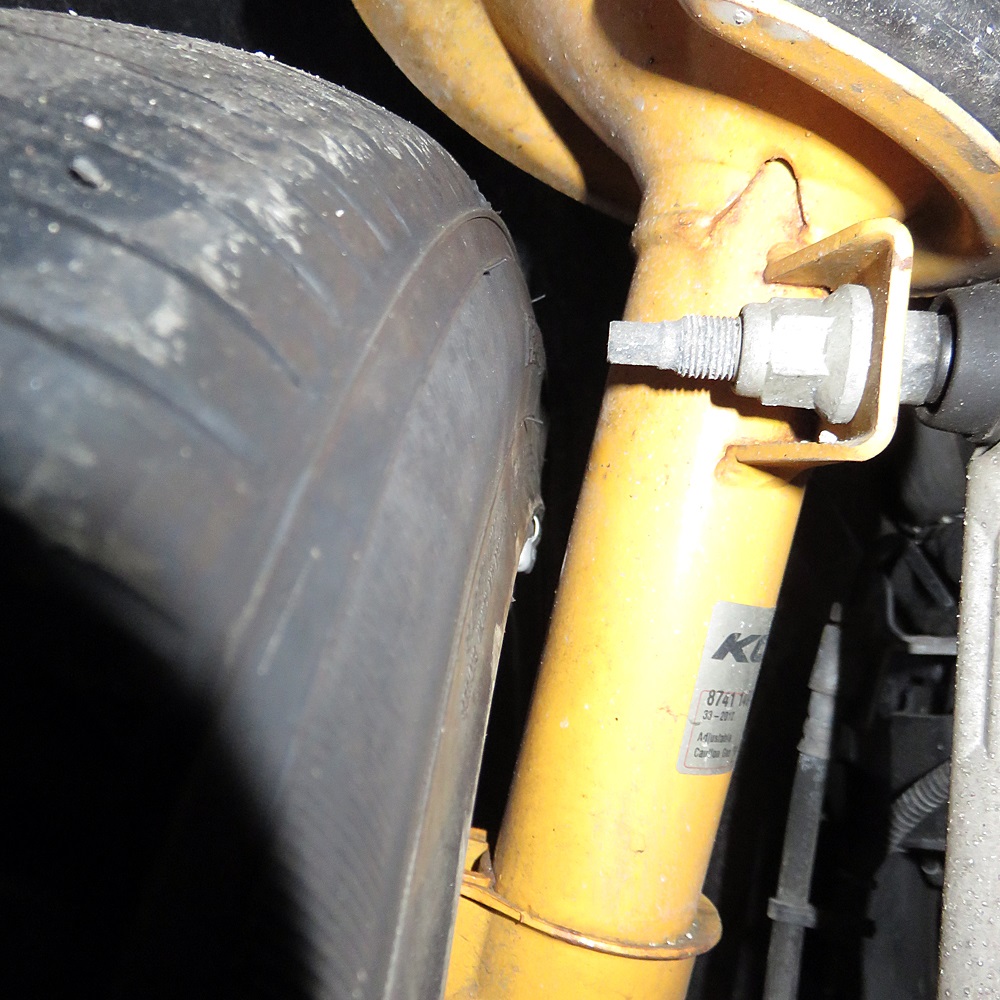
The left front wheel/tire clearance against the strut and link stud:
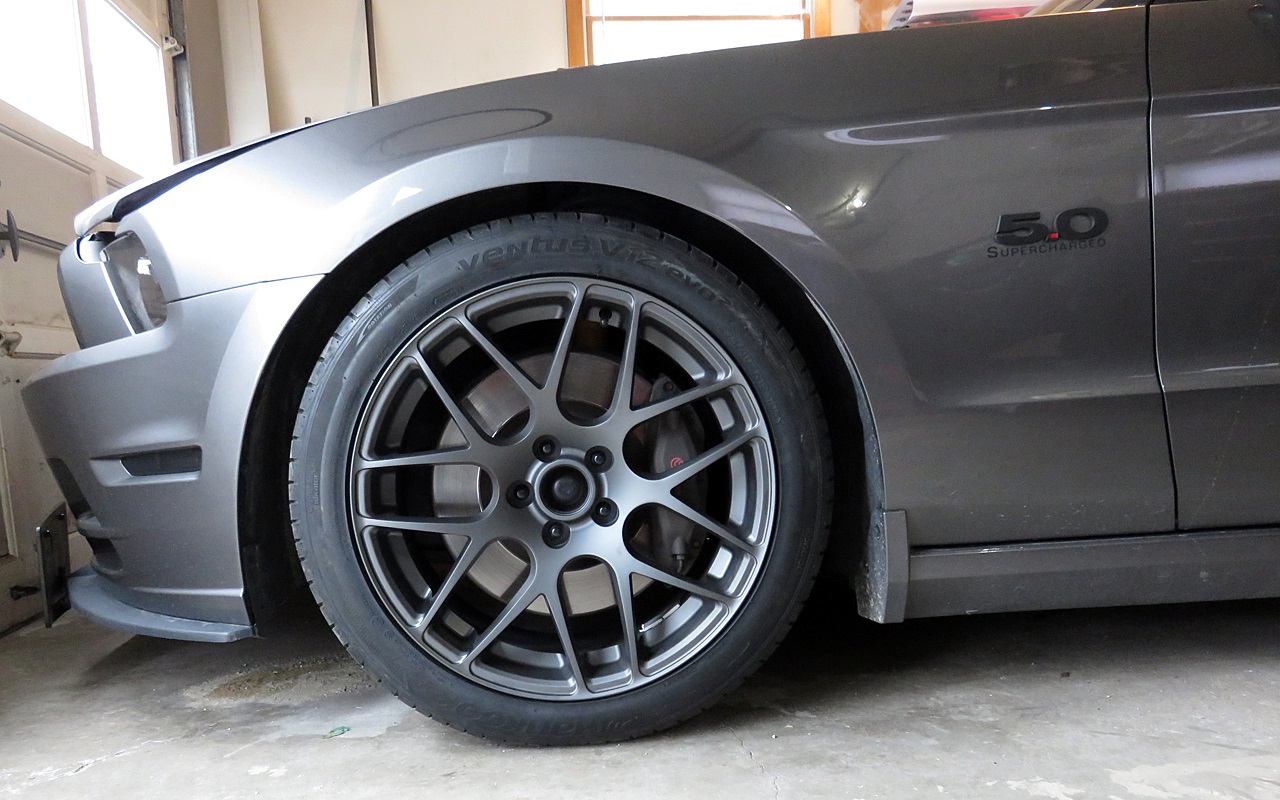
Left-front wheel installed (19x10 wheel, 275/40/19 tire):
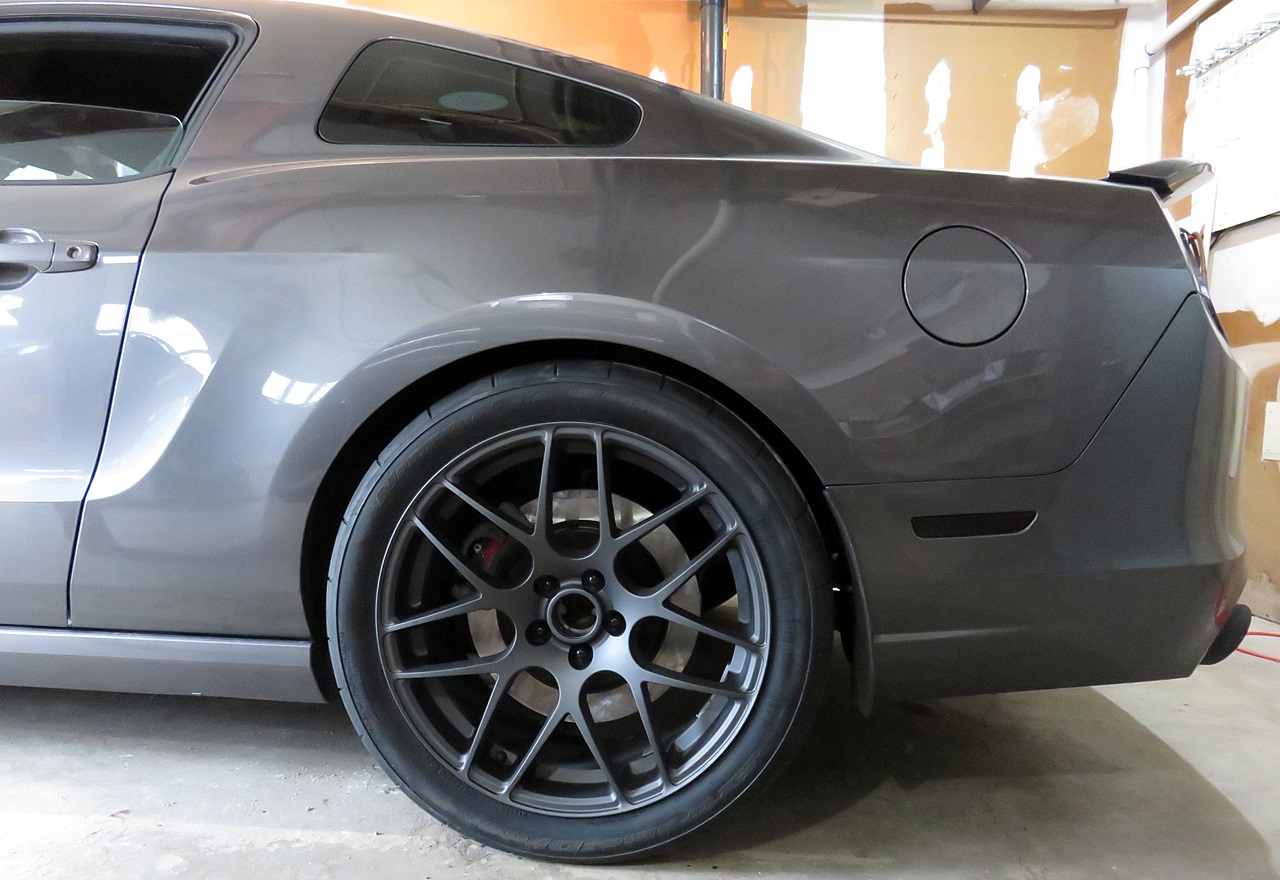
Left-rear wheel installed (20x10 wheel, 305/35/20 tire):
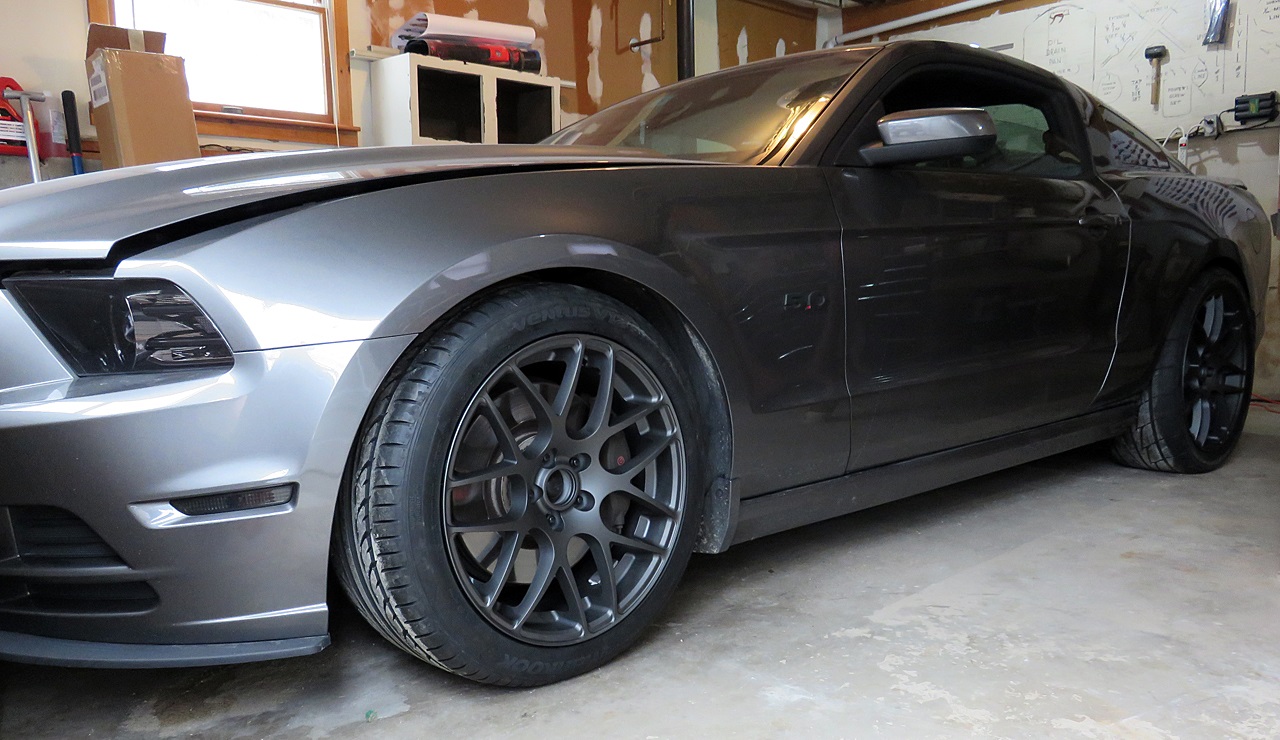
Both left-side wheels installed:
Before I left, I took a sneak-peek pic of the next items that will be getting installed under the hood

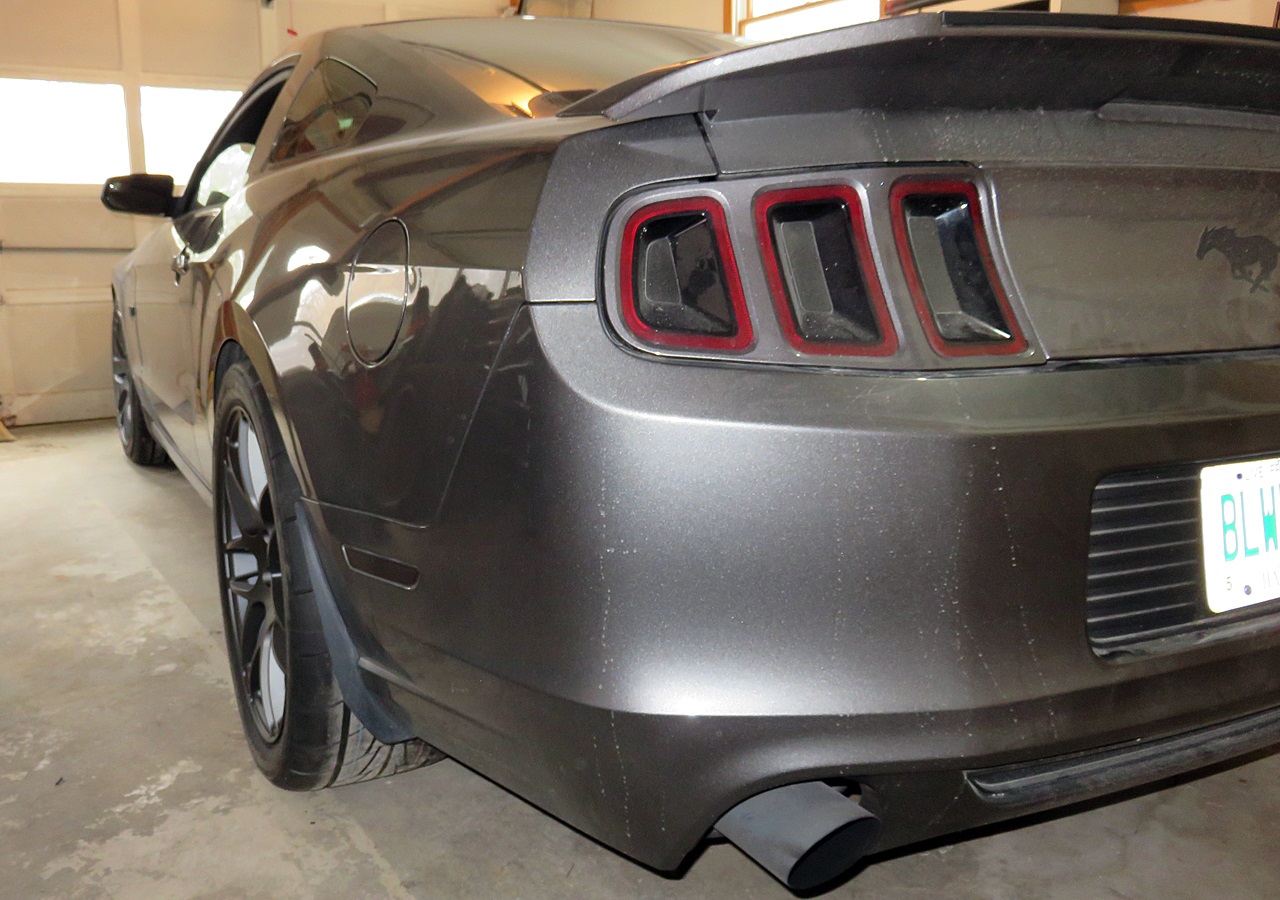
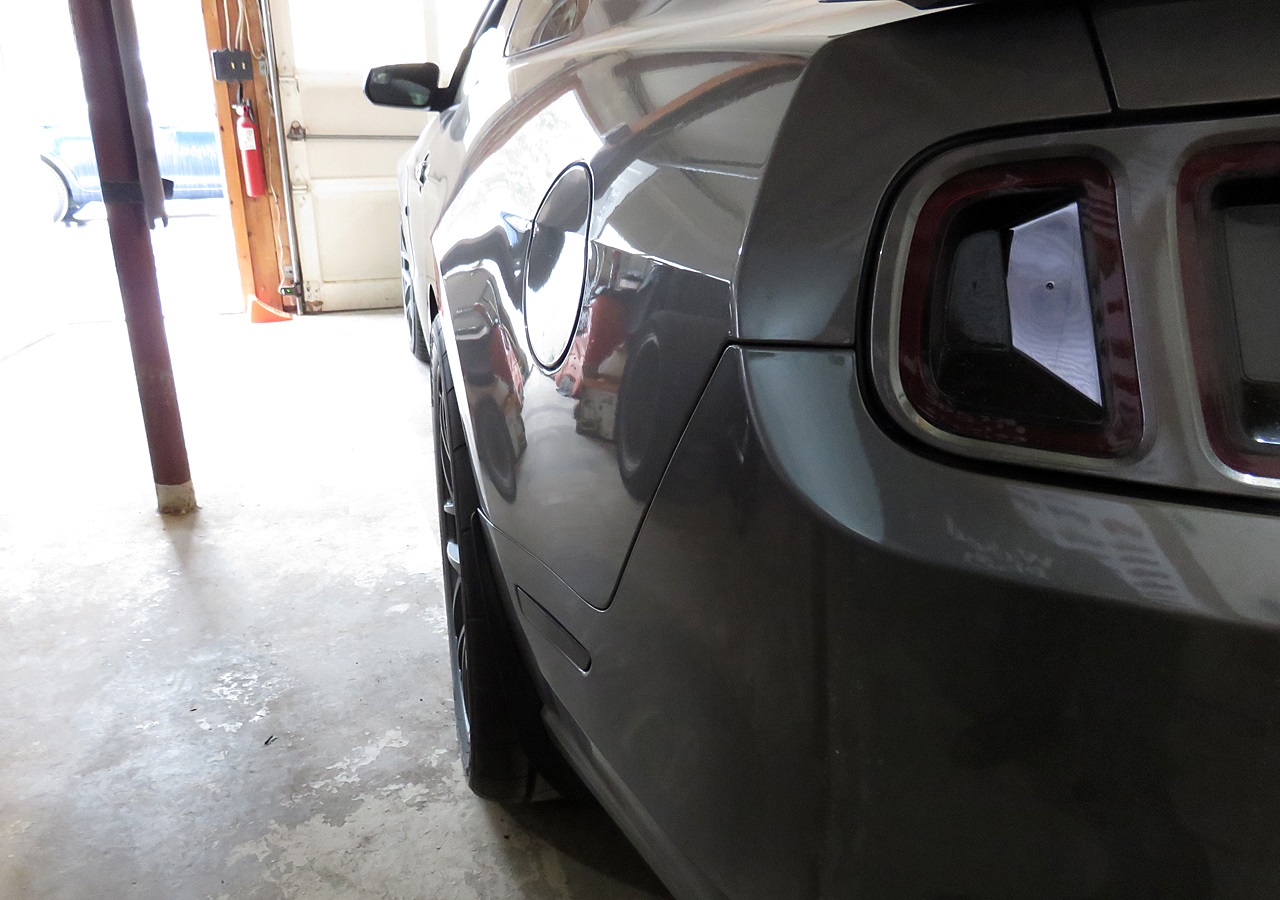
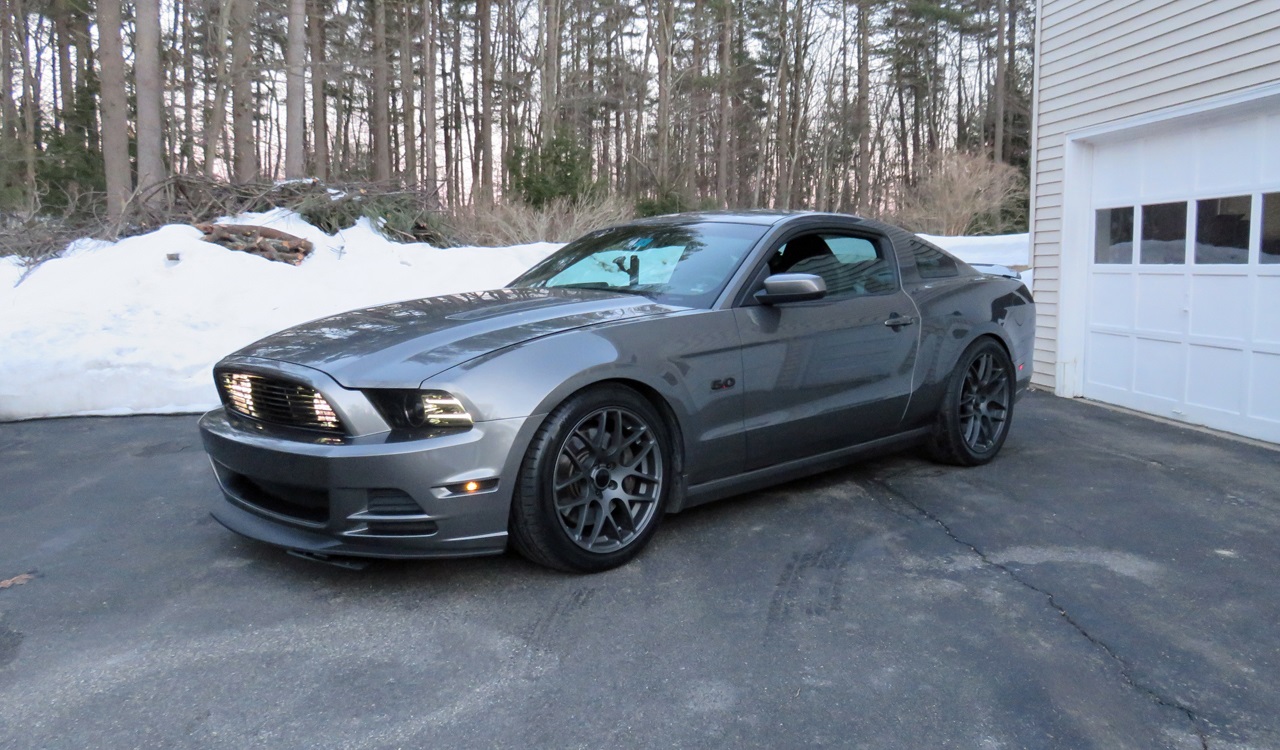
And a last pic I took just cause I liked the angle
The right-rear brake set-up:
The left front wheel/tire clearance against the strut and link stud:
Left-front wheel installed (19x10 wheel, 275/40/19 tire):
Left-rear wheel installed (20x10 wheel, 305/35/20 tire):
Both left-side wheels installed:
Before I left, I took a sneak-peek pic of the next items that will be getting installed under the hood
And a last pic I took just cause I liked the angle
Bullitt Member
Joined: December 9, 2012
Posts: 370
Likes: 3
Thread Starter
Legacy TMS Member
Joined: August 7, 2011
Posts: 5,246
Likes: 567
From: NC
Thanks guys
These are the parts I used:
Brackets: http://www.ebay.com/itm/05-14-Mustang-14-Rear-Brake-Adapter-Brackets-GT-Boss-302-GT500-V6-FREE-SHIPPING-/151613300550?pt=Motors_Car_Truck_Parts_Accessories&hash=item234cdb5f46&vxp=mtr
Rear rotors: http://www.latemodelrestoration.com/...ke-Rotor-13-14
Rear brake pads: http://www.autoanything.com/brakes/61A2731A0A0.aspx
Bullitt Member
Joined: December 9, 2012
Posts: 370
Likes: 3
Thanks guys
These are the parts I used:
Brackets: 05 14 Mustang 14" Rear Brake Adapter Brackets GT Boss 302 GT500 V6 Free Shipping | eBay
Rear rotors: http://www.latemodelrestoration.com/...ke-Rotor-13-14
Rear brake pads: http://www.autoanything.com/brakes/61A2731A0A0.aspx
These are the parts I used:
Brackets: 05 14 Mustang 14" Rear Brake Adapter Brackets GT Boss 302 GT500 V6 Free Shipping | eBay
Rear rotors: http://www.latemodelrestoration.com/...ke-Rotor-13-14
Rear brake pads: http://www.autoanything.com/brakes/61A2731A0A0.aspx
Thread Starter
Legacy TMS Member
Joined: August 7, 2011
Posts: 5,246
Likes: 567
From: NC
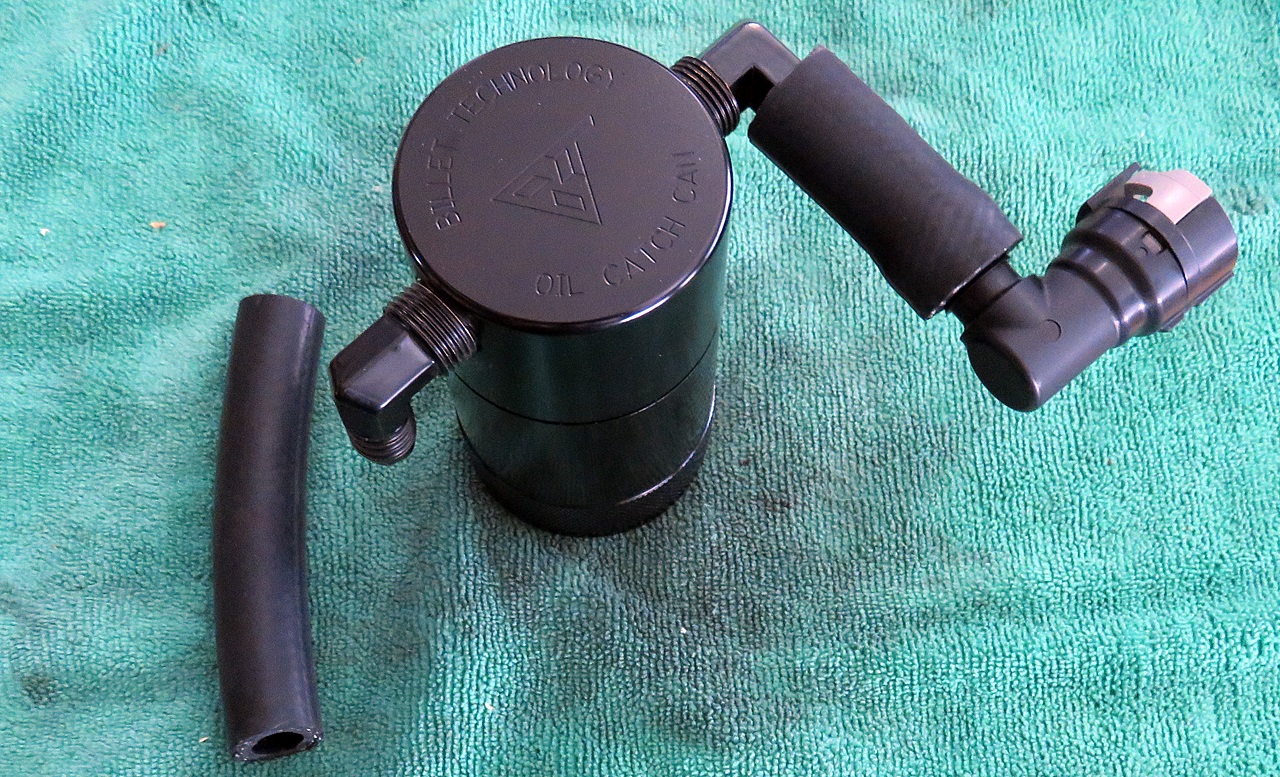
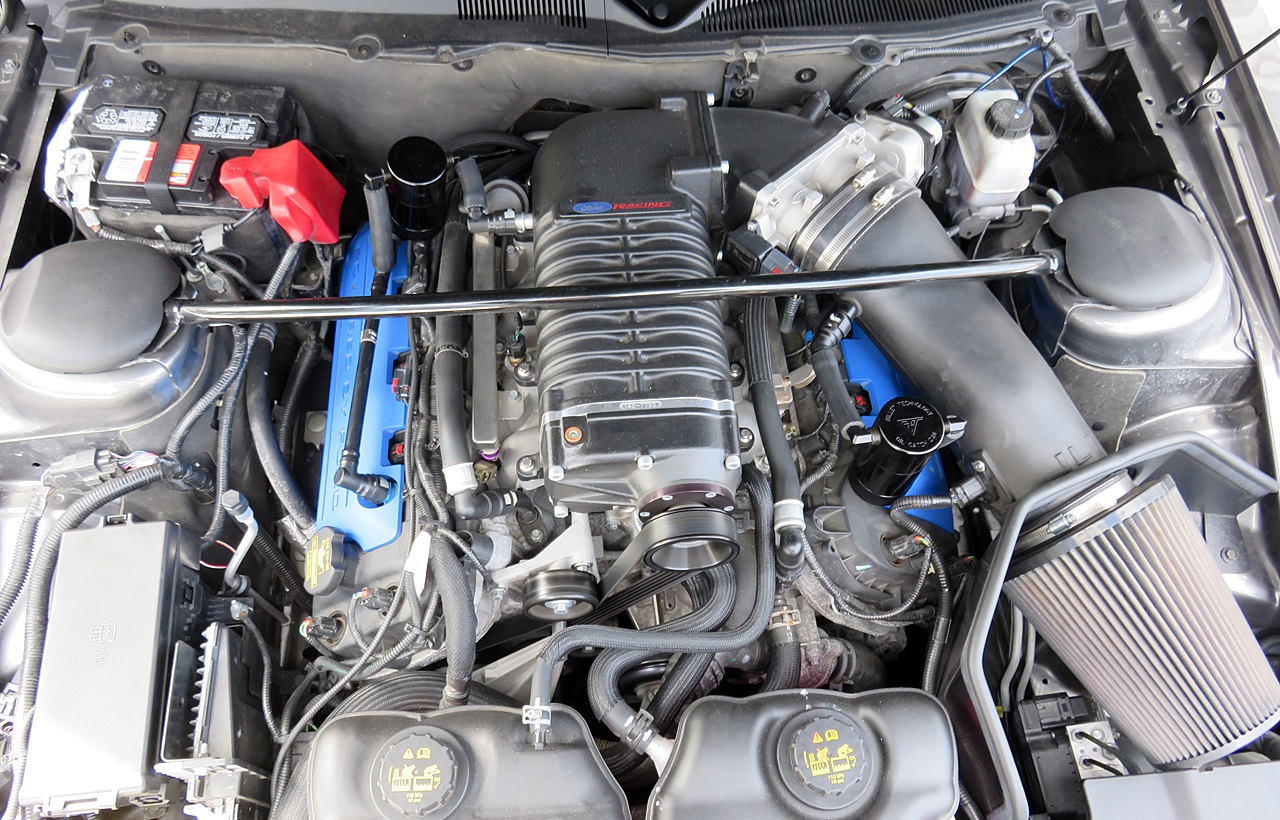
Today I went ahead and installed the 2 new black-anodized Billet Technology oil catch cans I recently got.
They don't sell a package for the Mustang, so I ordered them as if for a 2007 5.7 Charger (what I used to own before the Mustang), since I knew what I was gonna get (the standard mount and some pcv hoses).
After studying the engine bay a bit, I decided that swapping 2 PCV connectors and using one of the hoses cut into 4 different pieces was gonna do the trick.
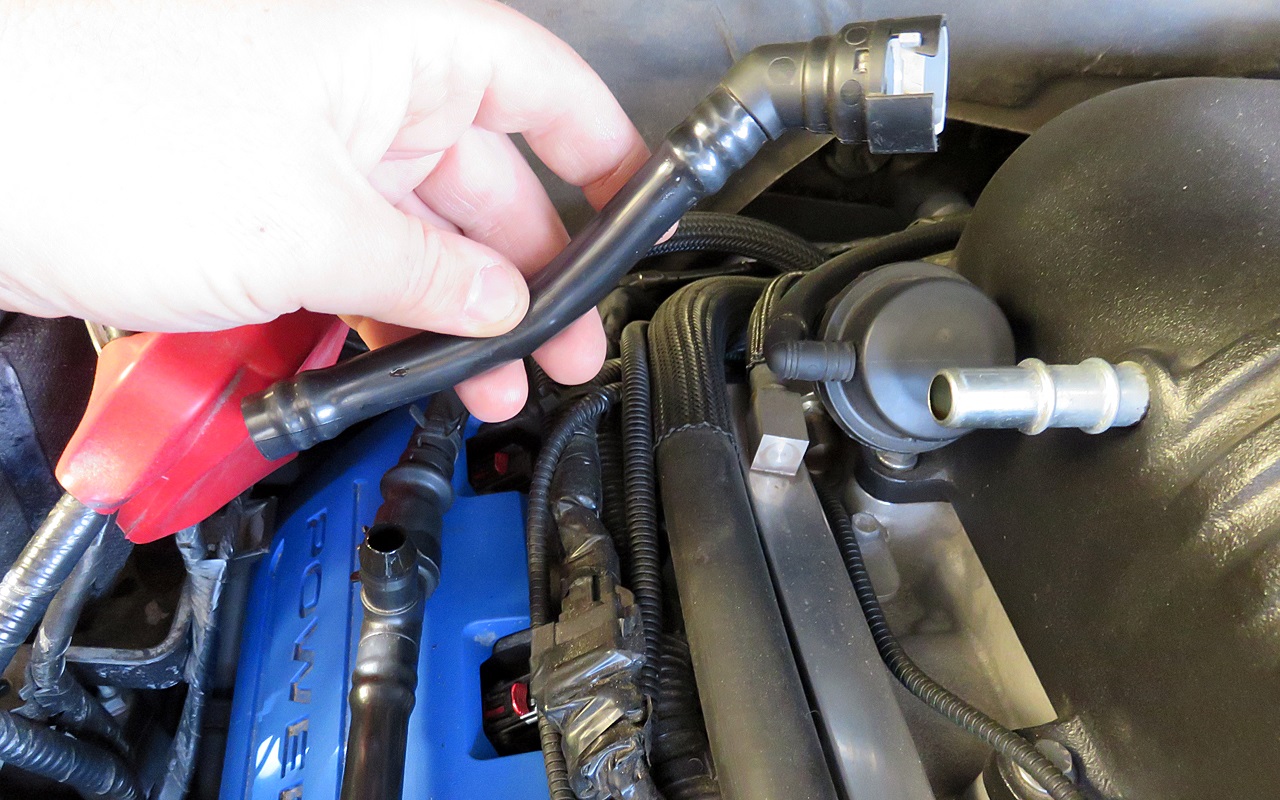
Started by removing the driver side PCV tube:
(ignore the fact that it's cut into 2 pieces here)
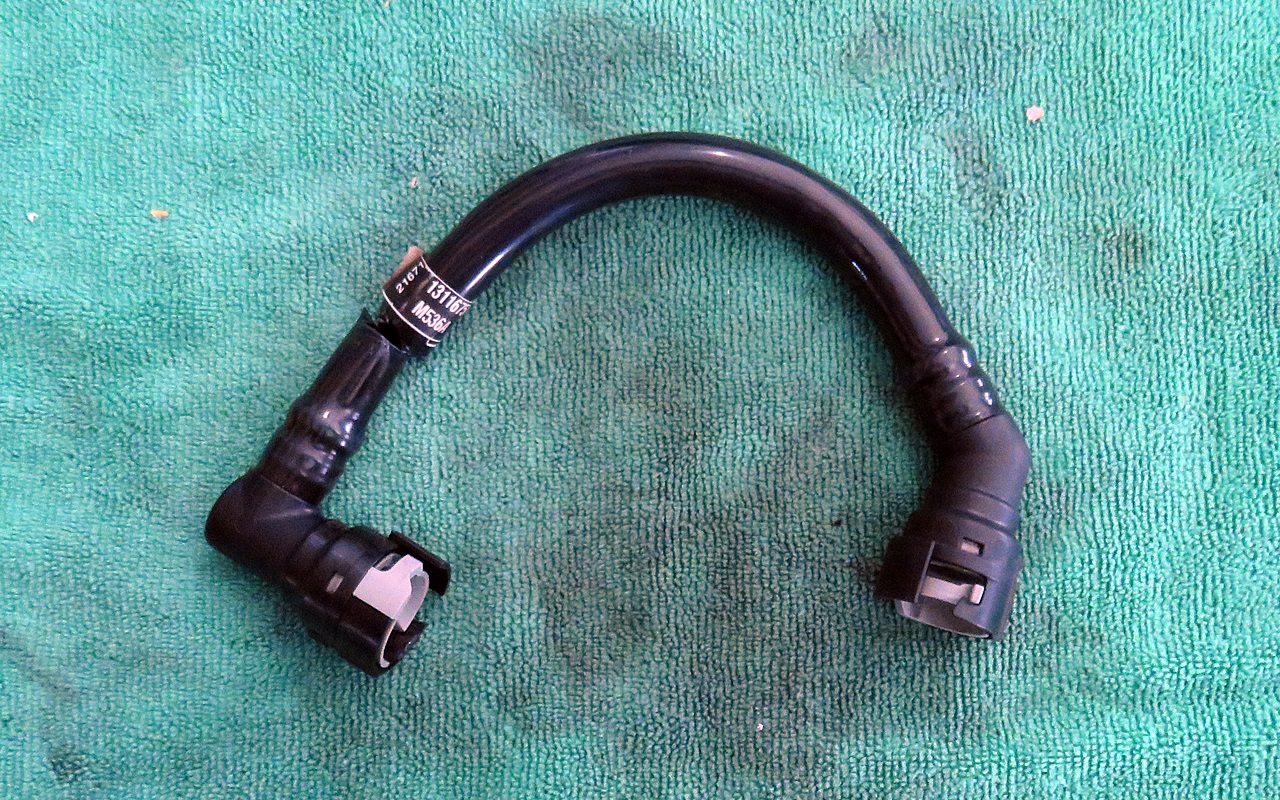
I then cut the tube at the end to free up the 90-degree connector:
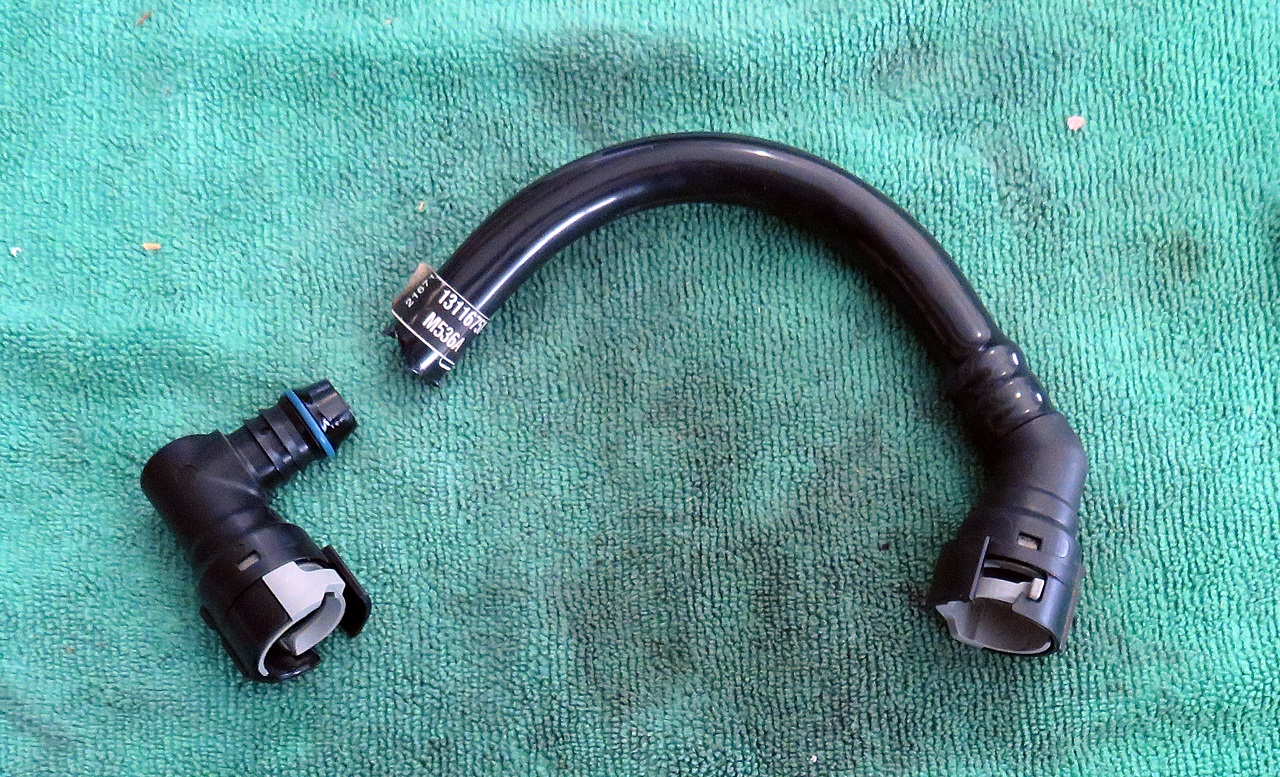
Then I removed the passenger side short tube that goes from the supercharger to the T-connection in the line that goes from the passenger-side valve cover to the lower intake manifold, and rotated the hard-line connector upward:
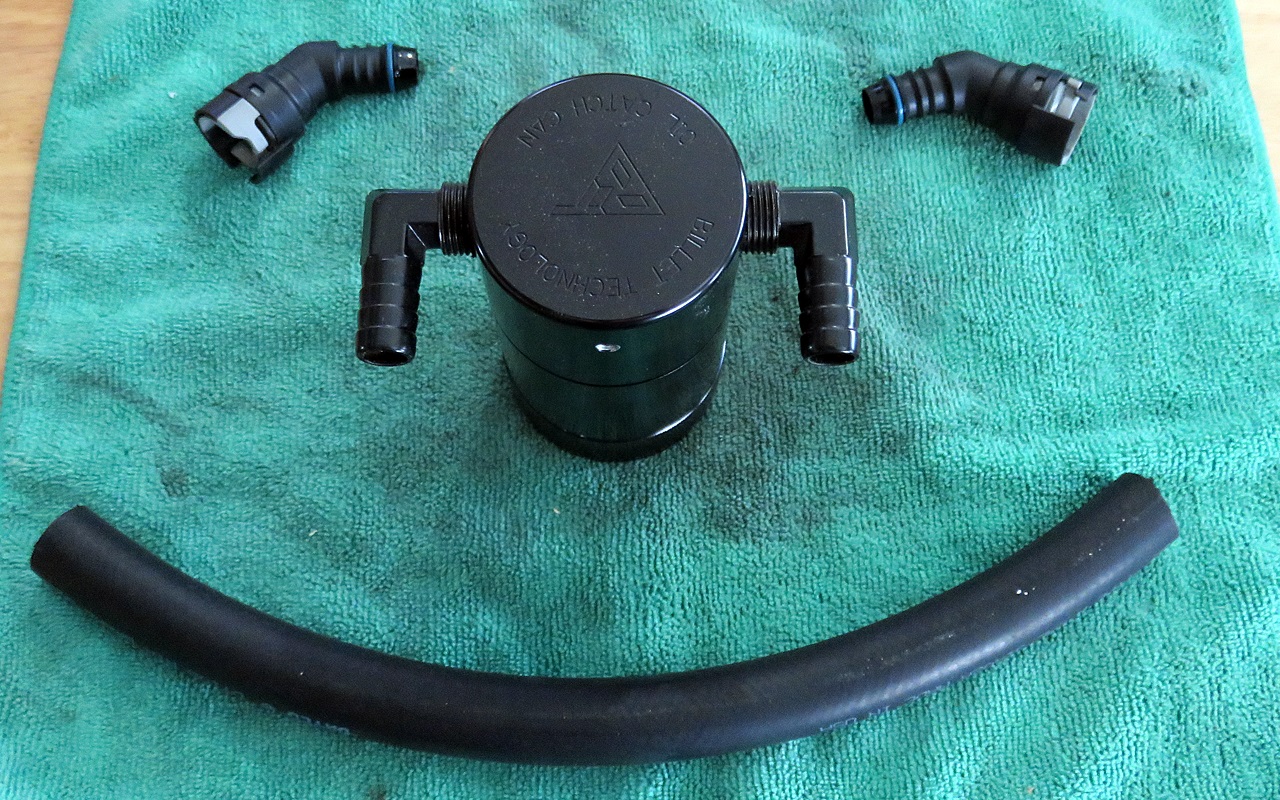
The 90-degree connector now connected to a short piece of hose and to the catch can:
Passenger side catch can all done:
The pieces used to connect the driver side catch can:
And the driver side can all done:

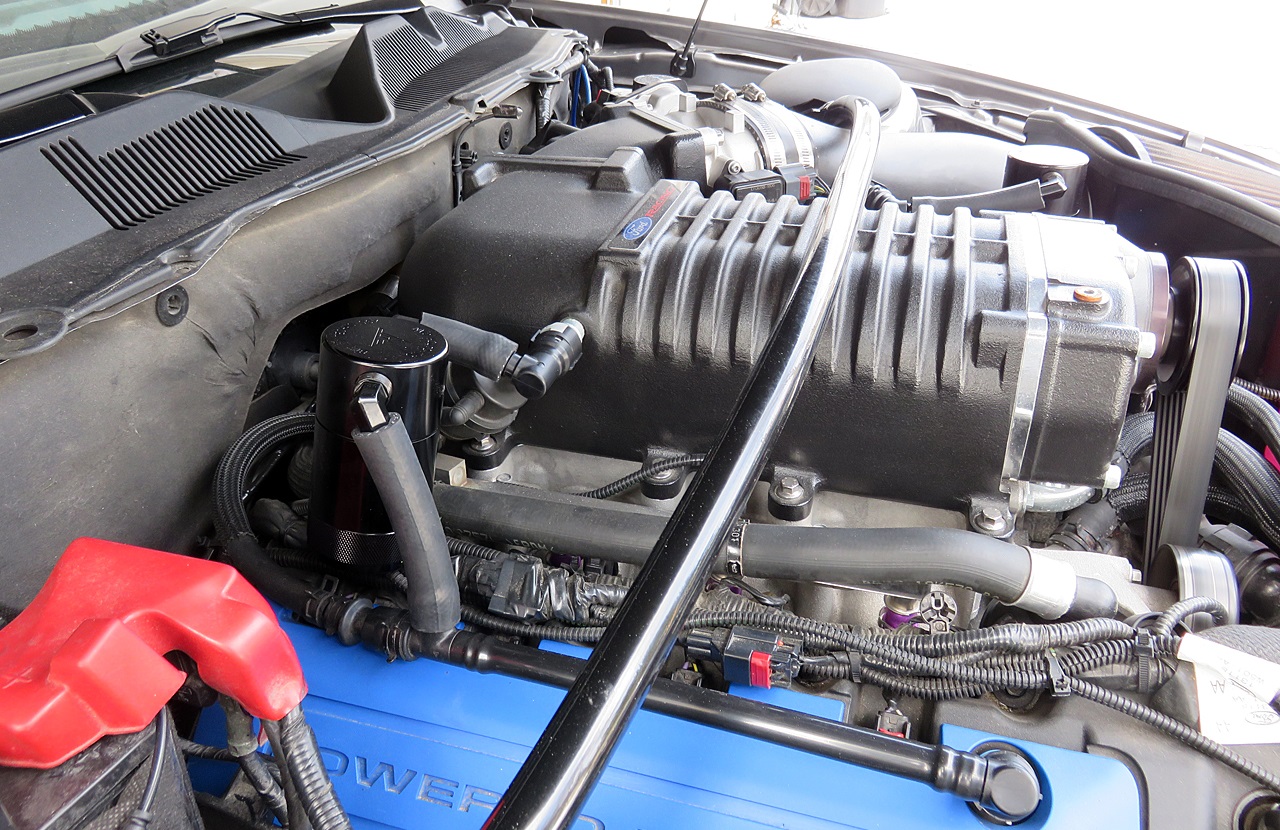
Both cans installed:
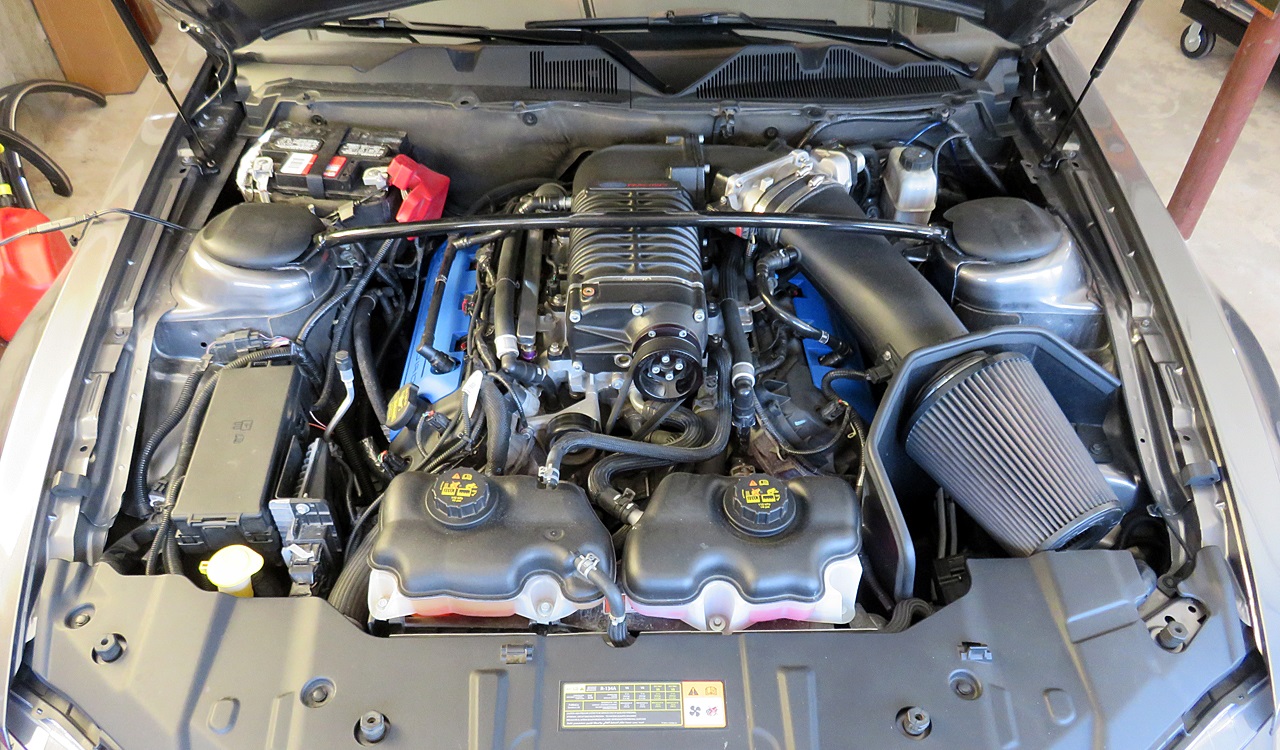
And a "before" pic, just in case someone wants to see it:
They don't sell a package for the Mustang, so I ordered them as if for a 2007 5.7 Charger (what I used to own before the Mustang), since I knew what I was gonna get (the standard mount and some pcv hoses).
After studying the engine bay a bit, I decided that swapping 2 PCV connectors and using one of the hoses cut into 4 different pieces was gonna do the trick.
Started by removing the driver side PCV tube:
(ignore the fact that it's cut into 2 pieces here)
I then cut the tube at the end to free up the 90-degree connector:
Then I removed the passenger side short tube that goes from the supercharger to the T-connection in the line that goes from the passenger-side valve cover to the lower intake manifold, and rotated the hard-line connector upward:
The 90-degree connector now connected to a short piece of hose and to the catch can:
Passenger side catch can all done:
The pieces used to connect the driver side catch can:
And the driver side can all done:
Both cans installed:
And a "before" pic, just in case someone wants to see it:
Last edited by Gabe; Mar 18, 2015 at 10:01 PM.
Thread Starter
Legacy TMS Member
Joined: August 7, 2011
Posts: 5,246
Likes: 567
From: NC
Took a pic of the SVT 18x9.5 wheel (with a Goodyear 255/45/18 tire on it) clearance against the front strut and link stud ... not a LOT more than what I have with the 19x10 .... maybe twice the clearance, but not the huge space I was expecting ...
Thread Starter
Legacy TMS Member
Joined: August 7, 2011
Posts: 5,246
Likes: 567
From: NC
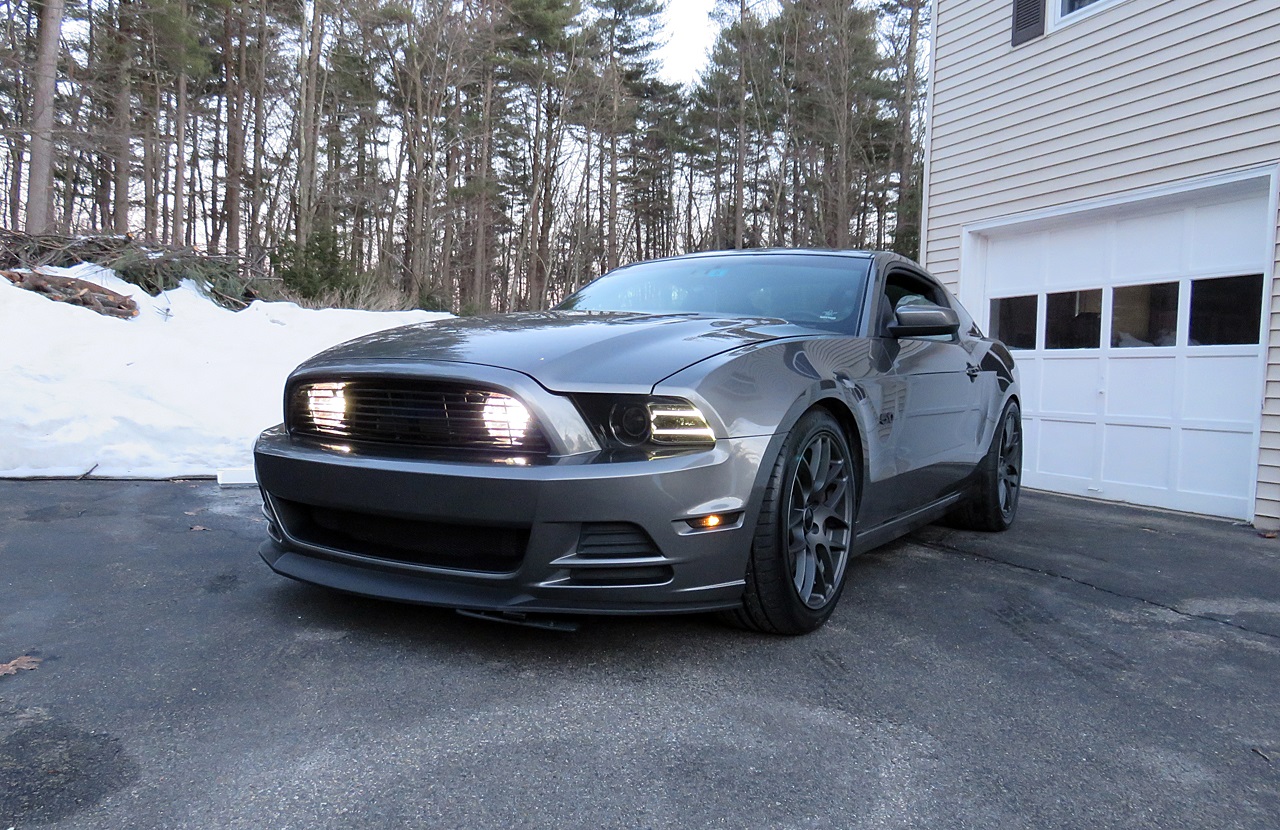
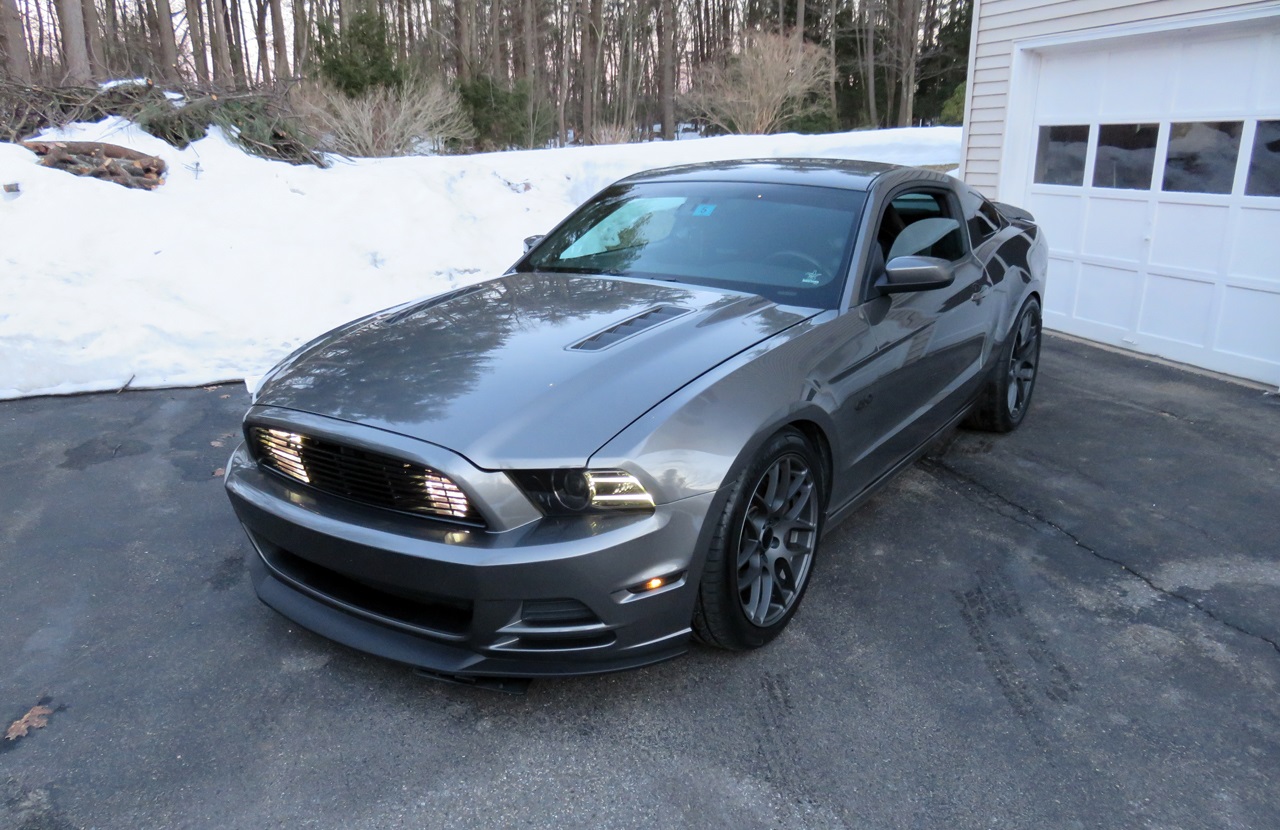
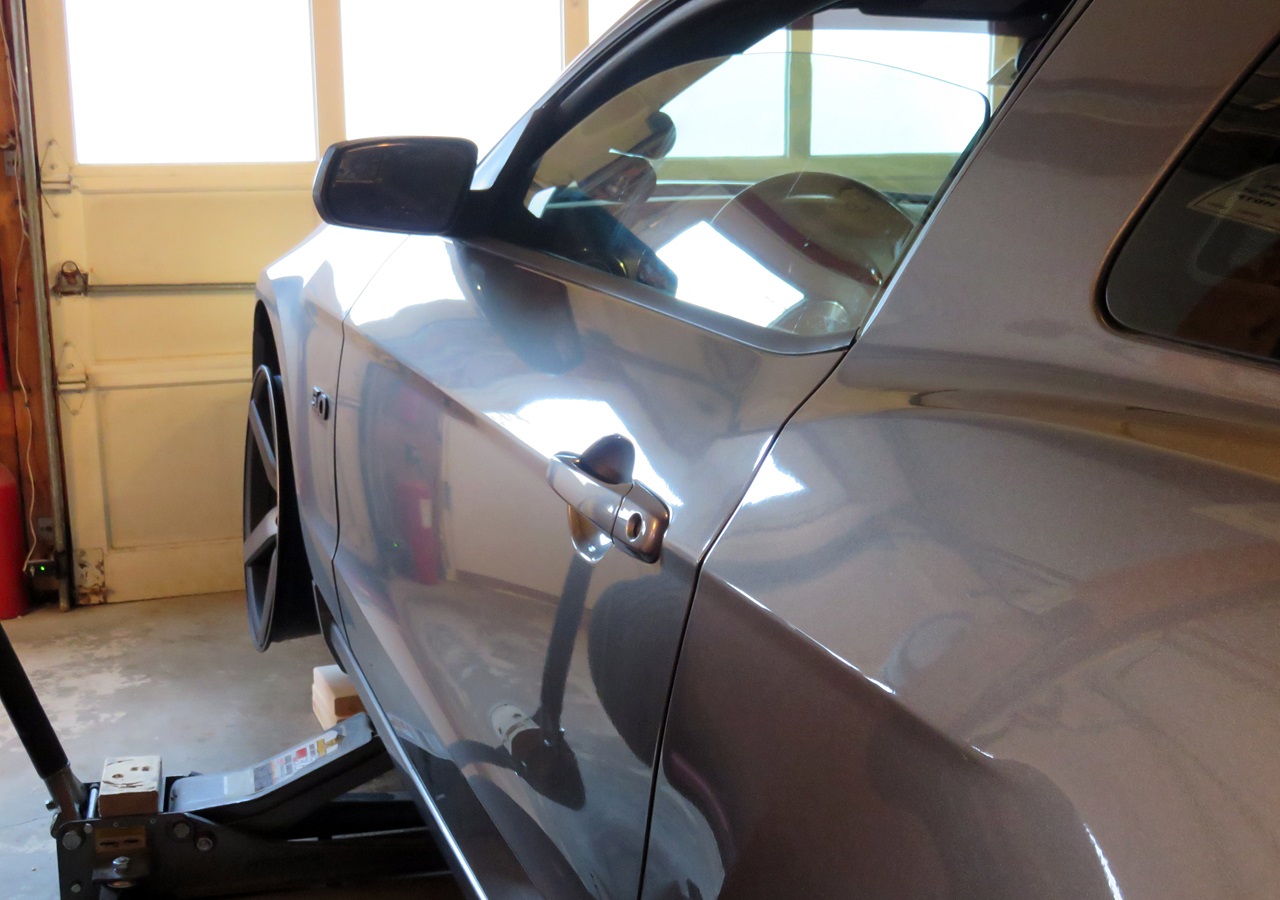
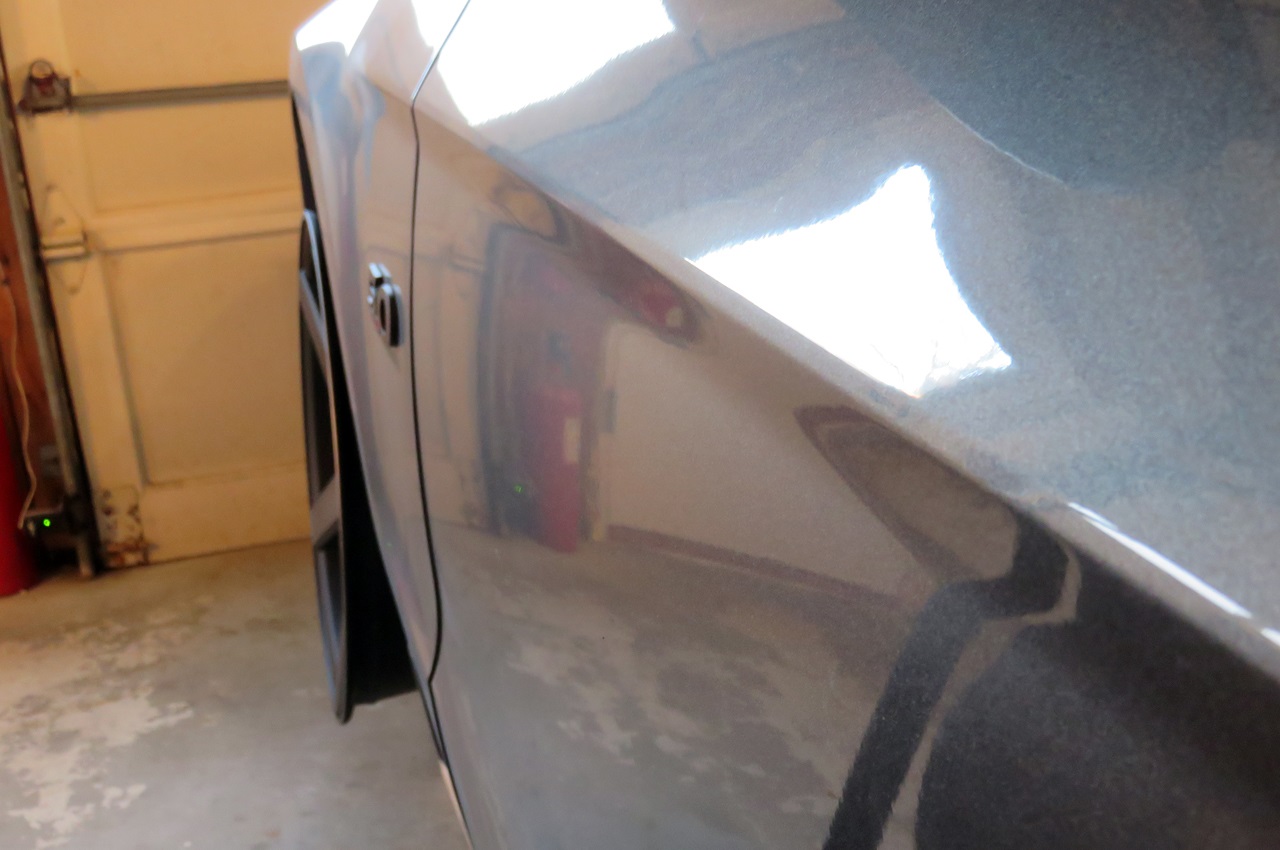
I've posted these pictures in other threads but forgot to update this one, so here they are, the new wheels with some outdoor pics:

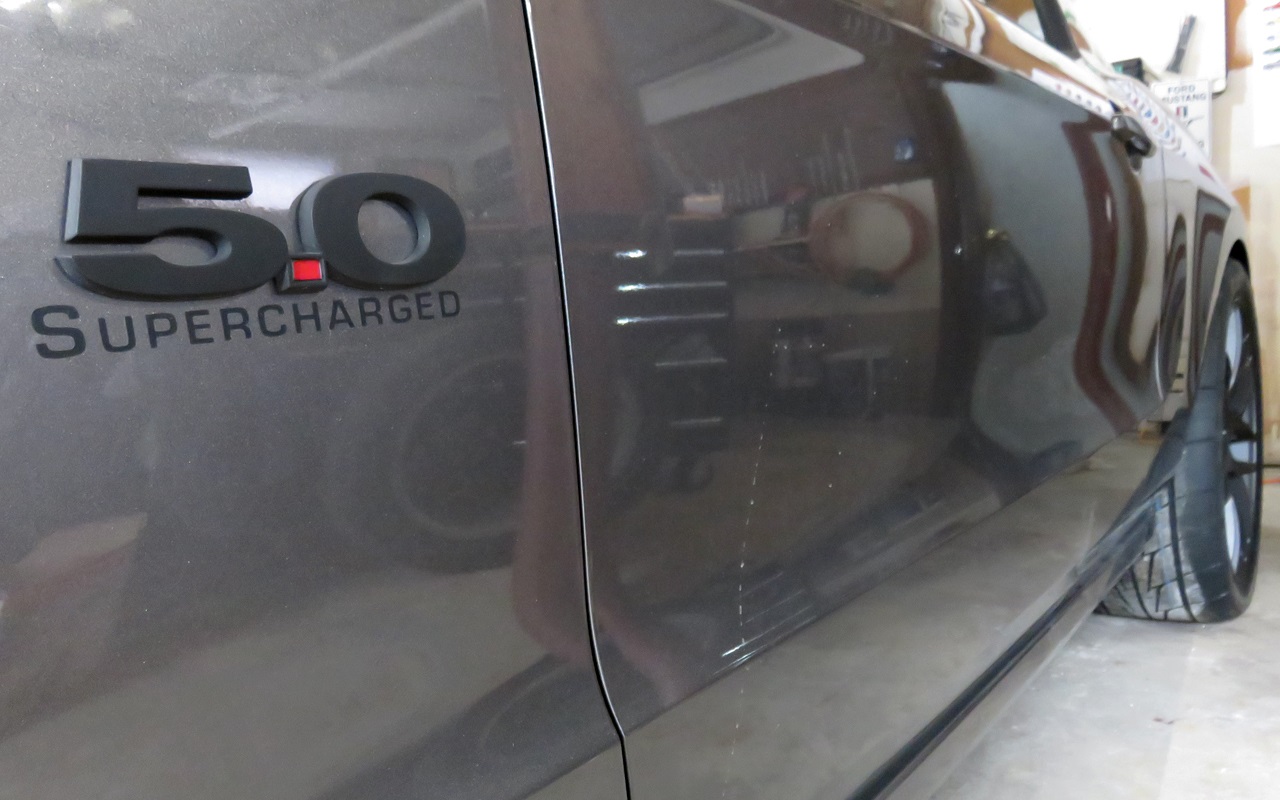
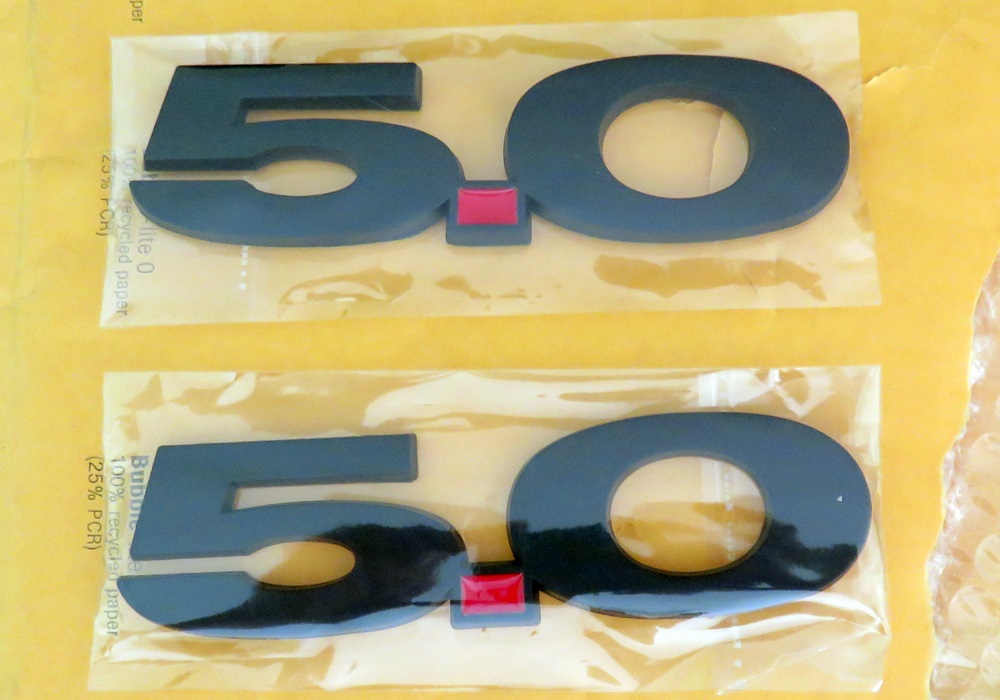
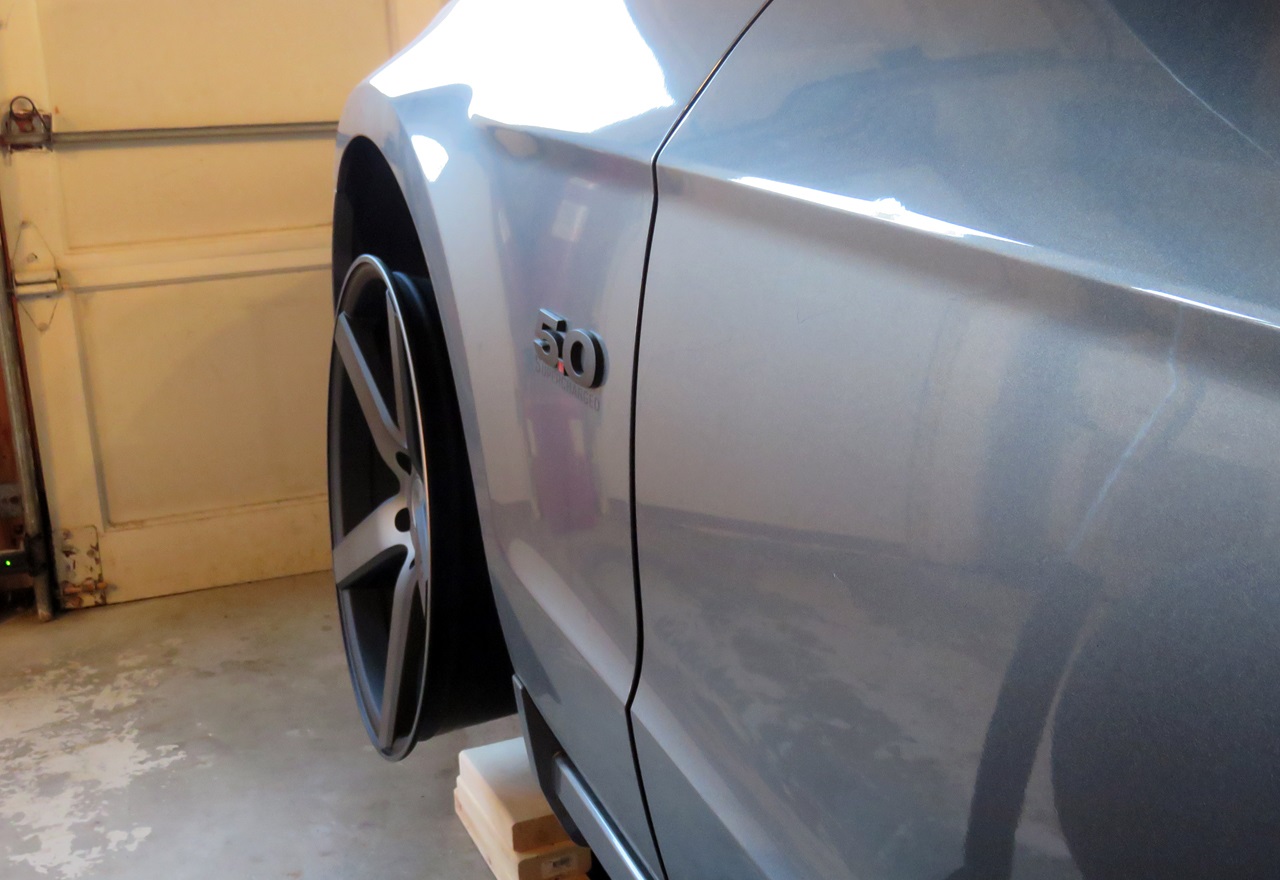
And today I received a new pair of matte black 5.0 badges, to replace the plasti-dipped ones currently on the front fenders.
Slowly but surely I'm removing all the plasti-dip from my car ...
And today I received a new pair of matte black 5.0 badges, to replace the plasti-dipped ones currently on the front fenders.
Slowly but surely I'm removing all the plasti-dip from my car ...
Thread Starter
Legacy TMS Member
Joined: August 7, 2011
Posts: 5,246
Likes: 567
From: NC
Guess I should update this thread since it's been a while since I did so.
The AMR wheels have been sold, gone to a young man with a ..... Sterling Gray '13 GT.
Been bumming around on the 2010 SVT wheels for a few months now, with the GF's old rear tires (Goodyear 285/40/18) on the front of the car and some almost-bald Nitto 555R 305/40/18's on the back.
Recently took advantage of the Black Friday sales and ordered up a BMR Watts link, an adjustable BMR upper control arm w/mount, and will at that time be removing the CHE axle brace and will have a friend weld the axle tubes.
A few weeks ago I had the same friend install the new Lethal over-axle pipes and the JBA H-pipe, then had him tack-weld the exhaust band clamps in-between those 2, to stop the pipes from slipping out, which had happened twice after the initial install.
Yesterday I received the new wheels which will be on the car for the next season.
Niche Milan, 20x10, 40mm offset, in their black machined finish:
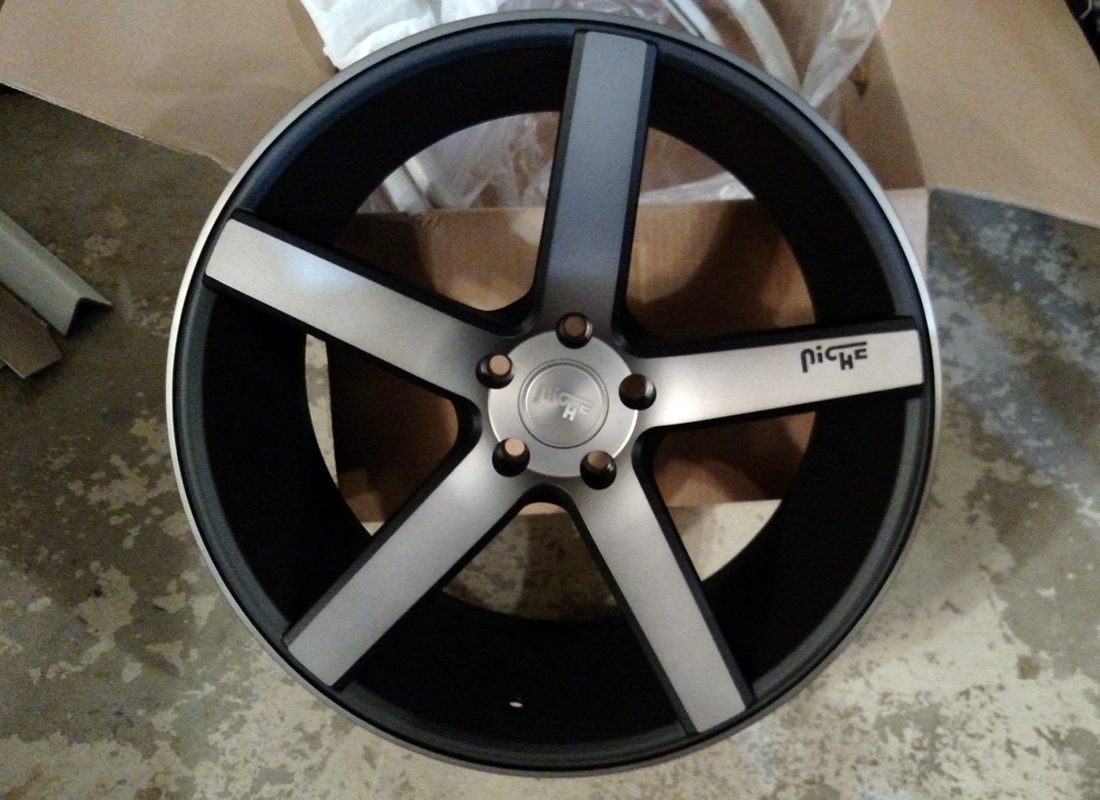
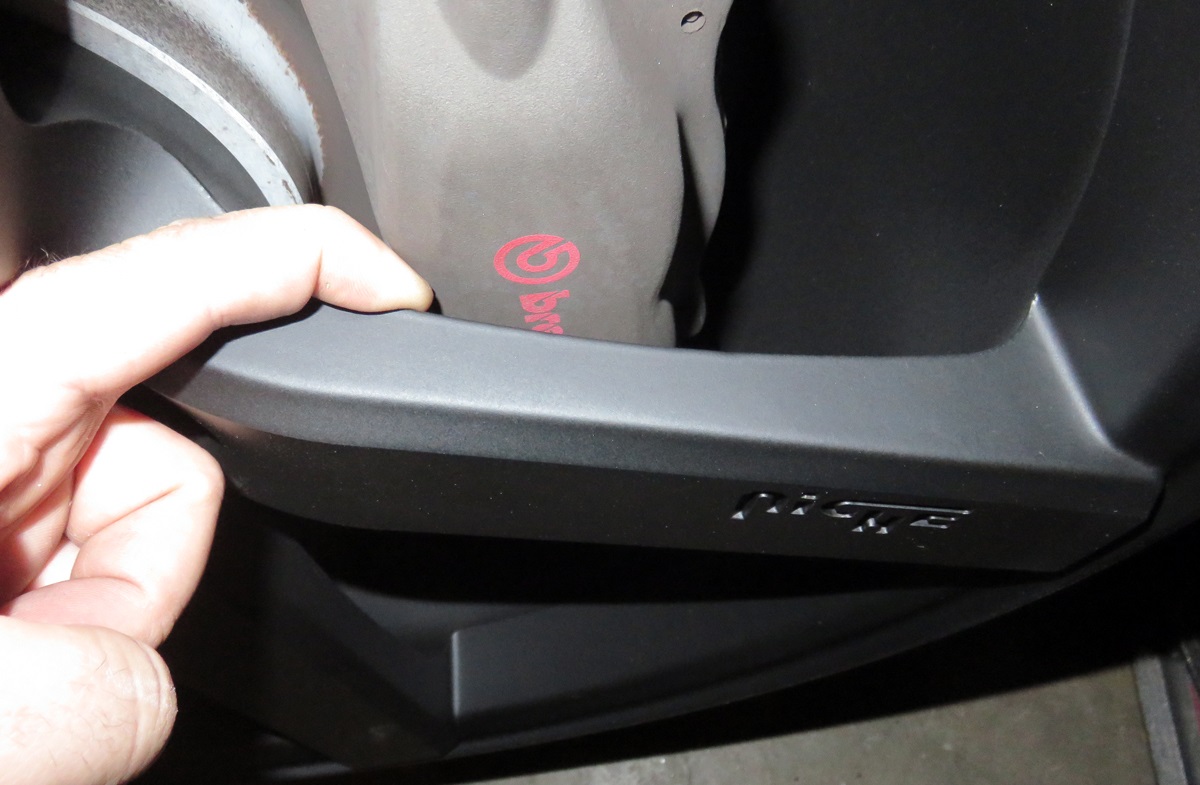
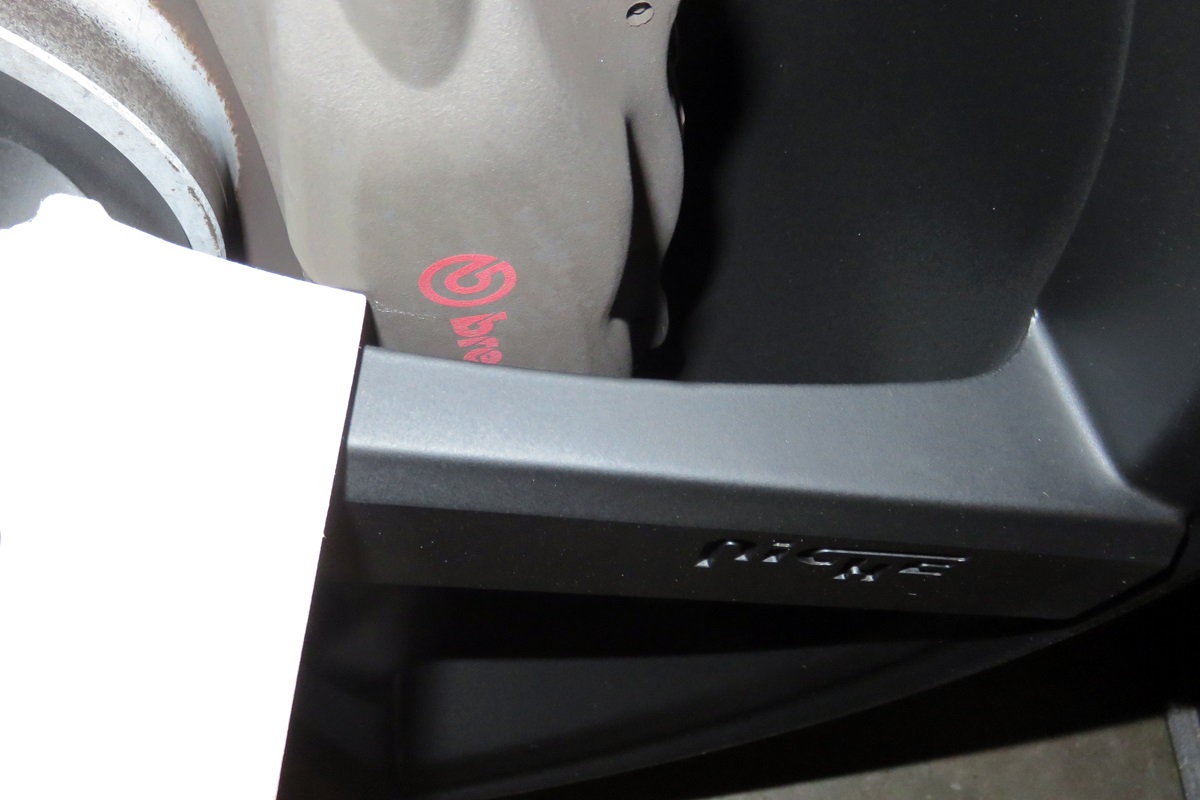
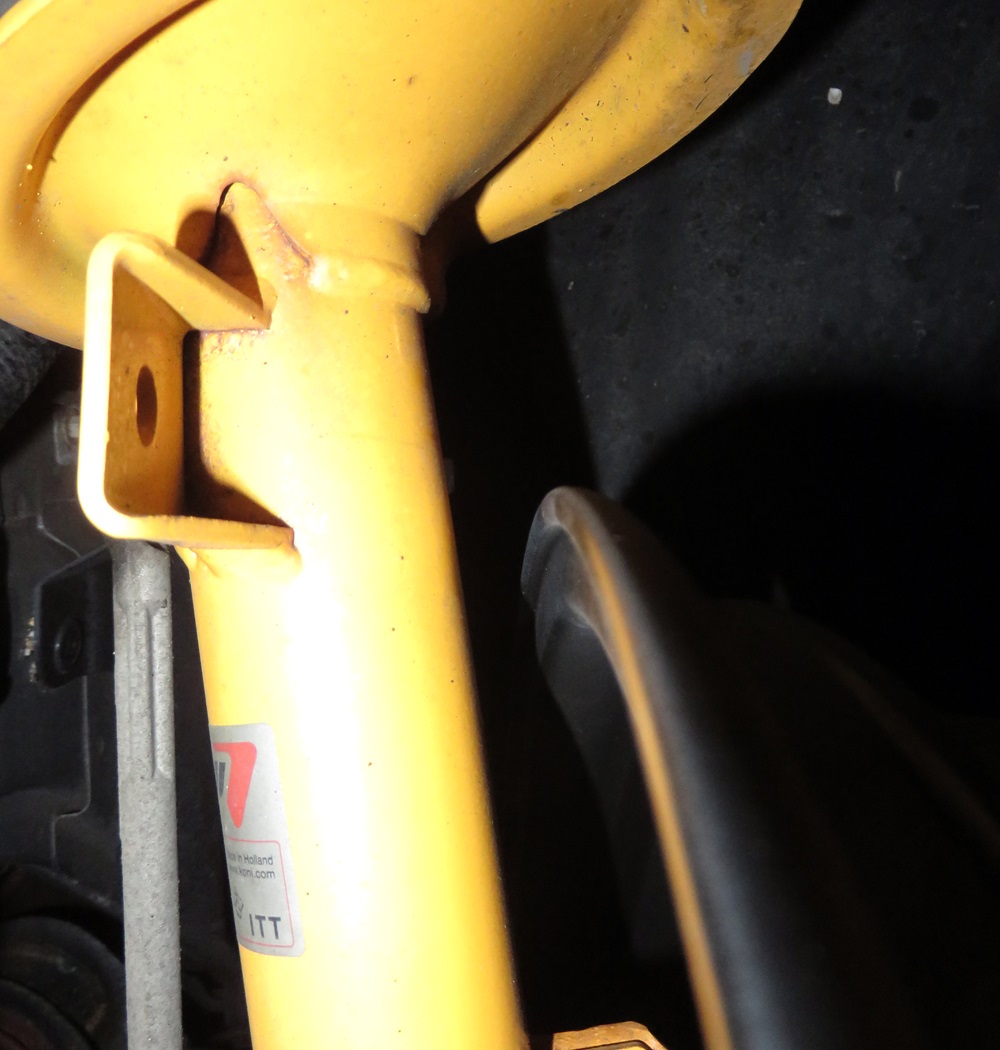
Quickly did a test-fit on the front to see if they'd fit over the Brembos and clear the strut, and was psyched to see they fit perfectly:
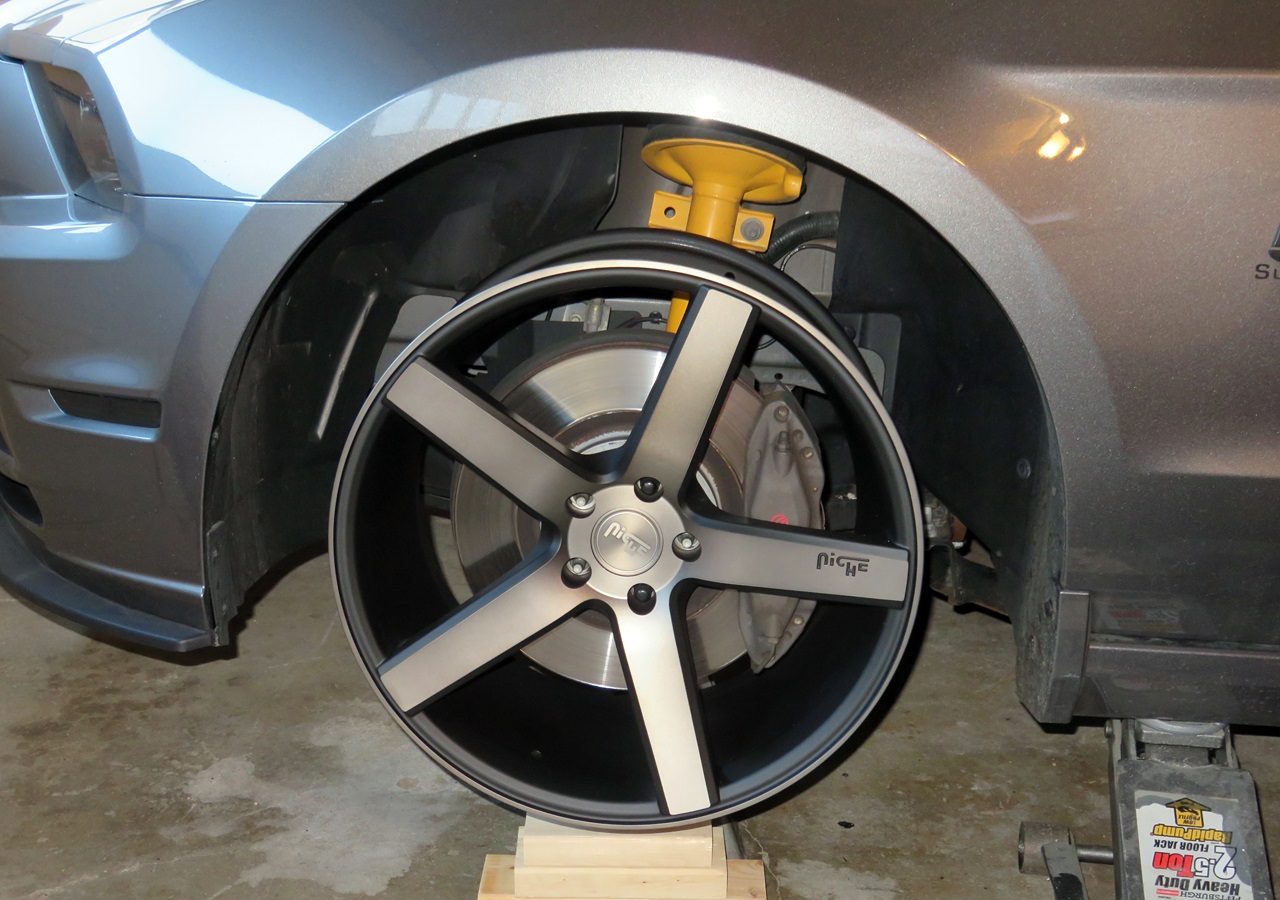
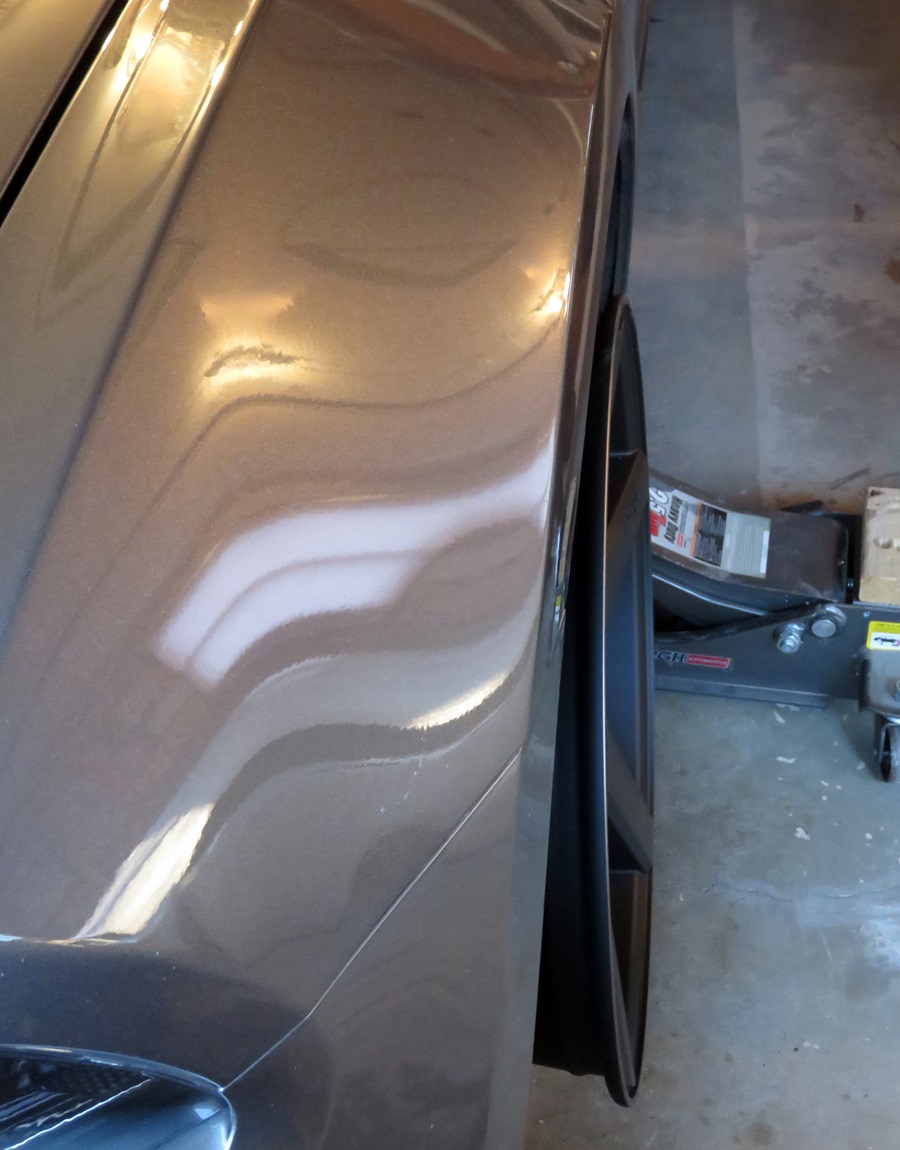
Today I removed the jack stands from under the car, put one under the left front lower control arm, and lowered the car until it was starting to come off the jack.
Looks like I shouldn't have any issues with the wheel tucking into the fender.
Can't wait to get some tires on these things!!
The AMR wheels have been sold, gone to a young man with a ..... Sterling Gray '13 GT.
Been bumming around on the 2010 SVT wheels for a few months now, with the GF's old rear tires (Goodyear 285/40/18) on the front of the car and some almost-bald Nitto 555R 305/40/18's on the back.
Recently took advantage of the Black Friday sales and ordered up a BMR Watts link, an adjustable BMR upper control arm w/mount, and will at that time be removing the CHE axle brace and will have a friend weld the axle tubes.
A few weeks ago I had the same friend install the new Lethal over-axle pipes and the JBA H-pipe, then had him tack-weld the exhaust band clamps in-between those 2, to stop the pipes from slipping out, which had happened twice after the initial install.
Yesterday I received the new wheels which will be on the car for the next season.
Niche Milan, 20x10, 40mm offset, in their black machined finish:
Quickly did a test-fit on the front to see if they'd fit over the Brembos and clear the strut, and was psyched to see they fit perfectly:
Today I removed the jack stands from under the car, put one under the left front lower control arm, and lowered the car until it was starting to come off the jack.
Looks like I shouldn't have any issues with the wheel tucking into the fender.
Can't wait to get some tires on these things!!


SUPERCHARGED RED ROCKET ------------------Master-Moderator

Joined: May 11, 2006
Posts: 10,668
Likes: 2,532
From: Carnegie, PA
Gabe !
After you lowered your GT, by any chance did you encounter any front alignment issues ? My reason for asking.. I also have the Koni adj yellow struts along with GT500 strut mounts and Eibach pro kit springs..
However after having my front alignment checked, I was informed that my camber was off and was then recommended to look into either getting caster/camber plates or a pair of camber bolts, so I went ahead and had a pair of Eibach camber bolts installed, then had the front alignment re-checked at the dealership only to find out the camber is still off by just under one degree..
As for the Eibach camber bolts, they're already maxed out and cannot be adjusted any further.. Therefore I may have to upgrade either to caster/camber plates as an alternative or consider looking into BMR camber bolts that are from my understanding adjustable up to 2 degrees + - camber over my current Eibach bolts which are only adjustable up to 1.75 degrees + - of camber..
Anyway once again, just wanted to find out if you experienced any similar type of alignment issues And btw: Your 13 GT is awesome..
-Rocky
After you lowered your GT, by any chance did you encounter any front alignment issues ? My reason for asking.. I also have the Koni adj yellow struts along with GT500 strut mounts and Eibach pro kit springs..
However after having my front alignment checked, I was informed that my camber was off and was then recommended to look into either getting caster/camber plates or a pair of camber bolts, so I went ahead and had a pair of Eibach camber bolts installed, then had the front alignment re-checked at the dealership only to find out the camber is still off by just under one degree..
As for the Eibach camber bolts, they're already maxed out and cannot be adjusted any further.. Therefore I may have to upgrade either to caster/camber plates as an alternative or consider looking into BMR camber bolts that are from my understanding adjustable up to 2 degrees + - camber over my current Eibach bolts which are only adjustable up to 1.75 degrees + - of camber..
Anyway once again, just wanted to find out if you experienced any similar type of alignment issues
And btw: Your 13 GT is awesome..-Rocky