
How-To: Lower diffuser fascia & GT500 mud flap install
 9/29/10, 04:55 AM
#21
GTR Member
Thread Starter
Steve:
Looks great! Congrats on the install!
Did you purchase them online from Ford? I am searching on Fordparts.com and FordAccessories.com, but it won't return any results with the mudflap part #'s... any idea?
Also, do you need to have the GT500 diffuser, or will the flaps work with the "regular" GT lower facia?
Thanks,
To answer your questions:
- I purchased mine from the dealer I bought the car from. I got them just under list price for each item. I took those numbers right off of the bags listed in Dan (montreal ponies) thread, and the dealer pulled them up without issue. Try another site like Tousley Ford and see if that works.
- You can use the mud flaps on a regular GT rear fascia. I decided to do it all at once, since you have to pull those screws to remove the fascia and diffuser anyways.
 11/7/10, 06:43 AM
#23
Mach 1 Member
Join Date: July 24, 2010
Location: Westchester NY
Posts: 515
Likes: 0
Received 0 Likes
on
0 Posts
Well after seeing it installed on a base 5.0 at a car show 2 weeks ago I have jumped in the pool on this one as well. Picture difference doesn't do it justice you have to see the difference in person night and day compared to the stock rear valence. I said I was done for the year with my mods but I lied.
 7/28/11, 07:57 AM
#26
Bullitt Member
Join Date: January 19, 2011
Location: Montgomery, AL
Posts: 257
Likes: 0
Received 0 Likes
on
0 Posts
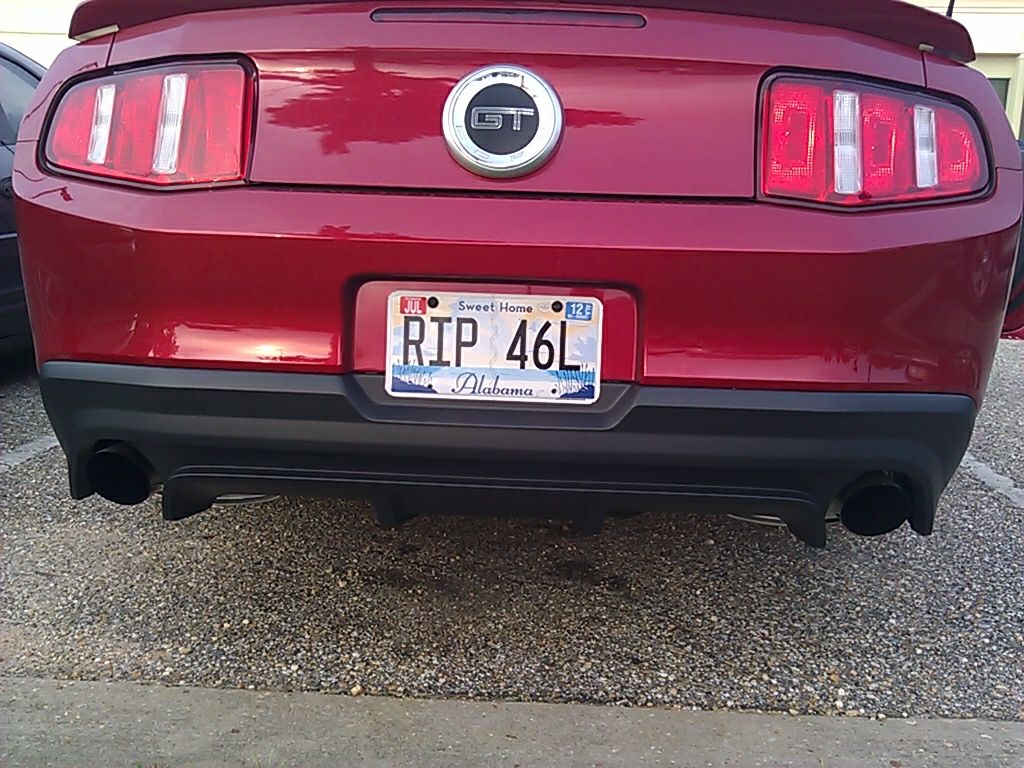
Thought I would bump this thread seeing as to how I finished my front/rear fascia installs this week.
I read through the Roush instructions but decided to just wing it. Break the 2 white tabs off (the new fascia comes with new white tabs) Pull the 2 large push pins out and the 2 push pins on each outer edge of the bottom of the fascia, remove the 3 screws by the rear tire (I used a tiny ratchet w/phillips head attachment and got them out without removing the wheel) and then just peel the bumper away from the chassis.
This exposes all the push pins and screws holding the fascia on. Once they're removed and the wiring harness plugs (2 of them I think per side) are popped out, the fascia will pull off.
I didn't even bother to pop the trunk and start unhooking stuff. That was going to be a last ditch step.
New one snapped in without too much trouble but yeah those center tabs in the license plate area just did not want to go in all the way. I tried fanagling from every angle and still no luck. Last option was to try and push them in with a flat head screwdriver but didn't want to risk breaking anything or chipping paint.
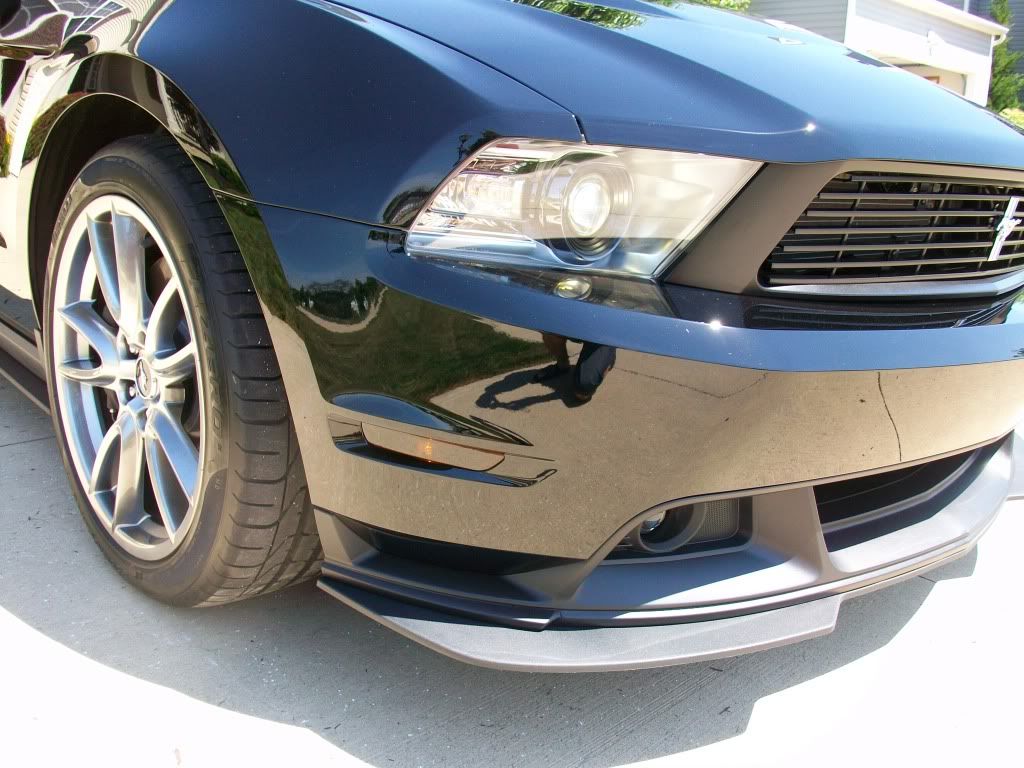
And the Front CS/Boss fascia/splitter. The front fascia was SO easy to install but the boss splitter was a chore. Getting it lined up and then all those holes drilled was pretty tedious. I'm surprised that ford didn't implement any type of alignment hole or tab system to ensure it's perfectly straight.
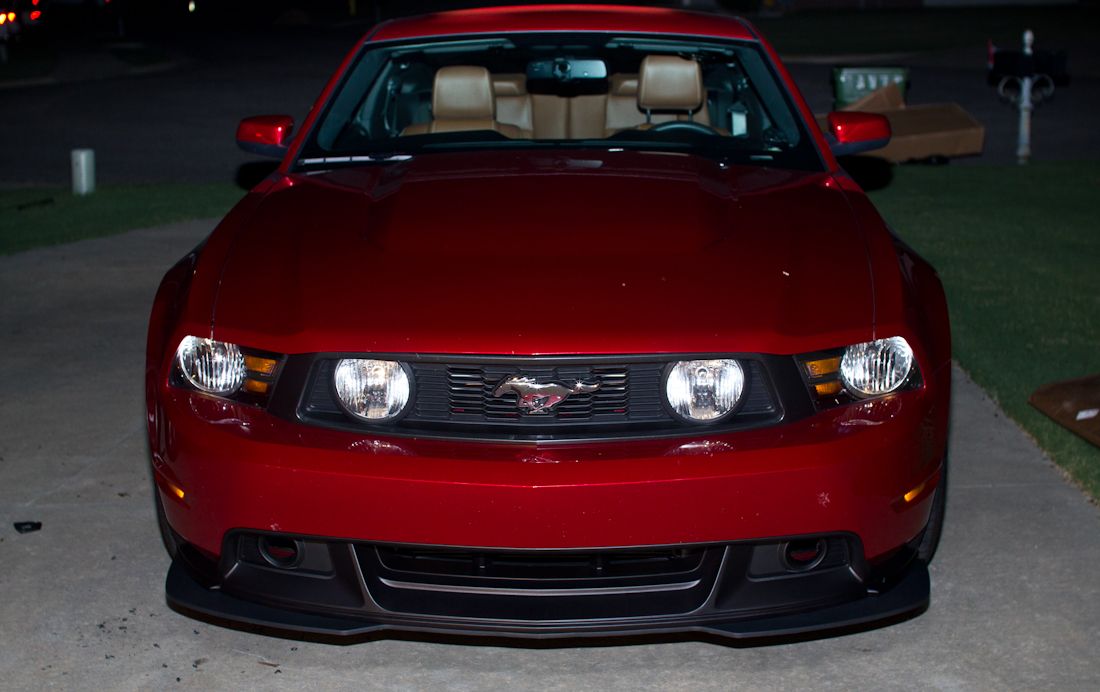
Only thing now is whether to install the saleen front grille and tri bar pony badge or leave the grille as is. I already have the tri bar badge and grille mounting hardware. $220 for a grille though is just.... man that's a lot of $$ for just a grille.
I read through the Roush instructions but decided to just wing it. Break the 2 white tabs off (the new fascia comes with new white tabs) Pull the 2 large push pins out and the 2 push pins on each outer edge of the bottom of the fascia, remove the 3 screws by the rear tire (I used a tiny ratchet w/phillips head attachment and got them out without removing the wheel) and then just peel the bumper away from the chassis.
This exposes all the push pins and screws holding the fascia on. Once they're removed and the wiring harness plugs (2 of them I think per side) are popped out, the fascia will pull off.
I didn't even bother to pop the trunk and start unhooking stuff. That was going to be a last ditch step.
New one snapped in without too much trouble but yeah those center tabs in the license plate area just did not want to go in all the way. I tried fanagling from every angle and still no luck. Last option was to try and push them in with a flat head screwdriver but didn't want to risk breaking anything or chipping paint.
And the Front CS/Boss fascia/splitter. The front fascia was SO easy to install but the boss splitter was a chore. Getting it lined up and then all those holes drilled was pretty tedious. I'm surprised that ford didn't implement any type of alignment hole or tab system to ensure it's perfectly straight.
Only thing now is whether to install the saleen front grille and tri bar pony badge or leave the grille as is. I already have the tri bar badge and grille mounting hardware. $220 for a grille though is just.... man that's a lot of $$ for just a grille.
8/8/11, 09:36 AM
#28
Mach 1 Member
Join Date: February 22, 2011
Location: Akron, Ohio
Posts: 509
Likes: 0
Received 0 Likes
on
0 Posts
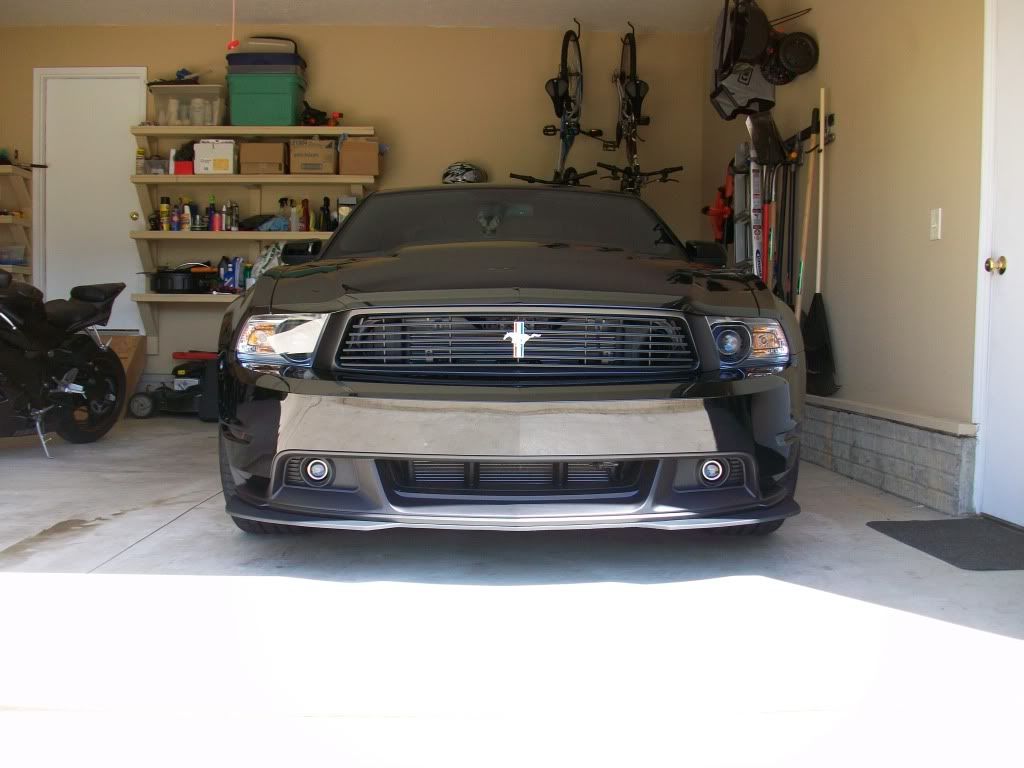
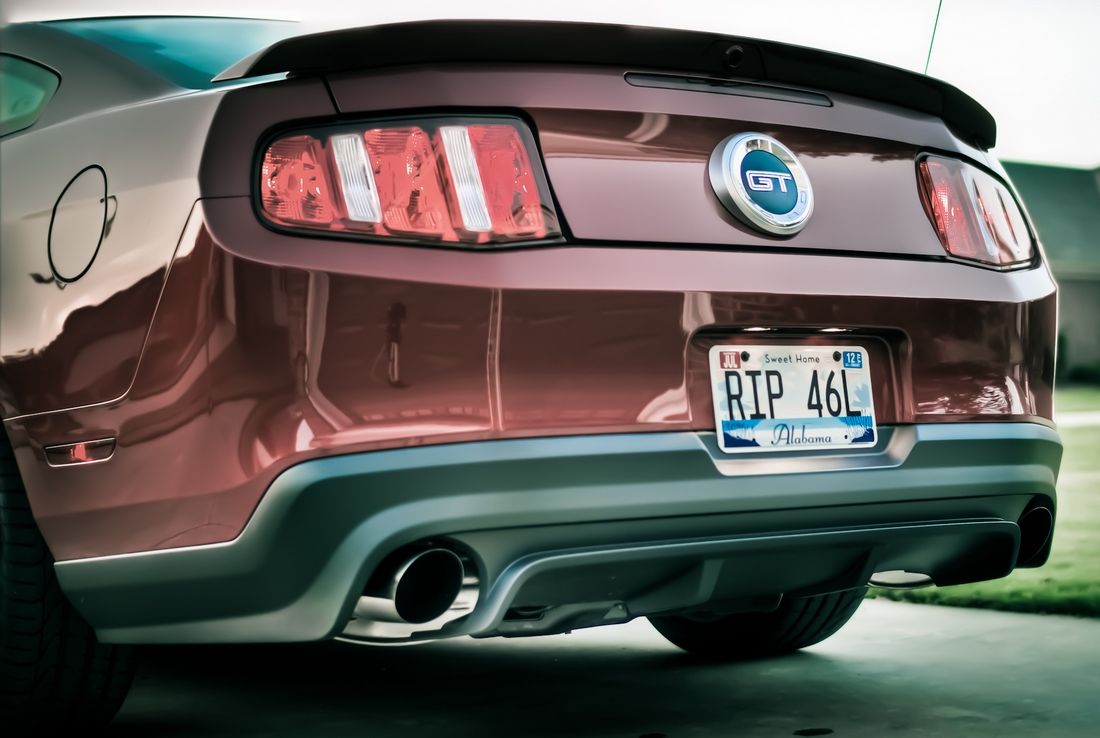
Another bump w/pics from my install . . .
The rear isn't that bad just take your time and follow the Roush instructions. If you are doing the splitter and CS front install the splitter to the CS front OFF the car. Makes it so much easier and then when you install all there is are 6 holes to drill under the car instead of 30 or so.
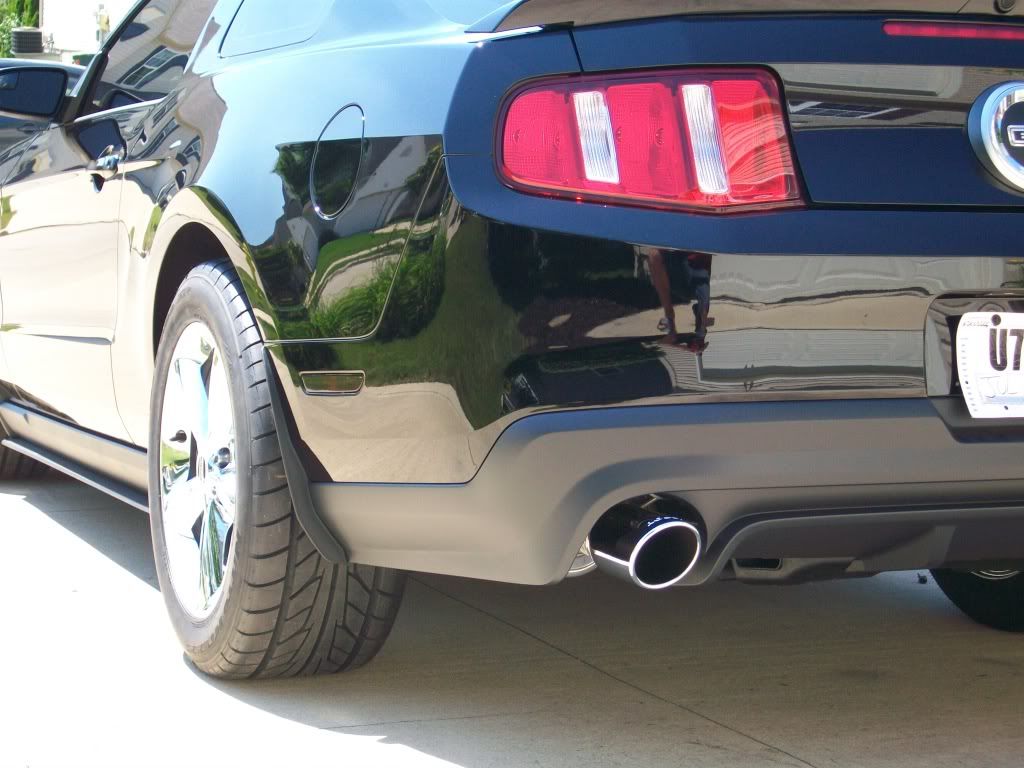
Rear with Roush exhaust and 18x10 OE style rims and 295 series tires
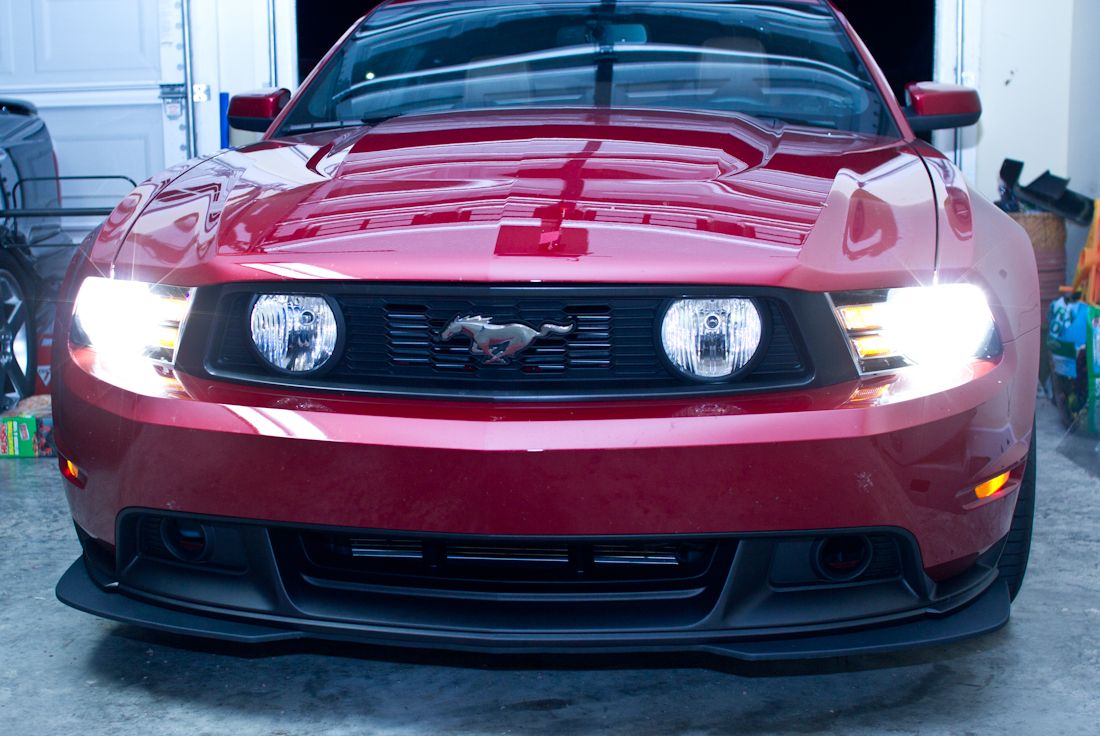
Front with Roush grille and tri-bar pony emblem. Grill is a PIA to install (removing the old one is the hardest part).
The rear isn't that bad just take your time and follow the Roush instructions. If you are doing the splitter and CS front install the splitter to the CS front OFF the car. Makes it so much easier and then when you install all there is are 6 holes to drill under the car instead of 30 or so.
Rear with Roush exhaust and 18x10 OE style rims and 295 series tires
Front with Roush grille and tri-bar pony emblem. Grill is a PIA to install (removing the old one is the hardest part).
Last edited by 99mstng; 8/8/11 at 09:37 AM.
 8/8/11, 07:56 PM
#30
Bullitt Member
Join Date: February 9, 2011
Location: Georgia
Posts: 280
Likes: 0
Received 0 Likes
on
0 Posts
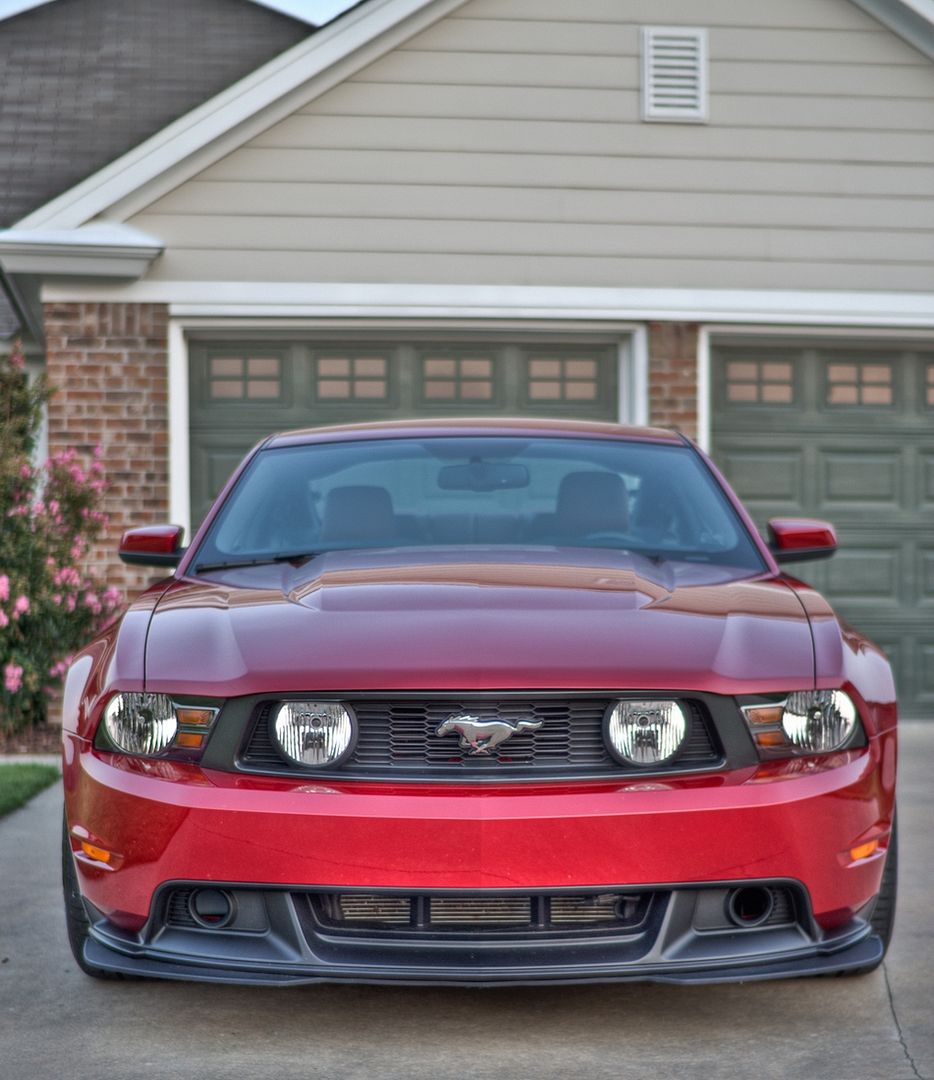
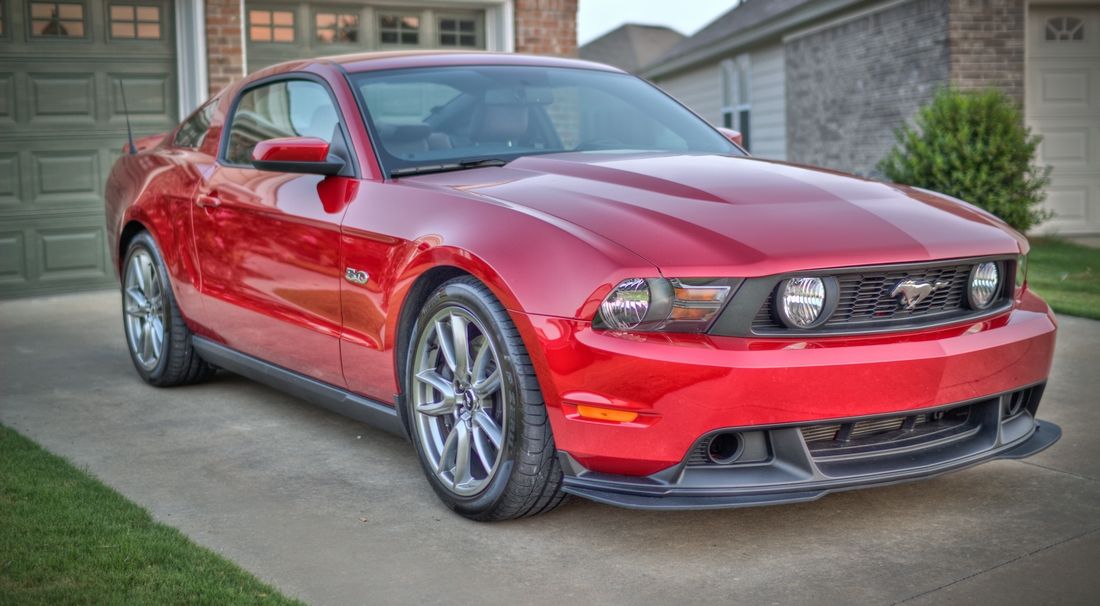
Originally Posted by FastRedPonyCar
Another better shot of the front/rear. Not shown in these pics but I also put the GT500 splash guards on the rear.
8/8/11, 08:45 PM
#31
Bullitt Member
Join Date: January 19, 2011
Location: Montgomery, AL
Posts: 257
Likes: 0
Received 0 Likes
on
0 Posts

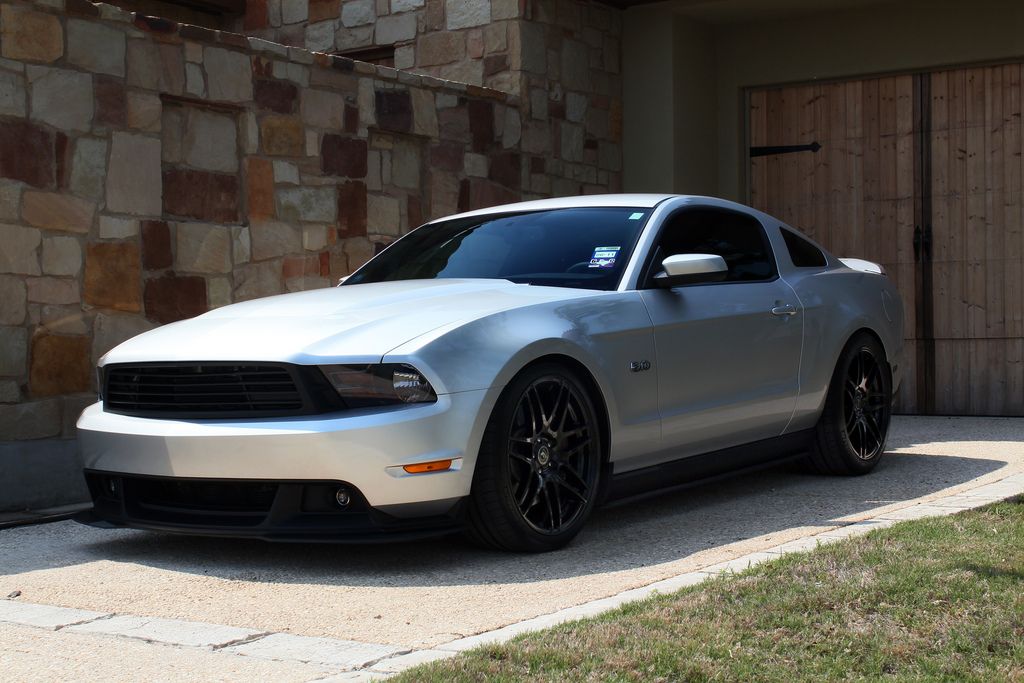
A much cleaner/sleeker look IMO.
 4/9/12, 12:56 AM
#32
sorry to bump old thread, so GT500 mud flaps fit '11 GT? (AR3Z-16A550-AA)
4/11/12, 09:08 PM
#34
Mach 1 Member
Join Date: January 25, 2011
Location: Ville Platte, Louisiana
Posts: 1,075
Likes: 0
Received 1 Like
on
1 Post
Word on the middle part of the diffuser being the hardest part to remove and get back on correctly. I took my whole bumper cover off to do this. Wish I would have left it on, may have been easier. Call me crazy but I took a piece of foam and a rubber mallet/persuasion device to get the middle back in.  But it worked and no damage! But the end result is worth it, really dresses up the rear nicely!
But it worked and no damage! But the end result is worth it, really dresses up the rear nicely!
4/15/12, 10:03 AM
#35
Bullitt Member
Join Date: July 13, 2011
Location: NYC
Posts: 421
Likes: 0
Received 0 Likes
on
0 Posts
Looking to get my GT500 rear diffuser soon, been doing research and a lot of people have been saying to leave the rear bumper cover on for leverage to pull off the OEM diffuser. Good to hear the feedback for when I have to install, don't want to have to deal with pulling off the bumper!
4/15/12, 04:30 PM
#36
Mach 1 Member
Join Date: January 25, 2011
Location: Ville Platte, Louisiana
Posts: 1,075
Likes: 0
Received 1 Like
on
1 Post
Looking to get my GT500 rear diffuser soon, been doing research and a lot of people have been saying to leave the rear bumper cover on for leverage to pull off the OEM diffuser. Good to hear the feedback for when I have to install, don't want to have to deal with pulling off the bumper!
 5/15/12, 09:24 PM
#38
installed my gt500 mud flaps today, didnt know i had to clip it to the bumper, scratched the facia little bit..came to work noticed it should fit tighter so gonna go adjust it at home

Thread
Thread Starter
Forum
Replies
Last Post
Diode Dynamics
Vendor Showcase
3
6/12/18 03:26 PM