
What did you do to your '10-'14 today?
 5/16/14 | 10:09 PM
#121
Cobra Member
Joined: May 8, 2014
Posts: 1,466
Likes: 14
Lookin good, really like how the tires have that matte look.
5/17/14 | 05:56 AM
#123
Bullitt Member
Joined: September 30, 2013
Posts: 327
Likes: 5
From: Savannah, GA
Put the new wheels on -
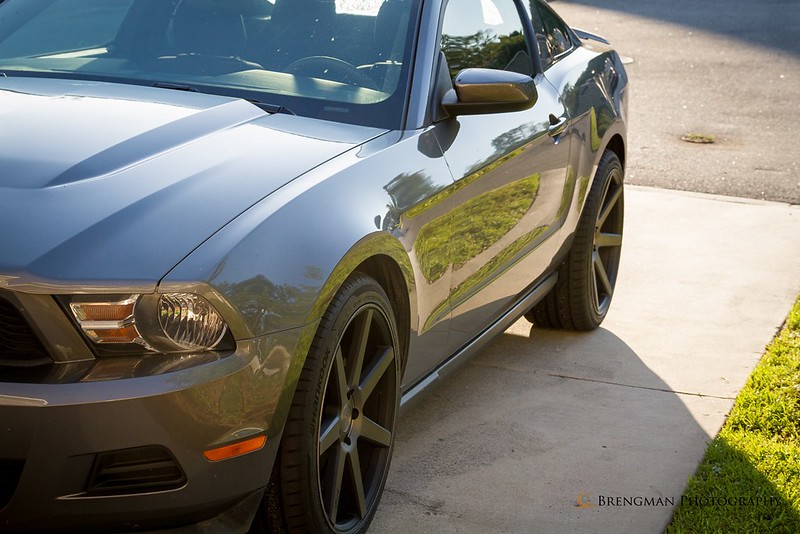
004-4 by benbrengman, on Flickr
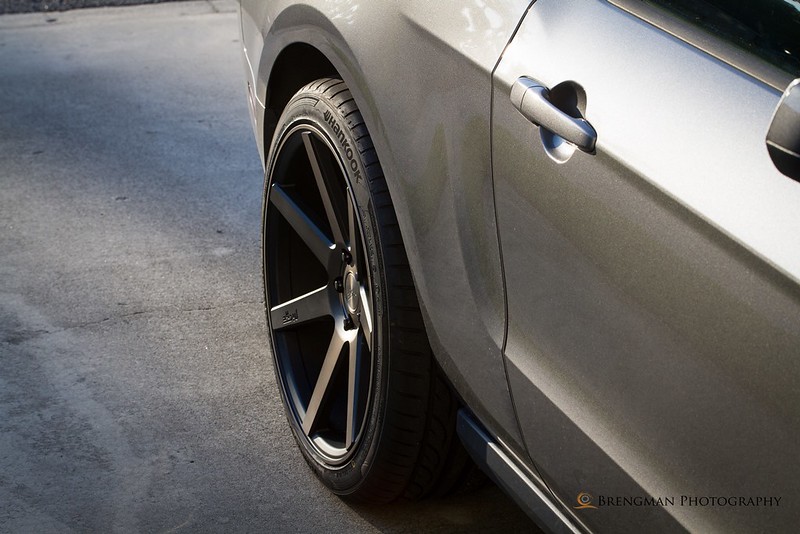
005-2 by benbrengman, on Flickr
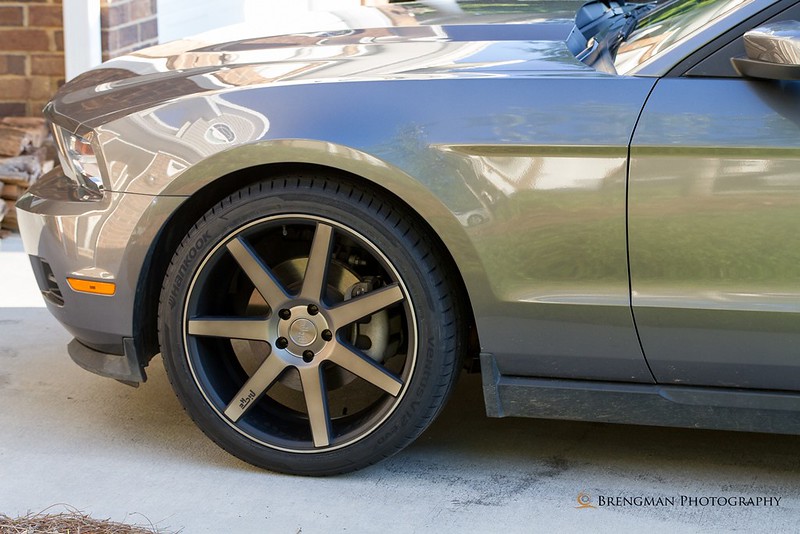
012 by benbrengman, on Flickr
004-4 by benbrengman, on Flickr
005-2 by benbrengman, on Flickr
012 by benbrengman, on Flickr
5/18/14 | 05:37 AM
#125
Bullitt Member
Joined: September 30, 2013
Posts: 327
Likes: 5
From: Savannah, GA
5/18/14 | 09:35 AM
#126
Thread Starter
Cobra Member
Joined: March 6, 2004
Posts: 1,010
Likes: 3
From: Monroe, NC
Installed my Roush lowering springs and BMR adjustable panhard bar. Bought these second-hand and was told they were 1.5" lowering springs. Looks like they're 1". Still an improvement though.

5/18/14 | 09:51 AM
#127
Shelby GT500 Member
Joined: July 15, 2012
Posts: 2,708
Likes: 2
From: Germany
5/18/14 | 09:59 AM
#128
Legacy TMS Member
Joined: January 6, 2006
Posts: 14,047
Likes: 166
From: Bay Area, CA
 5/18/14 | 10:01 AM
#129
Bullitt Member
Joined: September 30, 2013
Posts: 327
Likes: 5
From: Savannah, GA
In ACroDSee Pro you can do it, it is a little more time consuming than other softwares. Adobe Lightroom 5 is pretty inexpensive and is fairly easy to use. I think you can get it for around $125. I use Lightroom, Photoshop and Portrait Pro for my editing.
Like this

Erika by benbrengman, on Flickr
Like this
Erika by benbrengman, on Flickr
5/18/14 | 11:12 AM
#130
I Have No Life
Joined: September 24, 2011
Posts: 10,141
Likes: 172
Looks perfect. Oem brembo wheels! I haven't seen those on mine in a few months. I'll have them back on in winter for storage.
5/18/14 | 03:13 PM
#131
Bullitt Member
Joined: December 11, 2013
Posts: 412
Likes: 0
From: Cherry Hill, NJ
 . The charcoal alcantara matches the charcoal cloth nicely.
 5/27/14 | 05:43 AM
#132
Thread Starter
Cobra Member
Joined: March 6, 2004
Posts: 1,010
Likes: 3
From: Monroe, NC
I ordered the SR Performance steel braided clutch line. Got locked out of 3rd gear again over the weekend and from what I've read, this clutch line helps eliminate that. Buys me some time to get other mods done before dropping $400 on an MGW shifter.
6/14/14 | 03:12 PM
#135
Thread Starter
Cobra Member
Joined: March 6, 2004
Posts: 1,010
Likes: 3
From: Monroe, NC
I swapped my Pedestal Spoiler-equipped decklid with one that has the standard spoiler. I'm MUCH happier now. Didn't like the pedestal style one at all, not to mention it's a pain with all the water it traps when washing the car. It only took about 45 minutes to do the swap. Very painless!

 6/14/14 | 05:44 PM
#138
Mach 1 Member
Joined: March 27, 2014
Posts: 919
Likes: 0
From: Winnipeg, MB
I took delivery, drove her home in the pouring rain, and installed a few goodies.
Moroso separator, Boss coil covers, AM front flaps, BBR antenna, and a miserable failure installing MMD hood struts thanks to some unclear photos (see my build thread for details).
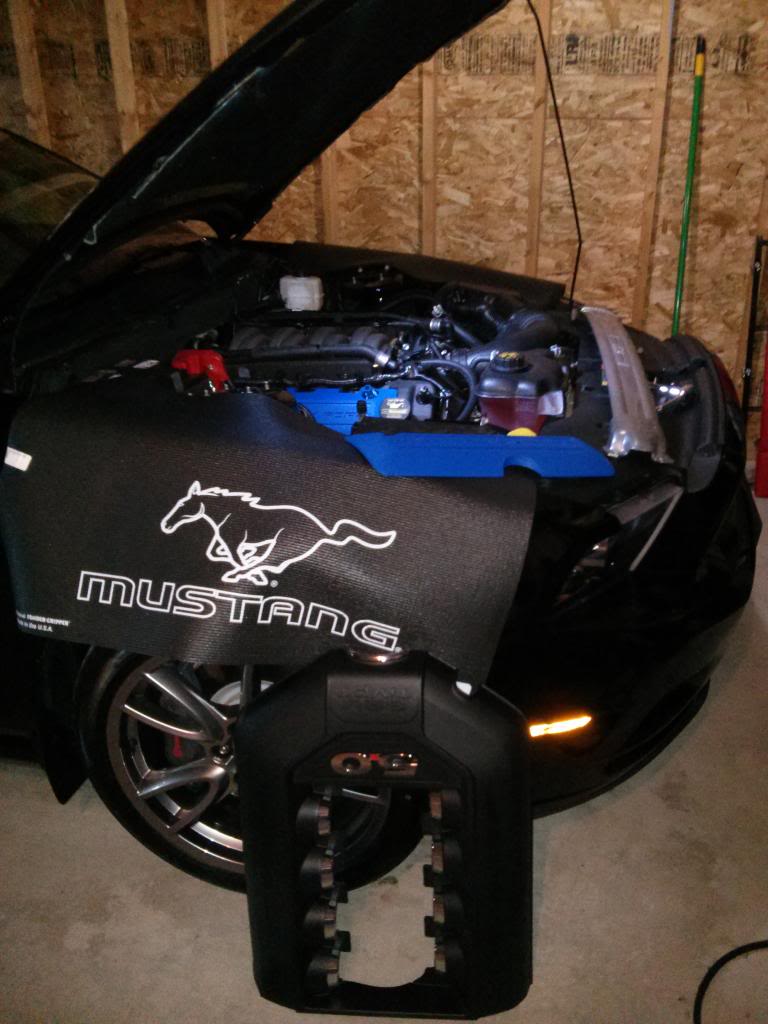
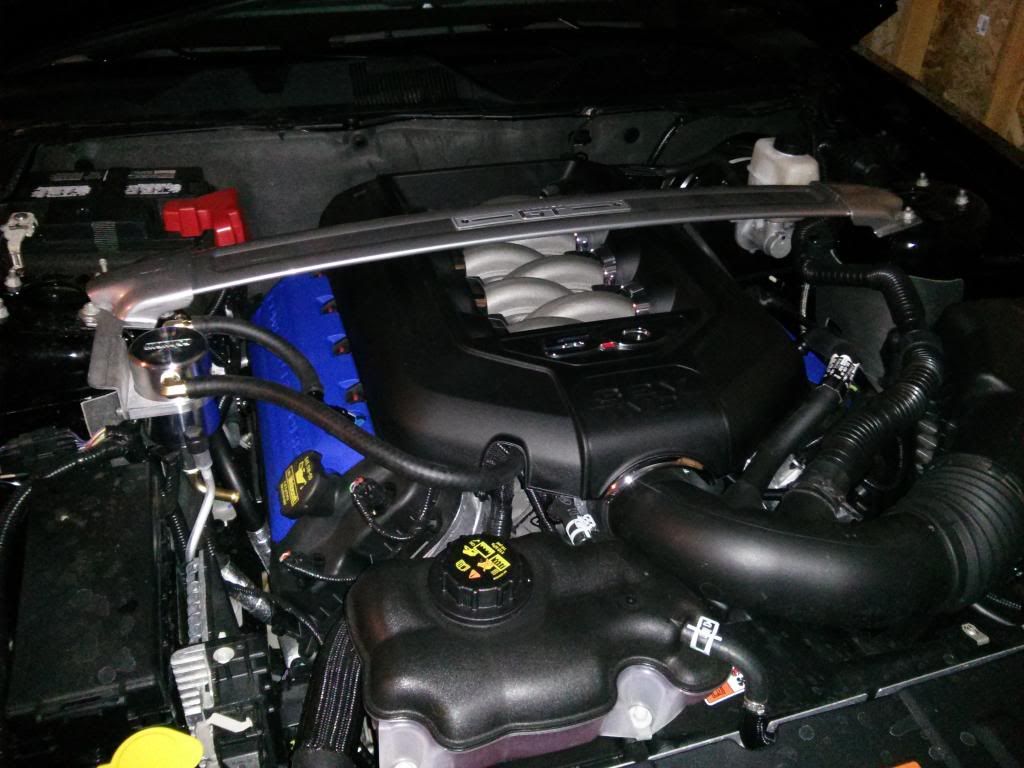
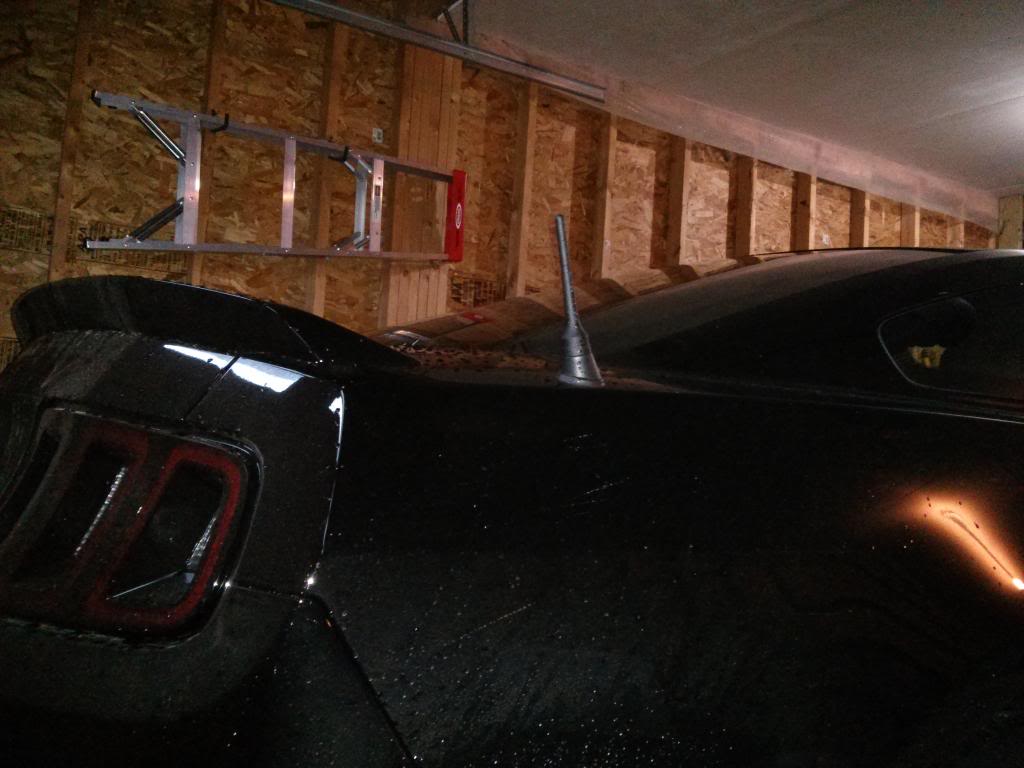
Moroso separator, Boss coil covers, AM front flaps, BBR antenna, and a miserable failure installing MMD hood struts thanks to some unclear photos (see my build thread for details).


Last edited by lakeguy77; 6/14/14 at 05:45 PM.
6/14/14 | 05:52 PM
#139
I Have No Life
Joined: September 24, 2011
Posts: 10,141
Likes: 172
Nice!!! Congrats. I'm contemplating Moroso or bobs
6/15/14 | 02:38 PM
#140
Mach 1 Member
Joined: March 27, 2014
Posts: 919
Likes: 0
From: Winnipeg, MB
Day 2 of Mustang ownership, raining even harder. So I did stuff.
Step 1: Install GT500 mufflers (2012 style).
Review: Oh my god. Why aren't these stock? Install is cake, perfect fit, no fiddling.
No pics because, well, everybody's seen GT500's.
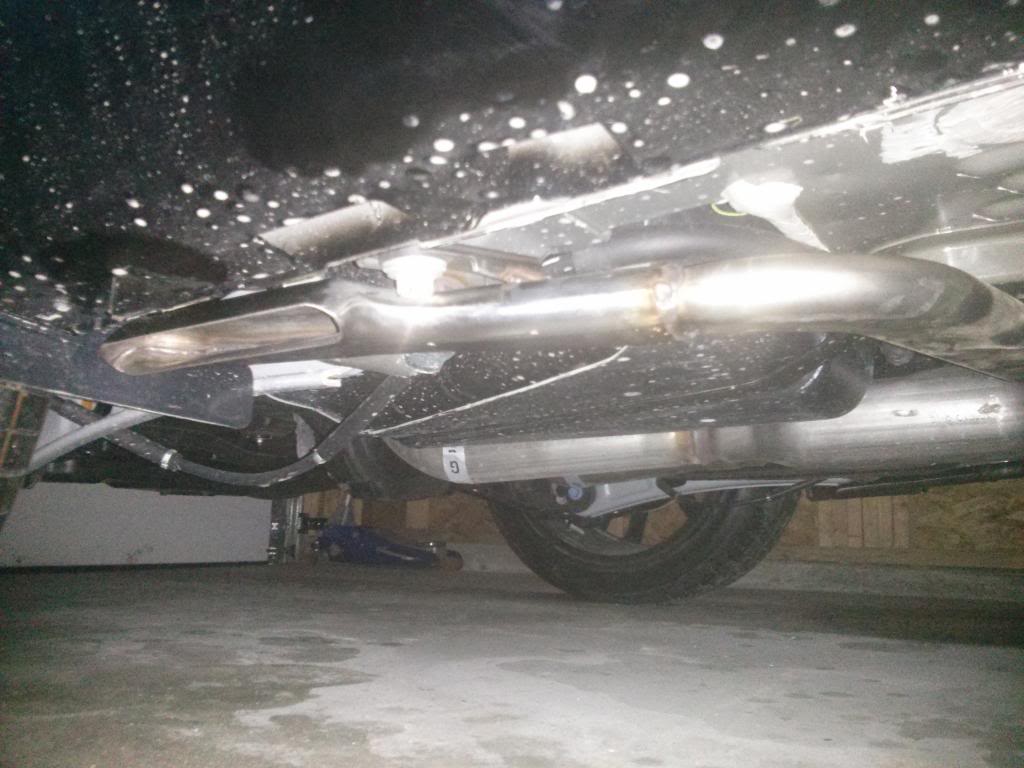
Step 2: Install Boss side exhausts with 3/4" hole baffles.
Review: OH MY GOD. Youtube video's of ace2ace's car with this setup do not begin to do it justice. Only real difficult part was getting the front clamps loosened off. My 5.5 socket stripped the end, and the actual bolt head is facing up with no room for really anything. Just tedious. Other than that, not bad at all. I did have to remove a couple of little plastic air deflectors to install the side pipes, and I'd never read about this requirement in any install or review, including videos. Maybe it's a 13-14 thing? All the vids I saw were 11's. Sorry about the horrid flash:
Step 3: Install Energy Suspension shifter bushing.
Review: TBA when the rain stops. Install was cake. After futzing around with exhaust all afternoon, a couple 10mm bolts and some WD40 on the new bushing, no sweat. 5 minute install. This one uses the stock bracket. Just looking to get rid of some of the crunchiness. Jury's out.
Top Gear Top Tip: If doing a shifter bushing/mount install and H-pipe replacement on the same day, take a break after getting the H-pipe off and do the shifter bushing then. It's not a huge deal, but does give you a little extra space. I did NOT heed this tip, but the bushing was still only a 5-minute job.
Step 1: Install GT500 mufflers (2012 style).
Review: Oh my god. Why aren't these stock? Install is cake, perfect fit, no fiddling.
No pics because, well, everybody's seen GT500's.
Step 2: Install Boss side exhausts with 3/4" hole baffles.
Review: OH MY GOD. Youtube video's of ace2ace's car with this setup do not begin to do it justice. Only real difficult part was getting the front clamps loosened off. My 5.5 socket stripped the end, and the actual bolt head is facing up with no room for really anything. Just tedious. Other than that, not bad at all. I did have to remove a couple of little plastic air deflectors to install the side pipes, and I'd never read about this requirement in any install or review, including videos. Maybe it's a 13-14 thing? All the vids I saw were 11's. Sorry about the horrid flash:

Step 3: Install Energy Suspension shifter bushing.
Review: TBA when the rain stops. Install was cake. After futzing around with exhaust all afternoon, a couple 10mm bolts and some WD40 on the new bushing, no sweat. 5 minute install. This one uses the stock bracket. Just looking to get rid of some of the crunchiness. Jury's out.
Top Gear Top Tip: If doing a shifter bushing/mount install and H-pipe replacement on the same day, take a break after getting the H-pipe off and do the shifter bushing then. It's not a huge deal, but does give you a little extra space. I did NOT heed this tip, but the bushing was still only a 5-minute job.