Am I putting this strut/spring together right?
#41
I would assume that would be fine, i put mine on the frame rails as far back as i could get them, perhaps someone else who has done this can chime in as to jackstand placement. If you dont have an impact, getting the bolts off the top of the shocks may be a little tricky, as the shaft will want to spin.
#42
I would assume that would be fine, i put mine on the frame rails as far back as i could get them, perhaps someone else who has done this can chime in as to jackstand placement. If you dont have an impact, getting the bolts off the top of the shocks may be a little tricky, as the shaft will want to spin.
#43
Well, after breaking a short 3/8"-drive extension into a socket that's now also unusable, I broke down and realized that I need more tools before I can even think of doing the front struts/springs on the Mustang.
- So, the rear is done, just need to check the torque settings, although everything is **** tight as it sits, and the front will have to wait for tomorrow cuz I'm beat, I need to buy the tools I need, I'm dirty, starving, dehydrated, and oh yeah, TIRED!
- So what that the rear sits a little lower than the front?
- I'll take care of that! :-)
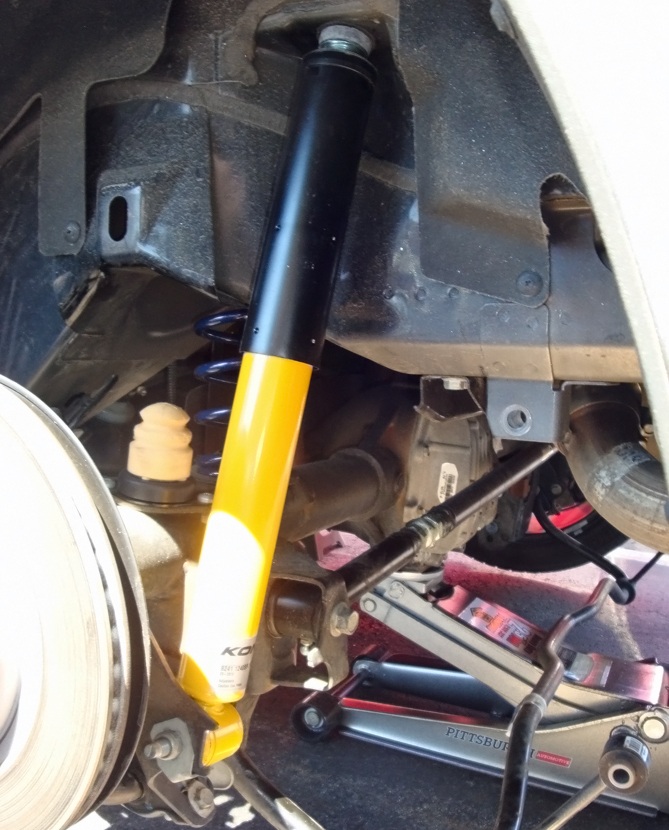
Oh, I fixed the way that ^^^ lower-shock nut sits, so now the tongue sits in its groove at he back of that bracket
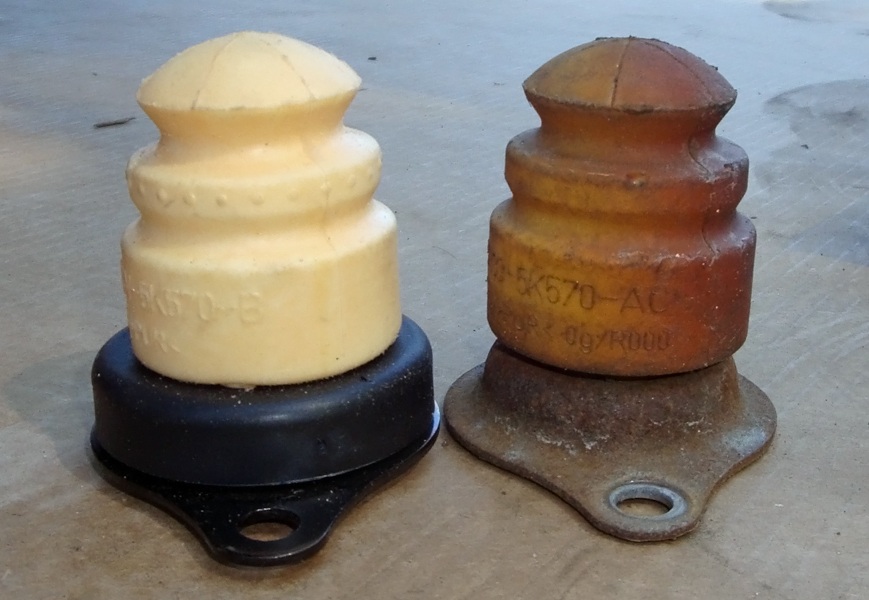
The FRPP stop on the left VS the stock one on the right :
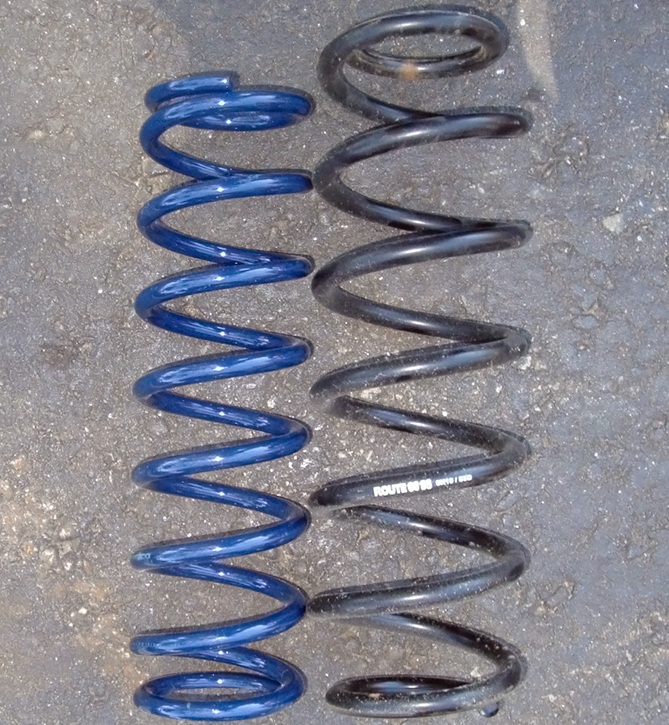
And a comparison between the new Steeda Sport rear spring VS the "55D" rear spring that I really don't think lowered the back of the car the half-inch it was supposed to :
- So, the rear is done, just need to check the torque settings, although everything is **** tight as it sits, and the front will have to wait for tomorrow cuz I'm beat, I need to buy the tools I need, I'm dirty, starving, dehydrated, and oh yeah, TIRED!
- So what that the rear sits a little lower than the front?
- I'll take care of that! :-)


Oh, I fixed the way that ^^^ lower-shock nut sits, so now the tongue sits in its groove at he back of that bracket
The FRPP stop on the left VS the stock one on the right :

And a comparison between the new Steeda Sport rear spring VS the "55D" rear spring that I really don't think lowered the back of the car the half-inch it was supposed to :

#46
#47
I thought the arrow on the strut mount is supposed to point forward ... the video says to point it toward the fender.
I think I'll check out the stock mounts and see how THEY were mounted before I make a final decision though ...
#48
Well, after breaking a short 3/8"-drive extension into a socket that's now also unusable, I broke down and realized that I need more tools before I can even think of doing the front struts/springs on the Mustang.
- So, the rear is done, just need to check the torque settings, although everything is **** tight as it sits, and the front will have to wait for tomorrow cuz I'm beat, I need to buy the tools I need, I'm dirty, starving, dehydrated, and oh yeah, TIRED!
- So what that the rear sits a little lower than the front?
- I'll take care of that! :-)
Oh, I fixed the way that ^^^ lower-shock nut sits, so now the tongue sits in its groove at he back of that bracket
The FRPP stop on the left VS the stock one on the right :
And a comparison between the new Steeda Sport rear spring VS the "55D" rear spring that I really don't think lowered the back of the car the half-inch it was supposed to :
Loosen lug nuts
Jack up front end, remove wheel
Place the jack stand under the frame member, not where any bolts or nuts are located
Leave the jack in place, now take a piece of 2x4 about 6 to 4 inches in length. Place a jack under the lower ball joint/control arm but make sure you pack the piece of wood between the two, it protects the paint and coatings and will prevent growth of rust and and damage and bending. Once you have everything in place slowly raise the jack under the control arm, raise it till you have some load on the spring. Now undo the brake line bracket and pry out the sensor wire attachment, this thing is plastic, you can use needle nose piers. After these steps are done, then take the 15 mm open wrench and place it behind the sway bar end link, it should hold on to the nut/bolt in the back, now take the second ratcheting 15mm wrench
And undo the nut, remove the nut, the link should slide out if not, don't panic, if you have little pressure on the spring the link end would be pointed downwards, if too much then it would be upward. Adjust load on spring by adjusting the jack height.
Once the link end is straight you can slide it out. After this you can loosen the 13 mm nuts under the hood on the strut mount. Go back down and undo the to 18 mm bolts holding the strut. Do not remove the bolts just remove the nuts, they are nice as you don't need a second wrench to hold them in place. Mark the bolt head T and B for top and bottom. Slowly release the stress on the springs by lowering the jack under the control arm, with your hand on the front rotor slide out the two bolts, bottom first then top the assembly will want pivot on the bottom and pop from the top, now holding the strut and raising it one hand , undo the 4 bolts on top and slide out the strut assembly.
Reinstall I reverse order, tighten to specs and enjoy, it will take twice as long to do the first side, the second side is cake. Make sure you take all safety precautions, use jack stands use wheel chocks etc safety first, springs have a lot stored potential energy and can cause fatal injury so respect them.
If you are in Maryland I ma be able to help.
#49
I don't the stocks have the notch, I remember reading if you have it in the camber is drastically out and car cannot be aligned.
#50
I'm in Mass ... and thanks for all of the above, I'm sure it will help.
I actually started doing the front today but ended up breaking a short extension and since I didn't have all the sockets I wanted to have for the job, I decided to pack it in and try tomorrow, after going tool-shopping today.
So, today I bought a replacement regular 18" socket (3/8" drive) to replace the socket that now has a piece of extension permanently installed in it.
Also bought a set of deep impact sockets, including of course the highly coveted 18mm socket, and a set of Torx bits including a T40 to replace the T40 bit that I broke trying to remove a bolt for the right-rear bump stop.
All the tools have Lifetime Warranty, some from Sears, some from Harbor Freight.
I plan on using my impact gun for its first time ever ... both batteries are charged, I hope it does the job.
One thing though: I was using a 17mm open-end wrench to keep the back of the stabilizer link stud from spinning, not a 15mm ... and 18mm for the nut holding it on, not 15mm.
#52
#53
Pass side front all set, done in less than 45 minutes 
Moving on to the driver side front, then I have to swap out the right rear bumpstop, make sure the rear is tight , put away the tools/jacks/jackstands/ramps, and go for a test drive
Today is shaping up to be a BEAUTIFUL day !

Moving on to the driver side front, then I have to swap out the right rear bumpstop, make sure the rear is tight , put away the tools/jacks/jackstands/ramps, and go for a test drive

Today is shaping up to be a BEAUTIFUL day !
#54
Annnnd ... it's DONE! 
Amazing what having an impact gun and the right sockets will do for a job!
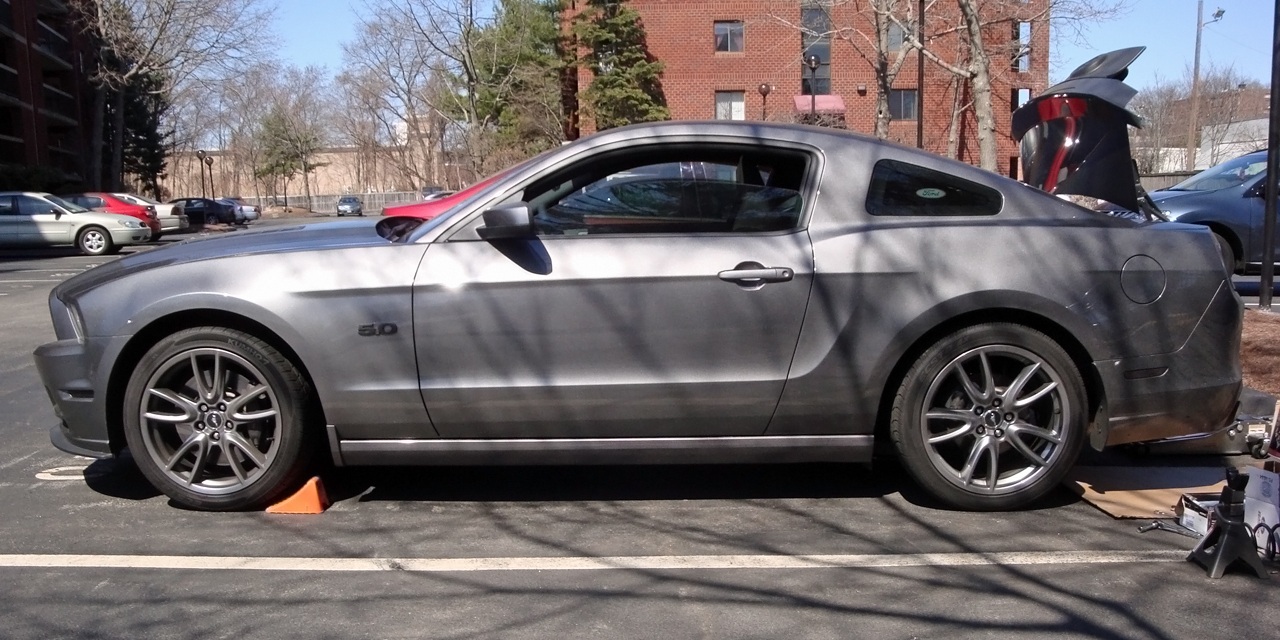
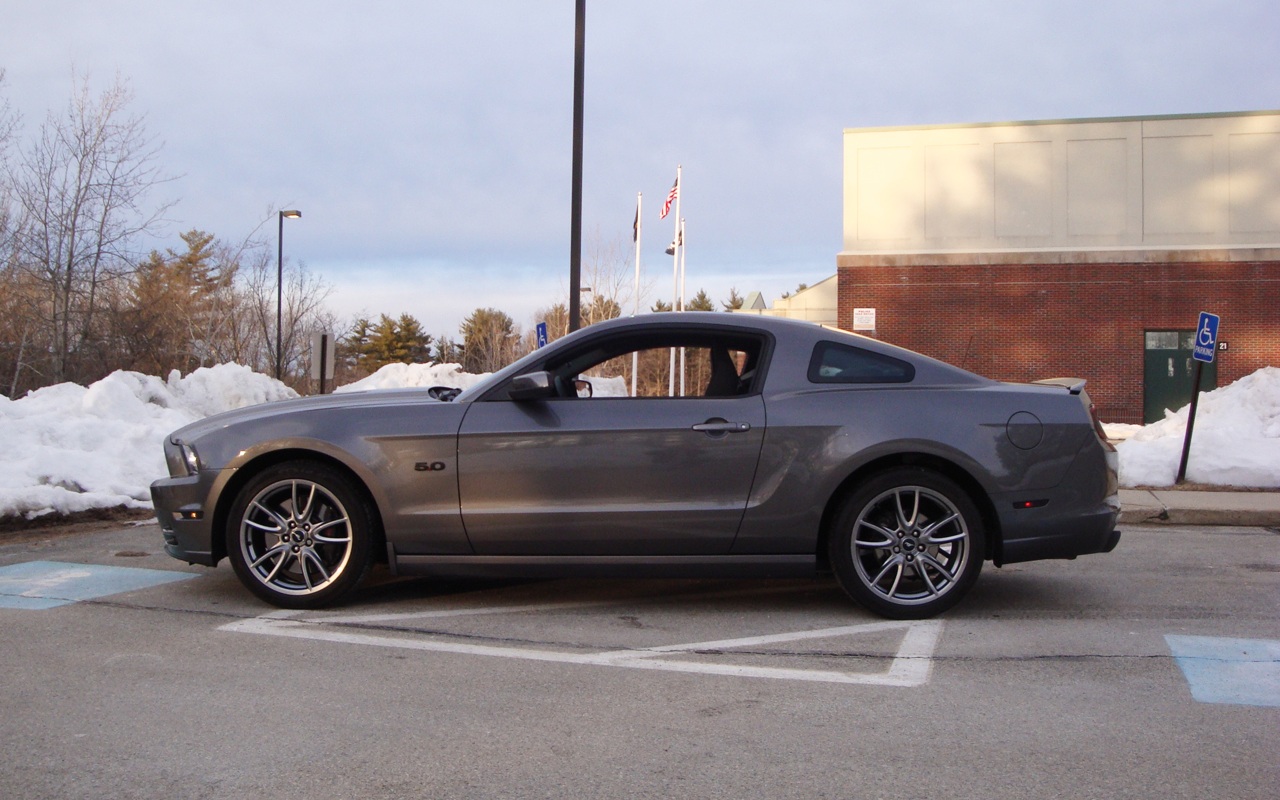
Dirty car but had to take the obligatory pic, lol :
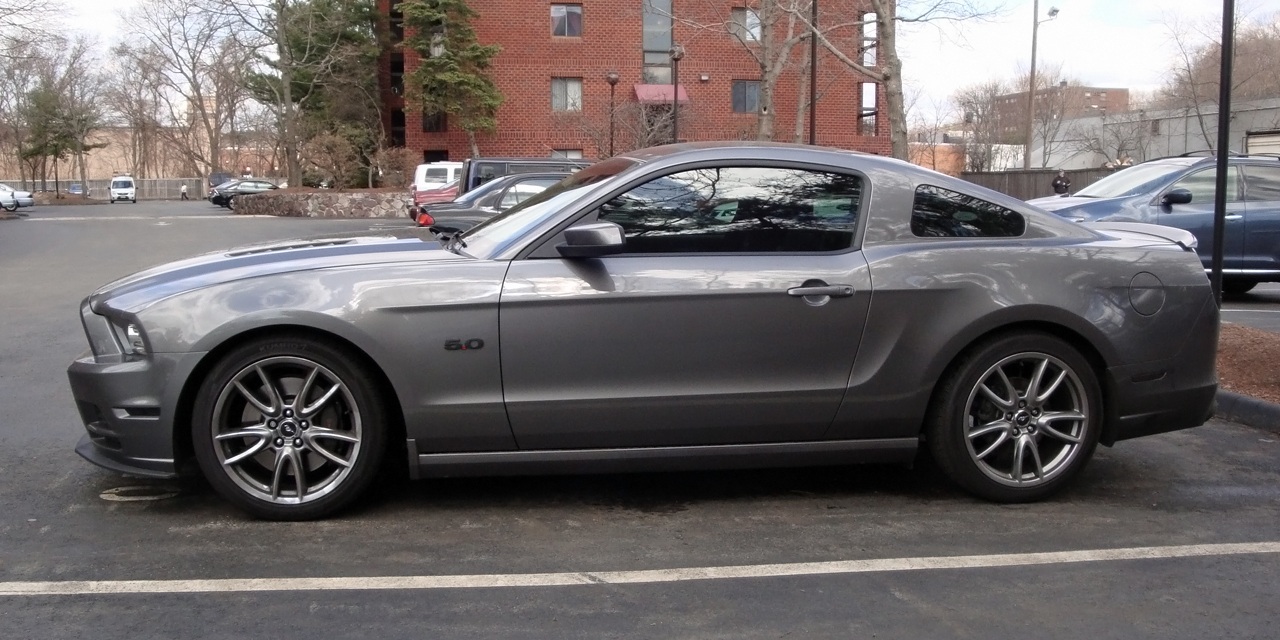
The "before" :
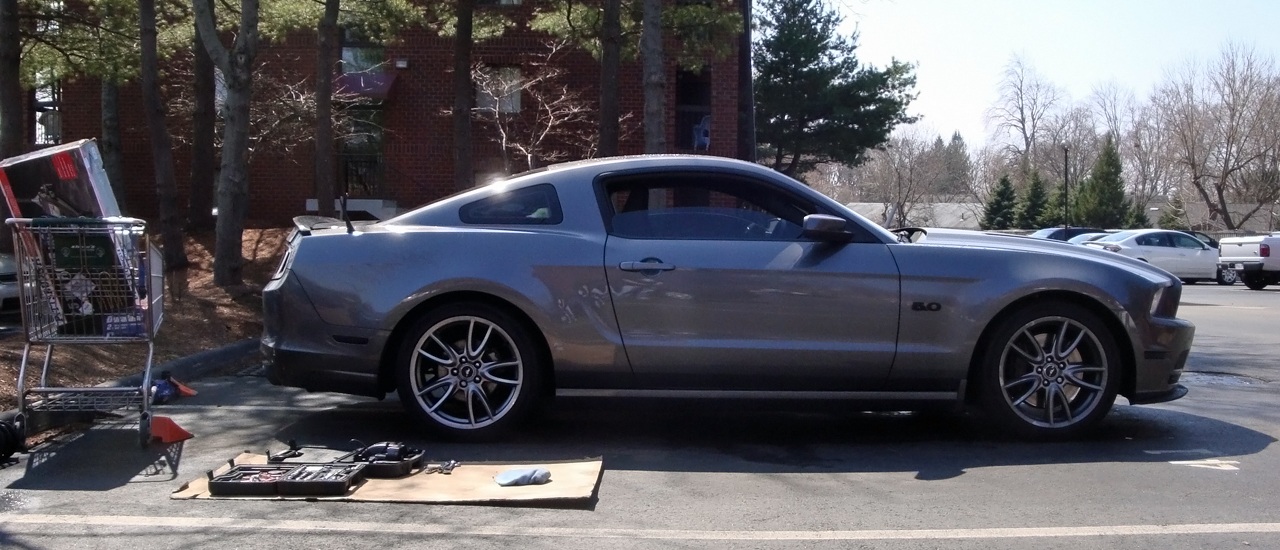
After I got the pass-side front done, and to show how I was working ... in a parking lot, across 2 parking spots (I own both), and out of a shopping cart, lol:
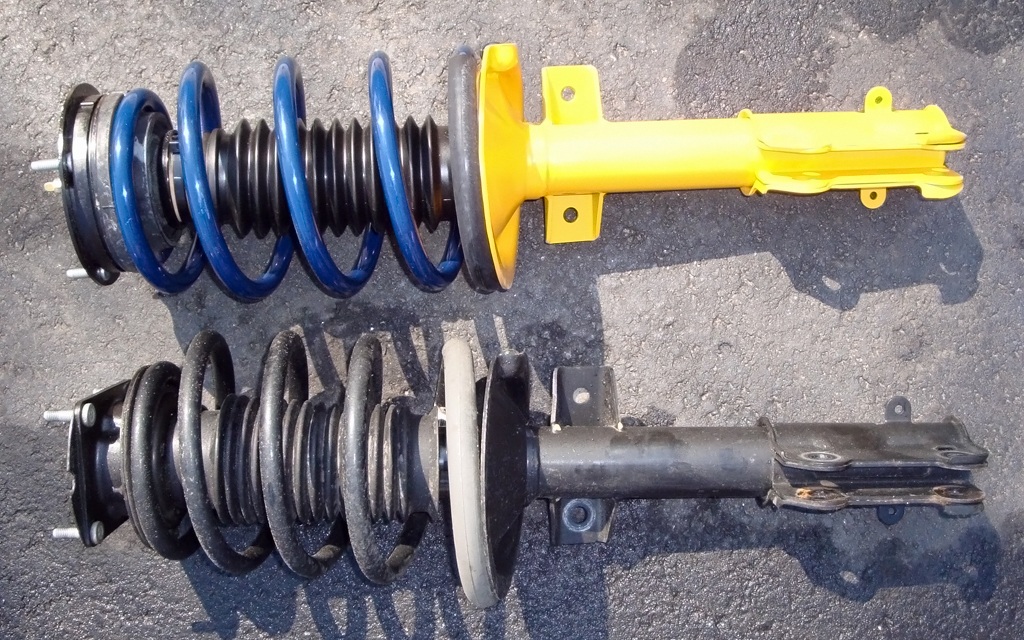
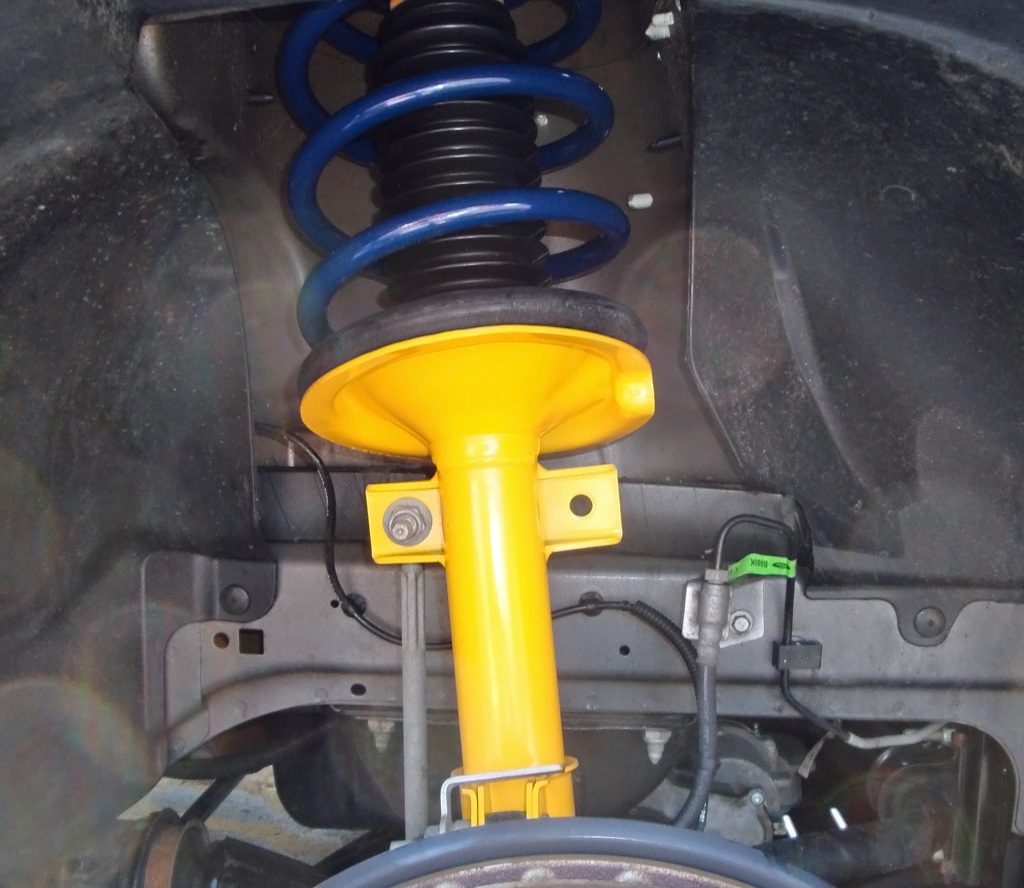
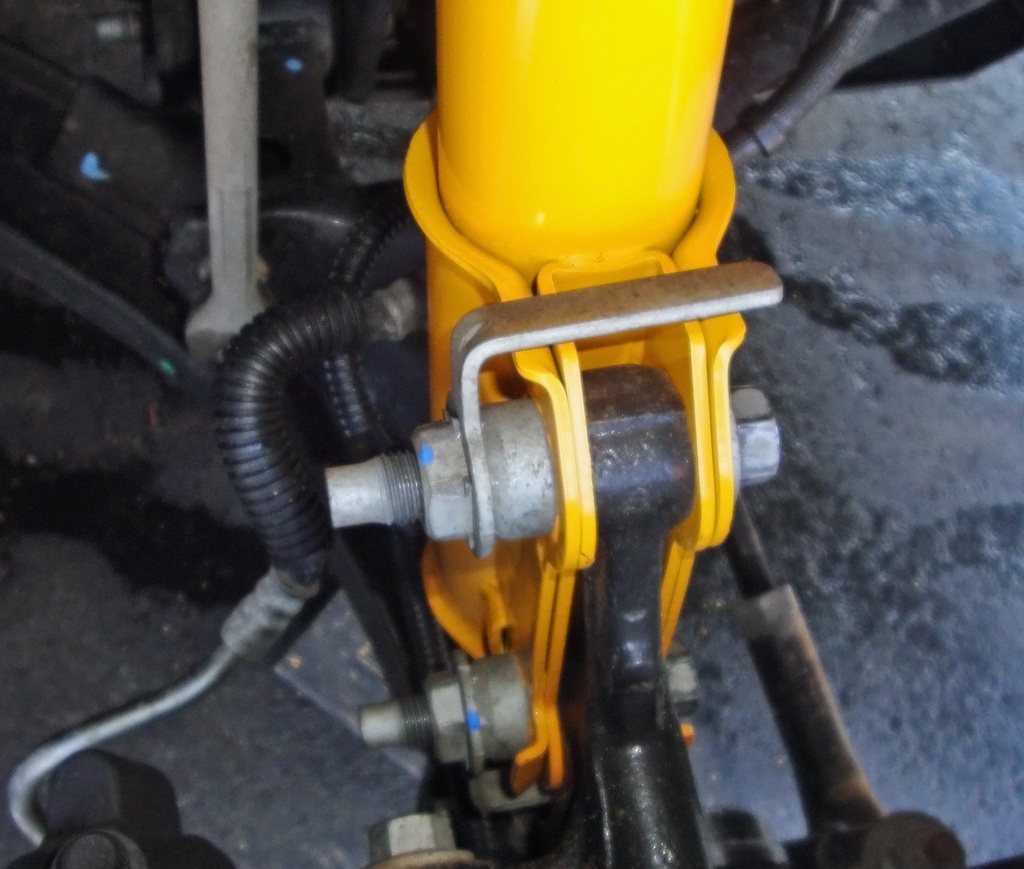
And some misc pics of the struts/springs:

Amazing what having an impact gun and the right sockets will do for a job!
Dirty car but had to take the obligatory pic, lol :

The "before" :

After I got the pass-side front done, and to show how I was working ... in a parking lot, across 2 parking spots (I own both), and out of a shopping cart, lol:

And some misc pics of the struts/springs:


Last edited by Gabe; 4/9/13 at 12:43 PM.
#55
Annnnd ... it's DONE! 
Amazing what having an impact gun and the right sockets will do for a job!
Dirty car but had to take the obligatory pic, lol :
After I got the pass-side front done, and to show how I was working ... in a parking lot, across 2 parking spots (I own both), and out of a shopping cart, lol:
And some misc pics of the struts/springs:

#56
Haha ... yeah, and that's part of the reason I really didn't wanna do it here, but it's done now ... I didn't leave any oil spots on the ground, nor did I damage the asphalt in any way so even the grumpiest of old people living here should be somewhat OK with it and hopefully not report me ...
#57
Haha ... yeah, and that's part of the reason I really didn't wanna do it here, but it's done now ... I didn't leave any oil spots on the ground, nor did I damage the asphalt in any way so even the grumpiest of old people living here should be somewhat OK with it and hopefully not report me ...
 lol: it's looking good.
#58
#59
#60


