When you click on links to various merchants on this site and make a purchase, this can result in this site earning a commission. Affiliate programs and affiliations include, but are not limited to, the eBay Partner Network.
Hey everyone,
While looking for a picture to help someone in a different thread about removing the climate control module for a stereo install, I ran across pictures from my install from March of 2019, and figured I'd post them here.
First- This is how I did it, this isn't really a full-on guide, follow this at your own risk. I'll be glad to try to answer any questions, but keep in mind this was like 1.5 years ago I did it. The easier cleaner way of doing this is just getting one of the pre-made dashkits.
Parts list:
Stereo: Pioneer MVH-2400NEX Digital Multimedia Video Receiver with Carplay, Android Auto, Built-in Bluetooth and SiriusXM-Ready -
(Bondo with fiberglass, 2 part epoxy, scrap plastic, soldering iron, wire stripers, panel removal tools, etc)
Extra Radio Temperature Control Panel Bezel (CR3T-18A802-JA) from eBay to cut up so I could keep my original. Found one cheap that had a bunch of scratches, but didn't matter since I was gonna repaint it
I was not a fan of the Sync system, and then it started developing problems on my car where Bluetooth and USB would stop working, only Aux would work, until I unhooked the battery for a few minutes. I think the sync module itself was going bad, could have gotten a replacement and installed it myself, but I was really wanting Android Auto/Carplay, so I decided to start looking into aftermarket stereos.
Problem is, all the dashkits I could find removed the HVAC *****, and replaced them with either a touch screen, or buttons with limited functionality, or removed them entirely and made it so you had to control it all through the stereo. Not a fan of any of those, since I like to be able to adjust the temperature while I'm driving without taking eyes off the road, and being familiar with car stereo installs, electronics, and Bondo work, decided to try to make it DIY.
I ordered a used control bezel to cut up(paid $30 for it from ebay), so worse case I could revert back to my old one, or when I trade it in/sell it, to be able to take the stereo out.
I looked at the PCB(printed circuit board) of the control bezel and it appeared that everything above where the CD slot is was related to the stereo control buttons, so I cut through both sides of where the CD drive was and removed the top part of the PCB(I think I used a dremel? May have been a bandsaw). Sanded the edges of the cut traces to make sure that they weren't shorting eachother or anything. I also desoldered the volume and tuner button/***** from the PCB since I didn't need those anymore
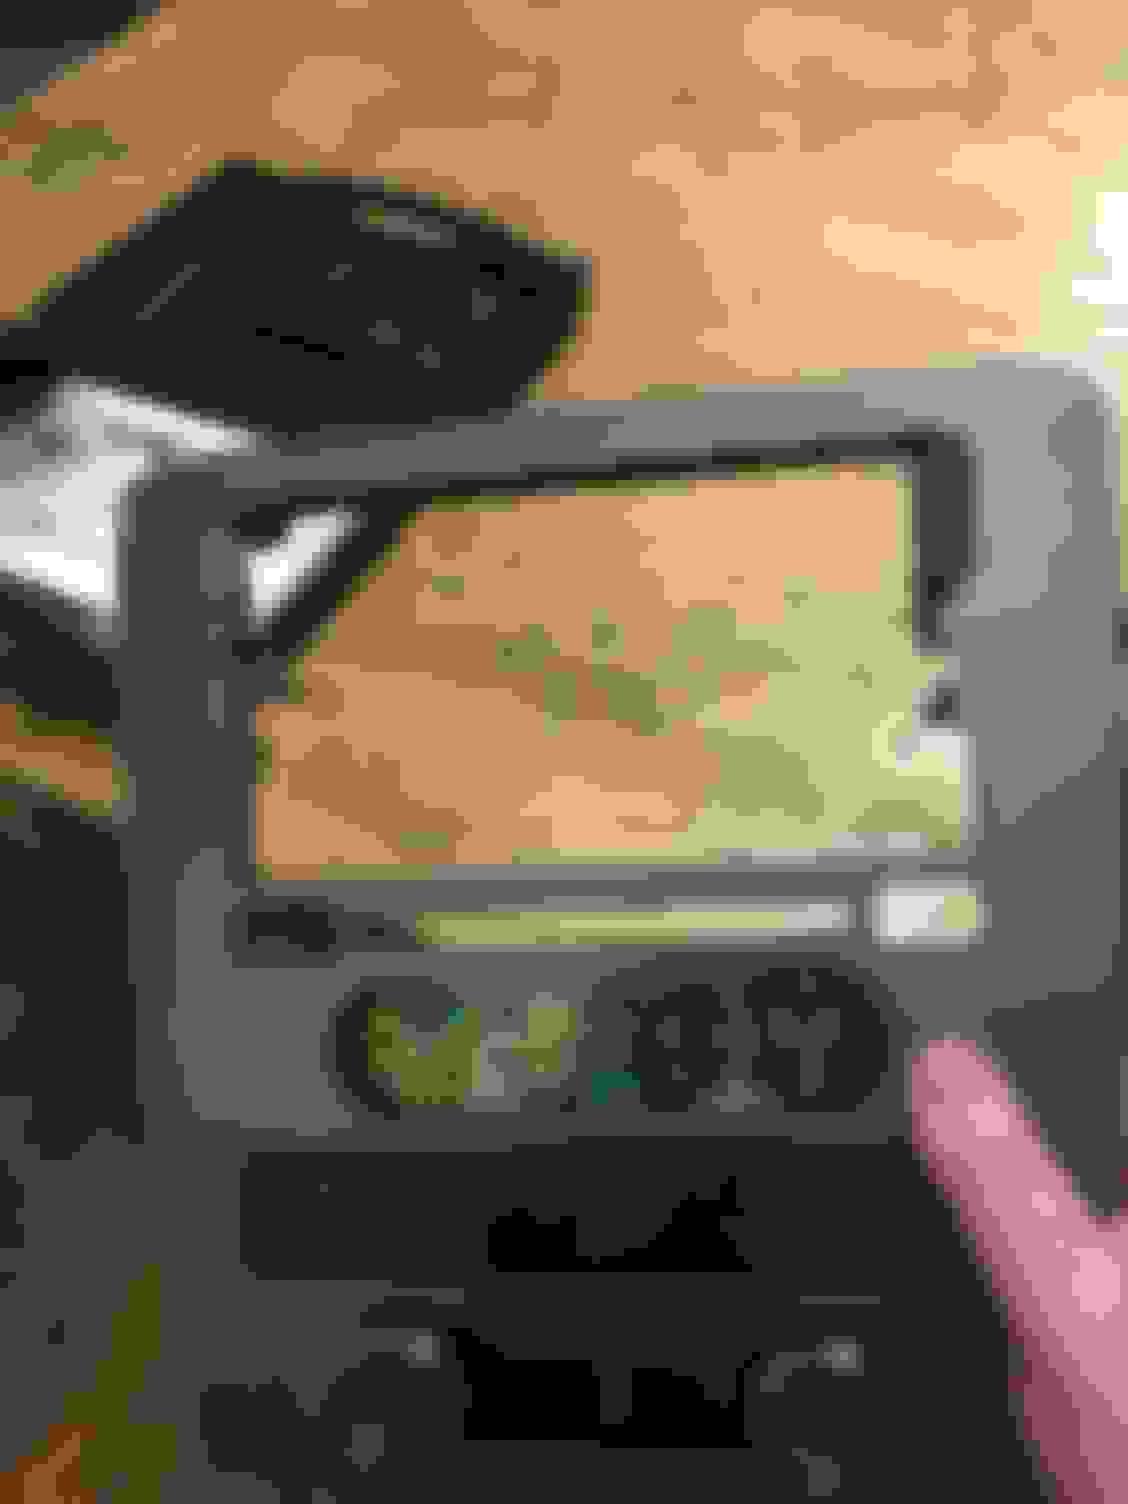
before:
After:
Time to test to make sure that the HVAC controls still worked, or if I'd have to do some tracing of the cut traces and make any kind of custom circuit. Also make sure that nothing started smoking or anything.
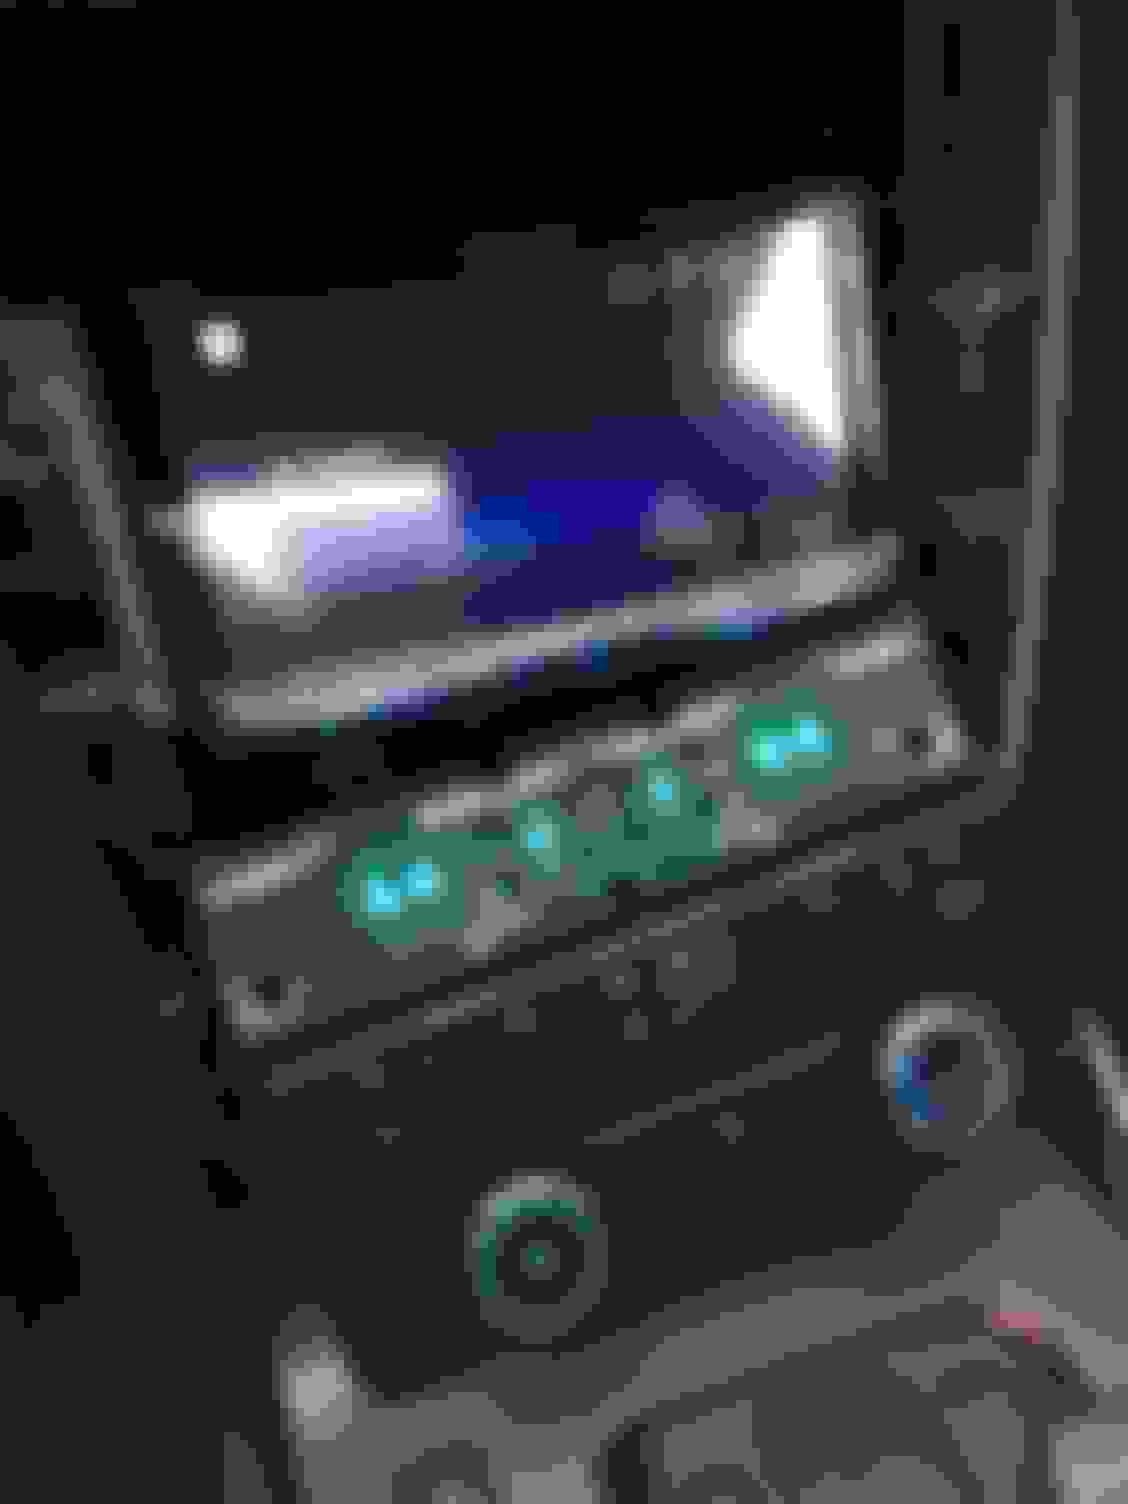
Original stereo:
Removed stereo+SYNC screen, relocated climate module, bent brackets out of the way
Test fit 1:
Good news, all the HVAC controls worked fine, and no smoke or fire! We can continue on!
(Keep in mind, this is the basic HVAC system, no heated seats, no automatic temperature control, features like that may not work out the same way).
Next was time to test the stereo itself. I bought an Maestro ADS-MRR which is a module ties the new stereo into the existing steering wheel controls, and also connects it to the car's OBD2 system which allows it to see error codes, view the tire pressure, engine stats, show whatever messages would appear on the green and black LED screen that was in the car originally.
Soldered together the wiring harness, flashed the Maestro module, and made a crude bracket out of some metal from an old computer CD drive, just to test the electronics of the install itself and make sure there were no issues. I pretty much had the stereo sort of mounted in the empty compartment, and the PCB with the HVAC buttons precariously lying below it. I drove around like that for a couple of days just to make sure that everything was working correctly with the stereo and temperature controls before I started actually fabricating things.
Now that everythings working right, it was time to make a bracket to actually mount the stereo. I reused the metal brackets from the SYNC LED screen, but the new stereo was narrower than the old screen, so I made some spacers using plexiglass. I don't remember the thickness i used, but basically, each spacer=(width of sync screen - with of stereo)/2.
I used a laser cutter to cut the plexiglass and make screw holes, and used a drillpress with a countersink drill bit to make the screws flush, but it can be done other ways too since a lasercutter isn't exactly a common tool to have on hand. Also doesn't need to be plexiglass, could be wood, but I happened to have some lying around that's the right thickness.
I cut a hole in the control bezel between the old LED screen, and the buttons above the CD slot, that the new stereo could fit through, and did one final test fit. Everything seemed to fit fine, so time to play with bondo and epoxy.
I'm missing some pictures from this process, so I'll try my best to describe what I did. I bought a cheap double din dashkit and used that to be the surrounding bezel of the new stereo. I covered the new stereo(which still had the screen protector from the factory) with painters tape, placed the cheap dashkit bezel on it, then mounted the HVAC bezel in the car like it normally is. I used some 2 part epoxy to attach the dashkit bezel to the HVAC bezel to keep it in place, let the expoxy dry, and took the newly combined piece out. I used Bondo with fiberglass to make a smooth transition from the HVAC bezel to the stereo bezel, sanded it all down. For the holes that had all the old radio controls on it, I glued a thin piece of plastic(a blank drive bay cover from a computer case) behind the HVAC bezel, and filled in the rest of the space with Bondo with fiberglass. Lots of sanding and thin layers of regular bondo later, and it was ready for priming.
Primered it all and did one more test fit, everything was good
I think I did some more sanding, maybe some more thin layers of bondo to smooth it out, and eventually was ready for paint.
I used Dupli-Color BFM0360 to paint it, which was a pretty close match to the center console assembly
Final(ish) result
Few things with that picture;
I removed the sync badge, not realizing it wasn't just stuck on with tape, and that there were holes in it, so that's why there's some Bondo in that picture. I ended up cleaning that up and repainting part of it, it's not perfect but it's good enough. I would not recommend removing the Sync badge.
Also the plastic from the factory was still on the new stereo in that picture, that is gone now. This is an older picture, but the newest I seem to have of the install. Next time I go to the car I'll probably take a new picture and update this post.
Hopefully this all makes sense. Feel free to ask any questions. Hopefully this helps someone who like me is crazy enough to do something like this. Good luck
I know this thread is old, but I really appreciate the time put into it along with the photos. It's the only one I've found of its kind. I would much rather buy a cheap used radio panel and mod it to fit a screen of my choosing rather than spend $800 on a premade setup or buy a kit with cheap looking buttons that places the screen at the bottom. Your final product looks great!