
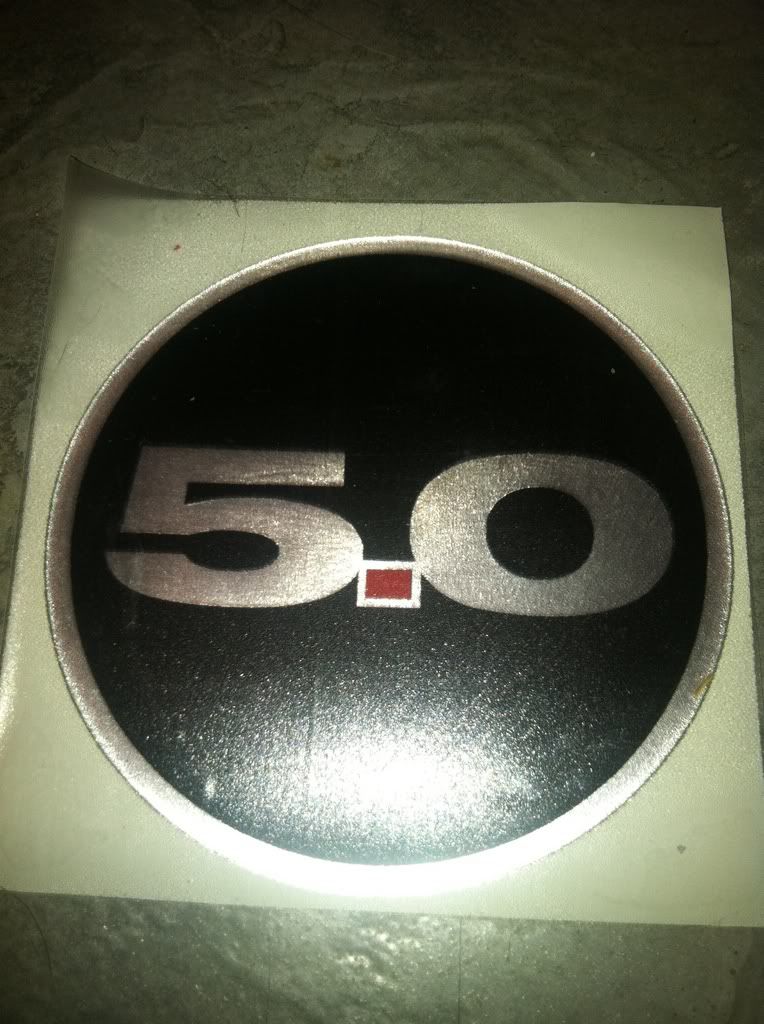
Is this made; 5.0 Faux Gas Cap?
 7/28/11, 08:48 AM
#41
GT Member
Join Date: January 25, 2008
Posts: 153
Likes: 0
Received 0 Likes
on
0 Posts
Instead of using the current "5.0" emblem (which means taking off and disassembling the faux gas cap to remove the "GT" black disc and the "FORD" inner ring), why not use the older smaller "5.0" emblem (which means only having to take off the "GT" black disc and replacing it with a new black disc with the older "5.0" emblem)? My only question is whether there is a reason that the current black disc is concave or can it be replaced with a black disc that is flat????
 7/28/11, 09:06 PM
#42
Bullitt Member

Join Date: May 22, 2011
Location: The Motor City
Posts: 397
Likes: 0
Received 0 Likes
on
0 Posts
It is convex for looks, but it can be replaced with a flat disc easily. I bought a couple spares to experiment with and made a test disc, which fits great and looks decent, but the bevel adds a bit to it, so I'm thinking about making some molds for some replacement centers that have shape to them.
7/29/11, 06:01 AM
#43
GT Member
Join Date: January 25, 2008
Posts: 153
Likes: 0
Received 0 Likes
on
0 Posts
It is convex for looks, but it can be replaced with a flat disc easily. I bought a couple spares to experiment with and made a test disc, which fits great and looks decent, but the bevel adds a bit to it, so I'm thinking about making some molds for some replacement centers that have shape to them.
That's good to know - because a member on another post thought a flat disc would not clear the "hump" on the rear deck. I have not been able to find these discs anywhere - would you like to share where you bought yours?
7/29/11, 07:49 AM
#44
Bullitt Member
Join Date: May 22, 2011
Location: The Motor City
Posts: 397
Likes: 0
Received 0 Likes
on
0 Posts
Originally Posted by Speeding Bullitt
J1000
That's good to know - because a member on another post thought a flat disc would not clear the "hump" on the rear deck. I have not been able to find these discs anywhere - would you like to share where you bought yours?
7/29/11, 09:34 AM
#45
GT Member
Join Date: January 25, 2008
Posts: 153
Likes: 0
Received 0 Likes
on
0 Posts
7/30/11, 09:32 AM
#46
Bullitt Member
Join Date: May 22, 2011
Location: The Motor City
Posts: 397
Likes: 0
Received 0 Likes
on
0 Posts
Ok guys, here's what I did. For starters, I bought a couple faux caps as donors to experiment with (tri-bar pony models). I think I actually like the tri-bar pony cap better than my GT one.. Anyways, I went to Home Depot and bought a piece of thick plexiglass/Lexan to use for the new center test piece. It's flat, which looks pretty decent, but now I think I may actually mold a three-dimensional logo instead. I started with the idea of a Punisher logo, and had some vinyl decals cut in satin black last year for my back Grand Cherokee (winter ride; the logo is super subtle over the dark tint on the back window), and had a couple left, so I figured I'd use that for the experiment.
I put down a winter hat to set the cap on, so I wouldn't scrape up the chrome, then got to work. There are 5 points that you need to carefully drill to remove the center. Basically, there are 5 standoffs on the stock center that go through holes in the base, which are then melted flush to retain the piece. You only need to drill enough to get rid of the melted "flange" so they can pull through.
Next, I carefully pulled the center out. It was still kinda stuck in place to due a rubber cement-like adhesive. This left behind two globs of the stuff, as well as two raised areas on the base that are used for alignment of the stock piece. I used my bench grinder to carefully shave those flat, so the ne piece could sit in there.
Next, I took the stock center and ground down the 5 posts so that it could ay flat. I then carefully traced it onto the Lexan, then used my bench grinder to grind it to shape. It drops right into the circle depression in the base.
Next, I covered the Lexan circle I made with some metallic silver vinyl I had laying around, then put the Punisher logo on top of that, and trimmed it up. It fits perfectly in the center of the base, and looks pretty good. Now, I don't plan on leaving it silver, and don't necessarily plan on it having the Punisher logo either; this was just a concept test using stuff I had laying around for the most part.
Now that this first test is done, I may actually make some molds and mold a three dimensional piece, more like the stock ones. You can see in the one pic how much thicker the stock center is (note also how the sides are beveled inwards). Anyhow, that should give you an idea of how to get started. I spent maybe 30-45 minutes total on this project.
7/30/11, 09:41 AM
#48
Shelby GT350 Member
Originally Posted by J1000
and the rest of the pics
Last edited by Hytek; 7/30/11 at 09:42 AM.
7/30/11, 06:39 PM
#50
Mach 1 Member
That is an absolutely fantastic job man. I can't wait to see what you end up doing for your final badge. I bet you could easily sell that Punisher badge for twice what you have into it.
7/31/11, 10:26 PM
#51
GT Member
Join Date: January 25, 2008
Posts: 153
Likes: 0
Received 0 Likes
on
0 Posts
J1000
Very nice detailed writeup with very clear photos. And the test centerpiece looks great. I will stay tuned to see the final piece for sure. I saw from another thread that the diameter of the center piece is 4". Could you provide outside diameter measurements for the inner and outter rings?
Very nice detailed writeup with very clear photos. And the test centerpiece looks great. I will stay tuned to see the final piece for sure. I saw from another thread that the diameter of the center piece is 4". Could you provide outside diameter measurements for the inner and outter rings?
8/4/11, 03:11 PM
#52
GT Member
Join Date: January 25, 2008
Posts: 153
Likes: 0
Received 0 Likes
on
0 Posts
J1000
I just received a GT faux gas cap I bought from flea bay to play with. Two things that look different from your Pony faux gas cap: I noticed that yours had a light grey rectangular/semi-circle cover on the back held with 2 black washers - mine did not, what is that for? I noticed that mine has two additional posts next to one side of each square hole - yours appeared to not have these or did you also grind these posts down in addition to the two alignment posts?
I just received a GT faux gas cap I bought from flea bay to play with. Two things that look different from your Pony faux gas cap: I noticed that yours had a light grey rectangular/semi-circle cover on the back held with 2 black washers - mine did not, what is that for? I noticed that mine has two additional posts next to one side of each square hole - yours appeared to not have these or did you also grind these posts down in addition to the two alignment posts?
8/4/11, 04:03 PM
#53
Bullitt Member
Join Date: May 22, 2011
Location: The Motor City
Posts: 397
Likes: 0
Received 0 Likes
on
0 Posts
Originally Posted by Speeding Bullitt
J1000
I just received a GT faux gas cap I bought from flea bay to play with. Two things that look different from your Pony faux gas cap: I noticed that yours had a light grey rectangular/semi-circle cover on the back held with 2 black washers - mine did not, what is that for? I noticed that mine has two additional posts next to one side of each square hole - yours appeared to not have these or did you also grind these posts down in addition to the two alignment posts?
I just received a GT faux gas cap I bought from flea bay to play with. Two things that look different from your Pony faux gas cap: I noticed that yours had a light grey rectangular/semi-circle cover on the back held with 2 black washers - mine did not, what is that for? I noticed that mine has two additional posts next to one side of each square hole - yours appeared to not have these or did you also grind these posts down in addition to the two alignment posts?
 8/4/11, 07:47 PM
#56
GT Member
Join Date: January 25, 2008
Posts: 153
Likes: 0
Received 0 Likes
on
0 Posts
Have a pic? I'm assuming the "light grey rectangular semi circle" you're referring to is the peel-off backing for the adhesive sticker that holds it in place. If yours came off a car as opposed to being new, the adhesive disk may have been removed. The two posts with the black clips are to help snap it in the holes in the deck lid to supplement the adhesive, I think.
OK - That's the reason the peel-off backing is missing on mine - as are the black clips.
8/4/11, 07:54 PM
#57
Cobra Member
Join Date: July 12, 2010
Location: Southern California
Posts: 1,310
Likes: 0
Received 0 Likes
on
0 Posts
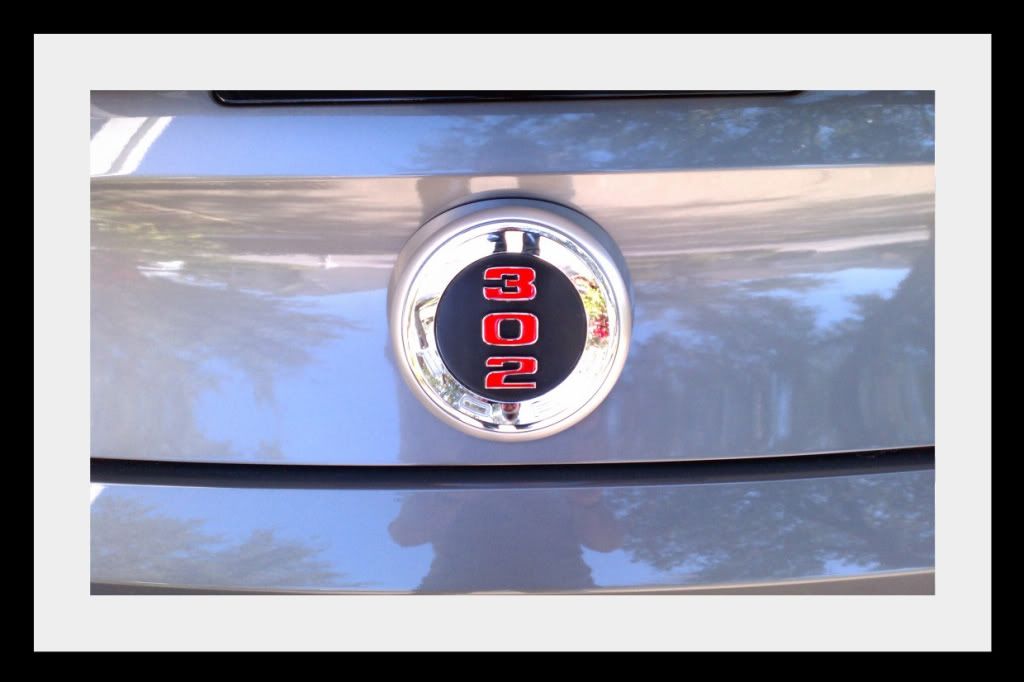
Originally Posted by eliyarbrough
Oh yeah, here's what I'll now use.
Not a good pic, it was the best I took though.
Not a good pic, it was the best I took though.
8/4/11, 09:11 PM
#58
Member

Join Date: March 16, 2011
Posts: 2
Likes: 0
Received 0 Likes
on
0 Posts

Thread
Thread Starter
Forum
Replies
Last Post