
Gary's ***Project Bronco***


Thread Starter
Post *****
Joined: October 9, 2007
Posts: 32,808
Likes: 163
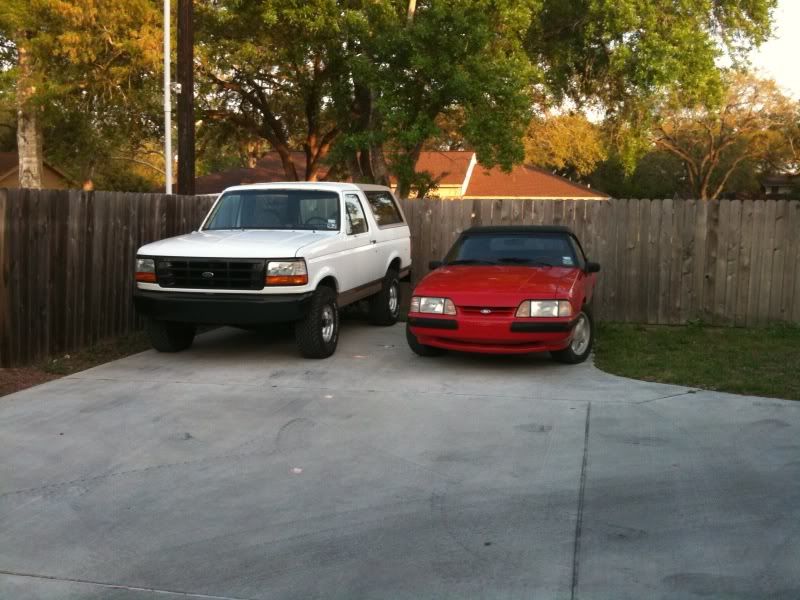
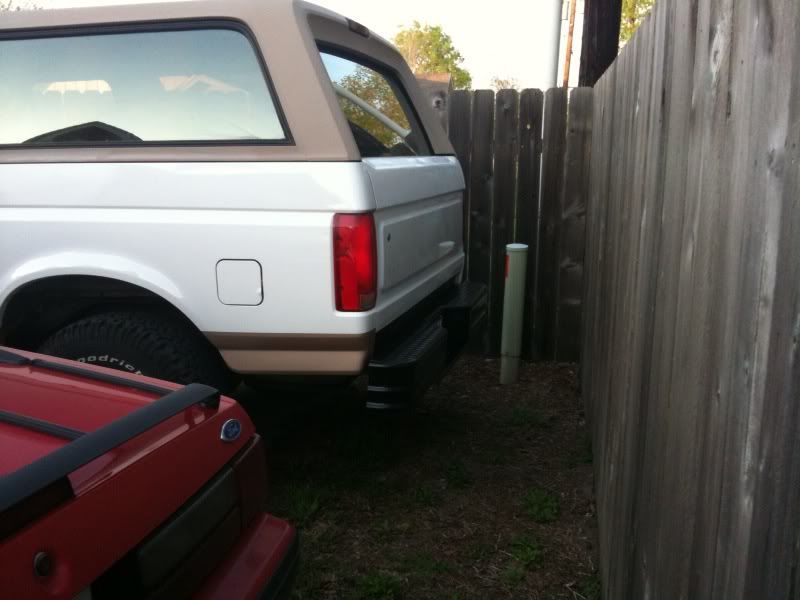
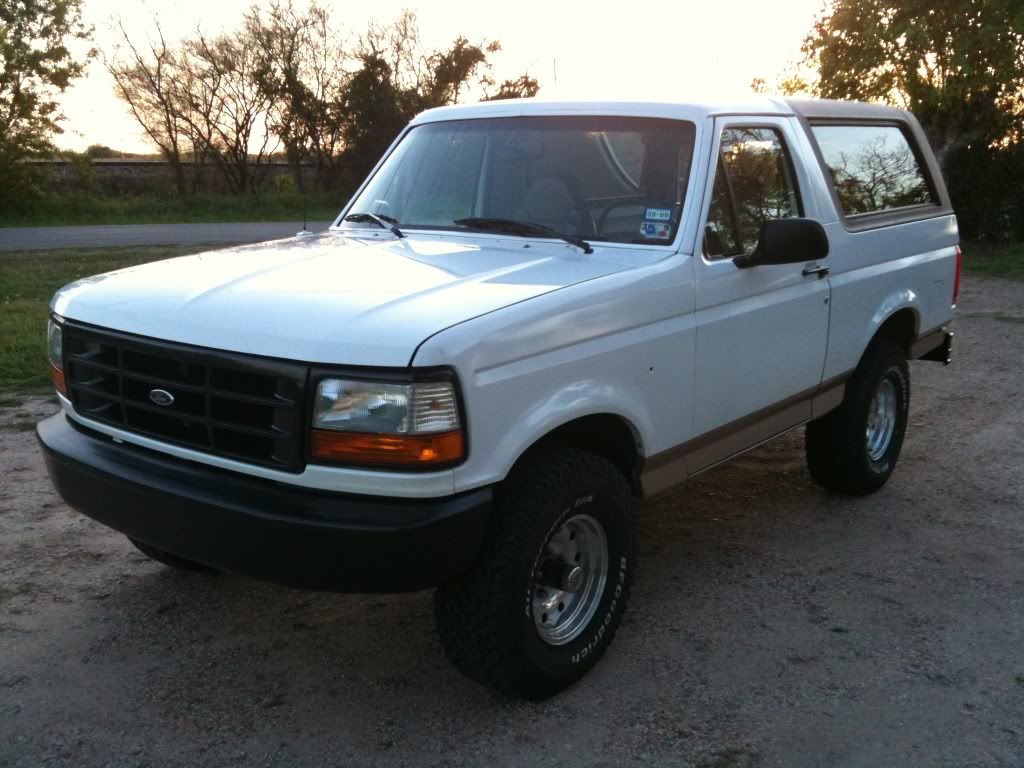
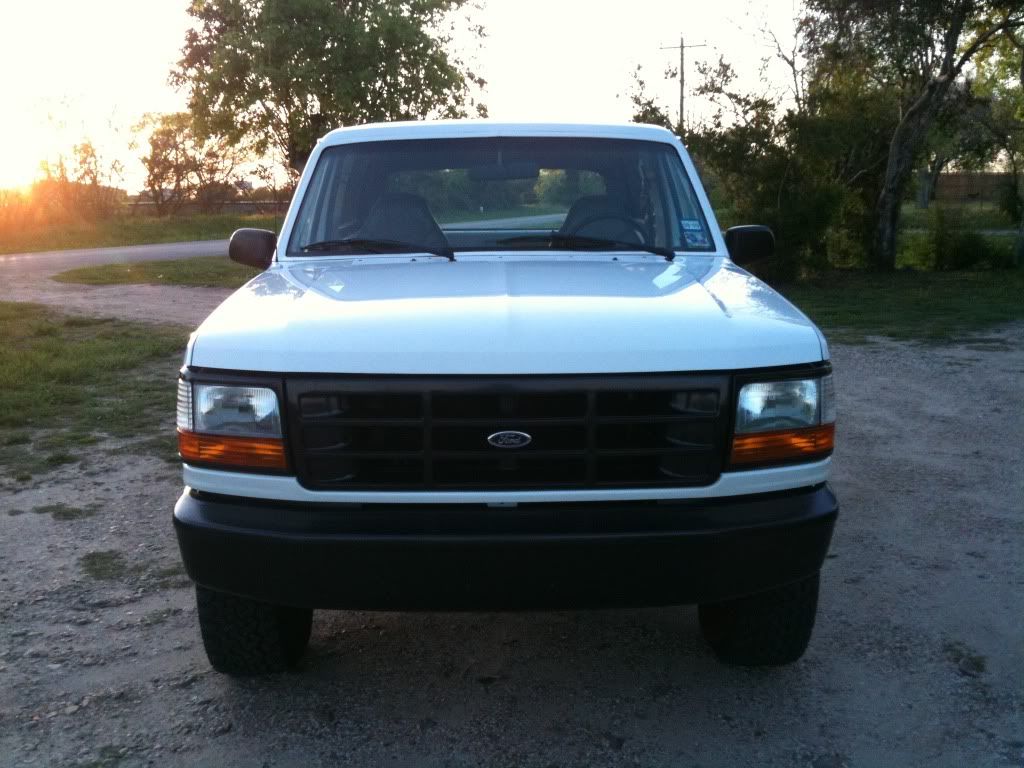
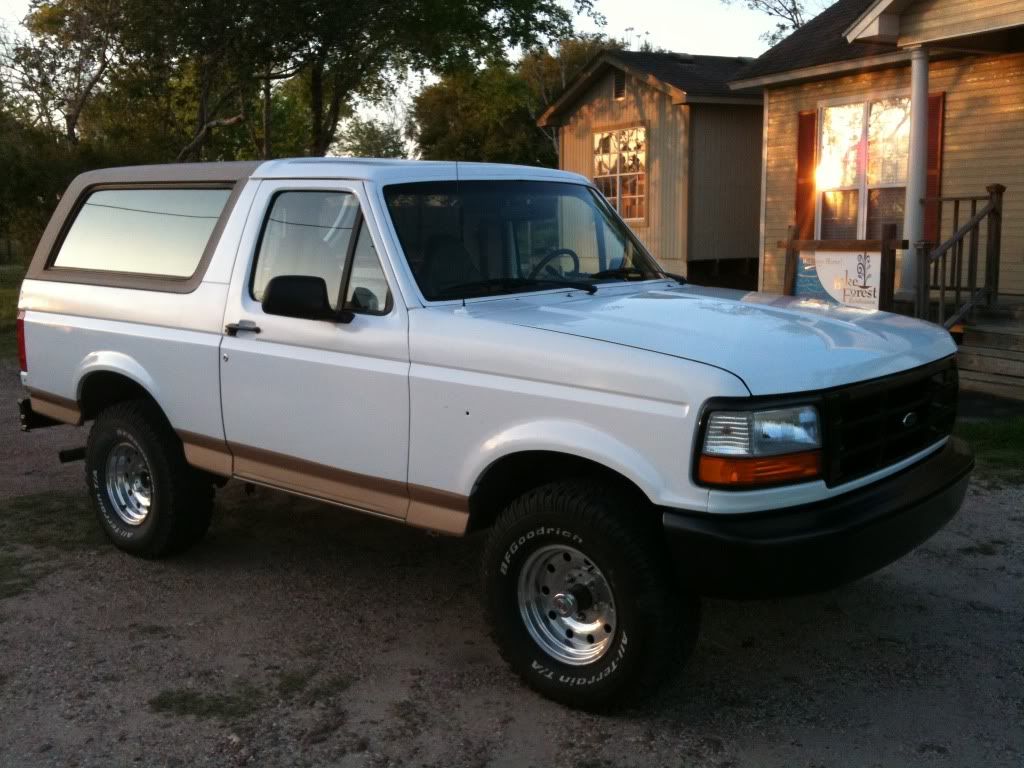
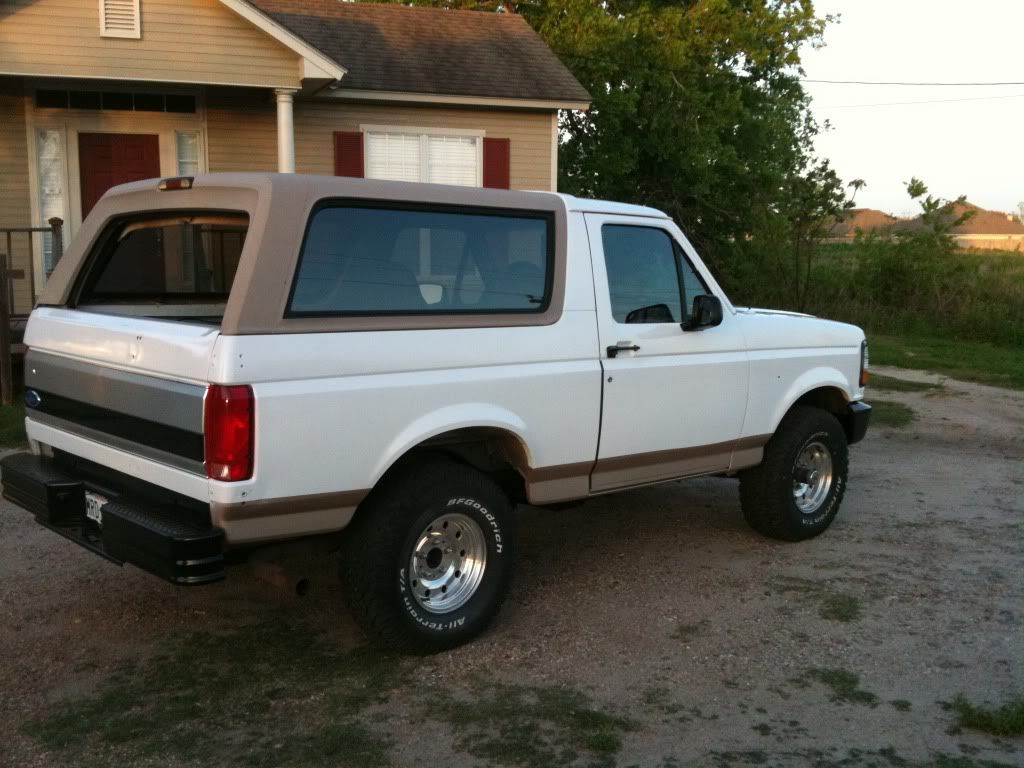
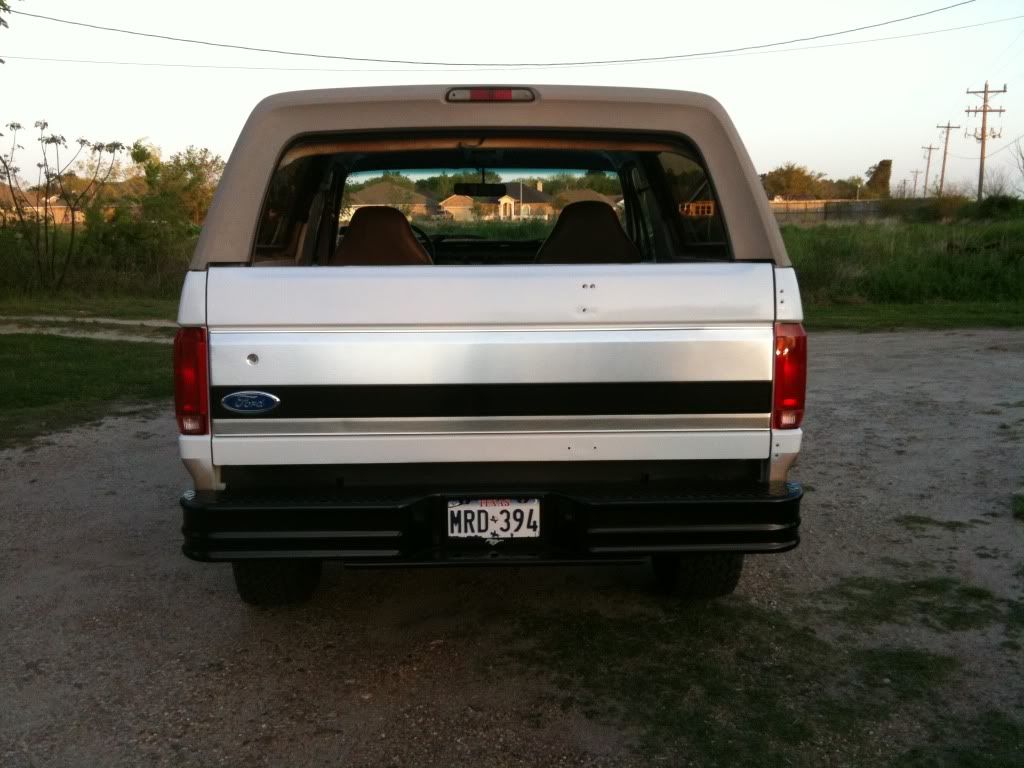
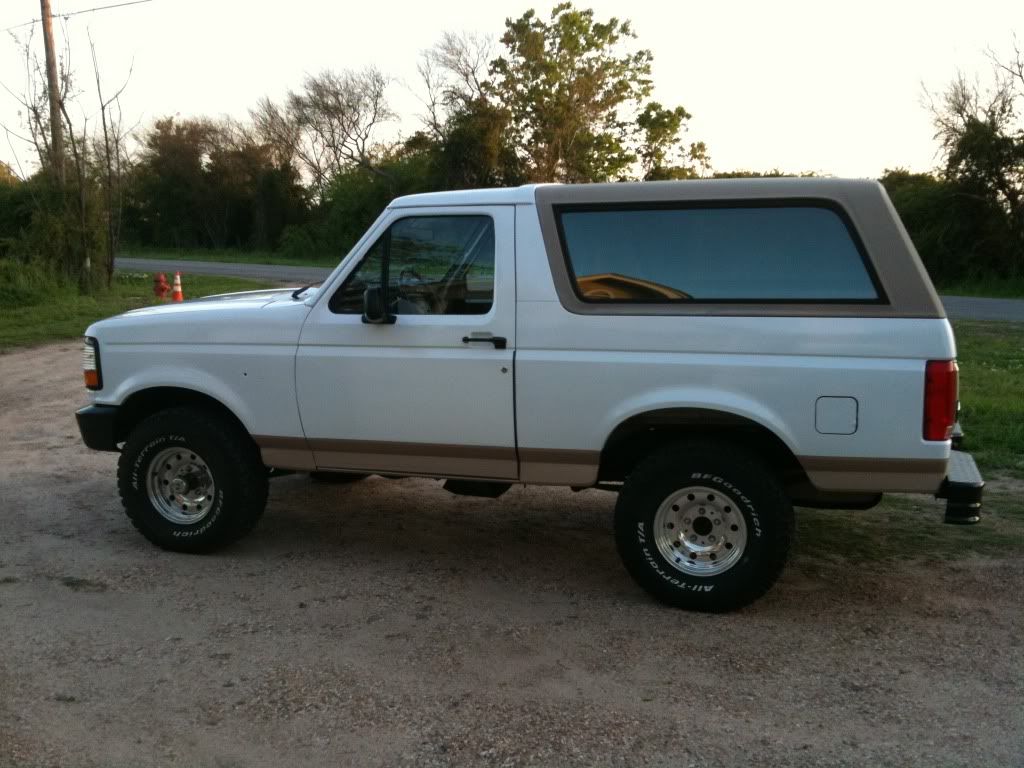
After many adjustments and alot of pushing and shoving the front and rear bumpers are on the truck. 
Looks goof if I do say so myself. Had to shim one side on the front for some reason but its even and level. Same for the back. The bumper didn't line up perfectly with the mounting hardware so I had to use some spacers, but its on and it ain't going nowhere. I just need the rest of the paint to show up and I'll get the exterior finished up.
This weekend the dash goes back in.
I have noticed a couple of things after moving it around the driveway. Alot of water comes out of the muffler and the tailpipe. A surprising amount. Not sure where all that condensation is coming from or why.
The other thing is I hear something in the front drivers side that rubs while the wheels are in motion. The sound increases with speed. I don't think its a brake pad or rotor as it sounds deeper than that. ALmost like a bearing or something. Could be a driveshaft or universal joint though as they are on that side too. Not sure what it is yet.
I also still need to fix the oil pan leak and stuff. I've been putting it off for 2 years now almost. Still haven't decided what to do there. Pull the motor and have it overhauled as it has more than 113k miles on it. Or try to do it with the motor in the car and hope I don't have problems.
Nice! 
The notch had a ton of condensation coming out of the exhaust a couple summers ago. Not sure what it ever was, but it eventually rusted, and I had to replace a cat, muffler, and tailpipe. It helps if you drive it around and burn off some of the accumulated water, though I understand you can't really do that right now.
The notch had a ton of condensation coming out of the exhaust a couple summers ago. Not sure what it ever was, but it eventually rusted, and I had to replace a cat, muffler, and tailpipe.
It helps if you drive it around and burn off some of the accumulated water, though I understand you can't really do that right now.
Legacy TMS Member Pr
Joined: January 31, 2008
Posts: 5,669
Likes: 40
From: PR
That happens a lot here too. If you have too much humidity, water vapor will accumulate in the mufflers and cats, and when the climate gets hotter, the air will just separate from the water and leave it there Firing it up every once and then will help eliminate the accumulation.
Firing it up every once and then will help eliminate the accumulation.

Post *****
Joined: December 14, 2007
Posts: 19,953
Likes: 4
From: State of Jefferson Mountains USA
I've read on storage threads that you need to do more than just fire it up.
When I warm the Bullitt up during winter storage (only 2-3 times during the winter), I make sure then engine runs long enough for the fan to come on. Hopefully this way the entire exhaust is up to temp so that moisture will evaporate when you shut down - rather than rust your mufflers out.
I start it up and let it idle awhile, drive in 1st to the mailbox and back (about a mile) revving a bit. Let it idle before pulling in the garage until the fan is on, then pull it in and turn off.
I'll let you know in about 5 more years if this saved the exhaust & mufflers from rusting out.

Black looks good. 
Thread Starter
Post *****
Joined: October 9, 2007
Posts: 32,808
Likes: 163
I hate painting cars without proper equipment.
I found a source for Dupont chromabase paint in a rattle can and I used it on teh Bronco with great results.
Let me emphasize I did not paint the entire vehicle with it. Only spots. Mostly the tailgate and the drip guards above the doors. What screwed me is when I took the pinstripes off there was something left behinds in the clear coat. There were ridges you could feel and ghost lines you could see.
I started with prep work on grinding or cutting out the rust. Had metal welded in, ground that, bondo, sanding, lots of sanding, found a high dollar spot prime. Spent hours upon hours of sanding 400 grit, 1000 grit. Sprayed the urethan based paint had it perfectly coated and smooth as glass. Color was fantastic. My prep work was flawless. Everything was going so well. Then the clearcoat. This place had a 2k clearcoat in a special can that you activated it before you used it. I got three cans. I should have gotten six. The areas like the tailgate look fantastic. But that was an area where I painted the whole thing. Same goes for the cowl and the tops of the doors and a and b pillars. Even the front fenders. Problem was I was quickly running out of clearcoat. And I made a decision to try to cover the rest of the area without enough.
I had some other clearcoat but I found out that yellowed really bad on some white pieces I had painted last week for the interior. This other stuff looks great. I just didn't know how far it would go.
As Dirk probably knows clearcoat it seems needs a full coat to cover. The tailgate I laid on two full coats and it looks wet and shiny like it should. Problem is the doors and the rear fender now look splotchy. I haven't damaged the paint or anything. I just ran out or clearcoat. Which sucks because I had the car fully prepped and taped off and everything was covered perfectly. I was so close. I had no way of knowing how far I would get. The problem arose because as I tried to blend the new with the old, it became apparent it wasn't blending very well. So I ended up trying to cover to much area without enough material.
Well. I'm gonna try to cut and buff it. Maybe next weekend. The car ha enough clear coat on it where I put new paint. Its just splotchy on the old parts where I tried to feather it. I think a polish might do something for it. Probably try a little wet sanding with a 1500 grit first and make sure I'm not getting any color off the car.
So that was my day.
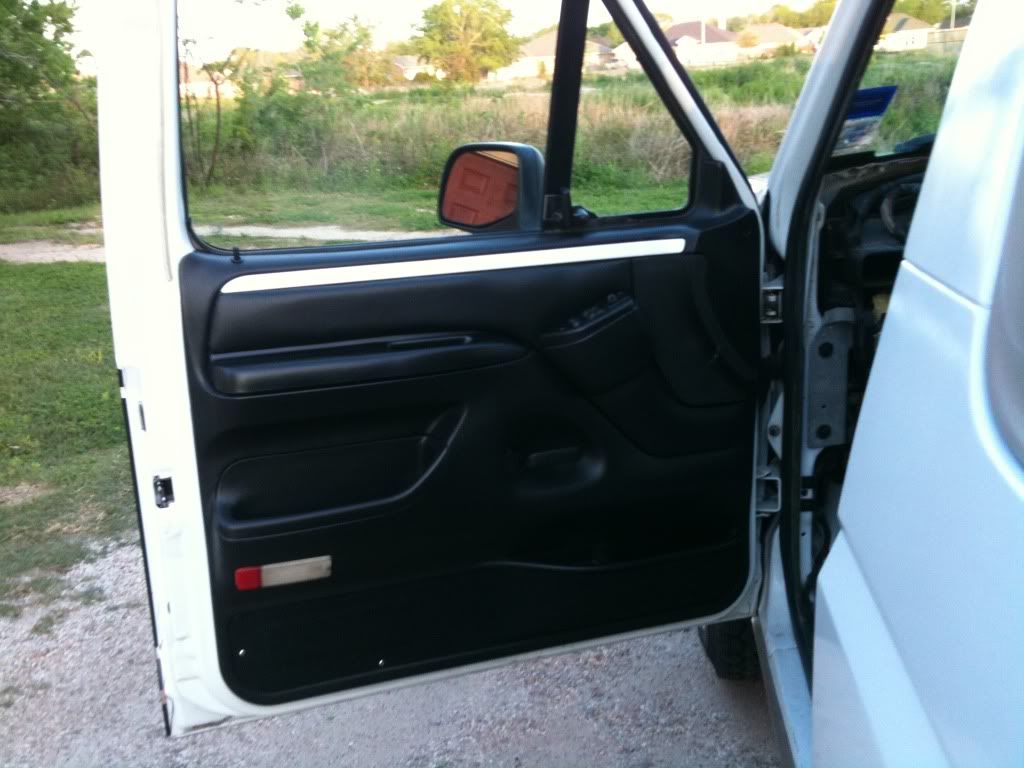
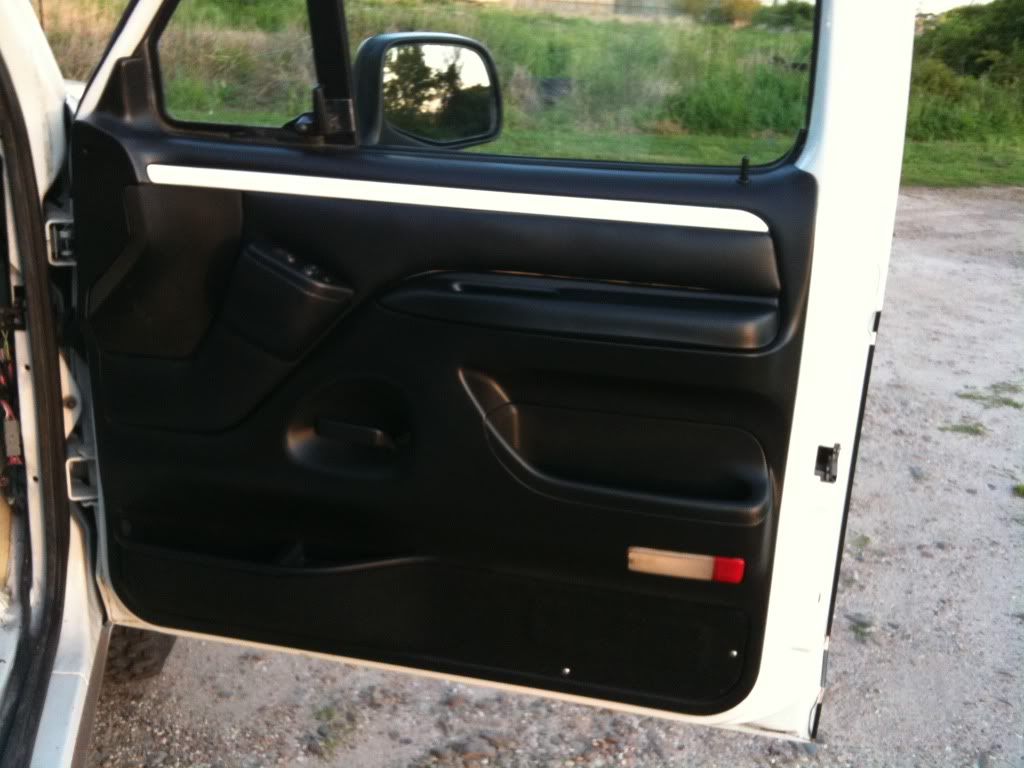
I also managed to put the new mirrors back on, and I changed the door handles out to black ones.
So now the only chrome on the car is the three keyholes, 2 doors and the tailgate.
I also changed out the rear taillights for some new ones. The others had really turned a yellowish black and the reverse lights looked tinted almost.
Oh. Almost forgot. I also finally finished the new dash pad. It was vinyl with holes in it. Well I fiberglassed it and then bondoed it. Then sanded it repeatedly until smooth as can be and painted it, and sanded it. I did this over and over and over again till I finally got it perfect.
So with some luck interior work tomorrow and some pics.
I really need to get the line-x sprayed on. The tan just doesn't look right anymore. She looks like a Bronco Custom or XL now.
I found a source for Dupont chromabase paint in a rattle can and I used it on teh Bronco with great results.
Let me emphasize I did not paint the entire vehicle with it. Only spots. Mostly the tailgate and the drip guards above the doors. What screwed me is when I took the pinstripes off there was something left behinds in the clear coat. There were ridges you could feel and ghost lines you could see.
I started with prep work on grinding or cutting out the rust. Had metal welded in, ground that, bondo, sanding, lots of sanding, found a high dollar spot prime. Spent hours upon hours of sanding 400 grit, 1000 grit. Sprayed the urethan based paint had it perfectly coated and smooth as glass. Color was fantastic. My prep work was flawless. Everything was going so well. Then the clearcoat. This place had a 2k clearcoat in a special can that you activated it before you used it. I got three cans. I should have gotten six. The areas like the tailgate look fantastic. But that was an area where I painted the whole thing. Same goes for the cowl and the tops of the doors and a and b pillars. Even the front fenders. Problem was I was quickly running out of clearcoat. And I made a decision to try to cover the rest of the area without enough.
I had some other clearcoat but I found out that yellowed really bad on some white pieces I had painted last week for the interior. This other stuff looks great. I just didn't know how far it would go.
As Dirk probably knows clearcoat it seems needs a full coat to cover. The tailgate I laid on two full coats and it looks wet and shiny like it should. Problem is the doors and the rear fender now look splotchy. I haven't damaged the paint or anything. I just ran out or clearcoat. Which sucks because I had the car fully prepped and taped off and everything was covered perfectly. I was so close. I had no way of knowing how far I would get. The problem arose because as I tried to blend the new with the old, it became apparent it wasn't blending very well. So I ended up trying to cover to much area without enough material.
Well. I'm gonna try to cut and buff it. Maybe next weekend. The car ha enough clear coat on it where I put new paint. Its just splotchy on the old parts where I tried to feather it. I think a polish might do something for it. Probably try a little wet sanding with a 1500 grit first and make sure I'm not getting any color off the car.
So that was my day.
I also managed to put the new mirrors back on, and I changed the door handles out to black ones.
So now the only chrome on the car is the three keyholes, 2 doors and the tailgate.
I also changed out the rear taillights for some new ones. The others had really turned a yellowish black and the reverse lights looked tinted almost.
Oh. Almost forgot. I also finally finished the new dash pad. It was vinyl with holes in it. Well I fiberglassed it and then bondoed it. Then sanded it repeatedly until smooth as can be and painted it, and sanded it. I did this over and over and over again till I finally got it perfect.
So with some luck interior work tomorrow and some pics.
I really need to get the line-x sprayed on. The tan just doesn't look right anymore. She looks like a Bronco Custom or XL now.
Last edited by 2k7gtcs; Mar 27, 2010 at 11:36 PM.
Wow, you've been really busy.  Sucks about the clearcoat. Hope you figure it out!
Sucks about the clearcoat. Hope you figure it out!
Legacy TMS Member Pr
Joined: January 31, 2008
Posts: 5,669
Likes: 40
From: PR
Fantastic work Gary
Now, I have a ?, Did you put the fiberglass over the vinyl or under the foam?, bec. I was told by my old man that the resin would eat away the foam on dash boards
Now, I have a ?, Did you put the fiberglass over the vinyl or under the foam?, bec. I was told by my old man that the resin would eat away the foam on dash boards
Thread Starter
Post *****
Joined: October 9, 2007
Posts: 32,808
Likes: 163
Well its not the entire dash pad, its a pad in the area where a passenger air bag would be if they had them back then. I guess its a soft area on the dash for the passenger to hit with their face in case of collision. It was made up of stock vinyl covering the yellow foam. When i put the resin on it it did bubble up from the holes in the vinyl where the resin was hitting the foam. So yes it was eating at it. I cut these areas out and filled them with bondo and then finished up. So I would agree that the resin eats the foam. Hopefully the foam this is there still has been encapsulated and sealed away from danger. I hope. If not I can just get a fairly good quality dash cover to cover it all up.

Thread Starter
Post *****
Joined: October 9, 2007
Posts: 32,808
Likes: 163
No the vinyl had holes in it. I first used resin, but it bubbled up like alka-seltzer over the exposed foam. So I cut those problem areas out and filled them in with bondo. Then covered my new fiberglass with bondo and so forth.
