
MGW Shifter - Progressive Springs Install (for beta group only)


MGW Shifter - Progressive Springs Install (for beta group only)
This install only applies to the first beta (Group Buy) group only!
As George stated, all shifters with an invoice date of 04/10/07 (and later) will already have the progressive springs installed.
Install
Progressive springs come pre-greased and ready to install.
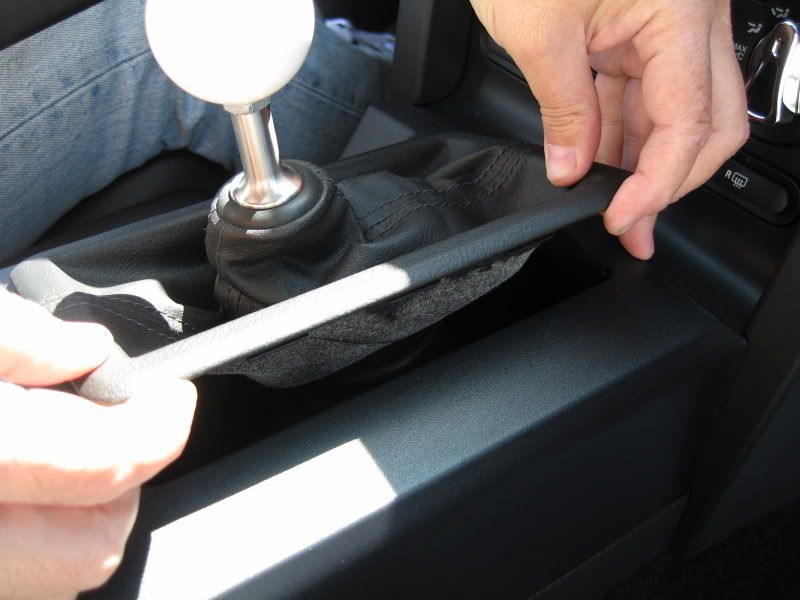
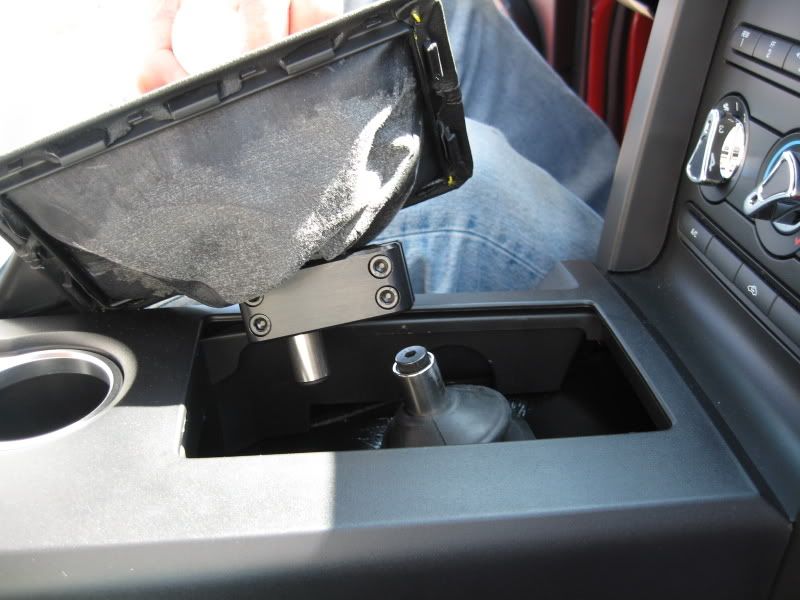
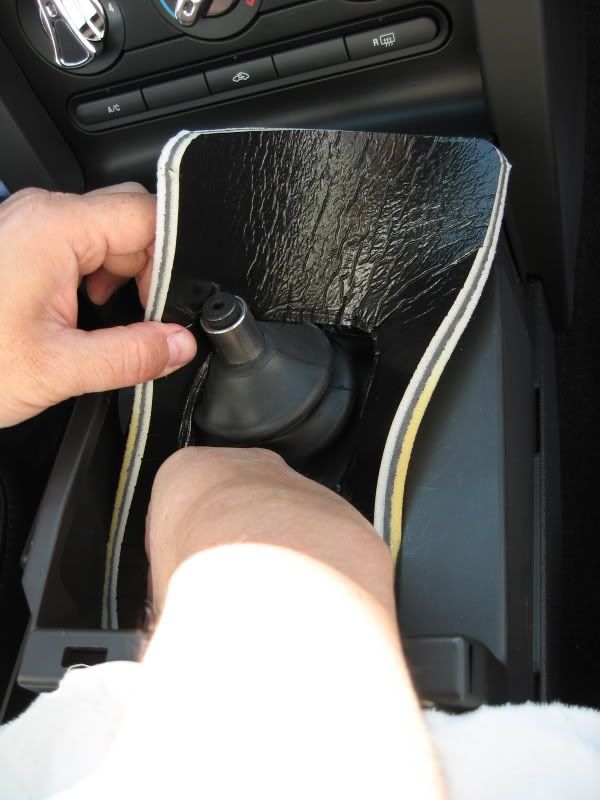
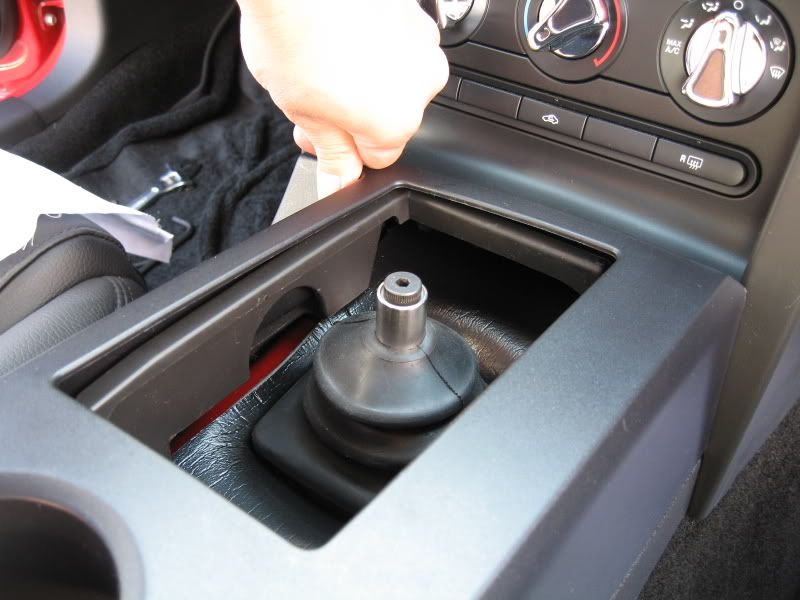
1. Carefully lift up the shift boot frame until it's free from the center console.
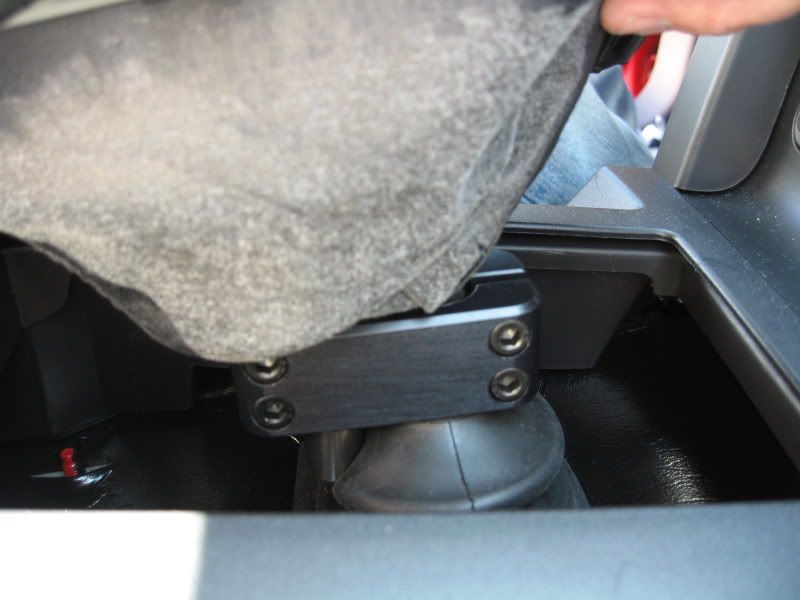
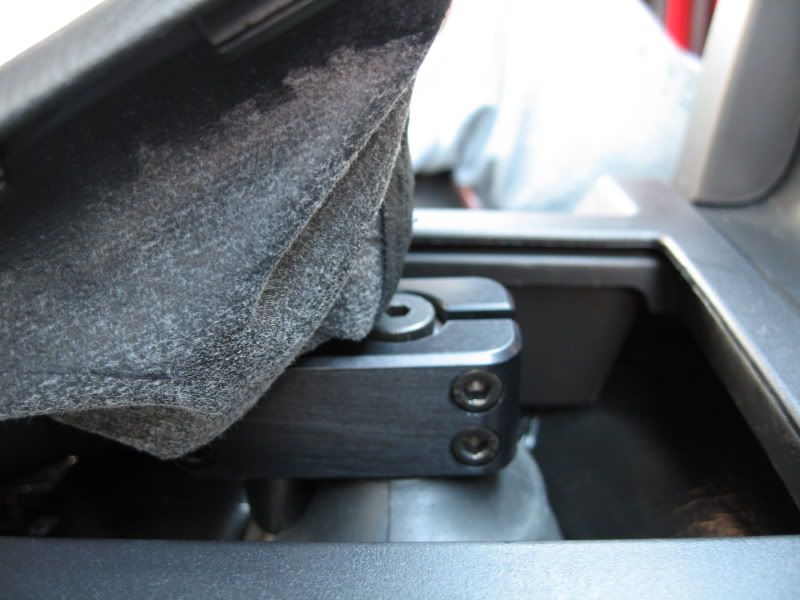
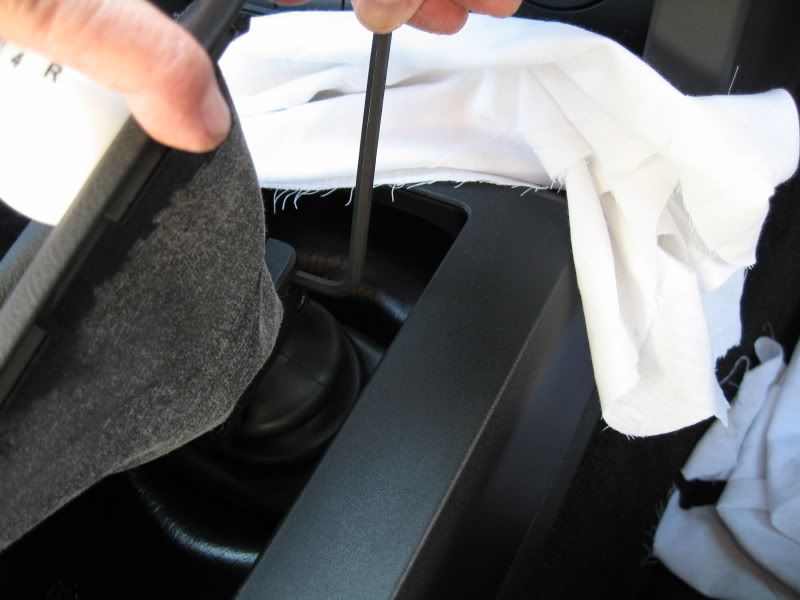
2. Using a 3/16" Allen wrench, loosed the 2 cap screws from the shifter block to the central shift rod. Once loose, the whole shift ****, shaft, and boot can be removed.
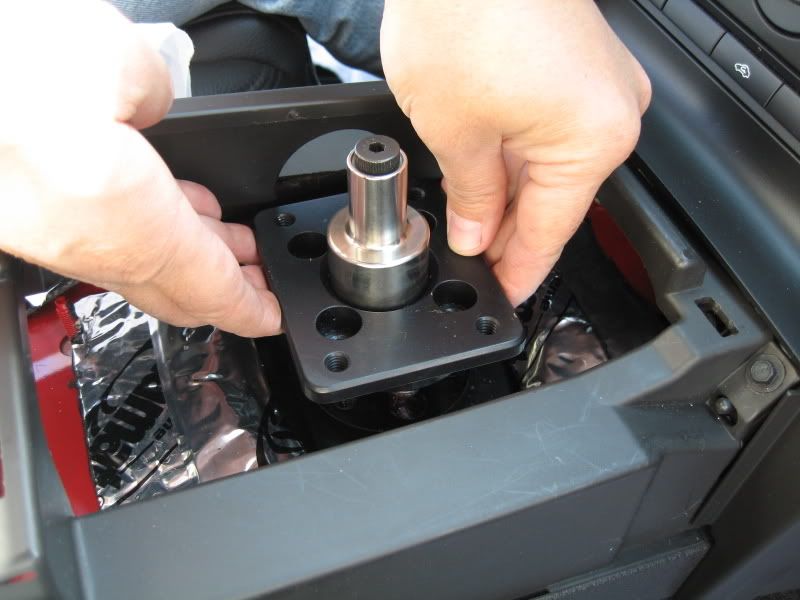
3. Remove center console just like when you installed the shifter.
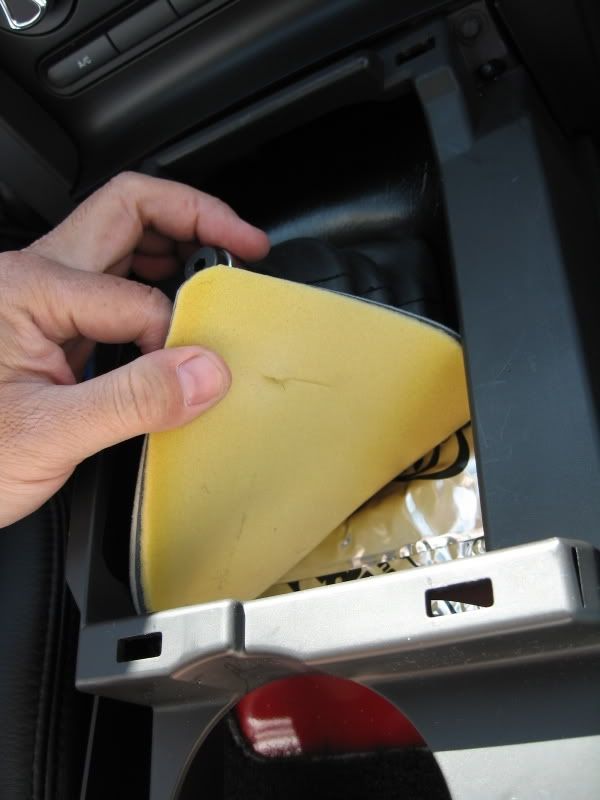
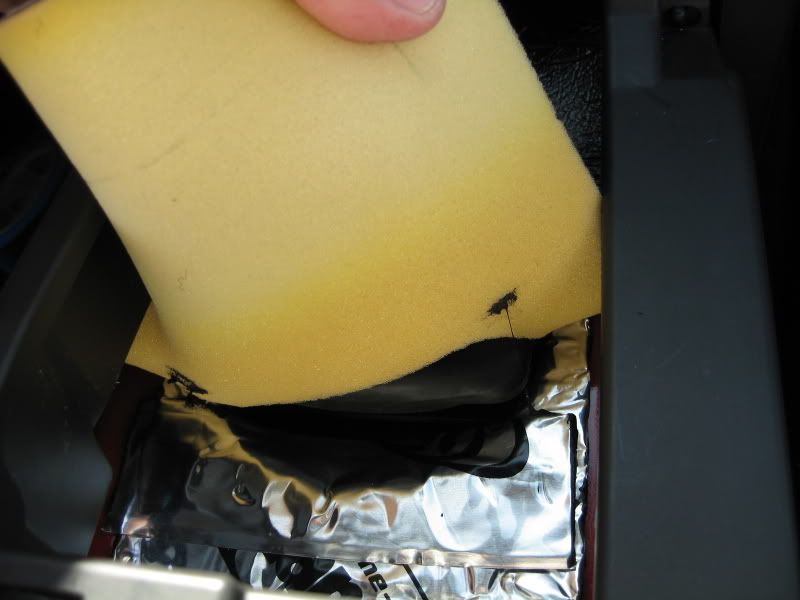
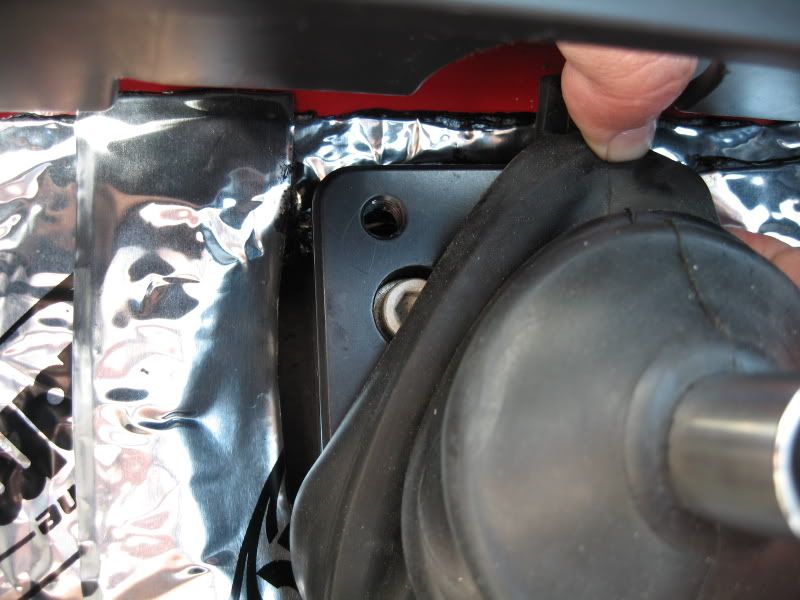
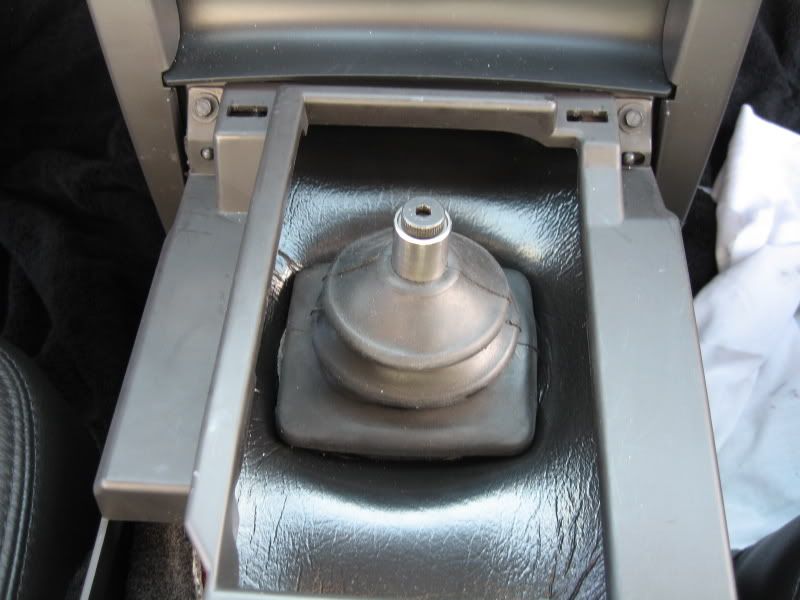
4. Carefully remove the foam pad sound plate.
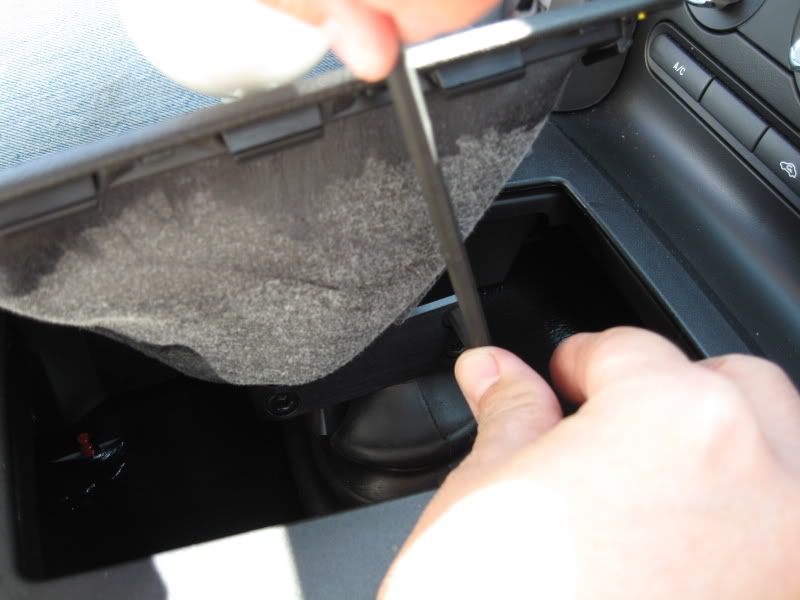
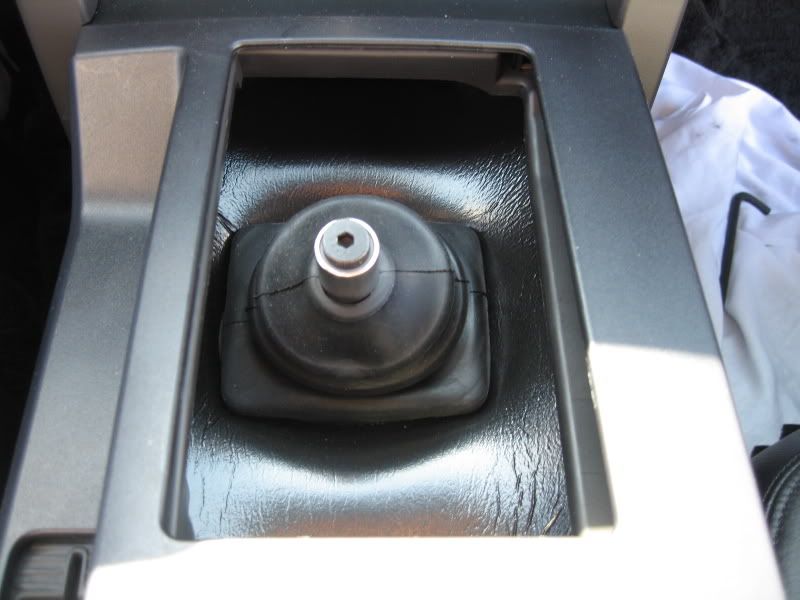
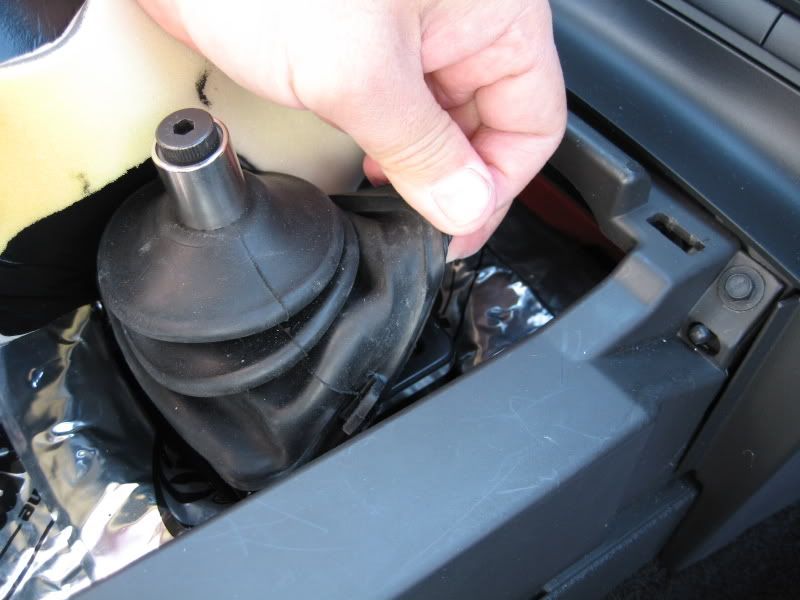
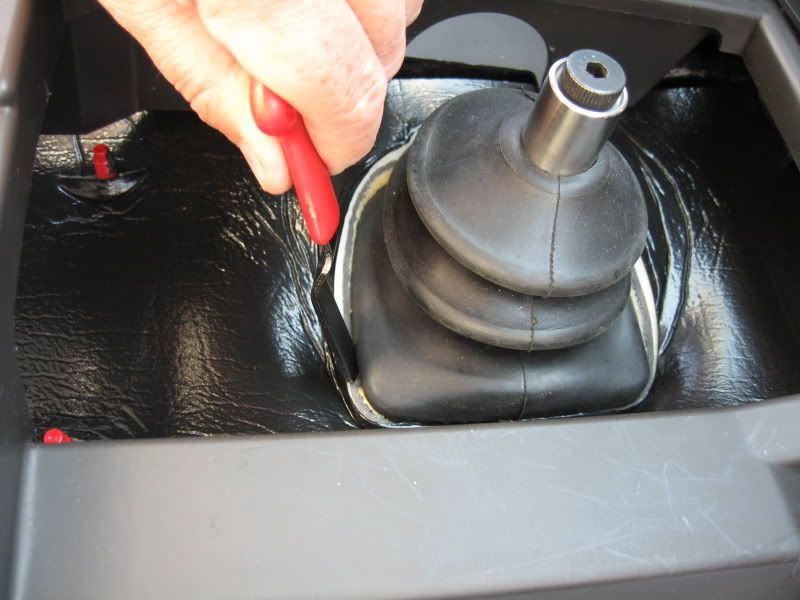
5. Carefully remove the rubber dust boot. Once you get one corner up, the rest comes up pretty easily.
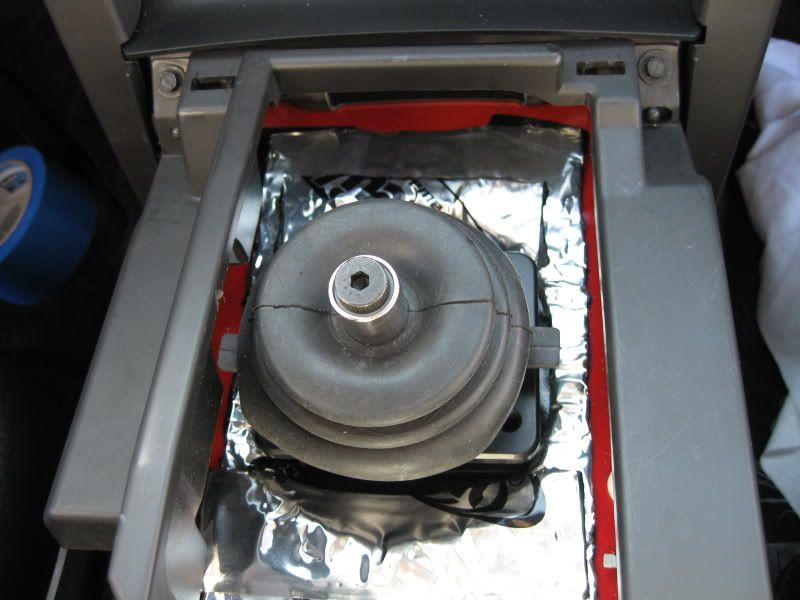
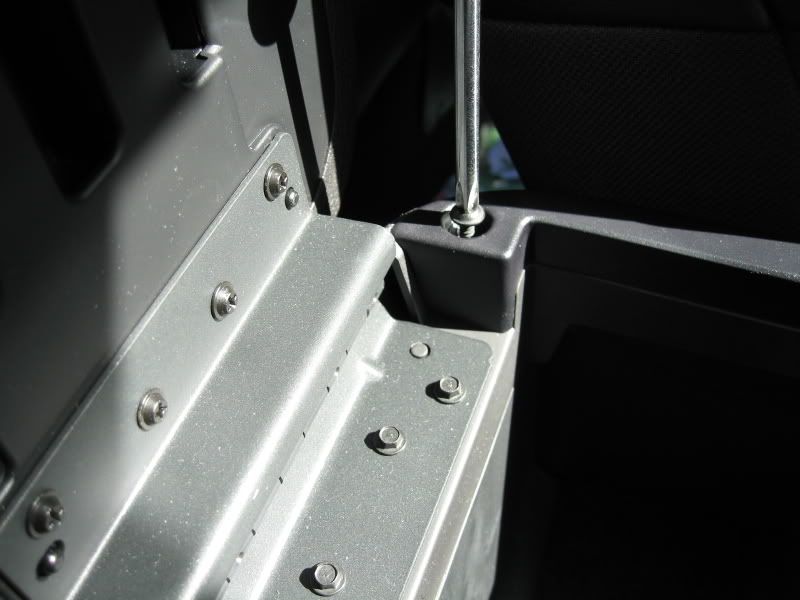
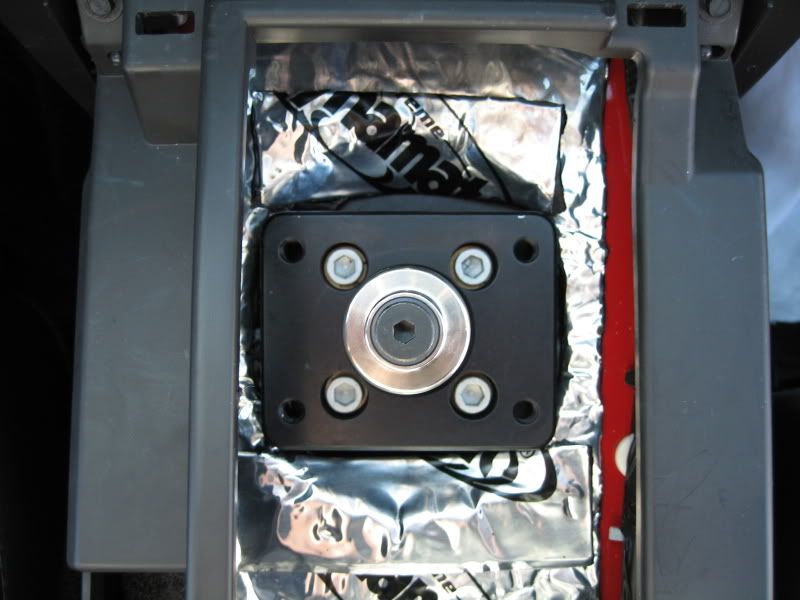
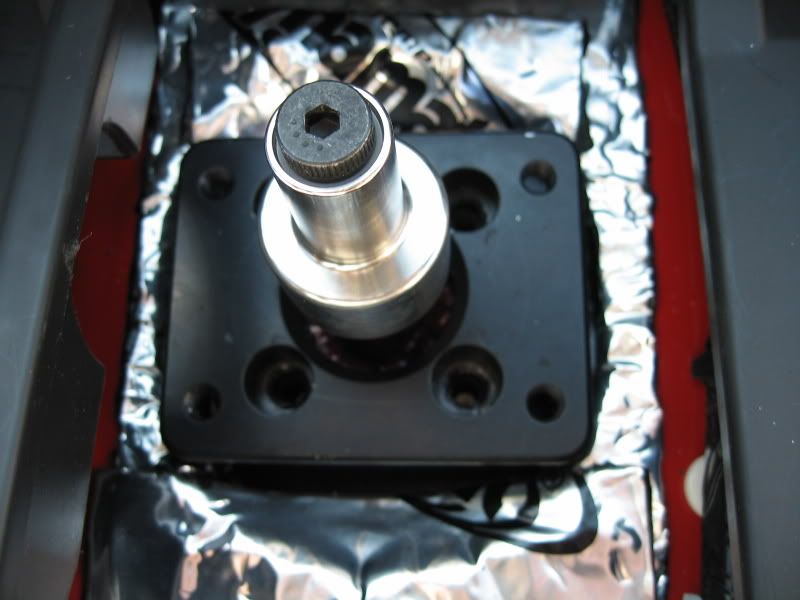
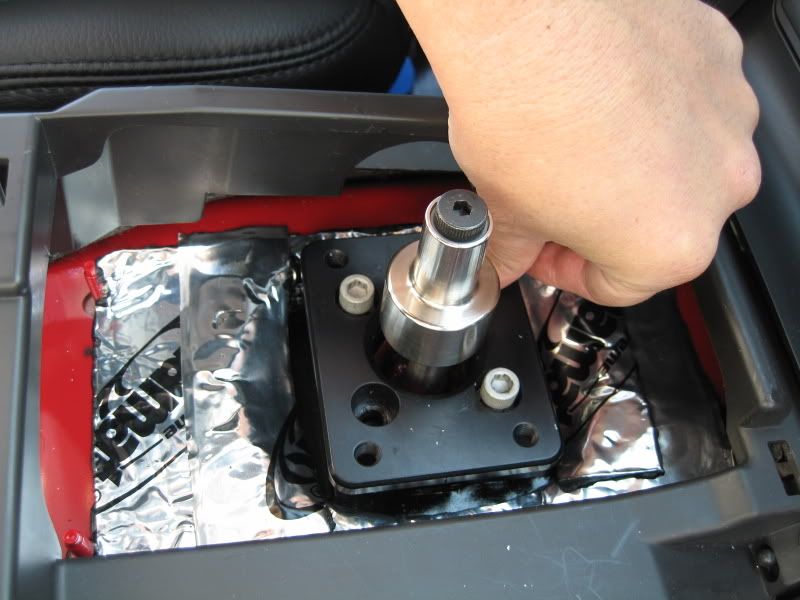
6. Dust boot removed. Take note of the (4) silver 1/4" Allen cap screws.
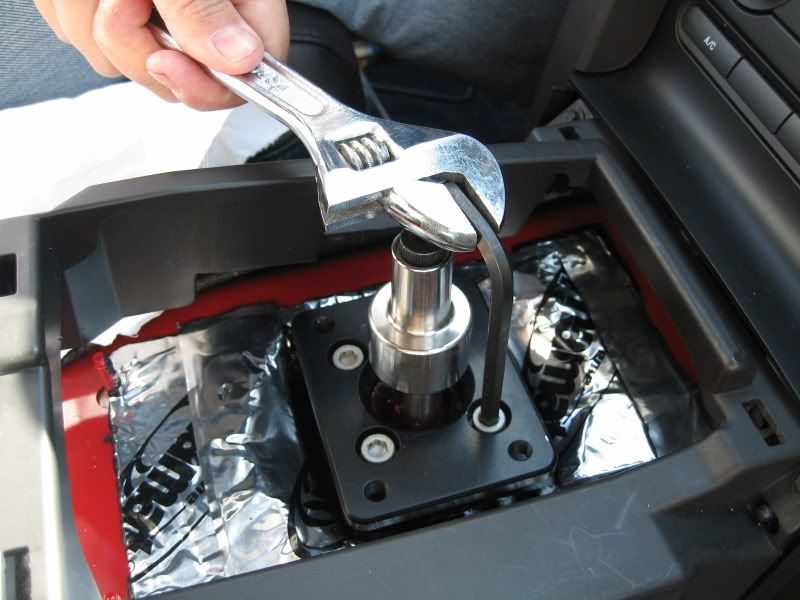
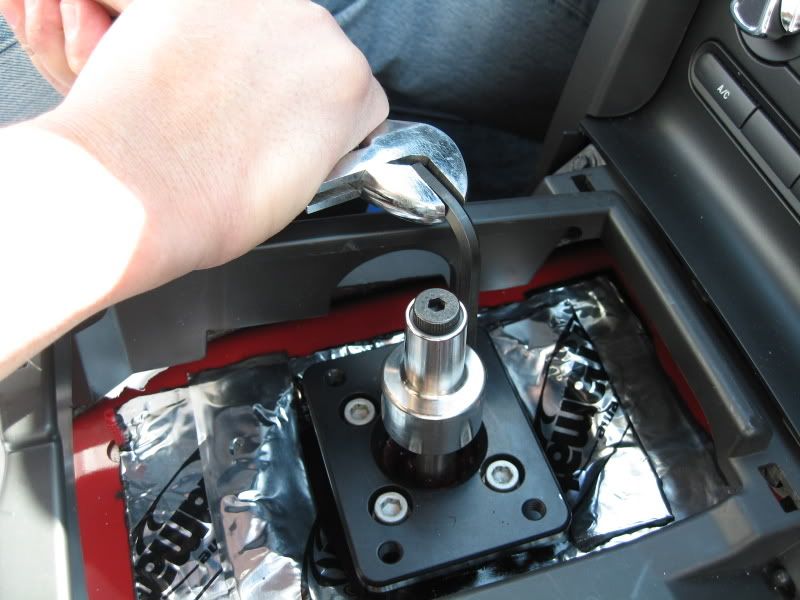
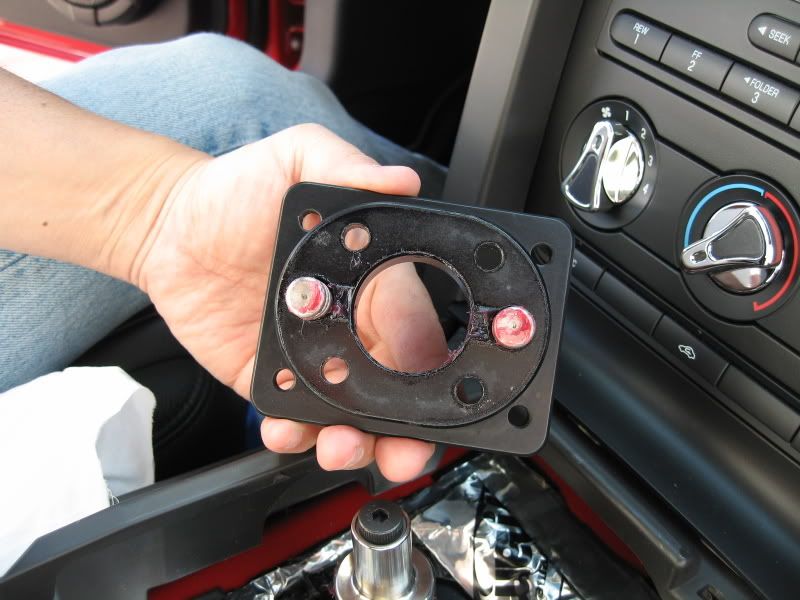
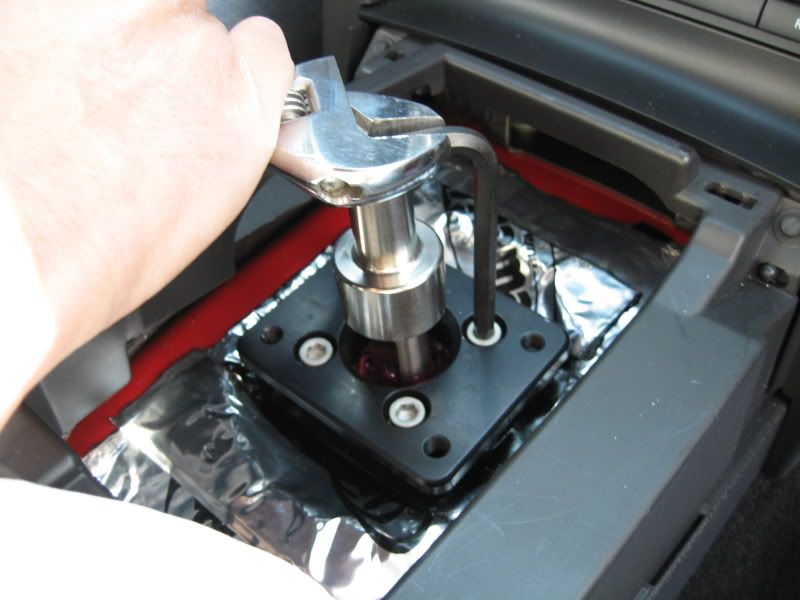
7. Using a 1/4" T-Handle Allen wrench (or an Allen key in a socket), remove the (4) cap screws. If you have neither tools like me, you can just use a standard Allen wrench with a cresent wrench for leverage. Use caution if doing it this way, the Allen can easily slip out from the cresent wrench.
Note: If you have the Stop Kit installed, you may have to remove them to access the screws.
Note: There are lock washers under the head of each cap screw. Careful not to drop them.
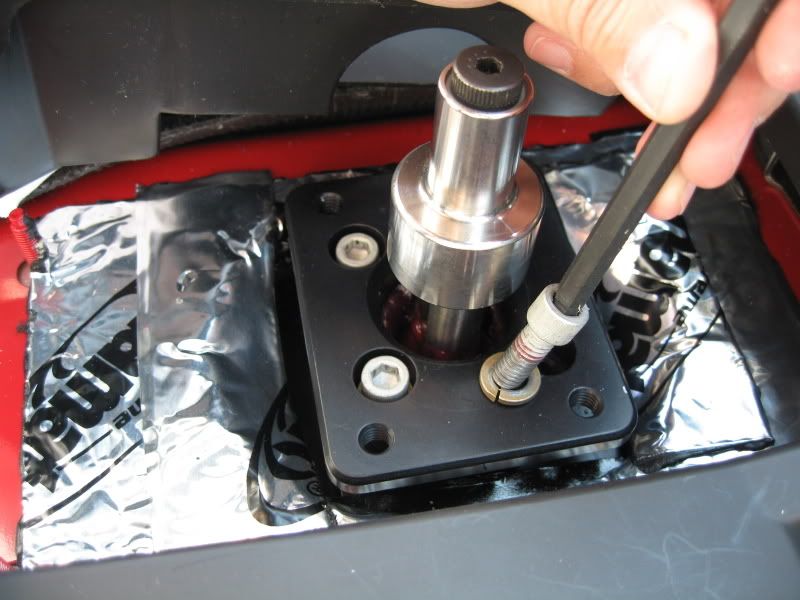
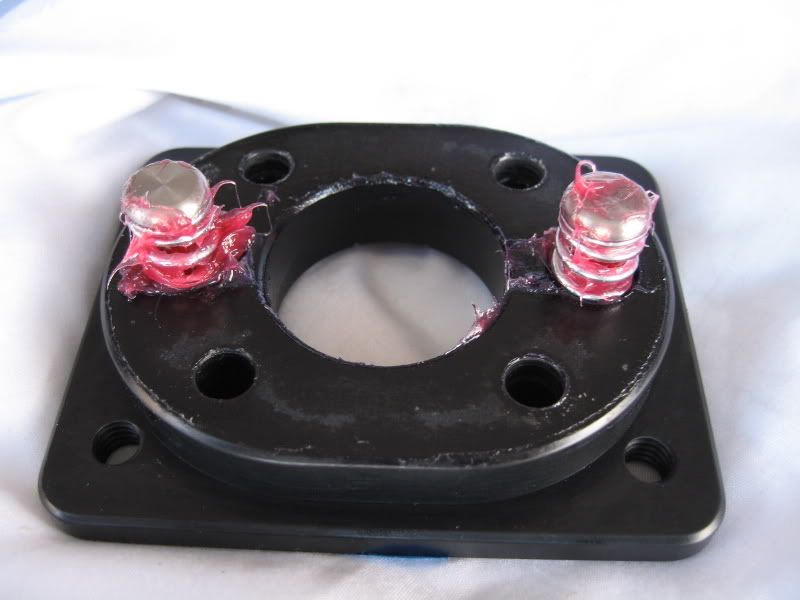
8. Carefully lift the top base cap up. There will be (2) springs with cap ends on one end. If one or both fall from the top base, don't worry, just pick them up and set aside.

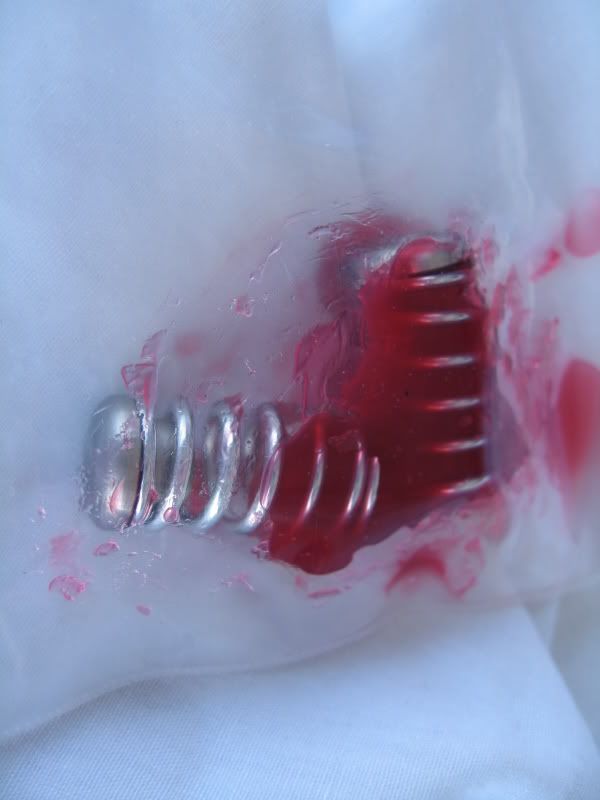
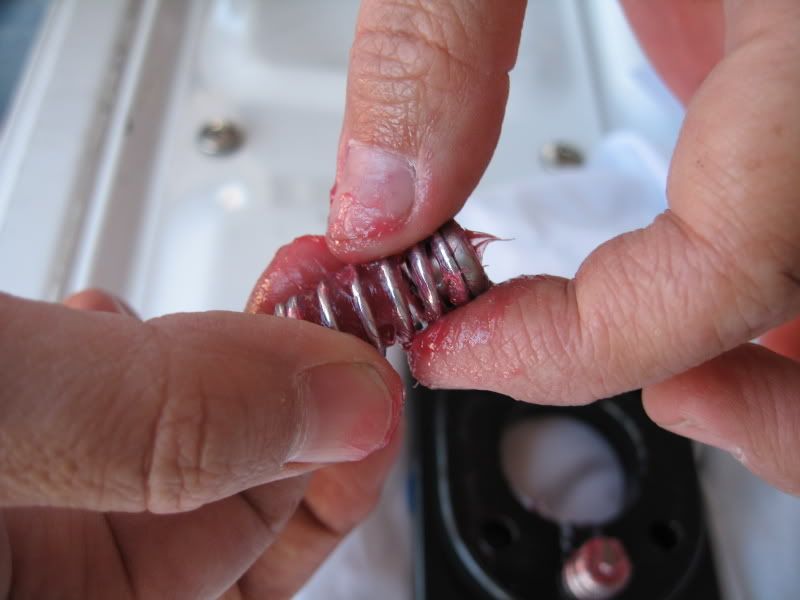
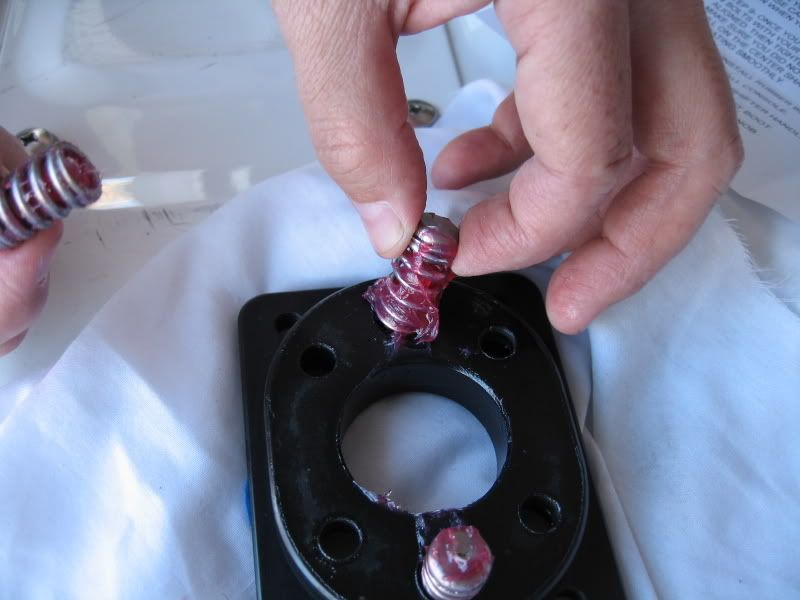
9. On a work table (or lay out a clean rag), swap the existing spring from the top base with the new progressive spring enclosed in the poly bag.
Don't be afraid to get you fingers a little greasy to spread the grease around throughout the spring coils.
Note: Ensure that the spring end cap is on top (exposed).
10. Back in the car.. do a little 'safety' check and flip the top over right side up to make sure the 2 springs don't fall out. The grease should keep them in place.
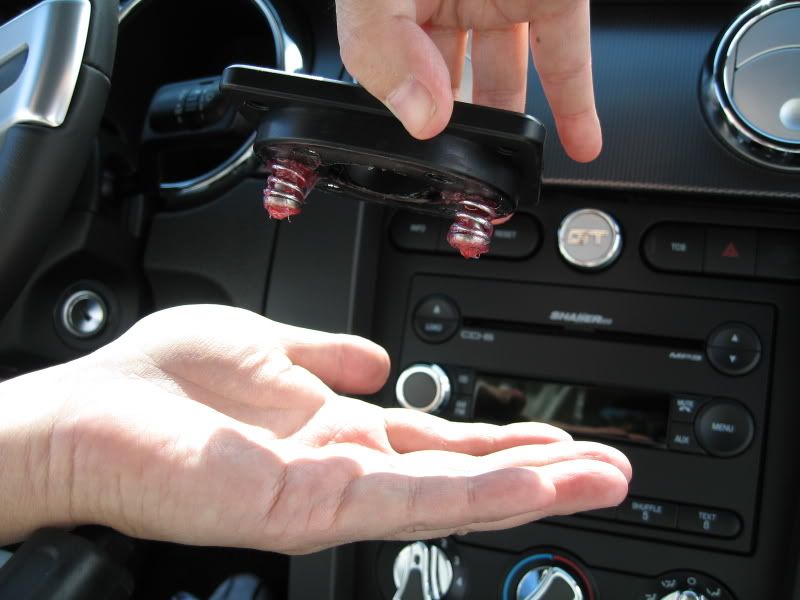
11. Carefully position the top base over the shifter shaft and lower down into position.
Tip: Move the shifter shaft to the center with your fingers to make positioning the top cap easier.

12. Once down and mounting holes aligned, drop all (4) cap screws (make sure you have the lock washers under the head) into the holes and tighten using your fingers to avoid cross-threading.
Tighten these screws as tight as they were on using a traditional torque pattern (X or N pattern will suffice).
Note: Once tight, pull on the center shaft to make sure the springs are seated and operating smoothly.
13. Re-install the upper rubber dust boot. Starting at the drivers side corners will make the install easier.
14. Re-install the foam sound plate. Just like the first time, start by inserting it through the 2 studs in back and carefully stretch as necessary to get around the shifter base.
Once in place, use your method of tucking it under the shifter base.
15. Re-install the center console.
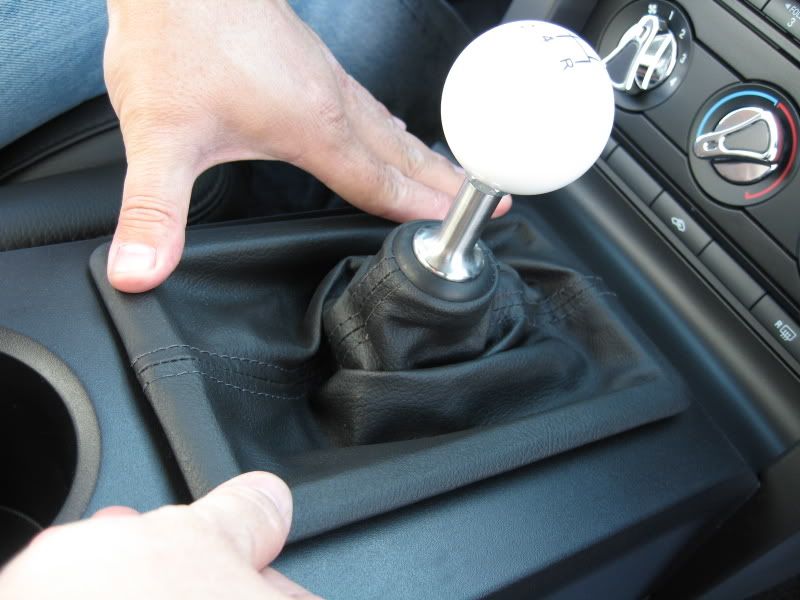
16. Position the shift block back over the center shift stud and center the shift **** in the console just as you did when you first installed it.
IMPORTANT: Make sure the top of the shift shaft is even with the top of the shift block.
Tighten the (2) cap screws down.
17. Snap shift boot back into the console.
Installation Complete!
Dry run video clip with new progressive springs installed - engine off.

As George stated, all shifters with an invoice date of 04/10/07 (and later) will already have the progressive springs installed.
Install
Progressive springs come pre-greased and ready to install.
1. Carefully lift up the shift boot frame until it's free from the center console.
2. Using a 3/16" Allen wrench, loosed the 2 cap screws from the shifter block to the central shift rod. Once loose, the whole shift ****, shaft, and boot can be removed.
3. Remove center console just like when you installed the shifter.
4. Carefully remove the foam pad sound plate.
5. Carefully remove the rubber dust boot. Once you get one corner up, the rest comes up pretty easily.
6. Dust boot removed. Take note of the (4) silver 1/4" Allen cap screws.
7. Using a 1/4" T-Handle Allen wrench (or an Allen key in a socket), remove the (4) cap screws. If you have neither tools like me, you can just use a standard Allen wrench with a cresent wrench for leverage. Use caution if doing it this way, the Allen can easily slip out from the cresent wrench.
Note: If you have the Stop Kit installed, you may have to remove them to access the screws.
Note: There are lock washers under the head of each cap screw. Careful not to drop them.
8. Carefully lift the top base cap up. There will be (2) springs with cap ends on one end. If one or both fall from the top base, don't worry, just pick them up and set aside.
9. On a work table (or lay out a clean rag), swap the existing spring from the top base with the new progressive spring enclosed in the poly bag.
Don't be afraid to get you fingers a little greasy to spread the grease around throughout the spring coils.
Note: Ensure that the spring end cap is on top (exposed).
10. Back in the car.. do a little 'safety' check and flip the top over right side up to make sure the 2 springs don't fall out. The grease should keep them in place.
11. Carefully position the top base over the shifter shaft and lower down into position.
Tip: Move the shifter shaft to the center with your fingers to make positioning the top cap easier.
12. Once down and mounting holes aligned, drop all (4) cap screws (make sure you have the lock washers under the head) into the holes and tighten using your fingers to avoid cross-threading.
Tighten these screws as tight as they were on using a traditional torque pattern (X or N pattern will suffice).
Note: Once tight, pull on the center shaft to make sure the springs are seated and operating smoothly.
13. Re-install the upper rubber dust boot. Starting at the drivers side corners will make the install easier.
14. Re-install the foam sound plate. Just like the first time, start by inserting it through the 2 studs in back and carefully stretch as necessary to get around the shifter base.
Once in place, use your method of tucking it under the shifter base.
15. Re-install the center console.
16. Position the shift block back over the center shift stud and center the shift **** in the console just as you did when you first installed it.
IMPORTANT: Make sure the top of the shift shaft is even with the top of the shift block.
Tighten the (2) cap screws down.
17. Snap shift boot back into the console.
Installation Complete!
Dry run video clip with new progressive springs installed - engine off.


At first, I was more than satisfied with the original springs. But, after trying out the new progressive's, it's just easier engaging the outer gears.
To me, I'll take either. Since I went through the install, I'll just leave these in.

Thread
Thread Starter
Forum
Replies
Last Post
Mackitude
2010-2014 Mustang
6
Aug 13, 2015 01:05 PM
tj@steeda
2015 - 2023 MUSTANG
0
Jul 30, 2015 06:47 AM