
New Wing
 4/26/11 | 01:09 PM
#21
Bullitt Member
Joined: February 10, 2011
Posts: 290
Likes: 0
From: a racetrack somewhere
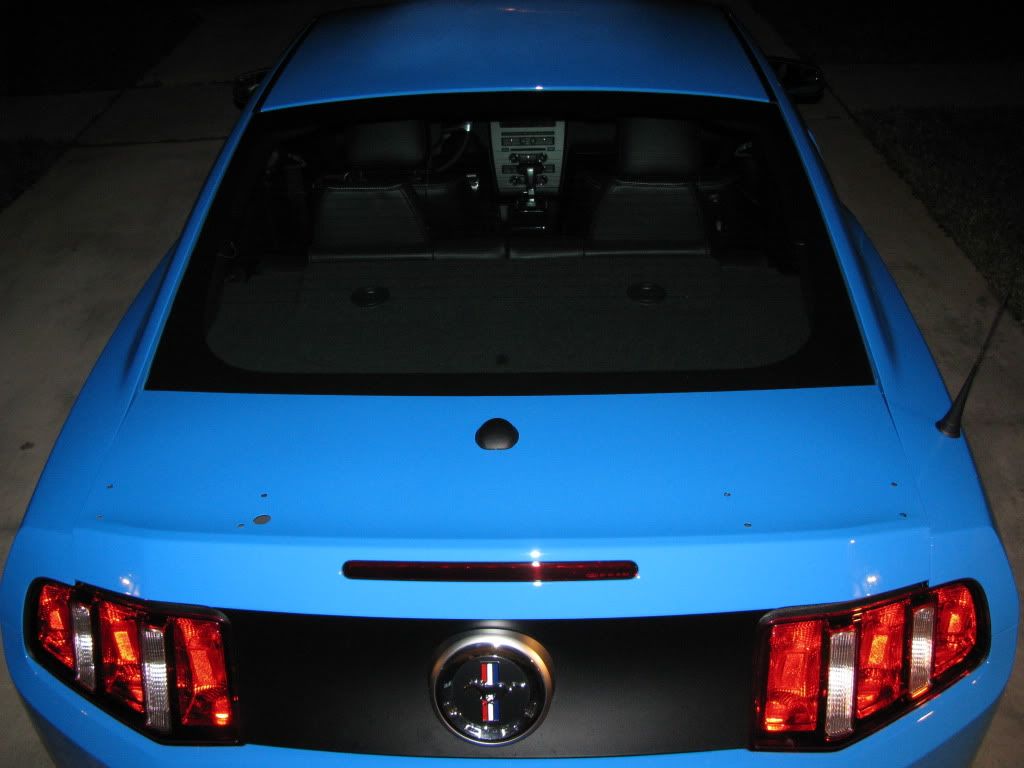
Ahh, makes sense. The modern Boss has a trunk lid that goes all the way to the backlight, unlike the original 69-70 body style, which has a separate rear deck filler panel that fits between the trunk lid and the backlight.
4/26/11 | 02:09 PM
#22
Team Mustang Source
Joined: January 15, 2005
Posts: 1,426
Likes: 0
From: So. FL
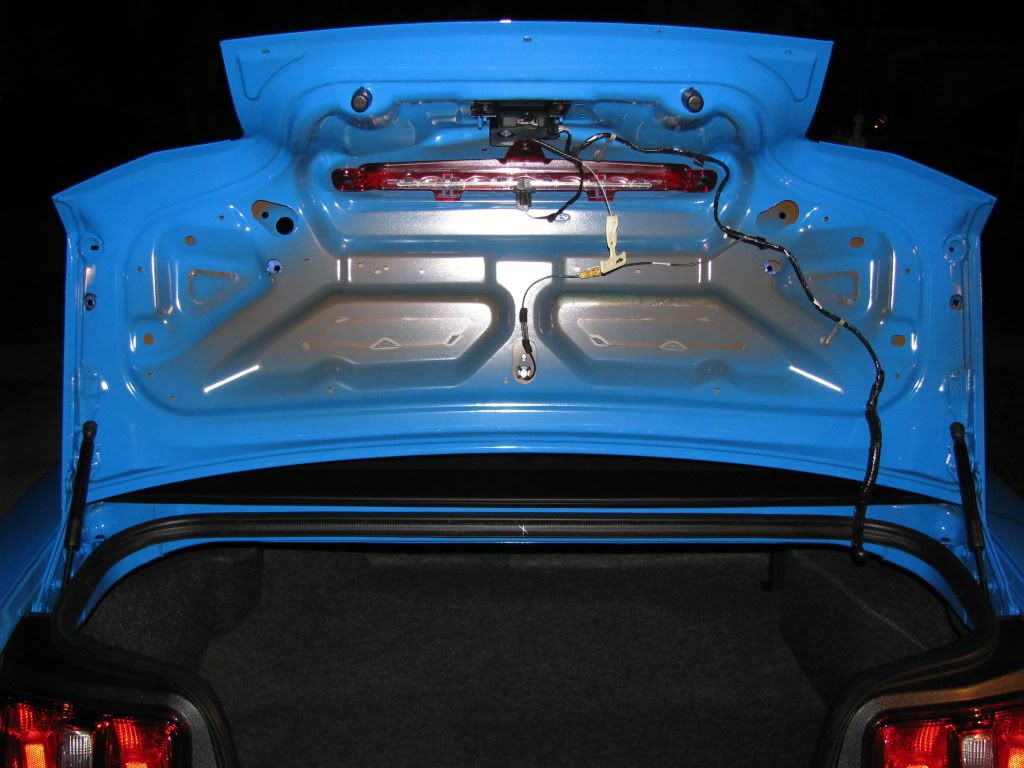
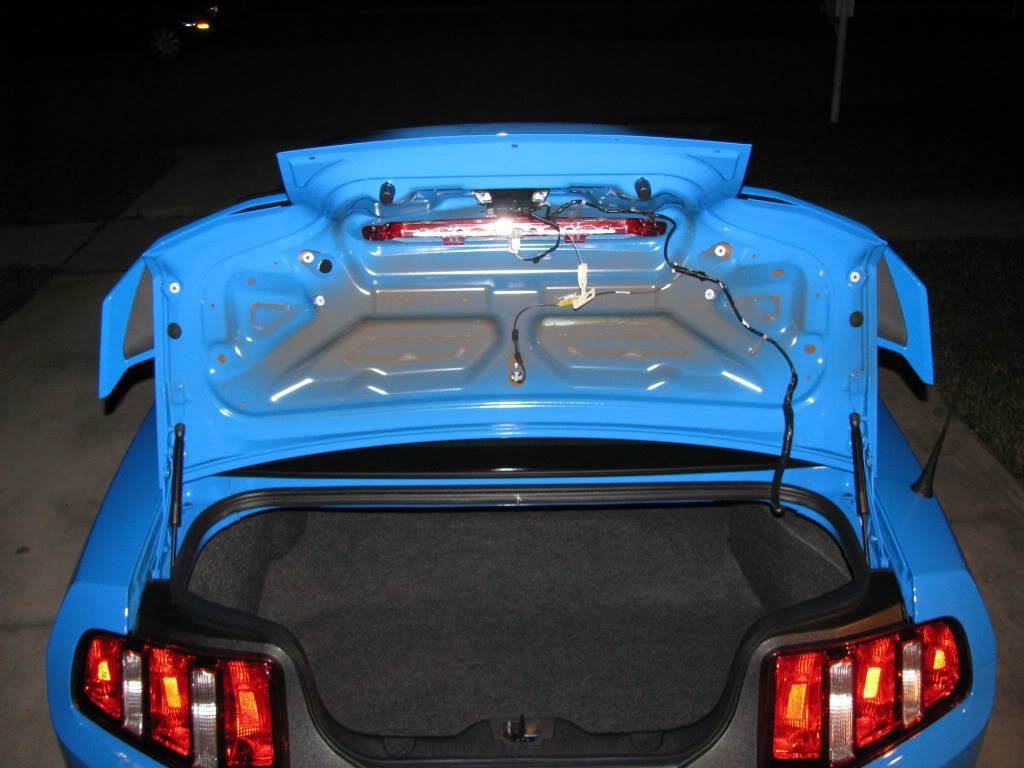
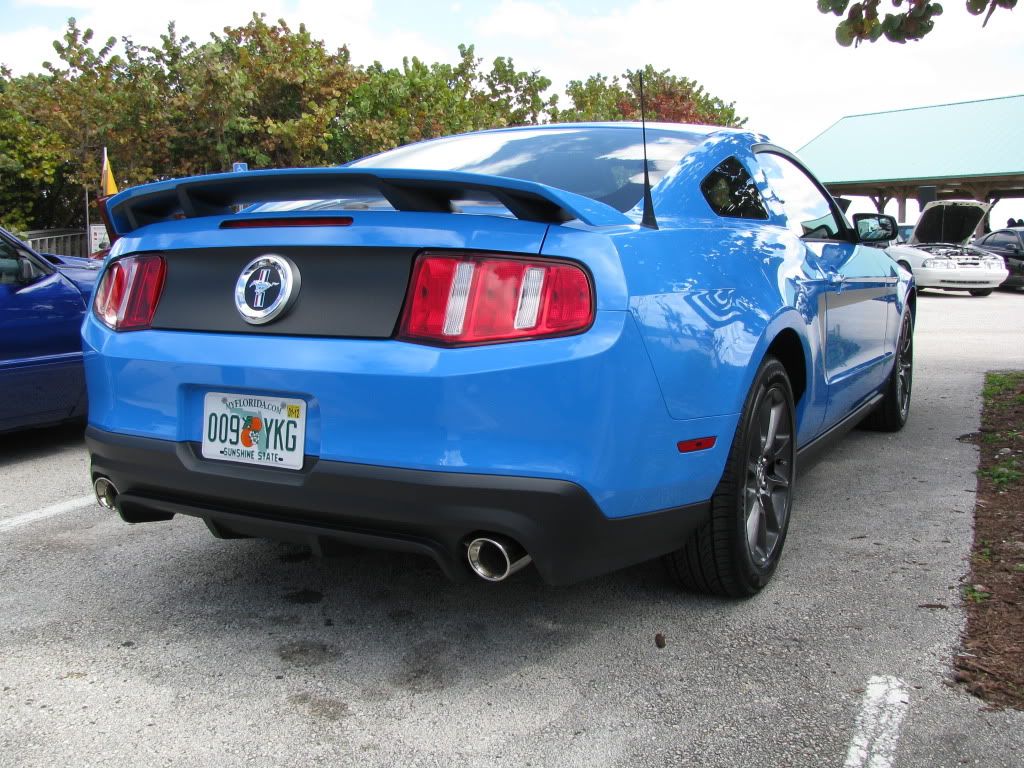
Scott, your Boss is looking sharp! I too had fun installing a pedestal spoiler, only mine was OE and came with a template, at least for drilling the four extra holes from the top. However, making the four larger openings to give access from inside were no fun. I purposely drilled the larger openings on the outside holes a little inward so the plastic covers would fit better. Fortunately, after drilling, the studs on the spoiler aligned perfectly. Still the whole job took me 4 hours, which includes assembling the spoiler itself. Below are some photos.
4/26/11 | 05:35 PM
#24
Thread Starter
Cobra R Member
Joined: December 3, 2010
Posts: 1,851
Likes: 3
That looks great Steve, this came with a very simple way to mark holes. It has a strip with a pre-cut hole that sticks to the bottom of the legs. You place it on the lid and then tape down that strip to the trunk and drill. The big problem for me was not having studs and nuts, that would have knocked off two hours 
Other Steve, look at my first pic and Steve's first pic there is a hole next to one of the bolt holes on the inside left. I started the removal of the original spoiler by pressing upward there to loosen the spoiler. At the same time I grabbed the outside end and pulled it away from the lid. It is not easy and you need to use force but just enough not to break it.
I did use a heat gun but I was afraid to burn the paint so I did not heat it a lot. Once one side (left) was loose I used a rag in the space I created to hold it away from the lid and just worked my fingers under the spoiler pulling it away from the lid. I cut at the tape with a razor blade to help but it is a slow process and you need to apply force.
It was attached well with the tape and I am not sure this is the best way to go. You may ask a body guy about how they do it, this worked for me but be careful.
Last edited by 2012YellowBoss; 4/26/11 at 06:17 PM.
4/26/11 | 05:39 PM
#25
Tasca Super Boss 429 Member
Joined: December 18, 2010
Posts: 3,708
Likes: 0
From: NorCal
That looks great Steve, this came with a very simple way to mark holes. It has a strip with a pre-cut hole that sticks to the bottom of the legs. You place it on the lid and then tape down that strip to the trunk and drill. The big problem for me was not having studs and nuts, that would have knocked off two hours
Other Steve, look at my first pic and Steve's first pic there is a hole next to one of the bolt holes on the inside left. I started the removal of the original spoiler by pressing upward there to loosen the spoiler. At the same time I grabbed the outside end and pulled it away from the lid. It is not easy and you need to use force but just enough not to break it.
I did use a heat gun but I was afraid to burn the paint so I did not heat it a lot. Once one side (left) was loose I used a rag in the space I created to hold it away from the lid and just worked my fingers under the spoiler pulling it away from the lid. I cut at the tape with a razor blade to help but it is a slow process and you need to apply force.
It was attached well with the tape and I am not sure this is the best way to go. You may ask a body guy about how they do it, this worked for me but be careful.
4/26/11 | 05:49 PM
#26
Thread Starter
Cobra R Member
Joined: December 3, 2010
Posts: 1,851
Likes: 3
Not that it is a bad idea Rick but use with caution.
Last edited by 2012YellowBoss; 4/26/11 at 08:12 PM.
4/26/11 | 08:06 PM
#27
Team Mustang Source
Joined: January 15, 2005
Posts: 1,426
Likes: 0
From: So. FL
Braided 40 lb test fishing line worked very well for me. And yes, it had to be pulled out and re-threaded to get around each stud. I too stuck a rag under some portions that I lifted to avoid resticking.
4/26/11 | 08:21 PM
#28
Cobra Member
Joined: September 10, 2004
Posts: 1,302
Likes: 0
From: Charlotte NC
Scott and Rick, thanks for the advice on spoiler removal, I get to find out for myself this weekend. I'll definitely take it SLOW, don't want to ruin my decklid just because I'm in a hurry.
4/26/11 | 08:25 PM
#29
Thread Starter
Cobra R Member
Joined: December 3, 2010
Posts: 1,851
Likes: 3
 4/26/11 | 08:29 PM
#30
Don't forget to put painters tape over the locations where you're drilling to prevent the paint from chipping off, if you care.
 4/26/11 | 10:11 PM
#33
Tasca Super Boss 429 Member
Joined: December 18, 2010
Posts: 3,708
Likes: 0
From: NorCal
The LS has the pedestal spoiler used on other Mustangs including the California Special.
Last edited by 5 DOT 0; 4/27/11 at 08:22 AM.
 4/27/11 | 09:52 AM
#35
Cobra Member
Joined: September 10, 2004
Posts: 1,302
Likes: 0
From: Charlotte NC
 5/8/11 | 08:57 PM
#40
Cobra Member
Joined: September 10, 2004
Posts: 1,302
Likes: 0
From: Charlotte NC
Hey guys, sorry for the long delay - been a very busy week. Got a few shots of the GT500 wing on the Boss, painted Kona.
http://i1094.photobucket.com/albums/...2/IMG_0583.jpg
http://i1094.photobucket.com/albums/...2/IMG_0582.jpg
http://i1094.photobucket.com/albums/...2/IMG_0581.jpg
http://i1094.photobucket.com/albums/...2/IMG_0583.jpg
http://i1094.photobucket.com/albums/...2/IMG_0582.jpg
http://i1094.photobucket.com/albums/...2/IMG_0581.jpg