When you click on links to various merchants on this site and make a purchase, this can result in this site earning a commission. Affiliate programs and affiliations include, but are not limited to, the eBay Partner Network.
Cheap washer nozzle relocation for aftermarket hoods
Hey all, I just did a relocation of my washer nozzles on my 2007 GT. but the method applies to the 2010-2014 model years as well. In fact its even cheaper becouse you already have the most expensive parts!
Long story short, I replaced my hood with an aftermarket one about 10 years ago. I found out the hard way that aftermarket hoods don't have washer nozzles! At the time American Muscle sold an expensive kit to relocate the nozzles to the wiper arms. I was'nt keen on the idea of putting them in the wiper blades and living paycheck to paycheck I just got used to having to wipe down the outside of the windshield every so often.
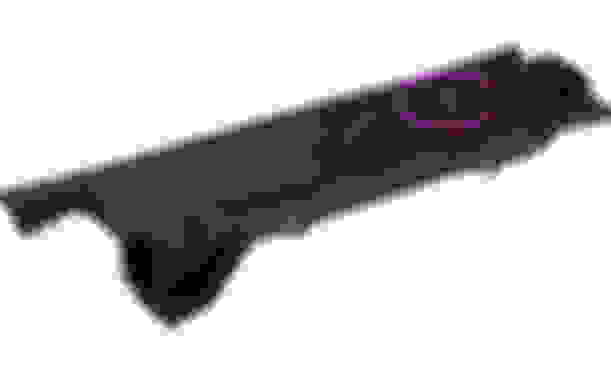
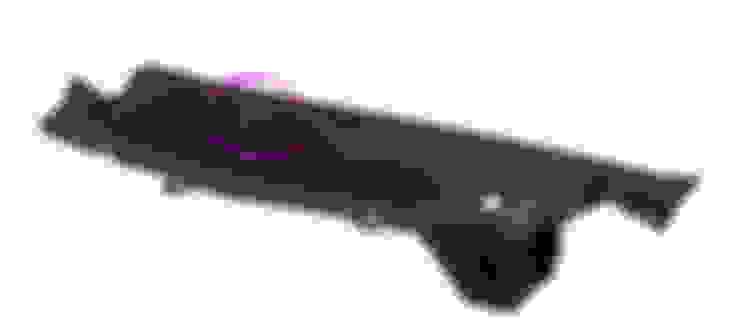
Here we are 10 years later and I make more money any don't want to deal with that any more. So this weekend I went to work fixing in. They don't sell that kit at American Musicale any more but loks like you can find something like it on eBay (still expensive) and I still don't want to put washer nozzles on the wiper blades so I came up with this alternative I think some of you might like. For starters you will need some wash nozzles and hose. You can get them at the local parts store or Amazon. I'll include links to the ones I used below. You'll also need the cowl moldings from the S197 refresh (2010-2014). These are a direct fit replacment. I picked a par at the salvage yard for about 16 bucks. but you can also buy them new (link below). The differences are that the passenger side has less vents, but also that these cowls have valley molded into to them for the stock washer nozzles on the refresh hang down into from the underside of the hood. Hanging the nozzles from the hood seems overly complicated so we are just going to drill a couple 3/8 holes (or what ever size you need for your new nozzles) in those valleys and mount our new nozzles direclty to the cowl.
The washer nozzle supply line that was previous attached to your hood will have two friction fit connectors. Unfortunately there stock hose is not long enough to reach both of our new nozzles in those valleys. We can use the hose kit we bought to create an extension using the supplied in line connector and a a short length of the hose.
Place this connector in the length hose, and attach the other end of hose to the hose to the nozzle mounted to the driver side cowl panel. Leave the connector unattached to the factory hose for now, We will hook it up after we install the panel. If your factory hose was cut you can use the rest of the hose kit and one of the supplied splitters to recreate the factory hose.
There are two retainer clips with screws in them per cowl panel that hold the panels down. I had to destroy those when removing them my car so have something on had to replace them. Honestly a zip tie will work. To install start by removing the passenger cowl, once the clips are gone the panel just snaps and and can be yanked up and out. I found it easier to this with the wiper arms up away from the cowl. The next part is the hardest part. You need to remove the wiper arms to remove the driver side. Put the arms back in the rest position and mark there position with scotch tape or somehting on your windshield. Next remove the rubber cap over the hinge of the arms to reveal a bolt. you'll want a deep socket to remove the bolts. Now you need to pull the arms off thier spindle but you can't do it with your bare hands. Don't even try you could damage the wiper motor. Instead use a arm puller tool. I've linked one below but its not the one I used. The one I used actualy broke and I had to hack it together to get it to work again but I've seen this one be used in a tutorial out there on YouTube. Essentialy these work by applying even pressure to the bottom of the wiper arm and a threaded bolt is used to pull that bottom up off the spindle. If like me your arm might be really stuck on there. If so hit it with some PB Blast (linked below) to loosen it up. You will also find this easier to do with the hood off but it can definitly be down with the hood in place.
Once the arms are off, the driver side panel comes off just like the passenger side one. The new modified panel can be installed once the original one is out, just make sure you have access to that extension hose we attached to the nozzle earlier. You can reinstall the arms by simply pushing them down onto the spindles, try not to mix them up (no idea if it will hurt if you do, I just doubt it will help). Use the tape you placed earlier to put the arms back basicaly in the same position they were in before. Simply replace the nuts on each arm and tighten them down and them the caps. Attach the hose connection in the middle of the factory hose to the nozzle on the passenger panel. Then attach the other connection to the extension hose under the driver side and you can install passenger panel, There should be enough roof for the supply line to fit under the edge of the panel by the hood hinge.
Once installed, if you used the same nozzles I did, grab a paper clip and adjust where the nuzzles spray on your windshield. mine original overshot the car so don't skip this step. Washer Nozzles Hose Kit Wiper Arm Puller PB Blast Cowl Pair
Last edited by Derek Gietzen; 5/31/22 at 02:18 PM.
Reason: copy and pasting write up
 5/30/22, 10:56 PM


 "What He Said"