When you click on links to various merchants on this site and make a purchase, this can result in this site earning a commission. Affiliate programs and affiliations include, but are not limited to, the eBay Partner Network.
Appreciate the comments and feedback! Nothing more to the inside since the Dash Plaque. Might be adding some Kickers to go with Pioneer but nothing on the list.
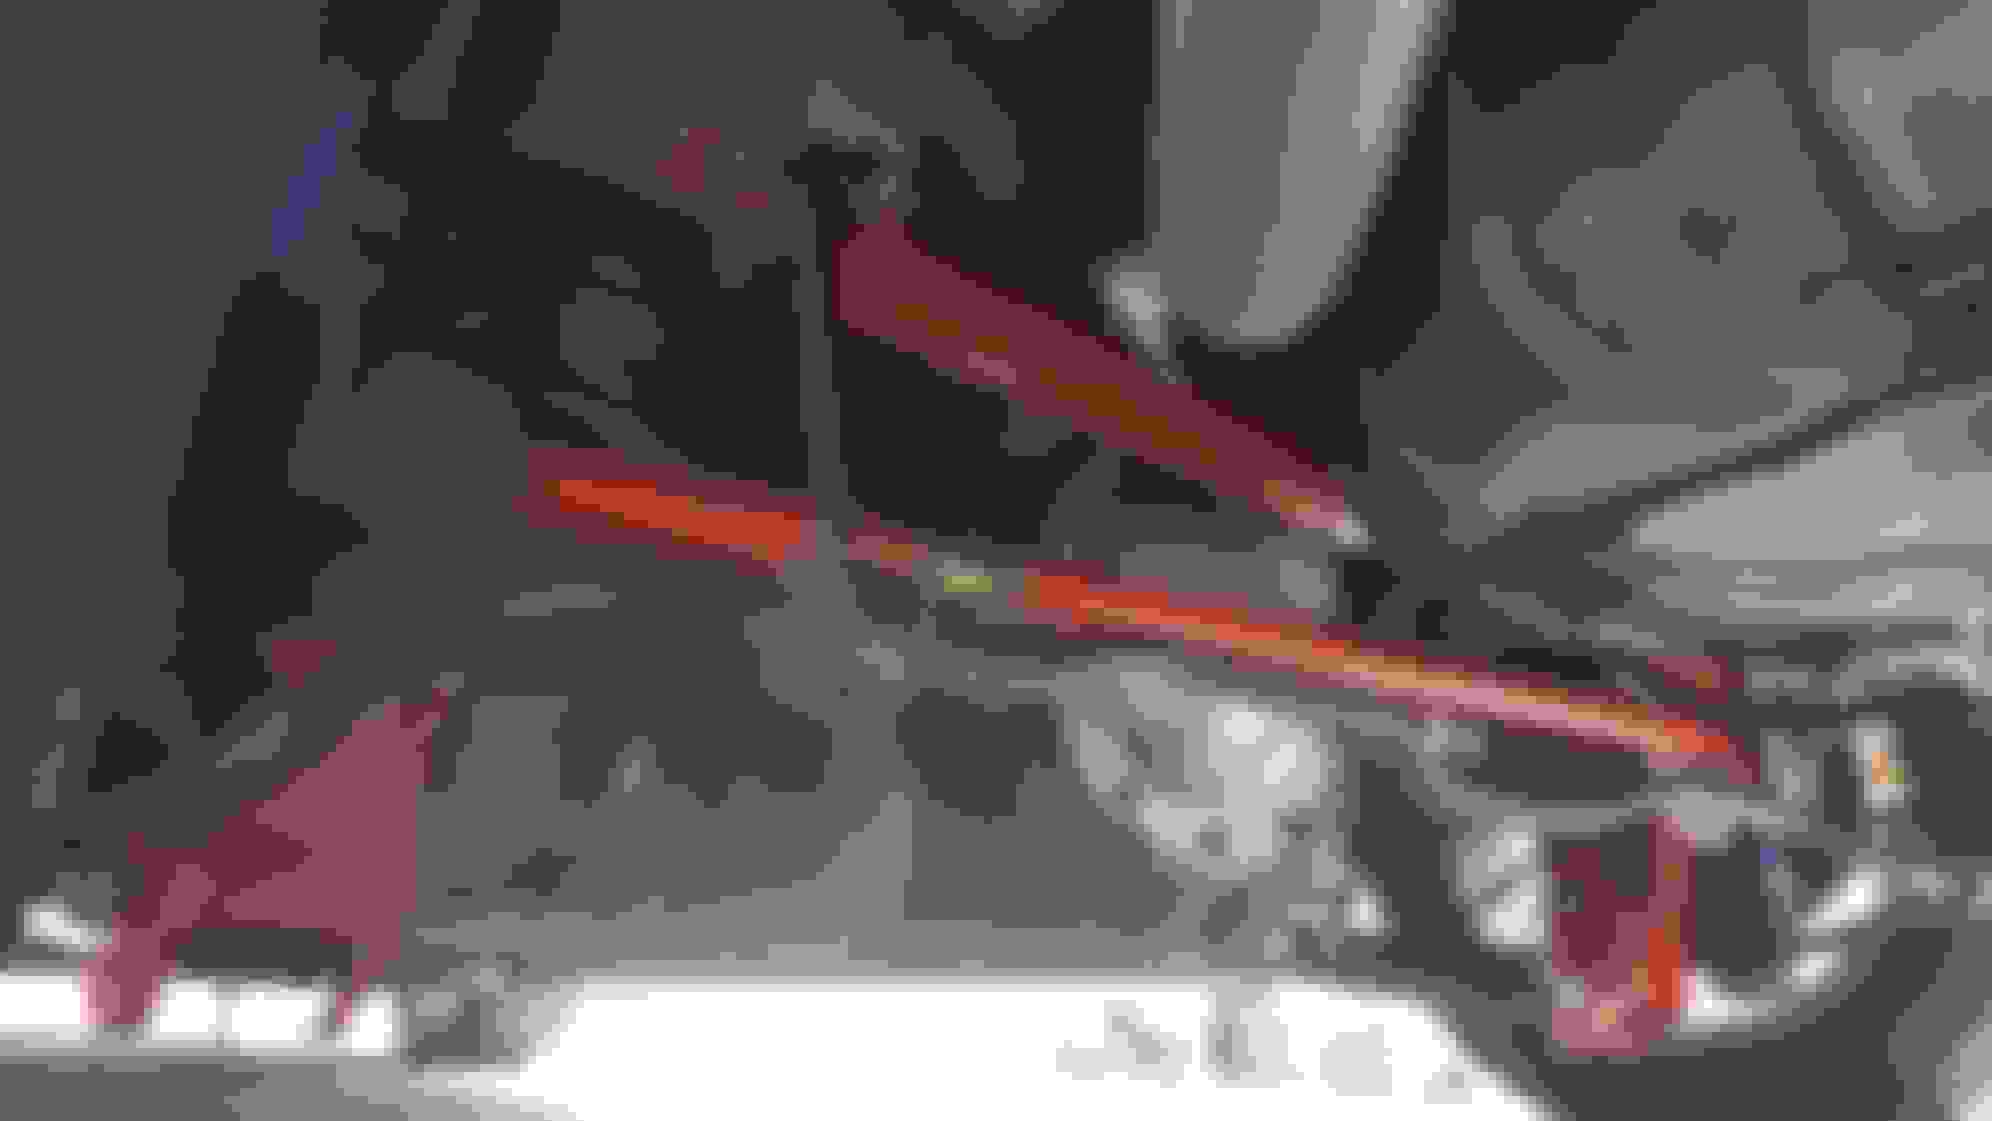
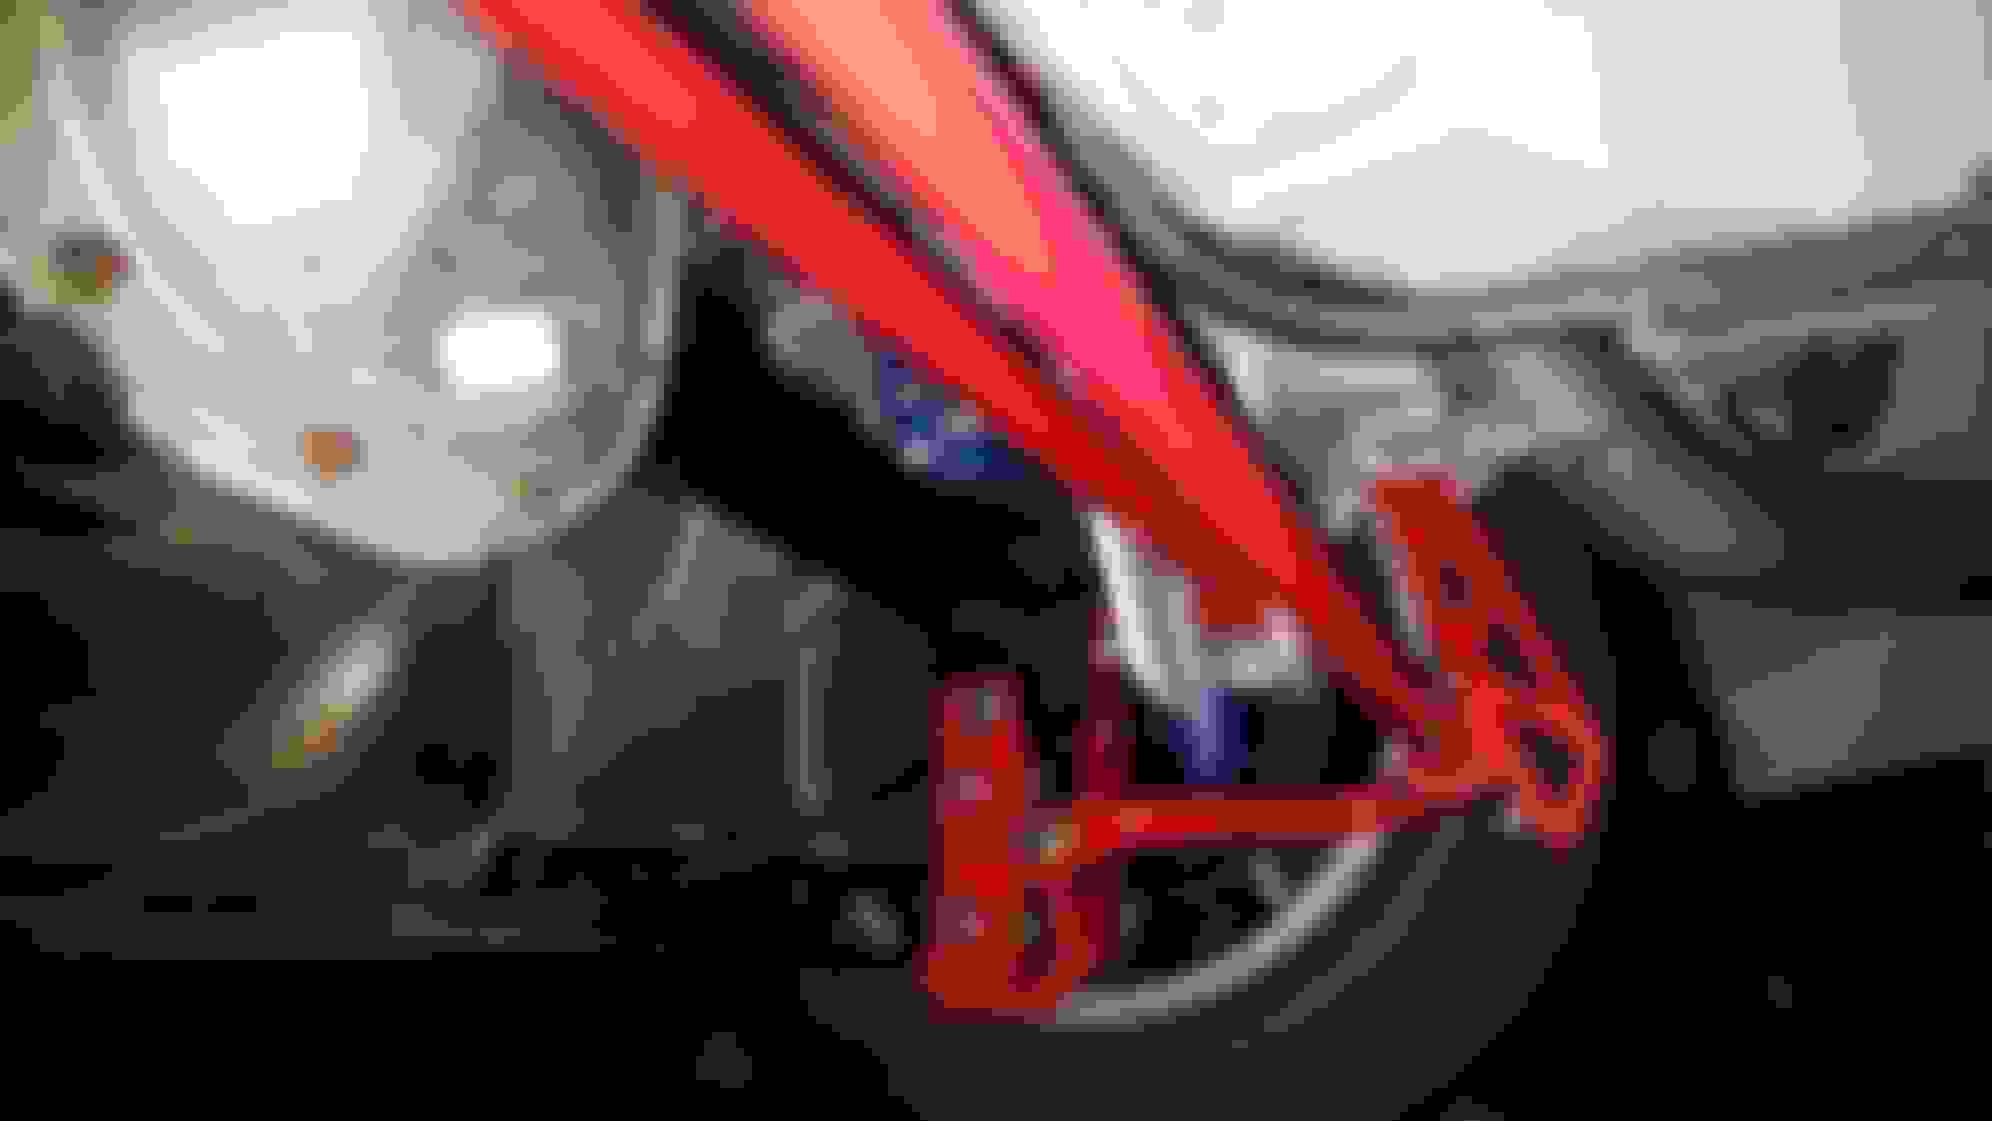
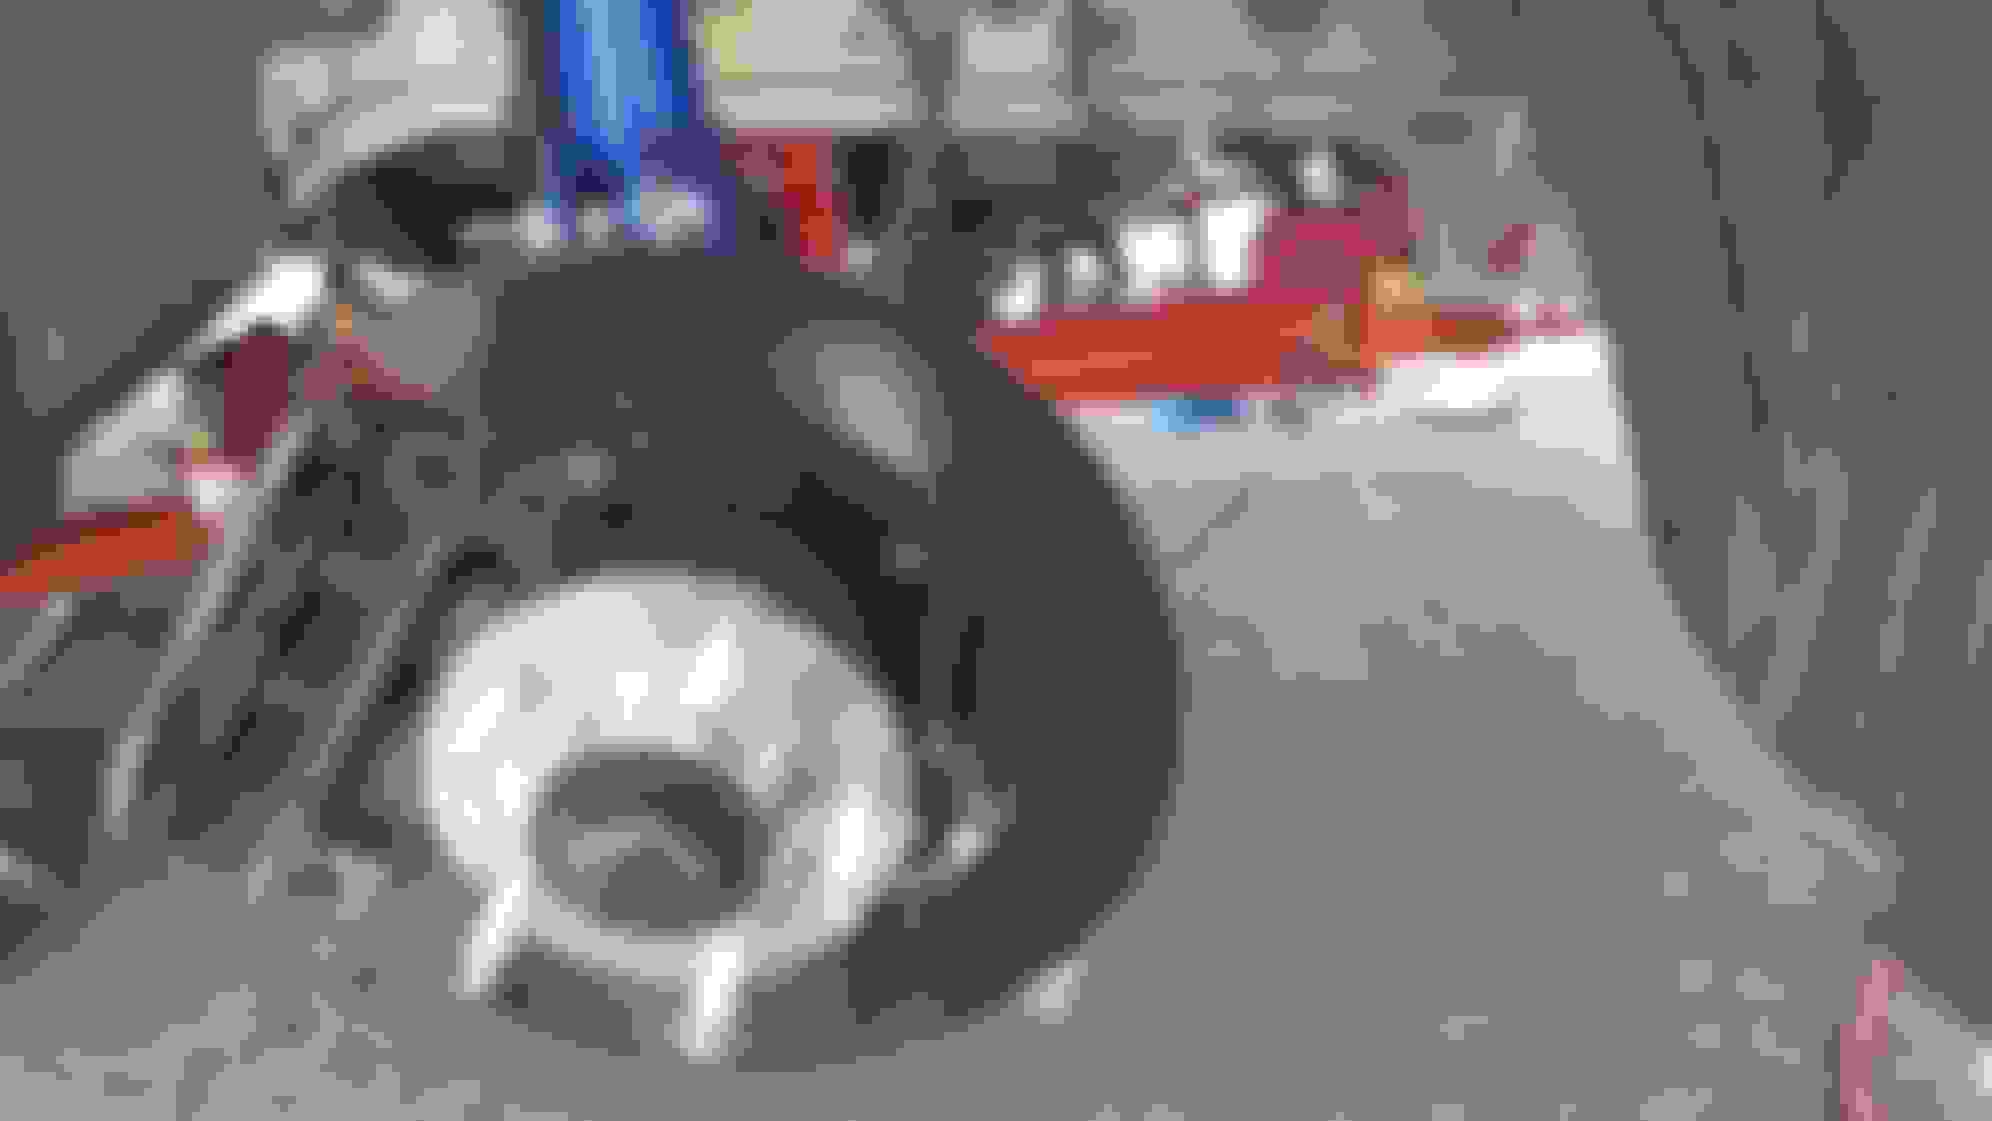
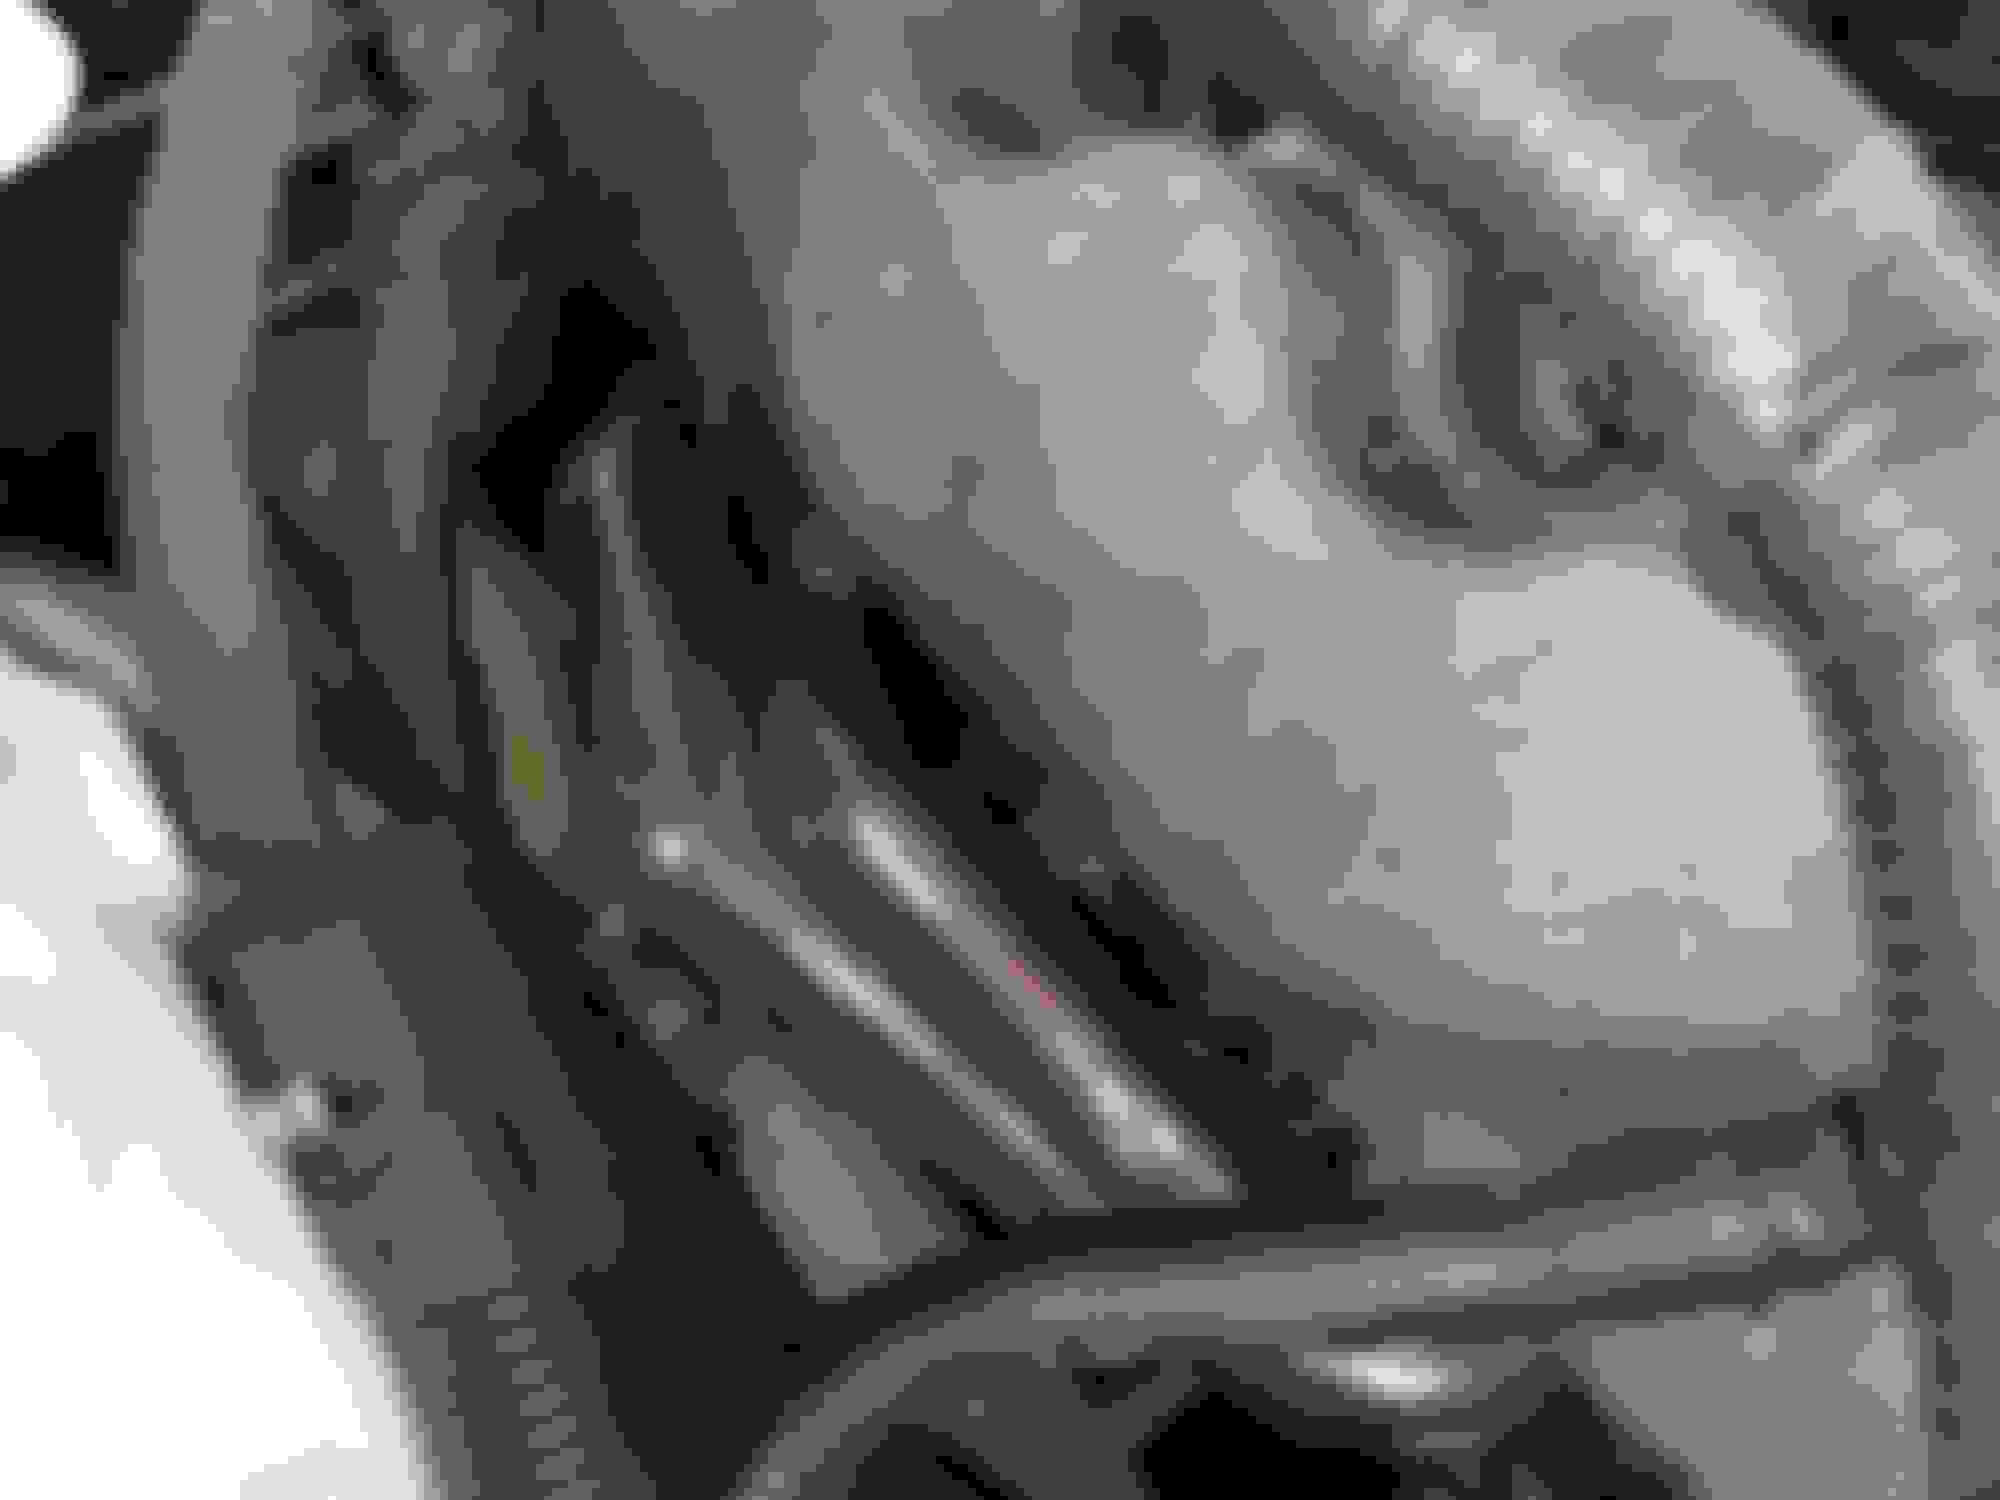
I did manage to get a majority of the BMR goods replaced over the weekend. I don't have any pictures of the front but here is a shot out back.
BMR Upper Control Arm with Mount. BMR Adjustable Pan-Hard Bar, BMR upper Pan-Hard Bar, BMR Billet lower control arms with BMR Control Arm relocation brackets.
I have been thinking about sway bars since they are the last two components of the suspension I haven't changed. Can't decide between Roush or BMR. If I go Roush I'll be completing the Roush Stage 2 kit. If I go BMR I get a tad more for money...
All in time I suppose. I did take it for a drive out to Bodega Bay this afternoon.
That about does it for now. Still waiting on replacement control arms to finish of the front. They apparently have been on back order for some time.
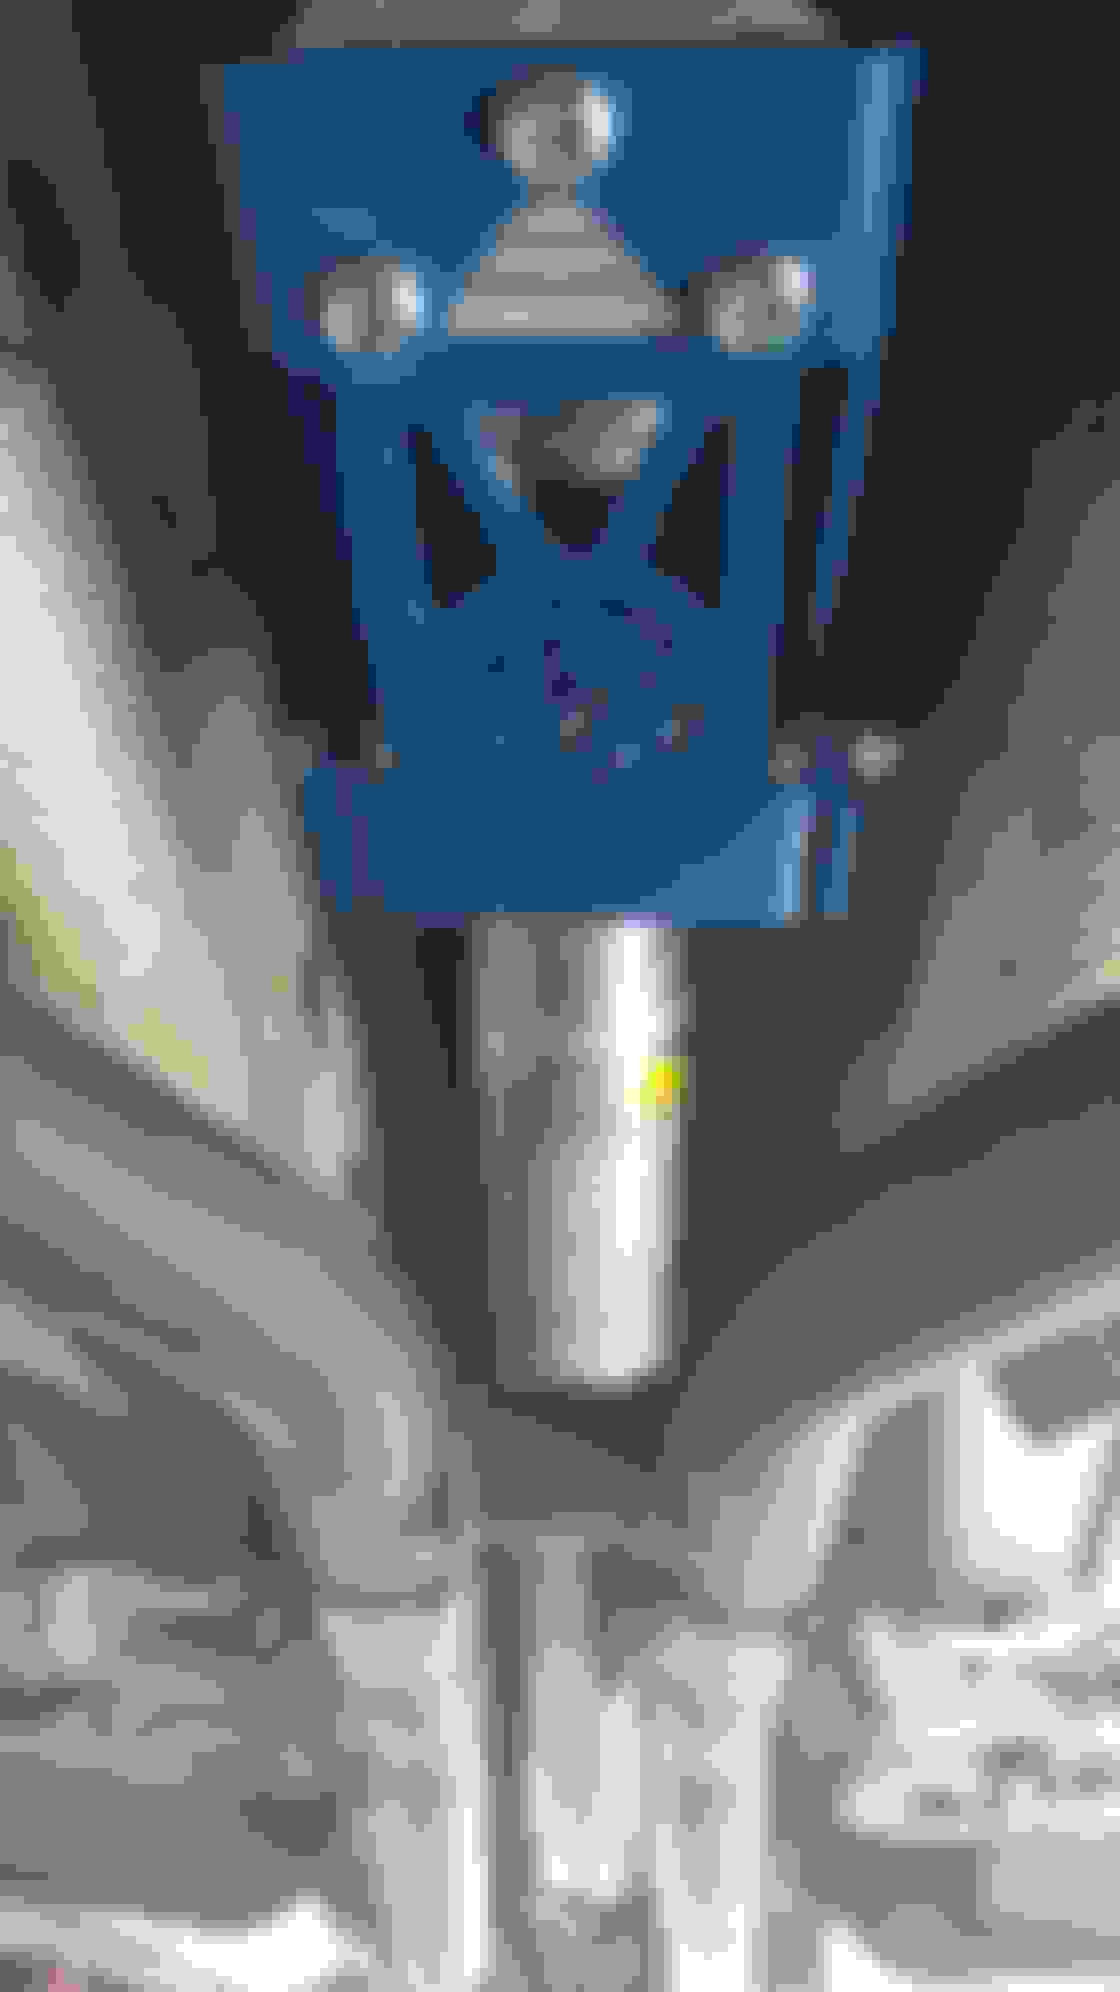
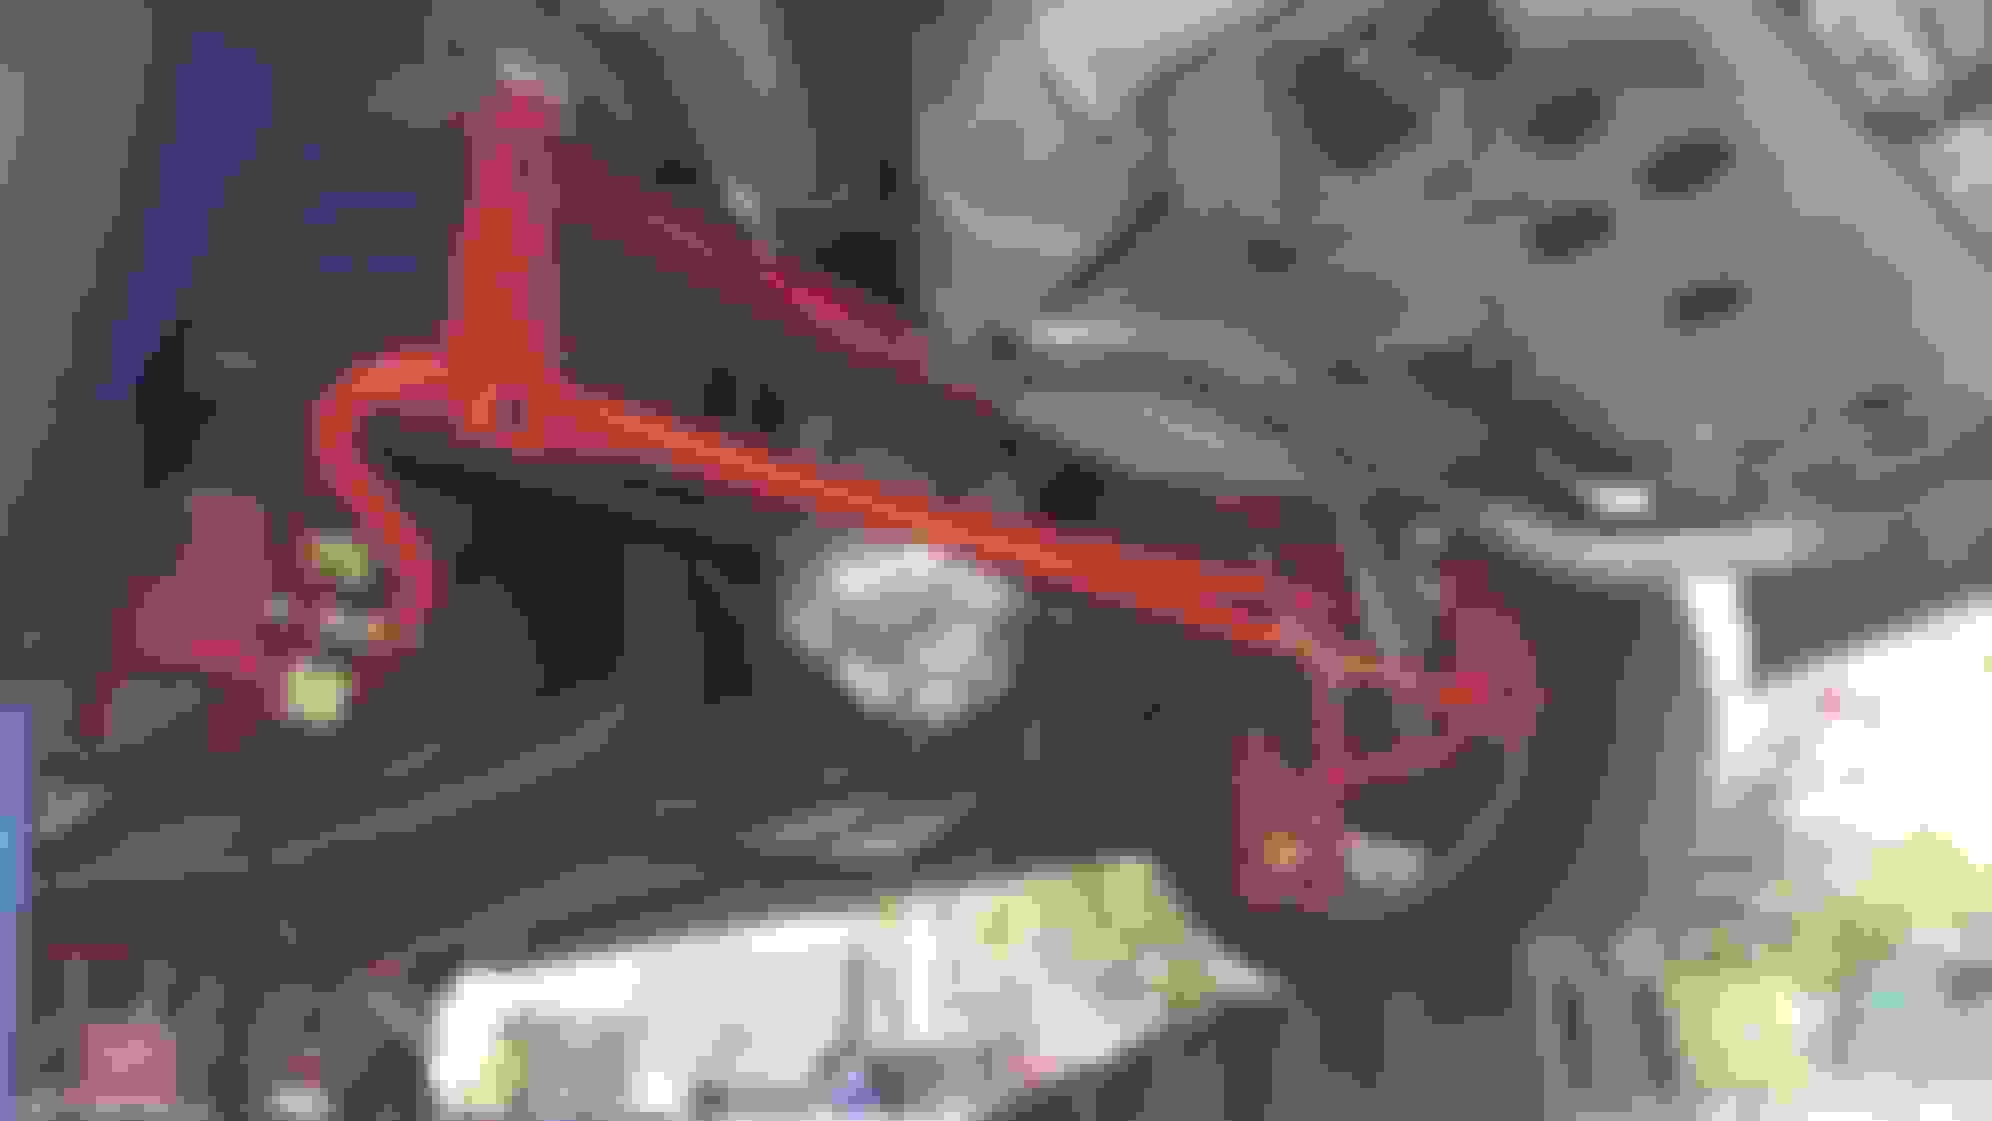
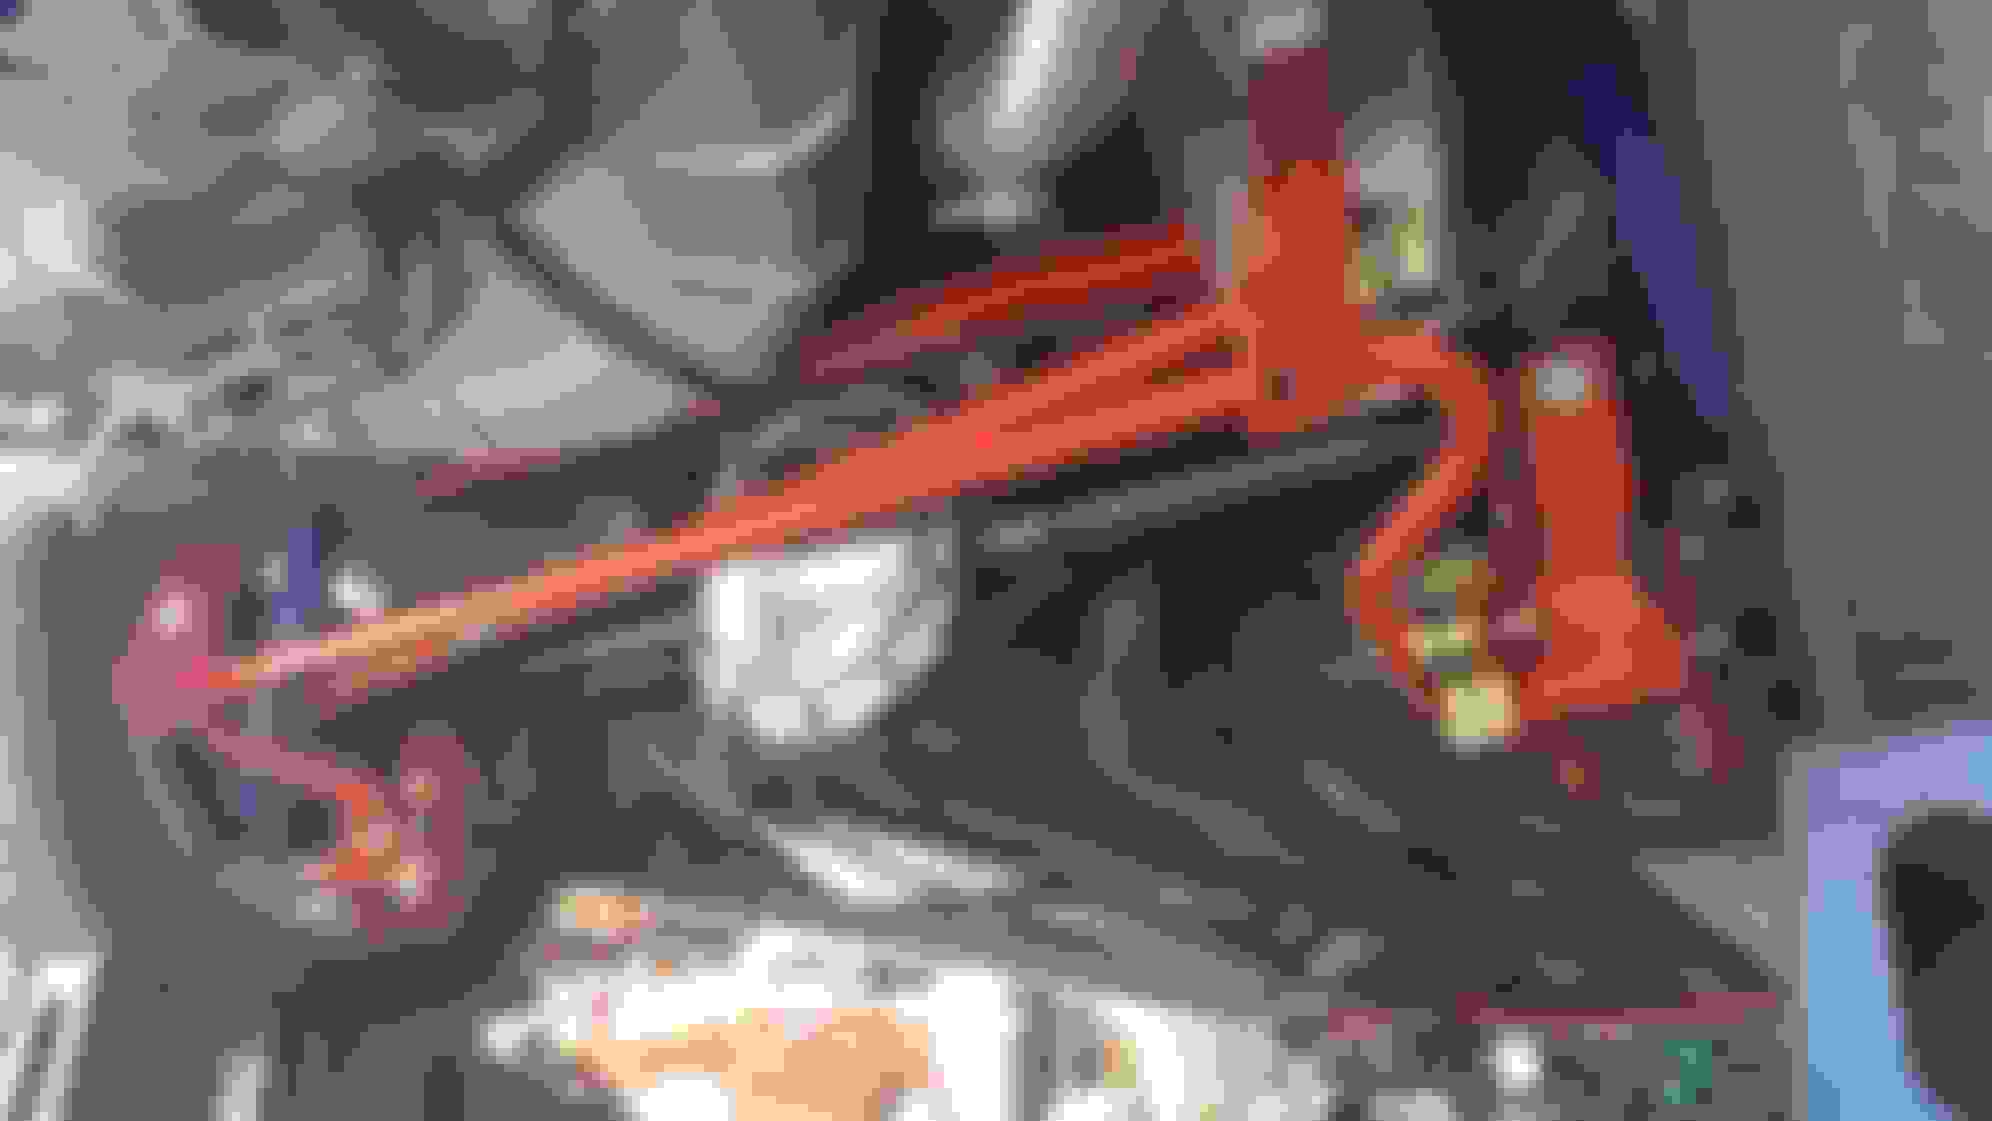
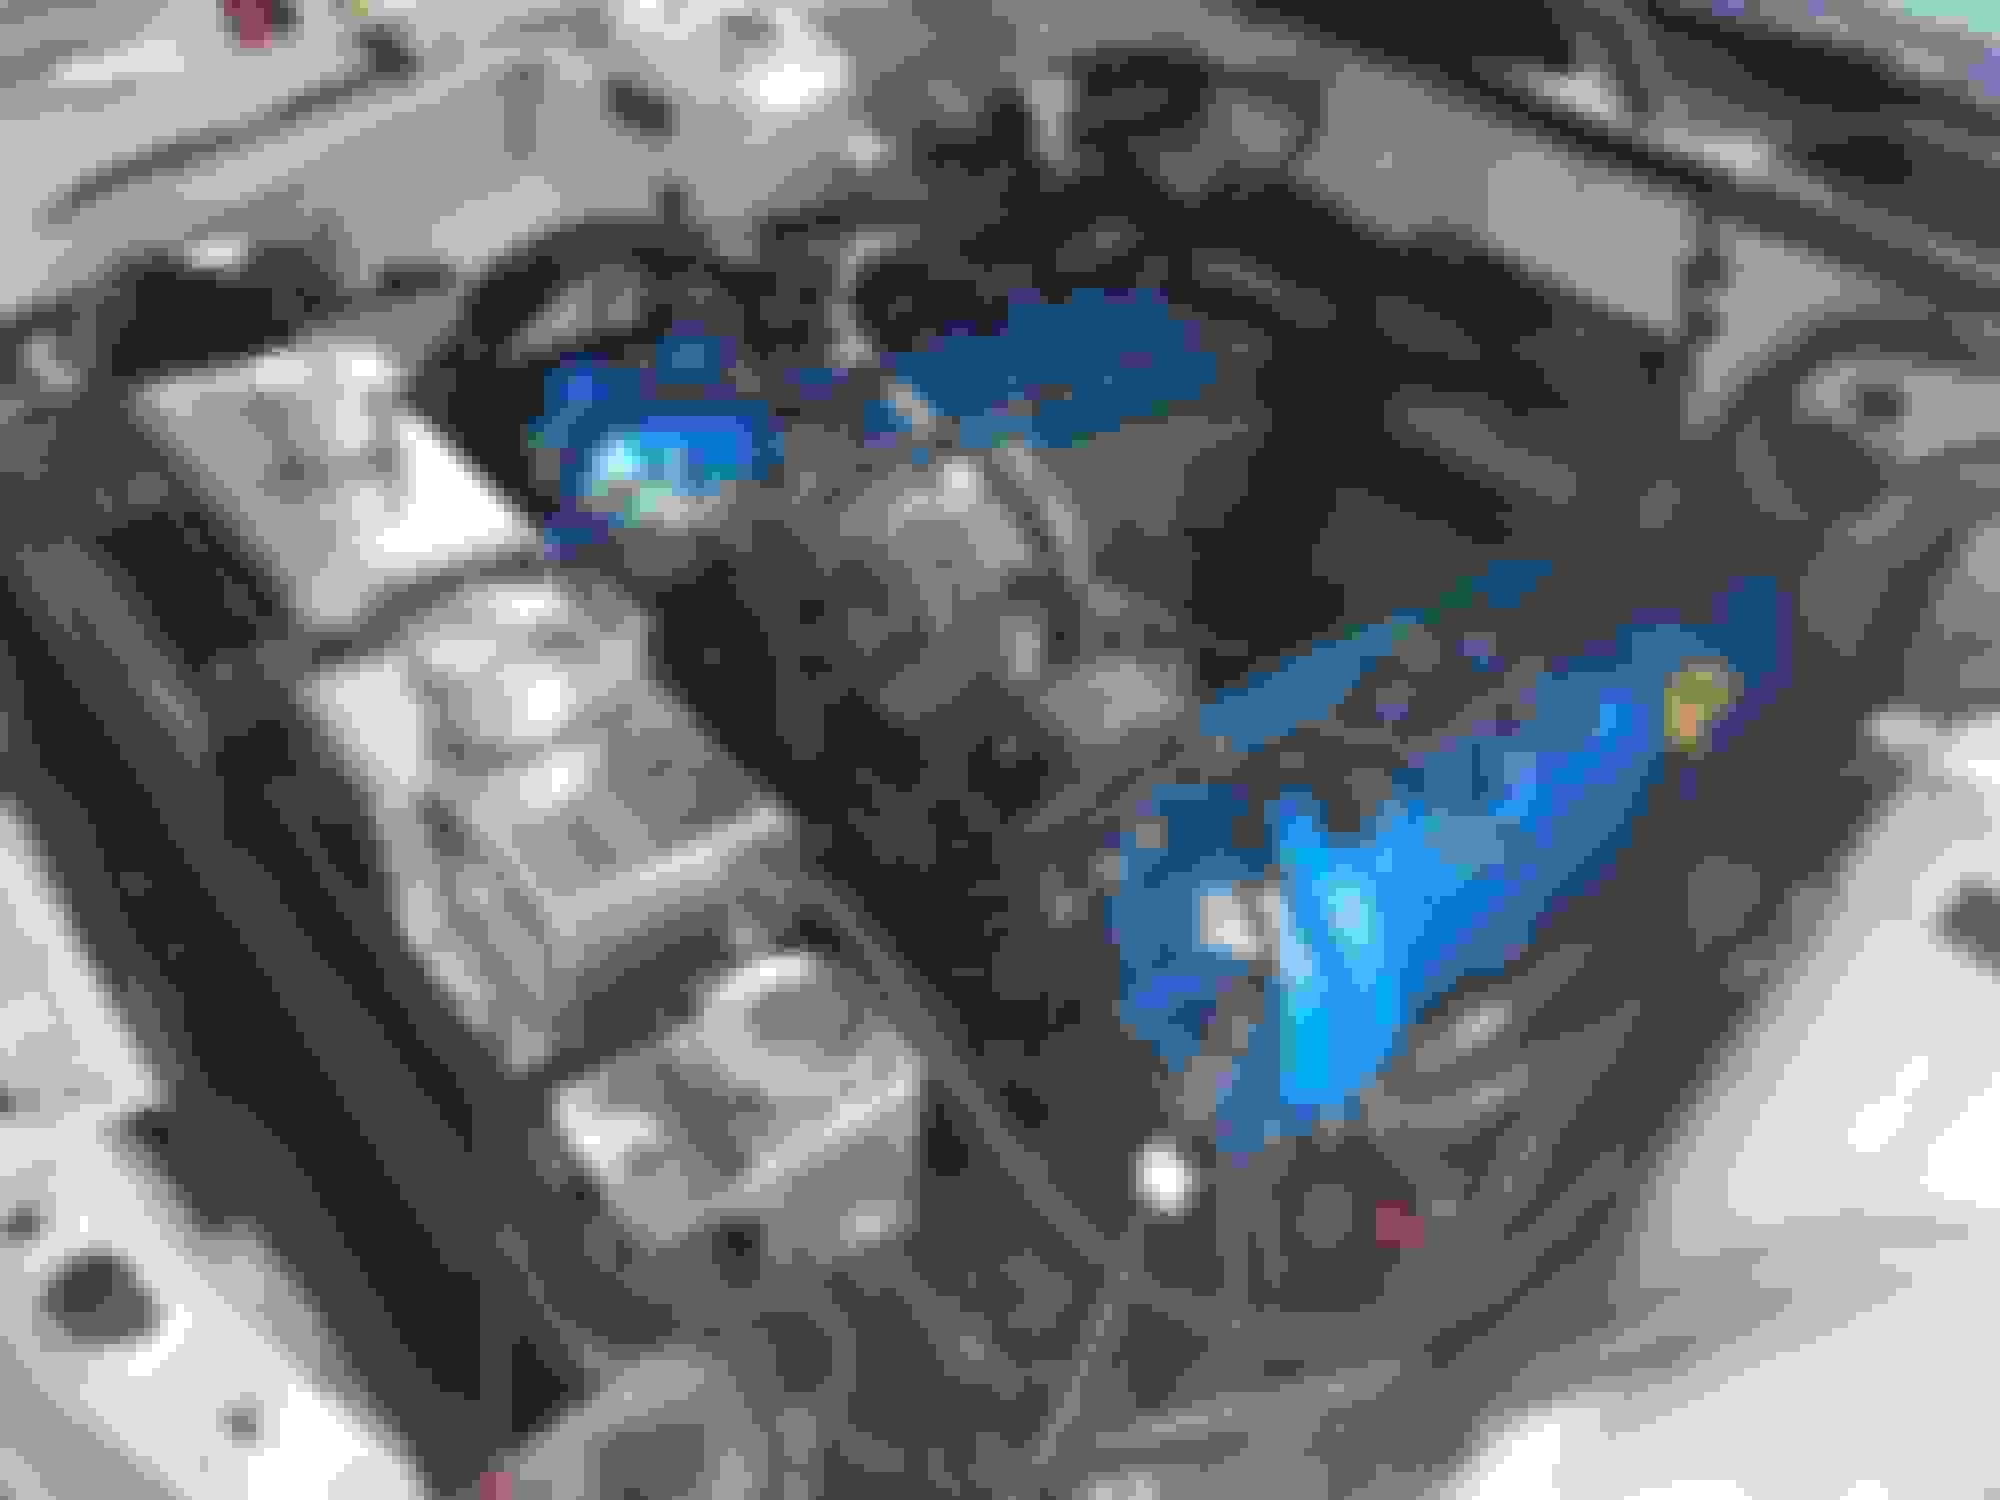
Decided to go with the BMR sway bars. Front is on order (with links) and the rear was installed today. Didn't go with the typical OEM style replacement. This one is the bar with fabricated end links and it relocates where the bar mounts to on the axle. Pretty nice piece although a bit expensive compared to others. During the install I decided, since I had to pull off everything else, to go ahead and give the axles a quick cleaning. Not my best work but it was still under the car when I did the clean up. Considerably better than before in any case.
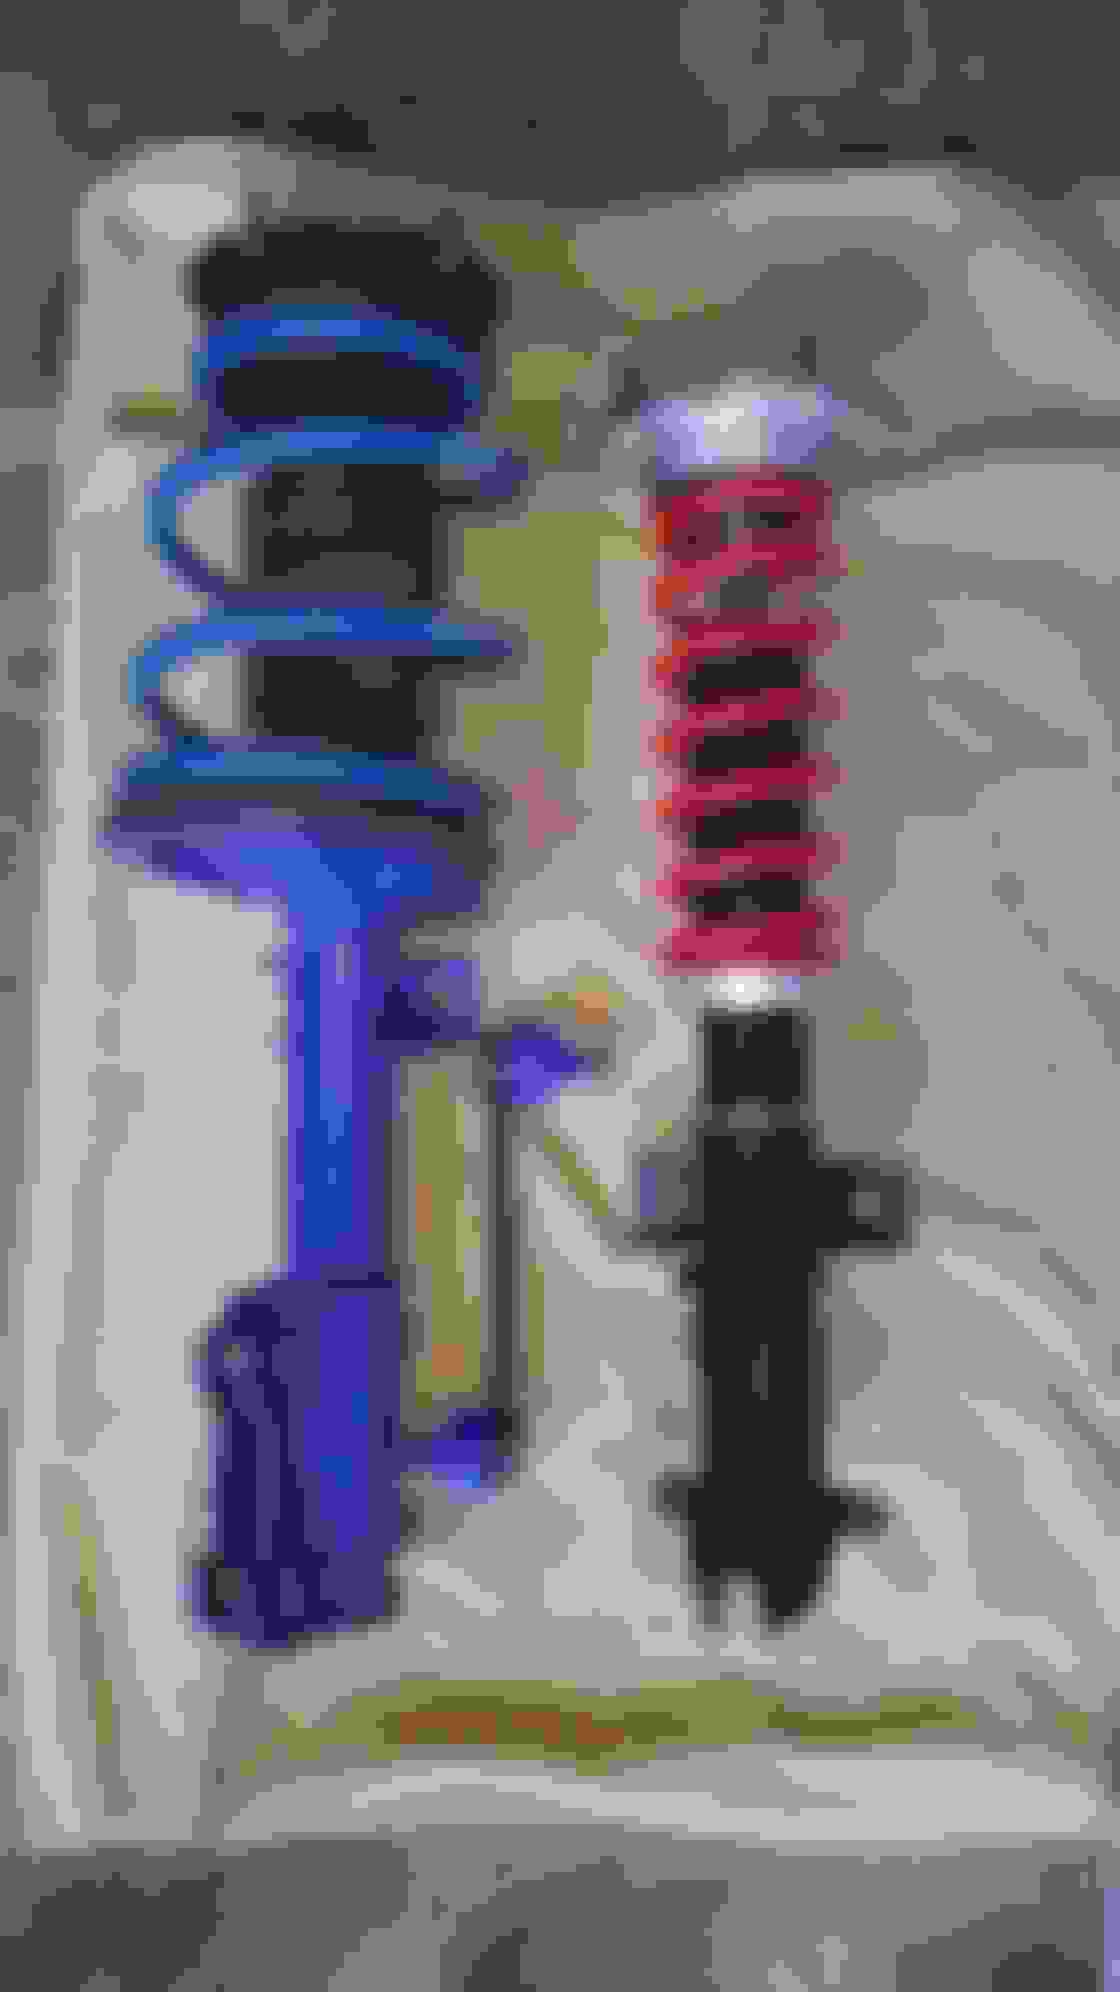
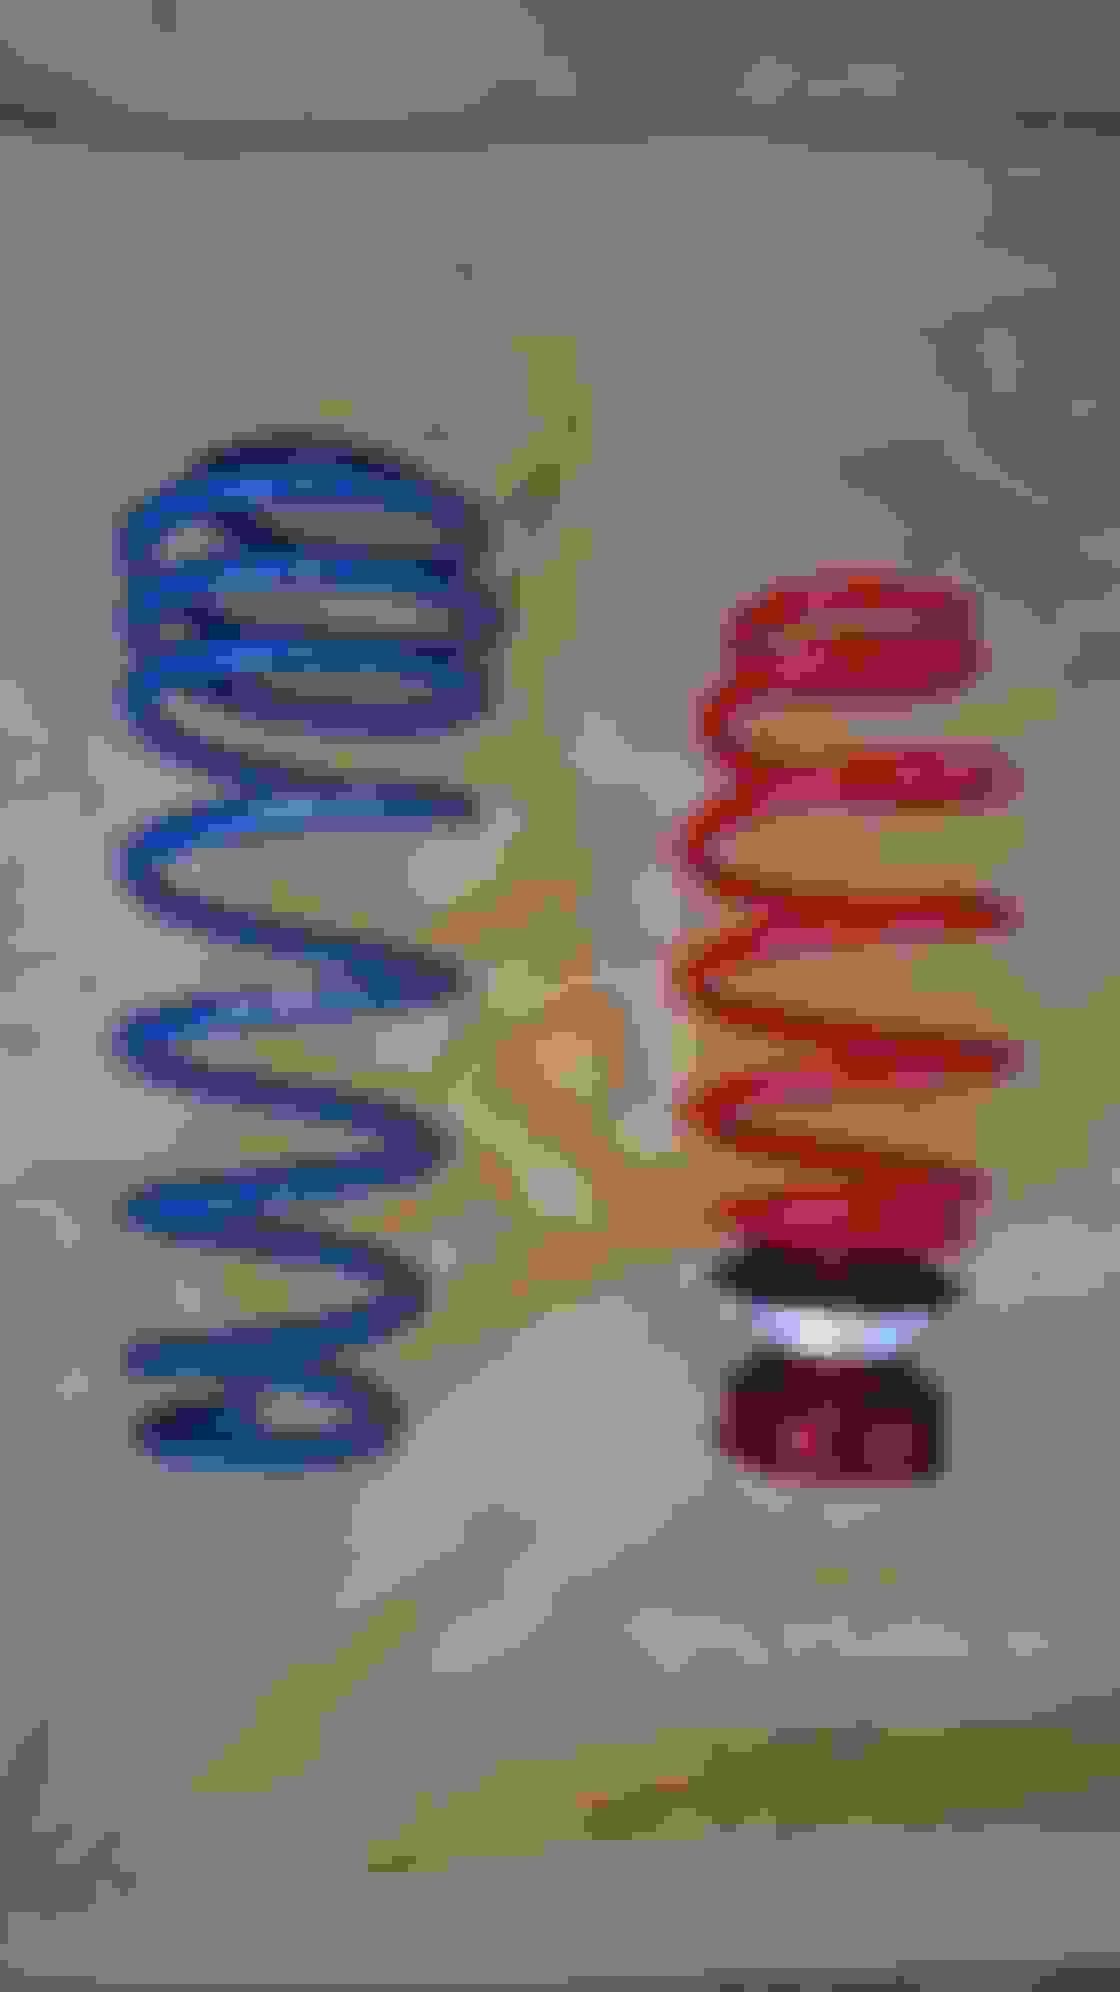
Here are a few shot of how the rear finishes up. Only one OEM bushing remains and that is the upper axles mount control arm bushing. I'll look at replacement that at some point but not any time soon. I also flipped the Roush Coil springs as I believe they were installed incorrectly.
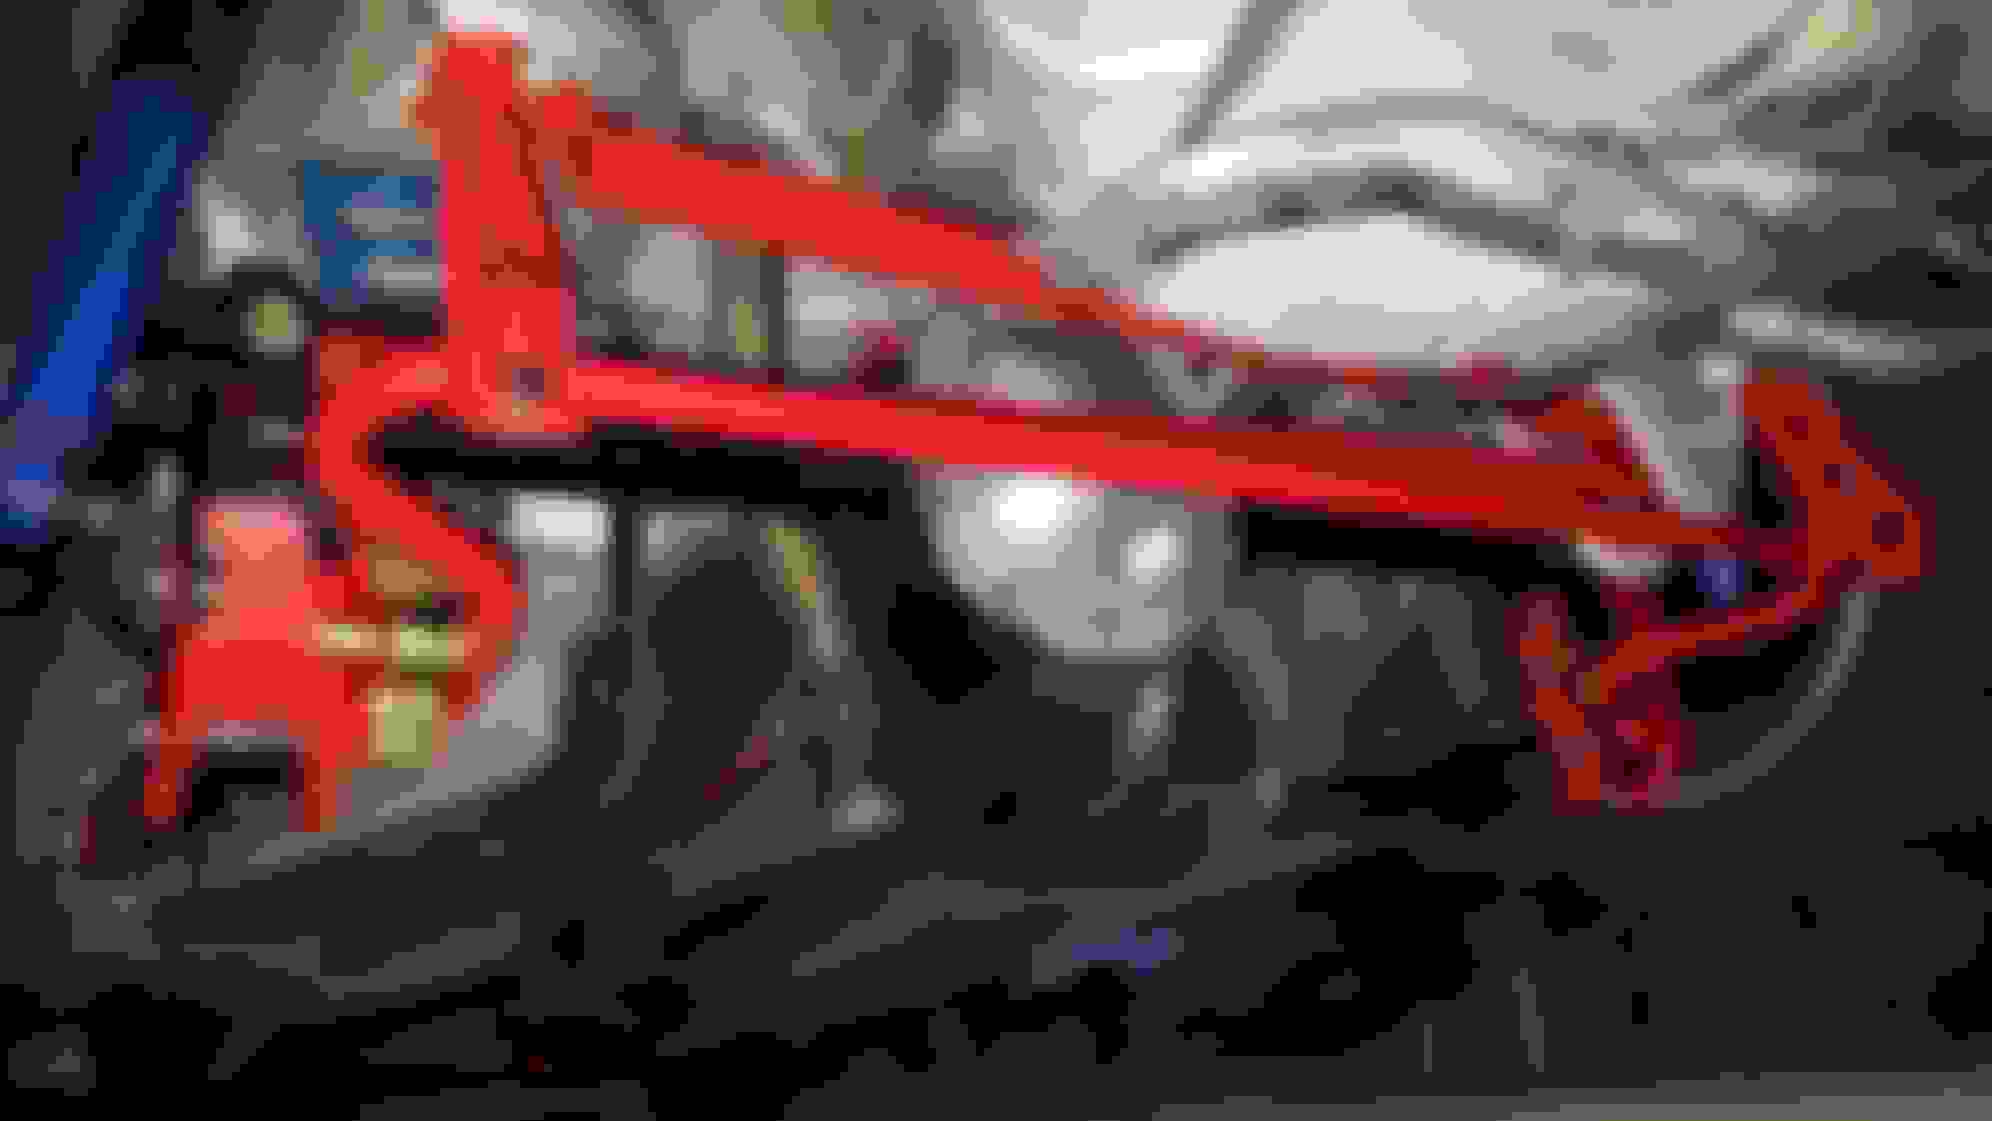
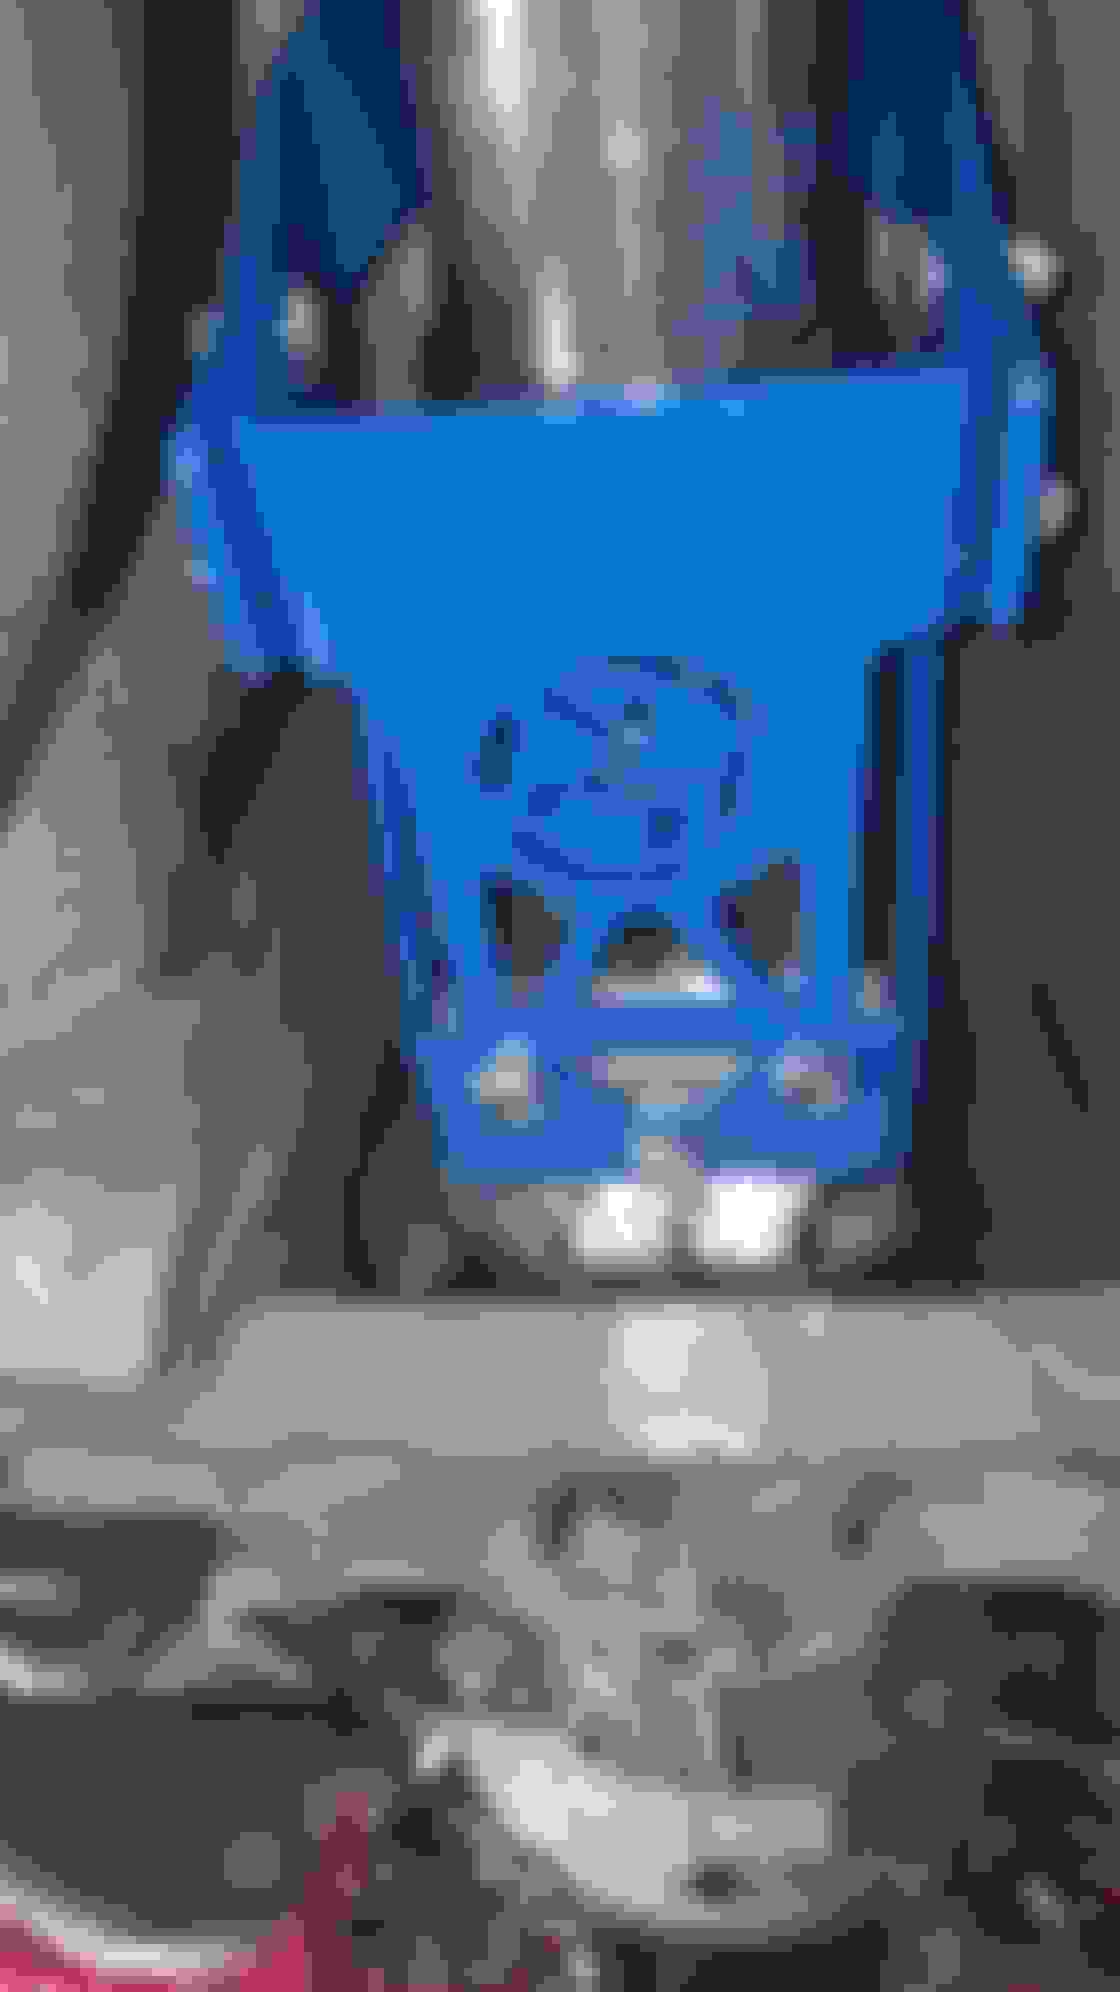
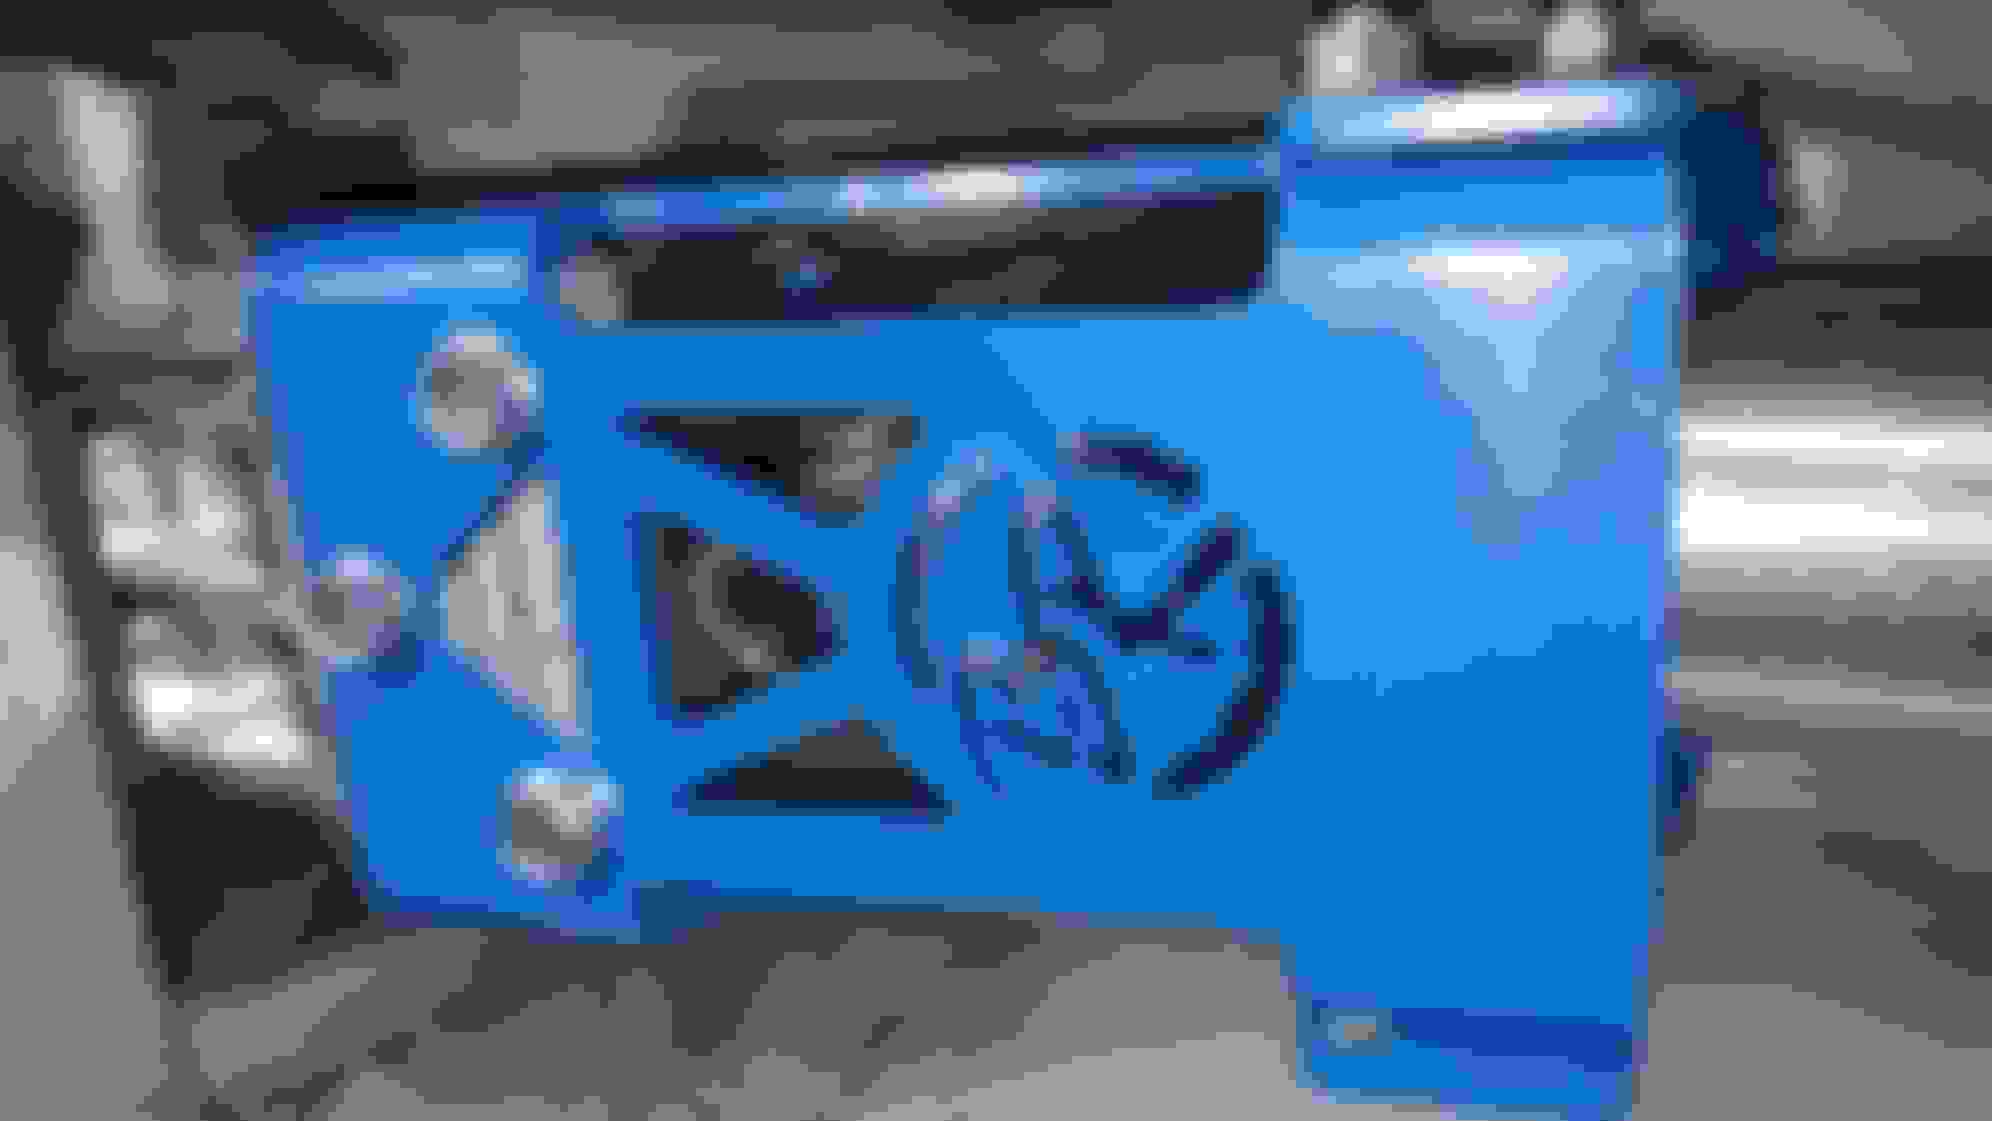
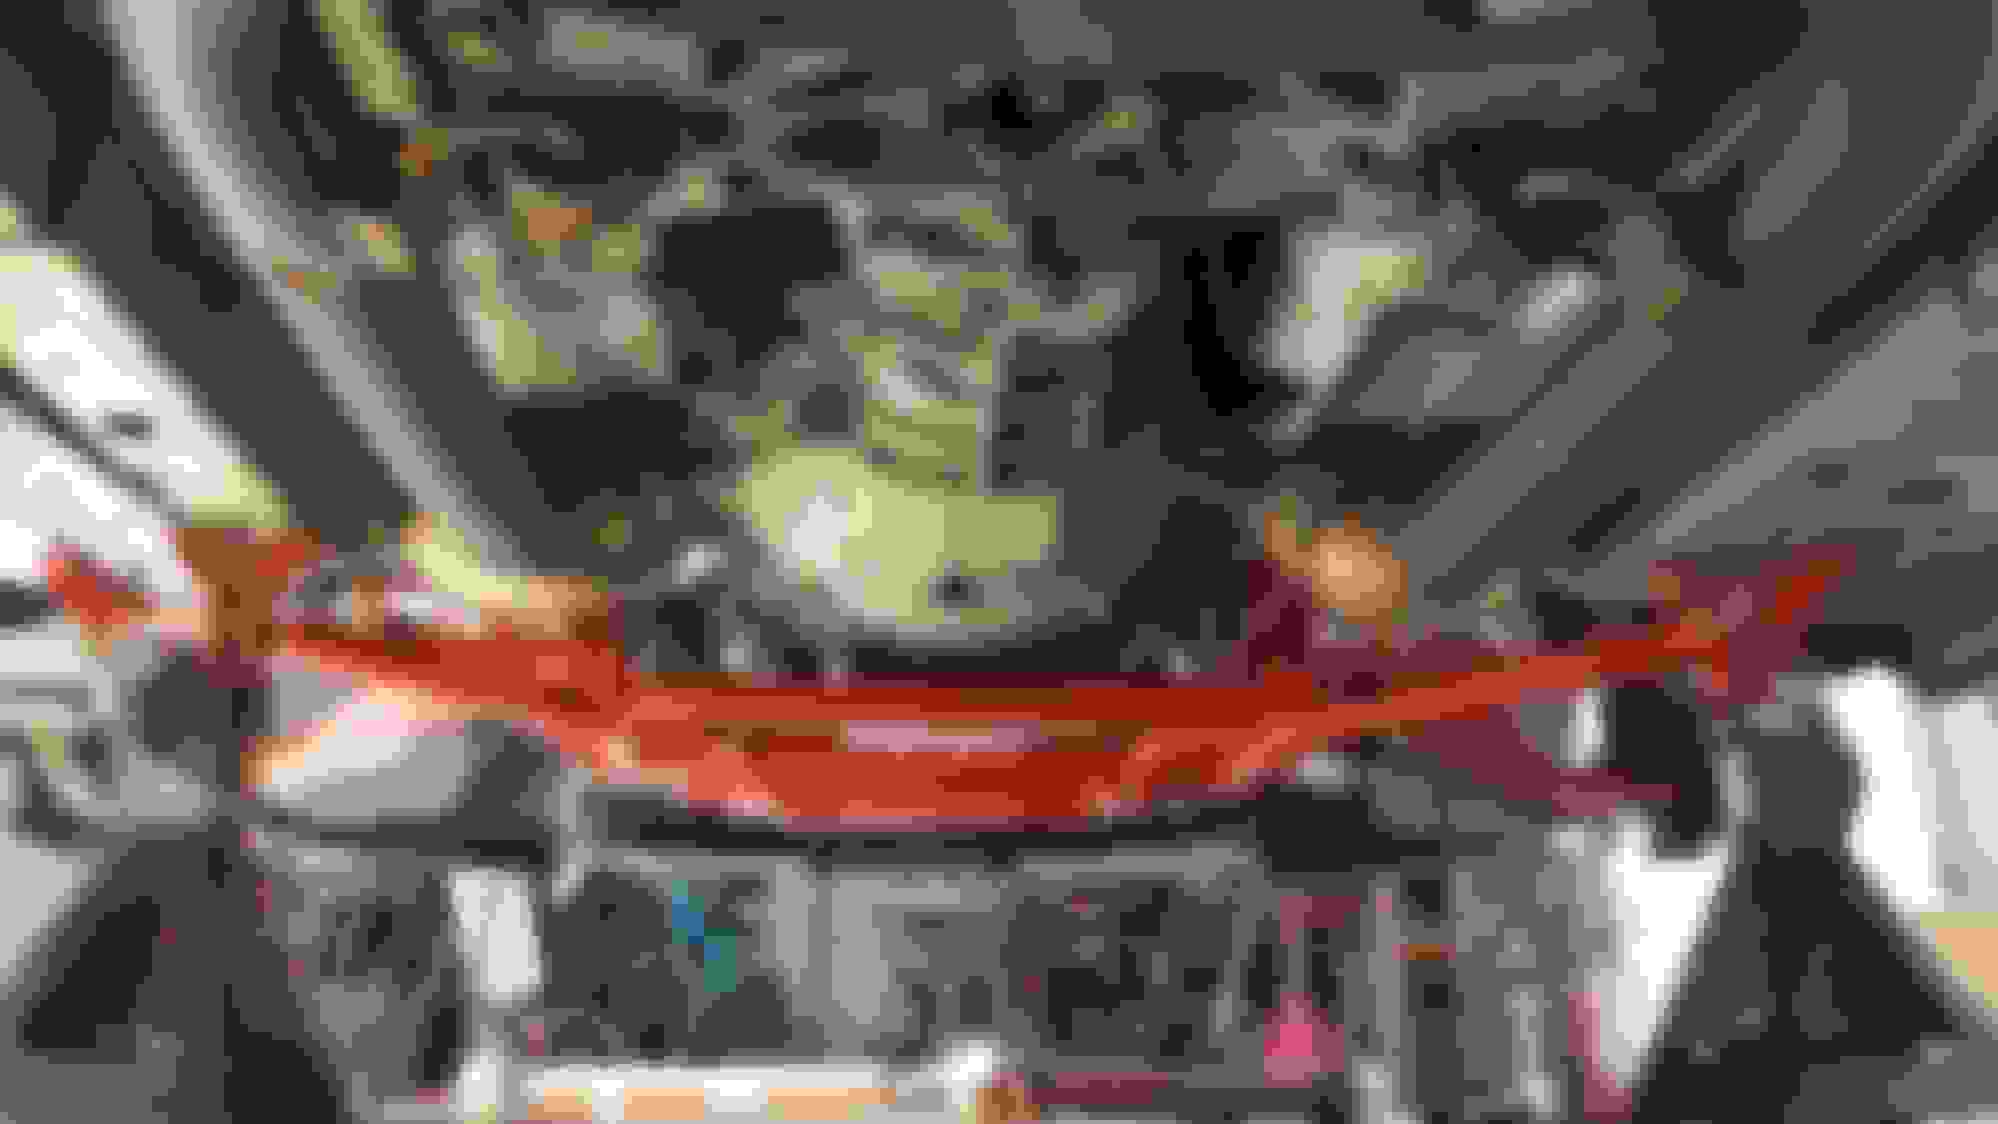
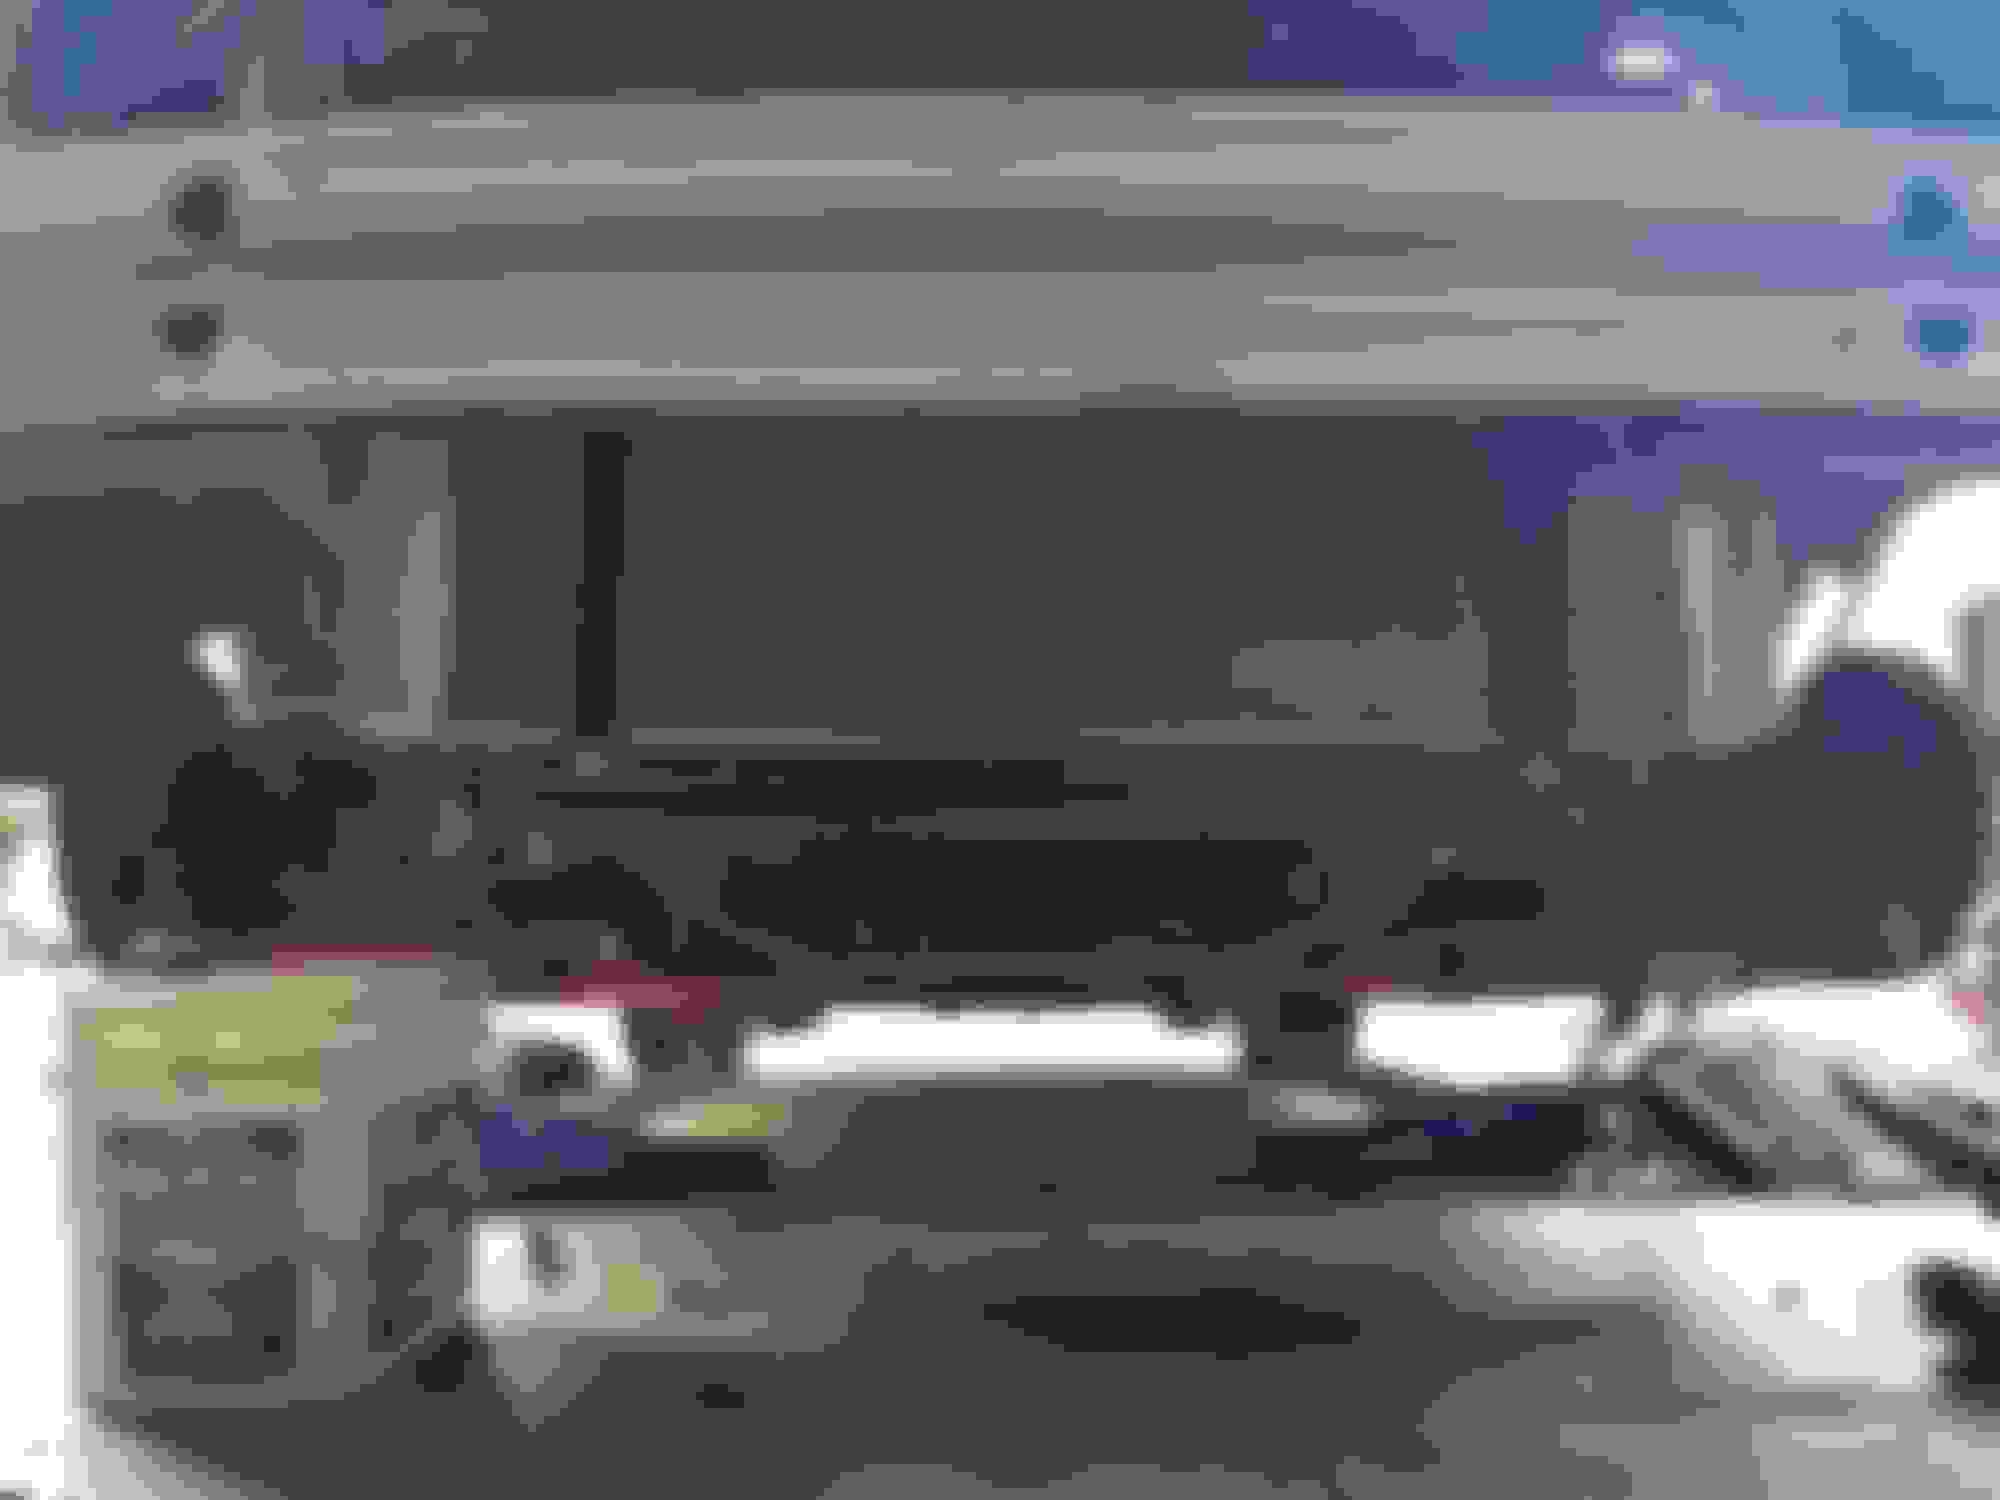
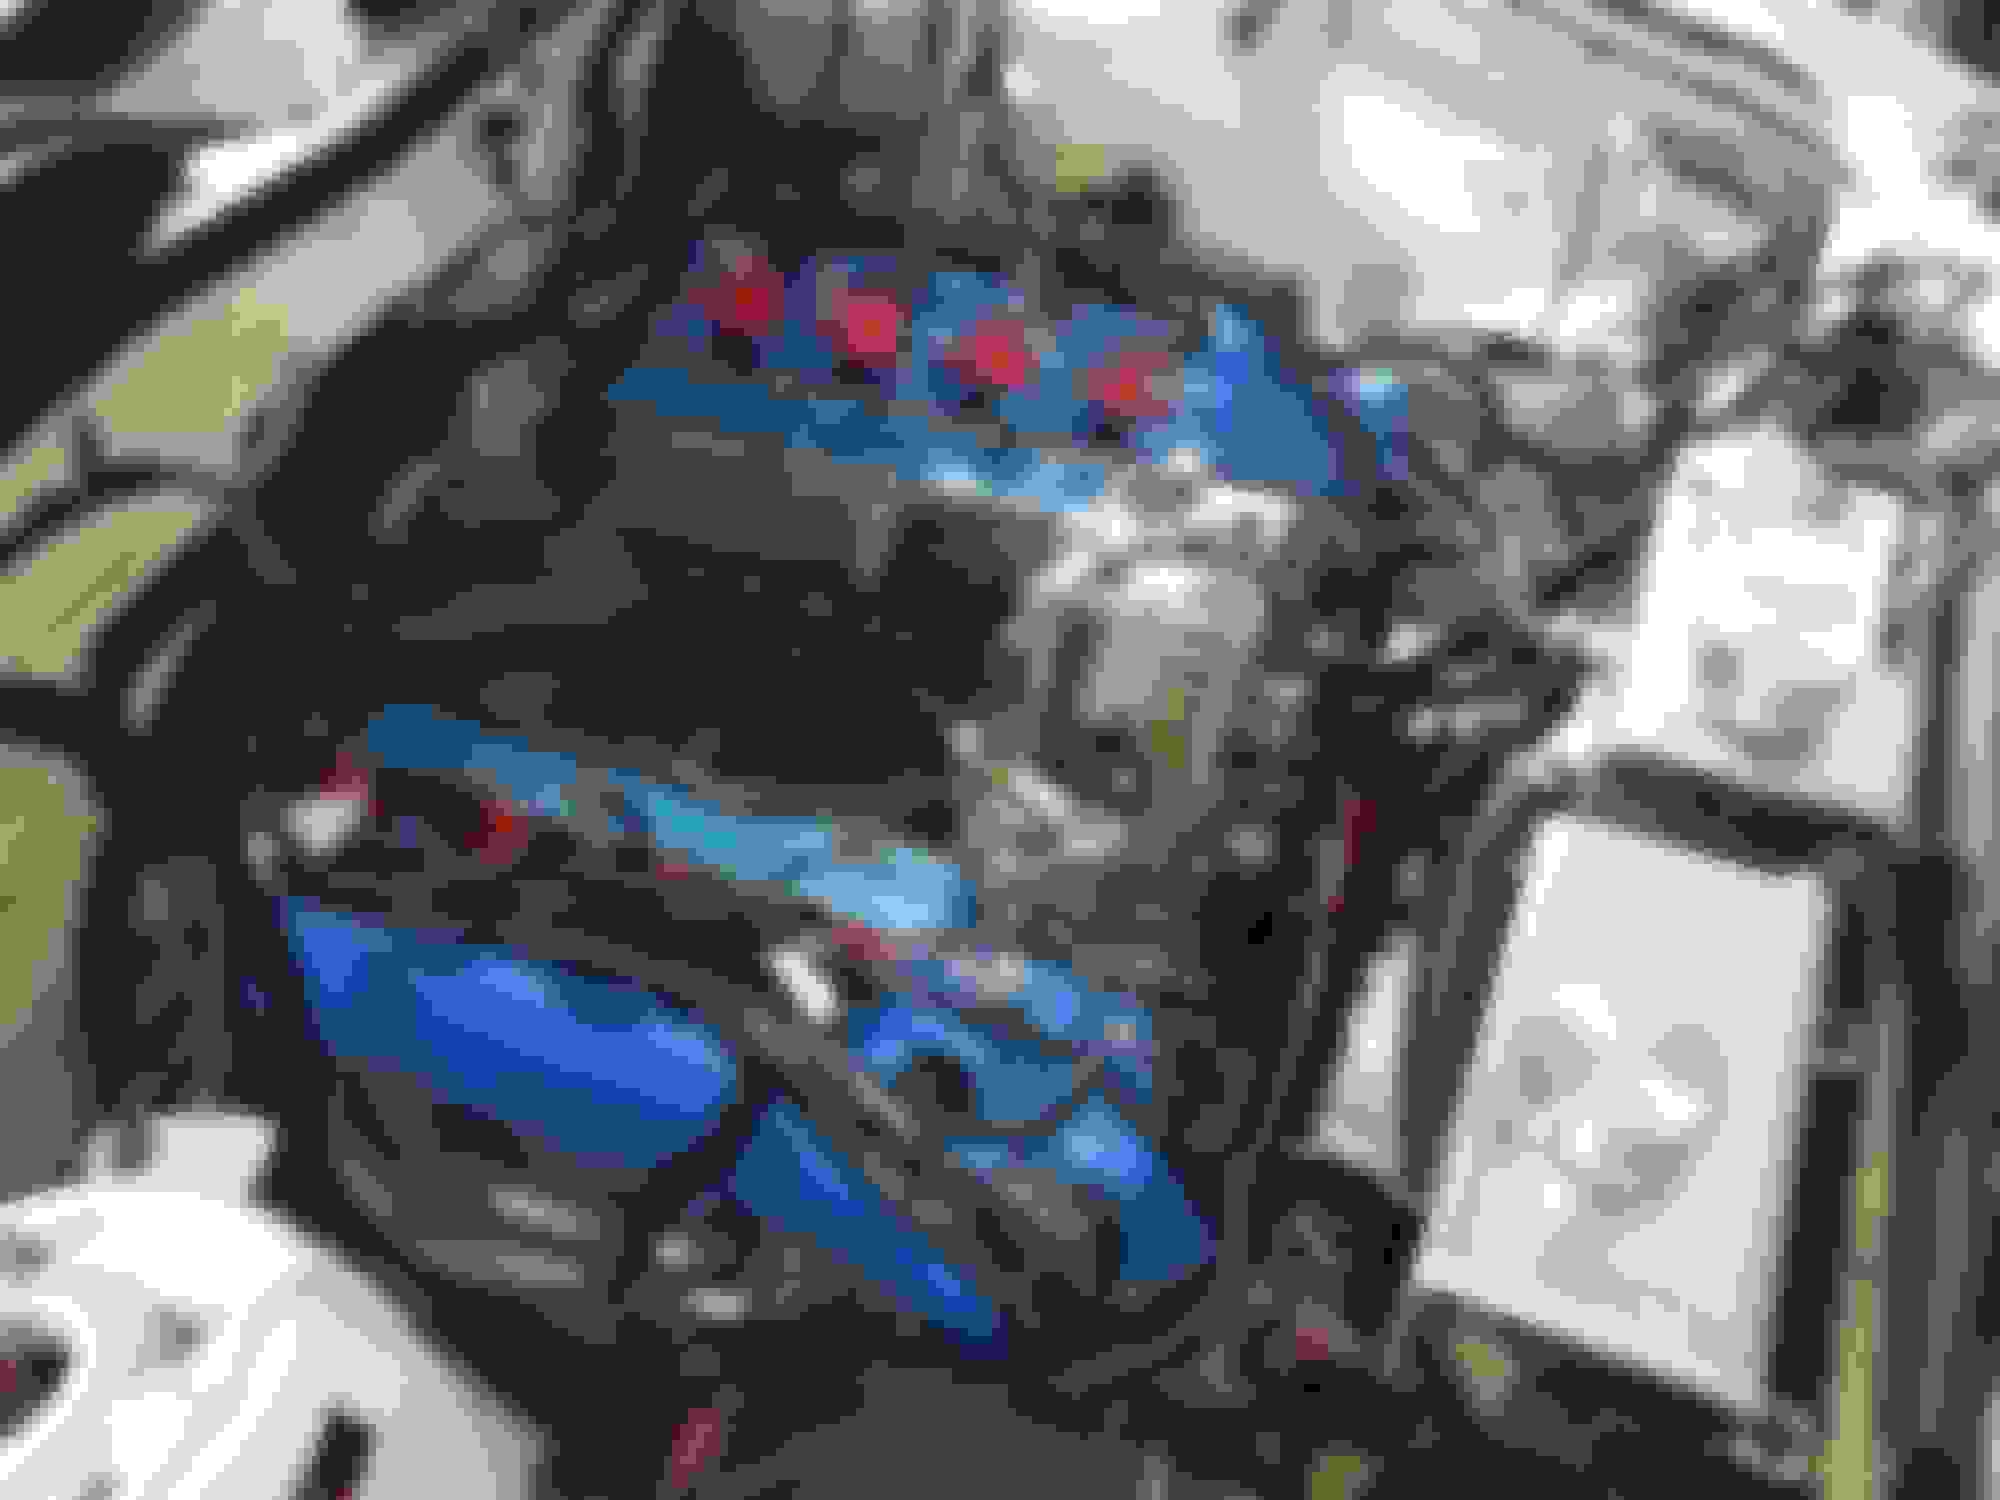
Not the greatest angle but here is the front after the BMR K-member, Radiator support and cross members install. Still waiting on the Control Arms and 38 mm sway bar. Arms have been back ordered for over a month. (Sigh)
Anyhow, here is the front as of this update: Will need to clean up some parts but not many since the majority have been replaced.
Anyhow,
That about does it for today. Thanks for viewing and thank you in advance for any comments.
Still at it and finally seeing some light at the end of this part of the "mod" tunnel.
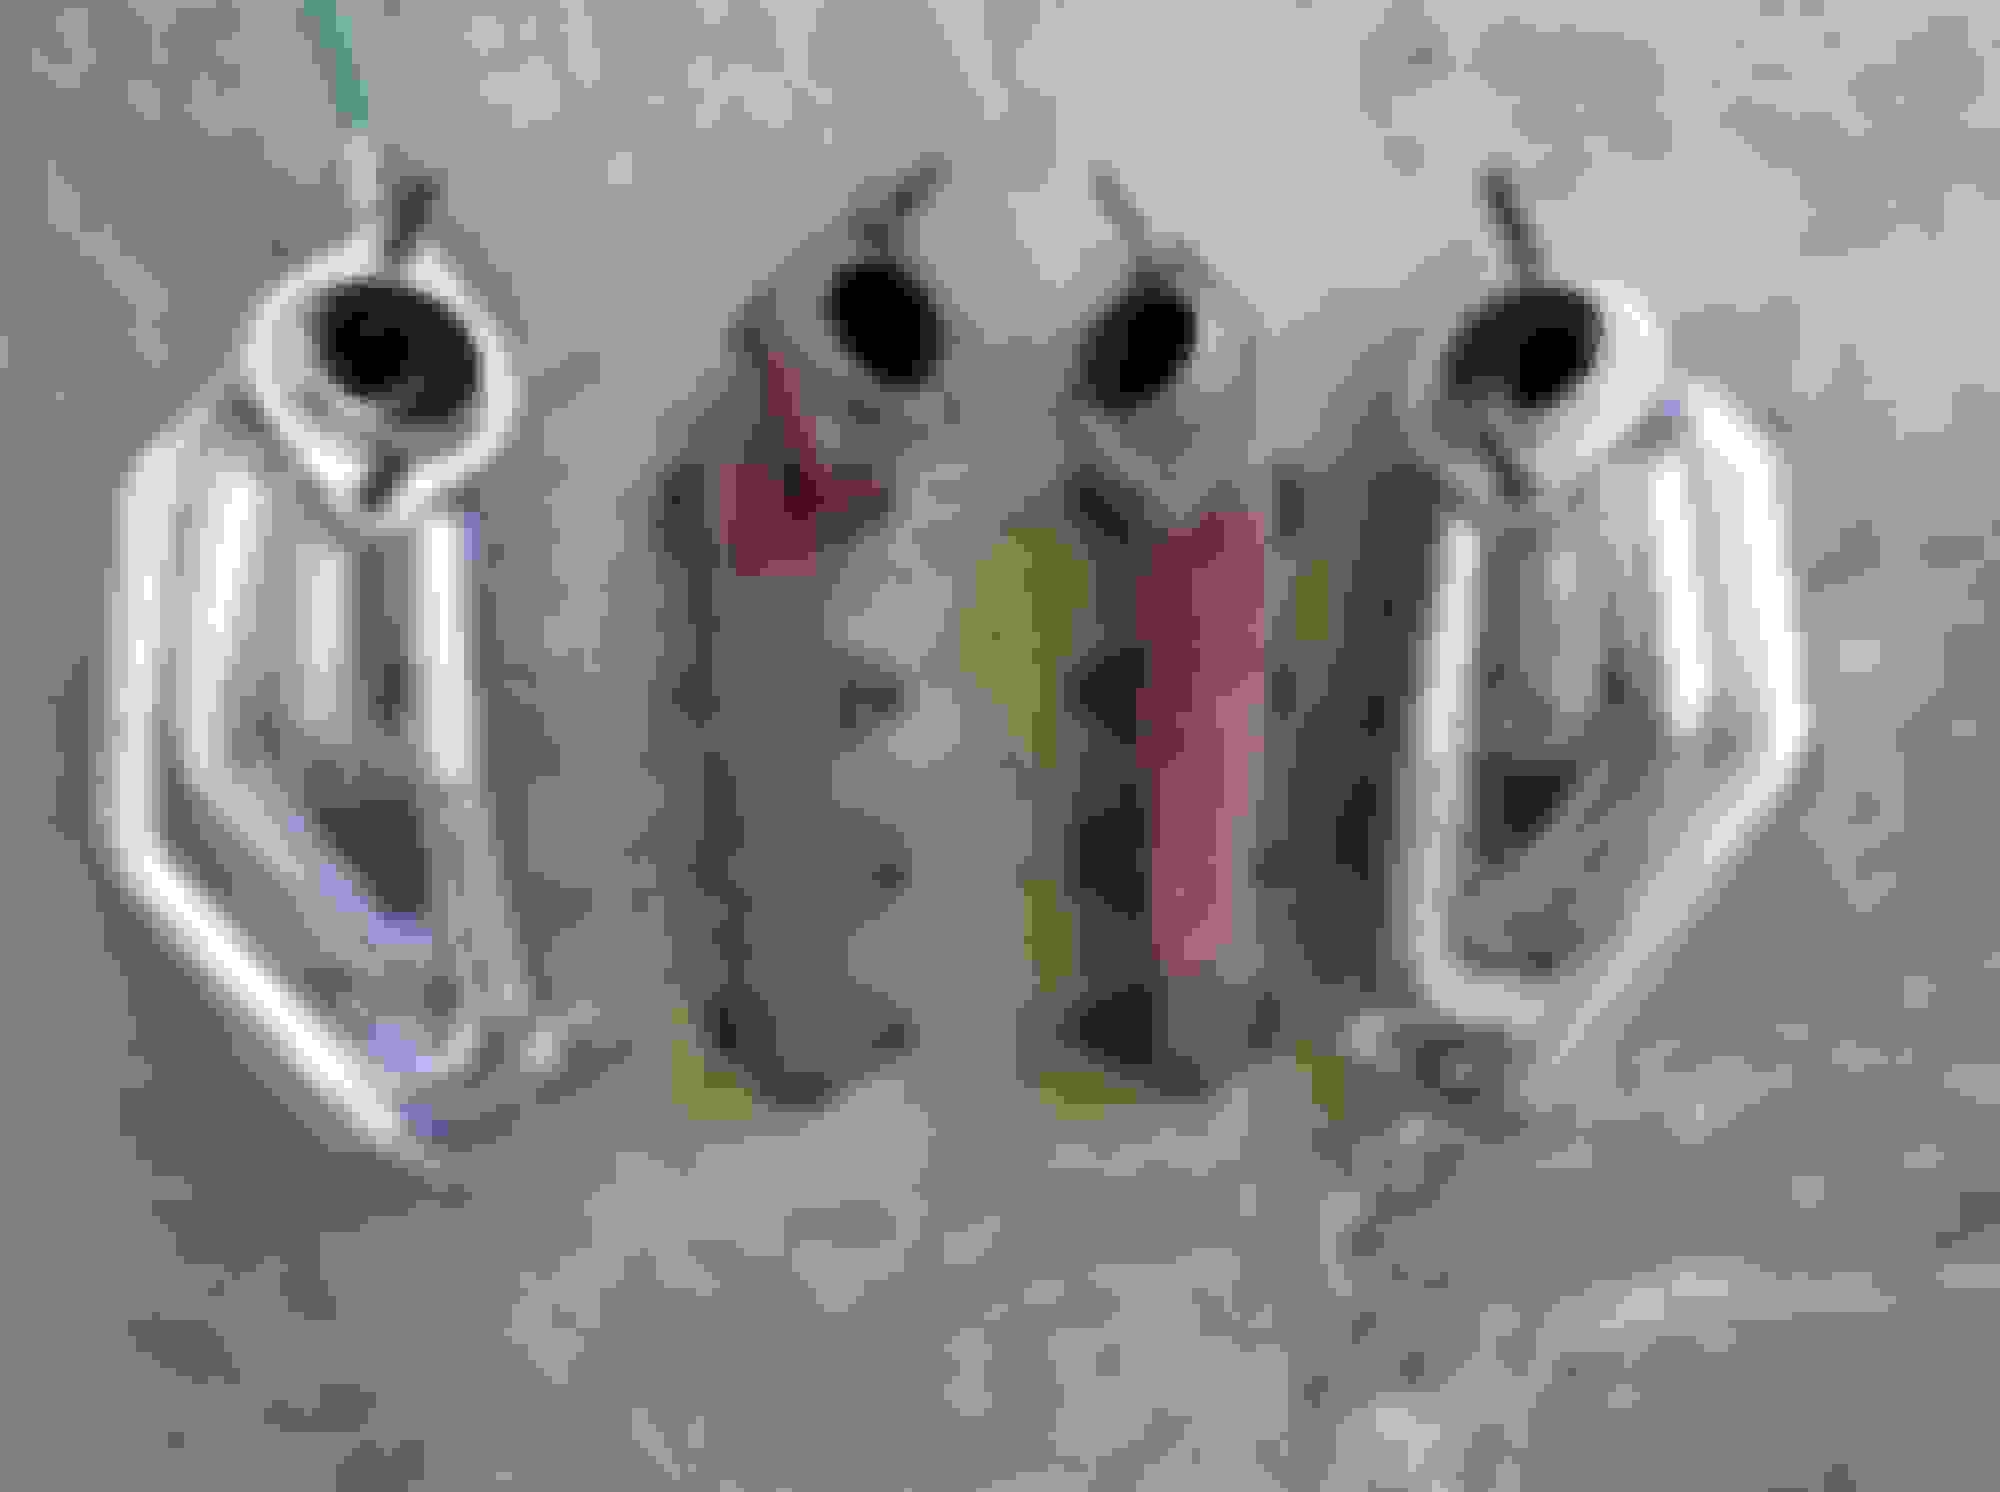
Narrowed some of my front end noise down to bad Wheel Bearings. When I was spot checking the wheels I decided to look at the awful two piece drive shaft. Carrier was shot, and the universal upfront was loser than I desired. SO... instead of rebuilding the two piece I went with the affordable one piece by Ford Racing. Nice piece and by far the best price.
Decided that while I was at it I'd spoil myself and bought a late Fathers Day gift. Been looking at the Blow Fish Racing support to relocate the shifter mount. Nice piece once all said and done! To finish off the BMR goods I installed a BMR Strut tower brace! Love the feel and yeah the look isn't too bad!
Here are a few pics of how the day went for me!
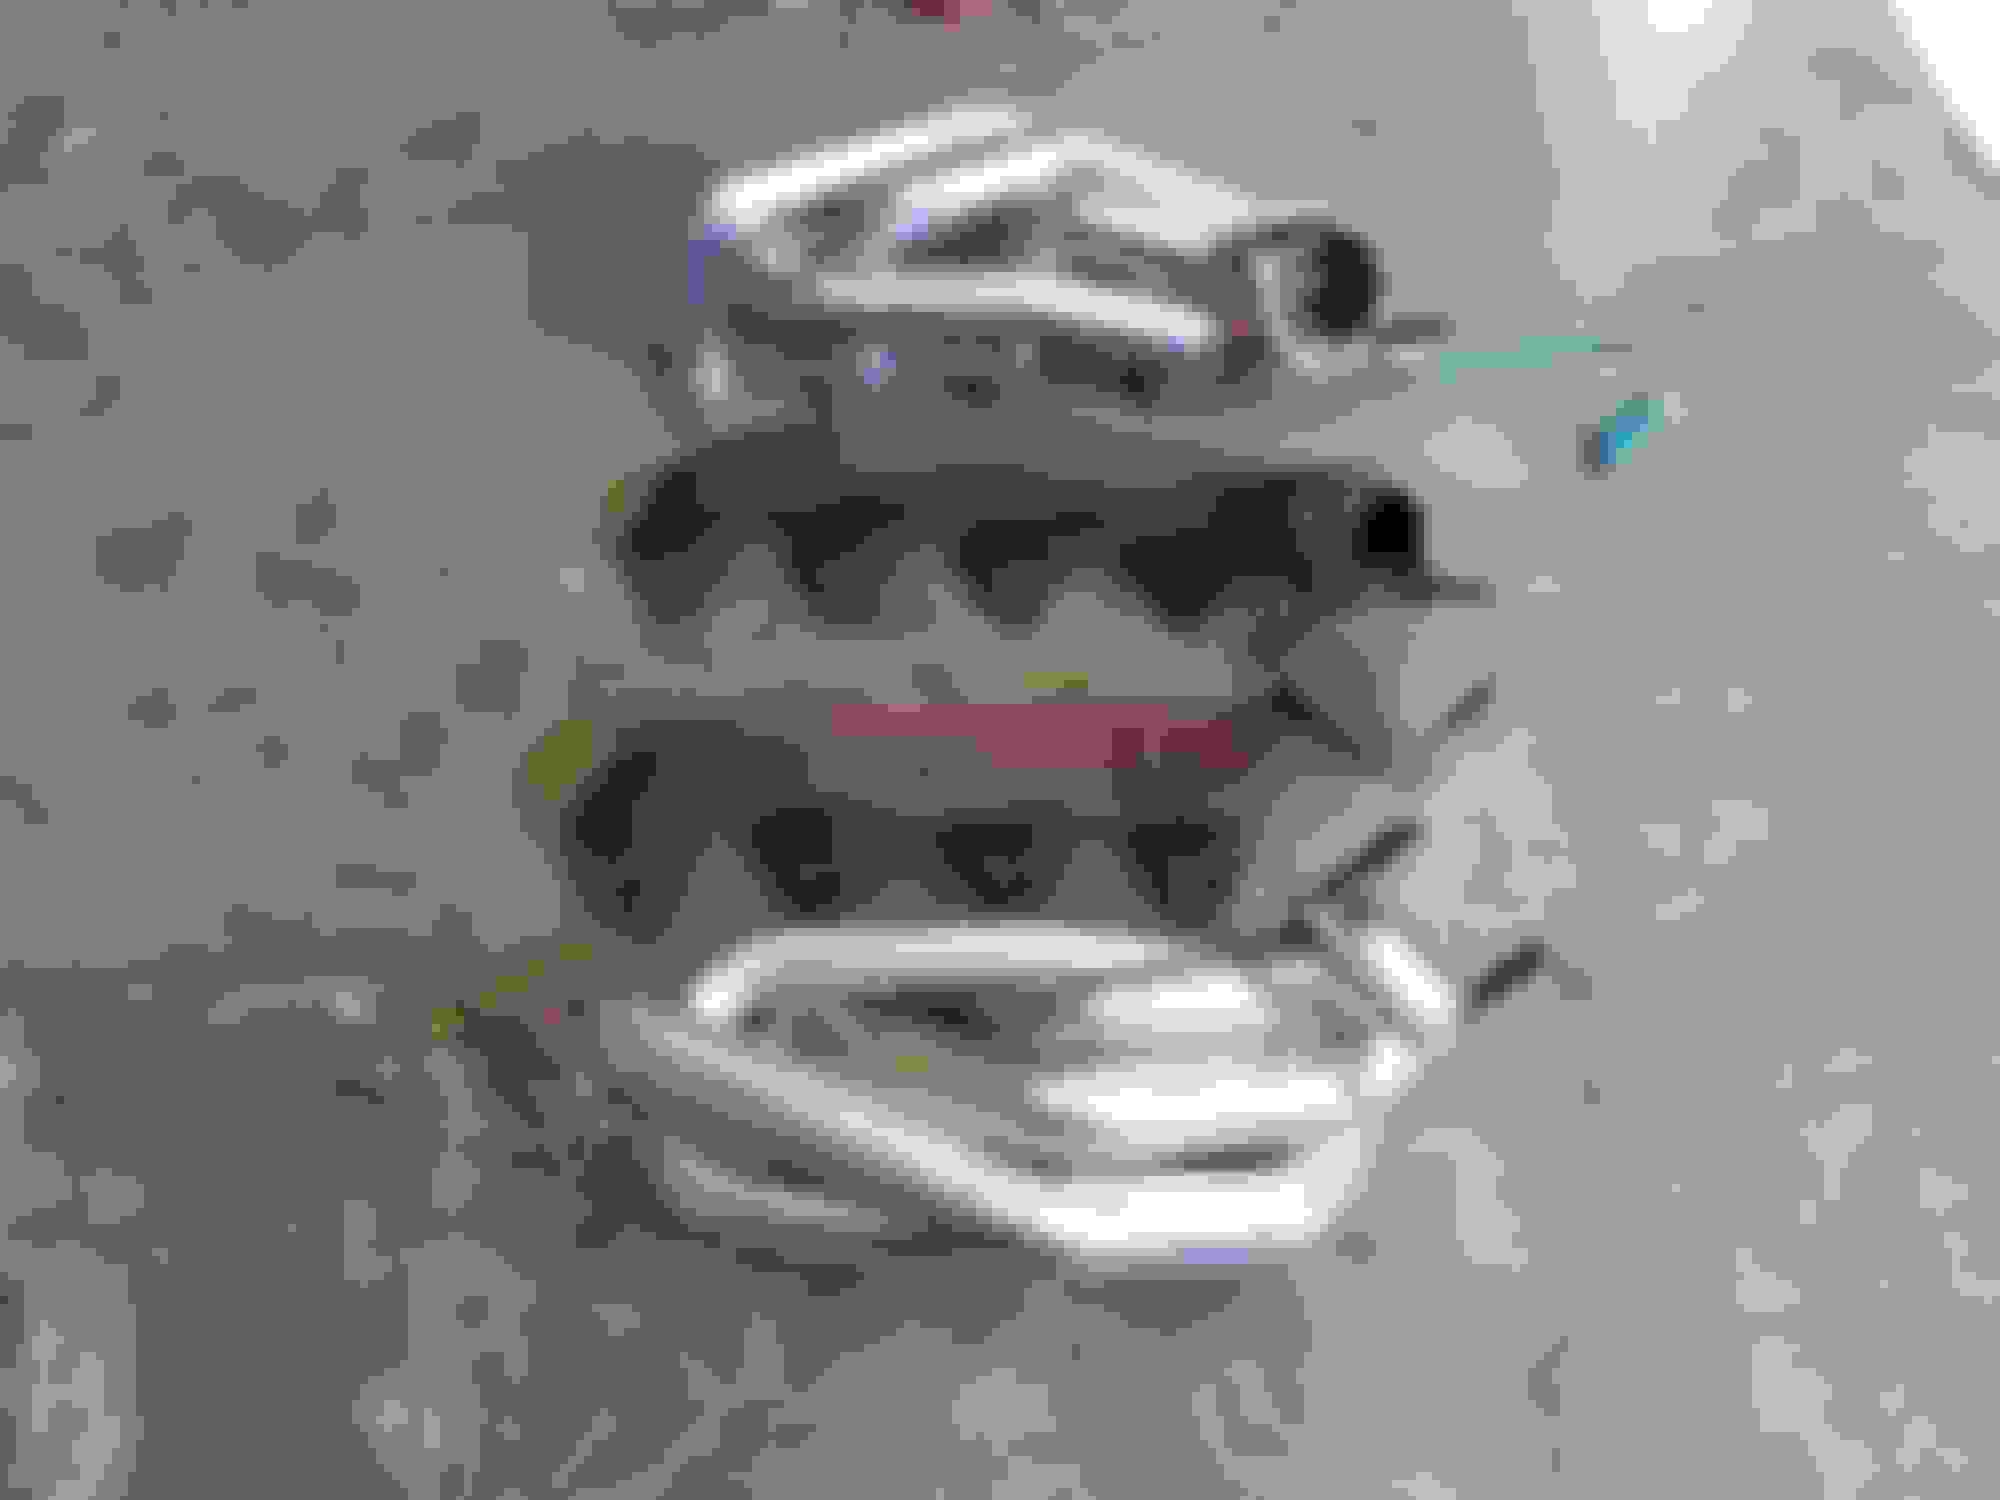
BFR Shifter Support BFR Shifter Support BFR Shifter Support BFR Shifter Support BRM Strut Tower Brace FRPP Aluminum one piece VS OEM two piece. Brand new Hub Assembly Brand new Hub Assembly
Part of my poking around I discovered that the Rack and Pinion is wearing out. Makes an awful grinding now from within. Have a replacement on the way with some new lines. The main pump to rack line is very rusty and flaking apart.
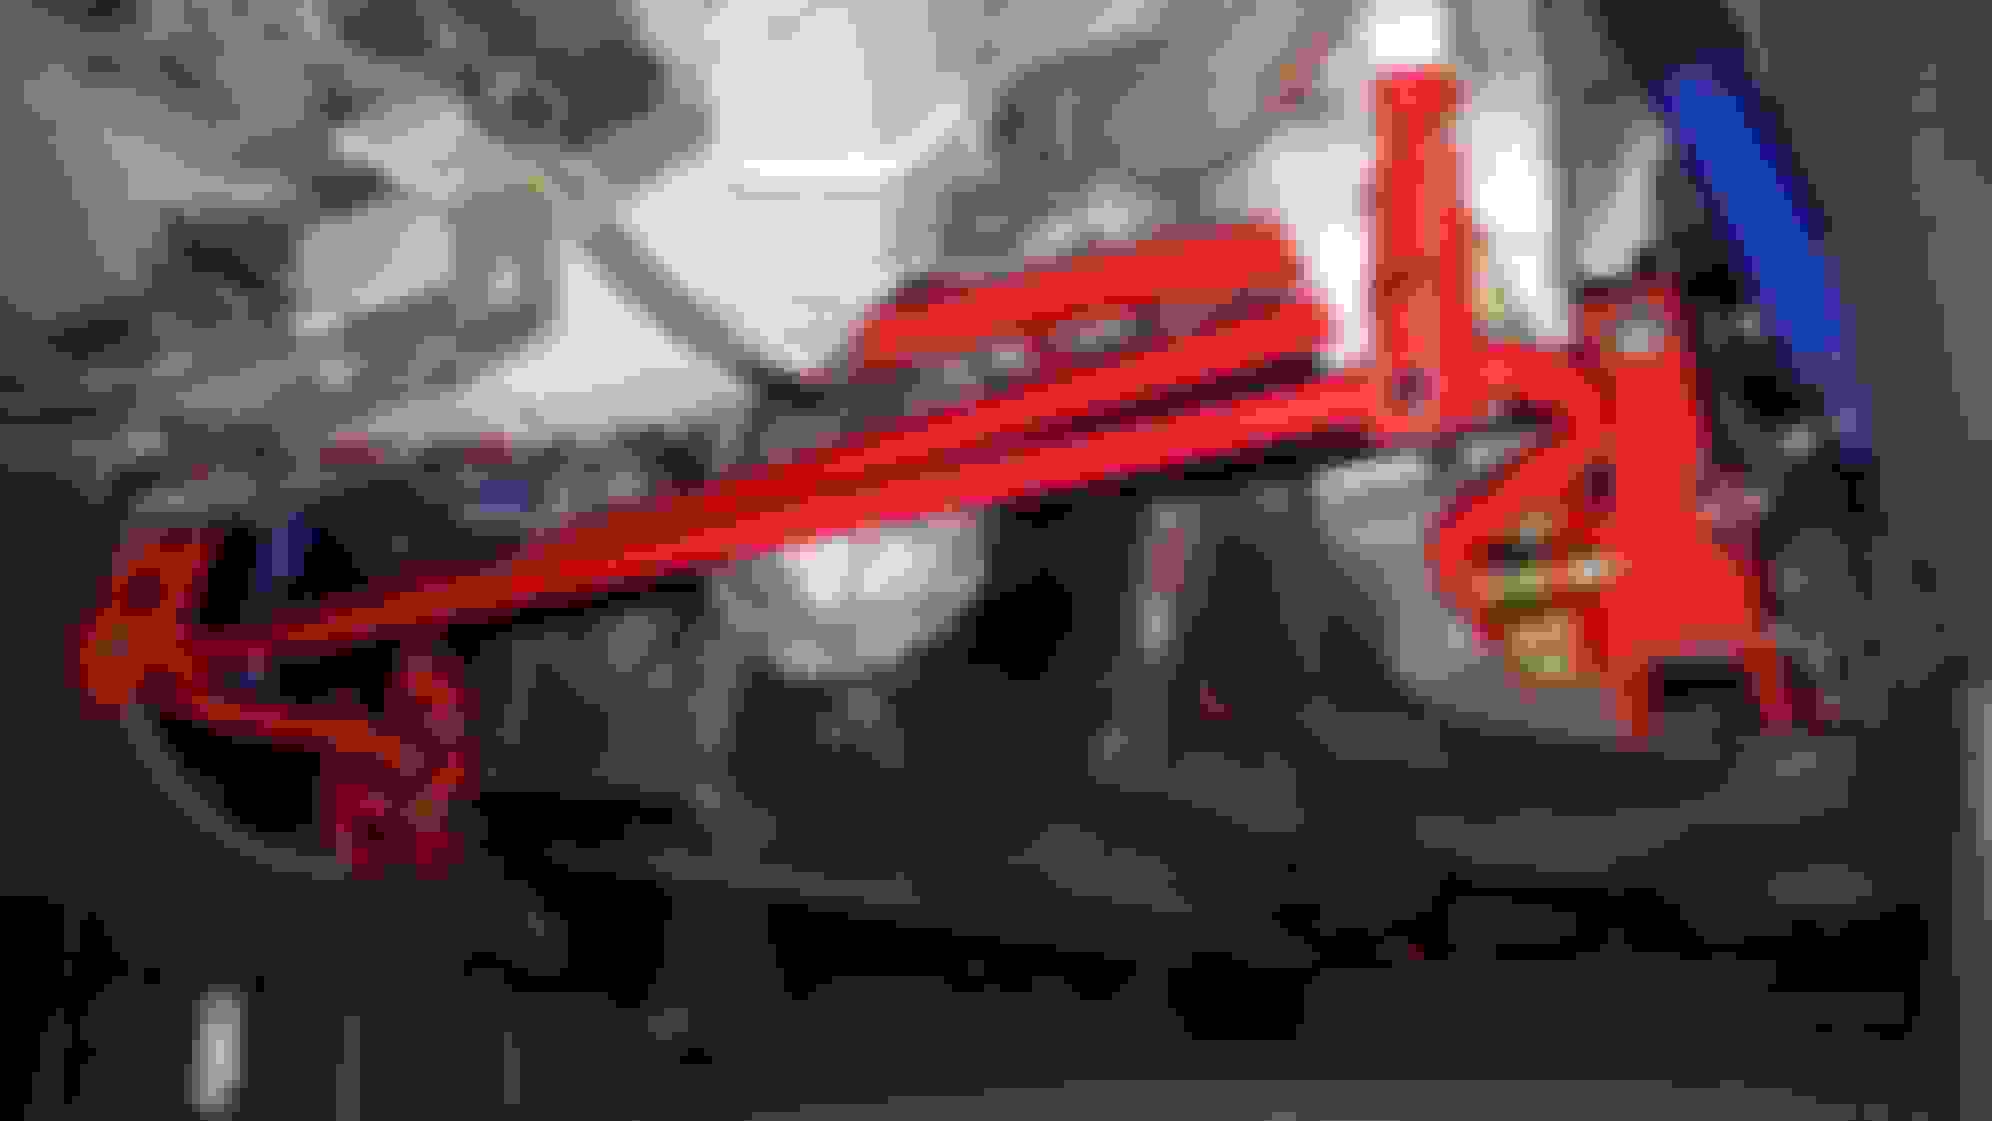
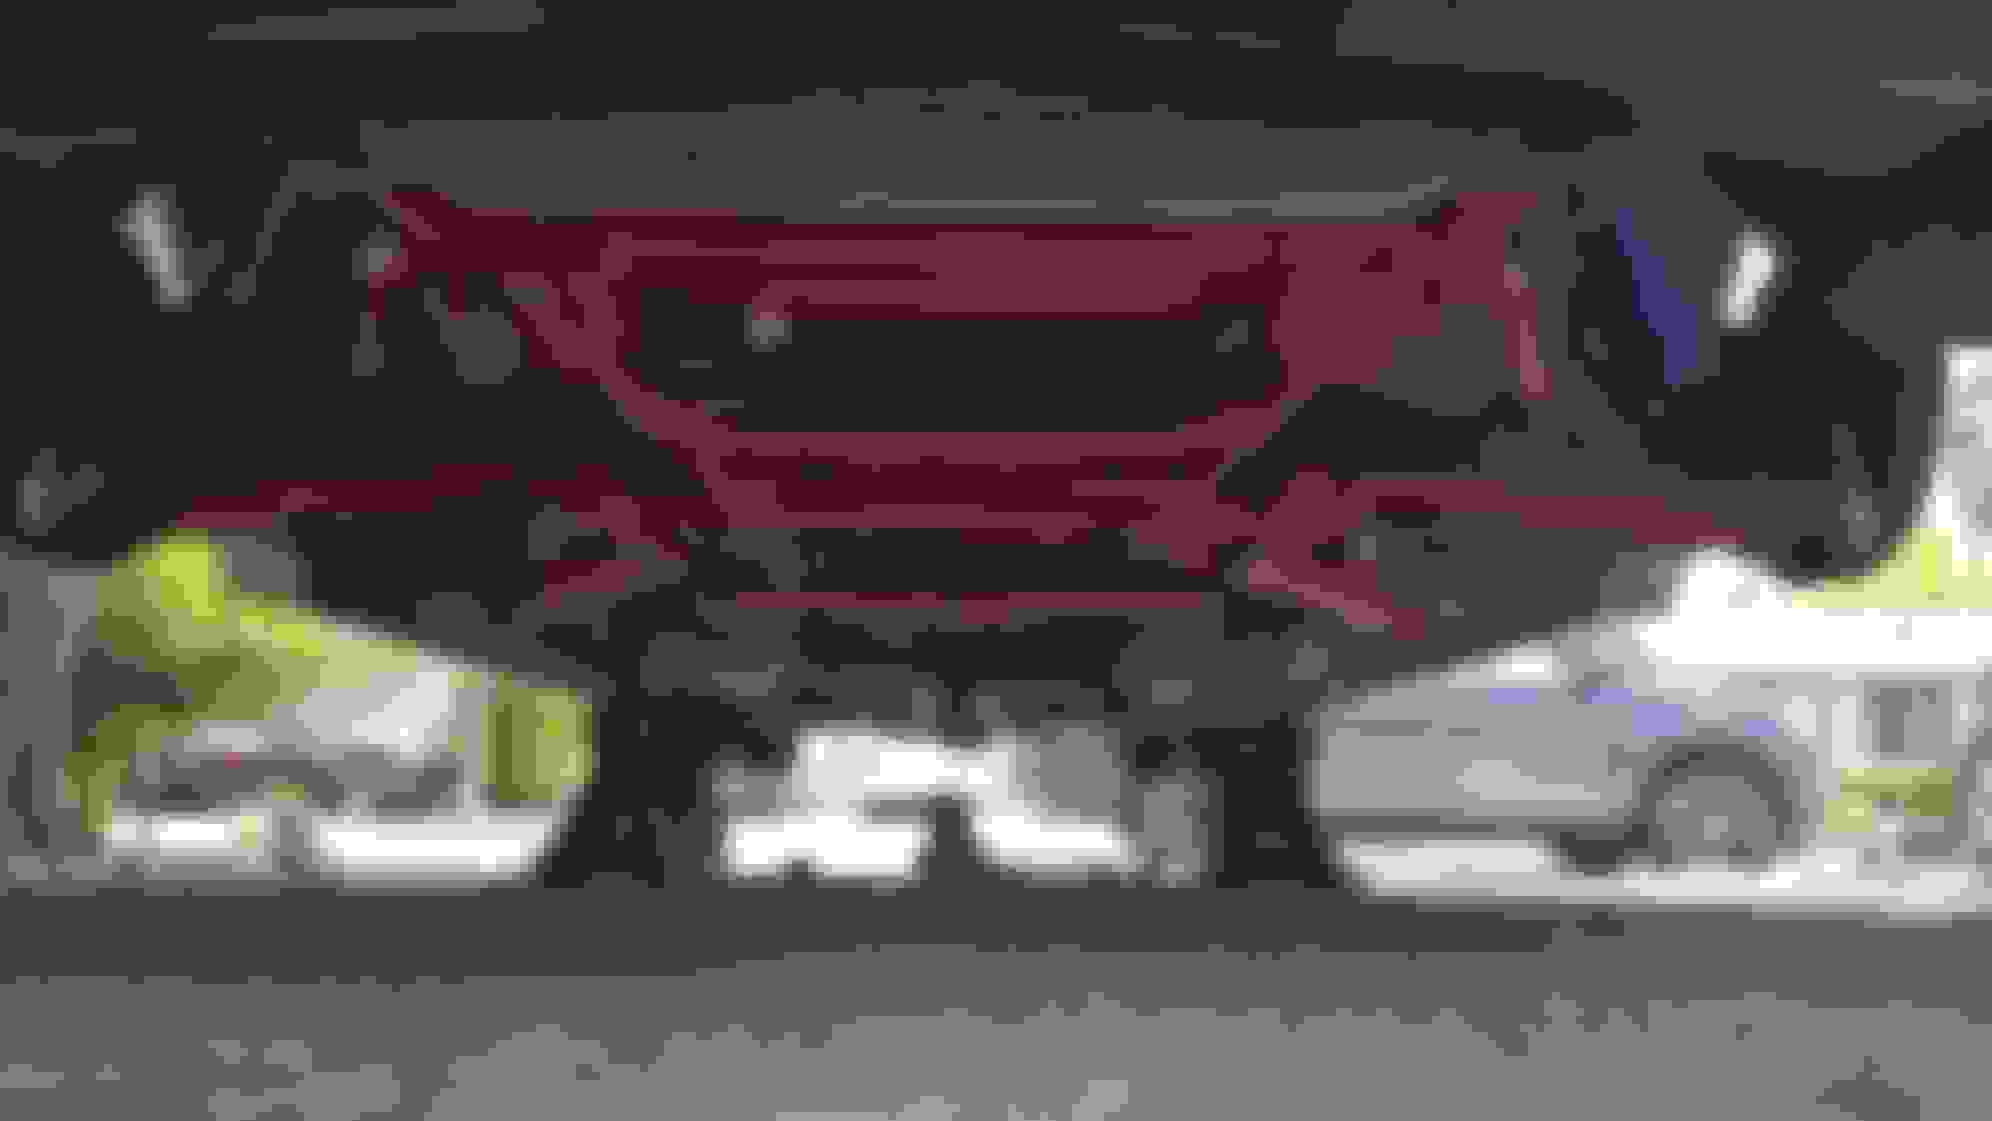
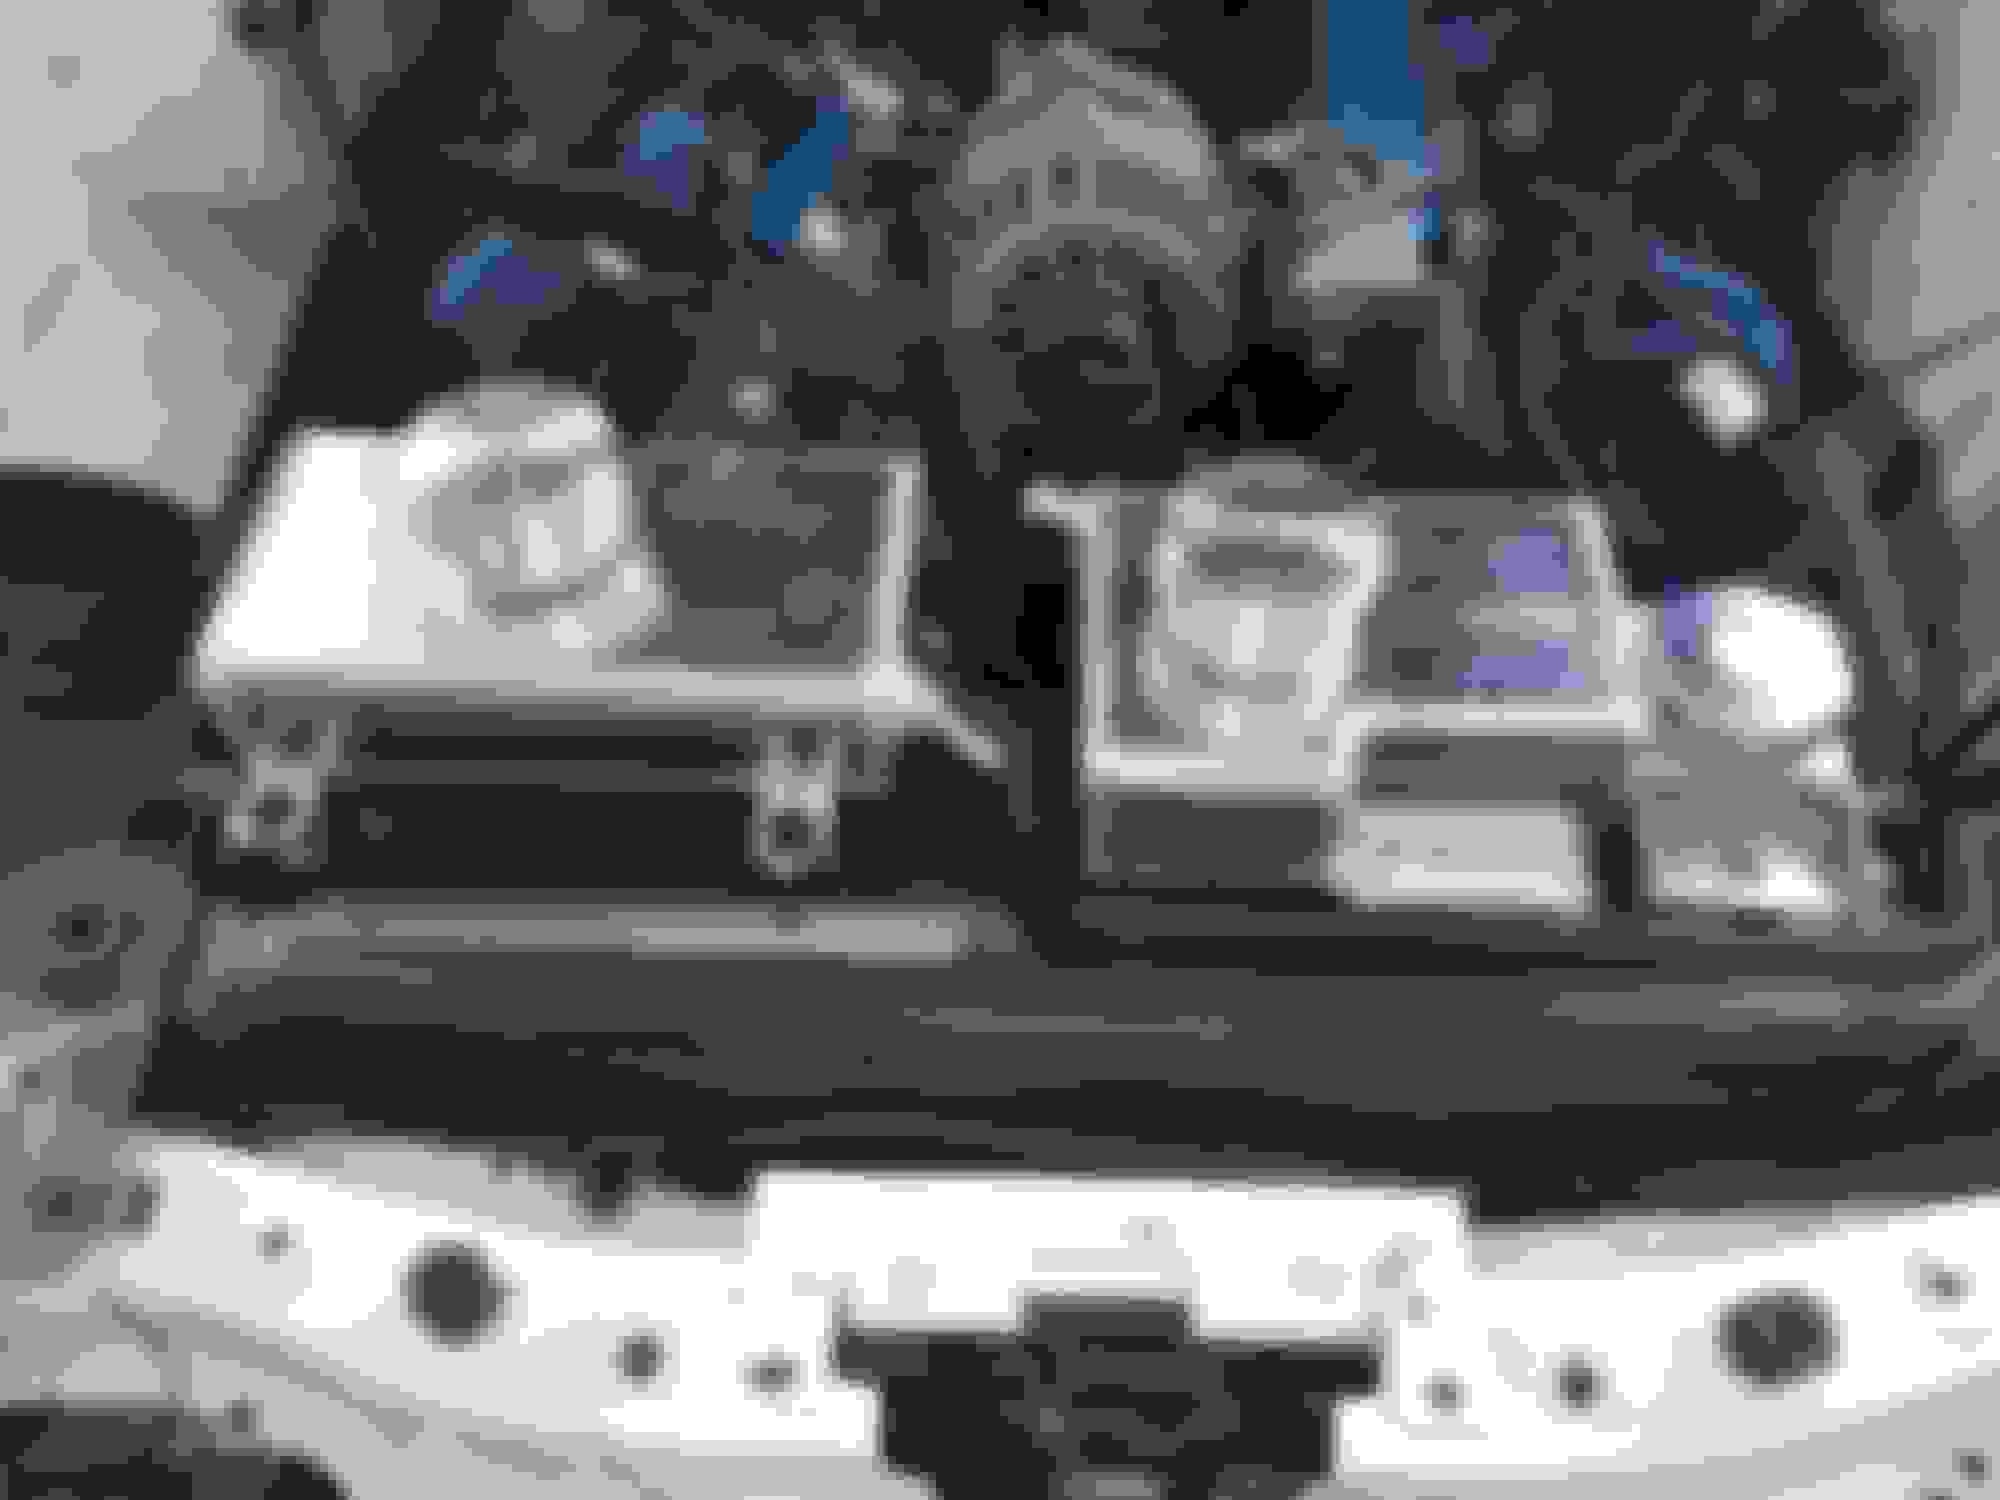
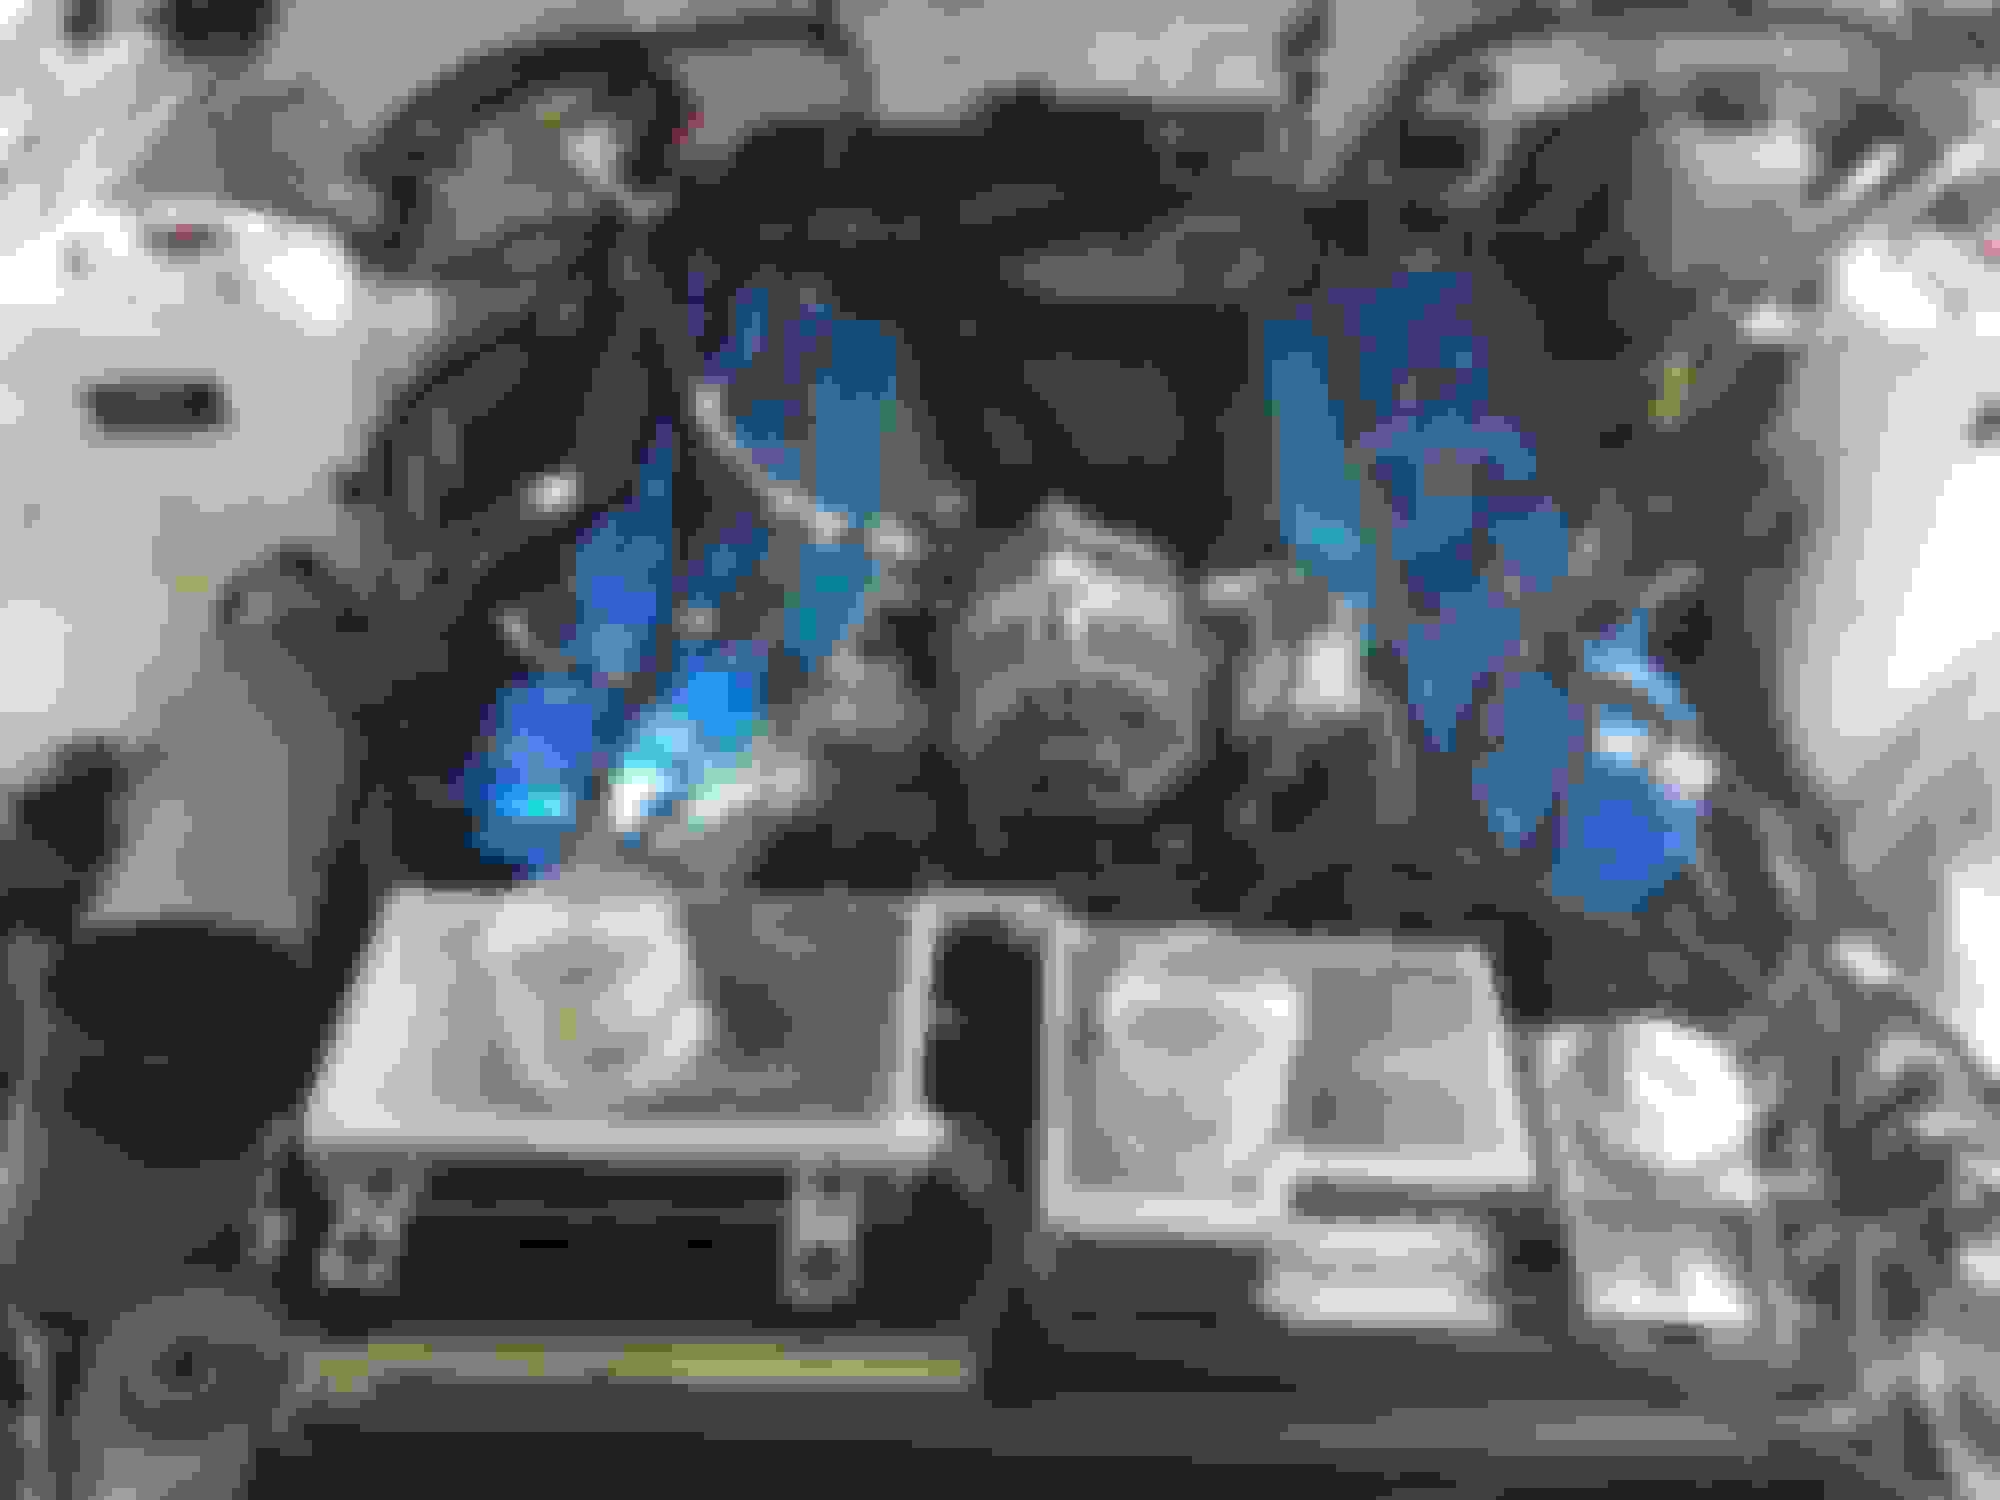
Decided that while I was under the car I'd get some better over all progress pictures.
Here is front to back:
BRM Front: rear looking forward. BMR Front: Front looking rearward BMR Front: From the right BMR Front: From the left BMR Rear: From the left BMR Rear: From the left.
Admittedly my goal was to not have to so so much at once. Each time I corrected one issue another would peak its ugly face out at me. I suppose on the bright side of things there isn't much OEM suspension reaming and the only rubber bushing left is the Transmission mount.
Initial test drive proved this is a whole different car to drive. No clanks, clunks or vibrations that I could hear or feel. Looking forward to putting some miles on it to really see how the Blow Fish Racing support improves shifting. The Barton improved things dramatically so I can only imagine.
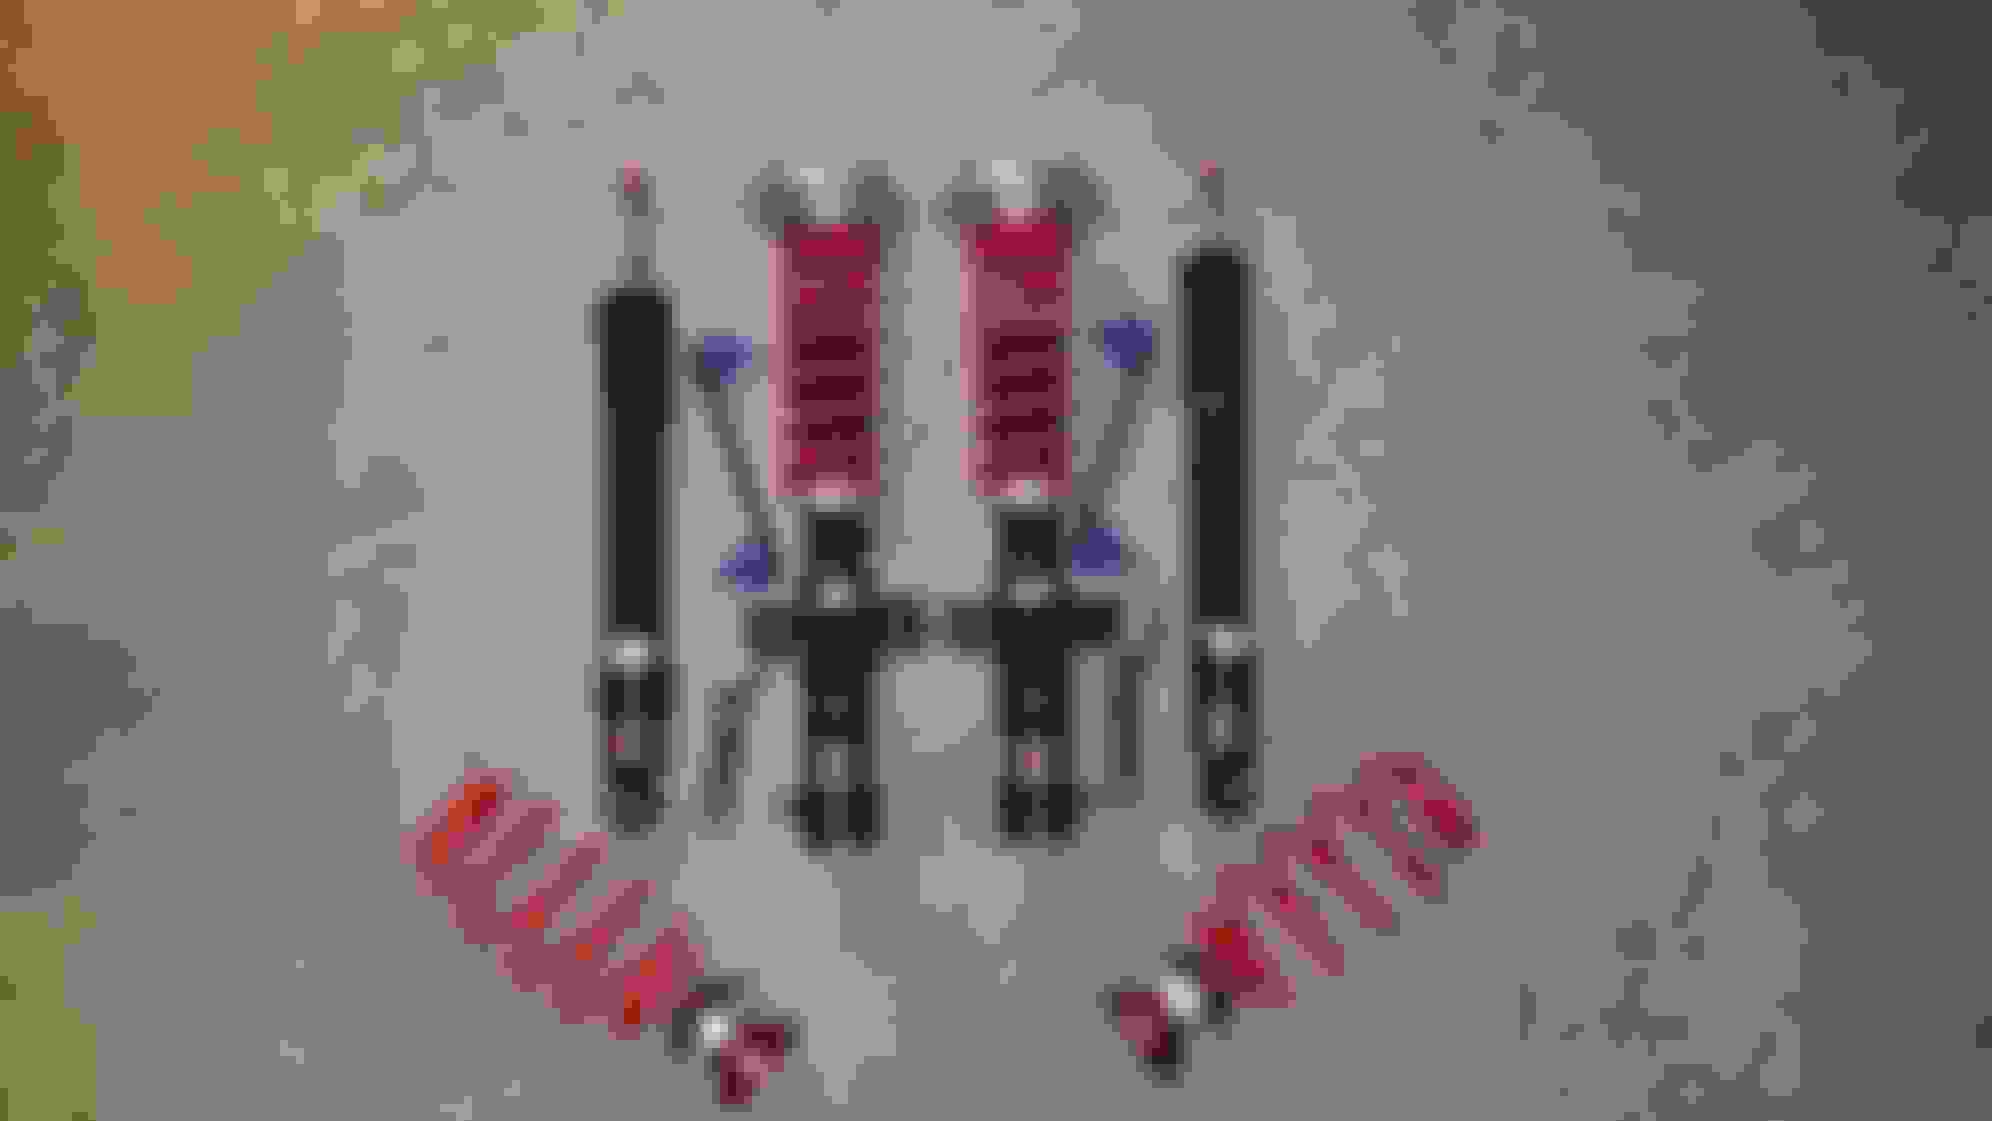
Since that last update I've made some changes. Decided to go another direction with my suspension and moved away from the Roush Stage 2 after just a few short miles. Went with a Pedder's Coil-over kit and couldn't be happier. The customer service at LMR and Pedder's are top notch and handled a small issue with one of the coil-overs with speed and integrity! Highly recommended!
Don't get me wrong, the Roush kit is great for anyone looking for comfort at a static height.
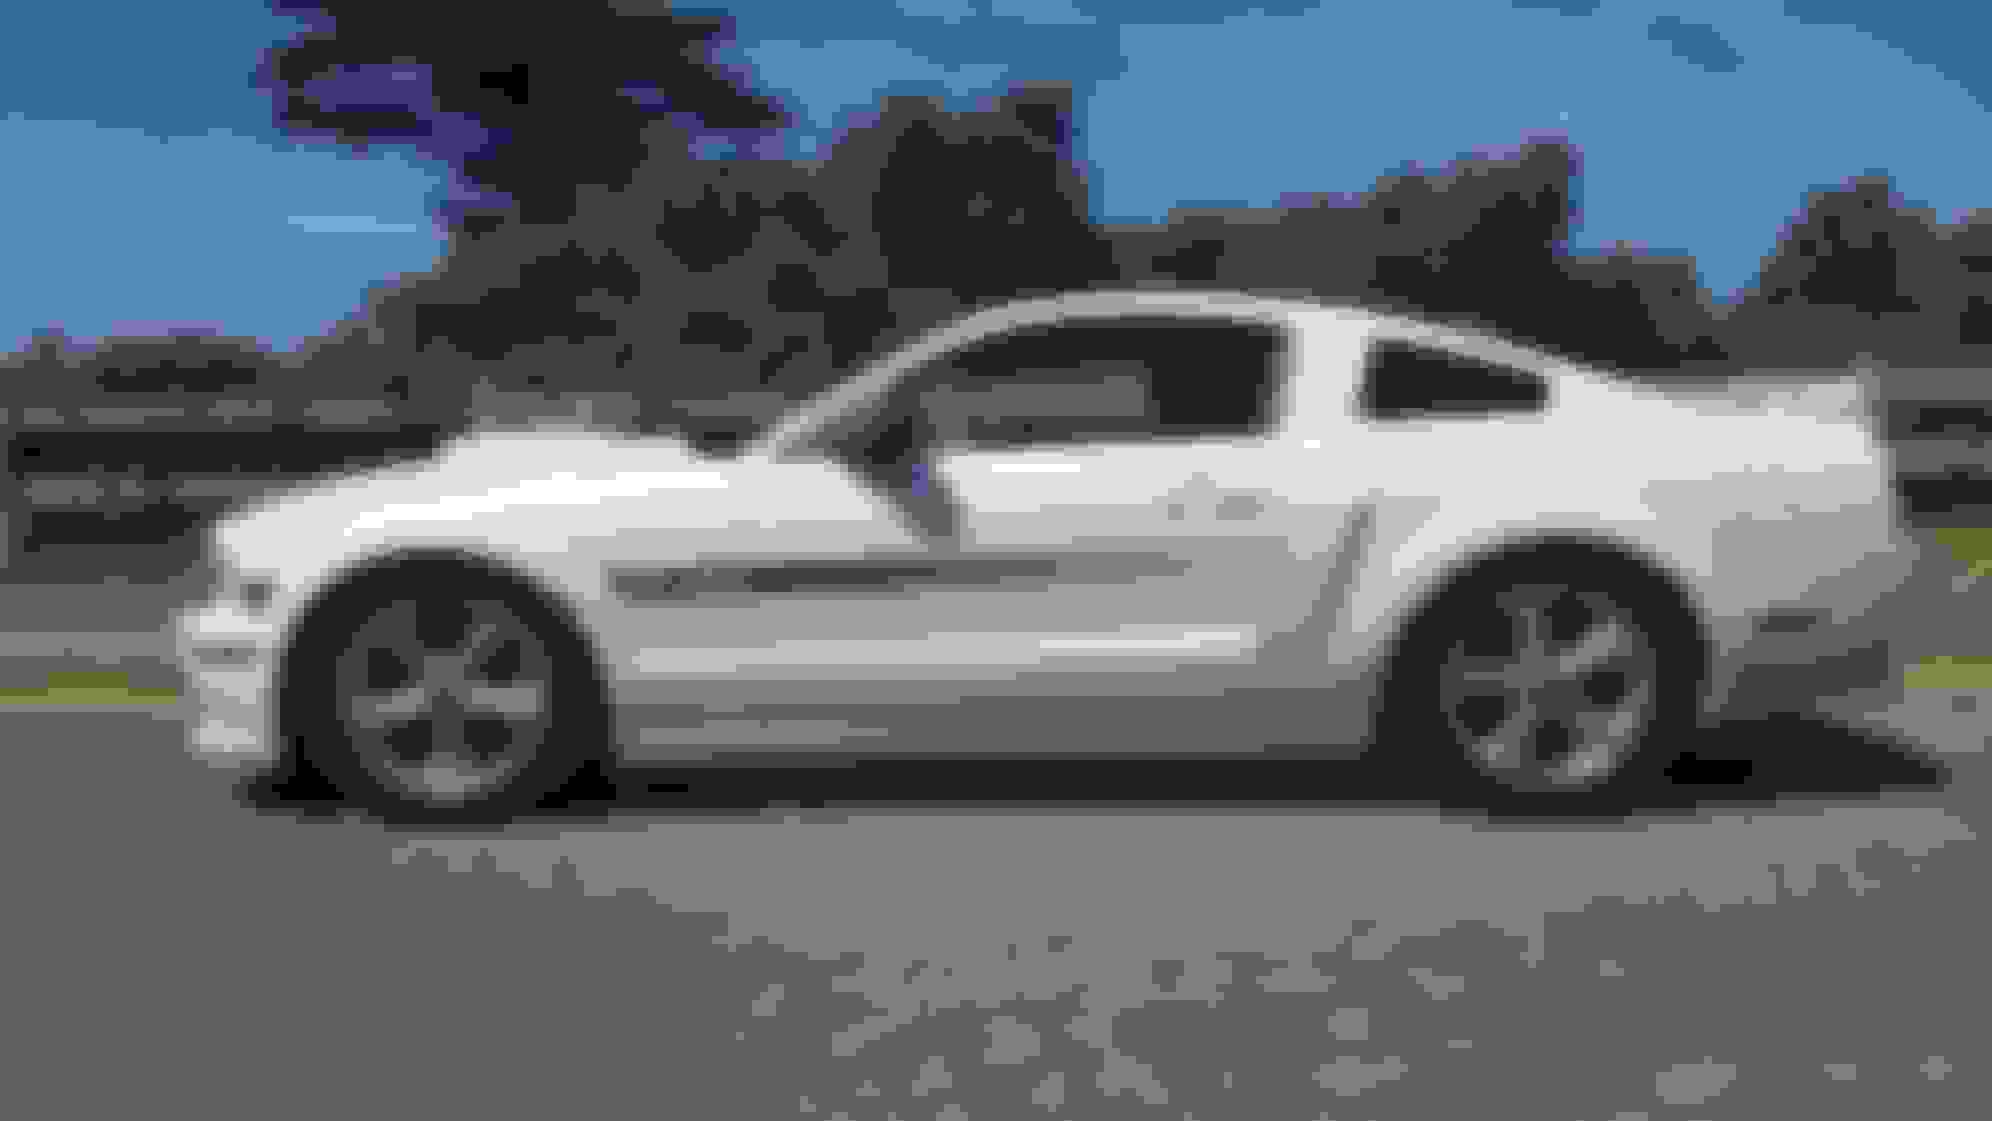
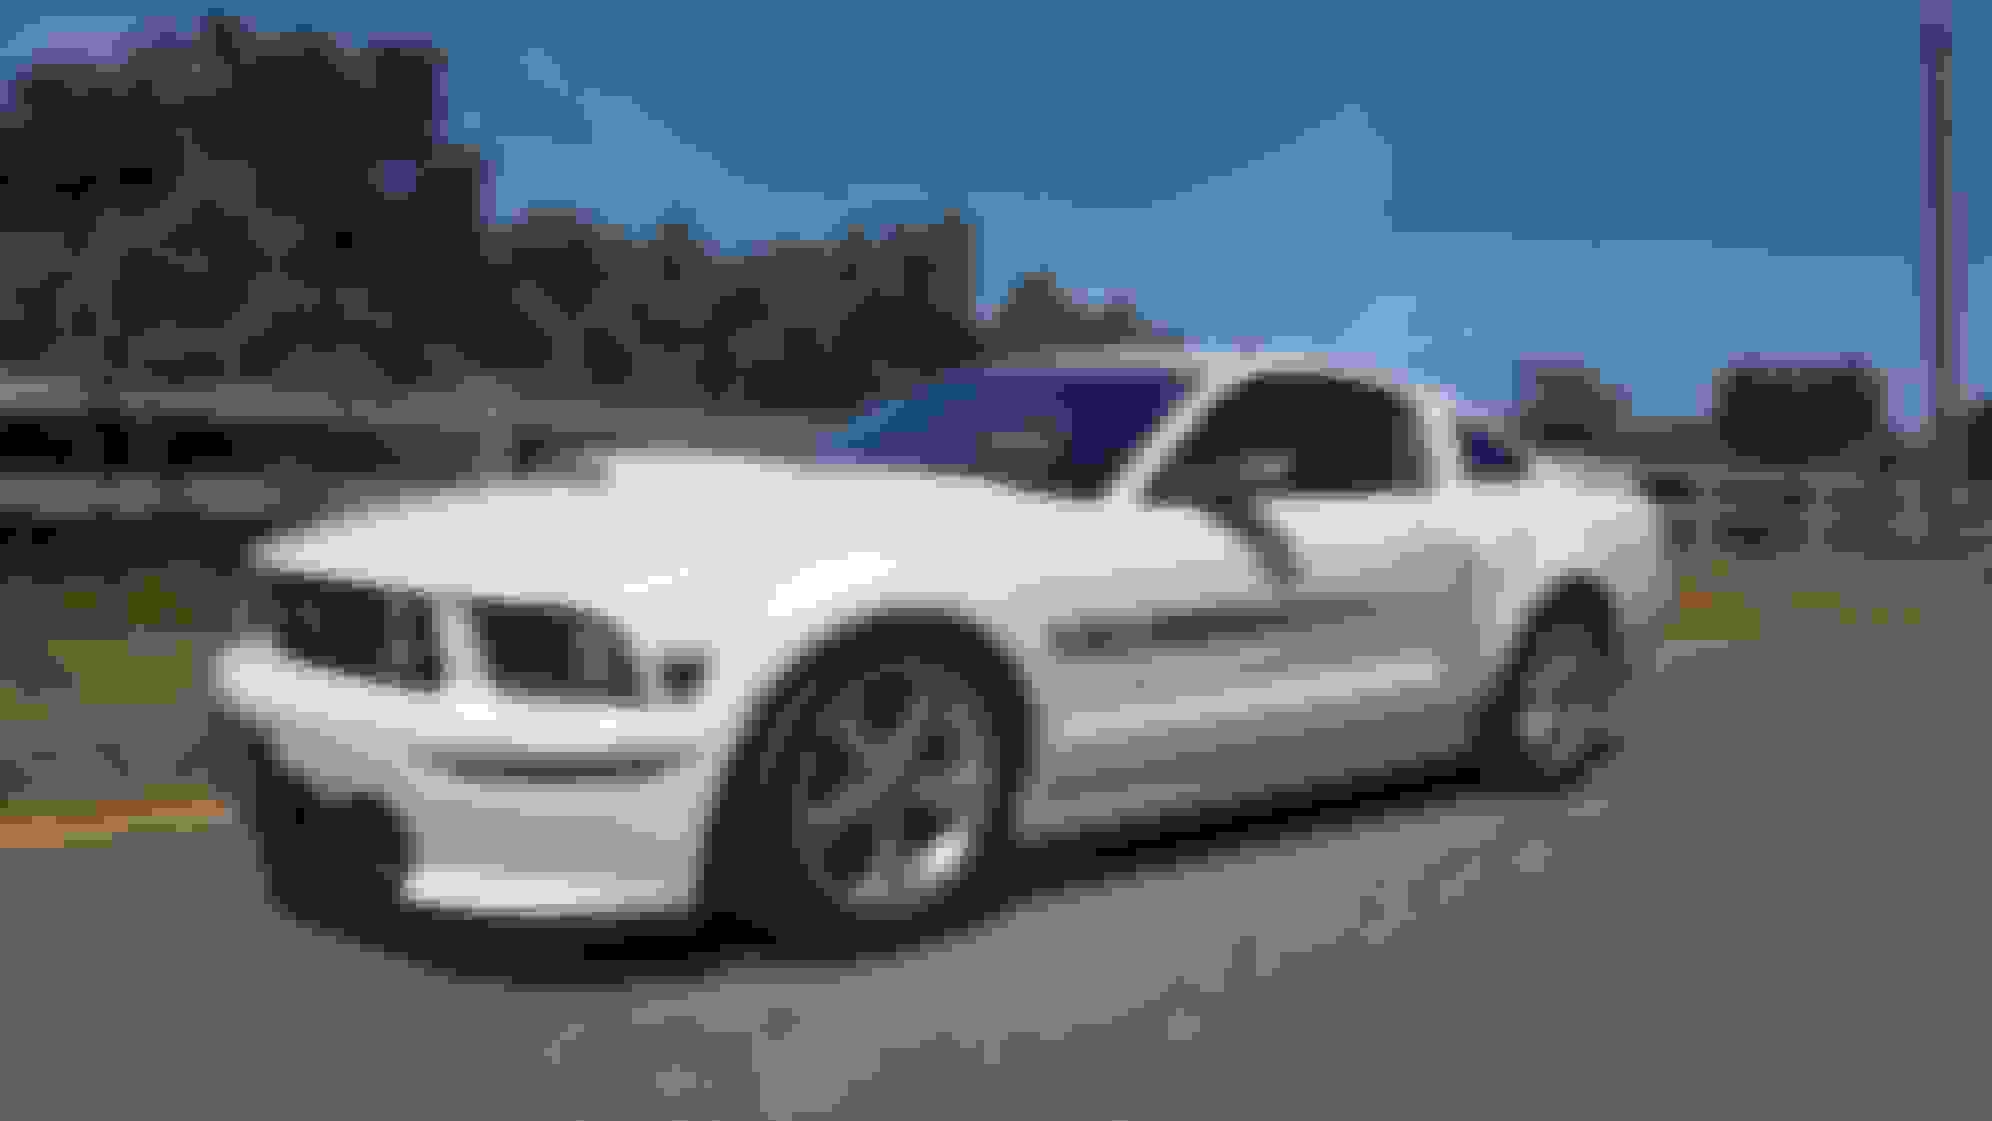
Here are a few shots after the install of how she sits.
Just south of Mendocino along Hwy 101 Pedder's Coil-over System Roush vs Pedder's Roush vs Pedder's.
Looking great man!! You have a awesome looking stang. I have an clean 08 GT 88000 miles. Been wanting to start upgrading some suspension parts myself, still all stock. So far I have only replaced the lower rear control arms as they were making all kinds of noise.
The biggest change I noticed was the note in exhaust tone change to a much deeper sound. Out back I am running SLP's muffler delete and prior to the shorties it was quite loud. Almost quieter now! Given the design compared to the straight through OEM manifolds I suppose it makes sense. I should have went with, at the very least, a cut an clamp X to finish it off. In time!
As far as power goes I haven't had a chance to really drive it as I am having contact between the Driver Header and steering shaft. This is a result of the BMR K-Member having 1/2" lowered motor mounts. I ordered UPR's 1/2" spacers to compensate the needed space to clear. With the Rev-X 91 performance tune there is a noticeable gain all around. With the discount I received at LMR I do believe it was worth the buy.
Since the header update I have added the BBK Hi-Flow extractor series X-Pipe. Really love the way this car sounds. Although with SLP muffler deletes it might be on the too loud side for some. The way this GT/CS is coming along is awesome. Not that the stock form wasn't great too..
As of Sunday I have pulled the trigger on Forced Induction. Went with the Shelby American sold Kenne Bell 2.6 Stage 1 kit. Been in great communication with both Shelby and KB since the order. Looking forward to this very big next step! Stay Tuned on more updates,
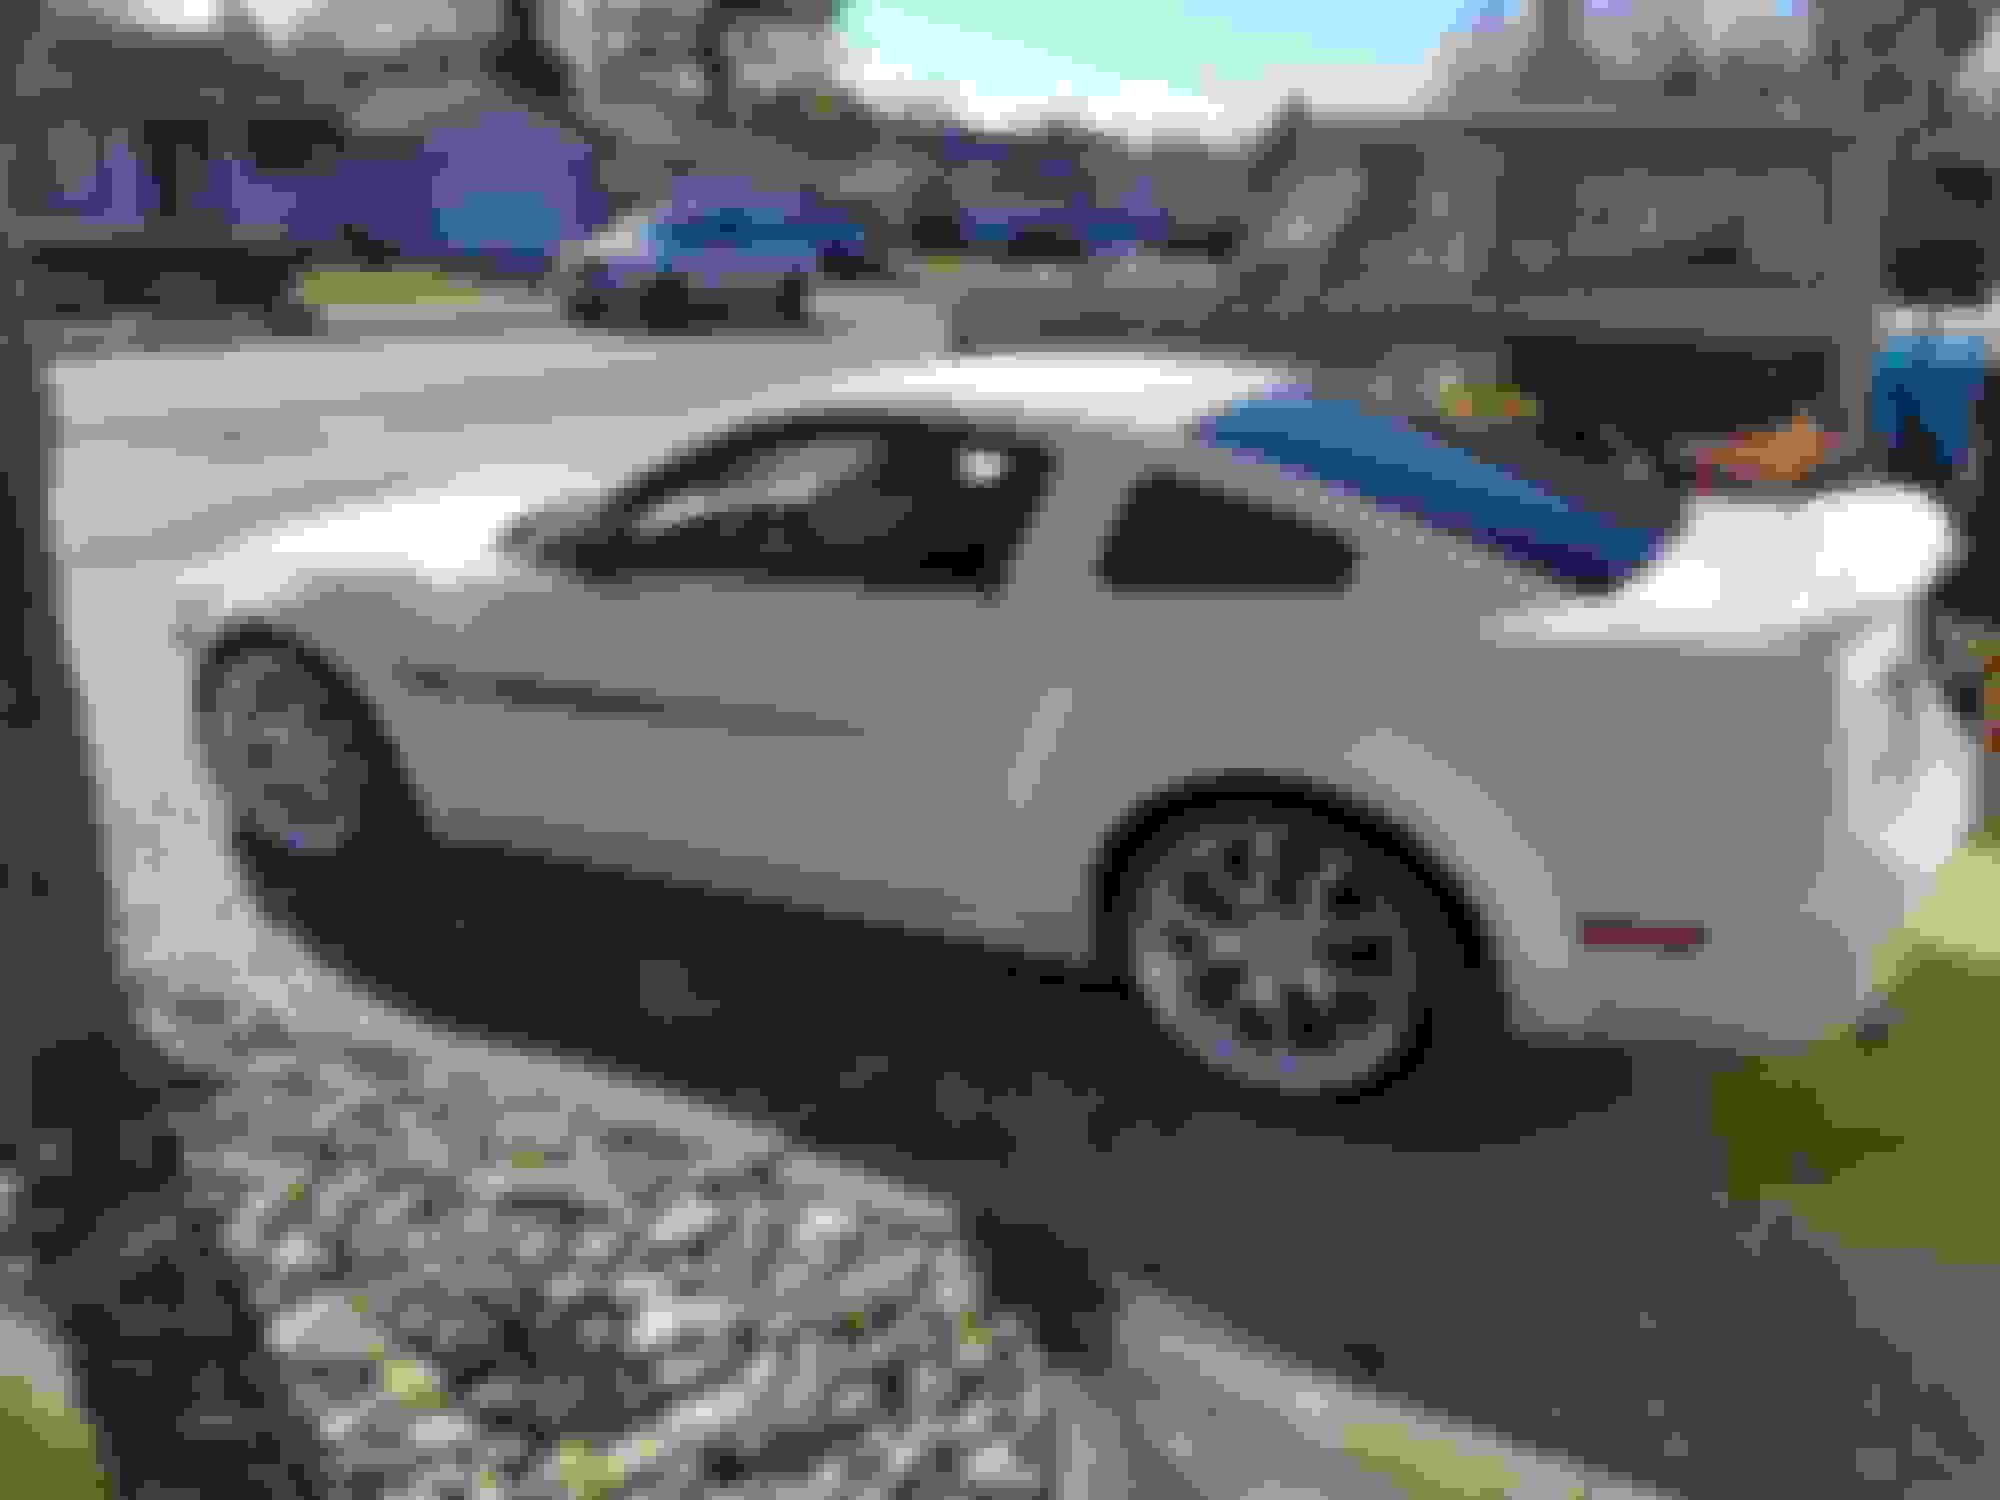
Good morning TMS! Decided to go a different route on the wheels and tires. Loved the 18' Bullets but really fell in love with the Shelby CS40's. Wrapped them with Continental Extreme Contacts. Always blows my mind how nice a car drives with new tires.
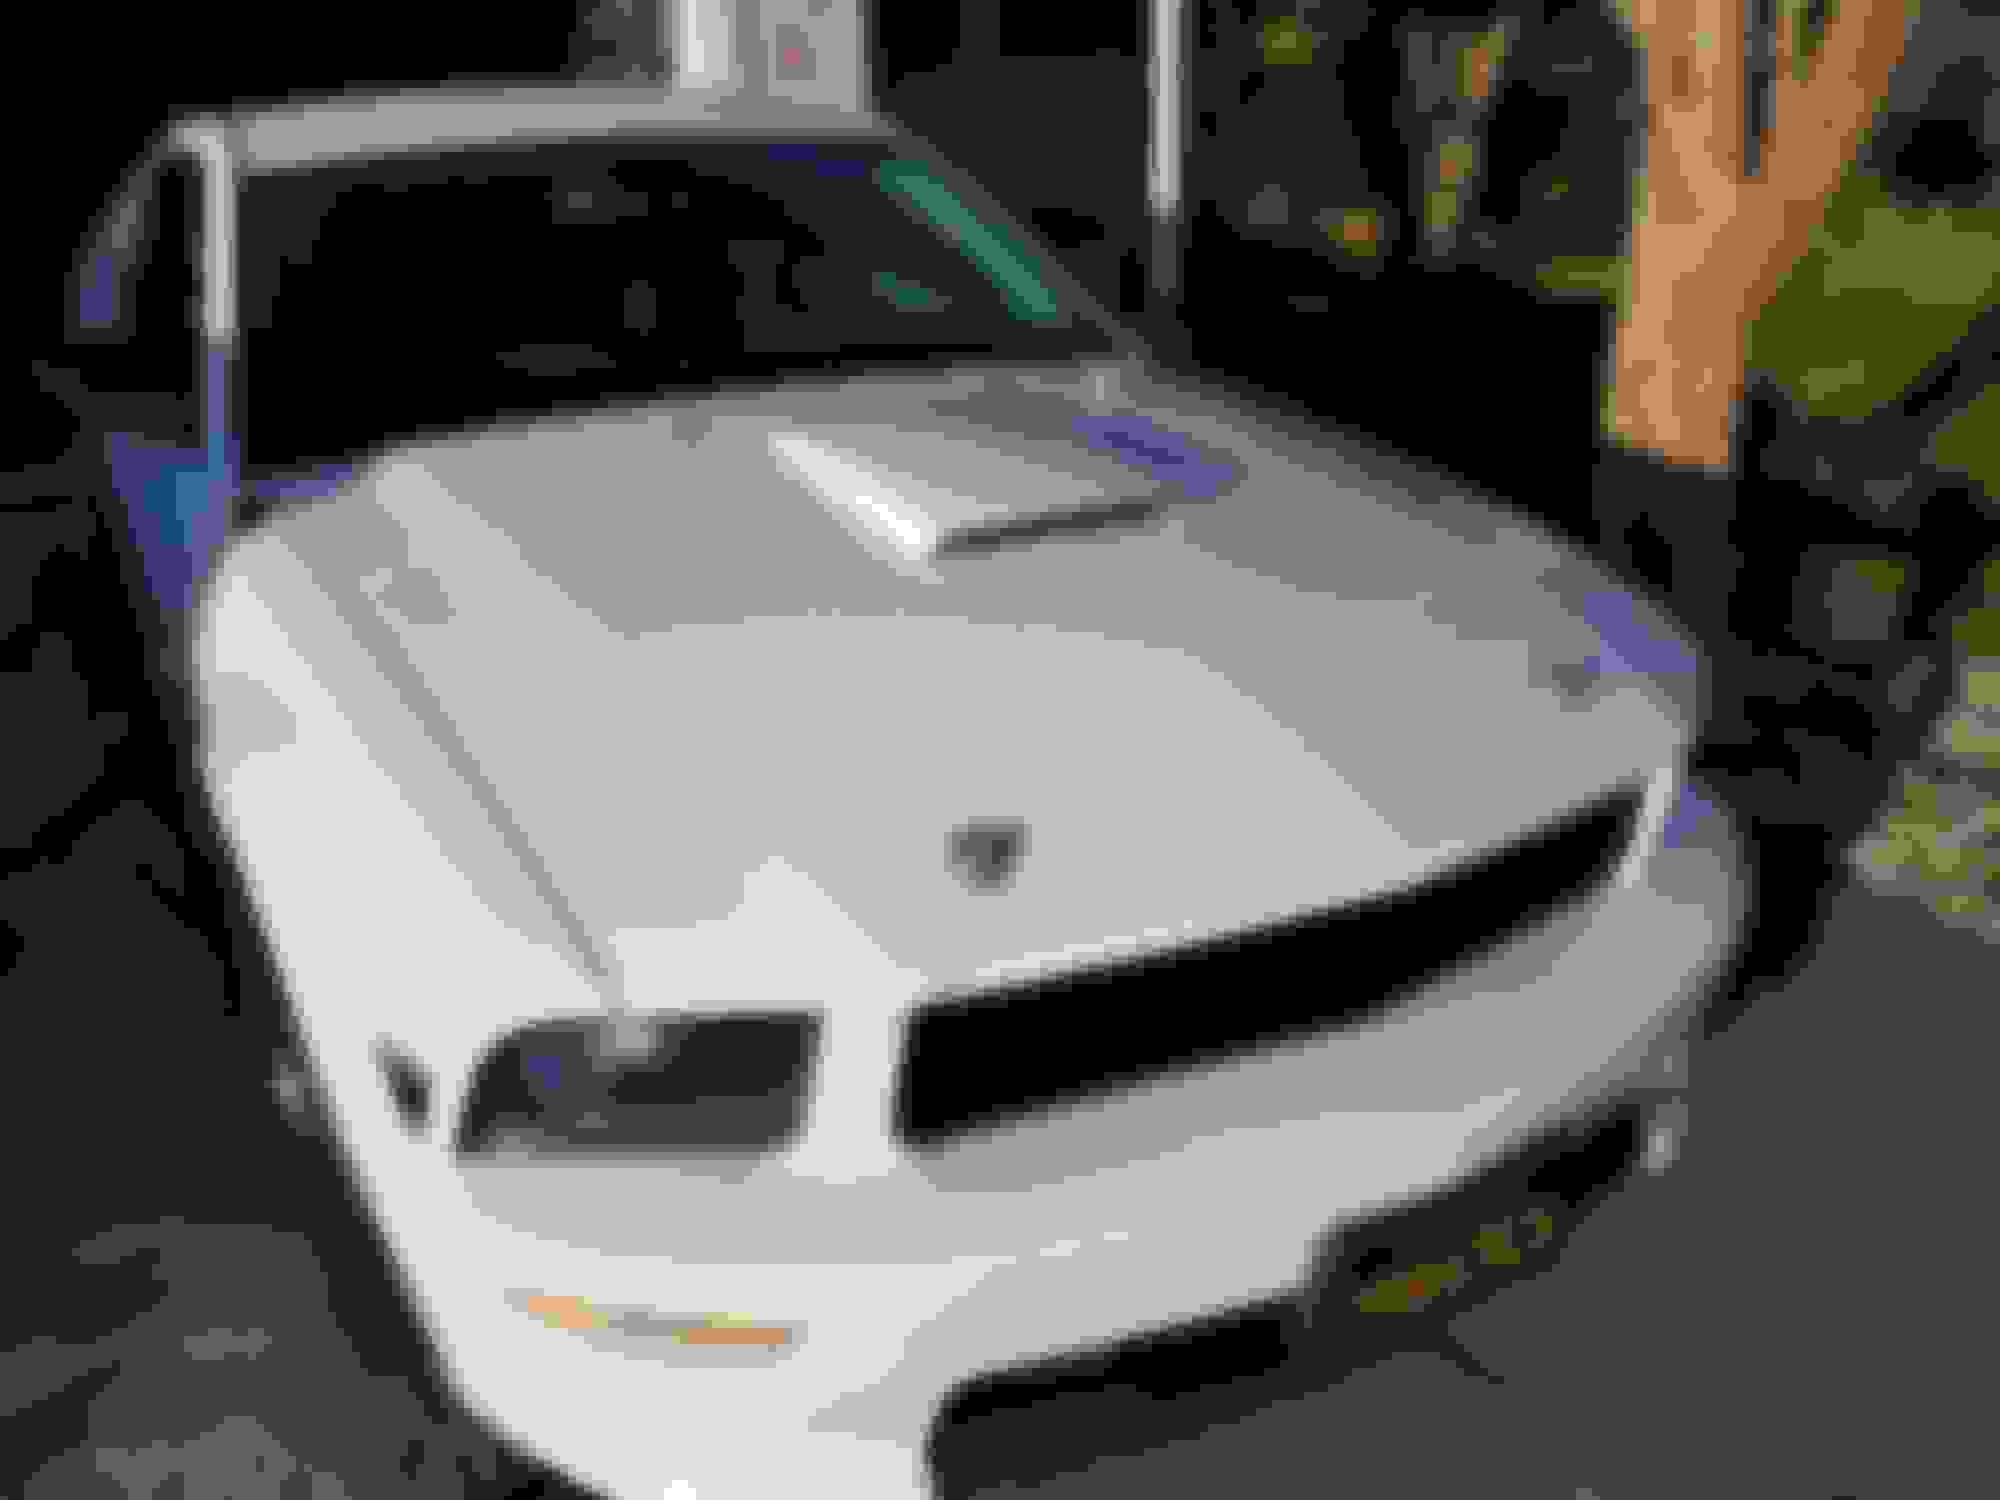
I also added a GT-500 Wing, Roush 9 Bar Grill, and Shelby hood pins.
Anyhow, check them out.
Car needs a wash real bad but here are the hood pins directly after install. All said and done I am not entirely 100% of the install. They look great, but man was it difficult getting things drilled out. Not so much the Pins, but the caps just didn't want to do what I wanted. From a distance they look great, up close not so much. New hood might be in my future.
That girl is looking good. Those wheels look much better than I thought they would. Gotta love the GT500 spoiler. Great job. Are the Shelby fog light bezels next ?
Thanks for the feedback! Next, if tracking shows accurate will indeed be the Shelby Fog's. Ordered both the bezel's and Starkey LED Fogs, (your recommendation) and the Bezels should be here tomorrow and the fogs Saturday. I also have a rear deck lid panel arriving today. Kenne Bell claimed earlier this week that I am looking at another week before they ship out my Stage 1.
I'd like to think that'll do it but I always find myself wanting more.
Looking good! Like what you have done with the beast. Was not sure what those wheels would look like. Always been partial to 5 spoke wheels, but these are very sharp, what a change! Enjoy your updates, thanks for sharing.
Thanks for the feedback and comments. I've got a few small things left to install from the holiday but I am waiting on good weather to ensure a quality install. Got a black out panel for the rear (maintains the Faux Gas Cap), grill emblem and some fender badges. Not quite sure what I am going to do with the badges but they are good nonetheless. The biggest news is Shelby stated in an e-mail earlier this week I should see the Kenne Bell ship out. Things are gonna get real exciting shortly!
Getting prepped for what I hope to be a fun weekend or two install. Got most of the goods out of the boxes and lined up. I believe this can be done in two days but if I take my time I calculate more which isn't a bad thing.
Here are a few shots of the parts.
As always thanks for looking. I am pretty bad about taking how to pictures as I go as I just don't think to stop. I will do my best to get some along the way.
I can officially say I am now overwhelmed. I just opened up and inventoried the two large bags. Man there is a bunch of stuff in there. KB did a great job labeling everything so that will help. The initial excitement isn't over but the stress of this sized project is lingering. I am confident in my skills and Kenne Bell spared nothing that is needed. The kit is 100% complete from start to finish.
If I had shop lights worth a **** I'd start the disassembly to make tomorrow much easier. Better get a good rest. Gonna be wrenching morning to night.
Didn't finish the SC install but I got a good amount of work done. A few set backs but nothing that could stop me, just slow me down. At 90k the plugs were original. I went slow and steady and managed to get 7 of 8 out without breaking. Last one of course decided to give me grief. That and a jumper harness included in the kit had the wrong MAF connection so I had to improvise.
Here are a few shots of how the install is going as of last night: