When you click on links to various merchants on this site and make a purchase, this can result in this site earning a commission. Affiliate programs and affiliations include, but are not limited to, the eBay Partner Network.
Apparently the vinyl door panels on these years were quite the turds.... I had to redo my parents 2006 a few months ago before I bought mine.
When I got mine, they had been attempted to be "fixed" a couple times... rather poorly. I found the Dashkin panels online. It took me over an hour on each door after I peeled the vinyl off to get the extra glue, silicone and other various adhesives the previous owner tried. Once they were decent enough, I applied the Dashkinns.
Once they were done, I started on the radio. I needed something with USB and Bluetooth. I've been using Kenwoods since 1995 so they were the Go-To. Pulling off the center console to get the dash taken apart, i found a mouse condo.... no wires chewed on, but lots of chewed paper and carpet fluff. After clearing that out, everything went easily..
The poles were adjustable shower rods left from when we sold our house. The previous owner tried multiple types of adhesive so it took me a while to get all of that off. I believe these were designed to replace the original vinyl without all the extra glue or anything else that would be in there from somebody's screwed up repair. So when I would try to put these and they had a few areas that they didn't snap in perfectly. I put extra silicone on the panels and used the shower rods to ensure they would stay right there for 24 hours before I moved them.
Before the kenwood I had the stock Shaker500 system. It worked fine, but didn't have any AUX or Bluetooth. I don't like listening to the radio. Too much yapping.
SUPERCHARGED RED ROCKET ------------------Master-Moderator
Joined: May 11, 2006
Posts: 10,644
Likes: 2,509
From: Carnegie, PA
Originally Posted by Rokkaholik
Apparently the vinyl door panels on these years were quite the turds.... I had to redo my parents 2006 a few months ago before I bought mine.
When I got mine, they had been attempted to be "fixed" a couple times... rather poorly. I found the Dashkin panels online. It took me over an hour on each door after I peeled the vinyl off to get the extra glue, silicone and other various adhesives the previous owner tried. Once they were decent enough, I applied the Dashkinns.
Once they were done, I started on the radio. I needed something with USB and Bluetooth. I've been using Kenwoods since 1995 so they were the Go-To. Pulling off the center console to get the dash taken apart, i found a mouse condo.... no wires chewed on, but lots of chewed paper and carpet fluff. After clearing that out, everything went easily..
Originally Posted by m05fastbackGT
Did you experience any fitment issues with some of the corners not staying in place? I saw several YouTube videos where a couple of corner sections would keep popping off... He experienced those fitment issues with the Coverlay inserts, so I'm not sure if the Coverlay and Dashkin inserts are designed in the same way or if there's a difference between them...
Also, did you remove the felt backing material that's glued directly to the door panels or did you keep them on?
Last edited by m05fastbackGT; Sep 14, 2024 at 02:56 PM.
Also, did you remove the felt backing material that's glued directly to the door panels or did you keep them on?
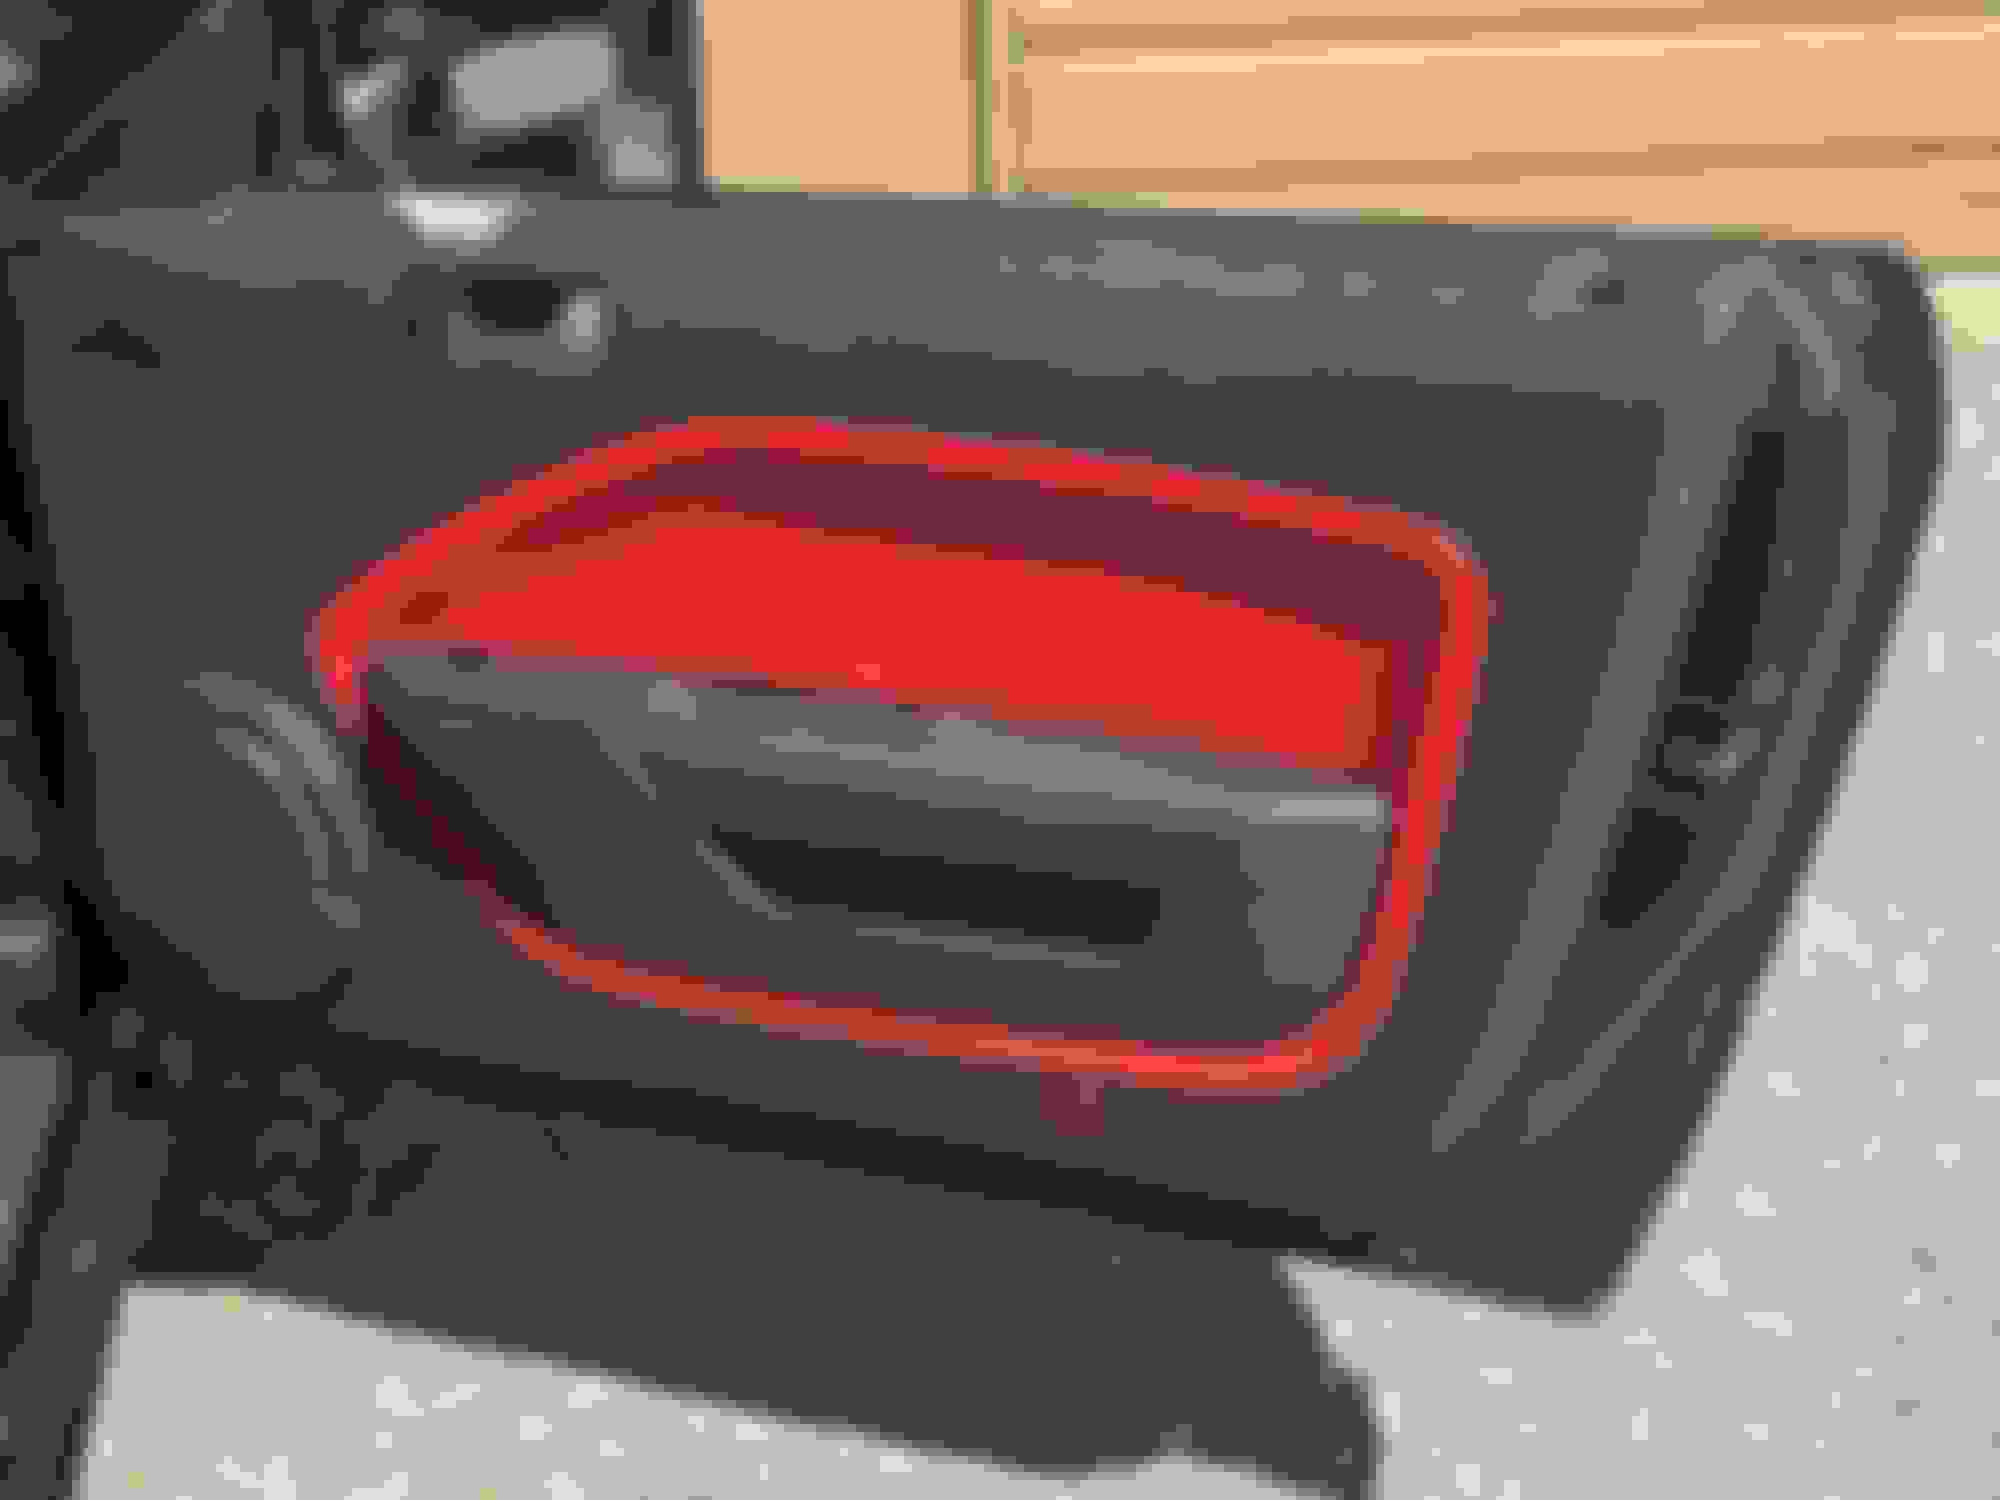
There was so much silicone, glue and other junk from previous attempts to fix these. It took me over an hour with scrapers and chisels to get the stuff off so these would fit. There were a few issues trying to make these stay in place. I assume they were designed to go on doors without previous repairs. The dashkins had good reviews so I took a chance. They turned out much better than expected although I wish they had attempted to texture them to look like the vinyl. These are the only pics I have from before I peeled them off.
SUPERCHARGED RED ROCKET ------------------Master-Moderator
Joined: May 11, 2006
Posts: 10,644
Likes: 2,509
From: Carnegie, PA
@Rokkaholik I've attached 2 images below of my door panels which still have the felt backing material directly attached to the door panels... Therefore, did you remove/peel off the felt backing material prior to installing the Dashkins or did you glue the Dashkins with the felt backing material still in place?
Felt backing material - Driver's side door panel Felt backing material - Passenger side door panel
i believe i left it... i peeled off what looked like a tacky net repair job. Think extra sticky thick super double sided duct tape? I couldnt tell what was left on each door after that battle. I even had a couple door panels marked on ebay just in case. Mine were terrible
SUPERCHARGED RED ROCKET ------------------Master-Moderator
Joined: May 11, 2006
Posts: 10,644
Likes: 2,509
From: Carnegie, PA
@Rokkaholik Unless you were able to peel everything off until nothing was left but the plastic door panel itself, then it would appear that you left the felt backing material on the door panels and then glued the Dashkins over the felt backing material...
Would you by any chance happen to have any pics of what the door panels looked like just before you glued on the Dashkins... If you get a free moment, @Mustang_Ed recently replaced his vinyl insert panels with the Dashkins as well, but he went one step further and also removed the felt backing material prior to installing his Dashkins... Meanwhile, I went ahead and attached a thread link below which includes his post write-up, if your interested in checking it out...
SUPERCHARGED RED ROCKET ------------------Master-Moderator
Joined: May 11, 2006
Posts: 10,644
Likes: 2,509
From: Carnegie, PA
@Rokkaholik I can certainly understand how frustrating and time consuming it must have been by having to remove all those layers of glue by the previous owners... By just looking at the before and after photos you provided, I'm actually surprised there was any felt backing material left after all the scrapping and chiseling you had to go through in order to remove all the layers of silicone and glue from those previous attempts...
I'm also quite certain it must have also been such a PITA to secure the Dashkin panels by having to use shower curtain rods and 2x4's, but in the end, what matters most, is your installation results turned out extremely well and I thank you for taking the time in sharing your experiences and results with us, along with your awesome photos...
Last edited by m05fastbackGT; Sep 17, 2024 at 03:43 PM.


 what did you put those poles and stuff up against? --edit -- n/m I see them up against the other door


