
Show me your shakers
 2/4/08, 09:38 AM
#101
Legacy TMS Member

 2/4/08, 04:28 PM
#102
Cobra Member
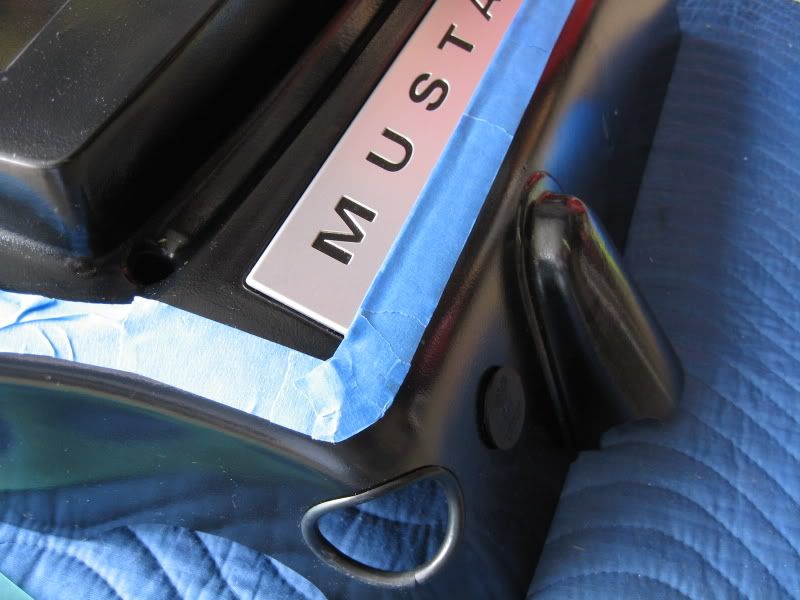
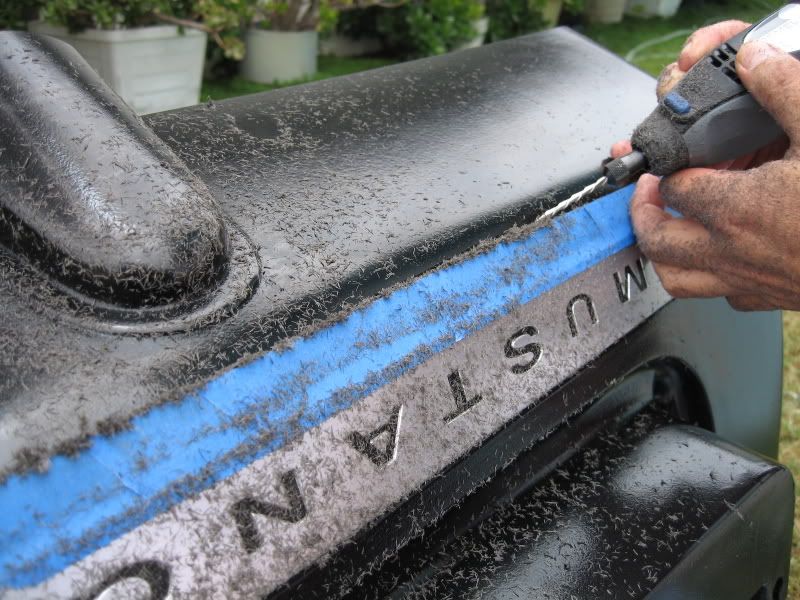
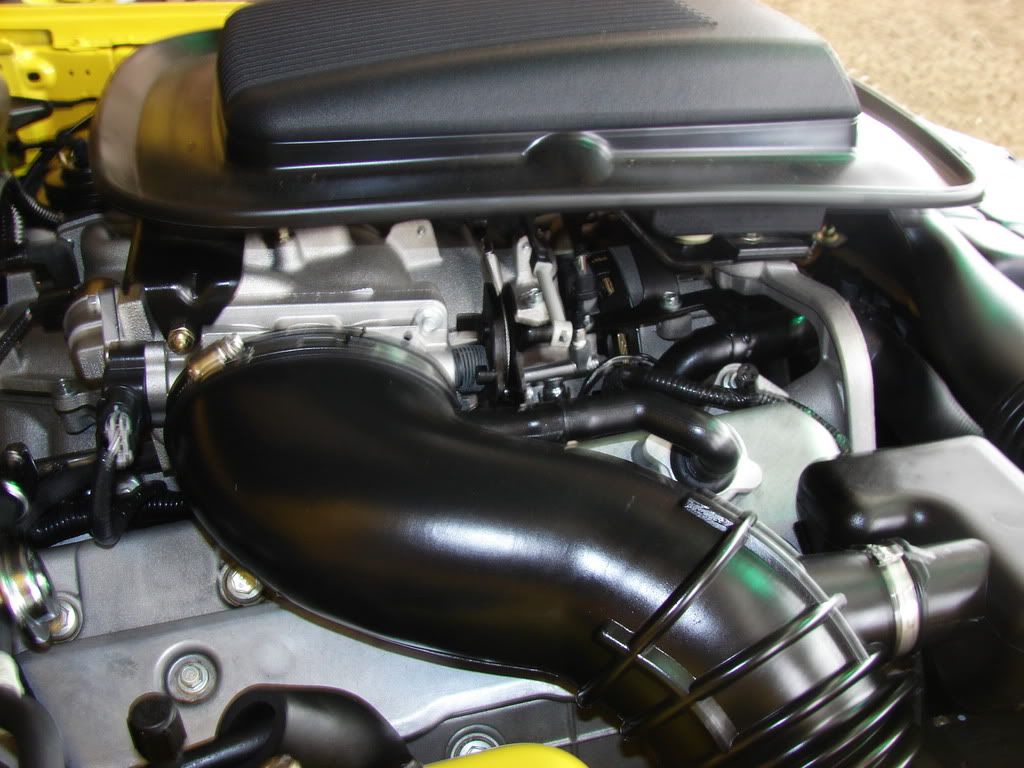
Trimmed mine with a Dremel & cut-off wheel.
Then installed some door weatherstrip I got @ local Autozone to seal the Shaker to underside of the hood.
I didn't keep the 'Mustang' trim on mine.
Then installed some door weatherstrip I got @ local Autozone to seal the Shaker to underside of the hood.
I didn't keep the 'Mustang' trim on mine.
2/4/08, 07:47 PM
#104
Bullitt Member
Join Date: May 30, 2005
Posts: 419
Likes: 0
Received 0 Likes
on
0 Posts
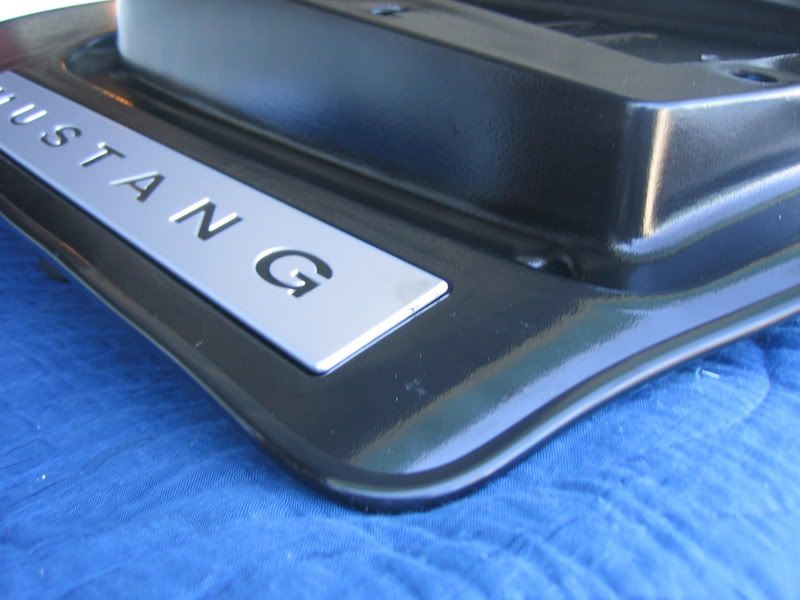
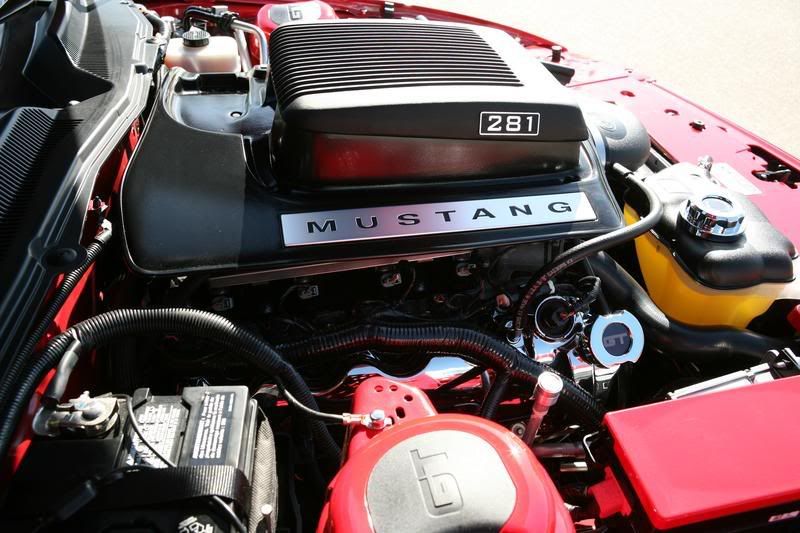
Thanks Bill, That's exactly what I wanted to see. I'm still waiting for my shaker to come in and I will be cutting mine up exactly like that. I'm thinking of doing the "MUSTANG" letters in red.
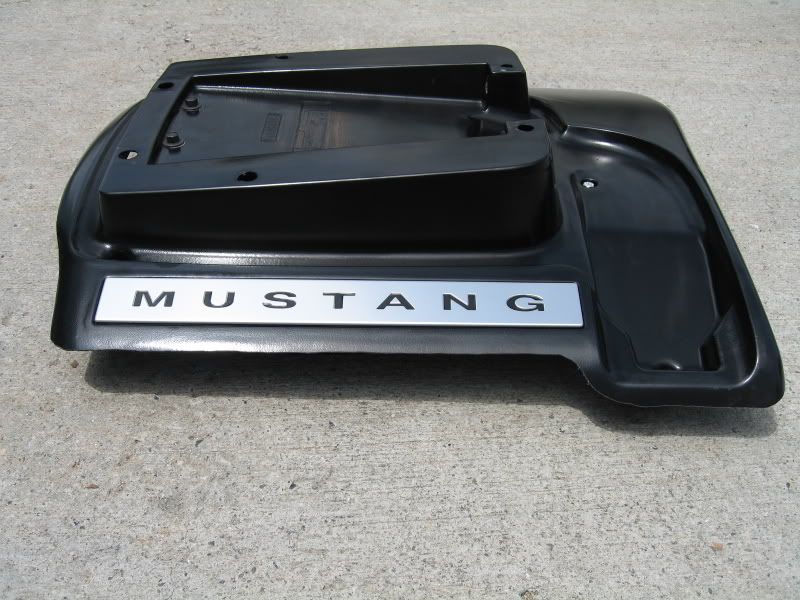
The stock CDC shrowd covers too much of the engine. I wanted to still be able to show off the cam covers.
The stock CDC shrowd covers too much of the engine. I wanted to still be able to show off the cam covers.
2/4/08, 08:11 PM
#106


 2/16/08, 07:35 PM
#111
Bullitt Member
Join Date: May 30, 2005
Posts: 419
Likes: 0
Received 0 Likes
on
0 Posts
I bought a 10' roll of black door edge trim. I used slightly more then half of it.
I want to paint the Mustang letters red but I was too impatient to do it. I just rushed through the intall because I was so anxious to see it completed. I almost had a heart attack when the knife blade slipped when cutting the template but fotunately, the trim ring covered it.
The one piece of advise I can offer that I haven't seen anyone suggest so far is for fastening the trim ring around the hood. The rivets that are supplied in the kit are really thin and it is almost impossible to line them up. I wound up drilling new holes and using slightly larger rivets. It made all the difference in the world. I wasted over two hpours trying to put the supplied rivets in place but using the new ones, I was done in 5 minutes.
2/17/08, 04:16 AM
#112
Cobra R Member
Yaaa those were a beeatch to get in.
Looks awesome. Where did you find the trim in 10' size?
Also the Mustang is the same one that is on the door sill.
Just order the colored inlays and put them on. Easy Cheesy.
Thats my next addition as well.
I would trim mine like yours if I could find the trim in that length....
Also what strut covers are those??
2/17/08, 08:17 AM
#113
Bullitt Member
Join Date: May 30, 2005
Posts: 419
Likes: 0
Received 0 Likes
on
0 Posts
Thanks Lampoon, that was a good tip. I'll order the door sill letters today. I thought they looked the same but I wasn't sure.
I bought the door edge trim for about $5 at Auto barn. They had various widths of the door edge molding in 10' rolls.
The hood struts are the redline. When I got my car, they were the only ones available. Now there are a few companies that make smaller ones that do not require drilling holes in your car. CDC makes a nice one.
BTW, Taco Bill, I have to give you a lot of cedit. You must hands of steel. I tried trimming the shroud with a dremmel and I was all over the place with it. The cut line was extremely jagged. Good thing I started in the back where there was a lot of material I wound up using a jig saw with a 24 tooth blade and it came out pretty nice. I was able to stay on the line I had drawn on the tape.
I bought the door edge trim for about $5 at Auto barn. They had various widths of the door edge molding in 10' rolls.
The hood struts are the redline. When I got my car, they were the only ones available. Now there are a few companies that make smaller ones that do not require drilling holes in your car. CDC makes a nice one.
BTW, Taco Bill, I have to give you a lot of cedit. You must hands of steel. I tried trimming the shroud with a dremmel and I was all over the place with it. The cut line was extremely jagged. Good thing I started in the back where there was a lot of material
I wound up using a jig saw with a 24 tooth blade and it came out pretty nice. I was able to stay on the line I had drawn on the tape.
2/17/08, 09:35 AM
#114
Cobra R Member
I have not bought mine yet but the cheapest place I have seen them is here...$10
http://www.grabberpony.com/index.php...d&productId=26
Im not sure if Im allowed to post that up....
Im gonna order two sets...one for the sills too.
I was thinking about one set black and one set yellow then just mix up them up.
MUSTANG MUSTANG
MUSTANG MUSTANG
MUSTANG MUSTANG
MUSTANG MUSTANG
MUSTANG MUSTANG
MUSTANG MUSTANG
MUSTANG MUSTANG
Cant decide.....
2/20/08, 08:58 PM
#115
Bullitt Member
Join Date: May 30, 2005
Posts: 419
Likes: 0
Received 0 Likes
on
0 Posts
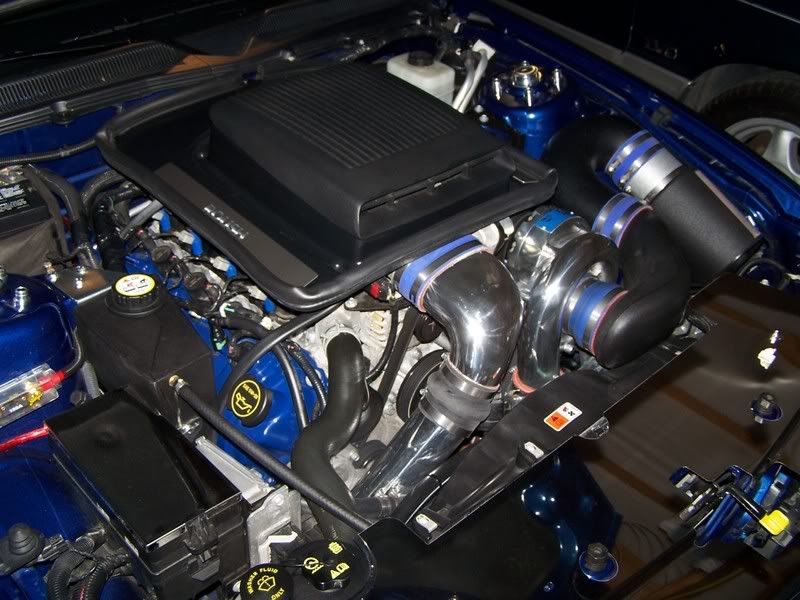
I see some of you have the shaker with a turbo but has anyone installed one on a turbochraged car. I know Saleen is coming out with a shaker that will fit ontop of their S/C but I was wandering if anyone waas able to make the CDC work with a S/C.
3/2/08, 03:02 PM
#118
[quote=odiaz;1109961]I bought a 10' roll of black door edge trim. I used slightly more then half of it.
When attemting to place the edge trim around the front left and right corners, it starts to crimp up? Maybe I should heat it up first or round off the corners some more?
Thanks
When attemting to place the edge trim around the front left and right corners, it starts to crimp up? Maybe I should heat it up first or round off the corners some more?
Thanks
3/2/08, 06:47 PM
#119
Bullitt Member
Join Date: May 30, 2005
Posts: 419
Likes: 0
Received 0 Likes
on
0 Posts
Yes, if the corners are a bit square, you will have trouble with the moulding. Heating it definitely helps. The only place I had a bit of a problem was underneath the cold air duct. I had to apply a lot of heat to get is somewhat smooth, but the good thing is that the cold air duct covers it. For the remaining corners, put a large radius on them. I used a 13/16 socket as a guide but a larger one would have been helpful.
I modified TocoBill's Shaker installation instructions and added a section for trimming the shaker.
http://www.cherod.com/mustang/HowTo/ShakerInstall.htm
Be patient, there are a lot of pictures. There are also some hyperlinks in the begining that will help you navigate to the section you need a little faster.
3/2/08, 07:31 PM
#120
Team Mustang Source
Thread Starter
My buddy and I made my shaker more functional today by running the cold air tube to the shield. We had to remount the Stef's oil seperator to make it work but at least it isn't dangling out in mid air now.