
From Phoney to Poser in one day...Pics...


Thread Starter
Mach 1 Member
Joined: October 15, 2006
Posts: 658
Likes: 1
From Phoney to Poser in one day...Pics...
So, my intention from the beginning with "appearance" hood pins was to make sure I liked em, and honestly, did not have the nads back then to drill the hood.... But, with the advent of the hood scoop, which of course necessitated drilling, that part got a "bit" easier..But I have to say, it's still a bit un-nerving to go toward the hood with a big ol 1/2 inch drill bit
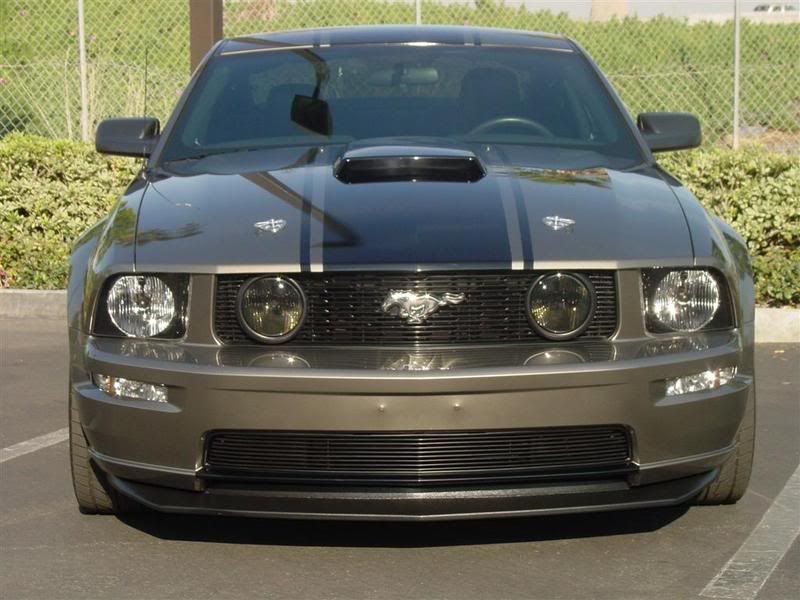
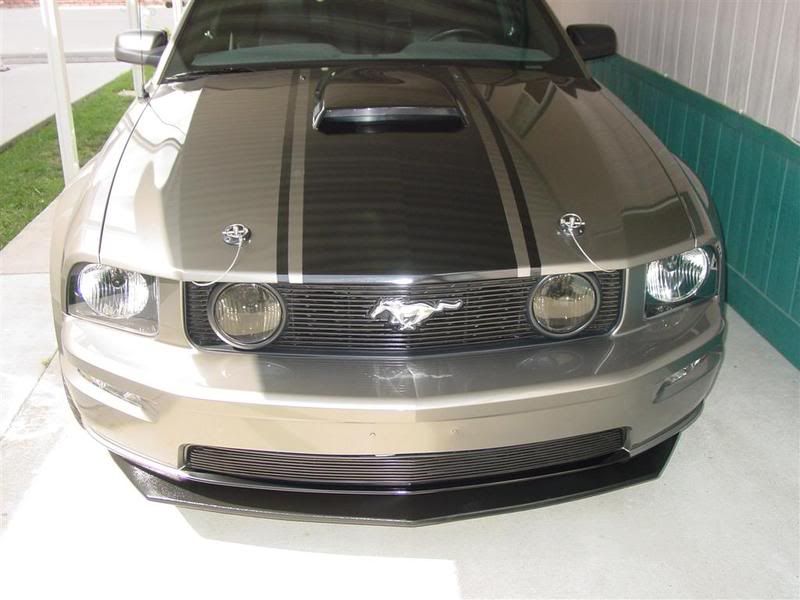
Anyway, before.......

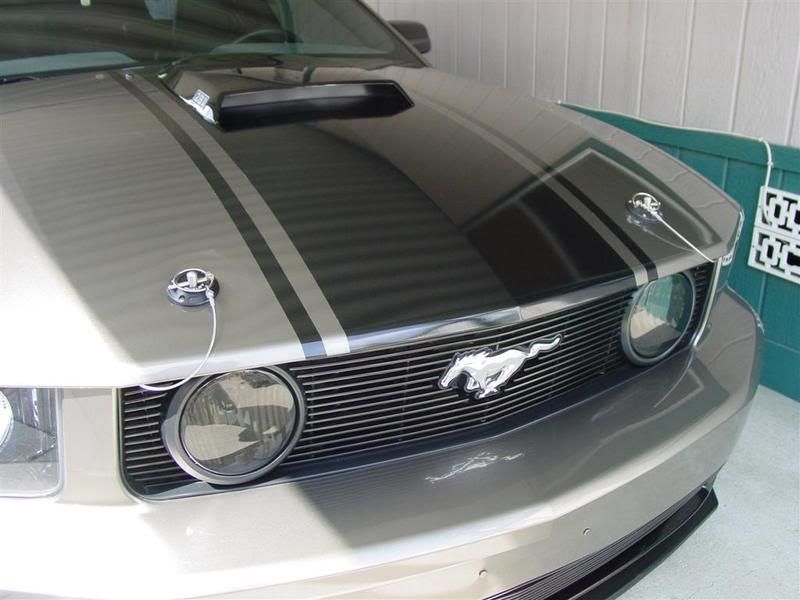
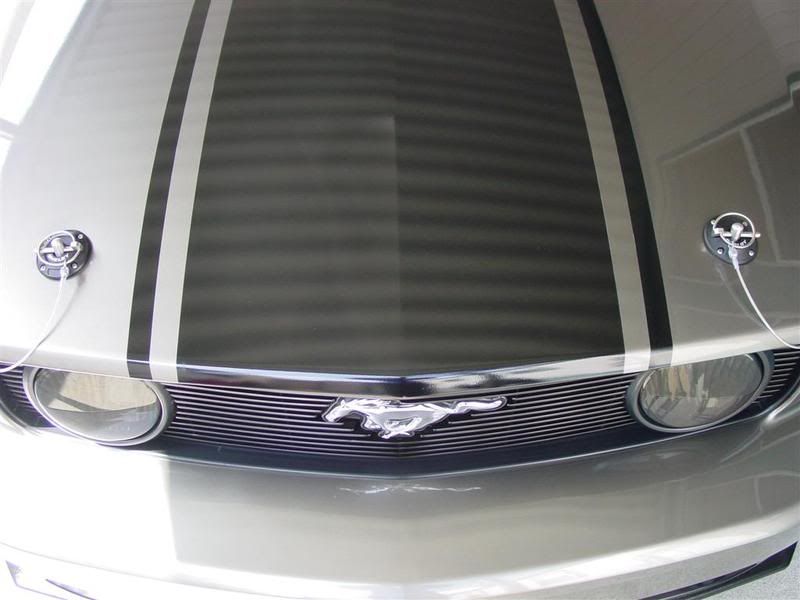
And, the after.....
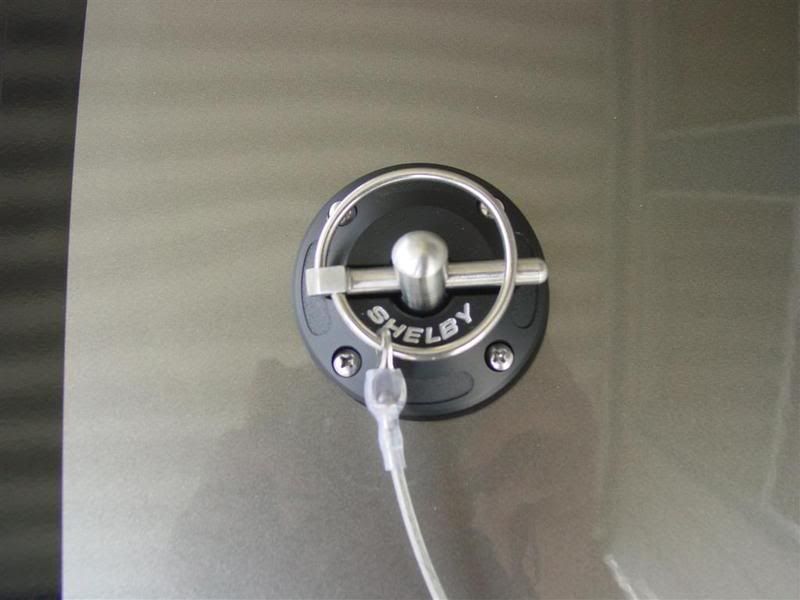
Couple of things for those that may be considering doing the Shelby Pins....
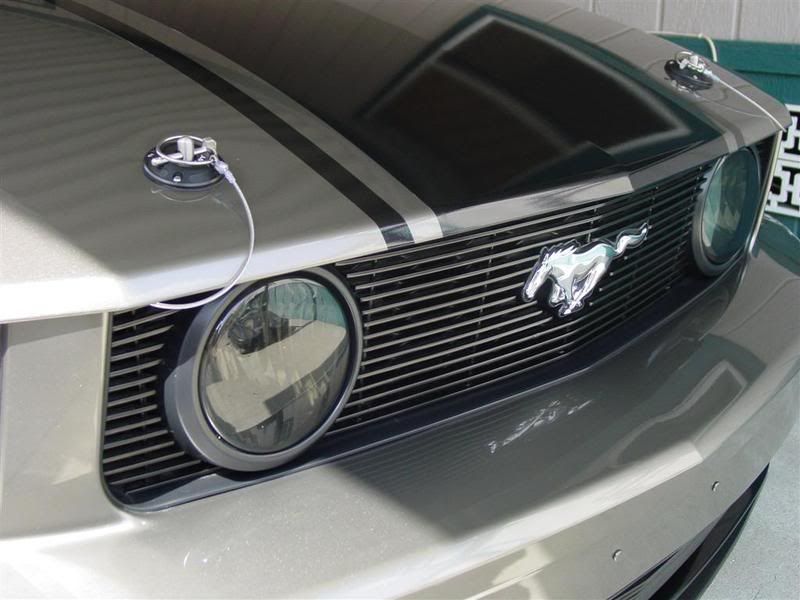
1. Do yourself a big favor, and spend the 2 or so minutes it takes to remove the front grille before installing. It gives you wide open
access to the point where the pins contact the hood. Makes marking the location for drilling a ton easier than using something on the tip of the pin to mark the contact point. The other issue with transferring from the pin to the hood is, the contact point actually falls on a sloped area of the underhood. Because of that, the pin can actually slide a bit when transferring a mark, thereby slightly missing the drill location....
2. Take a trip down to Home Depot or Lowes, and replace the eight screws that hold down the top plates. Buy some actual stainless steel screws, as opposed to the cheesy zinc screws that are included in the kit. You may easily twist the head off one of the included screws. Also, you may want to buy four of them in a longer length, as the two screws on each side closest to the front of the car pass through two layers of sheet metal that are separated further than the top two on each side. I have not done this yet, but it would definately bite better with the screws going through both layers of hood...
3. Here is a link to a site that has a template for the cutting of the radiator cover. Have not done mine yet, I'm going to have one of the guys at work do it on a mill.....http://www.ssinserts.com/PDF/5R3Z-6316892-K_install.pdf
4. As with any hood drilling, make sure you throw an old blanket or sheet over the engine compartment. The aluminum from the hood goes everywhere....
Eventually, I will probably black out the Shelby lettering on the covers. I could not find the straight black cover pins at a decent price. So for now, I guess it actually goes right along with that "Poser" GT500 spoiler on the *** end....
Mike
But, with the advent of the hood scoop, which of course necessitated drilling, that part got a "bit" easier..But I have to say, it's still a bit un-nerving to go toward the hood with a big ol 1/2 inch drill bit Anyway, before.......
And, the after.....
Couple of things for those that may be considering doing the Shelby Pins....
1. Do yourself a big favor, and spend the 2 or so minutes it takes to remove the front grille before installing. It gives you wide open
access to the point where the pins contact the hood. Makes marking the location for drilling a ton easier than using something on the tip of the pin to mark the contact point. The other issue with transferring from the pin to the hood is, the contact point actually falls on a sloped area of the underhood. Because of that, the pin can actually slide a bit when transferring a mark, thereby slightly missing the drill location....
2. Take a trip down to Home Depot or Lowes, and replace the eight screws that hold down the top plates. Buy some actual stainless steel screws, as opposed to the cheesy zinc screws that are included in the kit. You may easily twist the head off one of the included screws. Also, you may want to buy four of them in a longer length, as the two screws on each side closest to the front of the car pass through two layers of sheet metal that are separated further than the top two on each side. I have not done this yet, but it would definately bite better with the screws going through both layers of hood...
3. Here is a link to a site that has a template for the cutting of the radiator cover. Have not done mine yet, I'm going to have one of the guys at work do it on a mill.....http://www.ssinserts.com/PDF/5R3Z-6316892-K_install.pdf
4. As with any hood drilling, make sure you throw an old blanket or sheet over the engine compartment. The aluminum from the hood goes everywhere....
Eventually, I will probably black out the Shelby lettering on the covers. I could not find the straight black cover pins at a decent price. So for now, I guess it actually goes right along with that "Poser" GT500 spoiler on the *** end....
Mike
 Your car is looking great and I really like your chin spoiler. Clean, mean machine! You make us MG owners proud.
Team Mustang Source
Joined: December 12, 2004
Posts: 5,801
Likes: 5
From: NorCal


Legacy TMS Member
Joined: January 18, 2008
Posts: 910
Likes: 2
From: Glenview, IL
I was thinking about getting the Black ones also but I didn't know how it would look on my stang. I have a tungsten gray one with black racing stripes also. I now have a good idea what it might look like on mine.
Thread Starter
Mach 1 Member
Joined: October 15, 2006
Posts: 658
Likes: 1
IMO, black would look great on your color combo......


Big Falken Tires
Joined: October 17, 2004
Posts: 4,601
Likes: 1
NICE man
been thinking hard about those exact same pins

[because on a windy turnpike keeping up with 90mph traffic, its not fun to watch your hood stock shake as you pass by a truck and the disturbed airflow hits the front of your car]
been thinking hard about those exact same pins
[because on a windy turnpike keeping up with 90mph traffic, its not fun to watch your hood stock shake as you pass by a truck and the disturbed airflow hits the front of your car]
Mach 1 Member
Joined: October 13, 2005
Posts: 965
Likes: 1
From: Northern California
Shelby GT350 Member
Joined: May 17, 2005
Posts: 2,072
Likes: 1
From: Chesapeake, VA
Bullitt Member
Joined: May 29, 2006
Posts: 450
Likes: 0
From: Victoria, BC
Looks good, I am more than a little annoyed at not getting any instructions or templates for my install, I am going to be contacting Shelby and Scott Drake about it. We shouldn't be forced to go run around and find the install docs in random spots online.
Thread Starter
Mach 1 Member
Joined: October 15, 2006
Posts: 658
Likes: 1
http://www.foryar.com/fy/store/scripts/default.asp

Thread
Thread Starter
Forum
Replies
Last Post
05stangkc
05-09 Exterior Modifications
558
Mar 21, 2024 06:50 PM