
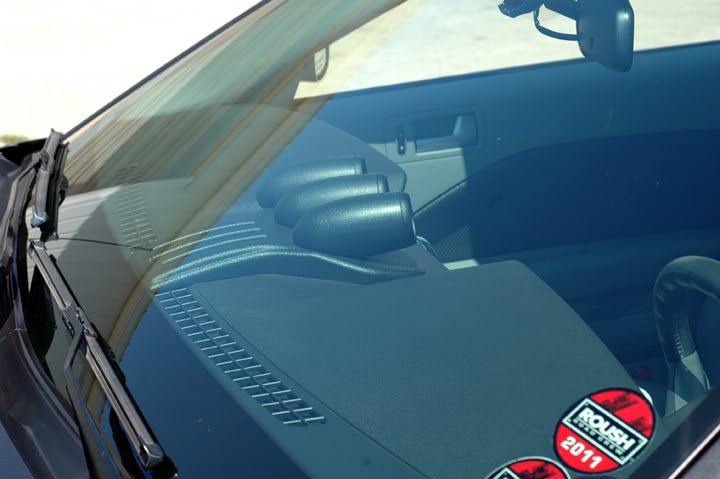
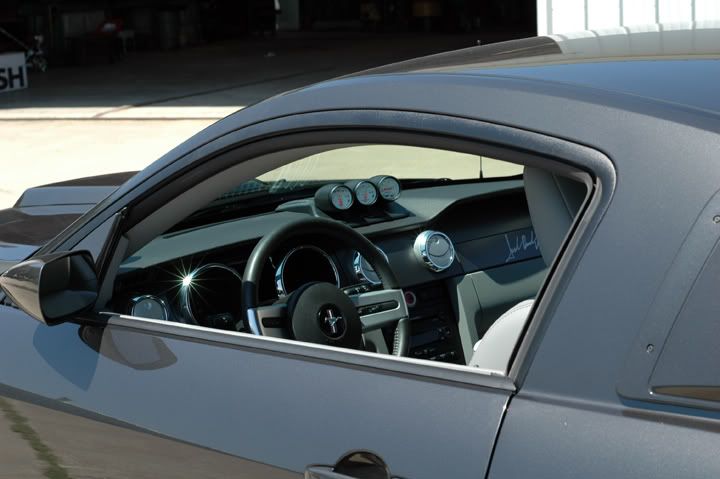
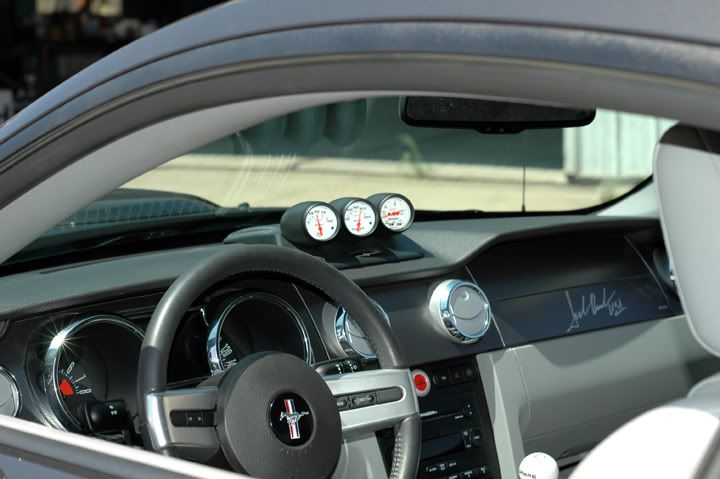
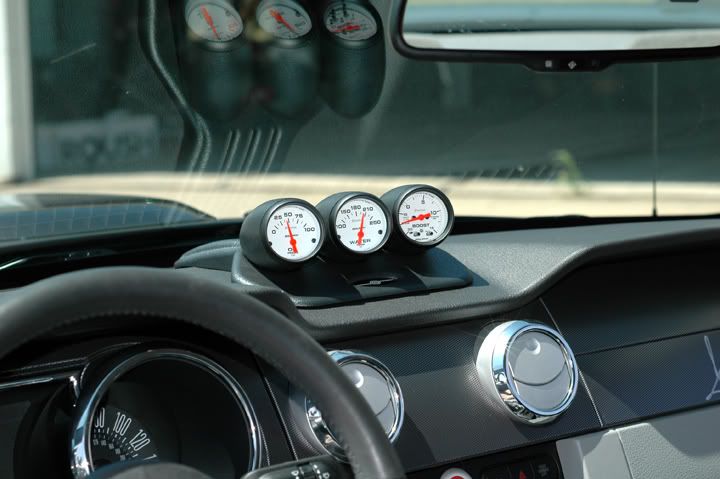
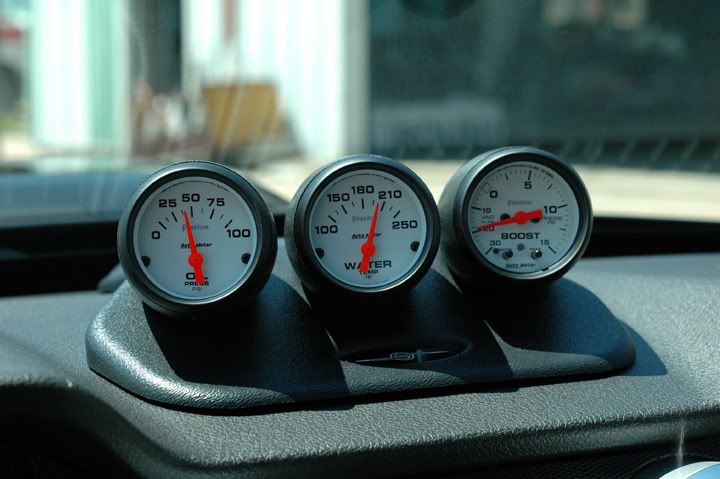
Speed of Sound dash gauge pod installed


Thread Starter
Bullitt Member
Joined: April 12, 2007
Posts: 283
Likes: 0
Finished this latest mod yesterday morning.
Speed of Sound dash gauge pod
Autometer gauges with blue LED backlighting:
Oil pressure
Water Temp
Boost
Speed of Sound dash gauge pod
Autometer gauges with blue LED backlighting:
Oil pressure
Water Temp
Boost
Thread Starter
Bullitt Member
Joined: April 12, 2007
Posts: 283
Likes: 0
Thread Starter
Bullitt Member
Joined: April 12, 2007
Posts: 283
Likes: 0
Thank you!
It's not a Roush...it started out life as a premium GT, but I have added several Roush Performance products....it is not intended to be a Roush clone....it has many elements ( some Roush, some Ford, some aftermaket ) that I've added to make it into my own vision of the car I wanted it to be.


Bullitt Member
Joined: September 18, 2009
Posts: 208
Likes: 1
From: Finleyville, PA
Thank you!
It's not a Roush...it started out life as a premium GT, but I have added several Roush Performance products....it is not intended to be a Roush clone....it has many elements ( some Roush, some Ford, some aftermaket ) that I've added to make it into my own vision of the car I wanted it to be.
It's not a Roush...it started out life as a premium GT, but I have added several Roush Performance products....it is not intended to be a Roush clone....it has many elements ( some Roush, some Ford, some aftermaket ) that I've added to make it into my own vision of the car I wanted it to be.
Mach 1 Member
Joined: April 1, 2010
Posts: 841
Likes: 16
From: King City, Ontario, Canada
I am about to tackle the SOS non-drill install next week. By any chance do you have any pictures of where you routed your wires from the foot well through to the dash vent? Thanks!
Thread Starter
Bullitt Member
Joined: April 12, 2007
Posts: 283
Likes: 0
No...I don't have any photos. But, I can give you a quick run down of how I did it. My wires all went up under the driver's side footwell. Access to the defrost channel seemed to be best from the driver's side. I took out the driver's side seat, to make it much easier for me to lay underneath the dash and work....up to you whether you want to do that or not...but as a large guy, it was MUCH easier on me that way. I took out the speedo/tach dash cluster...not hard...the outer ring portion just pulls straight out and then 4 screws let the speedo/tach dash cluster come out. You can get to the defroster channel to drill a hole from there. Inside the defroster channel, is kind of a false bottom, so you actually have to drill 2 holes...1 through the outer portion of the vent channel and then 1 through the false bottom. Then I used a length of baling wire to pull my wires through the center of the defroster grille and down and out the the hole I had drilled in the channel, under the dash. You need to decide before hand, if you're going to pull wires down or up. I pulled mine down and made some power connections in the footwell and then zip tied up any extra wire length, up under the dash...lots of places to zip tie it up in there.
Hope that helps. Just take it nice and easy when pulling your wires through the defrost vent/channel...they will go, but need some tender persuasion. I did it by myself, but it would have been nice to have someone else there to help guide the wires as I pulled.
Anything else...just ask...I'll do my best to answer if I can.
Last edited by Sabre; Aug 25, 2011 at 09:42 PM.

Thread
Thread Starter
Forum
Replies
Last Post
Mackitude
2010-2014 Mustang
6
Aug 13, 2015 01:05 PM