***SHOW ME YOUR ENGINE BAYS***

 7/19/10, 05:04 PM
#22
I don't do trannies
or rear-ends anymore!
or rear-ends anymore!
Join Date: September 23, 2008
Location: Memphis
Posts: 995
Likes: 0
Received 0 Likes
on
0 Posts
To do it just like he did would be very expensive, he helped me a lot when I decided to run hard lines on mine. Shoot him a pm or myself if I can answer any questions for you.
7/19/10, 07:13 PM
#23
Member
Join Date: July 19, 2010
Location: DC Area
Posts: 33
Likes: 0
Received 0 Likes
on
0 Posts

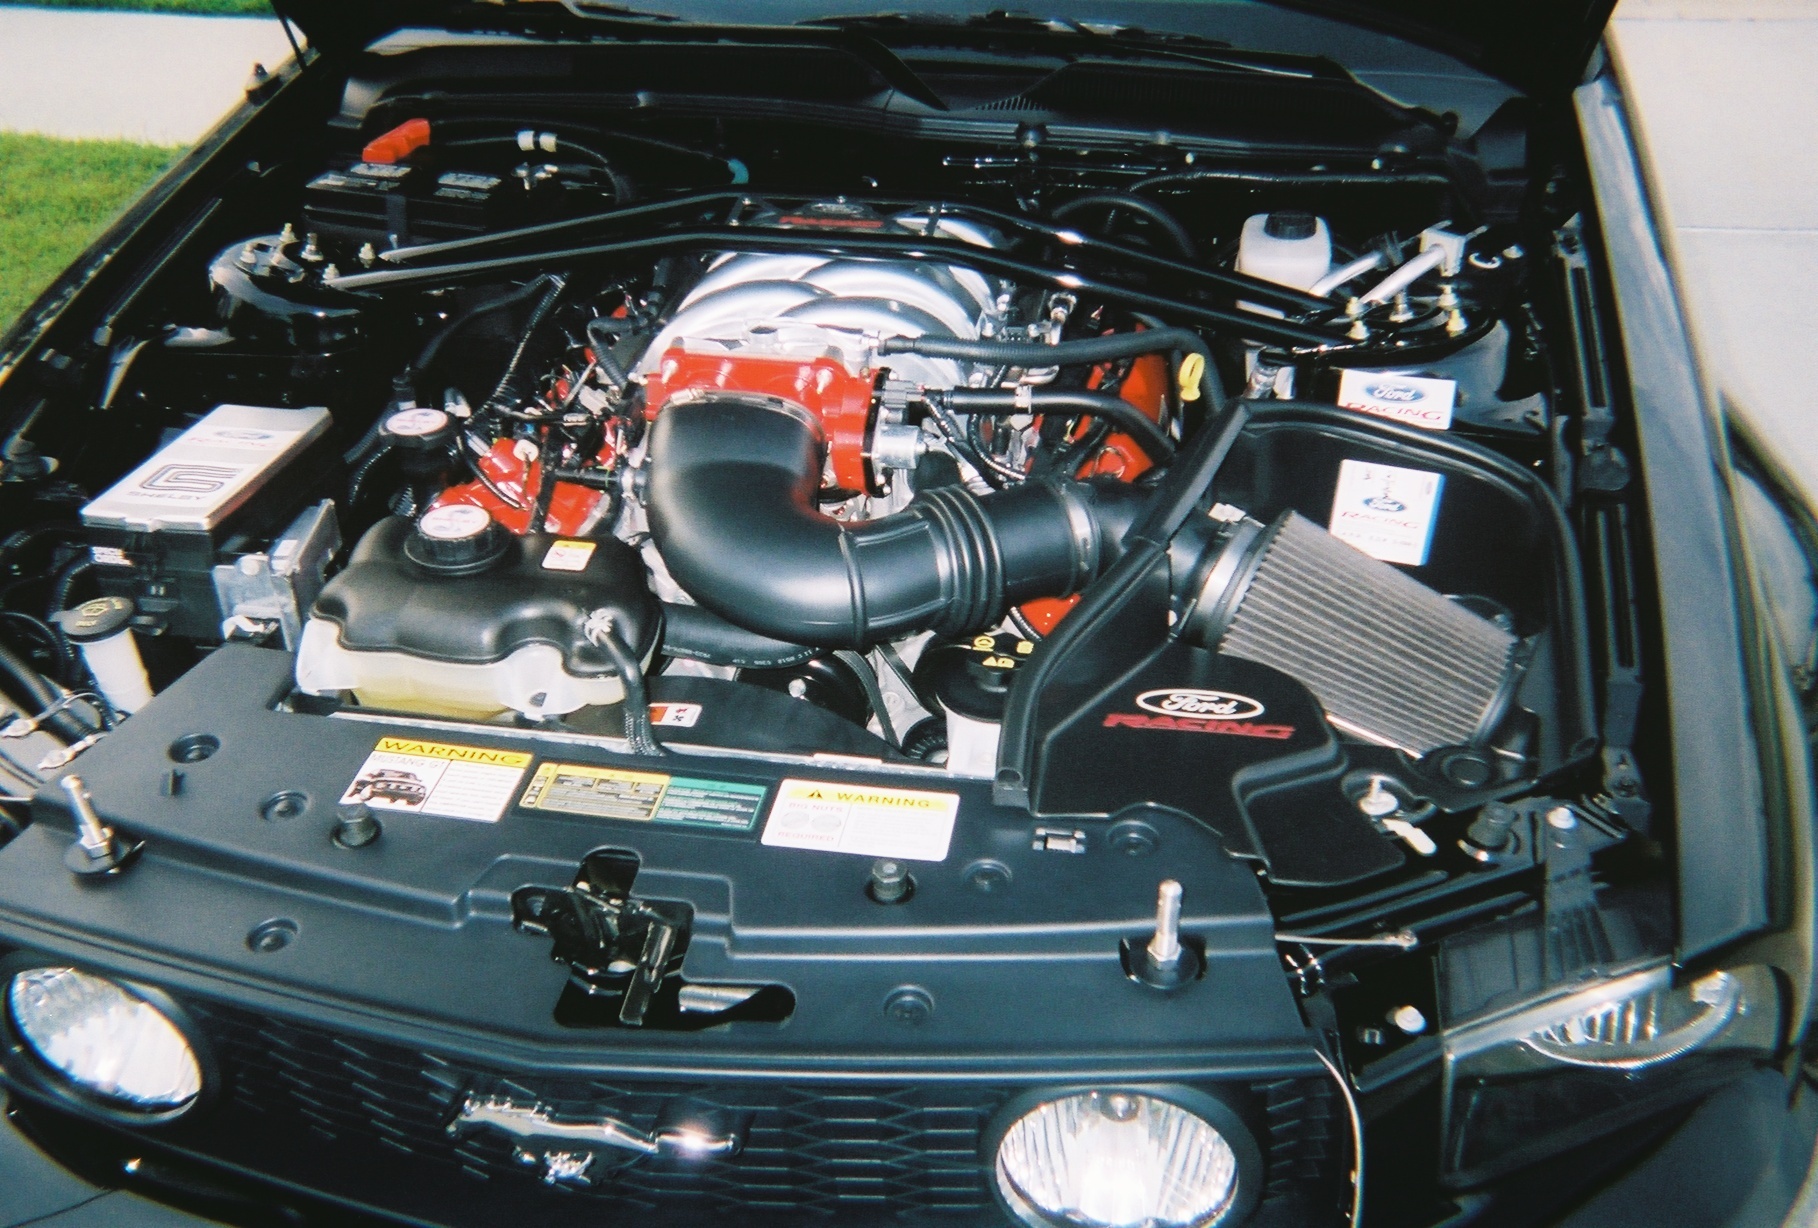
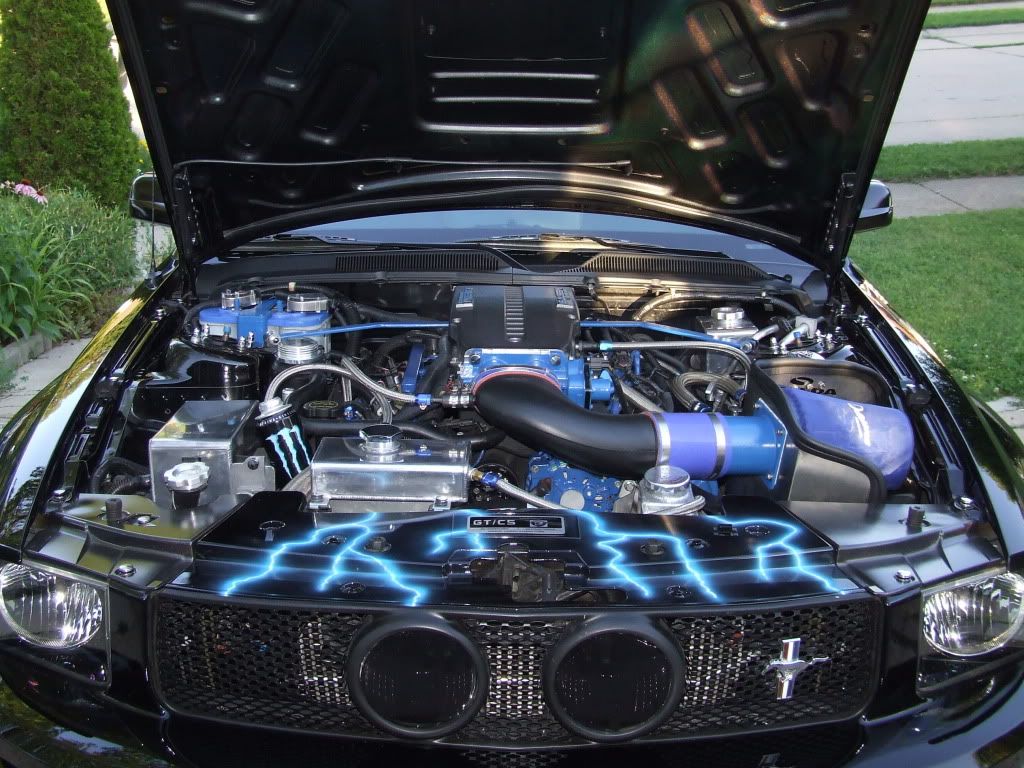
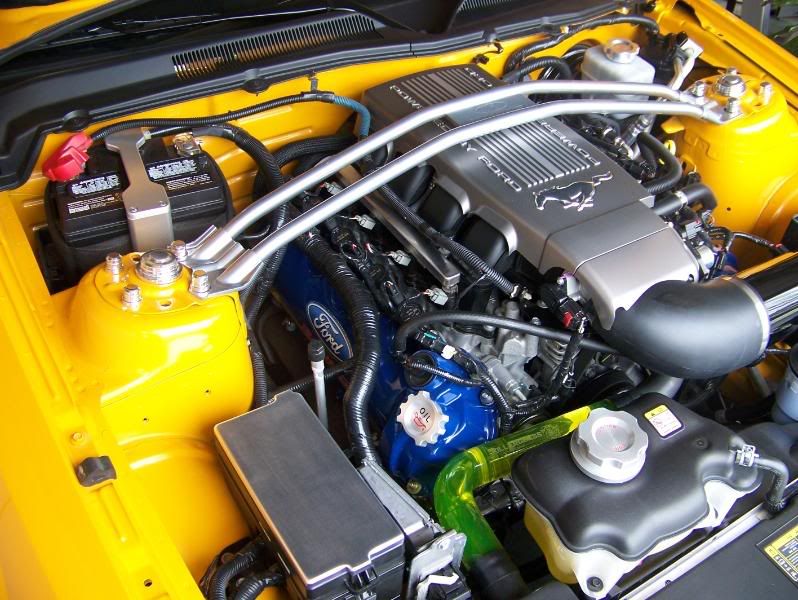
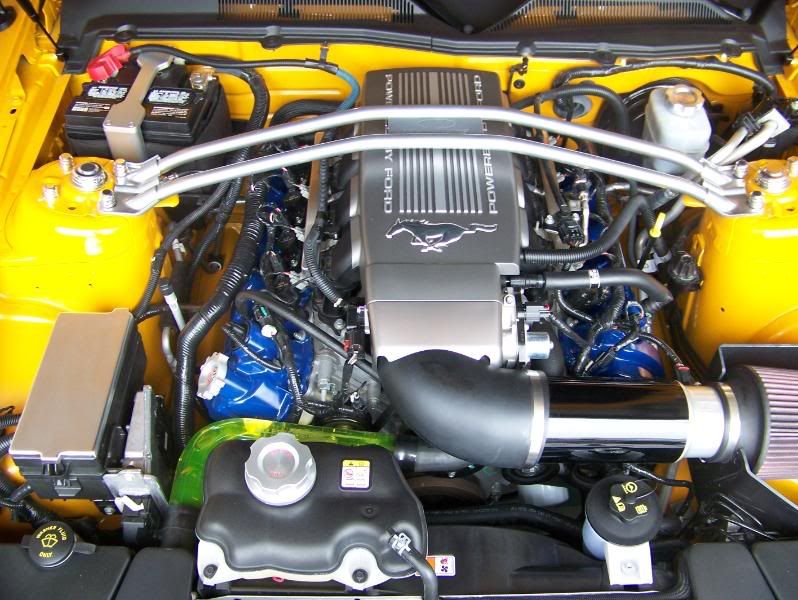
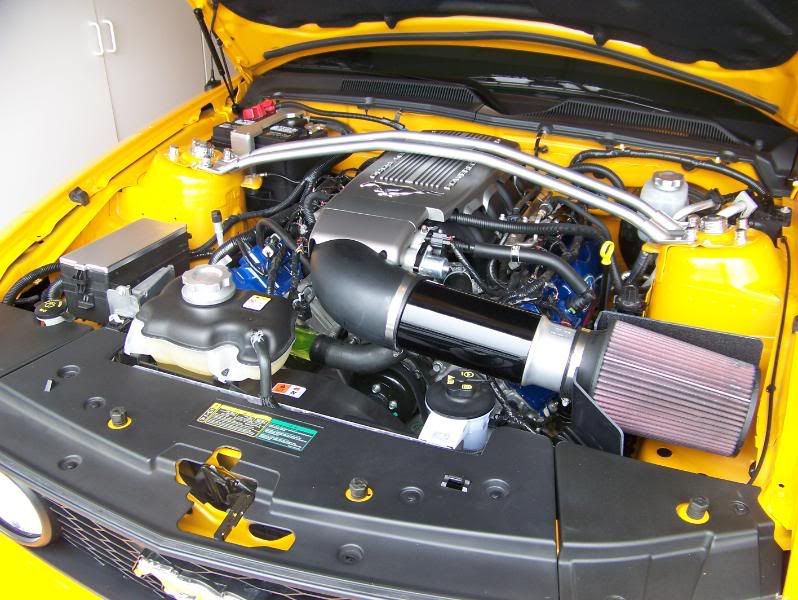
Nice engine bays everyone...
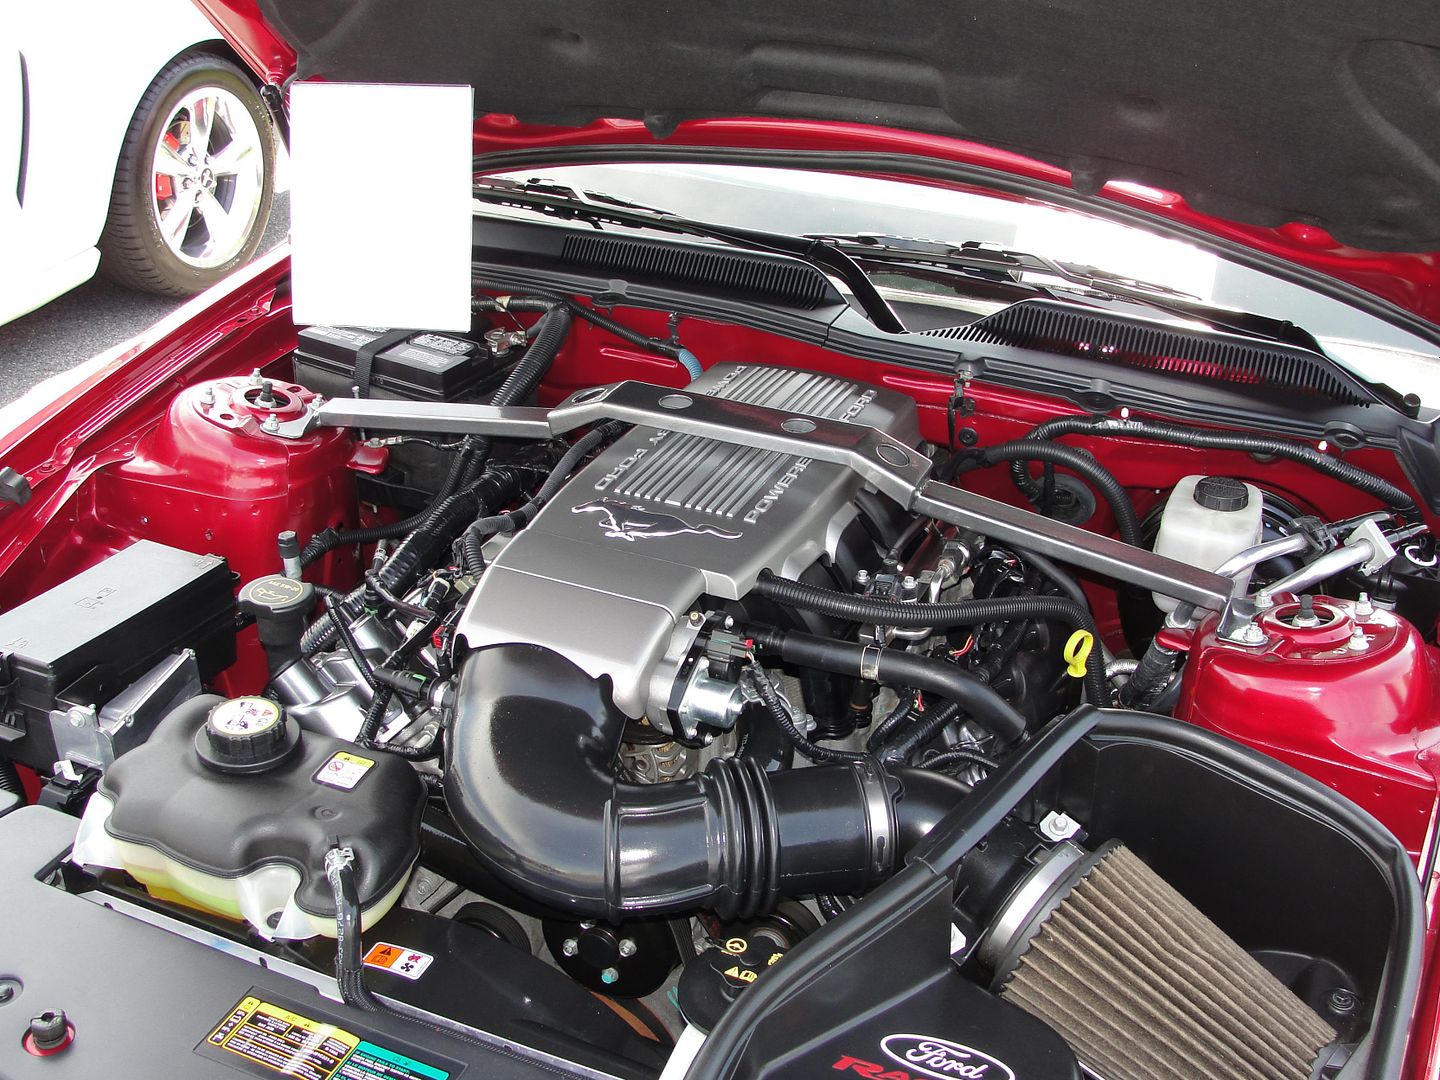
Here is my engine bay. I still have a PA Performance polished alternator, billet idler & tensioner pulley’s to install. I'm hoping to get a new hood this fall.
Last edited by MSVR3; 7/19/10 at 07:15 PM.
7/19/10, 07:41 PM
#24
Bullitt Member

Join Date: January 18, 2010
Location: Woodland Park, CO
Posts: 297
Likes: 0
Received 1 Like
on
1 Post
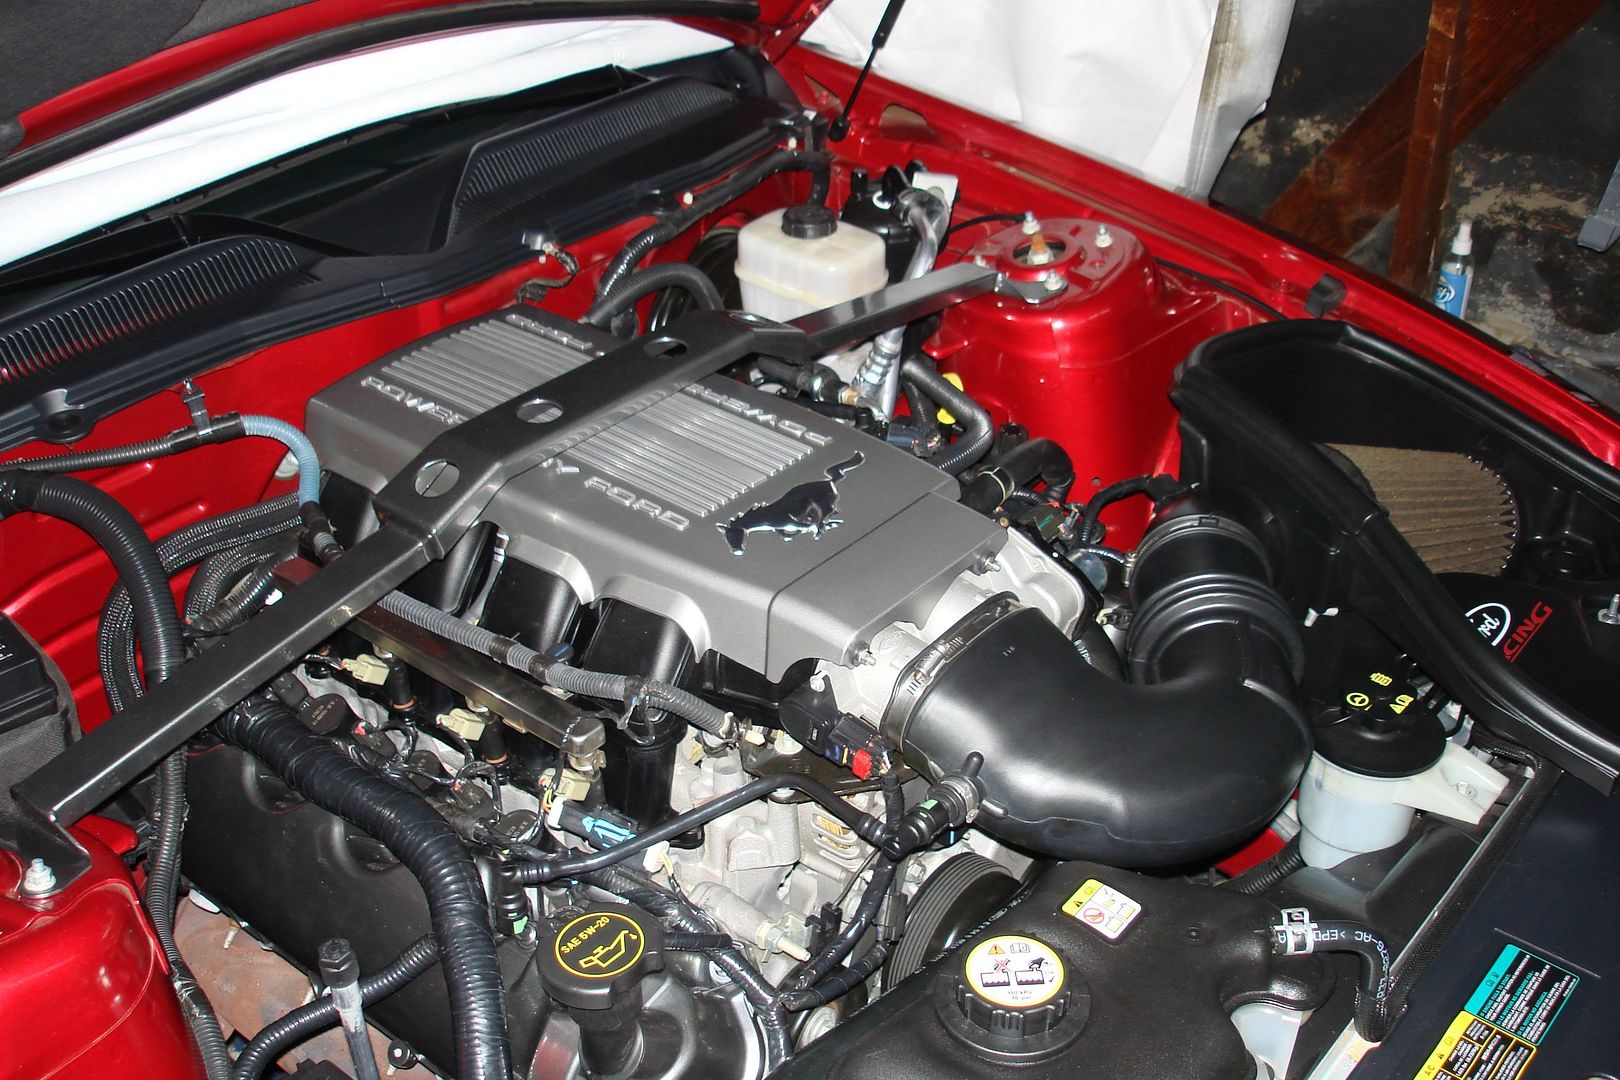
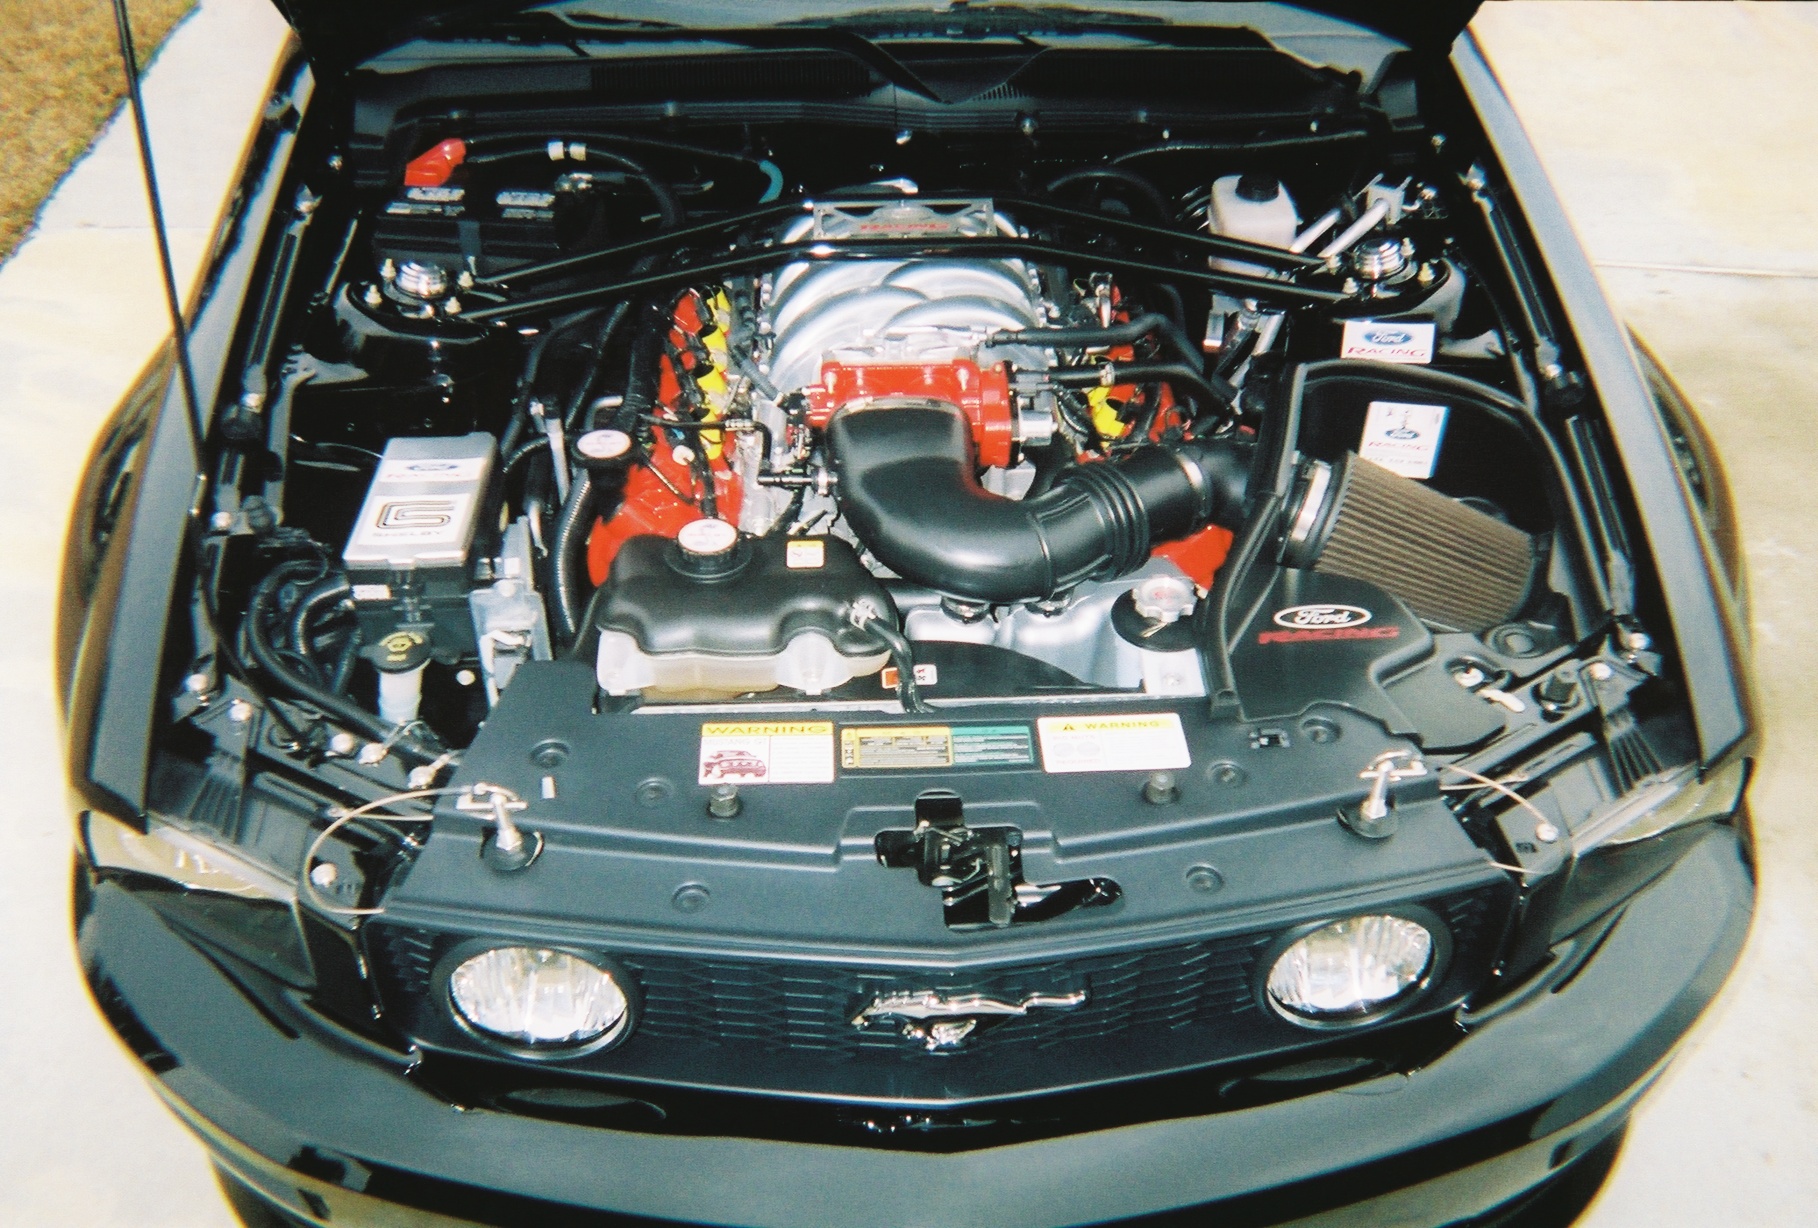
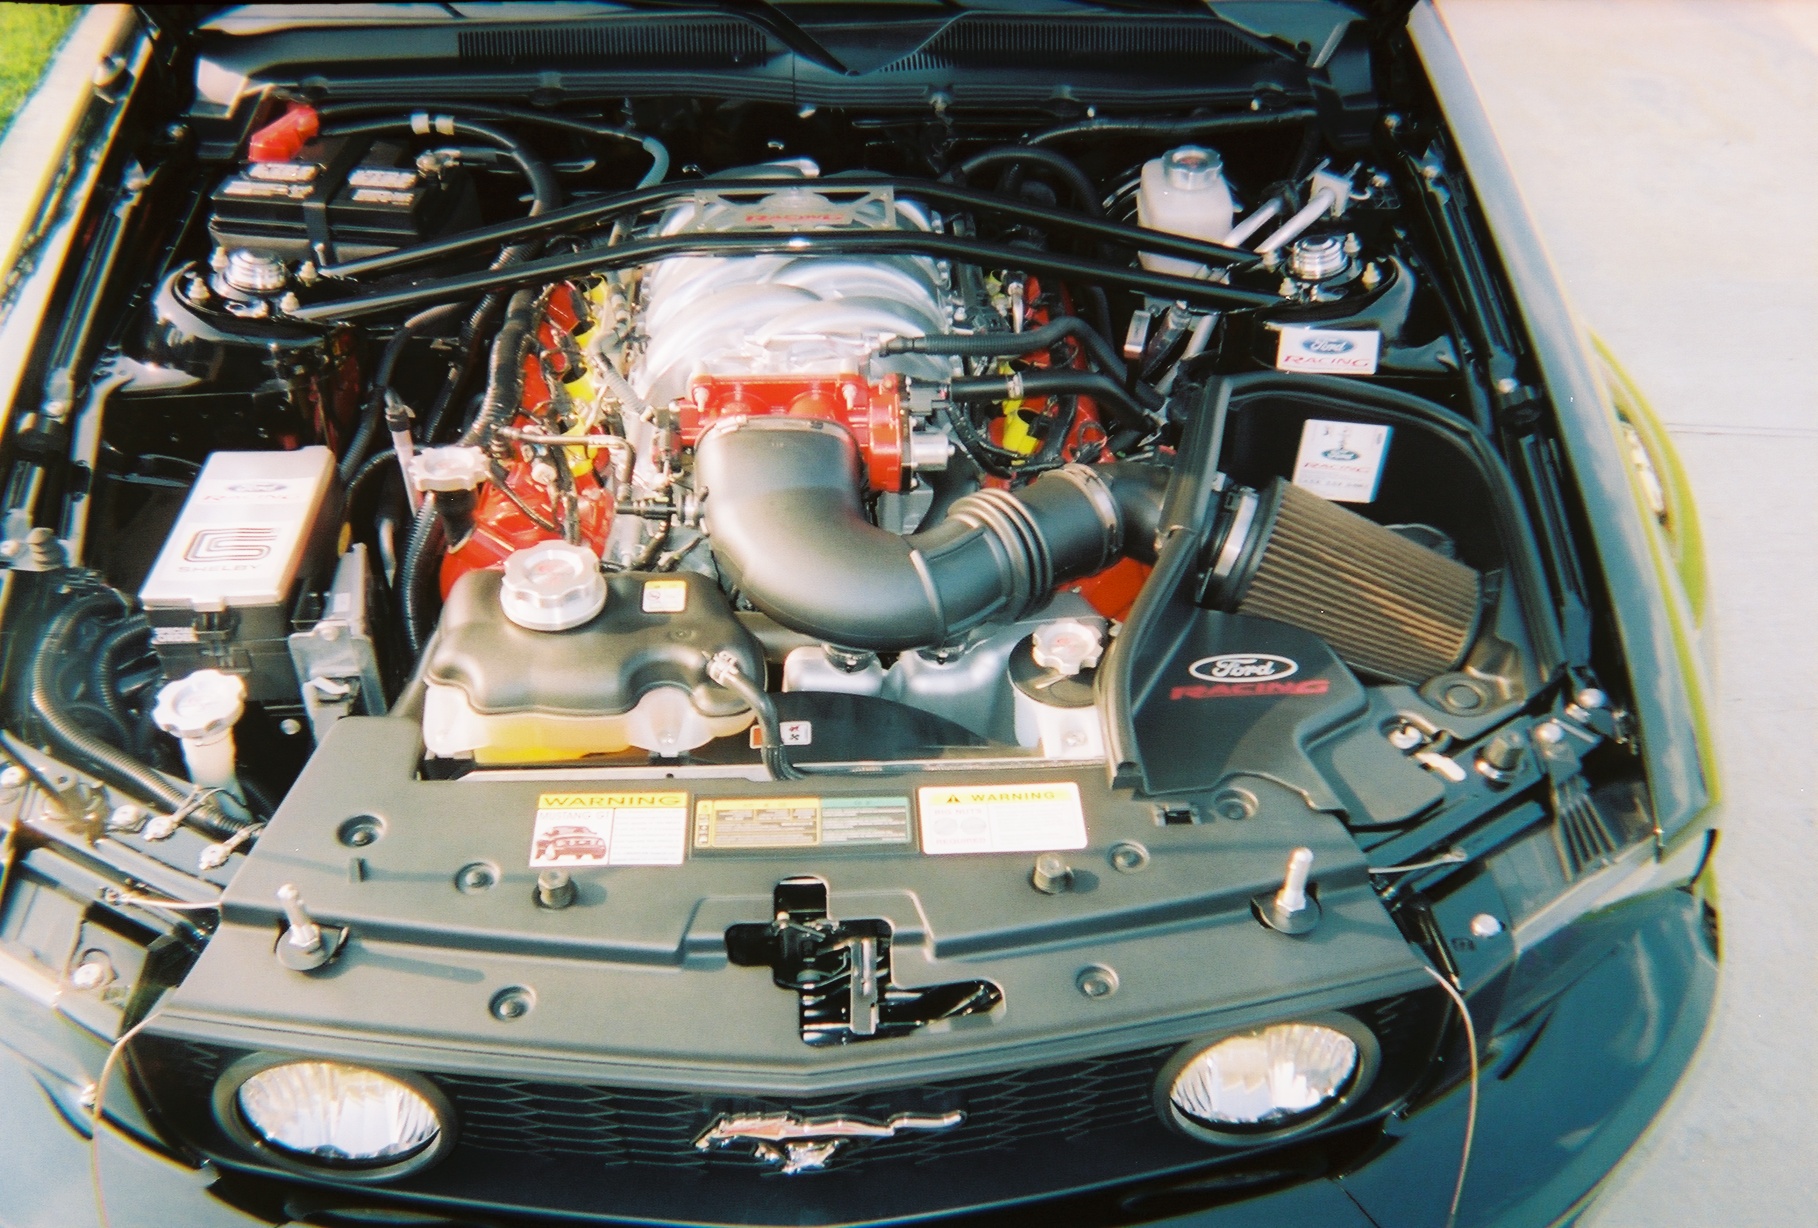
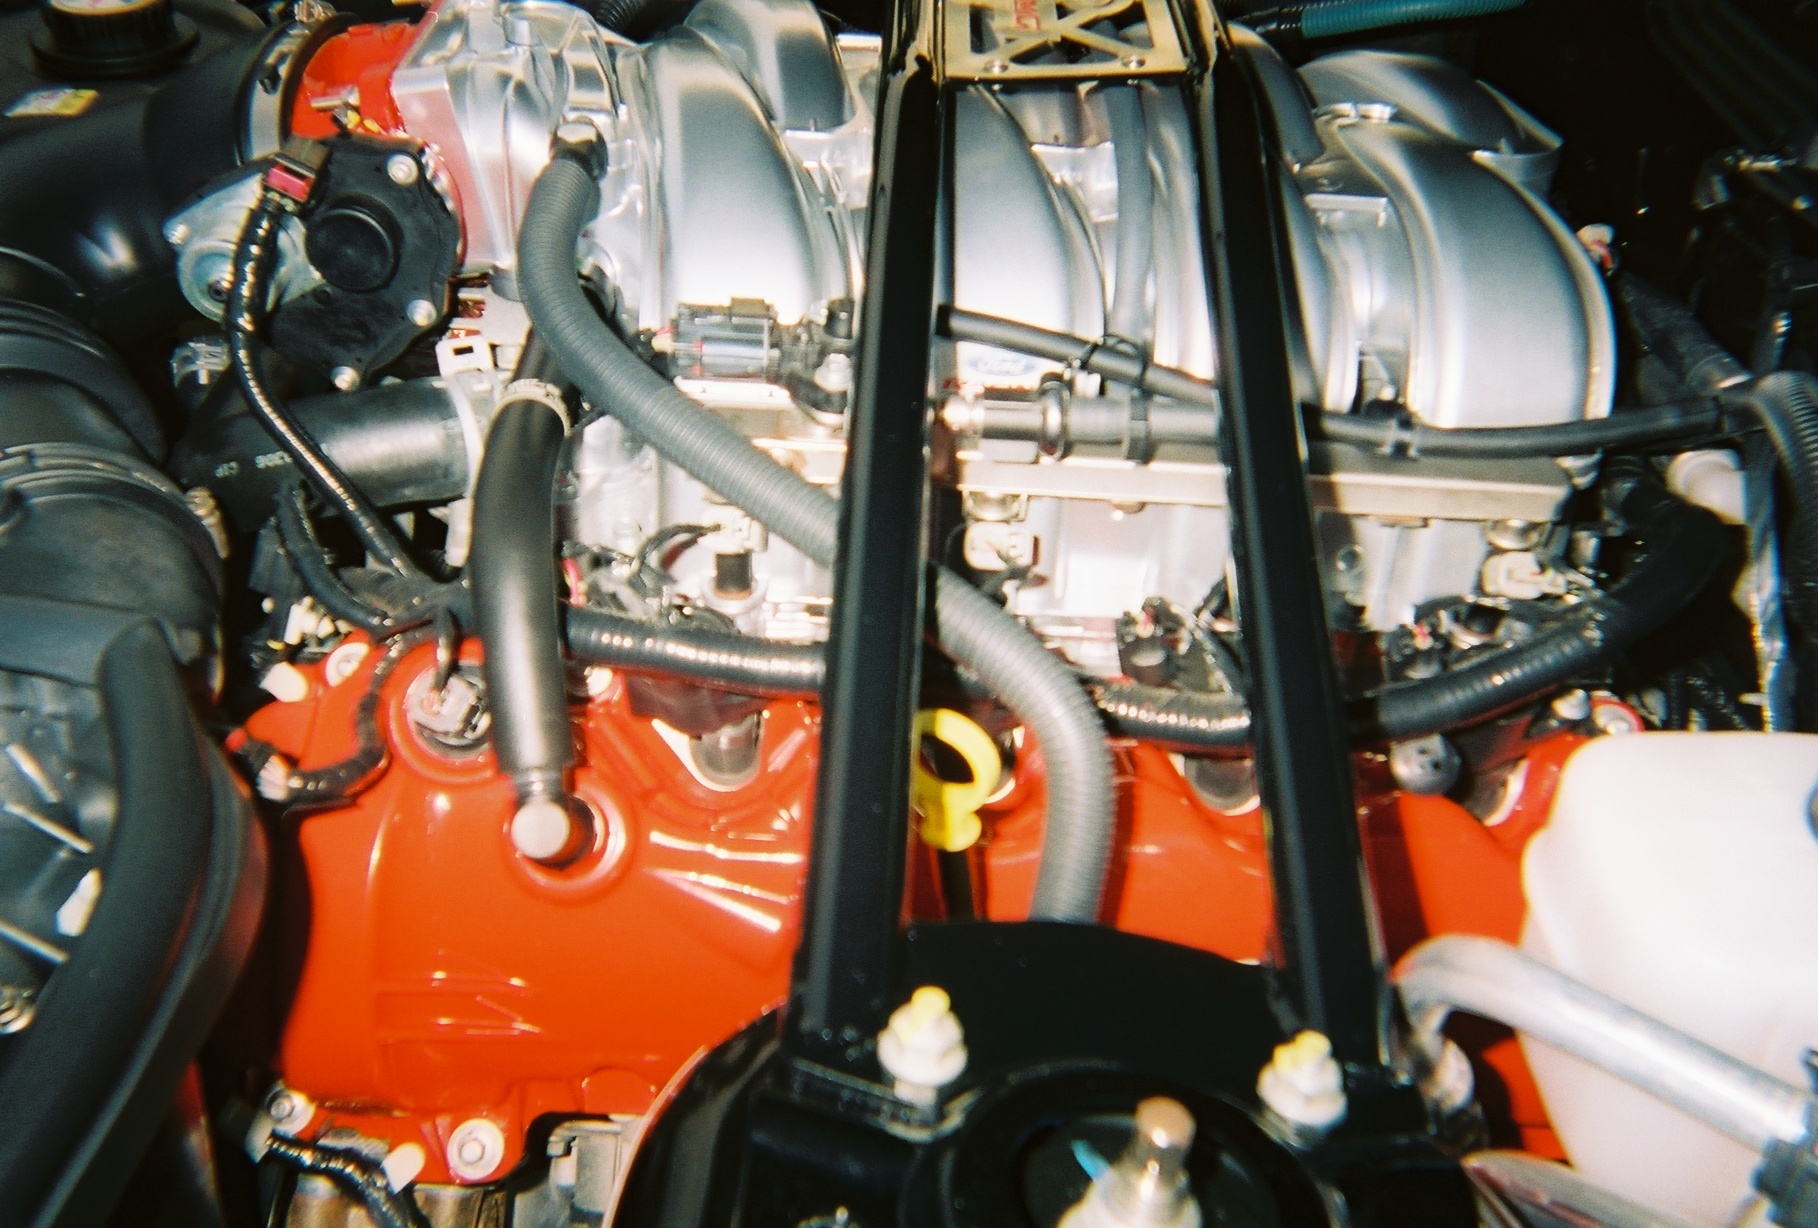
I just took this the other day. I had to modify my set of FRPP 'chromes' for the AN fittings because one of my painted covers is out for repair. This also gives you a partial of the new work on the blower lid.
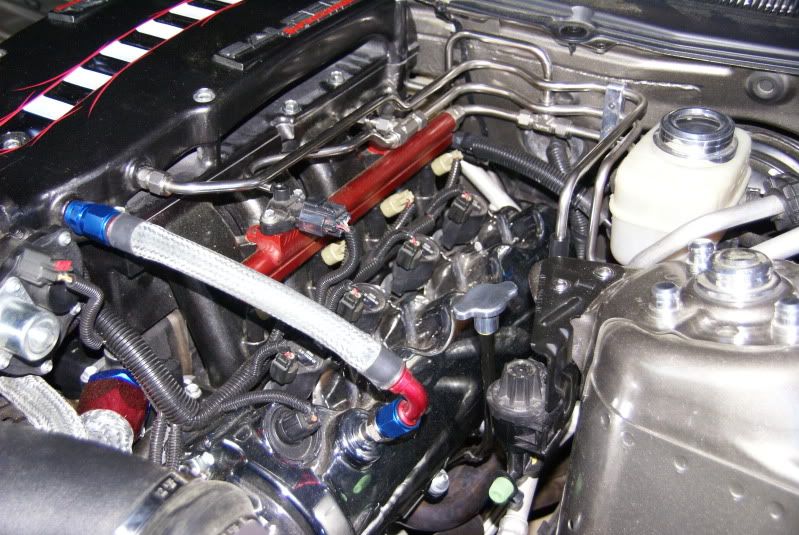
The lines are stainless steel with Swagelok fittings, and as EagleStroker pointed out this is serious dollars. I don't remember what I figured it would cost to duplicate this, but at least $750. Here's a 'during' shot of the tubing, all of which you need to bend. You can see some of the mistakes lying on the floor and the tubing is about $3 / foot. Those 3/8" tees currently retail for $28.10 each. You also must have the new fuel rails to make this work.
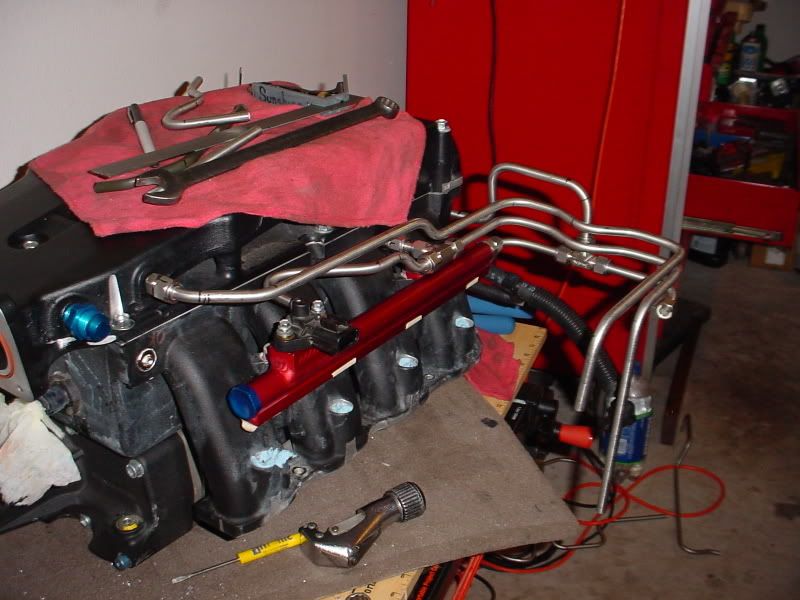
The lines are stainless steel with Swagelok fittings, and as EagleStroker pointed out this is serious dollars. I don't remember what I figured it would cost to duplicate this, but at least $750. Here's a 'during' shot of the tubing, all of which you need to bend. You can see some of the mistakes lying on the floor and the tubing is about $3 / foot. Those 3/8" tees currently retail for $28.10 each. You also must have the new fuel rails to make this work.
7/19/10, 07:57 PM
#25
I don't do trannies
or rear-ends anymore!
or rear-ends anymore!
Join Date: September 23, 2008
Location: Memphis
Posts: 995
Likes: 0
Received 0 Likes
on
0 Posts
Those are better pictures than I had!  FWIW I put mine together for around $300 IIRC, and that was after 2 25' rolls of 1/2" tubing and countless mock ups. I will say DO NOT do 1/2" tubing unless you had another motive such as myself, tubing benders for the stuff is ridiculously expensive where as a 3/8" tubing bender is relatively cheap even for a very nice one.
He's still the master (as his still looks better than mine) BUT I'm also the student. I do have a question for you Fred, I never noticed you ran your vacuum hose for the sensor in hard tubing as well. How did you attach it to the sensor itself?
FWIW I put mine together for around $300 IIRC, and that was after 2 25' rolls of 1/2" tubing and countless mock ups. I will say DO NOT do 1/2" tubing unless you had another motive such as myself, tubing benders for the stuff is ridiculously expensive where as a 3/8" tubing bender is relatively cheap even for a very nice one. He's still the master (as his still looks better than mine) BUT I'm also the student. I do have a question for you Fred, I never noticed you ran your vacuum hose for the sensor in hard tubing as well. How did you attach it to the sensor itself?
7/19/10, 08:12 PM
#26
Bullitt Member
Join Date: January 18, 2010
Location: Woodland Park, CO
Posts: 297
Likes: 0
Received 1 Like
on
1 Post
AHHHH, grasshopper. This is where the insanity really shines (follow closely)
Measure the diameter of the nipple on the sensor.
Find a drill bit just slightly larger and drill out the tubing to clear.
Stretch a piece of rubber vacuum line and over a small piece of tubing, chuck it in a drill and sand it down thin enough to fit over the nipple and inside the tubing.
Done. It took several tries as the rubber line gets pretty thin and doesn't sand evenly.


 7/24/10, 06:58 AM
#36
Bullitt Member
Thread Starter
Join Date: November 14, 2008
Location: Loooziana
Posts: 322
Likes: 0
Received 0 Likes
on
0 Posts
Gary
You're from the Mustang Collective site, I remember you. I'd LOVE to see some close up's of that 4.0L Intake Manifold. Didn't you fab that yourself?
Show that baby off! More pics please!!
You're from the Mustang Collective site, I remember you. I'd LOVE to see some close up's of that 4.0L Intake Manifold. Didn't you fab that yourself?
Show that baby off! More pics please!!