When you click on links to various merchants on this site and make a purchase, this can result in this site earning a commission. Affiliate programs and affiliations include, but are not limited to, the eBay Partner Network.
I like the way VGM put in the added LED's. Makes it stand out. John, is that trim the stuff that came from Redline? I like the way it looks, I'm a bit torn on doing that to mine. I've thought about going with the same idea, but with the Mustang logo insert. It won't have the pleating, but I still think that it looks good. Does the upper wrinkles come out of the insert as time goes on? I don't think I'd like it to stay that way forever, but it does change the panel for the better, that's for sure. Where did you run your LED power from for the doors? Did you go thru the harness and up the pillar, or did you find a power source inside the door? Just wondering. lol
VGM, on that part for the radio, email me a pic of the part (c/board). I have three radios in pieces in a box and don't remember which you need. It will go out with the following days mail, now that I'm home again and available to do it. I have 8 pieces laying in the box, so I don't know which one to send you. lol. Send me a picture okay, so I get the right one out to you. Sorry for the delay, but the forest fires up here kept everyone busy and I spent a lot of time helping get the mess taken care of. Luckily both big ones locally are out now, sot things will get back to normal soon.
don't want to derail the OPs thread to much.
yes the covering is from Redline. I had to custom order and givedspecific and I do mean specific instructions on what I wanted cause they messed up first time.
The upper wrinkles are my doing. I glued it like that and didn't press it out in time.
oh well doesn't bother me to much. Though smoother would be nicer of course.
As for the LEDs I did run them through the door into the car. They are attached to a 12v source and to some toggle switches so it works with then I turn on my headlights and when I open the doors.
If you want more info lmk and I'll email you or something.
Will do about the pictures. Glad to know everything is ok though.
Oh and thank you very much for your kind words.
These will fit in my 2005? Mounting points are the same? (I know the electrical isn't there but I can do that part)
If so, !!
YES they will fit-direct fit. You even have covers for the screws with the new ones. Good luck with your purchase. That is a great price. Usually they are 50-60 each side used.
I did this to mine back in 2010. I later added the 2010 speaker covers and the 2012 mirrors. Most of the 2010 and up Mustang interior accessory parts will fit our 05-09's. I have the 2012 light vanity mirrors also. It's fun making these mods isn't it? Good luck with your Mustang and mods.
Well they say imitation is the sincerest form of flattery, and with that in mind I wanted you to know, akdoggie, that I ordered a pair of 2011 speaker covers to make the same mod you did. I think your clever melding of the s197 to the Coyote trim pieces, with the addition of the tri bar ponies, really makes a huge difference to those otherwise awkward port-hole looking speakers on our doors.
Thanks for the inspiration; now back to the topic at hand....
Thanks for the props Ed. I appreciate the imitation. lol. As far as the speaker covers, there are two types used. One style is satin finished, and the other type is chrome. I went with the chrome trim. They came out of a 2010. The tribar emblems are from the SN95's front fenders. I used them because they are a bit smaller and lighter than the others I looked at. Oh yes, I used a black Permatex silicone to adhere them to the speakers. Using silicone for the mounting, keeps the vibrations to NONE. With the two sided tape, vibration was obvious. I hope this helps you find your stuff and gives you info on installing the emblems. Good luck and thanks again.
The ones I found are indeed chrome, and I didn't know there was a satin option, so thank you for the heads-up! Also, I will follow the pony emblem application you prescribed using the permatex.
This is why I appreciate these forums so much; people generously sharing their experience so that others might learn from it and apply it themselves! Many thanks, and I'll post pics when the project is complete
Make sure that you use some good tape to hold them on for at least 12 hours before you try slamming your doors. lol. If you can take the speakers out, it works much better, but most guys won't do that.
akdoggie, here's a deferential nod and "Thank You!" to your great multi-year match up!
"05 door with 2010 trim rings!
A picture of the whole effect
You interior just stands out with the chrome and the red accenting. I like how your turned out. You have a nice looking interior showing there Ed. Is that a stick on emblem on the drivers side air bag, or one of the eBay style cups that you switch your airbag into? I was just wondering, because if the air bag inflates how does that emblem react? It would sure leave a funny indention in a persons' forehead if it wasn't the original style design. lol. Sorry, that vision is in my mind now. A backwards GT. lol
As you saw in my pictures, I have the full leather Charcoal interior, with IUP. I have a full set of the grey leather seat covers, from a 2008, that I am considering changing to this winter. That would give me the same style interior as yours, with the grey as the strong accent. If I do that, I will change out my exterior stripes to a matching grey color and my side decals as well. Thinking on that one still.
Yes they are SN95 front fender badges. They have a tab on the back that needs to be removed, but that is easy enough. Most the other badges are too large and tend to rattle, so I decided on the SN95's and some black silicone. Doing it in silicone dampens the noise from vibration, where as the stick on tape, tends to vibrate like a motel bed. Hope that answers your questions.
Yes they are SN95 front fender badges. They have a tab on the back that needs to be removed, but that is easy enough. Most the other badges are too large and tend to rattle, so I decided on the SN95's and some black silicone. Doing it in silicone dampens the noise from vibration, where as the stick on tape, tends to vibrate like a motel bed. Hope that answers your questions.
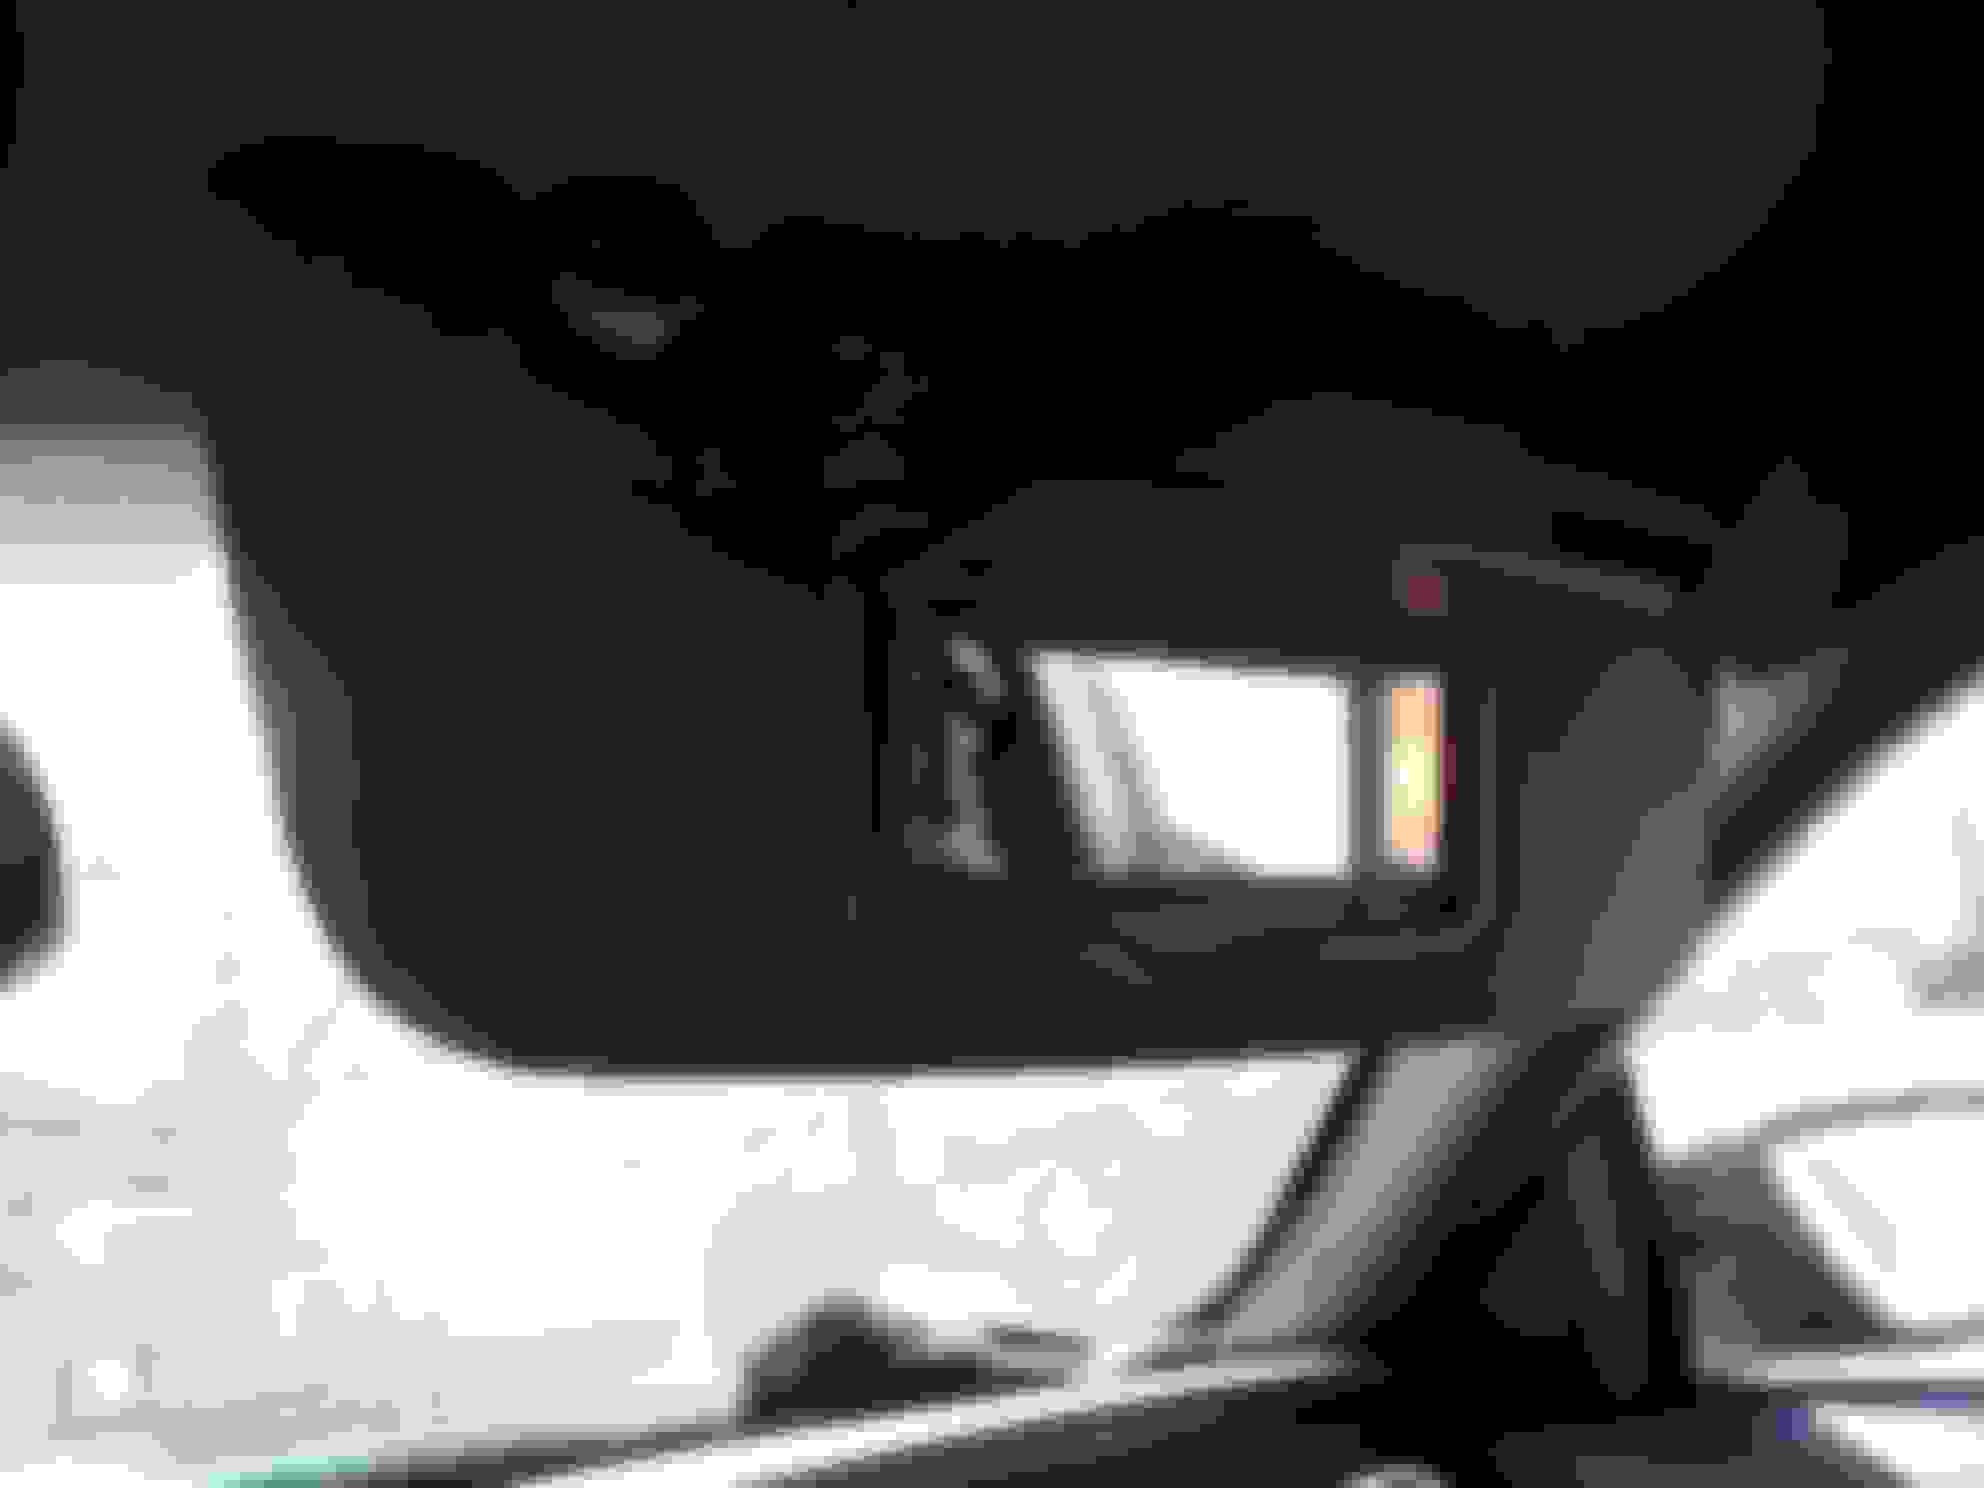
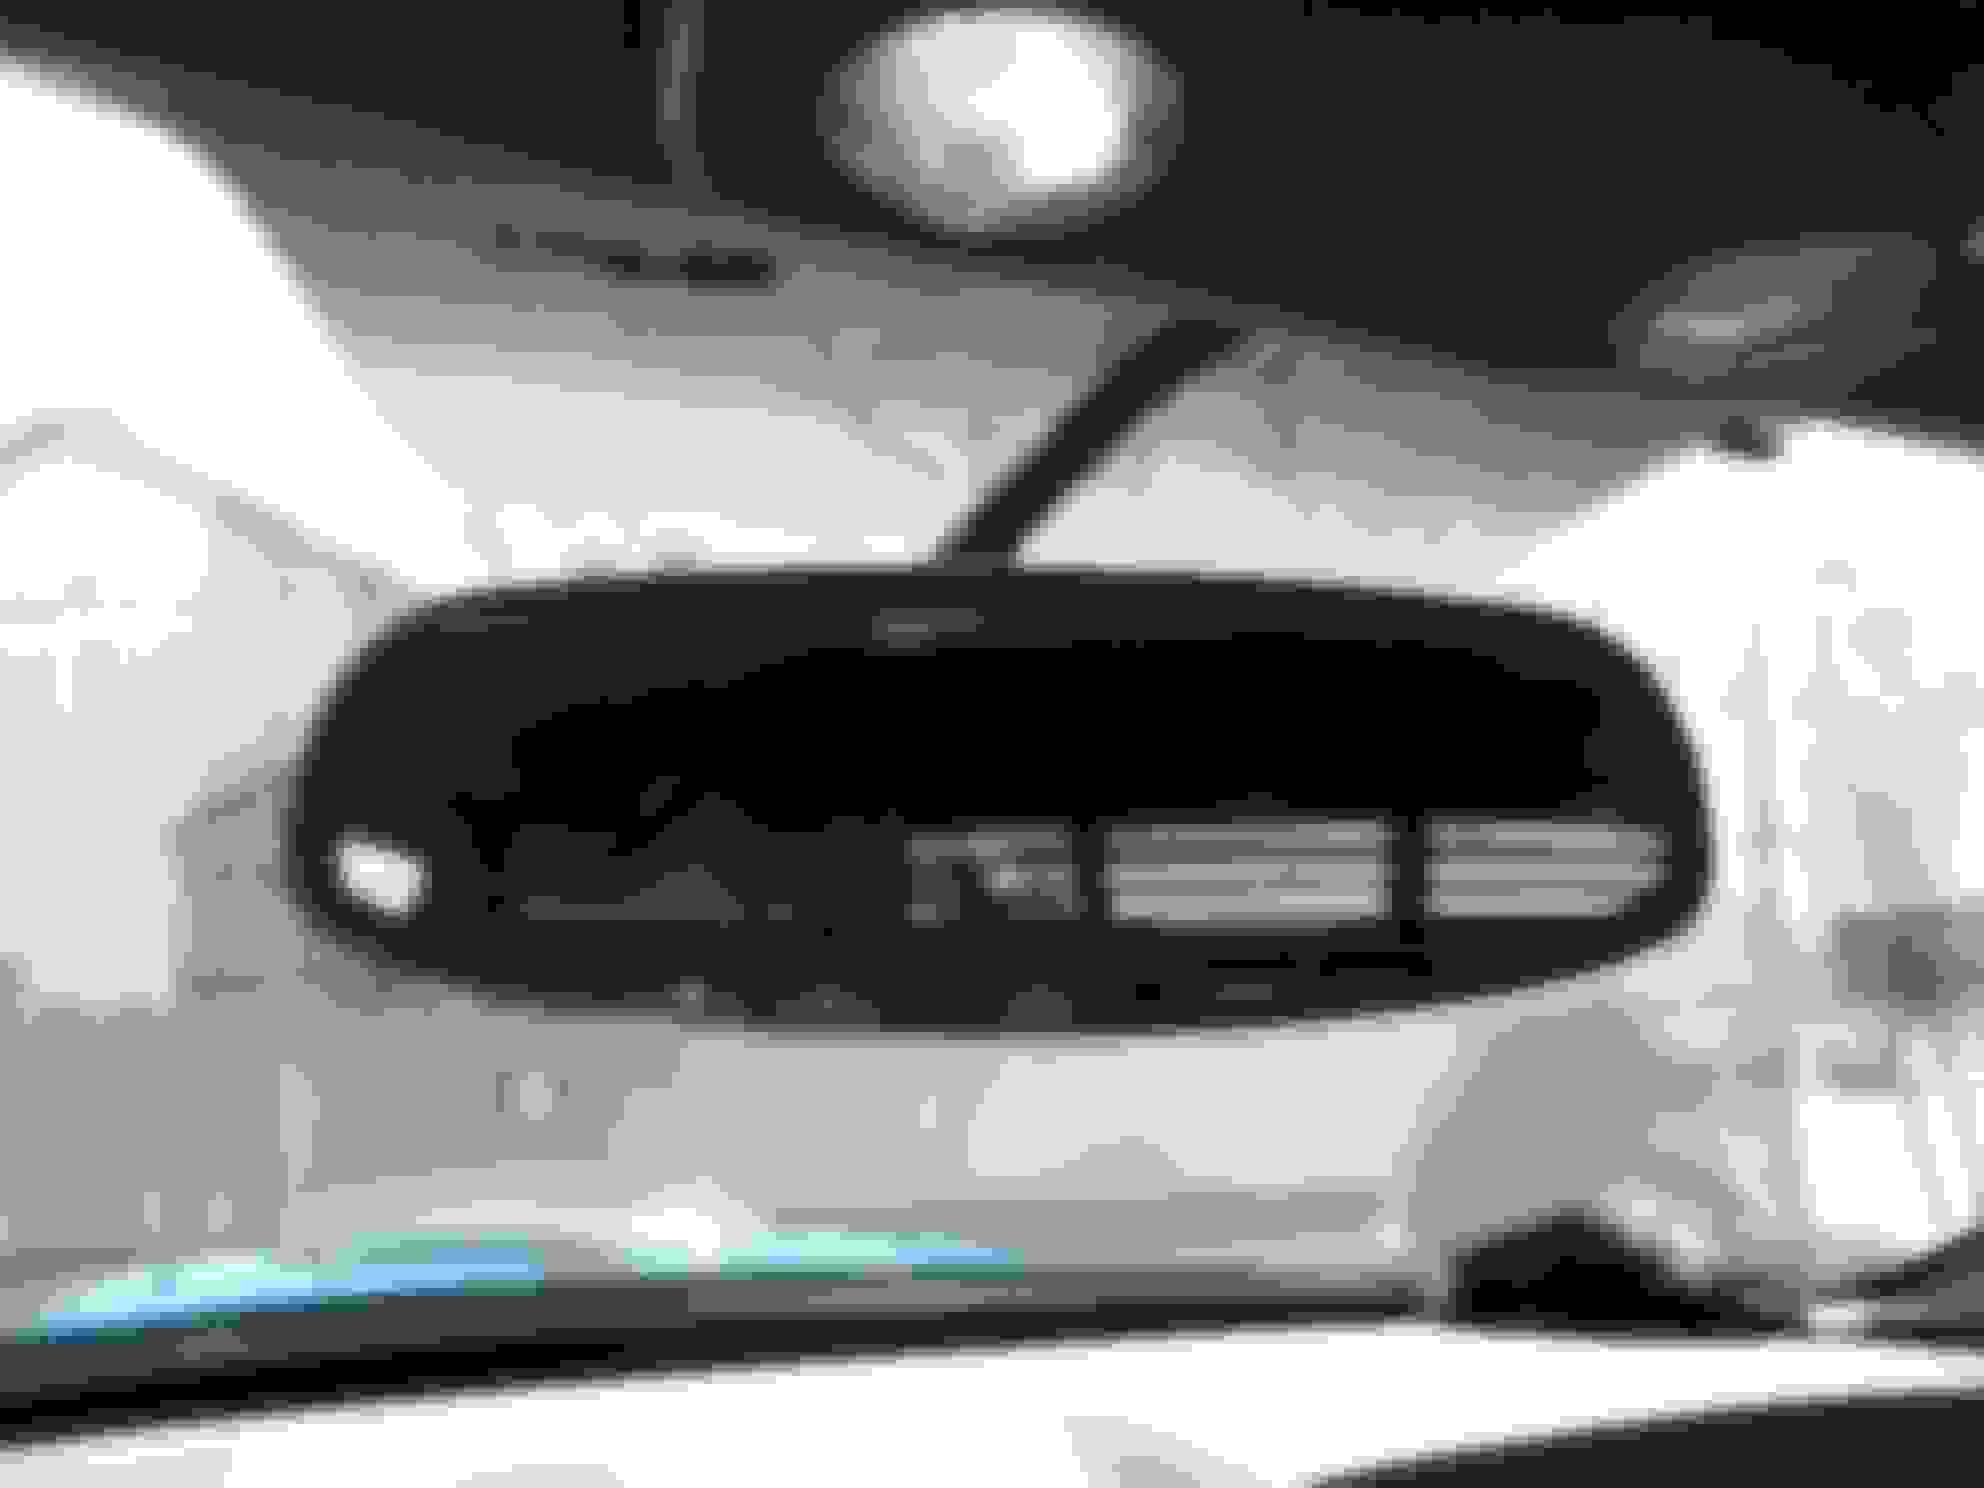
2012 and up have lighted vanity and movable (extendable) mirrors. They bolt right up the same as ours do, but you have to run wires from the center lights to power them. A very easy, simple mod, that the women love. I personally like how you can unclip them and move them to cover the center of the windshield from the sun. The material is a bit nicer than the soft crap ours came with, so that is also an improvement. The Homelink mirror with autodim and compass is a nice add on also. I included a pic of that also.
GM used to do this with their bigger cars, but now that Ford is doing it, it is a good thing. lol.
I just came across this post and I want to upgrade my 08's sun visors to the ones in the '12. Does the Charcoal Black in the '12 pretty much match the older model? Do the 2012 visors fit like the older models? The older models have a slight curve and was wondering if the newer visors do the same. One last question. How did you run the wires from the center lights to the visors? I'm not much of a modder, but if it's not too difficult to do I'd like to give it a try. Thanks
Ok, let's try and answer your questions. Yes the colors are the same, but the fabric is a better feeling material in the 2012 up over our originals. The visors mount identically and even have covers to hide the screws that our didn't come with. The wiring is very basic. You have a power side and a ground. You can take the power to the center overhead and tap in there or go to te right side A pillar panel, remove the trim and tap there. Make sure you tap correctly to the way you want them to work. You can have them on when ever the person wants them or just keyed to accessory side. Either way will work, and it is up to your option which side to hook up to. On a 10 scale, I'd give it a 3 at the most. It is basically run 2 wires from each, hook them together, then run them to the power source. Easy job, and the women seem to like it over the standard mirrors we had originally. I have a post on this site about doing this mod. Hope that help you some.
Thanks for the info. That helps a lot. By the way, I searched for your visor mod post and didn't find it, but the mod seems simple enough for me to do.

 7/16/15, 07:47 PM


 !!
!!