When you click on links to various merchants on this site and make a purchase, this can result in this site earning a commission. Affiliate programs and affiliations include, but are not limited to, the eBay Partner Network.
Funny, I was just thinking about these a couple days ago. It took me a while to find someone with valve covers @ a good price, but I have those on hand now. I'm trying to figure out how to transfer the designs over without having to free hand the pony logos. And I might take some time to render up some new designs too.
---
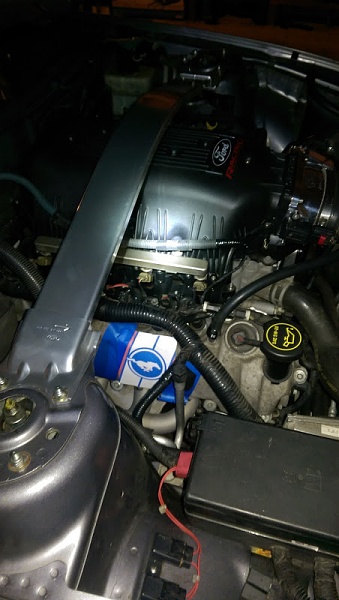
Edit: Part of the reason I'm reevaluating the design is because I'm doing some under-engine upgrades. I'm getting the Ford Racing intake, the BOSS strut tower brace, and the ford racing throttle body, so the overall look should be pretty similar to this (except the CAI will still be polished aluminum)
Thanks for the update. You've inspired me to do mine. I have a 281 High performance emblem that was going to go in place of the fender GT emblem, but changed that plan a long time ago, so these have been sitting on a shelf for the last couple years.
Still deciding how to stripe with them on. around, through or what?
Still on the fence about the blue. There's no blue elsewhere on the car, but I like how it pops. To that end, here's something with hash marks and a little bit of red thrown in there to tie in w/ the "Racing" part of the "Ford Racing" logo on the intake.
And here's a really crappy rendering of what it should look like. I had a hard enough time finding pics at the right angle w/ the intake, so I turned somebody's Vista blue engine bay to tungsten, and sketched a STB in there.
Totally agree. That's definitely part of the reason I'm not going to town on these and sticking with simple. I like the idea of doing the stripes w/ Pony logo --your eye picks up the stripes right away and then catches the logo detail on a 2nd read.
I did a quick photochop --excuse the crappy quality --and grime:
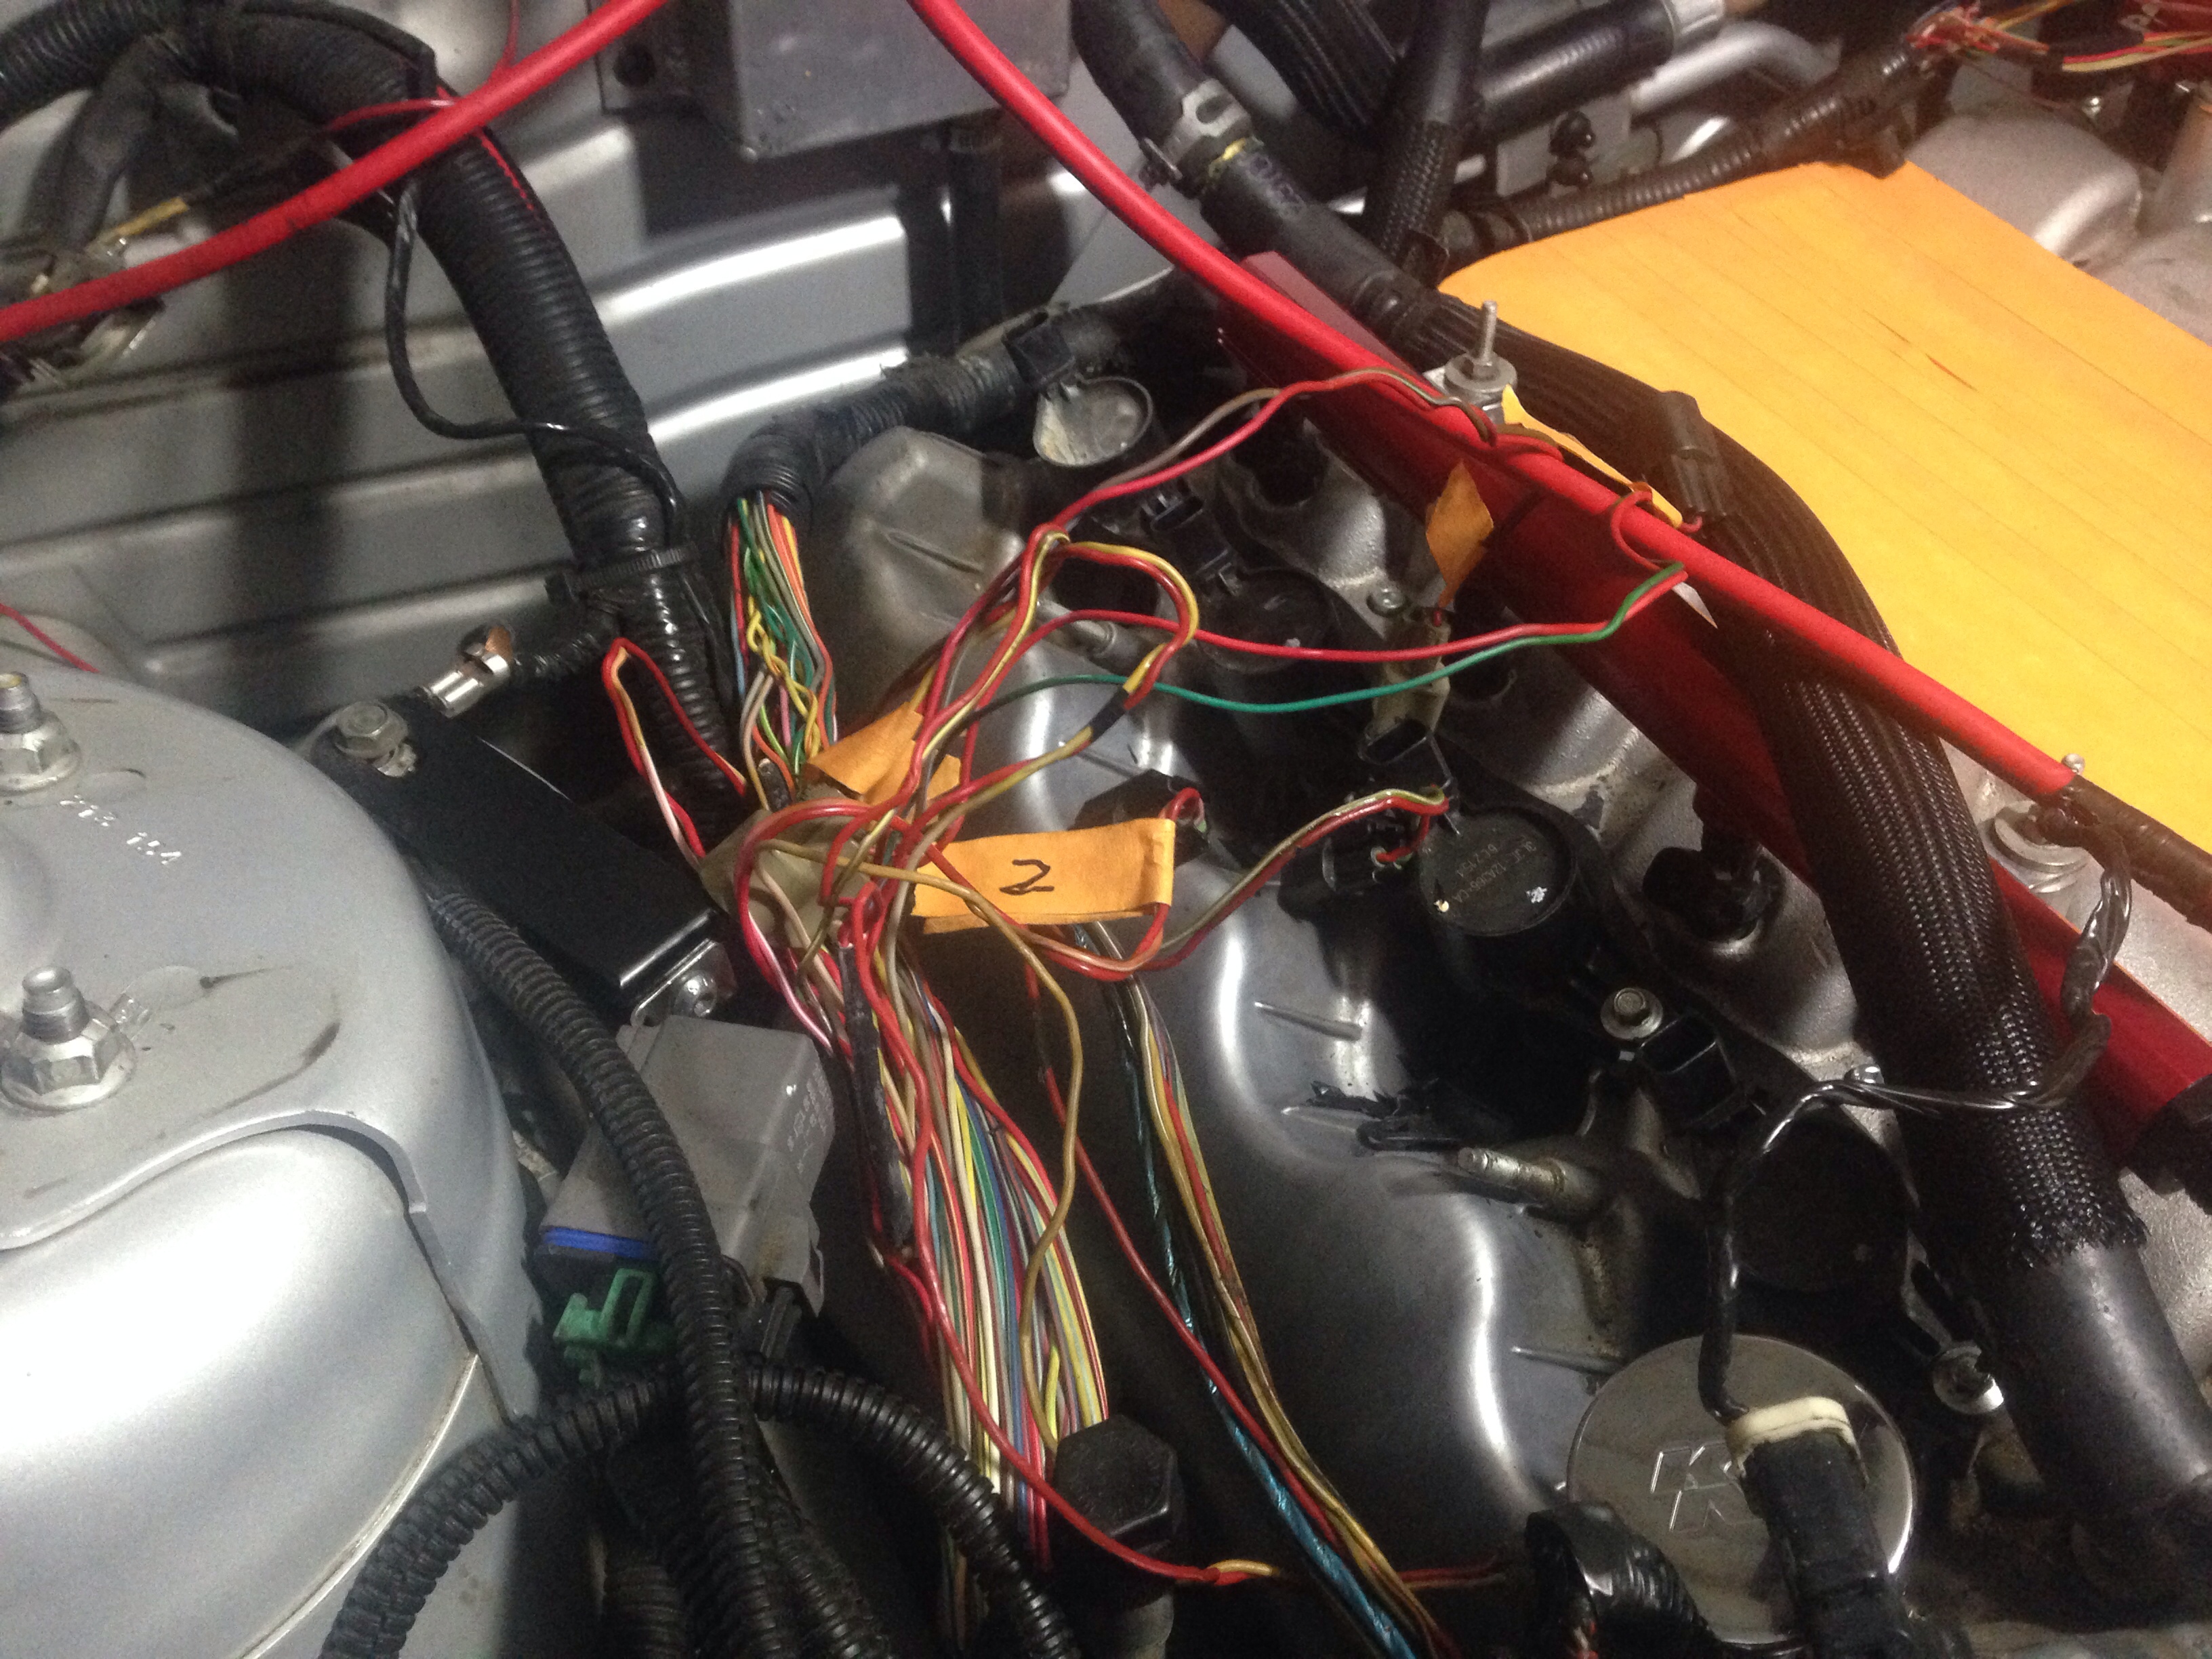
Unless I did a wire tuck (ainna gonna happen):
If you're gonna spend the time and effort to make them look nice you should spend the time to showcase them. Fist off keep the engine bay clean. I clean mine about 3 times a year and wipe **** down every time I'm underneath there. It only takes about 1/2 hour to clean every time once it's been done.
Doing a full wire tuck is a lot of work, but when I got my covers (bought not custom) I didn't want to hide them under all that crap. I got all the wires off the covers by just extending the coil and injector wires, and a couple of sensor wires. Pretty easy doing it one by one so as not to get mixed up. Anyways you can see that the harness runs along the side of the engine bay instead of over the motor. All the coil and injector wires run from the back of the motor and in between the coils and the fuel rail and you can barely see them. And I used a common ground to lessen the overall number of wires. It makes a huge difference in the overall presentation and it will let you showcase the custom covers. Be proud of your extra effort and work, don't hide it behind all of the OEM junk.
You did a real nice job there I definitely plan on cleaning up the engine bay, this project is one part of a larger effort to make it look nice under the hood.
I'd love to do a wire tuck, but all I ever see is threads saying "Here, look what I did". They never show you how they actually did it or give you tips. Right now I don't have the time for the learning curve
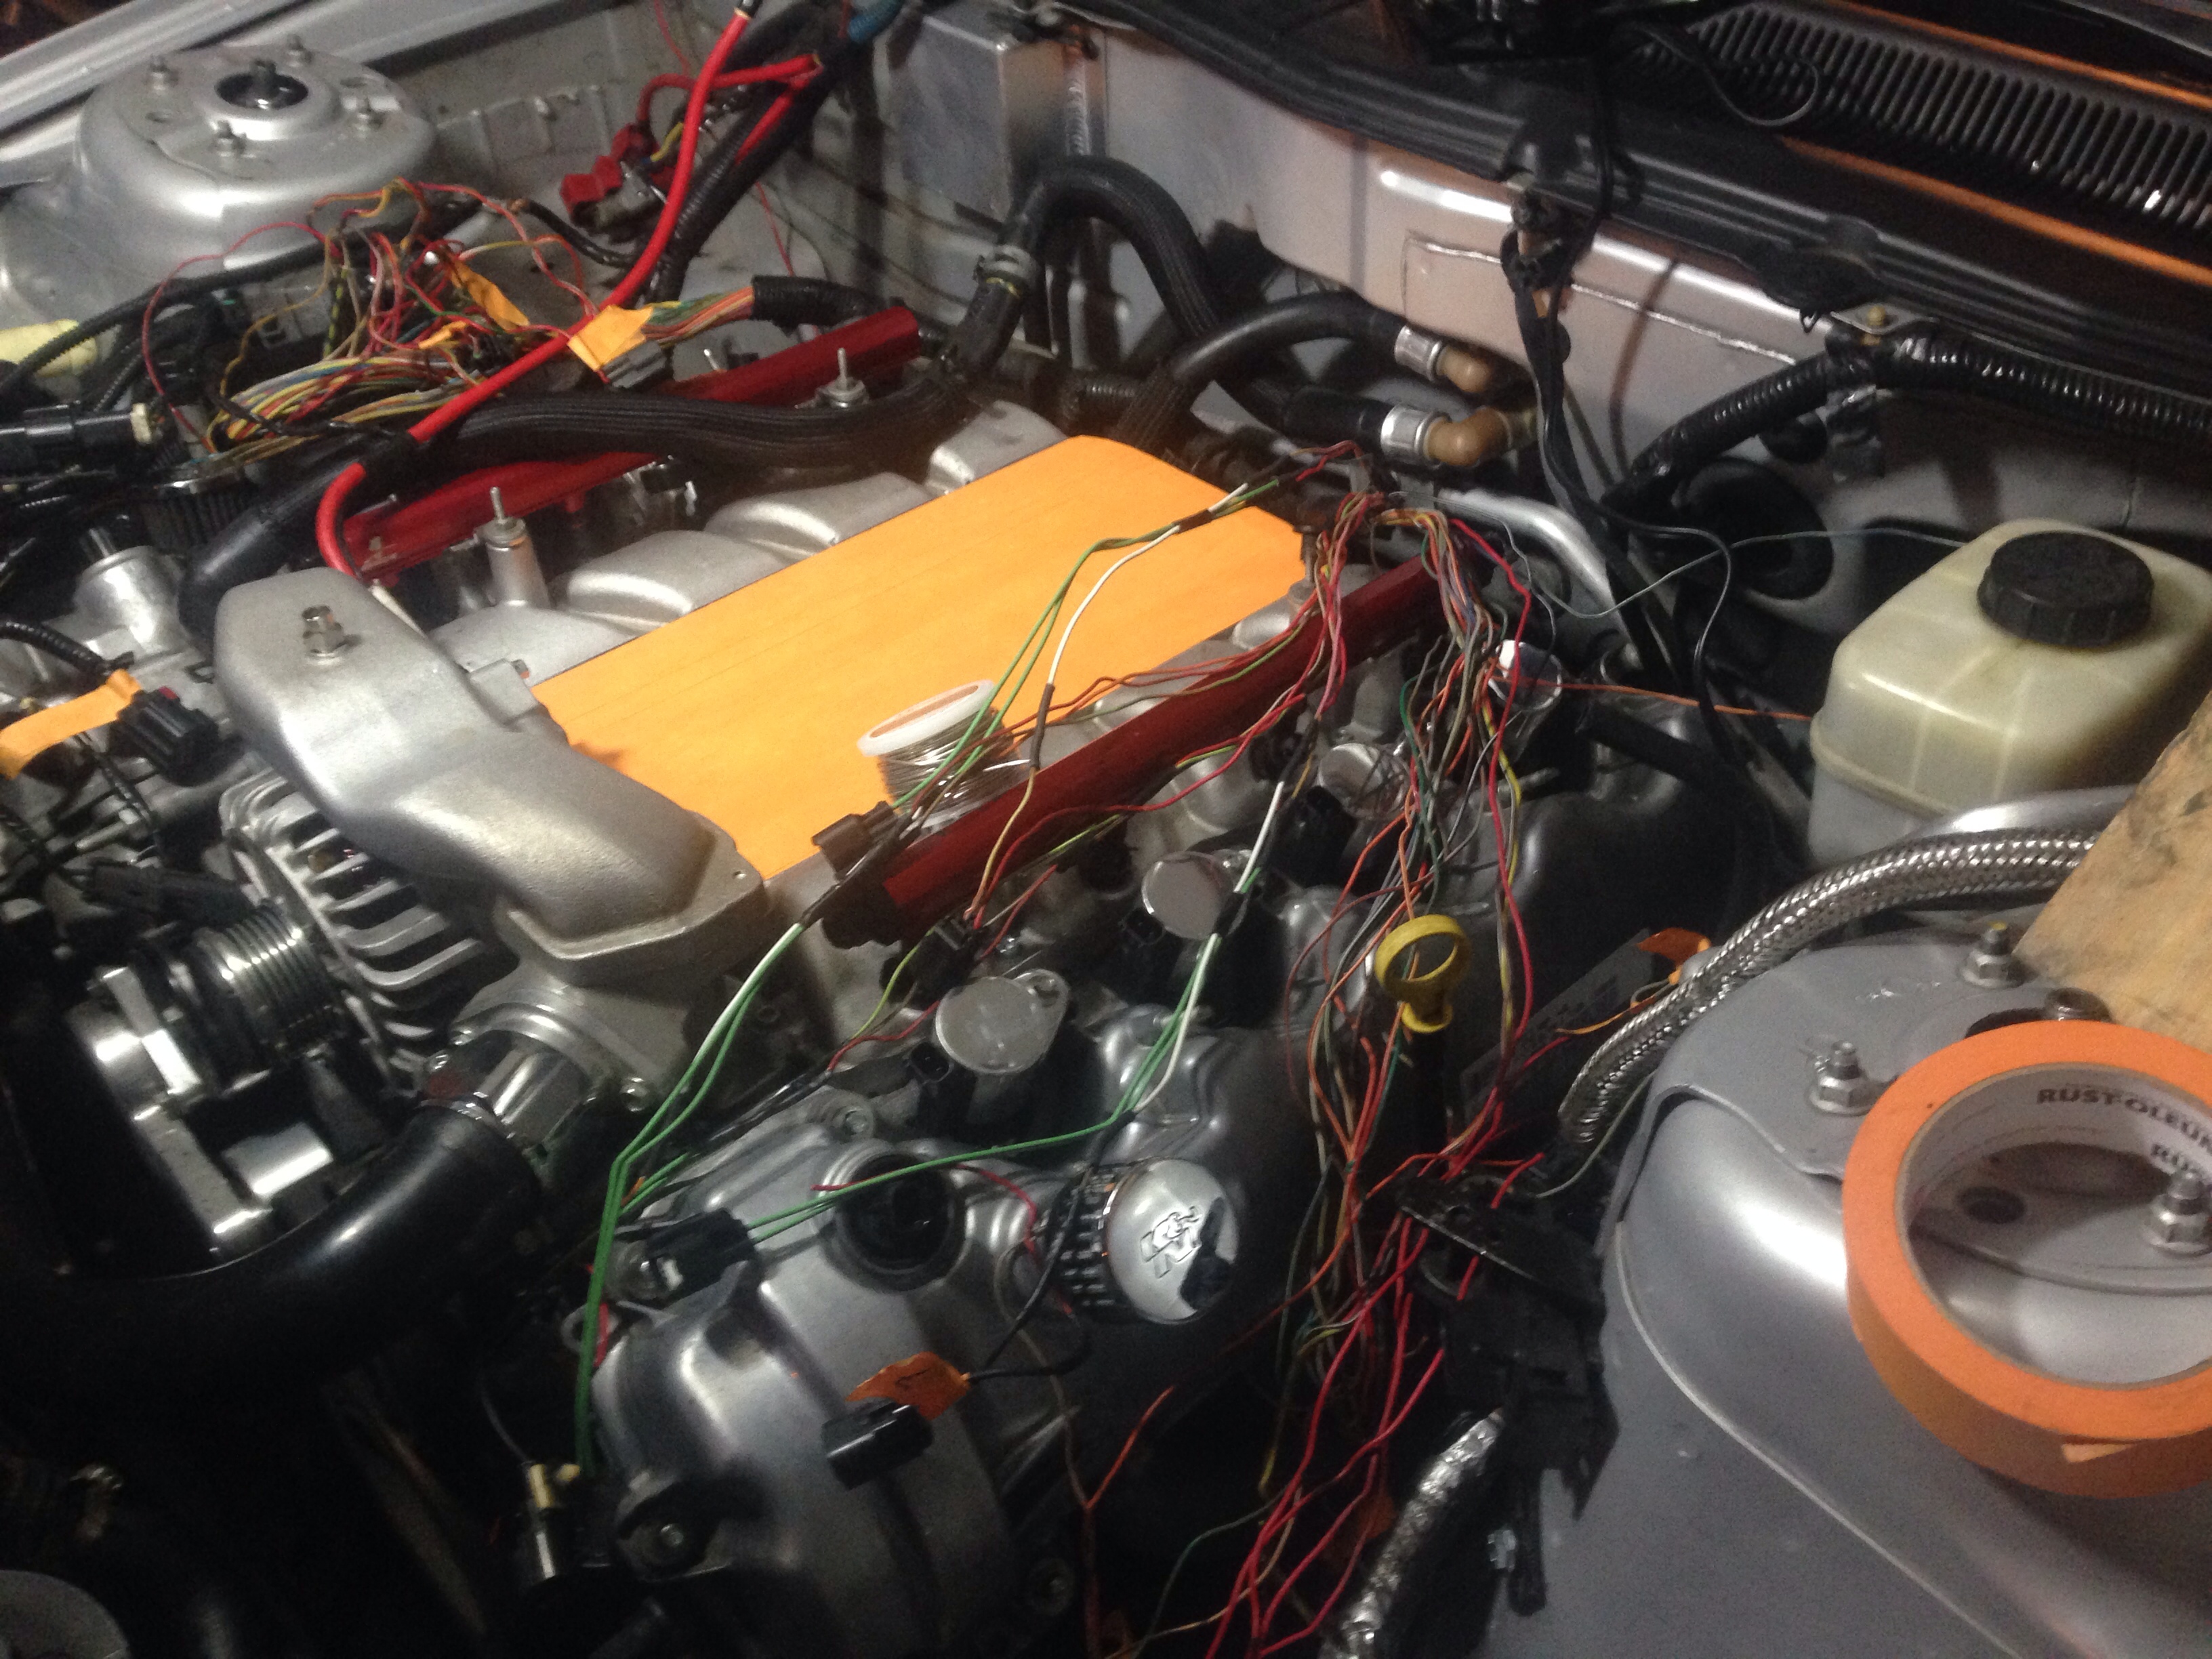
Well when you have time hit me up. I just went at it and figured it out. It was trial and error but I didn't make many errors. It can be kinda intimidating at first but I just went one wire at a time. I soldered many of the extensions but some areas were a little hard to get to and manipulate everything for a decent solder and used butt connectors. After talking to a local engine builder he said he prefers butt connectors because heat cycling tends to make soldered connections brittle and prone to breakage. He said properly done they are just as good and easier to repair if necessary. Anyways It looks worst that it is but here are a couple pics of the work in progress.
Well when you have time hit me up. I just went at it and figured it out. It was trial and error but I didn't make many errors. It can be kinda intimidating at first but I just went one wire at a time. I soldered many of the extensions but some areas were a little hard to get to and manipulate everything for a decent solder and used butt connectors. After talking to a local engine builder he said he prefers butt connectors because heat cycling tends to make soldered connections brittle and prone to breakage. He said properly done they are just as good and easier to repair if necessary. Anyways It looks worst that it is but here are a couple pics of the work in progress.
Ok, cool I'll definitely take you up on that! Looks like I'll have a good summer project after I get the cams & stuff done
Well, I rendered up the first designs I came up with using the above pic, and tried a few different color combinations. Blue w/ white & red hash marks is definitely the way to go.
Now I need to find a way to mask the design off (including the pony logos).
And I need to find the right color blue in engine enamel. This is the best I've found so far
Its pretty close. This is the best pic I could find of it on the interwebs, which makes it look a little darker than it actually turns out:
Nothing too exciting, but finally got back to this project after 2 months. Drew up the vector graphics and printed a test pattern to see how it's going to fit. Think it'll work
WELL...It's been another few months so its time for another incremental update. I really need to just knock this out already
Anyway, got the stencils laid out and now just need to figure out how to get that onto the valve covers. (here's a preview)
Turns out the frisket paper I was going to use to mask off the graphics doesn't react well to solvent-based paint. Right now looking at vinyl and transfer tape from here:
Well, I rendered up the first designs I came up with using the above pic, and tried a few different color combinations. Blue w/ white & red hash marks is definitely the way to go.
Now I need to find a way to mask the design off (including the pony logos).
And I need to find the right color blue in engine enamel.
Another update --
I ordered 2 colors of ORACAL 751 vinyl to make the stencils, matte white and transparent. They were out of stock on transparent, so I went ahead and tried out the white.
I printed up the stencils from my inkjet, and as you might expect -- just wouldn't dry. Tried using a light clear coat as a fixative -- no joy. Thats why theres some smearing in the pic below.
"Weeded" as they say...
Used some blue painters tape as transfer tape:
On a test bottle, ready for paint
Got a coat drying right now. Will post results tomorrow
Engine paint doesn't adhere to glass all that good. Pulling the vinyl off ripped the paint right off too. But the vinyl held up perfect against the paint, so good to go on that front!
The transparent vinyl is transparent, but the backing is still white, so that was useless.
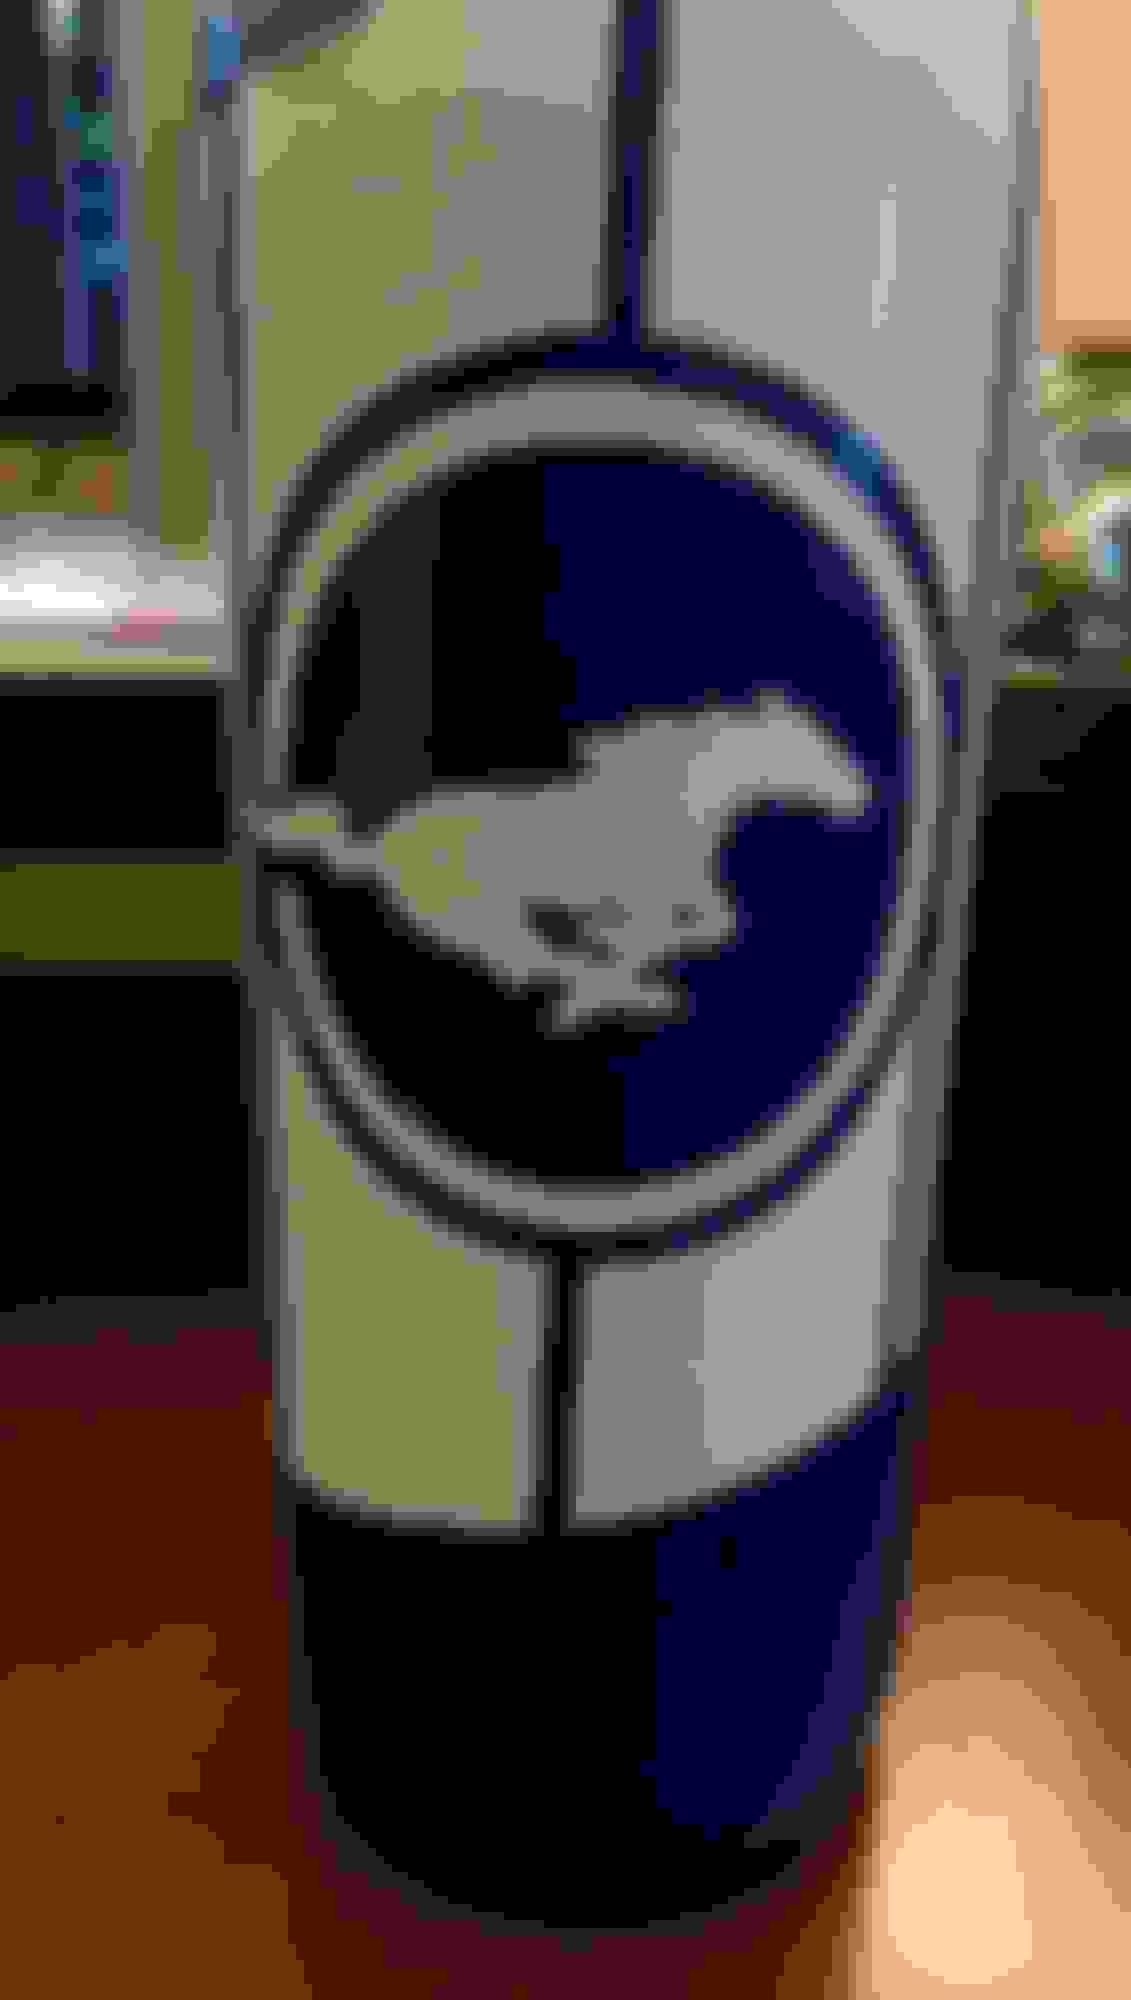
And in other news, one of my buddies pointed out that LMR has a direct match for the Ford Racing Blue on the valve covers -- supposed to be good for up to 300 deg:

 11/30/15, 05:00 PM