
Changing front A arm bushings to Whiteline

Thread Starter
Mach 1 Member
Joined: July 16, 2010
Posts: 864
Likes: 2
Changing front A arm bushings to Whiteline
I had already changed the rear front A arm bushings to Whiteline and forgot to take any pictures but there are other threads on those so you'll see them in my pictures but no description of the swap. Except to say it is messy but once done does make a really nice noticeable difference to the steering feel.
Another place you'll feel these bushing changes is under braking. The original setup from Ford both bushings allow the A arm to move a significant amount reward as braking forces are applied. The Whiteline bushings both the front one and the back one are much stiffer in the axial movement along the lower A arm pivot.
The rear bushings I changed later because when I bought my rear bushings the fronts weren't included and I didn't know they existed. They don't make as big a difference in feel. They do decrease the sticktion and spring rate slightly. While the poly on the Whiteline bushings is slightly stiffer than the rubber it is also thicker so it probably deflects about the same as the stock bushings. But unlike the stock bushings the Whiteline bushings are lubricated the liner sleeve and outer poly sleeve are not bonded together so the yellow bushing in the arm is free to rotate on the inner gold sleeve. On the stock bushings the inner sleeve is bonded together with the outer sleeve making it act like a rubber spring.
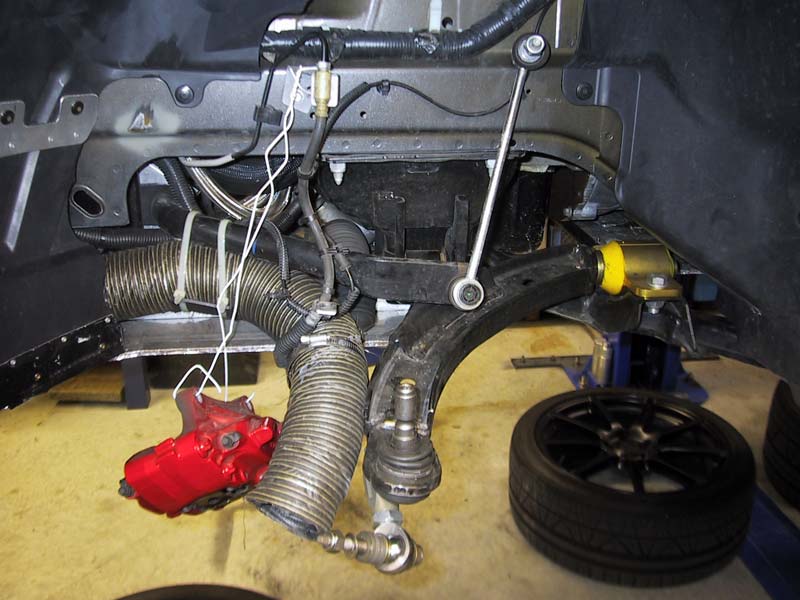
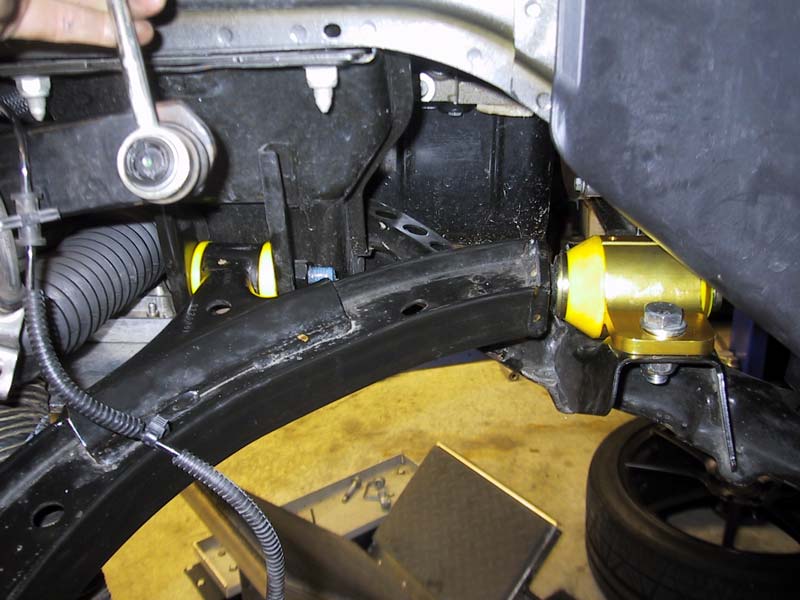
This is with everything removed except the A arm. The front bolt can be removed with the rack turned all the way to the opposite side.
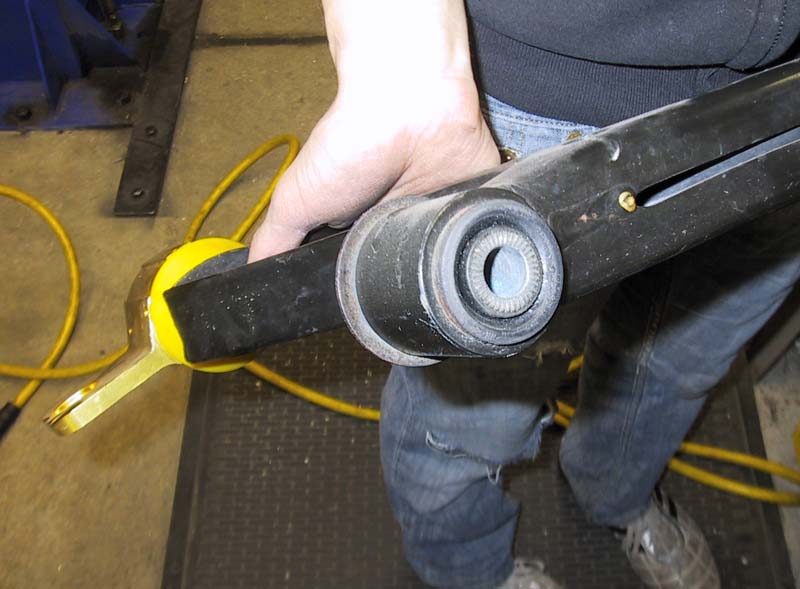
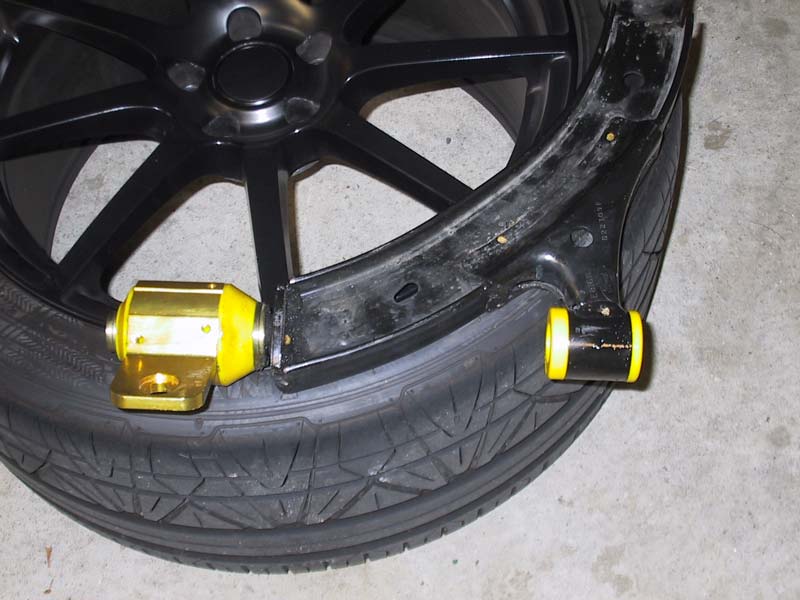
The bushing we're changing.
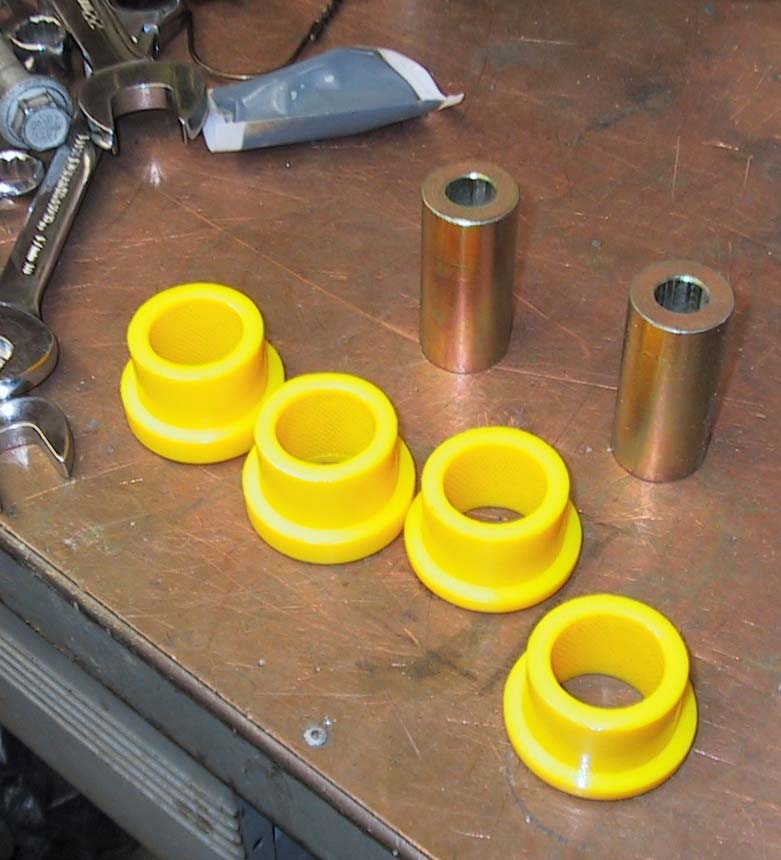
The new setup going in.
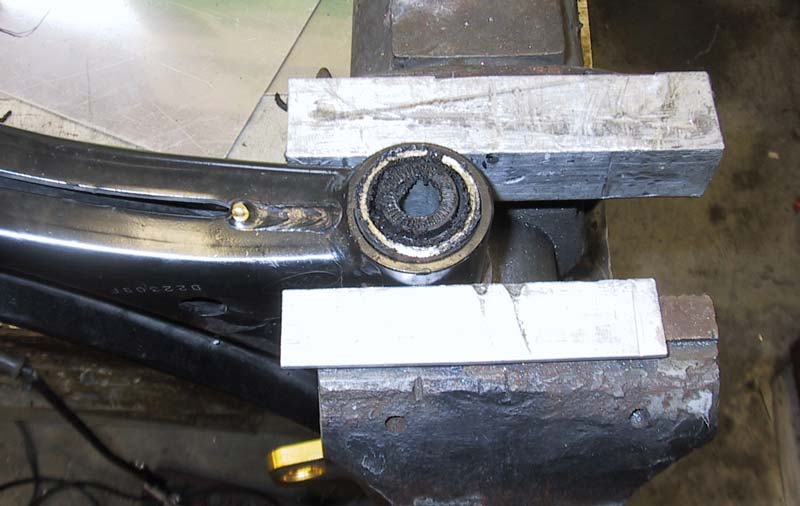
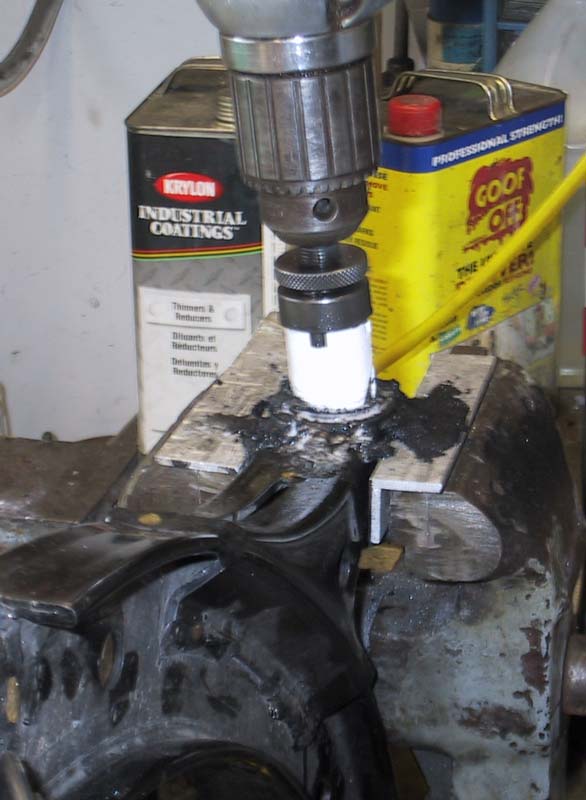
Clamp the arm securely.
An extra long 1 1/4 inch hole saw. Use water to lubricate the saw and keep from melting the rubber to the saw. You'll need a pretty large high torque drill motor.
I forgot a picture here. Once the rubber and inner sleeve are removed use a saber saw or Skill saw to cut through the out sleeve of the bushing. Make sure to cut towards the arm so if you score the outer sleeve you don't leave a stress riser where the outer A arm sleeve could crack. Once it is cut through it will come out really easy with a couple of hammer taps and a drift. Clean up the end touch up with paint. Put the new bushings in as pictured and lubricate and put the center sleeve in, lube it too, wipe away excess grease and reassemble.
Another place you'll feel these bushing changes is under braking. The original setup from Ford both bushings allow the A arm to move a significant amount reward as braking forces are applied. The Whiteline bushings both the front one and the back one are much stiffer in the axial movement along the lower A arm pivot.
The rear bushings I changed later because when I bought my rear bushings the fronts weren't included and I didn't know they existed. They don't make as big a difference in feel. They do decrease the sticktion and spring rate slightly. While the poly on the Whiteline bushings is slightly stiffer than the rubber it is also thicker so it probably deflects about the same as the stock bushings. But unlike the stock bushings the Whiteline bushings are lubricated the liner sleeve and outer poly sleeve are not bonded together so the yellow bushing in the arm is free to rotate on the inner gold sleeve. On the stock bushings the inner sleeve is bonded together with the outer sleeve making it act like a rubber spring.
This is with everything removed except the A arm. The front bolt can be removed with the rack turned all the way to the opposite side.
The bushing we're changing.
The new setup going in.
Clamp the arm securely.
An extra long 1 1/4 inch hole saw. Use water to lubricate the saw and keep from melting the rubber to the saw. You'll need a pretty large high torque drill motor.
I forgot a picture here. Once the rubber and inner sleeve are removed use a saber saw or Skill saw to cut through the out sleeve of the bushing. Make sure to cut towards the arm so if you score the outer sleeve you don't leave a stress riser where the outer A arm sleeve could crack. Once it is cut through it will come out really easy with a couple of hammer taps and a drift. Clean up the end touch up with paint. Put the new bushings in as pictured and lubricate and put the center sleeve in, lube it too, wipe away excess grease and reassemble.

V6 Member
Joined: January 16, 2011
Posts: 90
Likes: 0
Do think this would work for the front bushing?
http://forum.miata.net/vb/showpost.p...26&postcount=1
http://forum.miata.net/vb/showpost.p...26&postcount=1
Thread Starter
Mach 1 Member
Joined: July 16, 2010
Posts: 864
Likes: 2
Good idea but no I don't think so the edge you need to grab to push out the small A arm bushings is not big enough for the amount of pressure it would take. I tried pushing off the big A arm bushings and my 10 ton press bent the 1/2" steel plate holding the arm.
Thread Starter
Mach 1 Member
Joined: July 16, 2010
Posts: 864
Likes: 2
"New" There is nothing wrong with the A arms it is the stock bushings are junk. Way too soft they wobble and squirm around making the front feel like jelly. The tubular ones break so it is either the Steeda ones or change the bushings. I prefer the Whiteline bushings to the Steeda solution.
Mach 1 Member
Joined: August 1, 2011
Posts: 802
Likes: 0
From: Iowa
I was gonna go with BMR A-Arms but this thread had made me think to just do the Whiteline bushings and call it a day. Install seems pretty straight forward. You've noticed a difference you said? The front now isn't as soft correct?
Thread Starter
Mach 1 Member
Joined: July 16, 2010
Posts: 864
Likes: 2
Much crisper feel. Turn in is sharper and more responsive. Braking feels tighter. There is noticeably my feed back from the front wheels you can feel what they are doing now instead of just feeling rubber.
Member
Joined: January 1, 2012
Posts: 31
Likes: 0
From: Orlando, FL
The larger/fluid filled bushings on the other hand were a HUGE pain.
Have not installed the control arms on my car yet so I cannot give any feedback. I have heard others who have the newer EPAS, having the "shimmer of death" after installing urethane bushings. I had asked you (908ssp) if you encountered this problem, but have a hydraulic rack.
Going to install them some time next month and will report back.
PS - I installed Prothane bushings on a new set of arms. I could not use the Steeda versions. Although very nice, the ball joints technically bump me out of ESP.
Yes, I like to dodge cones.
Last edited by a50cobra; Nov 28, 2012 at 01:38 PM. Reason: PS
Thread Starter
Mach 1 Member
Joined: July 16, 2010
Posts: 864
Likes: 2
I don't know if it makes a difference that my car is a 2012, but I was able to press out the small (front) bushing using a standard press. Note, I had already removed the larger (rear) bushing and placed the arm in the press with the stud of the rear placed in between two steel plates. The press did all the work.

Thread
Thread Starter
Forum
Replies
Last Post
Mackitude
2010-2014 Mustang
1
Aug 17, 2015 04:14 PM

