
Premium GT leather in 2013 base


Thread Starter
GT Member
Joined: February 22, 2013
Posts: 192
Likes: 0
From: KATY, TX
Premium GT leather in 2013 base
My 2013 mustang was the lowest priced no option 2013 available. I said I would not modify anthing, at all, ever, just drive it. That lasted 13 days.
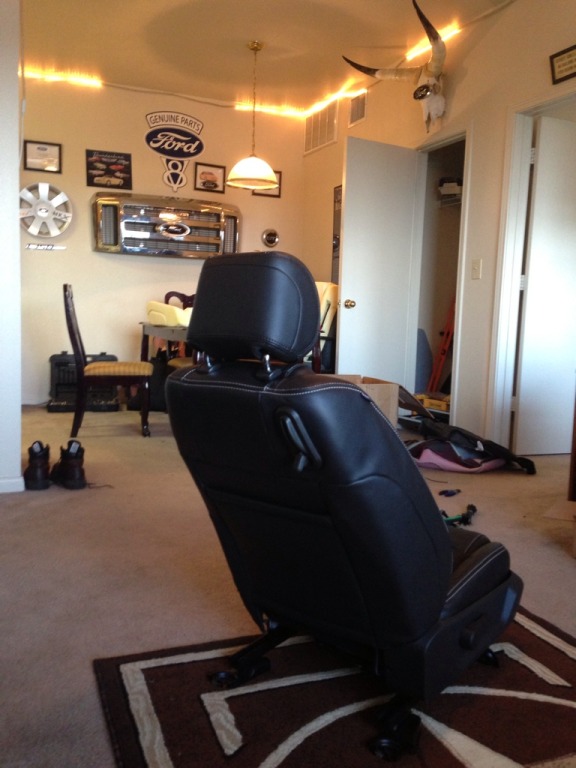
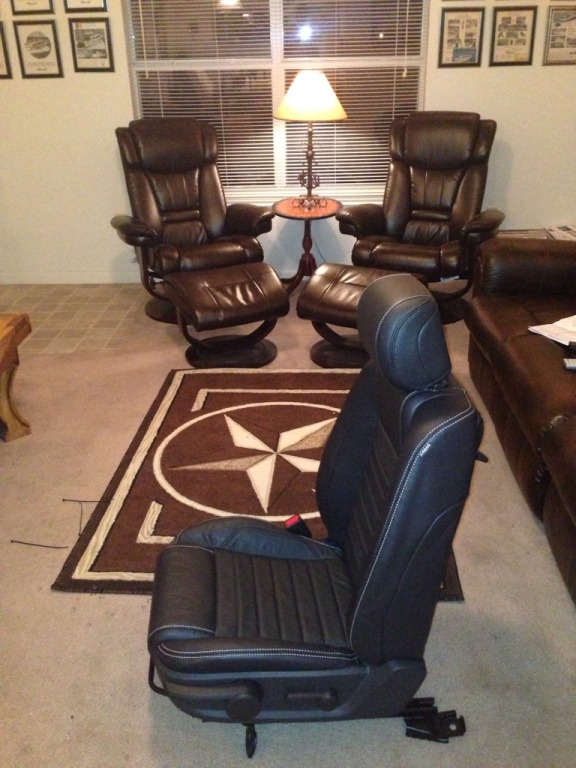
Fast forward not even three months, and here we go, brand new take off. Lack leather with white stitching from a loaded 2013 GT, this is stock parts from Roush, 350 bucks for the set, which is significant savings.
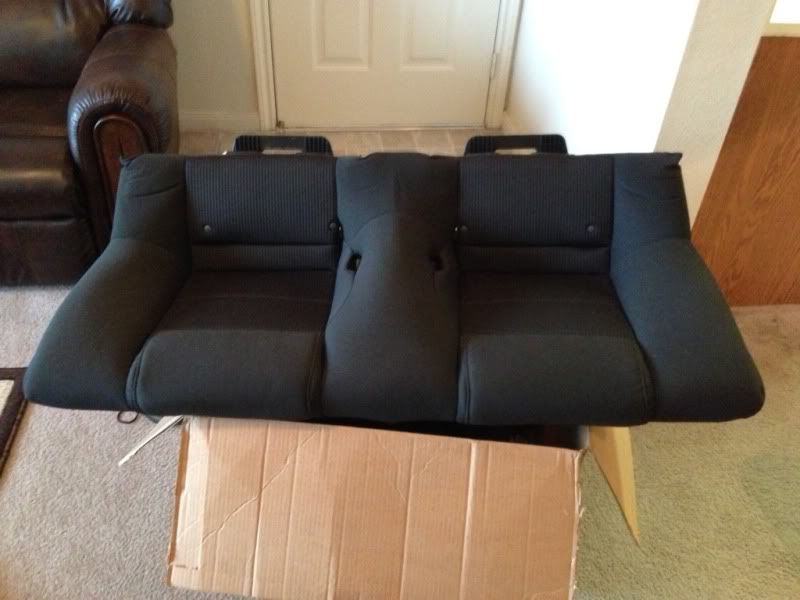
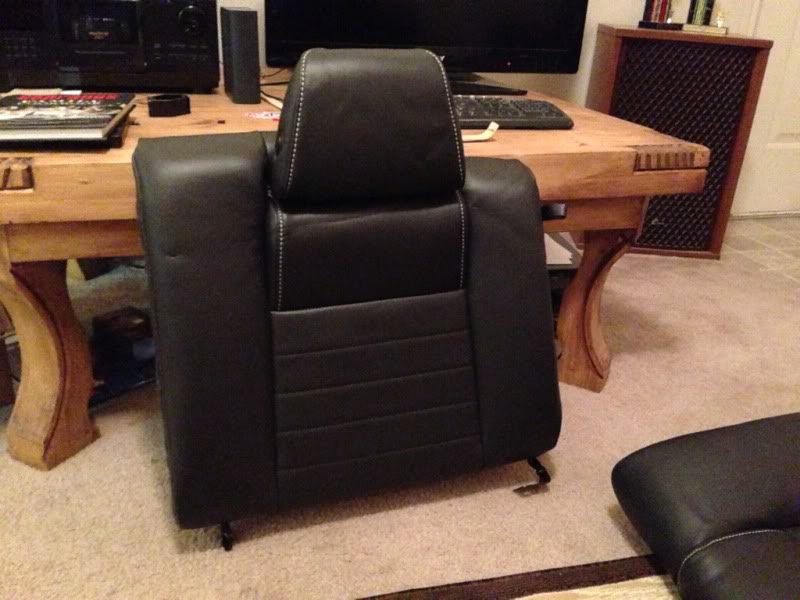
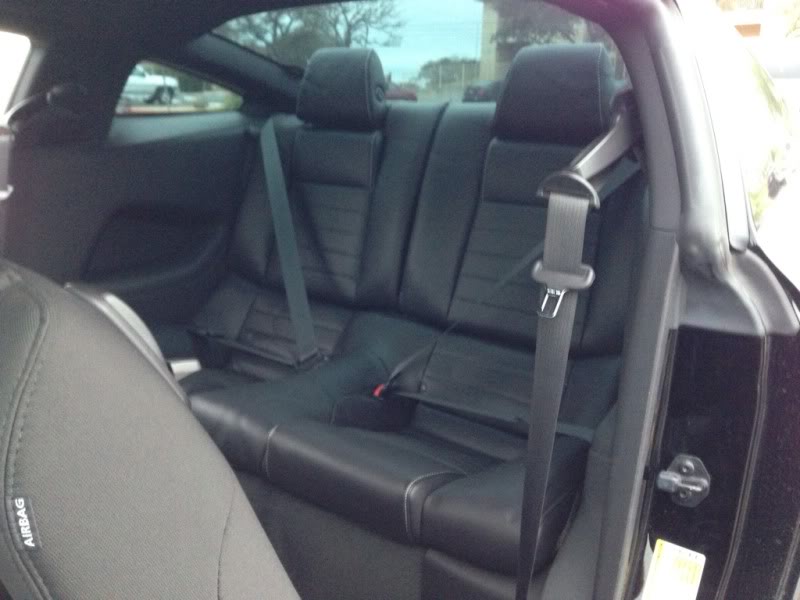
So far the rear seat is finished, covers arrived yesterday afternoon, worked on it some last night, finished it up today.
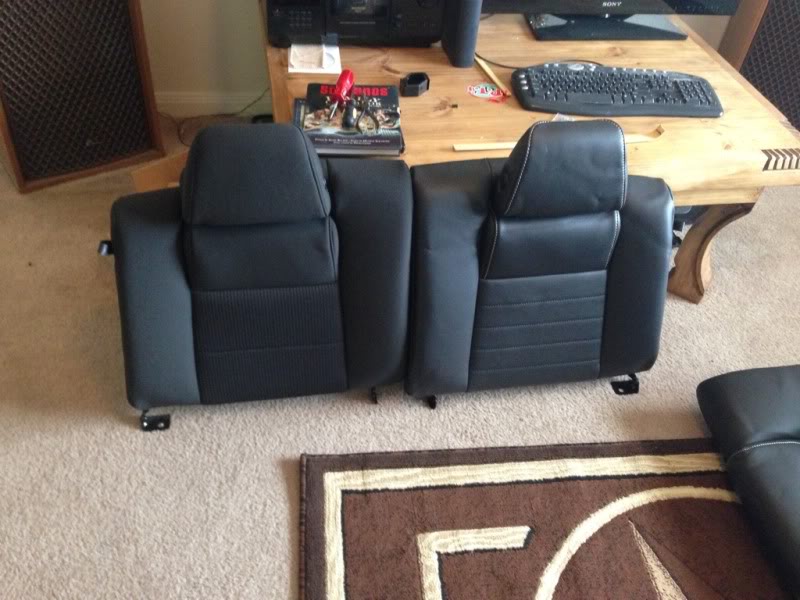
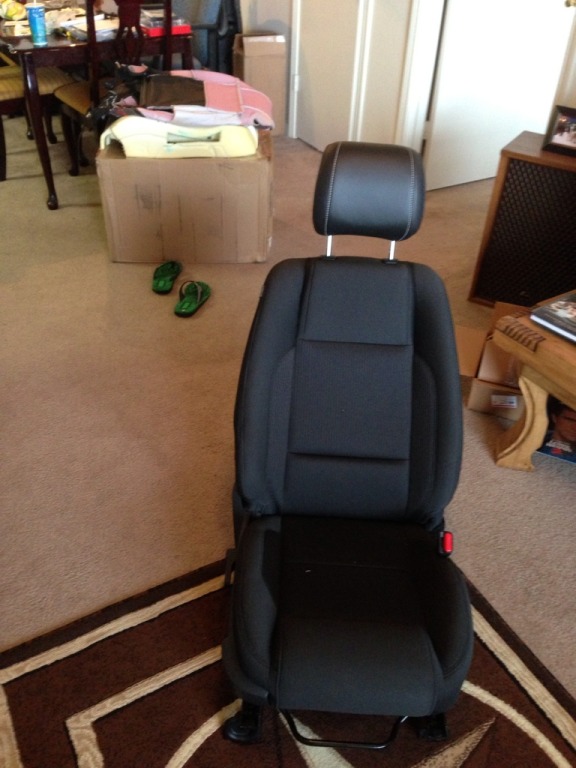
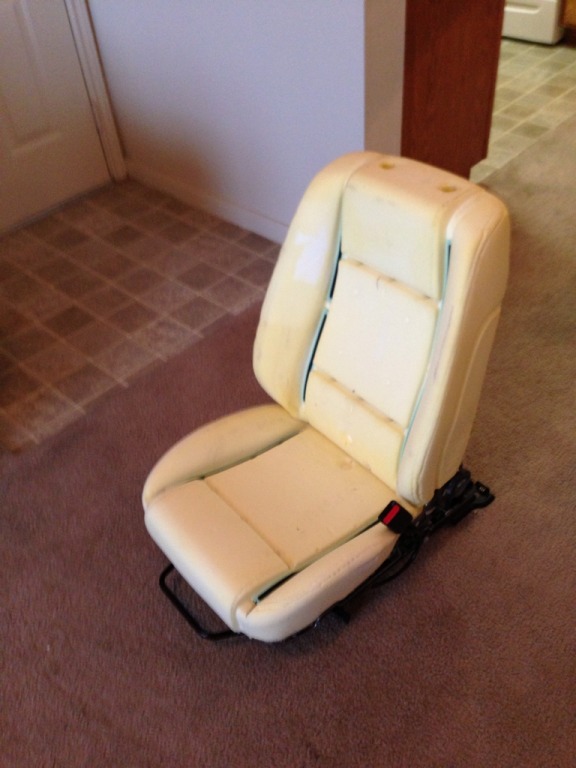
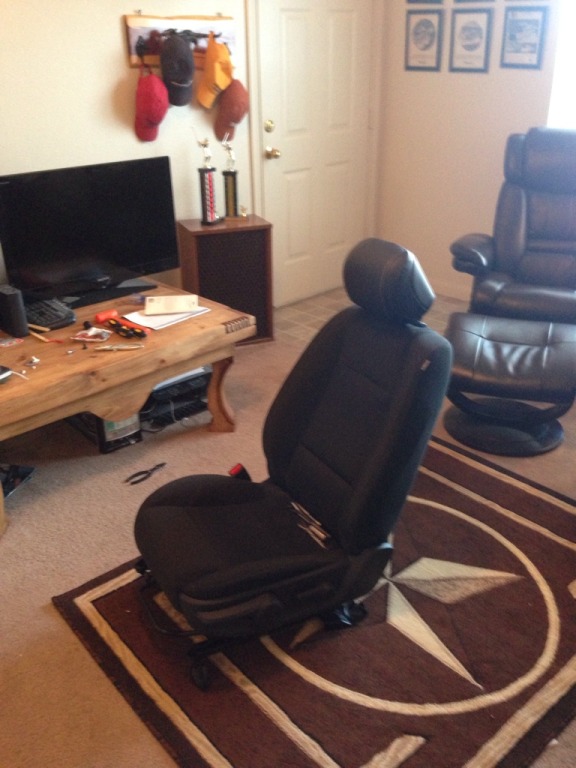
Stock cloth
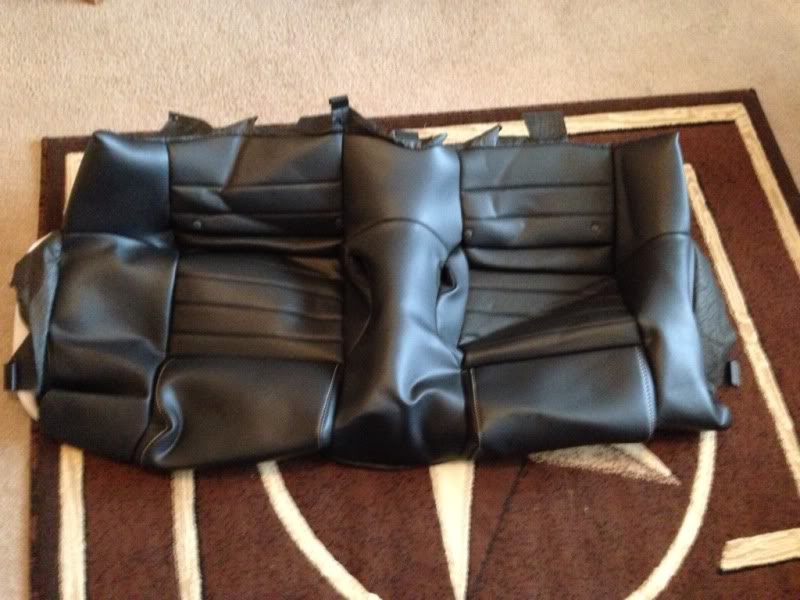
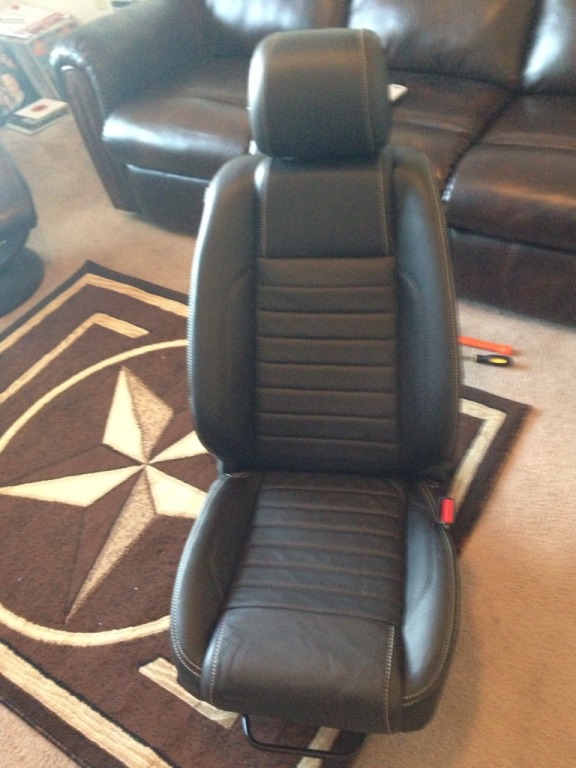
New leather
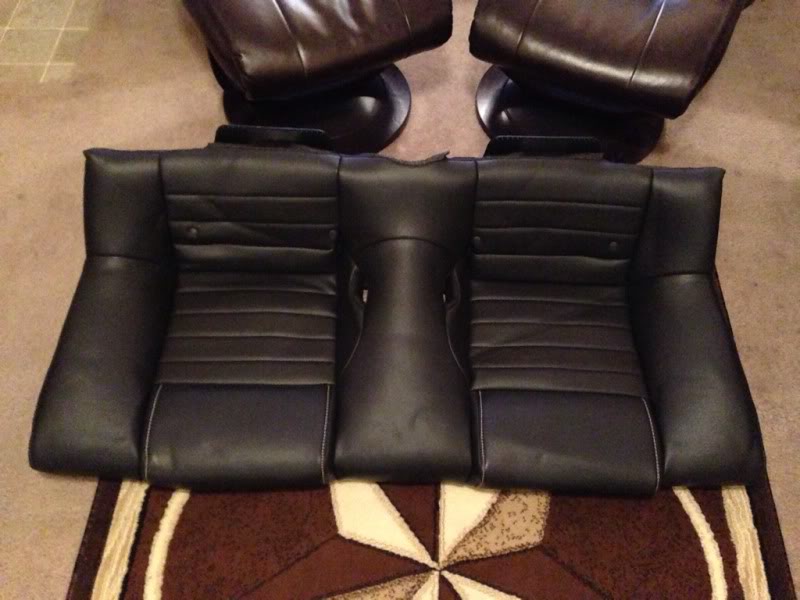
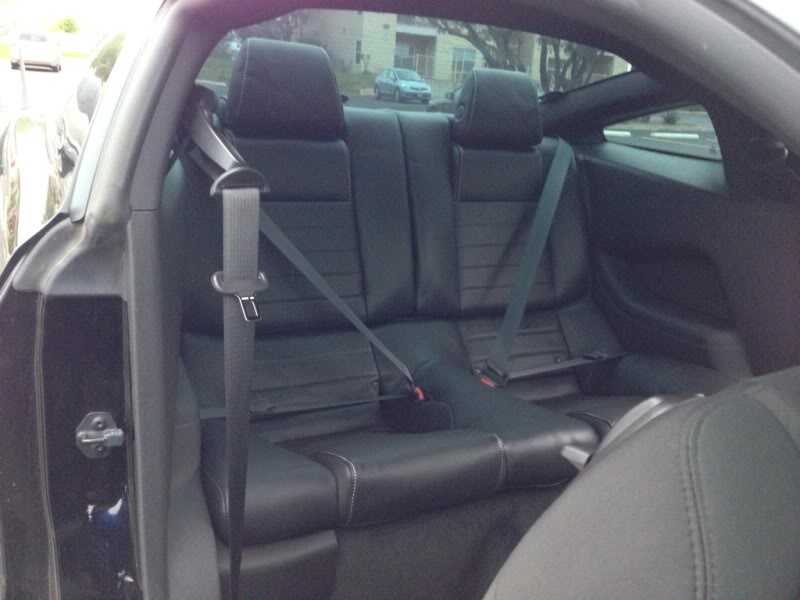
Finished
Passenger side seat back

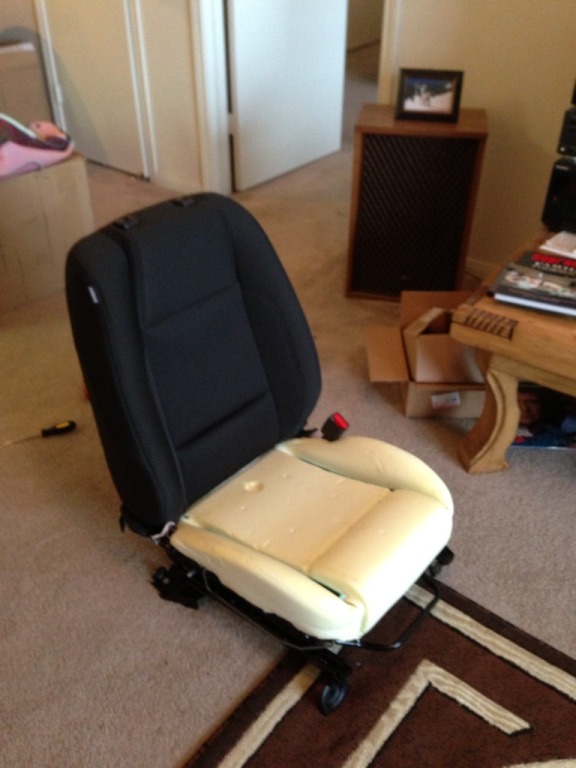
This is what I accomplished last night, took five hours, quite a bit of exploratory time, since this was uncharted territory.
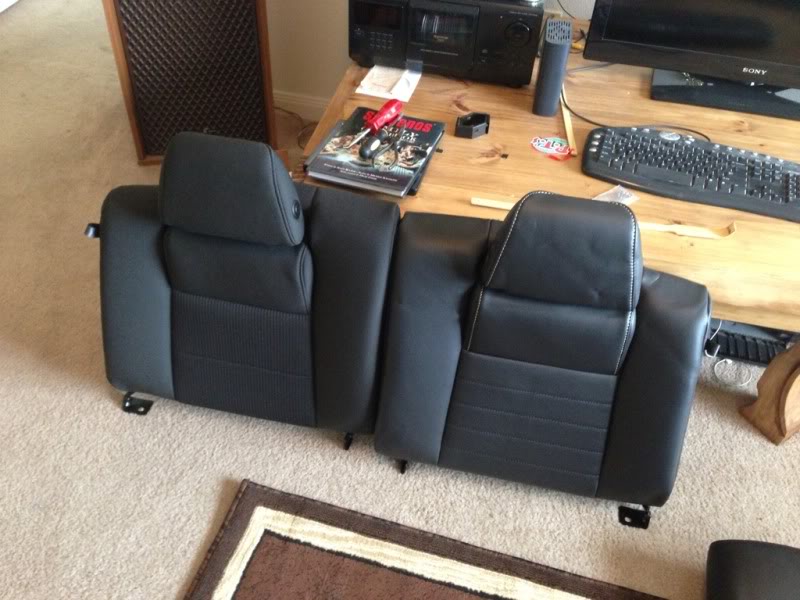
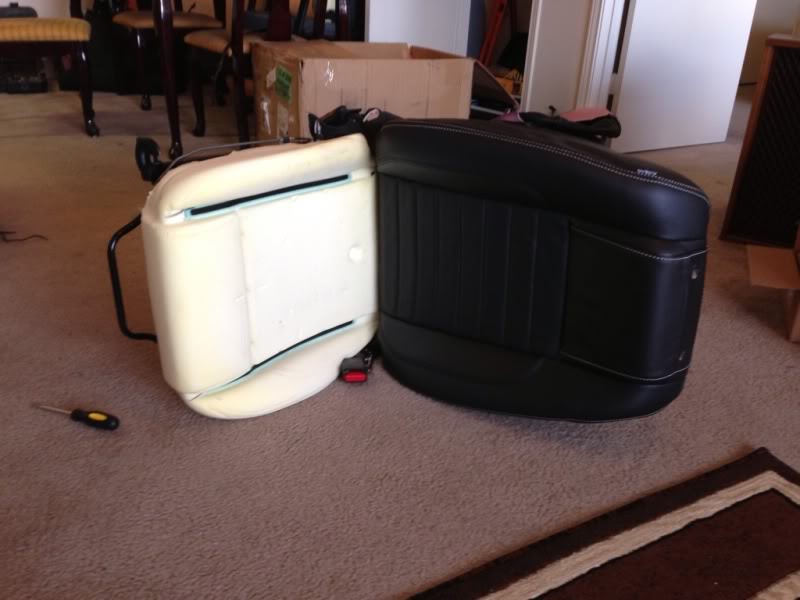
Cloth on left, leather on right, this was today
Tonight after completing the passenger side seat back, and redoing the rear seat bottom, getting it a bit tighter

Done!!
Next is front seats, scary, more involved, seem simple, just time consuming.
Fast forward not even three months, and here we go, brand new take off. Lack leather with white stitching from a loaded 2013 GT, this is stock parts from Roush, 350 bucks for the set, which is significant savings.
So far the rear seat is finished, covers arrived yesterday afternoon, worked on it some last night, finished it up today.
Stock cloth
New leather
Finished
Passenger side seat back
This is what I accomplished last night, took five hours, quite a bit of exploratory time, since this was uncharted territory.
Cloth on left, leather on right, this was today
Tonight after completing the passenger side seat back, and redoing the rear seat bottom, getting it a bit tighter
Done!!
Next is front seats, scary, more involved, seem simple, just time consuming.
Tasca Super Boss 429 Member
Joined: July 7, 2012
Posts: 4,421
Likes: 21
From: Indianapolis
Nice. I did mine a few months ago. However, I went from tan cloth to black leather. It really gave me the bug to start modding the interior. I've added many other things to the interior also like floormats, sill guards, GT 500 wheel, pedals, billet chrome accents.
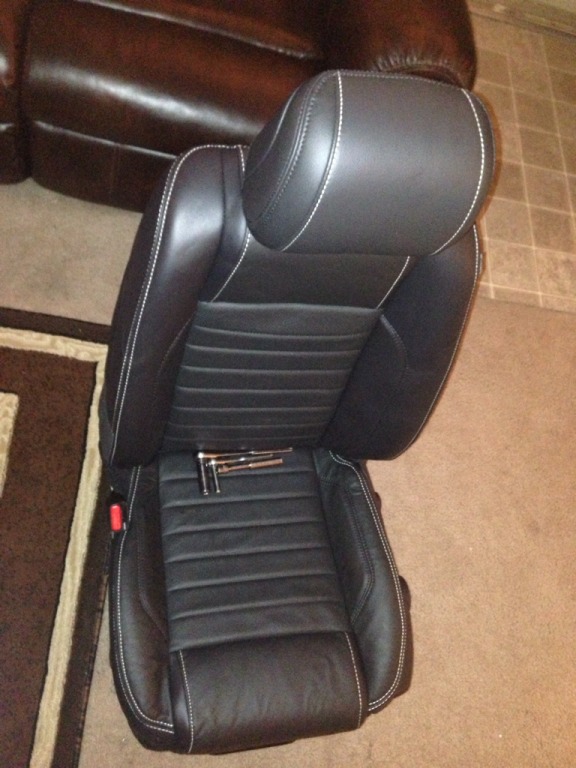
Those box wrinkles will come out in time. You can speed it up by parking directly in the sun for an hour or so. Lay the covers in the sun for a bit also before. You will need hog rings and hog ring pliers for the front instal. You may want to watch the YouTube video before because of the air bag and carefully slipping the new covers on. The
Fronts will take longer because you will need to take your time.
Thread Starter
GT Member
Joined: February 22, 2013
Posts: 192
Likes: 0
From: KATY, TX
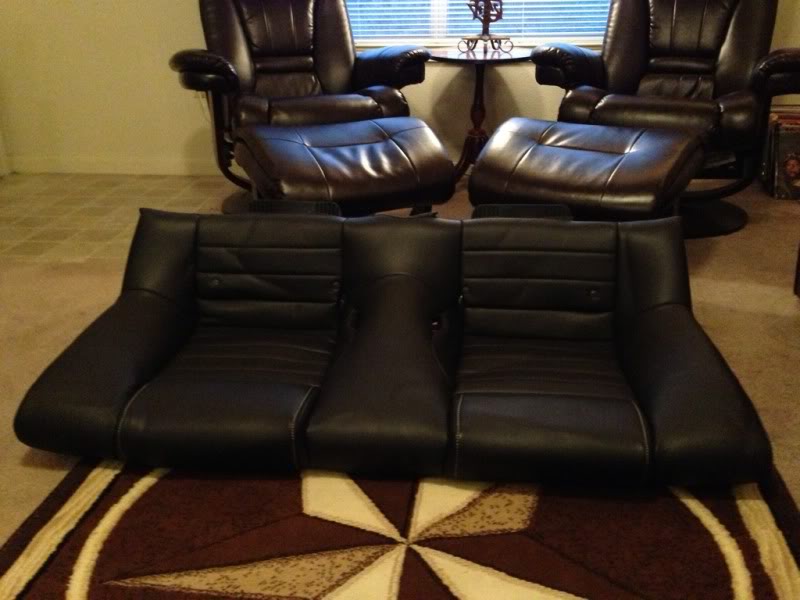
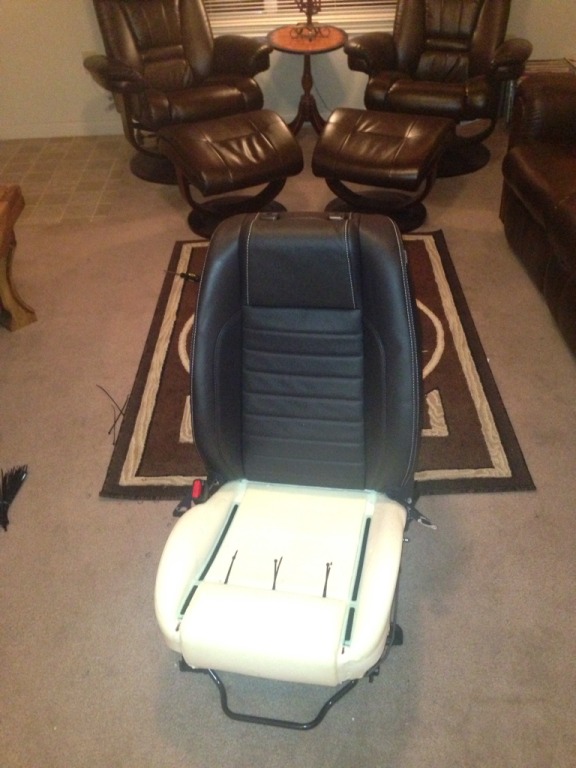
The leather on the rear seat bottom was loose, the pictures of it out of the car where before I redid it...pics installed are after. Once we get hot weather I think it will get even better
Tasca Super Boss 429 Member
Joined: July 7, 2012
Posts: 4,421
Likes: 21
From: Indianapolis
Back seat is gonna be loose... Especially the area that touches the back of your knees. The base foam is shaped just a tad differently. Still works great and looks great.
Thread Starter
GT Member
Joined: February 22, 2013
Posts: 192
Likes: 0
From: KATY, TX
Thanks, the only slightly loose area is the top of the back of the seat bottom. The part that contacts the lower back of the person sitting in it, I don't know what can be done to fix it,hot weather probably helps
Thread Starter
GT Member
Joined: February 22, 2013
Posts: 192
Likes: 0
From: KATY, TX
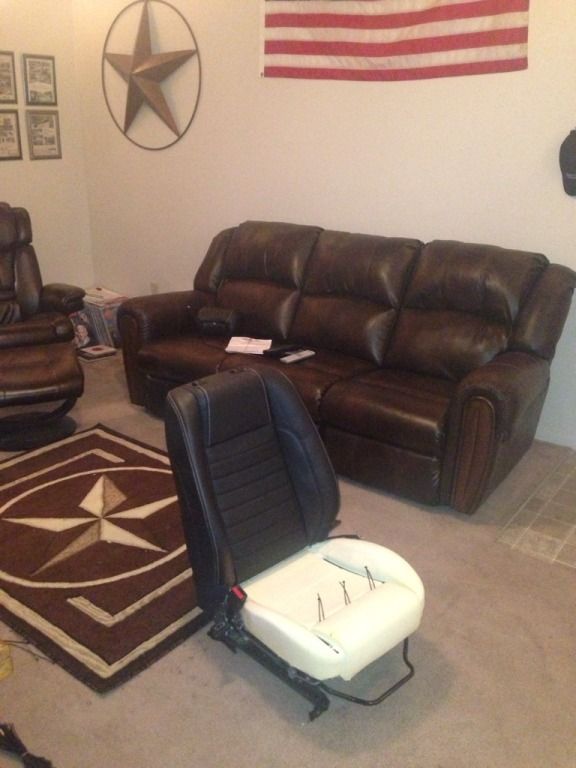
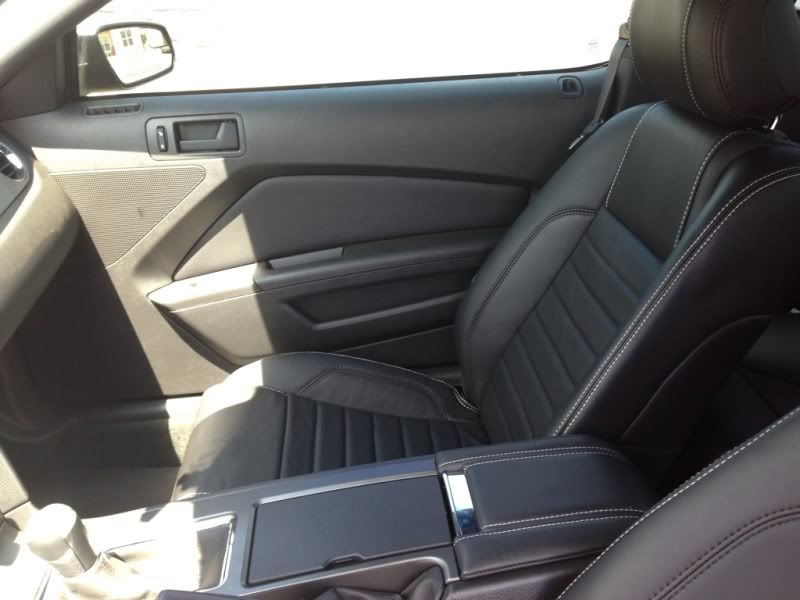
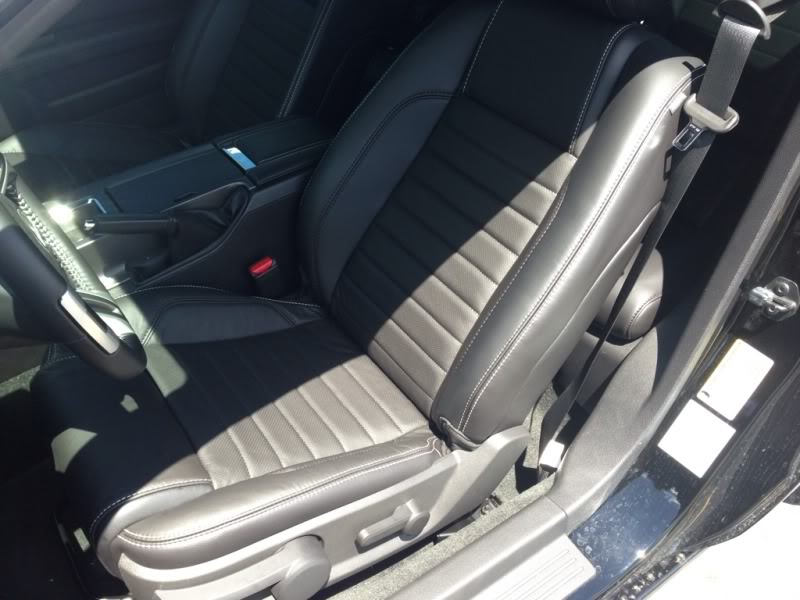
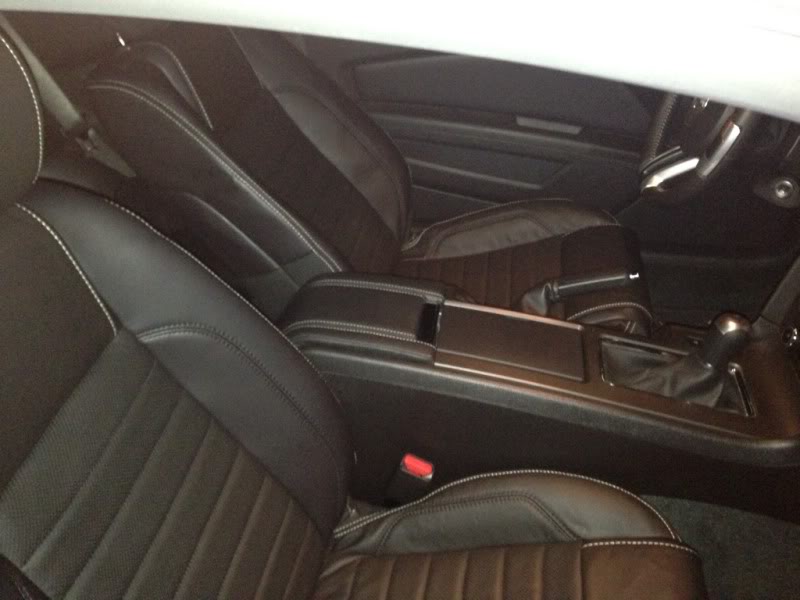
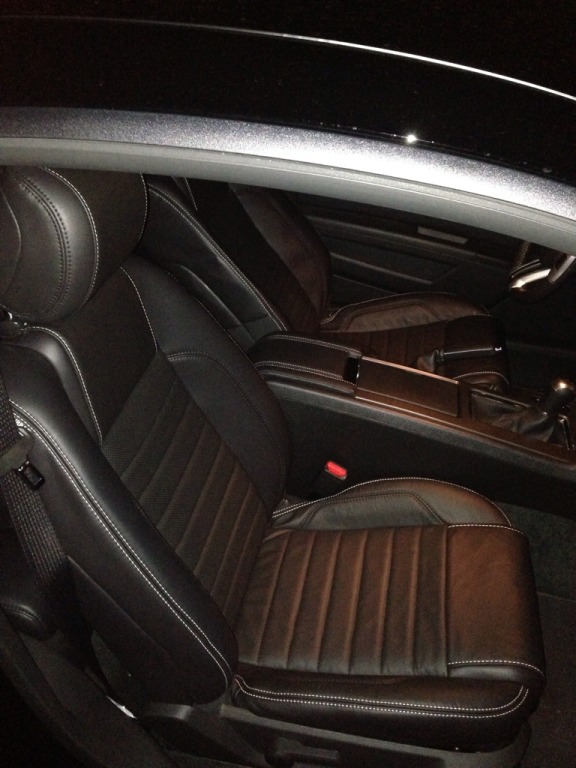
Turned out good, front seats done. I found a slightly ripped seam by the passenger side seat belt, and I forgot to hog ring the bottom cushion on the passenger seat, little things I need to fix, also, could not get the covers to latch together at the very bottom, I was very tired after all of this last night. The passenger seat took me 5 to 6 hours, the drivers seat took around two and a half. Didn't turn out perfect but the flaws would hardly be noticeable to anyone but me, and not bad considering I had never done this.
Passenger seat


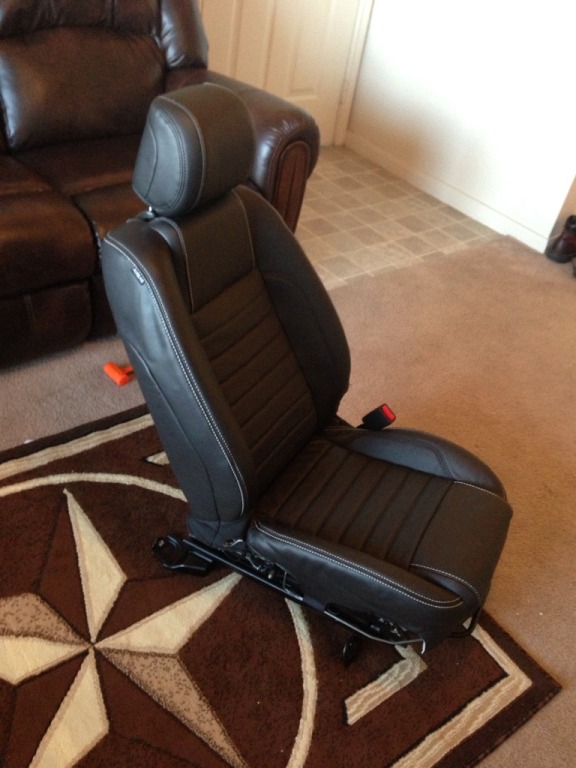
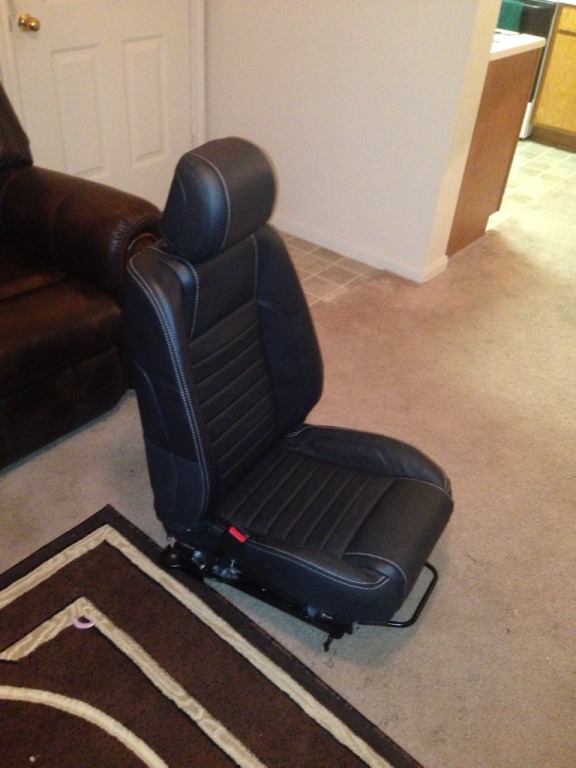
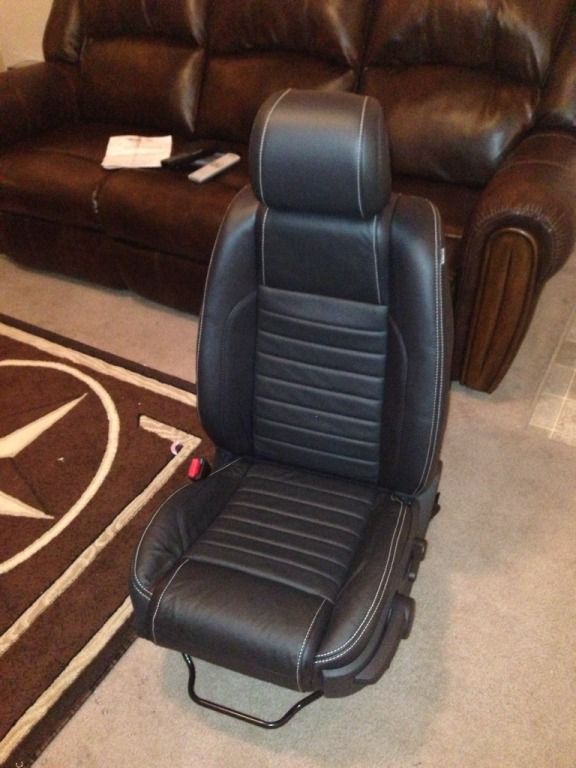
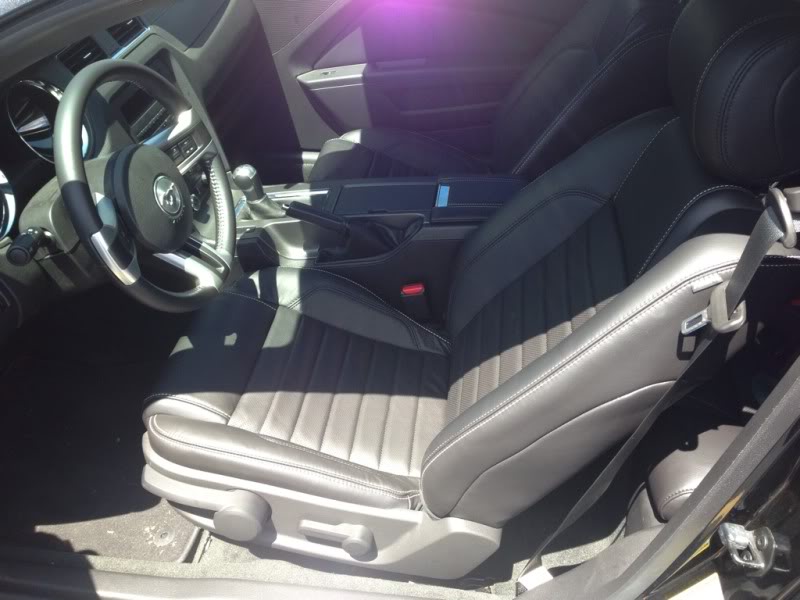
Drivers seat
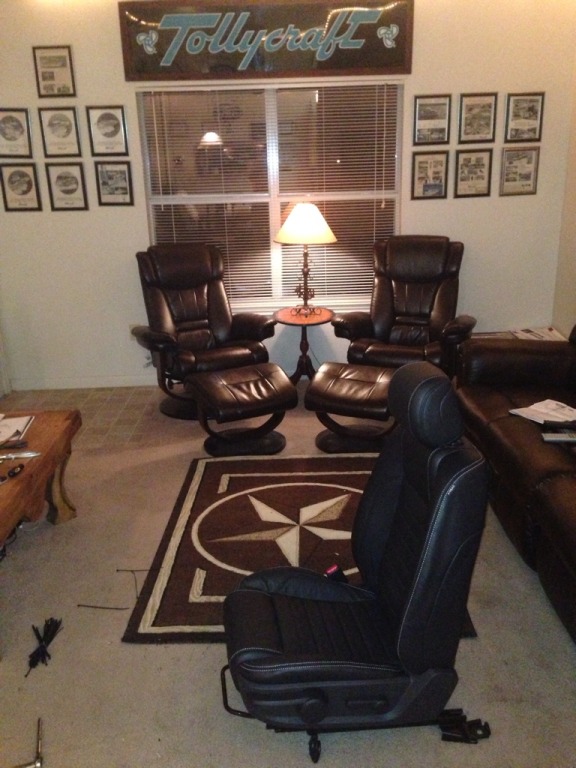
Yes I cheated and used zip ties not hog rings, sue me

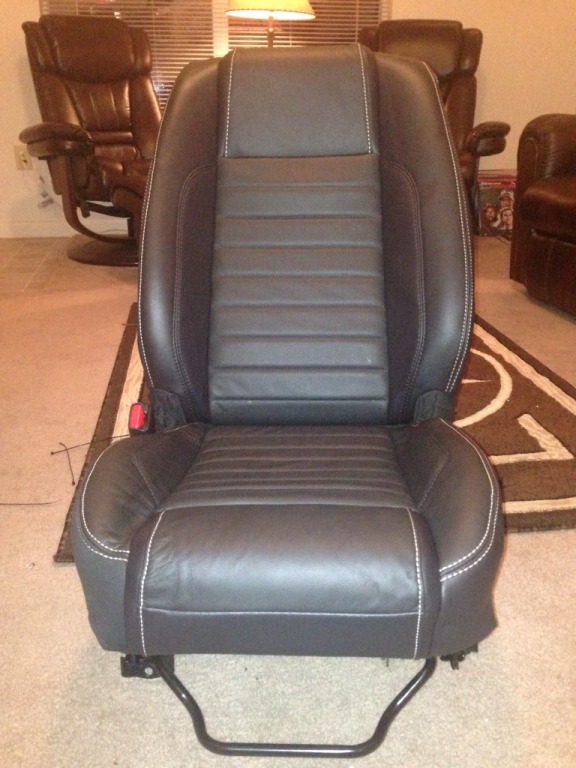
Passenger seat
Drivers seat
Yes I cheated and used zip ties not hog rings, sue me
Last edited by Earlsays; Apr 28, 2013 at 04:39 PM.

Banned
Joined: March 9, 2011
Posts: 16,242
Likes: 6
Turned out good, front seats done. I found a slightly duplicate seam by the passenger side seat belt, and I forgot to hog ring the bottom cushion on the passenger seat, little things I need to fix, also, could not get the covers to latch together at the very bottom, I was very tired after all of this last night. The passenger seat took me 5 to 6 hours, the drivers seat took around two and a half. Didn't turn out perfect but the flaws would hardly be noticeable to anyone but me, and not bad considering I had never done this.
Passenger seat
Drivers seat
Yes I cheated and used zip ties not hog rings, sue me
Passenger seat
Drivers seat
Yes I cheated and used zip ties not hog rings, sue me
Last edited by 11SHELBYGT500; Apr 28, 2013 at 02:13 PM.
Mach 1 Member
Joined: September 15, 2009
Posts: 679
Likes: 2
From: Traverse City MI.
nice job on the install. i did my 05 yrs back (tan cloth to blk leather) and it was so huge. much firmer and more comfortable. for me too, i hated the tan cloth with a passion. your rear is a little more with the headrests and the frts are a bit of a project and takes time. the sun really works great, we use a heat gun in the shop alot just to speed things up. have to be really careful though 
Bullitt Member
Joined: November 15, 2012
Posts: 269
Likes: 1
I had a seven component Kenwood system back in the day that looked just like that and I would kill to have back.
Thread Starter
GT Member
Joined: February 22, 2013
Posts: 192
Likes: 0
From: KATY, TX
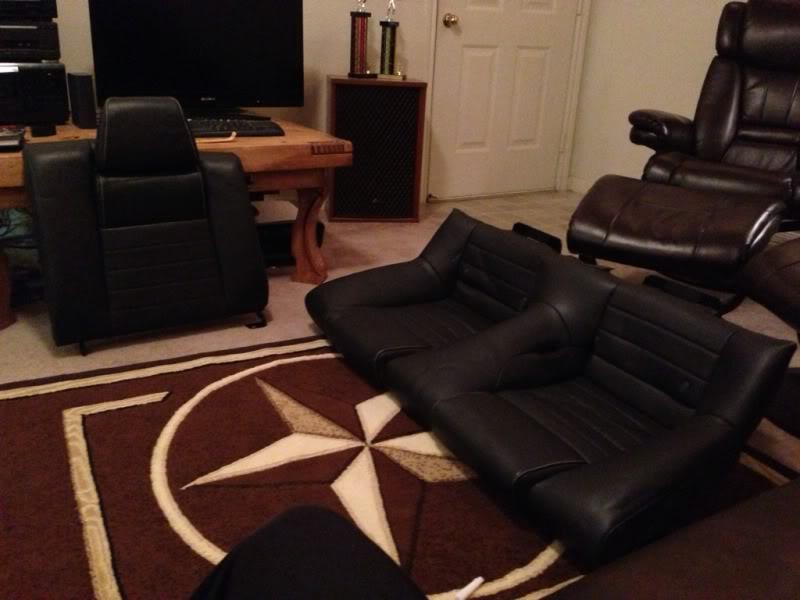
It's a kenwood amp and preamp from 1987
Panasonic laserdisc player from 1990
Sony 200 disc cd changer from the early 90s
Sony 5 disc DVD changer from 2006
Sony 32" HDTV, new this year
Sansui speakers from 1970
I used to have all the other kenwood components with matching speakers, but I slowly consolidated and changed it.
Last edited by Earlsays; Apr 28, 2013 at 04:00 PM.
Bullitt Member
Joined: November 15, 2012
Posts: 269
Likes: 1
Yeah, I know. I have one picked out, I just need to buy it.
It's a kenwood amp and preamp from 1987
Panasonic laserdisc player from 1990
Sony 200 disc cd changer from the early 90s
Sony 5 disc DVD changer from 2006
Sony 32" HDTV, new this year
Sansui speakers from 1970
I used to have all the other kenwood components with matching speakers, but I slowly consolidated and changed it.
Mach 1 Member
Joined: September 15, 2009
Posts: 679
Likes: 2
From: Traverse City MI.
man, that looks great. the armrest cover looks like it just belongs with that interior too. i`m gonna save a couple of those pics for my website if thats ok with you. nice job
Thread Starter
GT Member
Joined: February 22, 2013
Posts: 192
Likes: 0
From: KATY, TX
Yeah no problem, if you need more photos, let me know. Also, thanks for a fantastic product with this armrest cover, it was the inspiration for this project. I am now interested in obtaining matching black leather / white stitching shifter and ebrake boots, also, a full leather covered with white stitch shift **** would be nice, as well as door panel inserts similar to what the premium interior is equipped with.
Next stop is the upholstery shop to have the ripped seam fixes on the passenger seat.
Next stop is the upholstery shop to have the ripped seam fixes on the passenger seat.
 if we were closer we could fix the seat.
Mach 1 Member
Joined: August 15, 2013
Posts: 801
Likes: 6
I just bought some take offs for my 2014. I have only had the car for 2.5 weeks but wanted to get some take offs before they are all gone. I figure once the 2015 comes out, there will be no more take offs for 2012-2014.
I was wondering if you use hog rings, what size should you use? I was going to buy pliers and rings but need to know what size they are.
I think I might put heaters in, too, just for fun, and since I will have the seats torn down.
I was wondering if you use hog rings, what size should you use? I was going to buy pliers and rings but need to know what size they are.
I think I might put heaters in, too, just for fun, and since I will have the seats torn down.

Banned
Joined: July 4, 2012
Posts: 2,982
Likes: 0
From: Washington, DC
I just don't understand mods like these. You totally had the opportunity to get a car with the options you wanted, but then you're adding them later. Guess I'm weird for ordering a car with the leather interior and upgrade package right off the bat.