
How To: Install A 2013-2014 Mustang CDC Performance Grille
 2/20/15 | 11:54 AM
#1
Thread Starter
Member
Joined: November 12, 2014
Posts: 26
Likes: 0
How To: Install A 2013-2014 Mustang CDC Performance Grille
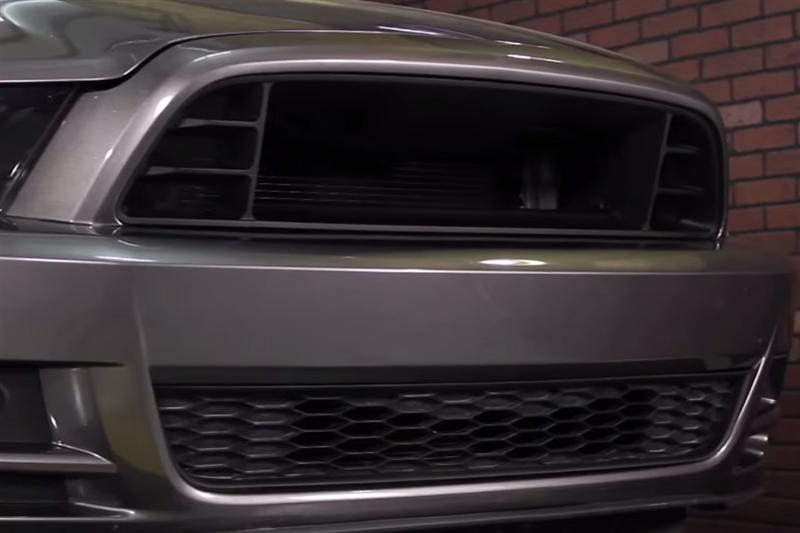
This OE style replacement grill offers a wide mouth design for added performance and cooling benefits. This 2013-2014 Mustang CDC grille utilizes factory mounting points, and offers a factory look and finish! Installation is a breeze but will require some minor cutting. This grill is not reversible after installing it, so make sure this is the one for you!
TOOL LIST-
INSTALLATION PROCEDURE:
Installation took us 20 minutes and was not that bad at all. Just a reminder This kit will also include a set of zip ties, if you are installing this on a factory GT with fog lights you will need to take the harness and put them out of the way. For all of your 2010-2014 Mustang needs check out www.Latemodelrestoration.com
TOOL LIST-
- Roll Of Painters Tape
- Safety Glasses
- Gloves
- Body Saw or Hand Saw
- File or Sandpaper
INSTALLATION PROCEDURE:
- First off take the painters tape and cover the front painted surface of the bumper the length of the grille to protect it while cutting.
- To remove the factory grille, grab on each side and firmly pull until the grille releases from the tabs.
- Wipe down the surrounding area with a clean rag.
- Next using the body saw carefully cut all three mounting brackets for the factory fog lights. File or sand down all rough edges.
- Align the new CDC Grille with the factory mounting tabs and apply gentle force until it snaps into place.
- Using the supplied push pin install the center bracket to the factory hood release mechanism.
- Remove the tape and clean all surfaces and you are done!
Installation took us 20 minutes and was not that bad at all. Just a reminder This kit will also include a set of zip ties, if you are installing this on a factory GT with fog lights you will need to take the harness and put them out of the way. For all of your 2010-2014 Mustang needs check out www.Latemodelrestoration.com

Thread
Thread Starter
Forum
Replies
Last Post