When you click on links to various merchants on this site and make a purchase, this can result in this site earning a commission. Affiliate programs and affiliations include, but are not limited to, the eBay Partner Network.
Yeah, I'm currently debating what to do about that. You can't just switch the bellhousings unfortunately, but you can swap the internals between the two. If I can switch out 1st gear (and maybe even 2nd) for the GT ratios, I would probably go with a 3.15 ring and pinion. If not I will probably use a higher ratio. It seems it wouldn't be particularly hard to do, but I'm not sure I have the time to do it right now and I'm not sure it would be cost effective to have a shop do it. But I've been wanting to do a transmission rebuild anyway with a few upgraded components, so I'm leaning towards just going for it.
Plus then there's the issue of possibly buying a spare trans so I don't have to deal with the down time (I daily this and my bike) and I'm not sure how much time and money I want to put into this rear end because I am still planning on tackling that IRS conversion eventually, I'm just not sure when I'll have the time.
Great to see this up and running, look forward to the MPT results. I'm also very interested in the super six adapter kits. Would love to run the stock ecu on an F150 setup and I have a modded F150 manifold that will make it very easy with minimal plumbing changes. Keep up the good work.
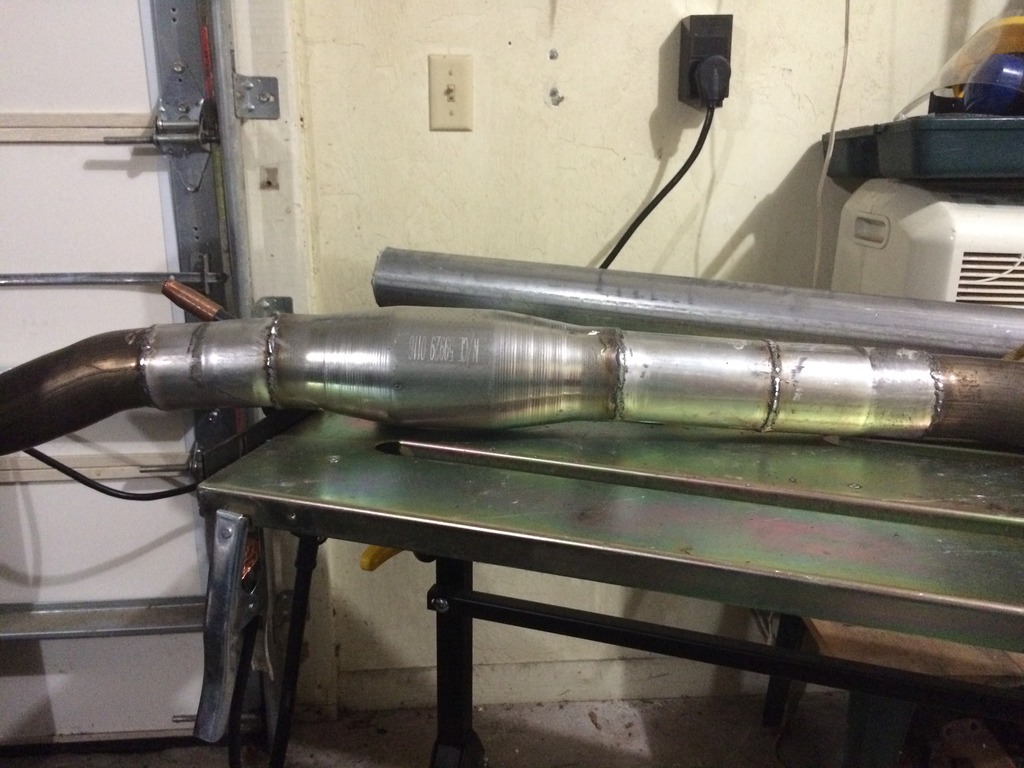
I've been so busy lately I haven't had all that much time to work on it unfortunately, but there have been some big changes! First off I installed some 3" Magnaflow metallic catalytic converters. I've never welded exhaust piping before so the welds aren't great, but they work for now.
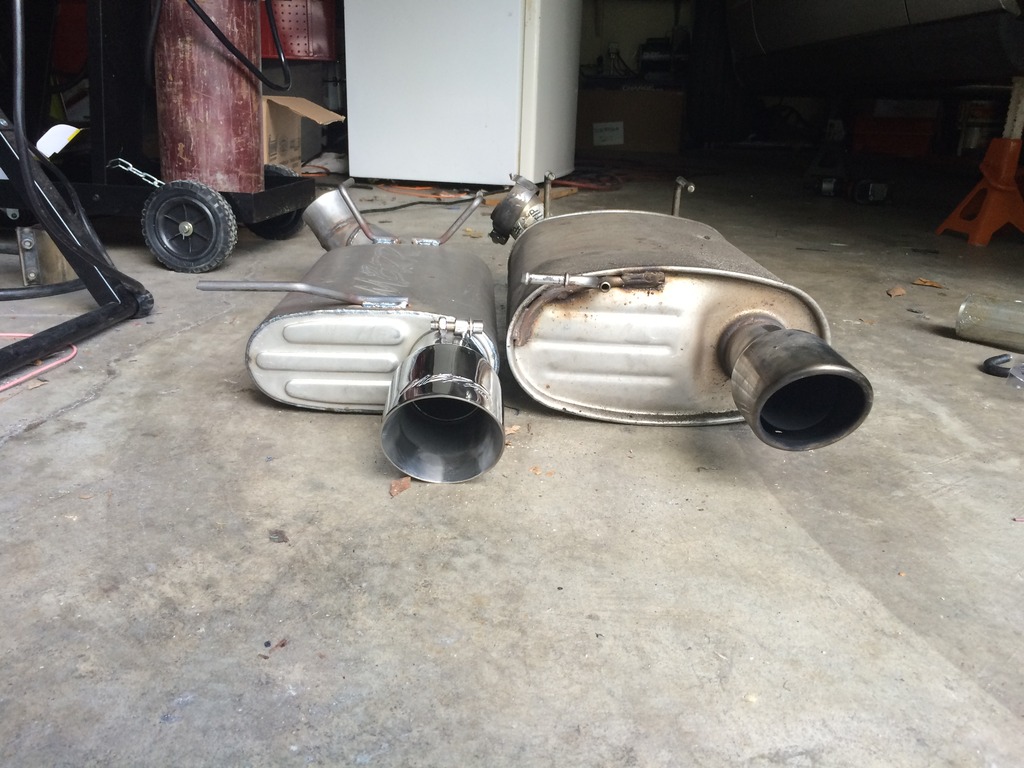
I also got an MBRP axle back and it sounds great! I'm very impressed with the MBRP for the money, and I'll have a video of it soon!
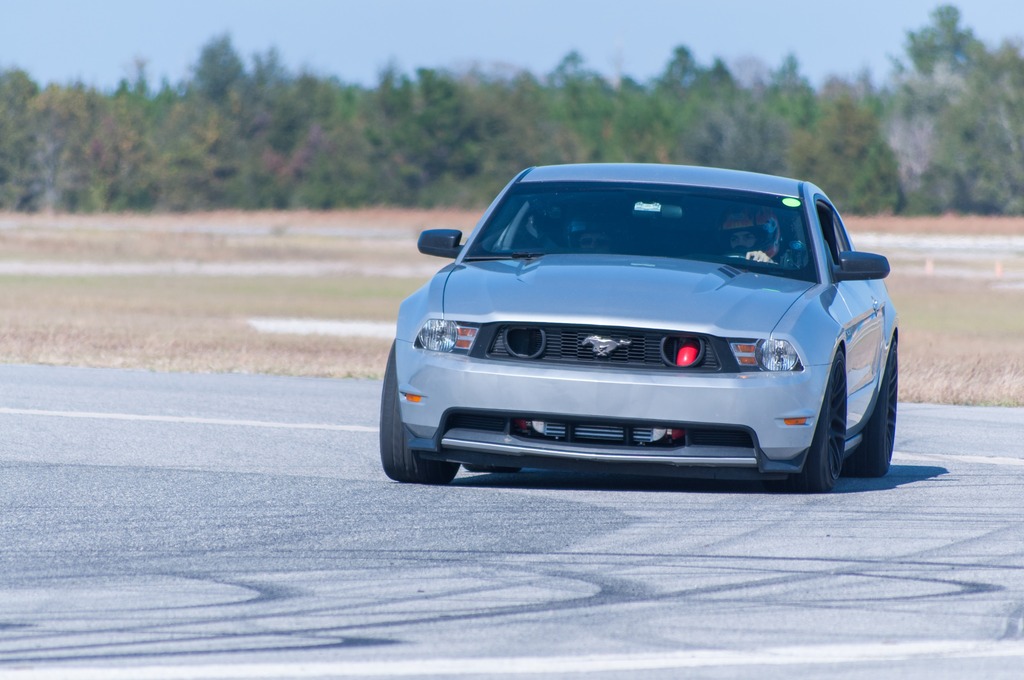
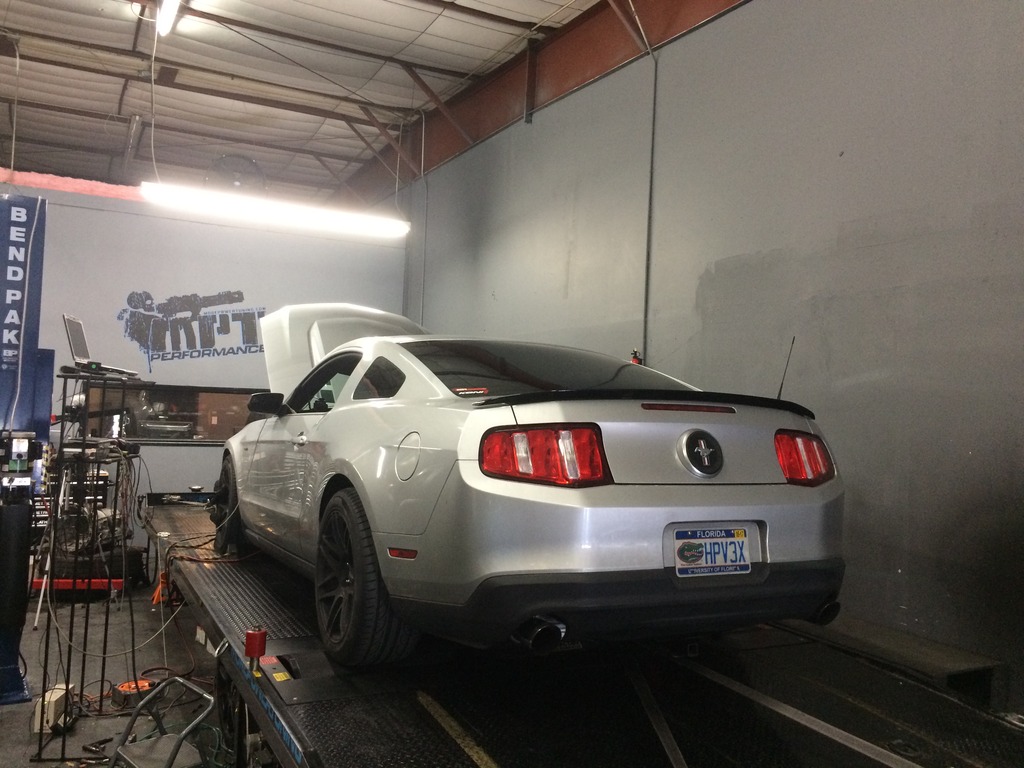
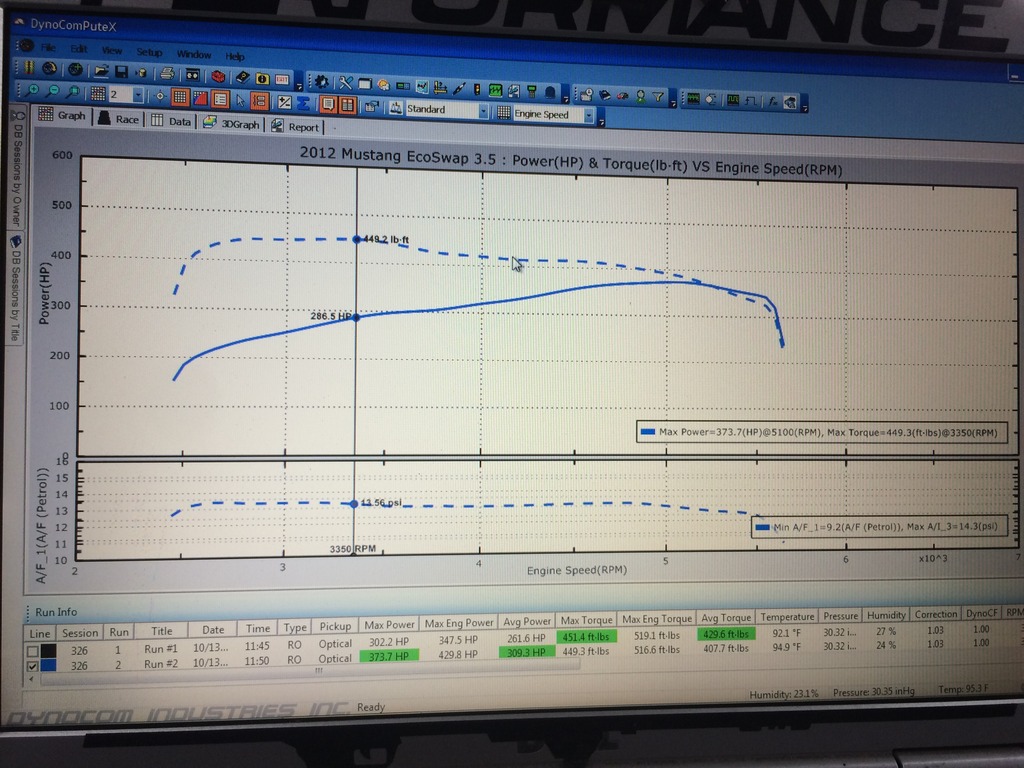
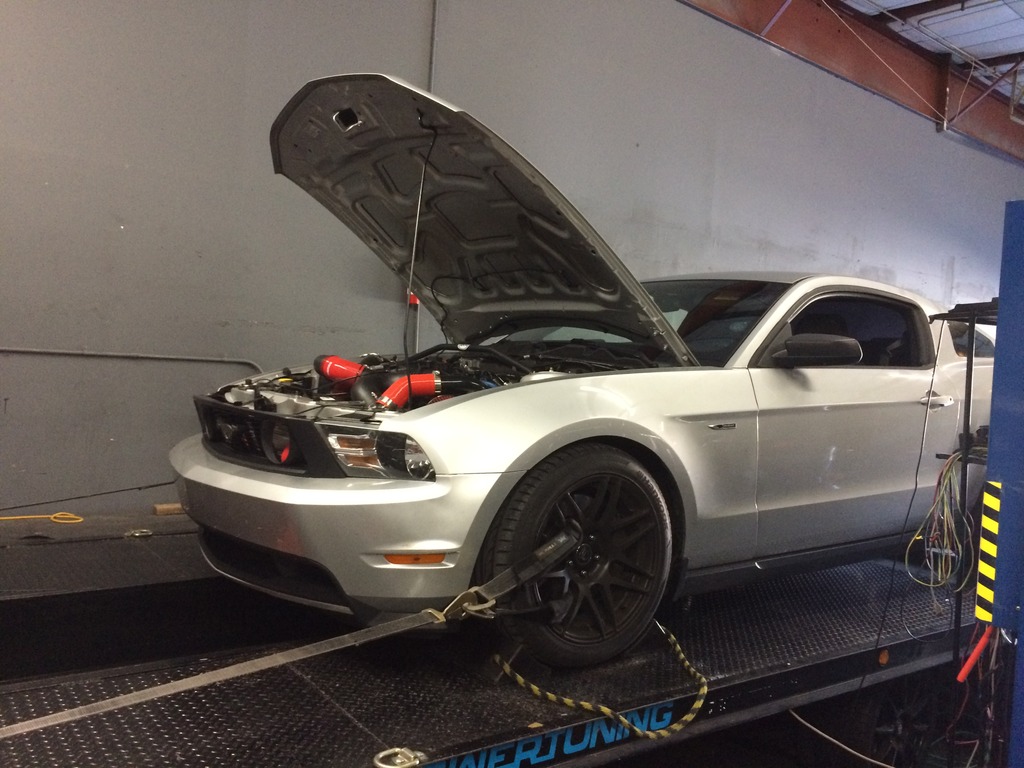
And we're on the dyno getting it tuned today! I don't have the final number yet but the baseline was very strong. It put down 373whp and 449wtq on the standard tune! that is much better than expected. I'll post the final numbers when I have them and a video when I get a chance!
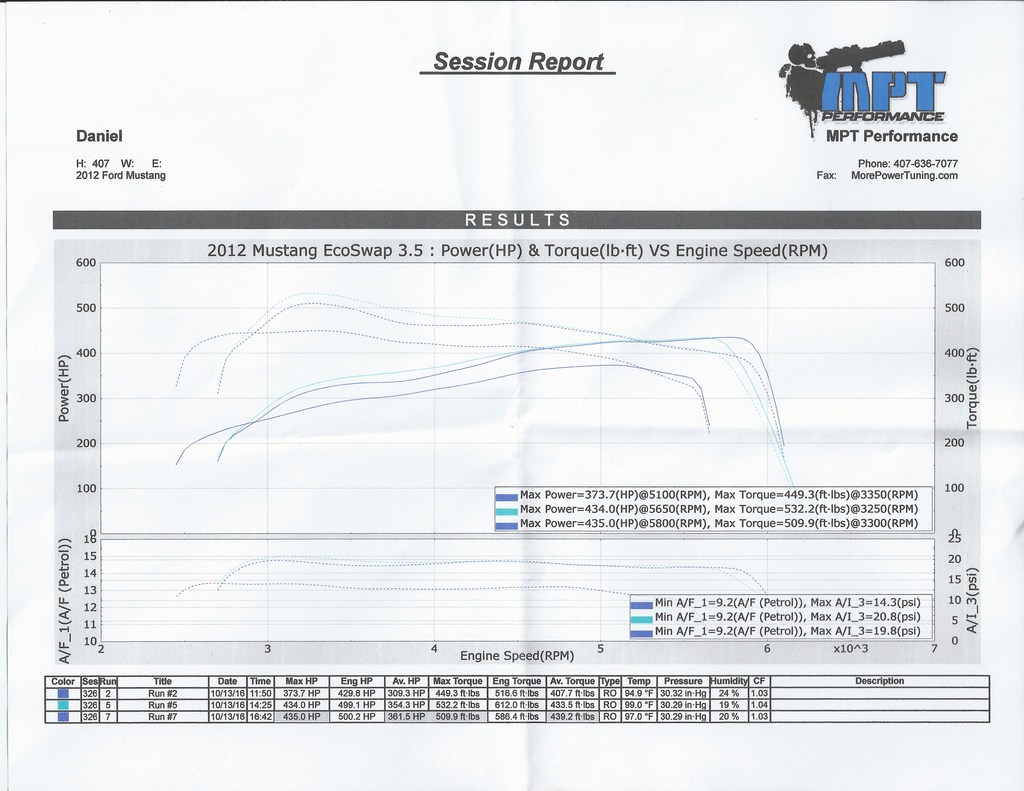
And the numbers are in! We put down 435whp and 510wtq on a very conservative tune. Because the car's going to be used primarily for road racing and daily driving, we went with very conservative timing. We only used the 250cc water/meth injector as well and turned the boost down a bit to keep it manageable. The tuner said he could have probably gotten another 40hp out of it if we weren't going for longevity. In all I'm definitely happy with these numbers. Dyno video soon to come!
Nice tuned numbers those 510 ftlbs have to feel sweet. How did the sound deadening work out for you, been thinking of doing it for a while.
Saw the other vid in youtube and got me thinking there has to be a way to communicate the two CAN bus systems together to get the gauges working, maybe using an arduino as an interface
One last thing, aren't those cats too far away to be effective?
Yeah, I don't have an inspection to pass or anything, it's mainly just for the peace of mind. They do take a little bit to warm up but they have a metallic substrate so it's actually not too bad. I might try to measure the temp at some point just to make sure they're in the correct range, though they certainly smell like they're working. I would have preferred to put them further up too and I still might try to at some point, but that was the best I could do at this time. Forward of that the piping is 2.5" and I don't want to spend the money on 2.5" cats when I don't necessarily plan to stick with that size of piping forever.
As for the CAN systems, I was speaking to the calibration engineer from Lund Racing (originally I had planned to have him make me a module to allow the two to communicate) and he told me we couldn't do it because you can't have two modules broadcasting the same signal signal at the same time or they will collide. I don't know nearly enough about the subject to go it alone, but I think I can make a module that could "trick" the factory PCM into thinking the engine is running, and that plus a Racepak would accomplish the same thing I was hoping to do all along.
As for the sound deadening it worked pretty well. The exhaust is a lot quieter on the highway now and the rear deck no longer rattles, but there's still a decent amount of gear noise. I think to resolve that I would have to do the trans tunnel as well (it sounds like that's where most of the noise is coming from now), but I'll hopefully be changing out the rear end soon anyway.
I haven't updated the thread in a while but there are definitely a few changes to report.
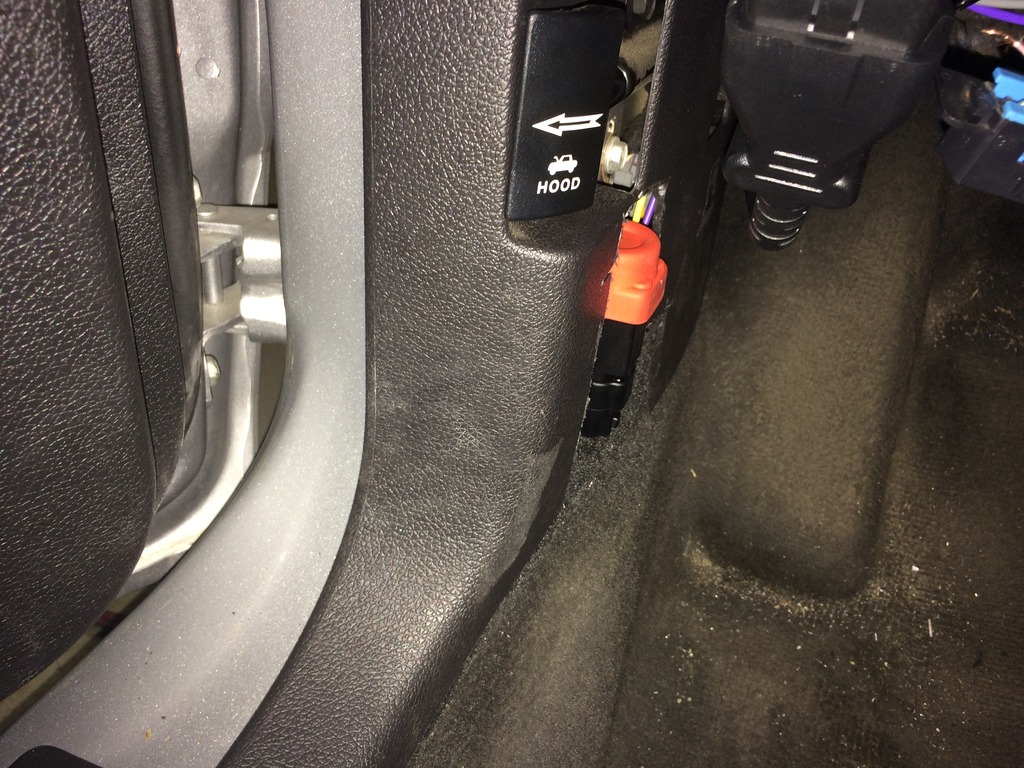
First off I installed an inertia switch for the fuel pump. Basically this shuts off the fuel pump in the event of an accident just in case a fuel line gets damaged. Usually the PCM does that on these cars if the airbags deploy, but my fuel pump is no longer PCM controlled. It's not an exciting change, but it's definitely important.
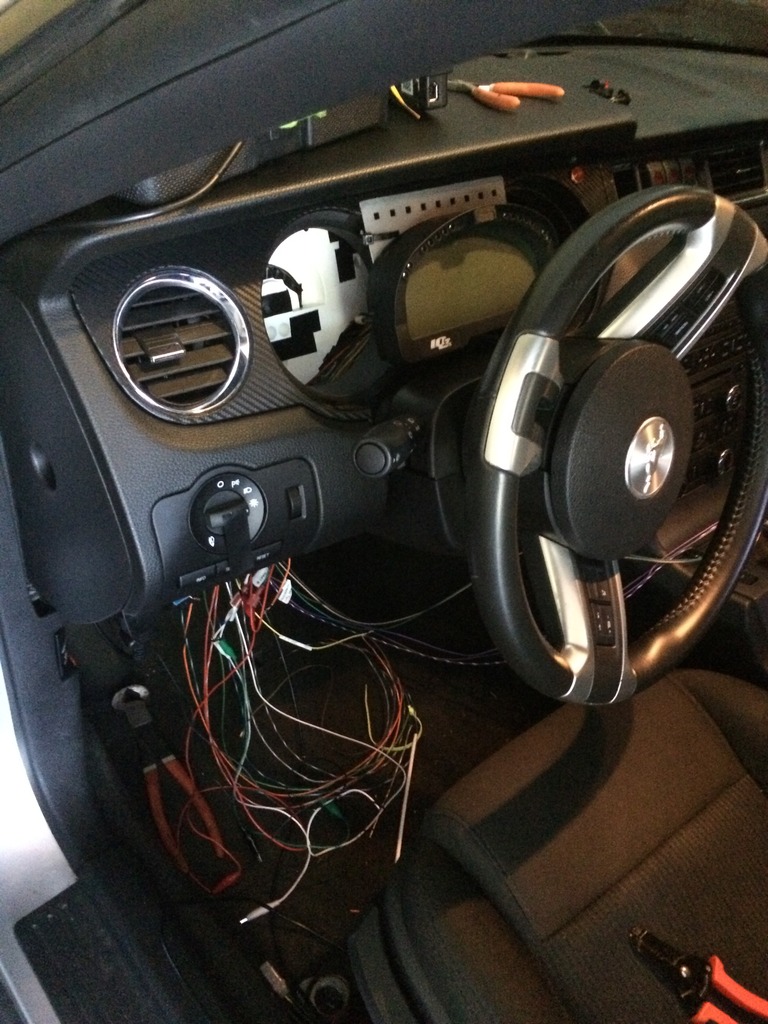
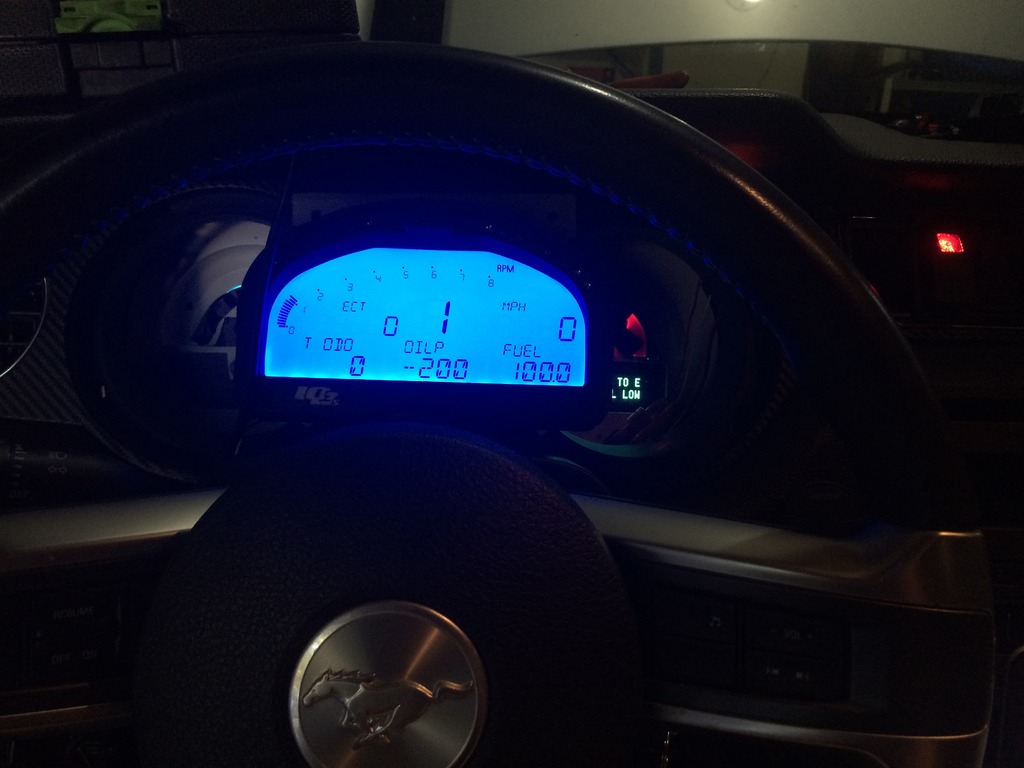
Now I'm working on installing a Racepak IQ3S that I recently bought. It's definitely a bit more complicated than I thought, but it should be able to display all the information I need, from speed and RPM, to boost and oil pressure. It's very customizable, but the setup is definitely not designed to be easy for an amateur like me, so it is taking quite a while.
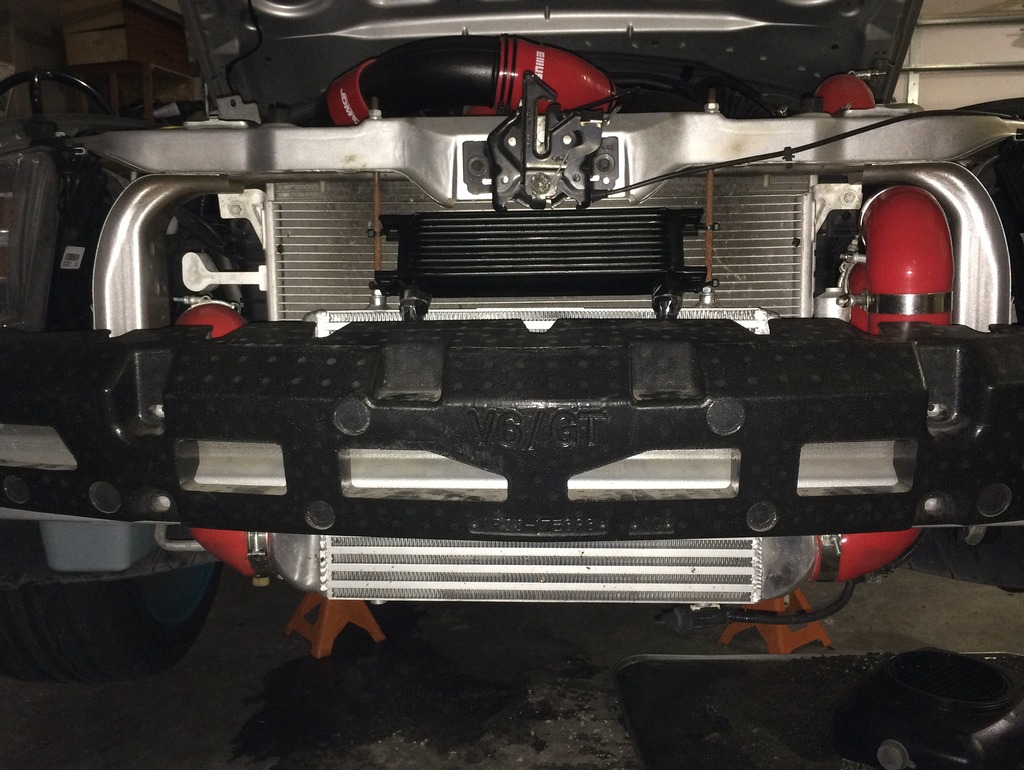
Finally, I'm also installing an oil cooler. It's a 10 plate cooler and I'm using a sandwhich plate on the filter to adapt it. More on this later.
I haven't posted in a while, so I'll try to post a few new updates soon.
First of all, I did a track day.
Overall it did great, but it needs more tire. That's not in the budget right now, so I'm focusing now on maximizing the mechanical grip that's already there. It also desperately needs adjustable anti roll bars. I've decided to stick with the solid axle, I just don't have the time or patience to take on another big conversion project right now. Consequently, I want to upgrade to an axle mounted Watt's link sometime in the future too. I did not notice any brake fade (it was my first time on track so I wasn't pushing too hard), but my friend who was coaching me did. It was time for a few brake upgrades anyway, so I address that next.
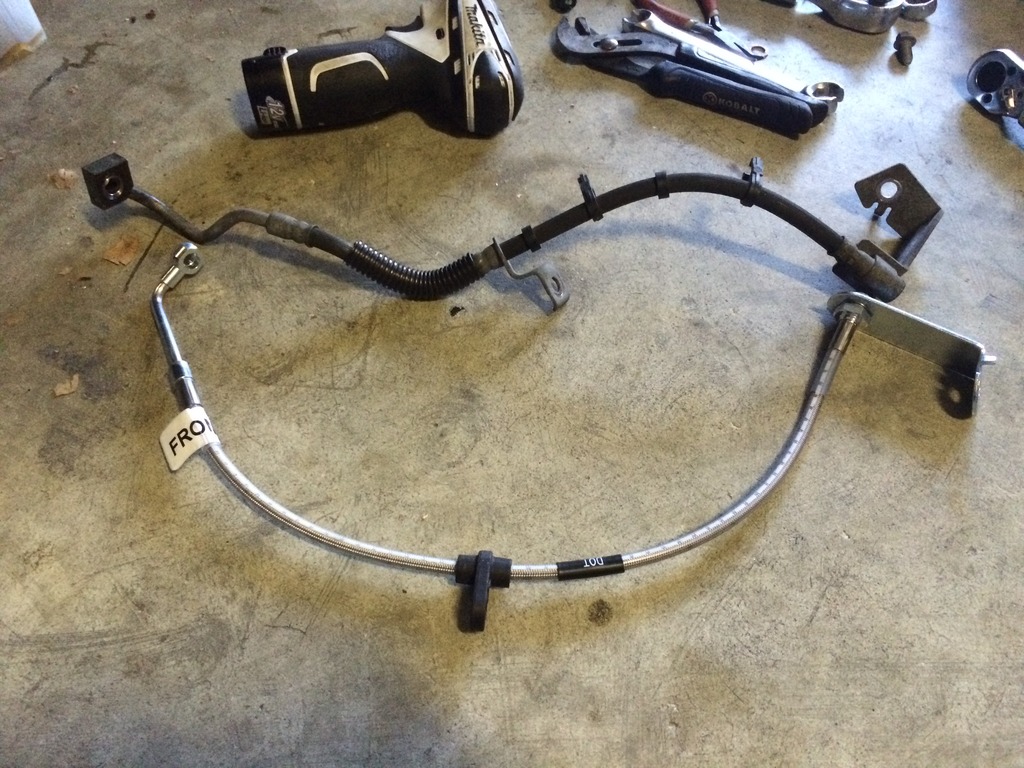
Next, I tackled a few brake upgrades:
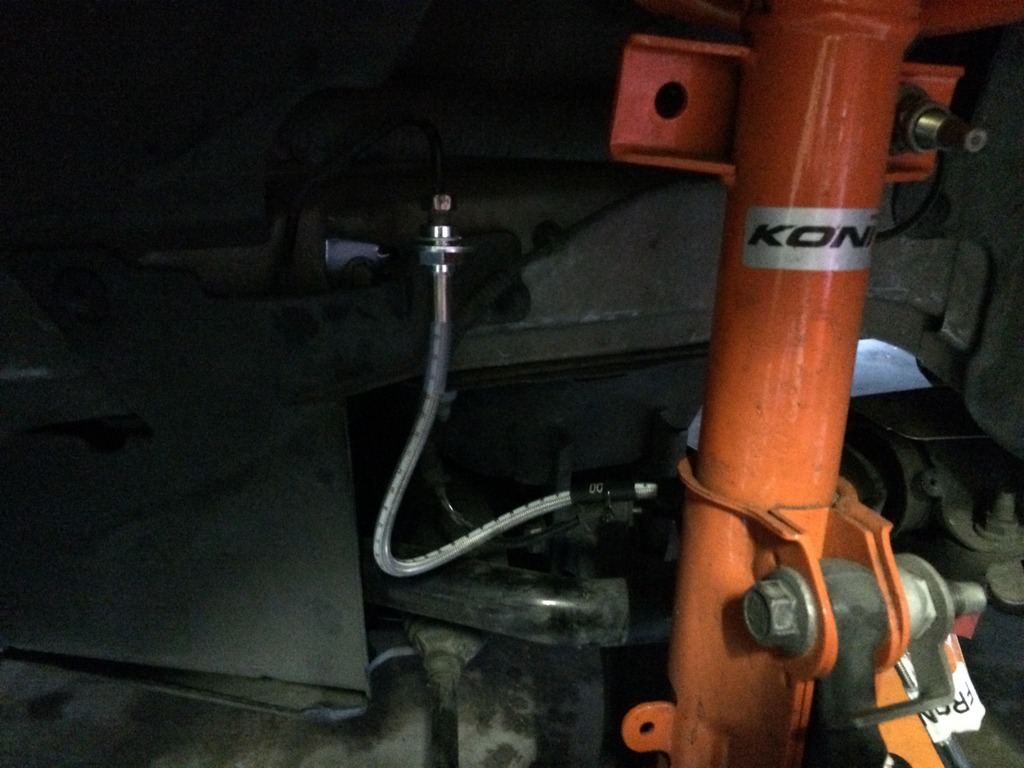
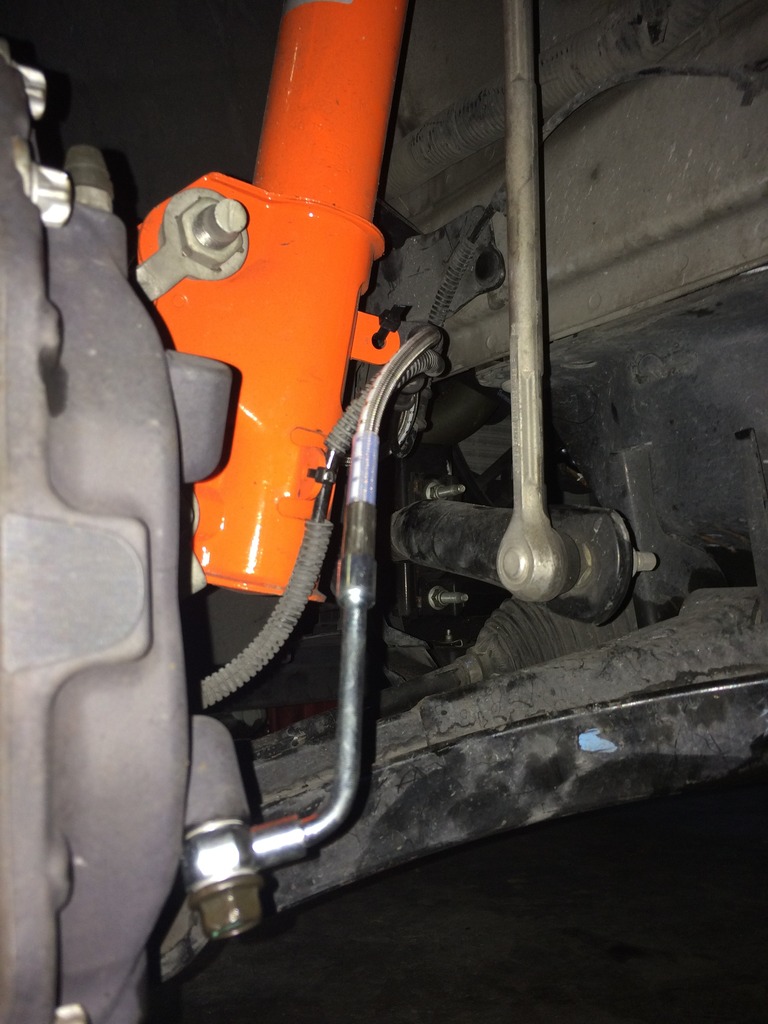
Russell Stainless Brake Lines
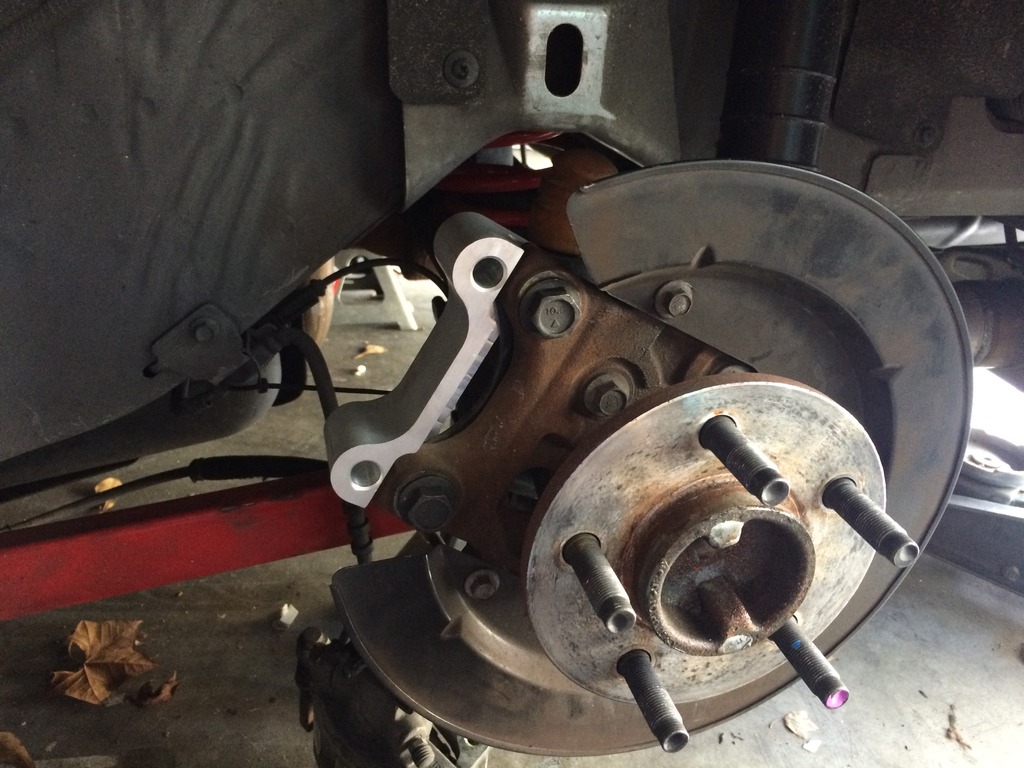
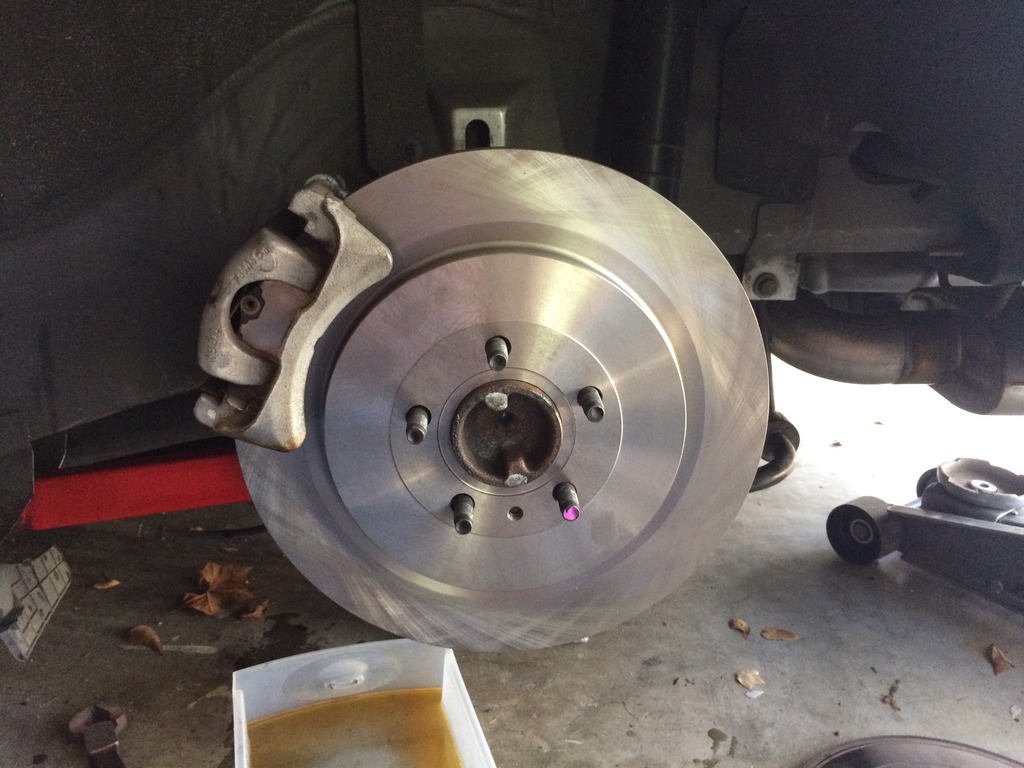
And 13.8" 13-14 GT500 Rear Rotors
I also performed a flush with ATE TYP200 fluid. Hopefully this does well on the track!
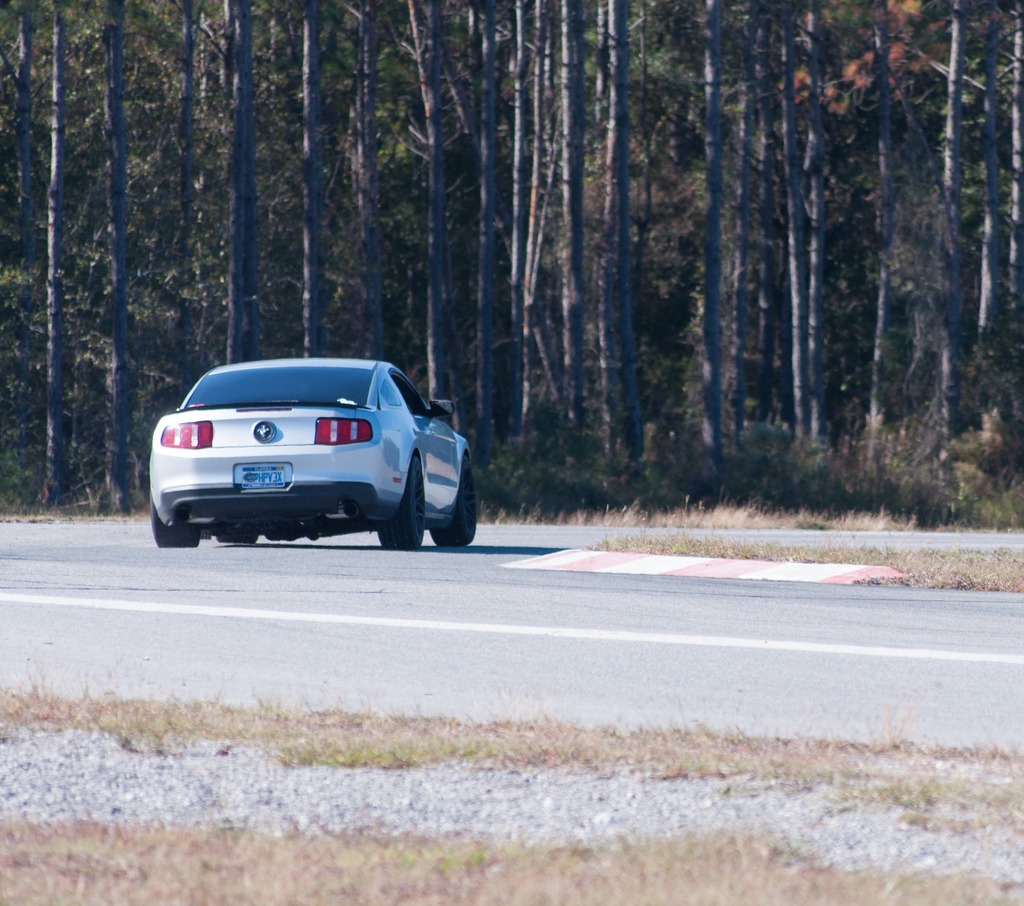
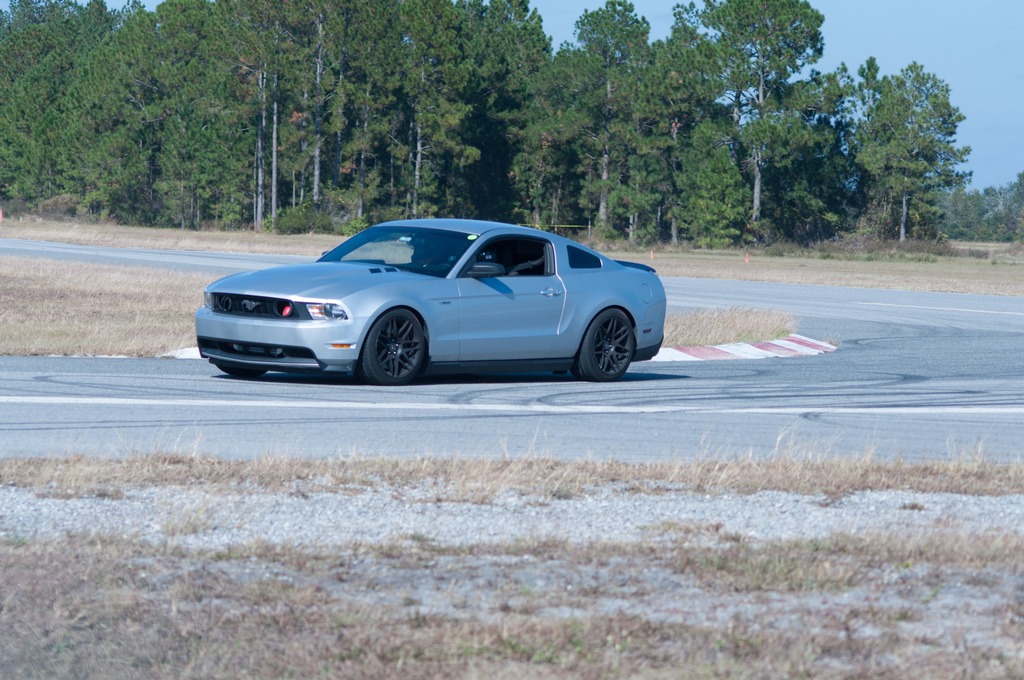
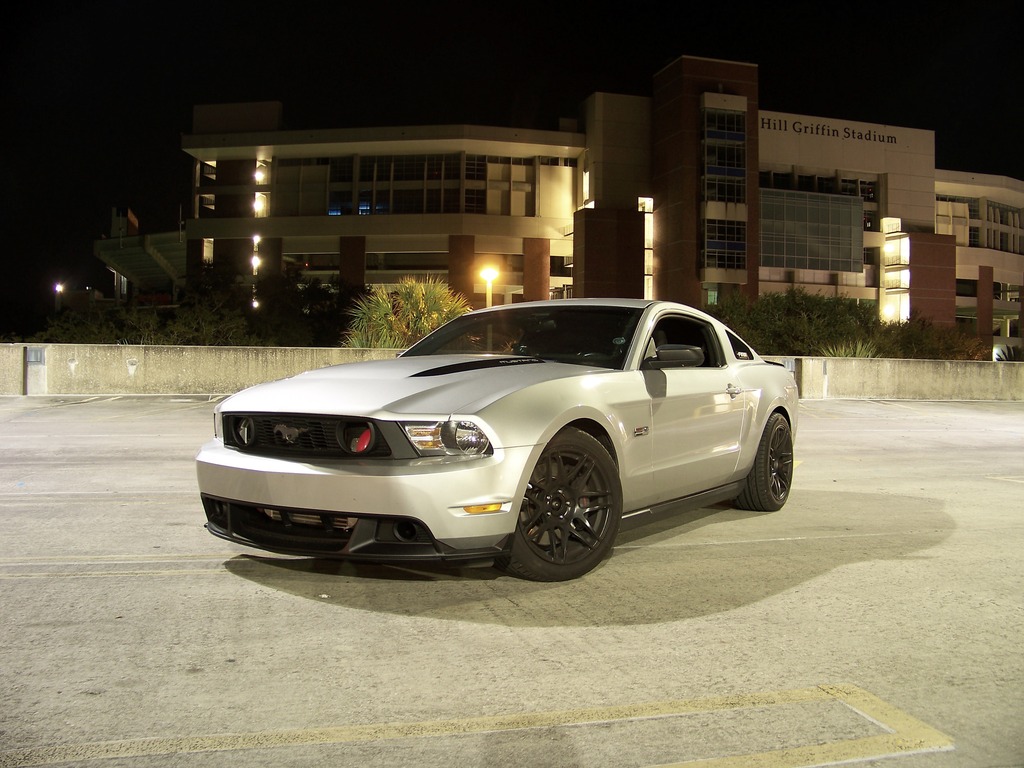
Finally, I installed some new visual mods. I got a Boss/CS front fascia, a Boss/CS/GT500 rear valence, FRPP fender badges, and some new hood decals. I definitely like the updated look!
From: NJ. Waiting for our Gov. to be held accountable for his actions>>>Jersey Broke
after all said and done with the track day. Are you happy with the end results Horse Power wise.
I was never sure what you were building your car for....Track or strip. Or just something very different to knock the snot out of it when you want to. Your build did capture my attention.
As for the mods on the outside. The Boss fascia gives your car a great look. What's also nice is it opens up the front view more and lets people know that there is something special happing behind those parts.
As for the IRS. Cant blame you on your choice to stay with the solid axel. Once you install Dr. Watts link prescription. It will be a different car handling wise.
With the Watts your now telling me your looking to journey down the track / autocross road.
Job well done!
Thanks!
I'm happy with the torque and mid range power, but I would like some more horsepower up top. It's mainly supposed to kind of be a track focused street car. I daily drive it, so it has to stay comfortable and everything, but I want to be able to do a few track days a year and not be slow. I'm kind of going for a Boss 302/GT350 kind of feel.
Next, I tackled a few brake upgrades:
Russell Stainless Brake Lines
And 13.8" 13-14 GT500 Rear Rotors
I also performed a flush with ATE TYP200 fluid. Hopefully this does well on the track!
Finally, I installed some new visual mods. I got a Boss/CS front fascia, a Boss/CS/GT500 rear valence, FRPP fender badges, and some new hood decals. I definitely like the updated look!
Great work and a very interesting build. What a fantastic project.
My car is a weekend road course warrior as well, so I can share some suggestions.
1) I think you'll find Koni Orange a bit soft. I use the Yellows and the adjustability makes a lot of difference. Still soft enough for the street, but you can dial them in to reduce roll and aid in rapid transitions. The4y really control the secondary body motions quite well.
2) Not sure what mounts you have. I use Steeda HD mounts, and they make a HUGE difference in front end grip. I have them set to -2deg, and front end drip is out of this world. Definitely worth the money.
3) I agree on adjustable roll bar(s). I decided to just go with Steeda competition adjustable front only. I can't feel body roll anymore with Koni's dialed half way firm or up. A little roll is there on the street in soft setting, but still a 90% reduction over stock.
4) What pads do you use? Pads make a HUGE difference. I use G-lock/Carbotech track pads. I swap the fronts before events, and keep the rears in permanently. I can't take the noise on the street. But on the track they shed speed like a champ. Good fade resistance too.
Any issues with overheating so far? I would imagine that with twin turbos you're pumping out heat like crazy.
I had to look up the fluid you're using. I think it's more or less equivalent to RBF600 I use. The top fluid in the class is Castrol SRF. It has nearly the same wet and dry boiling point, which means you can keep it in for a lot longer without worrying about vapor lock.
Here is a quick video of my car at Mid-Ohio. Tires in this video were Bridgestone S04s. Street tires. This season I'm switching to street legal R comps, Ventus R-S3.


 . Talking about sound any new vids?

 those 510 ftlbs have to feel sweet. How did the sound deadening work out for you, been thinking of doing it for a while.