
Disarming seat airbags & console removal

Thread Starter
V6 Member
Joined: September 29, 2015
Posts: 70
Likes: 4
From: West Coast, Florida
Disarming seat airbags & console removal
I love the sound of the Coyote and the GT500 Axelbacks.
Road noise is the enemy.
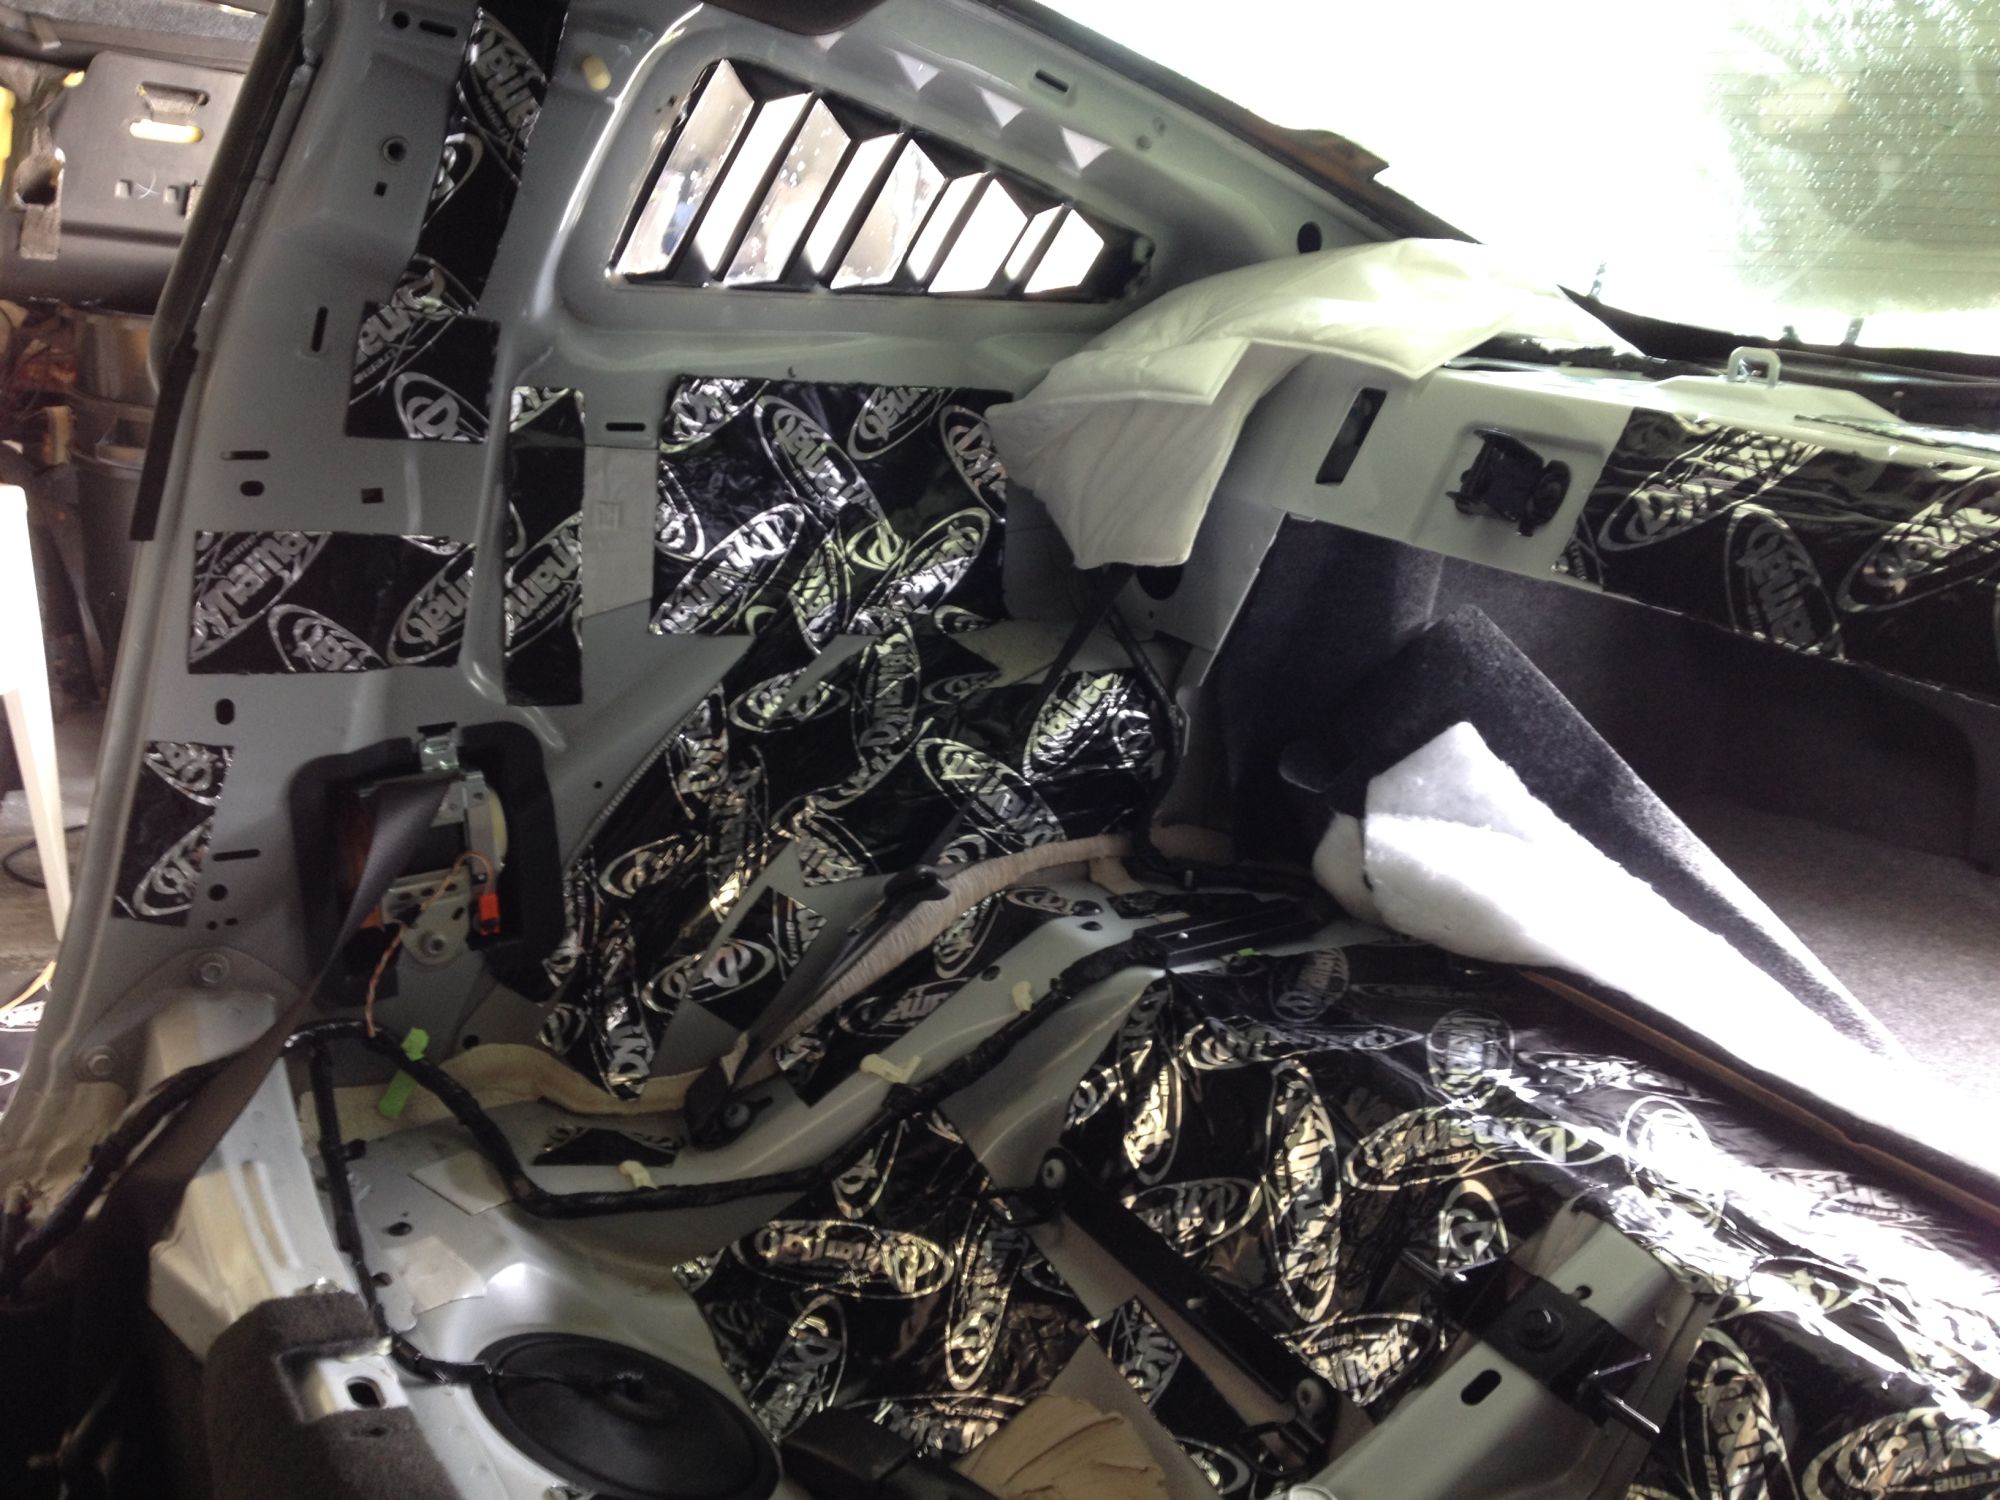
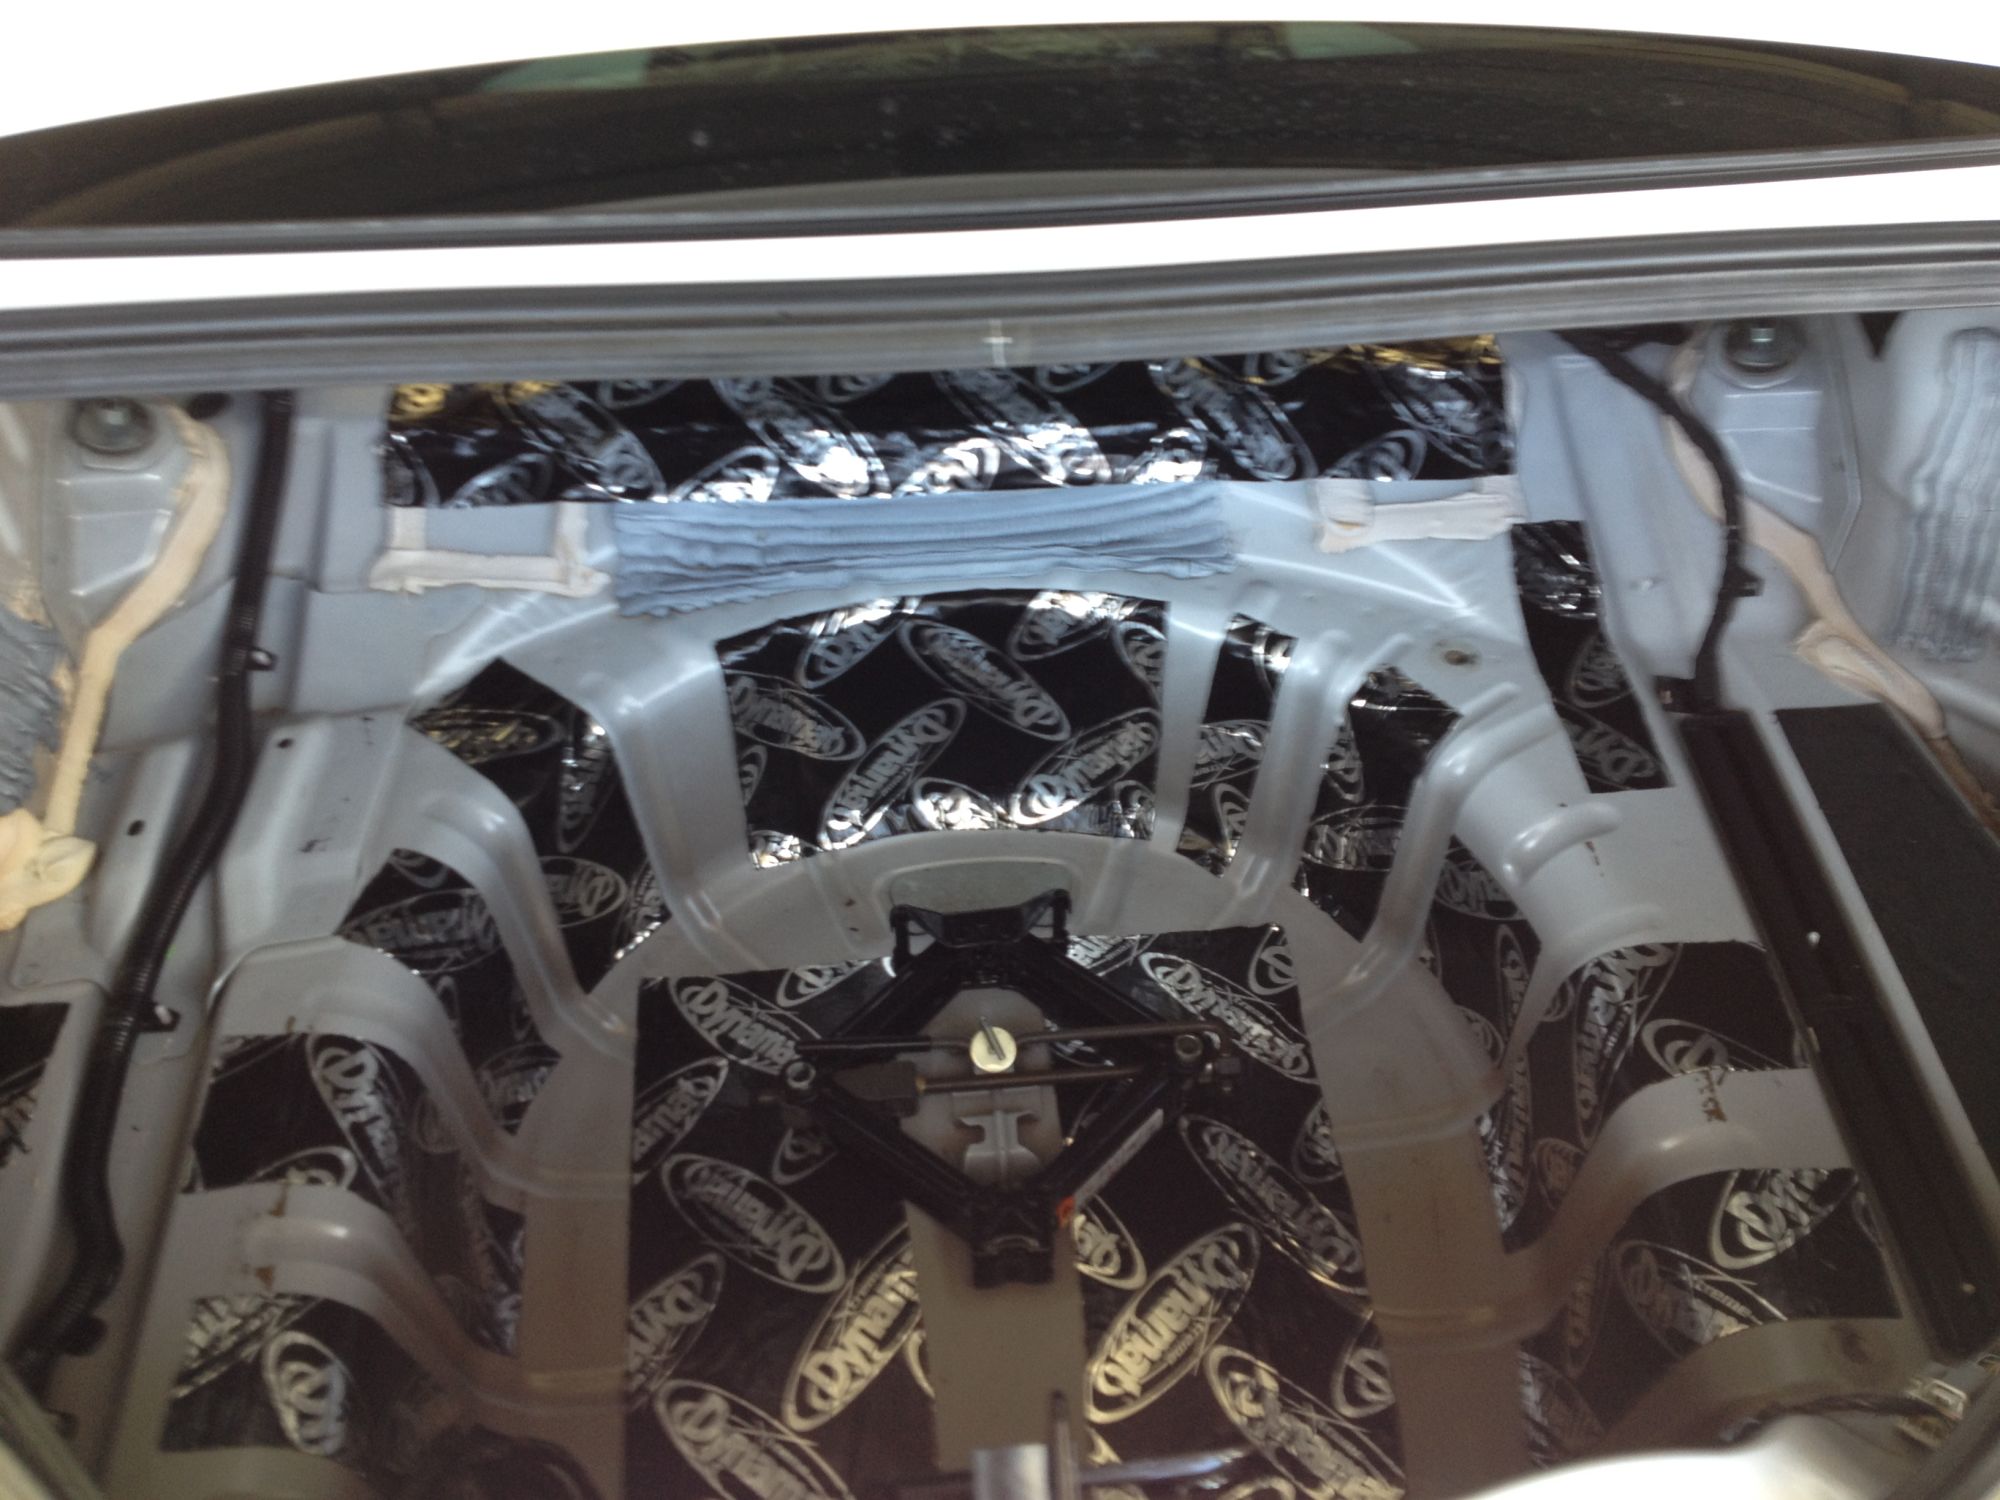
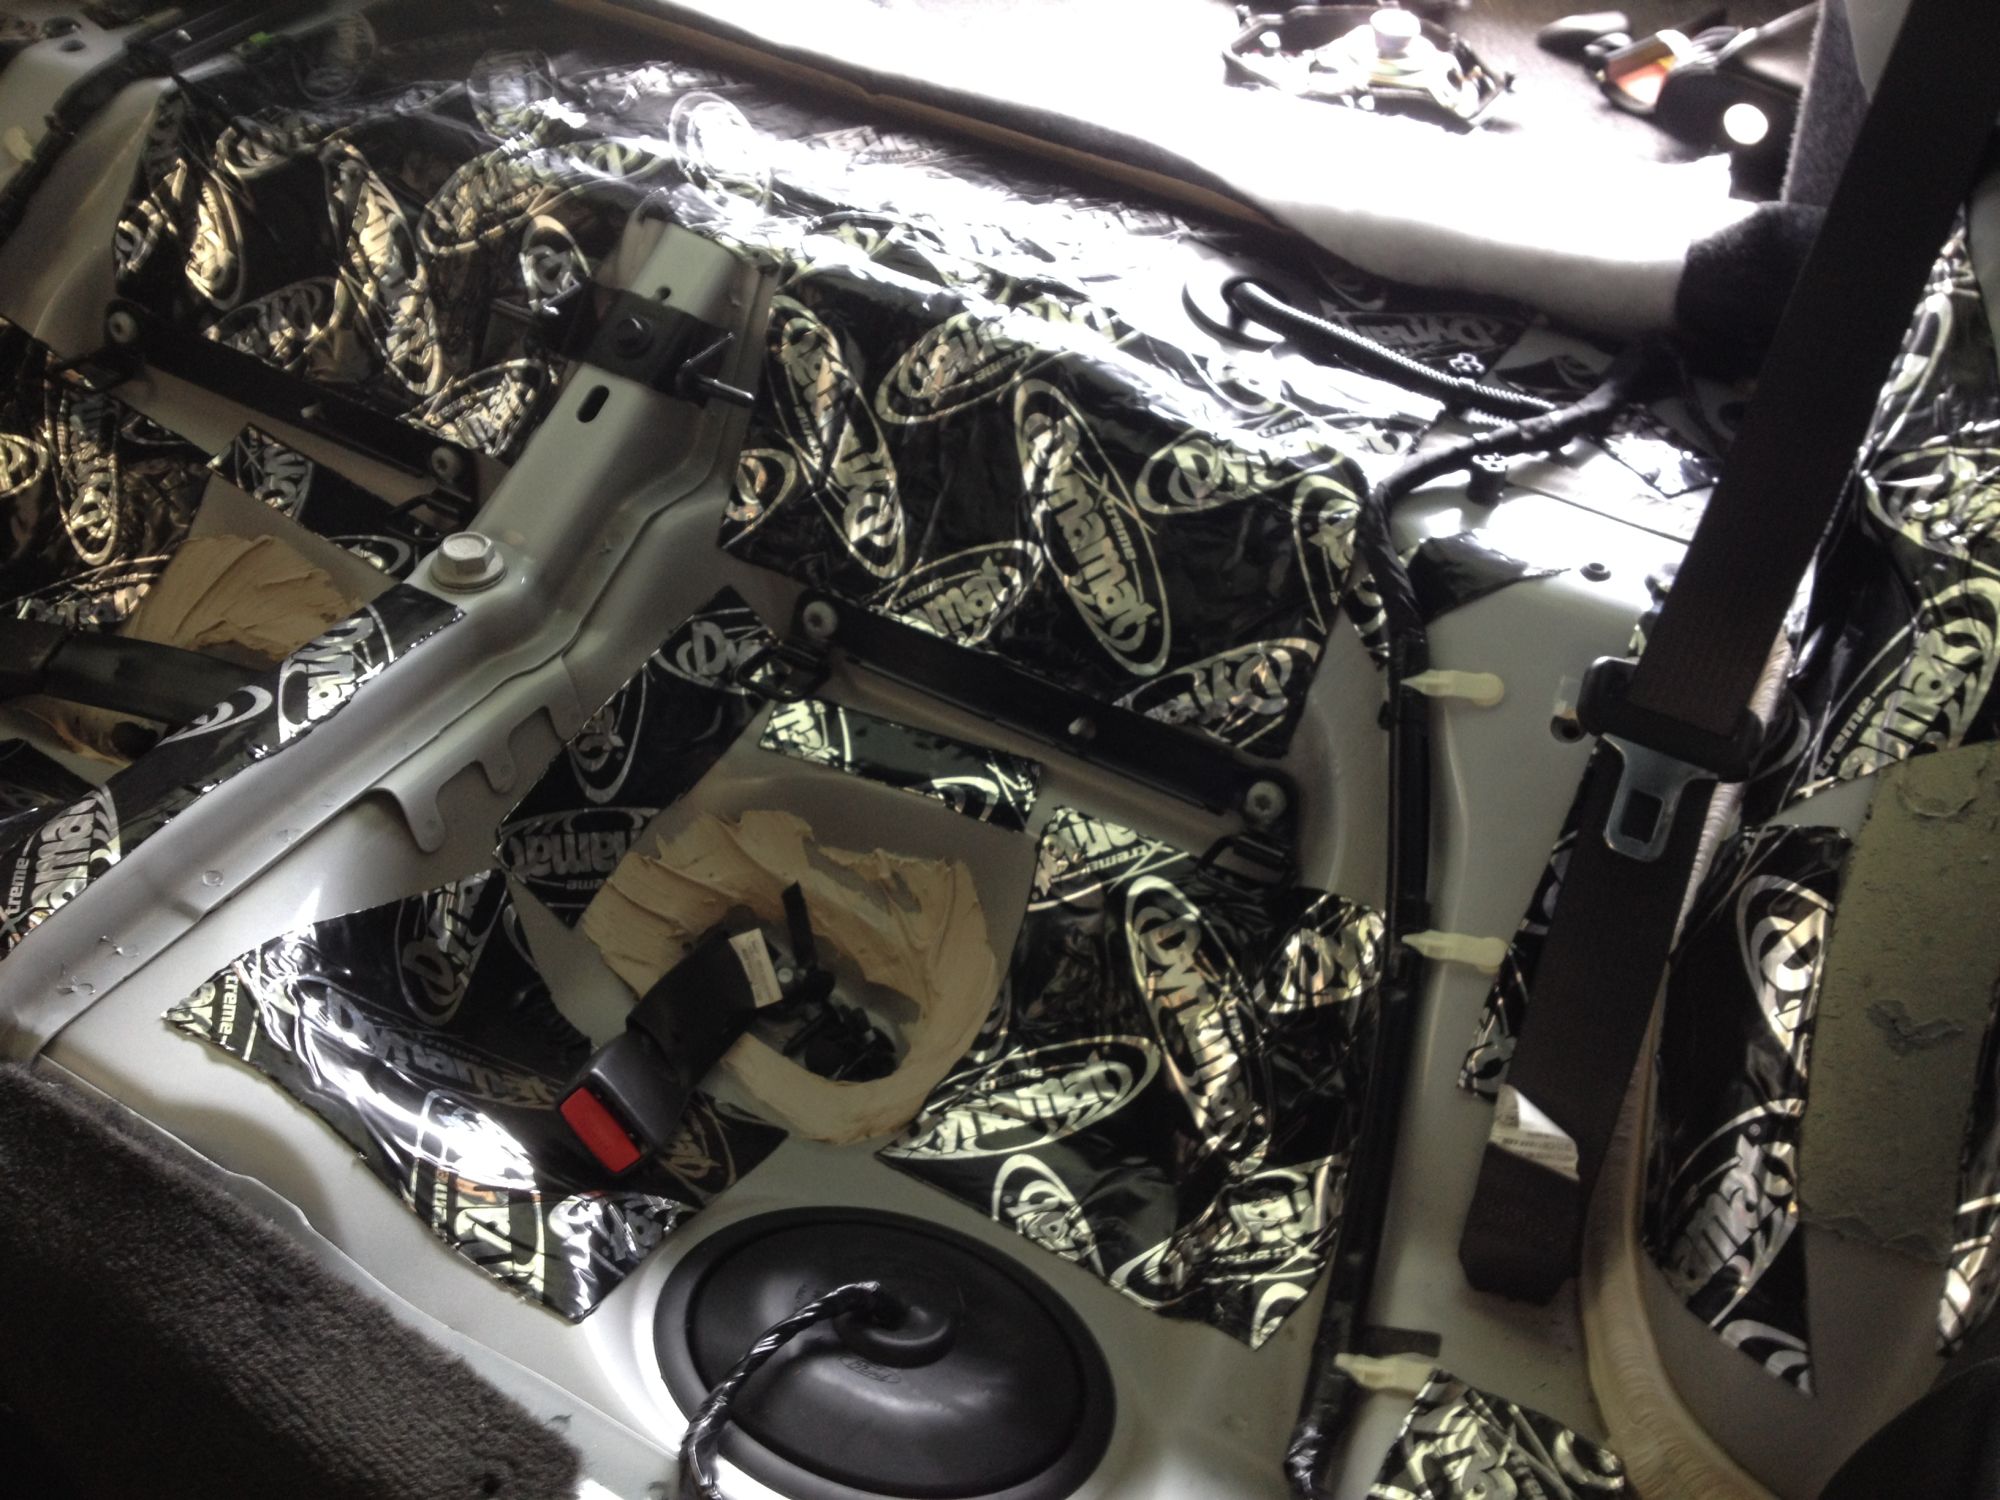
When I had the back of the car apart to install the Silverhorse quarter window louvers, I took the opportunity to add Dynamat insulation to the spare tire well, trunk, fenderwells and rear seat area. I did the door skins too while concurrently replacing all 4 factory speakers in the car. Dynamat in the doors made the factory woofers kick some butt!
I was impressed with the dramatic results and since I�m replacing the near bald, 25,000 mile Pirelli P-Zero Nero mud/snow tires this weekend, (upgrading to 245/45 R19 Continental DW Extreme Contact) I decided to go all out and ordered another box of Dynamat to do the under carpeted areas of the cabin, for the full effect.
Can anyone tell me how to remove the seats and avoid setting off the side air bags?
Any help in yanking the center console would also be helpful.
Here�s some pix of what I have already accomplished with the Dynamat in round one.
Your advice is appreciated.
I'll post some pix if I can figure out how.
RWSRWS

Last edited by RWSRWS; Mar 24, 2016 at 04:23 AM.
GT Member
Joined: January 30, 2015
Posts: 146
Likes: 5
I would guess it should be as simple as disconnecting the battery for 20-30 minutes then disconnecting the harness. That's all I was recommended to do when I took off the steering wheel airbag to replace my wheel, not sure what would be different about the seats.
Good idea to handle them carefully even then, of course.
Good idea to handle them carefully even then, of course.
Bullitt Member
Joined: July 30, 2008
Posts: 425
Likes: 8
From: Indianapolis, IN
When I replaced my cloth seat covers for leather on my 13' I had to remove both seats. I just simply disconnected the battery and went to work (no waiting). I didn't have any issues. Here is a link for the center console removal. Pretty simple to remove..
http://iihs.net/fsm/?dir=1080&viewfile=Console - Floor.pdf
http://iihs.net/fsm/?dir=1080&viewfile=Console - Floor.pdf
Last edited by MADSCOTSMAN; Mar 24, 2016 at 07:37 AM.
Thread Starter
V6 Member
Joined: September 29, 2015
Posts: 70
Likes: 4
From: West Coast, Florida
When I replaced my cloth seat covers for leather on my 13' I had to remove both seats. I just simply disconnected the battery and went to work (no waiting). I didn't have any issues. Here is a link for the center console removal. Pretty simple to remove..
http://iihs.net/fsm/?dir=1080&viewfile=Console - Floor.pdf
http://iihs.net/fsm/?dir=1080&viewfile=Console - Floor.pdf
Thank you all for the info, ESPECIALLY MADSCOTSMAN for the link to the console detail !
RWSRWS
V6 Member
Joined: June 17, 2014
Posts: 58
Likes: 1
I would add - the 30 min wait after disconnecting the battery (mentioned earlier) is not necessary.
However, it is a good idea to do something to create a current draw - turn on the headlights, or leave the door open (which it probably is anyway) - this should discharge any remaining energy in seconds, or more likely fractions of a second. (just as a precaution)
However, it is a good idea to do something to create a current draw - turn on the headlights, or leave the door open (which it probably is anyway) - this should discharge any remaining energy in seconds, or more likely fractions of a second. (just as a precaution)
Last edited by Springer200; Mar 25, 2016 at 01:23 PM.
Legacy TMS Member
Joined: February 2, 2004
Posts: 7,648
Likes: 675
From: Insane
On a semi-related note, sorry to jack...
I can't say as I've ever seen anyone do a dynamat installation like that. I usually see 'em covered 'head to toe', as it were, every single square inch of exposed panel gets the mat stuck on em.
This is the first one I've seen in a patch patterned type approach, and I'm especially intrigued by the spare tire well patches.. You say it works well, eh? Very interesting indeed.
I might do this....
Thread Starter
V6 Member
Joined: September 29, 2015
Posts: 70
Likes: 4
From: West Coast, Florida
yes, works great doing it that way in the trunk, rear wheel wells and the back seat.
Done based on Dynamat instructions/standards.
Now, when I do the front & rear floors, console and drive shaft tunnel, the coverage will be more like 100%
Front wheel wells - we'll have to see how that goes...
RWSRWS
Done based on Dynamat instructions/standards.
Now, when I do the front & rear floors, console and drive shaft tunnel, the coverage will be more like 100%
Front wheel wells - we'll have to see how that goes...
RWSRWS
V6 Member
Joined: June 17, 2014
Posts: 58
Likes: 1
On a semi-related note, sorry to jack...
I can't say as I've ever seen anyone do a dynamat installation like that. I usually see 'em covered 'head to toe', as it were, every single square inch of exposed panel gets the mat stuck on em.
This is the first one I've seen in a patch patterned type approach, and I'm especially intrigued by the spare tire well patches.. You say it works well, eh? Very interesting indeed.
I might do this....
I can't say as I've ever seen anyone do a dynamat installation like that. I usually see 'em covered 'head to toe', as it were, every single square inch of exposed panel gets the mat stuck on em.
This is the first one I've seen in a patch patterned type approach, and I'm especially intrigued by the spare tire well patches.. You say it works well, eh? Very interesting indeed.
I might do this....
Dynamat should work fine in small pieces like that - most of the sound deadening comes from the added weight to the panel. I have done it in small pieces to get it inside areas like a door, and only covered some of the door that I could reach, and I thought the results were great - my wife's old Ford Tempo doors shut with a thunk like a Mercedes.

Thread
Thread Starter
Forum
Replies
Last Post
tj@steeda
2015 - 2023 MUSTANG
2
Feb 26, 2016 09:30 AM