FRPP / Borla Stinger exhaust install
 10/5/06, 10:35 AM
#1
Thread Starter

FRPP / Borla Stinger exhaust install
*re-write due to lost thread*
This install is relatively easy. All you need are basic hand tools (metric wrenches and sockets).
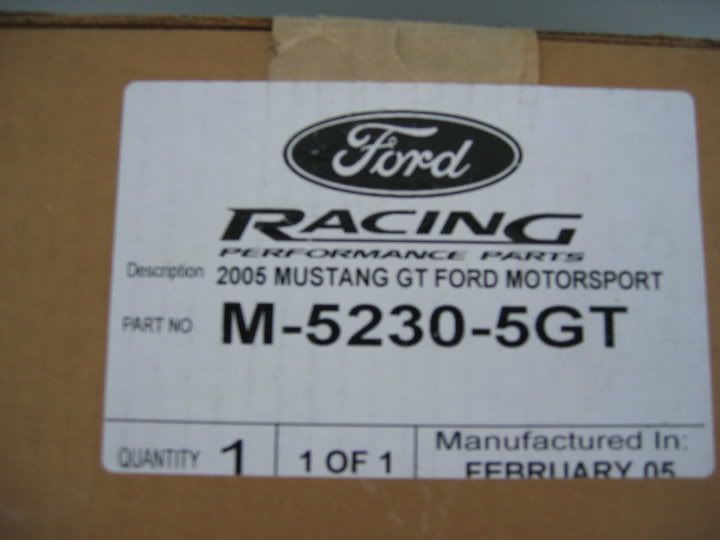
Fresh from the box!

First thing to do is plan to work on one side at a time.
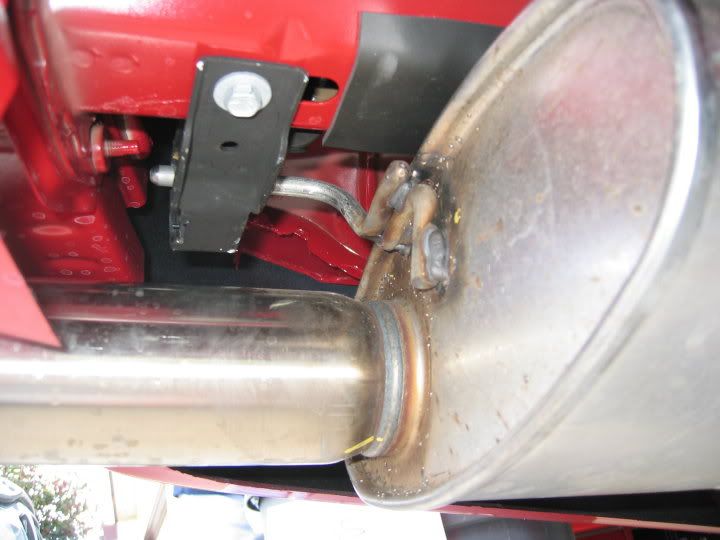
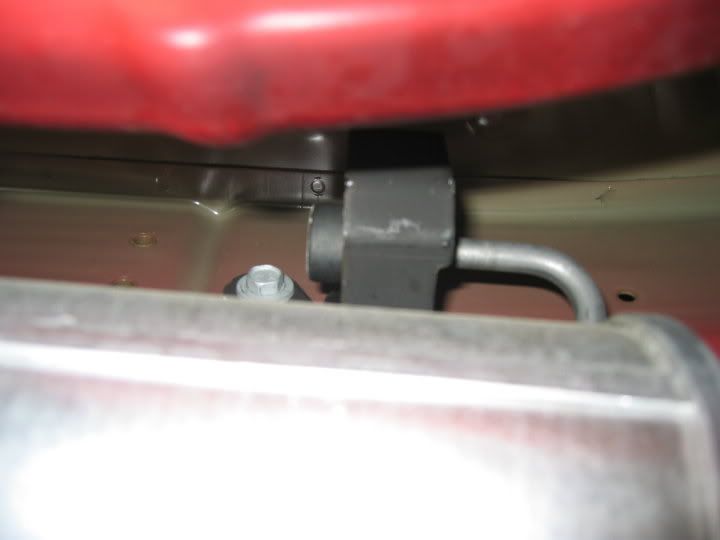
Loosen the over-axle clamp just forward of the muffler.
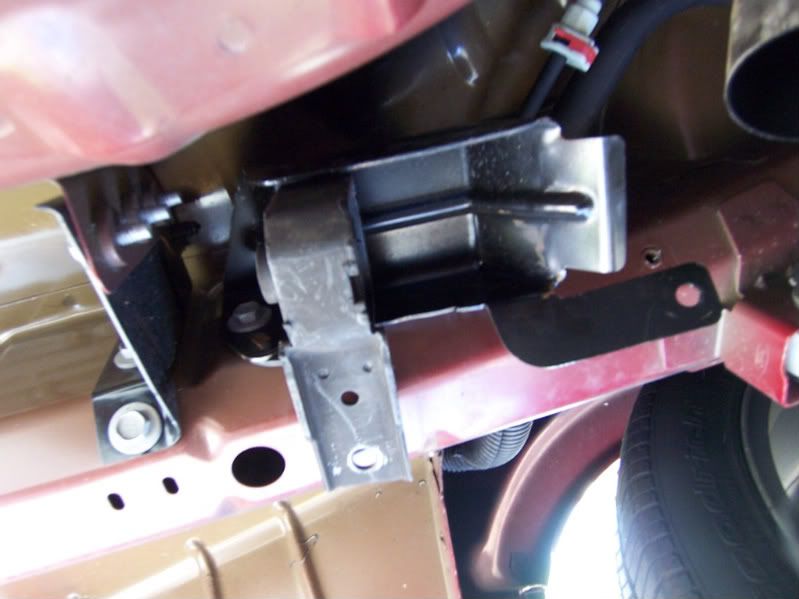
Unbolt the 2 muffler hanger supports (2 bolts each) off from the frame. Leave the black hangers ON THE MUFFLER. Yes, access to some of these bolts will be difficult. If you have one of those ratcheting box-end wrenches, use it.
With the 2 hanger mounts unattached, slip the muffler out from the car.
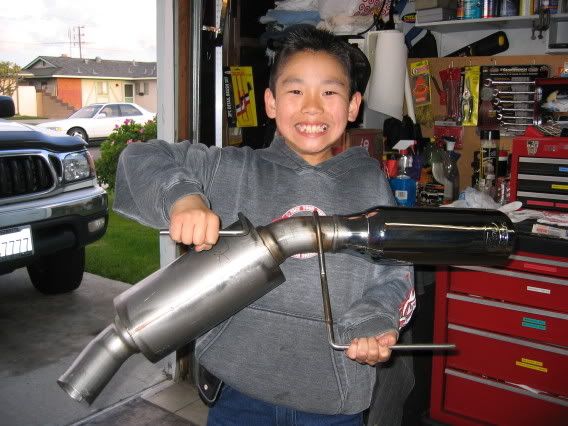
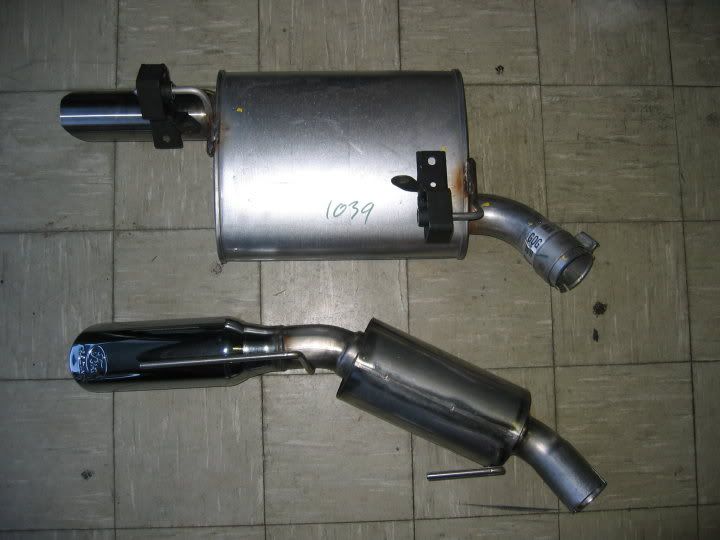
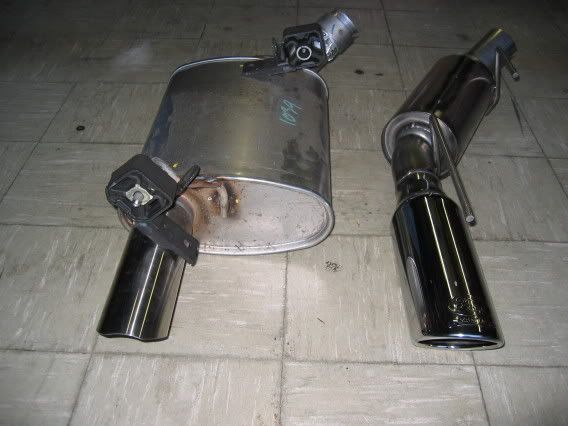
Here’s the OEM muffler next to the Stingers.
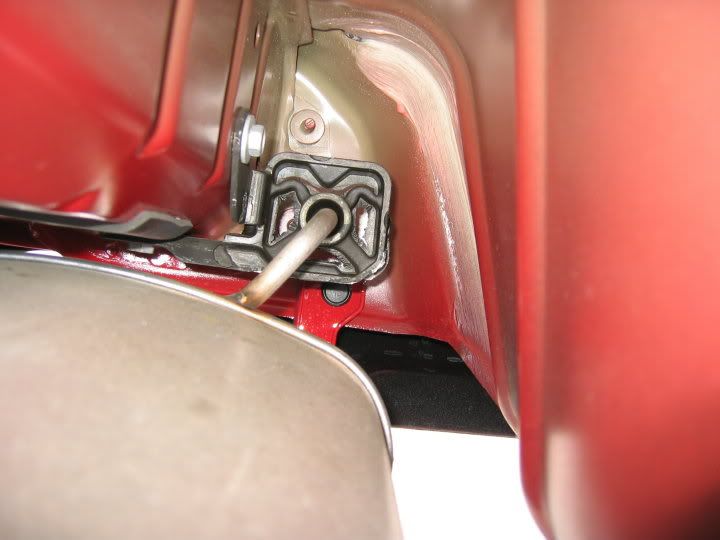
Transfer the black hanger mounts one at a time to the Stinger rods keeping the same orientation.
Position the new Stinger over the mid-pipe tube (with the supplied clamp on) so you can free your hands to line up the two hanger mounts back to the frame. Being that the Stingers are smaller, you now have more room to access those bolts.
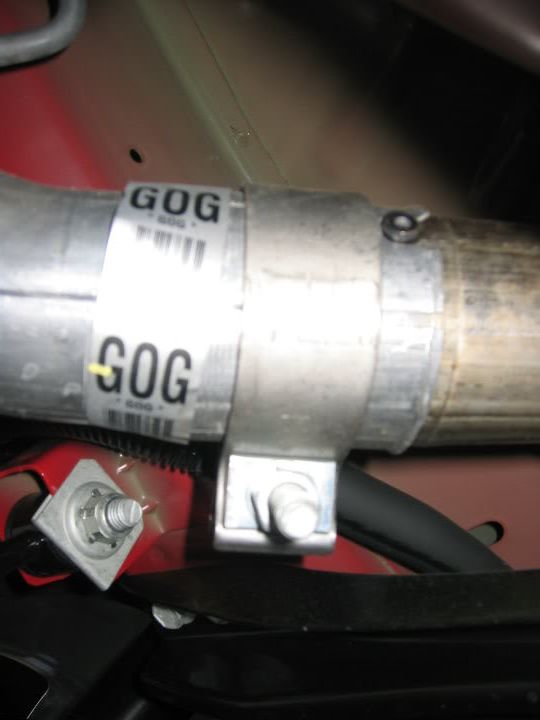
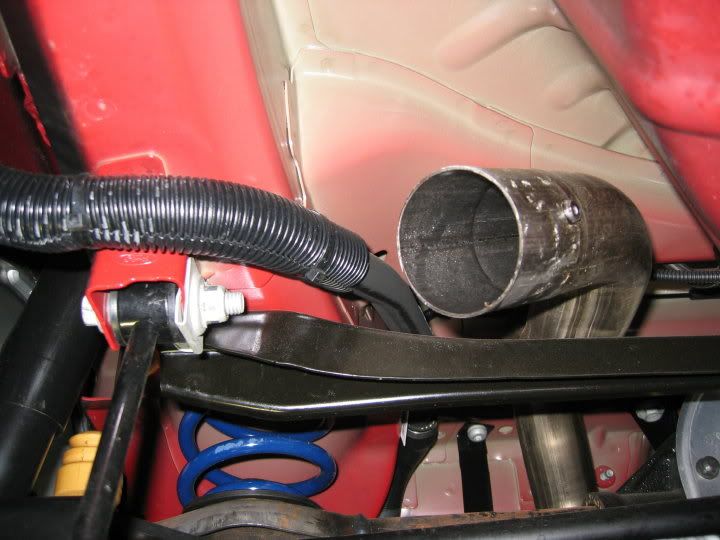
After you have the hanger support brackets installed nice and tight, you may notice one or both sides of the Stinger pipe pulling away from that indexing rivet on the mid-pipe or that the tips are not centered within the bumper cut-outs. This is due to preload of the pipes. What you’ll need to do at this point is to get to the mid-pipe clamp and loosen the two 15mm nuts on it. No need to loosen it all the way, just enough to where there’s slop in the pipes (you’ll feel it).

With both clamps loose (over-axle and mid-pipe), center your exhaust tip in the bumper cut-out and make sure the Stinger pipe is indexed all the way in that notch. This is where an extra pair of hands will come in handy… have someone hold the position of the exhaust tip while you tighten the over-axle clamp first, then the mid-pipe clamp last.
You’re done!
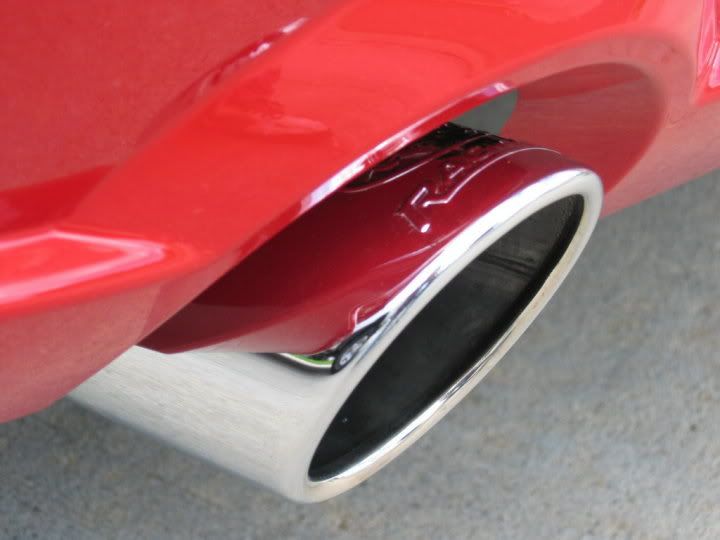
All that’s left is to clean up those 4” rolled tips!
This install is relatively easy. All you need are basic hand tools (metric wrenches and sockets).
Fresh from the box!
First thing to do is plan to work on one side at a time.
Loosen the over-axle clamp just forward of the muffler.
Unbolt the 2 muffler hanger supports (2 bolts each) off from the frame. Leave the black hangers ON THE MUFFLER. Yes, access to some of these bolts will be difficult. If you have one of those ratcheting box-end wrenches, use it.
With the 2 hanger mounts unattached, slip the muffler out from the car.
Here’s the OEM muffler next to the Stingers.
Transfer the black hanger mounts one at a time to the Stinger rods keeping the same orientation.
Position the new Stinger over the mid-pipe tube (with the supplied clamp on) so you can free your hands to line up the two hanger mounts back to the frame. Being that the Stingers are smaller, you now have more room to access those bolts.
After you have the hanger support brackets installed nice and tight, you may notice one or both sides of the Stinger pipe pulling away from that indexing rivet on the mid-pipe or that the tips are not centered within the bumper cut-outs. This is due to preload of the pipes. What you’ll need to do at this point is to get to the mid-pipe clamp and loosen the two 15mm nuts on it. No need to loosen it all the way, just enough to where there’s slop in the pipes (you’ll feel it).
With both clamps loose (over-axle and mid-pipe), center your exhaust tip in the bumper cut-out and make sure the Stinger pipe is indexed all the way in that notch. This is where an extra pair of hands will come in handy… have someone hold the position of the exhaust tip while you tighten the over-axle clamp first, then the mid-pipe clamp last.
You’re done!
All that’s left is to clean up those 4” rolled tips!
 10/5/06, 02:27 PM
#2
Mach 1 Member
Join Date: October 20, 2005
Location: Honolulu, Hawaii
Posts: 874
Received 0 Likes
on
0 Posts
sweet. thanks for the write-up and photos. i ordered mine and they should be in next week, if not earlier. i feel more confident installing it myself now.
btw, you look pretty young in those pics. i guess it is true that orientals look younger than their true age. (sorry bad joke, i am japanese)
btw, you look pretty young in those pics. i guess it is true that orientals look younger than their true age. (sorry bad joke, i am japanese)
10/5/06, 02:52 PM
#3
Thread Starter
10/6/06, 08:58 AM
#4
GTR Member
Join Date: January 26, 2006
Location: Central Florida
Posts: 4,639
Likes: 0
Received 0 Likes
on
0 Posts
 That is funny, Bill! Because you never do mention whether that is you, or your son.
Another great write-up to add to the list!
4/26/08, 03:01 PM
#5
V6 Member
Join Date: August 27, 2007
Posts: 83
Likes: 0
Received 0 Likes
on
0 Posts
Thanks for the write-up Taco Bill. One thing I noticed though, was that the front bracket on the drivers side was different that the passenger side, at least on my '08. It is actually held on with three bolts. Two that you take out, and the third is uses as a pivot point.
4/27/08, 10:51 AM
#6
Bullitt Member

Join Date: October 12, 2007
Posts: 397
Likes: 0
Received 0 Likes
on
0 Posts
Thanks for the write-up Taco Bill. One thing I noticed though, was that the front bracket on the drivers side was different that the passenger side, at least on my '08. It is actually held on with three bolts. Two that you take out, and the third is uses as a pivot point.
Yeah, good catch. I noticed this the other day when installed a Magnaflow catback on my 08.

Thread
Thread Starter
Forum
Replies
Last Post