When you click on links to various merchants on this site and make a purchase, this can result in this site earning a commission. Affiliate programs and affiliations include, but are not limited to, the eBay Partner Network.
I am very impressed. You have done a ton of work. Thanks for posting all the pictures and detail of your adventure. This is a very thorough restore of a soon to be classic Mustang. Car is going to be fantastic and can't wait to see it in a fresh coat of paint. Hang in there you are doing an amazing job cleaning up and refreshing this car.
Last edited by shaneyusa; Jun 24, 2022 at 03:08 AM.
Back with Update#3. This one will be a shorter one as I am hopefully this will be coming to an end with fixing it up to my vision for the car.
To start with this update, I continued with seat cleaning, this time the passengers side. I also installed an electric rail for the seat for my wife cause she is so short.
Being this is a 06, it didn't have the proper connector under the seat so I had to figure out how to splice the wires to fit the original connector.
Next I installed the plates for the pedals. I am glad I took these off the other car cause I don't think you can find these anymore and not only does it make the pedals look better, they are also very functional.
In my last update I mentioned that I put on 2014 side mirrors. Well they came with puddle lights but they were no good anymore, so I ordered some cheap ones off aliexpress and when they finally arrived I took them apart for the tiny logo disk that are inside all of these puddle lights.
I then opened up the OEM ones and swapped them. They came out pretty good.
A few days later I noticed that the drivers side puddle light was very dim. Turns out that I did not protect it enough when I put it back together and water got in damaging the electronics in it.
So instead of buying new ones, I took the ones I bought and combined both of them with the OEM ones and this time made sure to weather proof it before putting it back on the car.
Ill keep them like this for now, but later down the line when I have money, Ill get some new ones.
I thought of putting back in the Sync Nav unit that I had in my other car but I didn't want to go though all that hassle again, so I ordered a Dynavin Pro 8. It is pretty sweet but there are a few issues with it. I wrote a rather long review about it on their website, but basically the 05-06 have issues with the subwoofers. There is this constant static noise coming out of them. The company is aware of it and is working on a fix. They did send me a toggle to attach to the unit inline with the subs, where it has a dial and you can set the strength of the subs. So I set it to the lowest setting and it seems to work. But this is only a band-aid fix. The main issue is in the unit itself. Hopefully it is a software issue.
Another thing I didn't like about it was the fact that if you have music playing and turn off the car, the unit will automatically start up the music when you start the car again. This is something I didn't like and apparently I am in the minority.
So I installed a 3rd party OS and music player and it does what I want! The OS is called Car Launcher if anyone is interested. Its pretty customizable if you buy the Pro version.
The unit also has green LEDs behind the buttons on the bottom. This wouldn't do as all my lights are blue. So I took it apart and swapped the LEDs. It was easier then I thought.
Then disaster struck as I mentioned in one of my other threads. After I got the car road worthy, I took it out for its first spin on the road and after filling it up with gas, a clunking noise came out of the engine. I was so upset..like what is wrong with it now?
Its a good thing I was close to my brothers house. He is a master mechanic so I was hoping he would tell me what he thinks it is. After diagnosing it for a few day with him it turns out my timing chain was off. So I got it towed to a local shop to get it fixed. The tech there said that the lock pins in the camshaft actuators are worn quite badly int he their holes and the gaskets for the chain tensioners are blown out. They also put in an aftermarket metal timing chain guide instead of the plastic ones Ford uses... which I dont understand why they would do something like that.
So after all this work was done, the tech took it out for a final test, and...you guessed it.. another problem arises. The car goes into limp mode for some reason. He tests it and tell me that Bank 1 from the PCM is not communicating with the car and that I will need to either get a new one or get this fixed. So I more upset that this will cost me more money to fix... I call around, look online on what to do, but my brother said that he will look at the wiring diagram to see if it could be something else. He tells me that when I go pick up the car to look at fuse #47...so I do and sure enough it is blown. I change the fuse and just like that the car is working fine. Wow crisis adverted!!!
So when I get it back I went back to work fixing things. I knew the leather in the door were a big sagging so I glued them back but this time I added some trim around it and it makes the doors look a bit better and holds up the leather at the same time. Bonus!
Later when I have enough money I will be replacing the insides of the doors with the 2013-14 ones. So this is a temp fix.
This is the stuff I used for the trim.
Next I installed the Ford car starter system. I didn't have a slave key so I had to get one cut and programmed at the dealership. After that I programmed the starter with the car and even though the car starter is for the 07+, it still works just fine with my 06.
I also fixed the trim piece that goes around the shifter. One of the tabs broke off and it wasn't sitting properly. So instead of buying a new one at these crazy prices, I built my own tab using pla plate and glued it to the trim piece using POR-15. Worked out nicely.
This past labour day weekend I worked on the brakes, as they were making a funny noise and the fronts were pulsating. So I put on some new rotors.
Finally, after scouting a few places around town to get the car painted and asking for quotes I finally made an appointment for Oct 17th. Most places wanted $6-10k to get the car fixed (has some rust) and painted, but I don't have that kind of cash! Its the same amount that I purchased the car for!! So I found a shop where they also wanted $6k but said they are willing drop it to $5k if I came bare bones, so I am now working on taking everything off the car slowly. I cannot wait until the car is painted so I can finally put the it back together again and show you guys what the final result will look like....that is until next year when I add those front fender vents that I have been working on.
Last edited by VGMStudios; Sep 10, 2022 at 02:41 AM.
Great lookin' car, liking the color w/ the striping ! It'll be as good as new once you're done ! I recently got an '09 that came with fugly wheels; searched around and found some identical to yours. They look real good. Thanks for posting all the pics & restoration journey. From next door in QC. Cheers !
Thank you Viking99. Though I will be changing the colour of the car to G5 Alloy like my other one. Can wait.
The wheels that are on it now will become my winter wheels since they are so badly damaged.
Last edited by VGMStudios; Sep 10, 2022 at 10:40 AM.
SUPERCHARGED RED ROCKET ------------------Master-Moderator
Joined: May 11, 2006
Posts: 10,660
Likes: 2,528
From: Carnegie, PA
Have you ever considered becoming a professional detailer/restorer? Just by your images alone, I can tell just how passionate you are along with attention to detail
Have you ever considered becoming a professional detailer/restorer? Just by your images alone, I can tell just how passionate you are along with attention to detail
Tbh no I haven't and thank you for your kind words.
Wouldn't I need special training or anything? Then again I wouldn't know where to begin.
Being a perfectionist does help but man sometimes it's a curse. Haha.
SUPERCHARGED RED ROCKET ------------------Master-Moderator
Joined: May 11, 2006
Posts: 10,660
Likes: 2,528
From: Carnegie, PA
Originally Posted by VGMStudios
Tbh no I haven't and thank you for your kind words.
Wouldn't I need special training or anything? Then again I wouldn't know where to begin.
Being a perfectionist does help but man sometimes it's a curse. Haha.
Every single word posted was sincere.. As for special training is concerned, I have no doubt you would nail it with flying colors with your skills in addition to being a perfectionist in my honest opinion should be more than enough towards getting you over the top
Gotta Have it Green Fanatic Official TMS Travel Guide
Joined: December 17, 2012
Posts: 2,581
Likes: 1,375
From: Western NC
VGMStudios Your efforts are amazing but you are also making my stomach hurt thinking of all the $$$ you have put into this ride. It's going to be wonderful when done, that's for sure.
By the way, I like those puddle lights (in your post above) better than my 'stock' ones. You get color and the pony is positioned better. I just took this photo for another thread about door sills but you can see the comparison.
Thank you NC14GT!
Ya I know it is costing a little $$ to get it back to working condition but I feel so bad for the car and how the previous owners treated it.
Not sure when I will be done with it, because I am still thinking of what I want to do with it mechanically...you know, mufflers, engine...that sort of thing. Or maybe leave it stock. Its not like I am going to race it or anything. ha.
Dont like yours? Wanna swap then? haha.
When these go out I am thinking of getting the originals. The passengers side is already miscoloured as I probably didnt seal it properly and water got in.
Keep the posts coming! Very interesting read. Like others have said, this will be an awesome car when you are done. Sure you are putting in a handful of $$$ in this workover, but it will be clean, updated, and the way you want it when you are done... (Is the modding ever really done?) Great thread!
OK Update #4. This should be hopefully the 2nd to last one until the car is done. I still have a few things to do on it...more on that later.
To start off, as promised here the picture of the radio with a custom OS running.
As the date of my appointment to get the car painted was winding down, I was busy taking apart the car. I was worried about the rain cause as you know if you take off the trim around the windows water can get in easily...runing all my work. So after I stripped the car down I duct taped the gaps, except for the drivers side as I kept the trim there but only left a few screws so the shop wouldnt have to take them all out. I also replaced all the upgraded parts (mirrors, lights) with the originals.. I didnt want them to get damaged or anything.
I taped up where I didnt want them to paint and kept the car covered because of the rain.
So after I got the car back...which is a funny/annoying story...
When I went to pick it up, the car was sitting in their tiny parking lot. I looked it over quickly before going in to pay for the work they did. It looked good but after I paid and got the keys back I went to look it over a but more. The trunk was missing screws. The rear licence plate was missing screws and the 3rd brake light connector was ripped off from its wire, which I didnt know at the time. I thought it was the trunk connector that tell you if the trunk is open or closed. I only found out what it was after I got it home and tried to plug in a new 3rd brake light.
So I was about to take it home when I noticed that the rockers were missing. I asked the guy, what about my rockers? He said what rockers, you didnt bring in any... I said I most certianly did! So they checked their basement and sure enough they were there unpainted and untouched... "Oh ****, we will get them painted for you. Come back Friday". So I proceeded to start the car and noticed that I was almost out of gas.... I asked them about it, they had no idea... Also I had a check engine light... So I asked them about it too. They checked it out and it was due to the car being unplugged for a while. Cleared all the codes... Wow.
Friday rolls around and nada...
So the next week comes and I message the painter.. OH we will get those painted for you this week. Thrusday comes by.. I message him again.. Oh sorry, I thought I messaged you. They are done and you can pick them up whenever. OK great!
During that week I was also busy putting the car back together. I took off the front bumper so I could work on it inside the house since it was starting to get cold out. I was trying to get as much done because at the end of the week it was going to start snowing... argh..
I worked on getting the rear bumper installed and the rear lights. I installed the trunk lights and the licence plate light which was LED. It wouldnt work at first and I couldnt figure out why. But then I turned off the lights and back on again, it started to work.. Odd but Ill take it!
The next day I worked on the doors as I put in some more sound deading material and reconnected everything. I noticed that the boot that covers the connector in the door was off so I had to try to get that back on. Man I hate those thing becaue I had to remove the front panel which I end up scratching on the bottom. but no biggie...I had some touch up paint.
I then worked on getting hood mount back on the car when I noticed this on the hood.
It was UNDER the clear coat. So when I went to pick up the rockers, I showed them this picture and they couldnt figure out what it was. But they offered to fix it, which is cool I guess!
Next was working on getting the front bumper ready to put on the car. I worked on getting the 2010 Roush splitter on. At first I couldnt fiigure it out, but then it hit me how to do it. Did this all in the TV room on the floor. Also install the honey comb lower grille and the indicator covers.
Next I took the bumper to the basment cause drilling was making to much of a mess and started to drill the holes I needed to install the Shelby inserts for the lower mini fog lights.I didnt have a hole saw, so I drilled many holes and cut it out and shaped it with a dremel tool. I only did one the side that hosts the lights as I cut off the other side cause I will never run a tube for cooling the brakes. I also installed the licence plate holder.
It getting there.
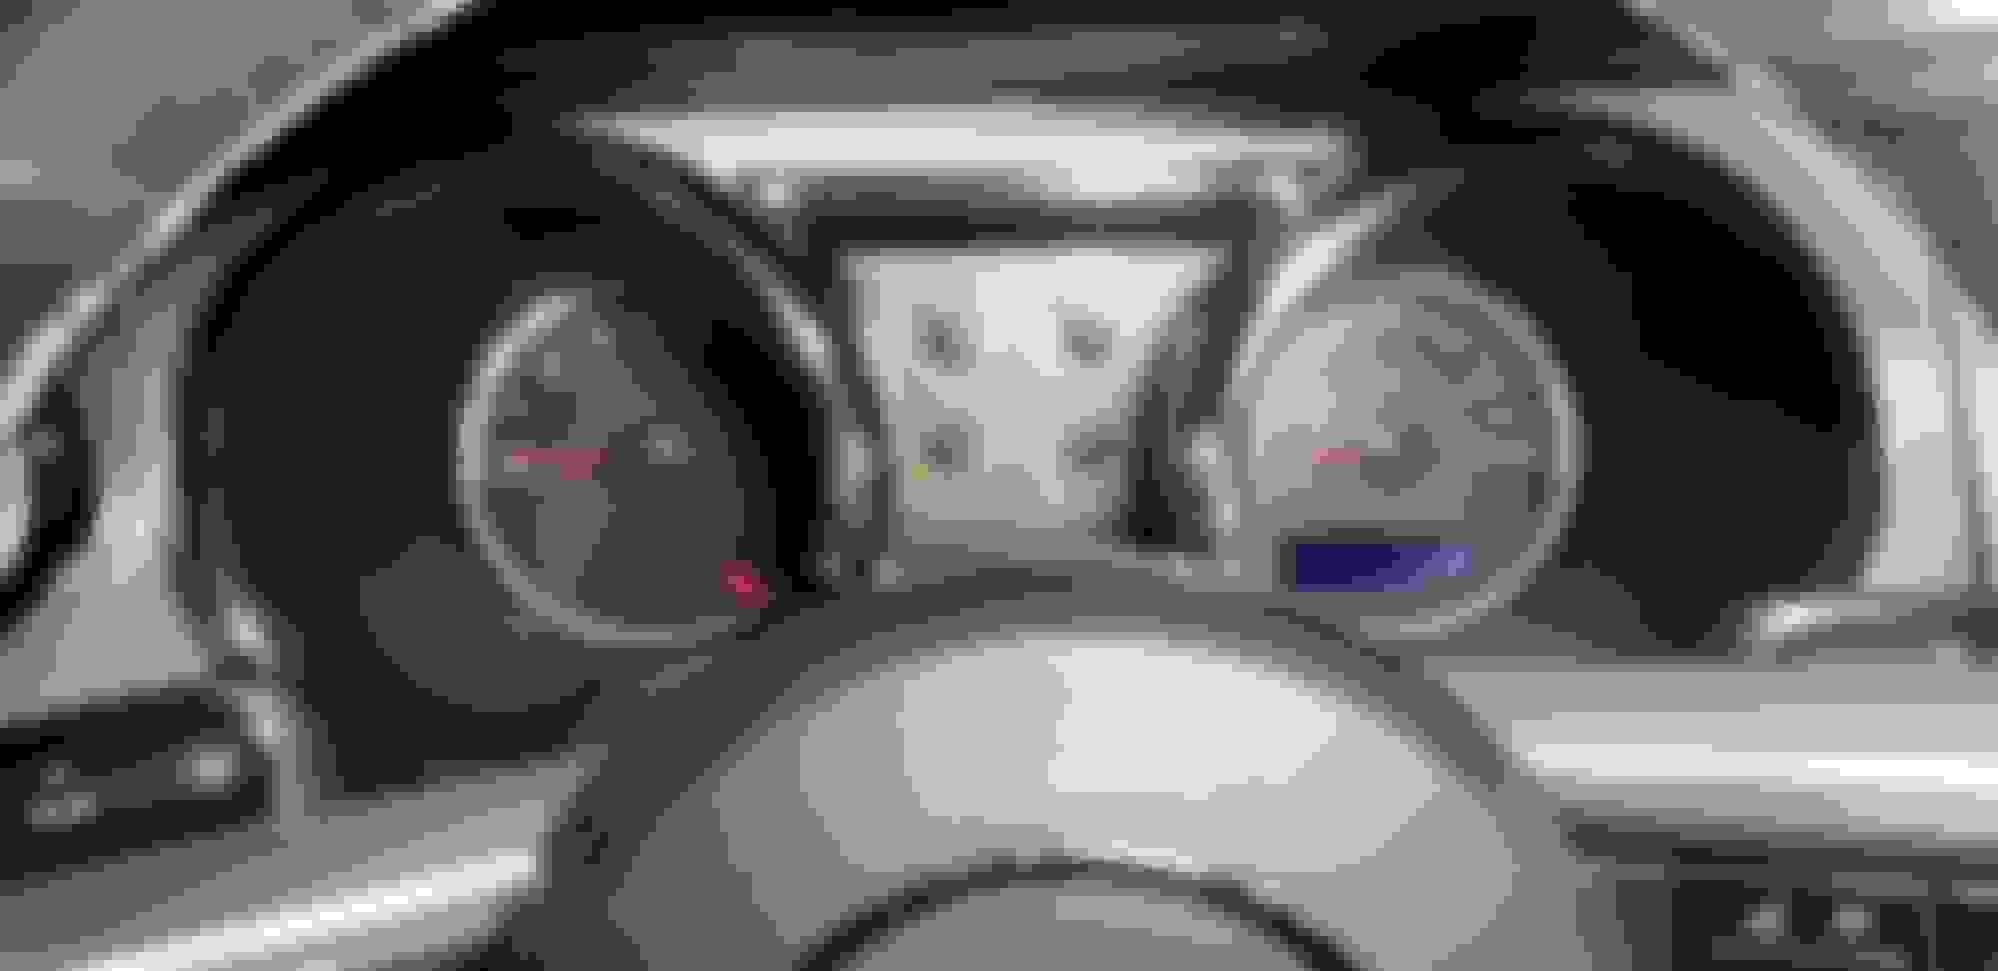
The next day I FINALLY received the EL panels I was waiting for so I can put together my cluster.
I went with a different design this time.
New car, new cluster.
It resembles the 2015+ which I think looks A LOT better than the original and asked to have the message center blue, which is SO much better.
What do you think?
So the bumper still needed to be put on the car and all the soldering needed to be done. I was really cold out and the snow already hit but it wasnt too bad, we where going to get a lot more snow and I wanted to get my car back together so I can drive it!
So I asked my brother if he knew a place that had a heated garage. He asked his friend and he was gracious enough to lend me his garage! So I packed up my car with everything that I needed and went to his place. I worked 10 hours in there non stop to get everything done, including fabricating brackets for the mini fog lights and soldering them in and its halos and installing the side rockers. I stupidly forgot the transfomer box for the mini fog lights and a few other things so I had to do that some other day. I was SO tired after that 10 hour session. I started around 5pm and finished 3am! At which when I opened up the garage doors there was a lot of snow on the ground. Driving home was fun as I didnt have winter tires on yet. haha.
In the next few days I worked on making some wire harness to connect the transformer box for the mini fog lights and to my surprise the weather was getting a bit warmer which melted the snow. Yay I can work outside!! So I installed new rotors and brakes for the rear. That got rid of the wierd noise it was making and installed the transformers for the mini fog lights and the headlight trim. But the frustating part that I found out that the custom indicators that I made do NOT work. ARGH!
They need a constant 12v to run and this car does not give a constant 12v from the indicator wire. I neeed to figure out what the output is and find something that will transform that variable voltage to a constant 12v!
So I had to take out the custom indicators and install the originals. Lots of back and forth.
I also tried to install some decals on the side of the car but I ended up ruining them! So I ordered some new ones and Ill have to find someone to install them for me. Maybe Ill ask the guys who will put on the PPF this Jan...
Next I found out that I am getting engine noise from my speakers. It wasnt there before!!! I fixed and made sure the grounds to the battery and acc were tight and its still there. I dont understand why this is happening AND 1 2 & 3 of the AC controls do not work. Turns out the motor resistor is burnt out...again! You fix 1 thing and 3 other things break!! Sigh.. So that it were I am now.
Oh and today I found out that the stepper motors burned out while I was driving. LOL anything else that I need to fix? I know its an older car and these things happen but all at once is a bit frustrating.
Anyways here are some pictures of the car. Still have a little ways to go..
Custom rear faux gas cap!!!
I have another one that has a smaller pony for sale if anyone is interested.
Day Time running lights!
Yes I know 6 lights is illegal.. I dont plan to turn them on when I see cops around. LOL.
Custom rear side markers.
Thats it for now... I will update again when I have some more.
Last edited by VGMStudios; Nov 27, 2022 at 10:35 AM.
Gotta Have it Green Fanatic Official TMS Travel Guide
Joined: December 17, 2012
Posts: 2,581
Likes: 1,375
From: Western NC
WOW!! Impressive work. That shop didn't sound real competent to me though.
Looking great except for that front license plate. Do they ticket you if you just keep it in your car?? You can always say, if stopped, that the bracket is broken and being ordered.That might work if it ever happened. Only a jerk would write you up, especially if you were apologetic and polite.
Wow! is right. You are doing a full make over of this beast. I second the "Very impressive work" from @m05fastbackGT . With all you have done and know about the custom work you have done, you could start a custom car shop and do this for a living. Very nicely done, and Great Work! Love to read your write-ups. Nice to follow what you are doing to the car. Congrats on what you have done so far. Hang in there, there will come a day when the little things will quit nagging you and the car will be very reliable. Got to say this again, "Great Job! Very impressive! Keep the updates coming!
Tinkering is What Hot Rodding is All About! Great to See Someone thinking outside the Box ! Sharing the Process is How we Learn. I came from the Use What you Got School of Thought in My Early Days! Bucks were Tight as a Teen! I can Tell you the Engines in My Cars Back in the 70's Were Clean Enough to Eat off. And They were 10 Year Old Cars Most of the Time! Similar to My 63 Dodge in 2000.
Sold it to Send Oldest Daughter to Fashion School! She Dropped Out a Week Later! Still Smarts! I loved That Car! Oh and She Totaled the School Car I Gave her as Well! Aye Carumba. Blew the Engine in Her Town Car Her Mom Gave Her as Well! My Youngest Sarah Can Take Care of a Vehicle. Nichole on the Other Hand at Least in Her Early Years could Total a Tank! She Has Got Better! She is Almost 40 so I guess She was a Late Bloomer! Different Mom's Her Mom Blew up the Engine in a New Toyota Go Figure. Oh Wait, They Both Ran the Cars out of Oil Hmmm. Maybe a Pattern Here!
Nuff Said!
Anyhoo, Thanks Do Much For Sharing your Mods With Us and Also Helping Other Members with Their Upgrades! Certainly Great Craftsmanship & a Lot of Patience!
Kudo's My Friend!
Oh, And I know you will Still be Be Looking For Something Else to Tweek & Improve!
We Look Forward to Future Improvements!
KC
1963 Polara 500 69 440 Magnum 4 Speed Built to 500 Hp Circa 2000, AHHHH So Simple & Easy To Work On! This Thing Had So Much Cam it Would Set off Business Alarms Idling {1200 RPM} while Driving Down a Narrow Downtown Street!
Last edited by 05stangkc; Nov 30, 2022 at 06:18 PM.
This is update #5 and oh boy do I have A LOT to update everyone on since it has been almost a year.
Some time back in the winter I was driving home and the car started to make funny noises. Unfortunately I was on a main road and I had to stop. Put on my 4 ways, and went to check the engine. Not seeing anything wrong, I put it in drive and the car wouldn’t move!!! So I shut it down and tried to restart it and it wouldn’t start...just my luck. Luckily there was a tow truck behind me and he asked me if I need a small tow bed truck (remember this) and I said yes. We bargained a price and I ended up paying $200 to get a toe to my home. He was very careful to pull the car onto the bed since it is lowered.
Called my brother the next day to see if he could help and he came over with his fancy computer to plug in the car. Turns out that it was the timing chain again!!! So I called the auto shop a few days later where I got it fixed before and they said to bring it in and they will look at it and fix it under warranty.
So the day came for the car to go in and my mother called her bank since she has towing service through her bank and scheduled a tow bed truck to come pick up the car and bring it to the auto shop. The lady calls back and asked if the car is lowered and we said yes, she then says OK thanks and hangs up. The towing company wanted to know. So it was dark when the tow truck comes. His truck is a full sized tow truck with a bed and he parks on the street. I help him push my car on to the street but he leaves it at an angle. I thought it was a bit weird. He then proceeds to hook up only one side of the car (passenger side) with the hook and began to drag the car up the ramp, while I am steering it. While that was happening, I heard the chains snap a few times and I knew something went wrong. After he got the car on the bed I went around the car to make sure there was no damage. I got to the front of the car and he is fiddling with the bumper for some reason. So I asked him if anything is damaged, he says no, so I take out my phone and turn on the flash light and found this...
Upset I asked the driver, NOW WHAT?? He says he will pay for the damage. What made me so angry is that I JUST got the whole car painted and got these NEW bumpers on a few weeks ago. Driver drives off and doesn’t charge me for the tow.
He gave me his number to keep him informed of the cost of the damage but he wasn’t answering my texts. I waited 2 days for him to reply. Not getting a reply I called the company to file a complaint. The owner of the company picks up and says, "Oh you are the guy with the Mustang? Ya, we are NOT responsible for the damage because the car is lowered and it is cold outside". I was like are your freaking serious? They are definitely responsible. He says that he will call me back because he is currently busy and wants to talk to the driver again. So I wait hours for him to call back. He never does. So I call him back and he starts to get angry at me and says he is still busy and will now call back tomorrow.
While waiting for him to call back I went to the garage to take a closer look at the damage. Turns out the hole was bigger then I initially thought and not only that, he also damaged the splitter.
The splitter damage:
I sent this information to the owner and he never replies. Basically thinks he is going to get away with this. So my mom calls him, since he is now blocking my number to discuss a settlement. He give her too the run around, so having enough of his antics, my mother calls the bank since they are the ones who hired them to investigate the situation. They asked for an estimate of the damage to get everything repaired. I needed a new CS Bumper and get it painted. Also needed a new splitter. So we gave all that info to the bank. THREE MONTHS go by and the bank finally calls and said that we need to call the towing company and they will pay for everything. So we do and of course they act stupid. They then go on to say, how does he know that we won’t go after them for more money. I was like are you serious? So my mother finally convinces these jerks to pay and we got the money finally. I found a new bumper locally, thankfully but I managed to fix the splitter. So free money there.
After getting the money, I proceeded to write a nasty but truthful review of this company everywhere I could. Turns out I’m not the only one who had a terrible experience with them.
So after that fiasco, the auto shop called and after waiting what was for ages for them to get the proper parts in, they managed to fix the car but while the tech was test driving the car, it went into Limp mode and they didn’t know why. He tested the car with his computer and it said I needed a new PCM! Oh man...is there anything else that can go wrong??? My brother said he will look more into it cause he doesn’t believe that I needed a new one. Turns out it was a blown fuse! Thank goodness. So replaced the burnt fuse and it ran perfectly. I have my car back!!
Next I bought and installed the Dynavin radio but my car was giving off a lot of static noise with it. Working with the company to figure out why, they gave me a bass regulator and that seemed to help a bit but the buzz was still there. I managed to track down what was wrong and it turned out to be the Alt. I was on its way out. So I bought a Denso Alt (reman) and installed it, but when putting back the belt on the car I forgot to remove the bar that you use to pull back the tensioner and I stupidly turned on the car and BANG!
Snapped in half!
I was laughing at myself for making such a stupid mistake. So I bought a new one and installed it but when putting back the bracket that goes on the Alt I managed to snap the bolt.
But when trying to drill it out this happened.
HAHAHA is there anything that can go wrong? Maybe I shouldn’t be working on my car. hahaha
So I fixed it with some metal putty and didn’t bother bolting that side as I was told the bracket is not needed.
I wanted to upgrade the coolant to the newer design so I bought the newer one but I never used it.
Before I forget, I said in my last update that I would show how I managed to affix the lower fog lights to the car. This is how I did it.
Even though the car was fix and running, I did not trust the engine or the transmission cause the car would still studded a lot after a while when driving it. I would have to throw it in N and rev the engine for it to run properly. Having enough of this crap, I decided that I am going to change both. I should have done this in the beginning.
Calling around I managed to find a practically new 2009 engine and tranny with only 41000 KM on it for only $3k CND! I was excited but I couldn’t buy it till the spring since I needed to save up money for it. While waiting, I started to customize the car a bit. I took off the rear faux gas cap cause I didn’t care for the GT symbol on the back and made this. 3D pony.
Spring came and while I continued to save money for the new engine and tranny, I have always wanted the 2010+ door panels since I think they look so much nicer but first I installed new decals on the side of the car.
I managed to find some from a 2014 at a Auto Salvage place in a few provinces over for a good price but when they arrived they were missing a few things and boy were they sun damaged and filthy. Calling the company, the lady who helped me was a bit upset because whoever packed the door panels miss to include those parts. So she tracked some of missing parts and sent them to me, although I never got them. I called back and it turns out they were sent to the wrong address. Lol.
Tracking the parts down she managed to find them sitting at a post office and redirect it to my place. Thank goodness.
While waiting for the parts to come in I began to clean up the doors. Let me tell you, this took A LOT of work to get them looking good again.
Searching and researching on how to install them, I found out that most ppl make new holes in the door panels which I didn’t like and also that the new window buttons didn’t work. You need to swap them with the 05-09 buttons but the thing is they leave a rather large gap in the back. Not liking that either I went to work on custom fitting the new buttons over the old ones so they function properly and look stock.
This picture show me working on the 05-09 buttons so the new ones could fit over them. In retrospect after getting everything working I figured I didn’t have to cut a hole in the older buttons for the light to shine through. I just needed to scrap away the back paint.. Oh well.
This is the final result;
I also wrapped the cover in carbon fiber vinyl sheet to go with my theme.
Now onto getting the door to fit properly. I custom made these so the screws on the side of the door could use the holes in the panel.
I also cut out new holes in the door itself so I could use the bottom screw holes.
After this I fit the door panel and everything lined up the way it is supposed to. Now on the door light. Most ppl just tie the door light into the door lock illumination wire. Well you guess it, I didn’t like that and had to come up with a way for this light to function like the 2010+.
I want the light to turn on when opening the door. Shut off when closing the door and turn on again when you turn on the headlights. So I came up with using 2 replays to get them to function properly and installed them in the door.
Now that everything lines up the door panels needed to be altered for them to sit properly.
Also came up with an idea to have the air vent that is in the door to work as well.
I took the hose that is connected to the air vent behind the dash so when you turn it the windshield the windows will get hot air as well.
Here the final result of the doors.
Not bad if I do say so myself.
Ok on to more customizing… So I was installing the trunk liner… I was drilling holes and...
Managed to drill right through the trunk. DOH! Another stupid mistake. Got it fixed tho by the same guys who painted the car. They needed to paint the new bumper anyhow, so while they did that, they managed to fix this too. haha.
Okay now the fun part... Still with me?
I managed to save up enough money for the engine and tranny. It was shipped to my house and I began to swap it myself starting in August. It took me 2 months to get it all done. I was not expecting that there would be so many hiccups and new parts that I needed to buy. I was really frustrated with this swap at points. For the most part it went smoothly but I didn’t know for example that I need to swap my oil pan, or that I needed new gaskets for every little things that you changed. ARGH. Or need new bolts cause everything is one time use. It’s so frustrating. To make matter worse it rained a lot during August. So I bought a tent to cover the car so I can work on rainy days. Also protected me from the sun which is bonus as I burn quite easily. haha.
For example. I was trying to get this thing out. But every time I tried to pry it up it would break more and more. I wasn’t aware that you needed to push it up from under the tranny.
So what I did was I bought a new one, and spliced it in.
Here is a pic of the old engine coming out:
This was rather exciting and a lot of work. I had a neighbor help me get it out. Also rented the lift from a garage my bother knows. I rented it for 2 weeks cause that how long it took to get the new engine/tranny in and I put them in all at once as I did not want to spilt them up.
Getting the mufflers off was a pain too. Had to cut those couplers since they were so rusty.
After I got the engine/tranny out I cleaned up and painted the engine bay to match the rest of the car.
Managed to get the new engine in. Hooked everything up and started the car. I didn’t have the cats connected because I was waiting for new couplers. It fired right up! I was so happy but it ran really rough, esp. at idle.
Told my brother and he came to test the car. His fancy computer said that BANK 2 was running to lean. He decided that he was going to try to swap in a new sensor to see if that would fix the issue. But he had to do it later as I did not want to drive the car without the cats installed.
The car also did not like the 09 throttle body, so I swapped it with the old one. That helped a bit.
Oh boy, this next part was the most infuriating, frustrating part of the swap. It was the LAST thing to do to get the car running....putting back the cats. You’d think it would be an easy task but NOPE not for me.
One of the driver’s side stud was bent a little. So I heated it up so I could bend it back into place cause the nut was having such a difficult time going back on....so I was slowly moving it with a pair of pillars when SNAP! The bloody thing snaps right at the hole.
PERFECT! Getting a new stud costs $100 for ONE! Freaking ridiculous. My bother though manages to find some cheaper ones so I buy those instead.
So getting out my drill I drilled out the metal of the snapped stud. This took a while but I managed to get though. I bought a set of thread tapping bits so I could cut new thread to screw in the new stud when SNAP!! The freaking tap breaks off at the same spot. Like WTF! Is there anything else that can go wrong???
Nothing would works drilling this thing out. I tried so many different drill bit, even came up with an idea so I wouldn’t have to hold the drill.
Remember I am on my back trying to drill this thing.
So nothing was working and I was frustrated, so I began to research how to get this Tap out when I came across an YT video where the guy used Masonry bits! Huh I will try anything.
Bought a set and following his instructions, it took a long time but man it WORKED!! I got through!
But the hole now is too big for the stud, so I just used a bolt and locking nut to put everything back together. PHEW what a job. Took me a few days to get this thing out.
I don’t have a pictures but I also installed an EPAS from a 2014 and new GT500 control arms as well as fixed one of my Fog lights since the halo in them stated to malfunction.
So since I installed these things, I had to get an alignment. So my brother took the car to his shop and did the alignment and refill the AC since I released the fluid by accident while taking apart the car and installed the new censor for the passenger cat.
He came back and told me that my AC wasn’t working and the sensor wasn’t the issue. Ha ha ha more things going wrong. I did some more research online and ppl where saying that the wires on the cats (green connectors) was swapped. So in the rain while having a head cold, I began to swap them and HA-ZA! All of the rough idling was gone and the car ran great!! Wow I was so happy.
Now to figure out the AC issue. The next day I was trying to figure it out, I was testing wires under the dash and tried to turn on the car. It wouldn’t start and the security light would just flash. Sigh more things to fix.
The code said that the PCM was bad, but I didn’t believe it. I tried everything to get the car running and nothing was working. The SJB would just click and nothing would happen. So more research online and it turned out it was just a dead battery! Phew!
Car runs again.
That weekend I brought the car to my brother’s house so we could figure out the AC issue. More research and we found the problem. It was unplugged at the connector near the firewall. haha.
All that is left now is to figure out the cars parasite leak since the battery dies too quickly and to fix more paint issues I found on the car. I brought it back to the paint shop and they said they’d fix it next spring. So that’s good.
Phew what an adventure! So that’s it for now. I still need to fix the drivers side rear axel as it's bent and I want to install new gears in there as well. Next year I will be installing some vents on the side and hood and fixing the axle issues. I should then be DONE! haha... ya right.
I’ll get a new picture of the car of what it looks like now and add it to this post but man, the car pulls so nicely now with the new engine and transmission. Oh I forgot to mention that I did change all the fluids myself as well. From engine oil to the tranny fluid. And a special thanks goes to my petit wife who helped me with getting the new engine in and helping with the tranny fluid change. 😊
Till next time....
Last edited by VGMStudios; Oct 26, 2023 at 09:48 PM.
Wow great job and that's why I don't work on my own cars because I'm a bull in a china shop I would have broken even more parts! Best of luck and I hope she runs like a champ for you!
WOW!! Just saying I'm impressed doesn't come close to how beautiful your car is. And I have a question. How can I buy the instrument cluster posted in your Update #4? I'd need it in MPH. My cruise control stopped working because of some bad soldering in my cluster so rather than fix the issue I'd rather replace it with the style of your cluster. Thanks, John
Originally Posted by VGMStudios
OK Update #4. This should be hopefully the 2nd to last one until the car is done. I still have a few things to do on it...more on that later.
The next day I FINALLY received the EL panels I was waiting for so I can put together my cluster.
I went with a different design this time.
New car, new cluster.
It resembles the 2015+ which I think looks A LOT better than the original and asked to have the message center blue, which is SO much better.
What do you think?
Wow great job and that's why I don't work on my own cars because I'm a bull in a china shop I would have broken even more parts! Best of luck and I hope she runs like a champ for you!
Thank you so much. Believe me I know exactly what you mean. There were times I wanted to smash things but I had to control my anger. Especially when both the stud AND tap broke in the same spot.
He runs like a champ now other than the squeaking rear wheel because of the bent axel. It definitely was a learning experience since I've never done an engine swap before.
WOW!! Just saying I'm impressed doesn't come close to how beautiful your car is. And I have a question. How can I buy the instrument cluster posted in your Update #4? I'd need it in MPH. My cruise control stopped working because of some bad soldering in my cluster so rather than fix the issue I'd rather replace it with the style of your cluster. Thanks, John
HI John. My name is John too! Haha.
Thank you so much for your kind words. Truly appreciate it.
The customer cluster is just a custom cluster face not a full cluster. Sorry about that. I do sell kits of the cluster face and they are customizable to what the customer wants. If that's still something you'd be interested in, lmk. Also if your cluster just has bad soldering job I could help you out since I'm pretty handy with a soldering iron of you'd like.


 but no biggie...I had some touch up paint.


 Thanks Do Much For Sharing your Mods With Us and Also Helping Other Members with Their Upgrades! Certainly Great Craftsmanship & a Lot of Patience!