
MGW Oil Dipstick Handle Install (w/pics)


MGW Oil Dipstick Handle Install (w/pics)
Disclaimer: Before I get slammed, I realize that this is a simple mod, but it's one of those things that you wonder how it goes on, I did.
This 15 minute install was a welcome sight in comparison to my last few mods.
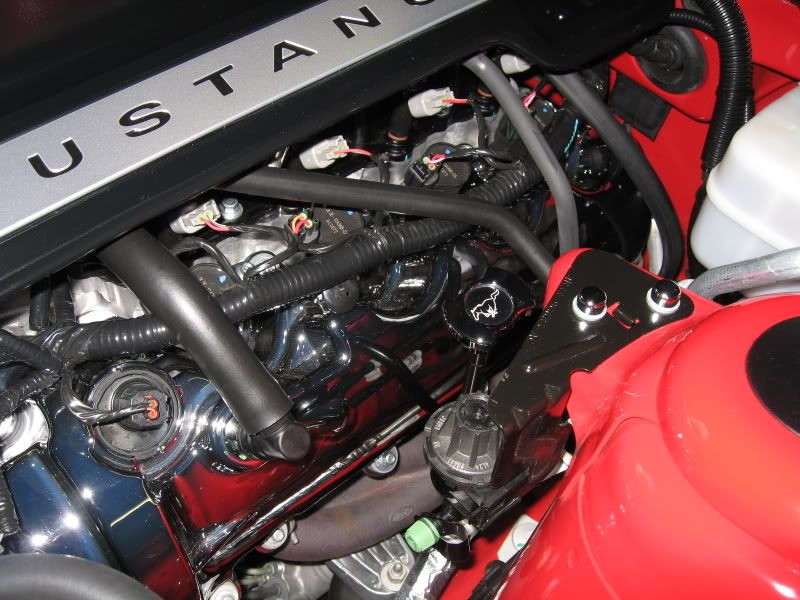
The yellow plastic dipstick handle started to clash with the chrome accents in my engine bay, so I went shopping at the MGW website! I found the perfect dipstick handle to compliment the other MGW caps I have in my engine bay. At a great price and easy installation, it was a slam dunk deal.
Installation time: 15 minutes (tops)
Tools required:
Hacksaw or Dremel (or equivalent to cut through plastic)
File
Cleaner and rags
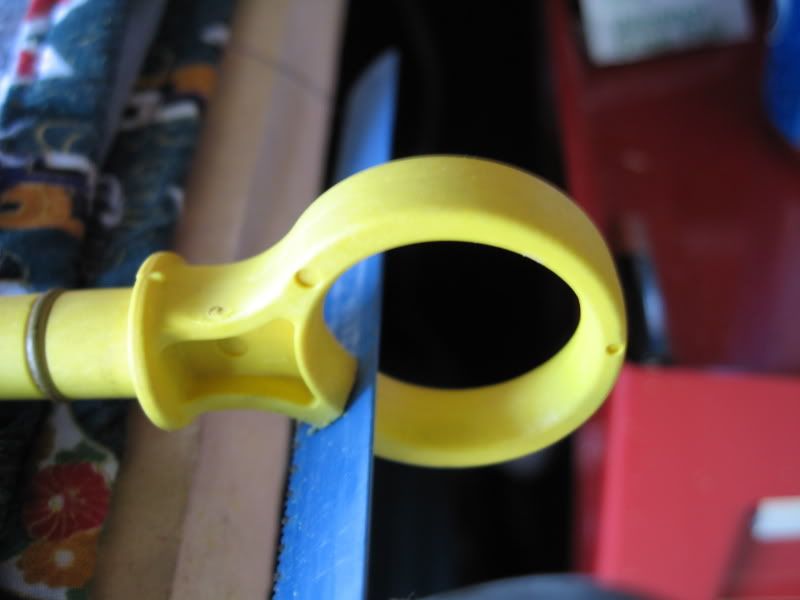
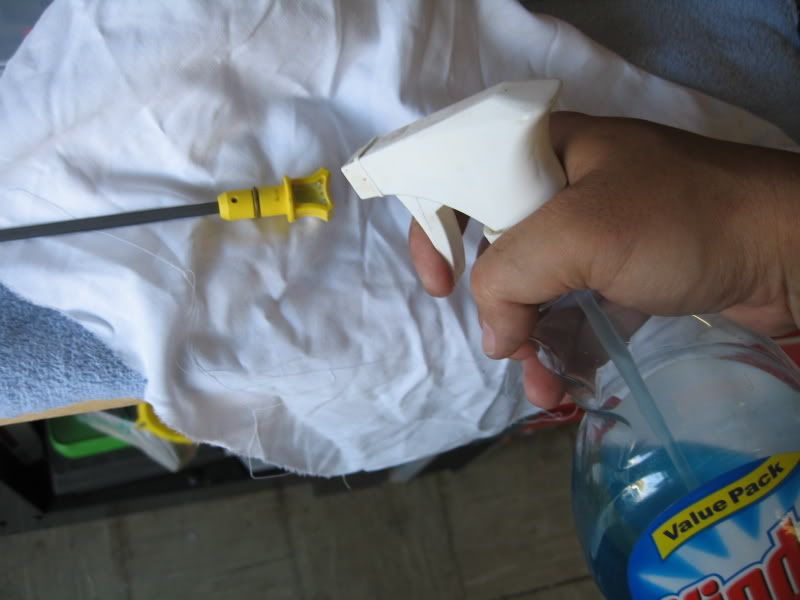
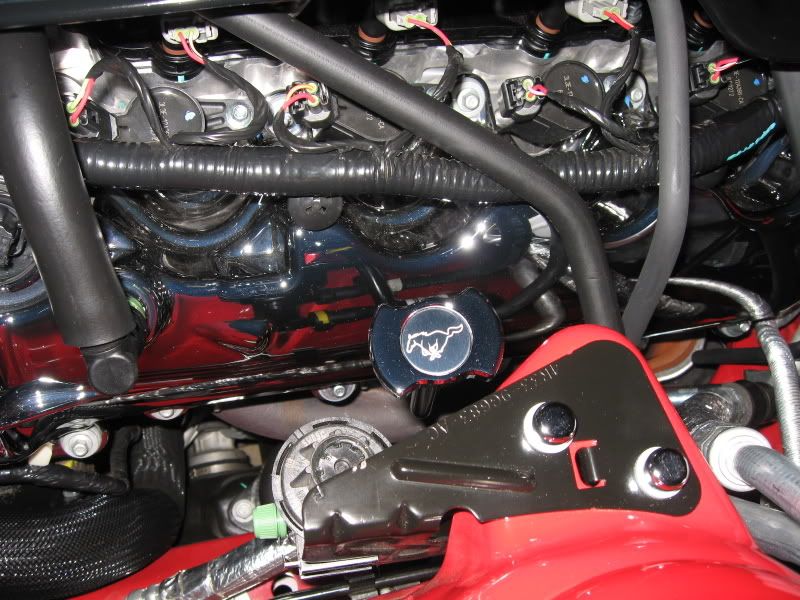
Baseline picture
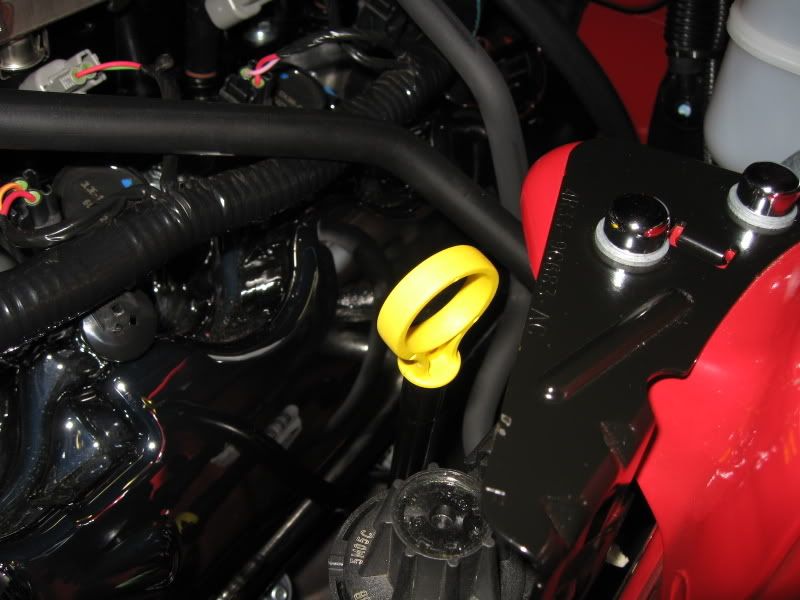
Remove the oil dipstick and with a clean rag, wipe clean.
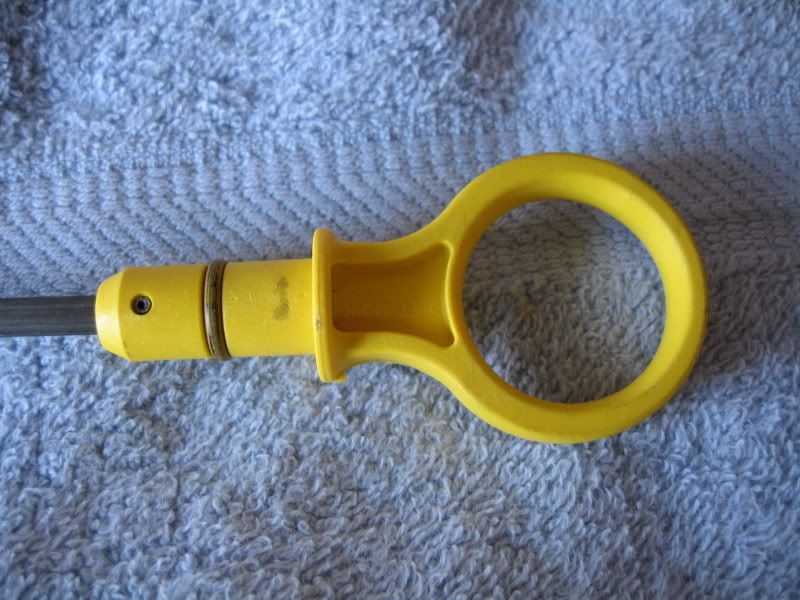
Pictures of the stock handle.
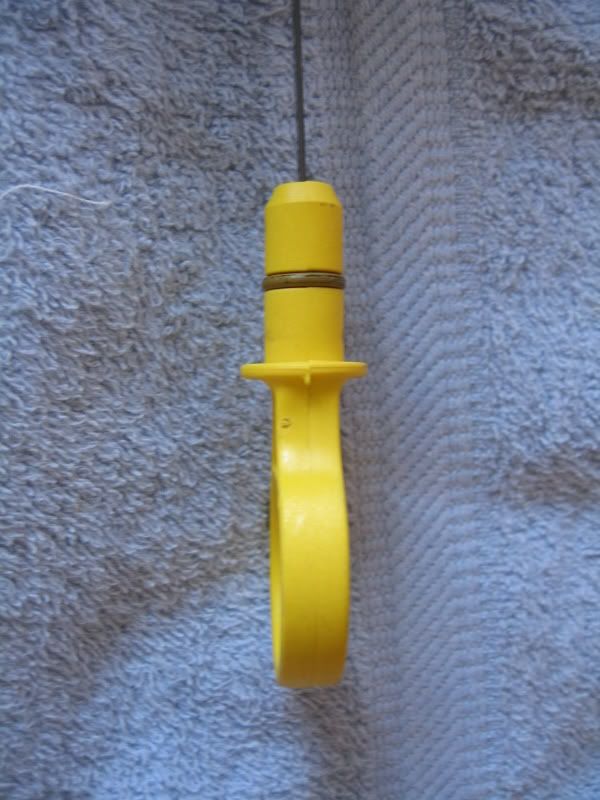
Holding the dipstick up, MGW directions say to cut the handle at the 5 and 7 o'clock positions.
I used a hacksaw (with handle) to accomplish this. The yellow handle is made of plastic, so cutting through it is fairly easy. If you don't have a hacksaw handy, you may be able to sneak a steak knife out from the kitchen, just don't let the wife catch you!
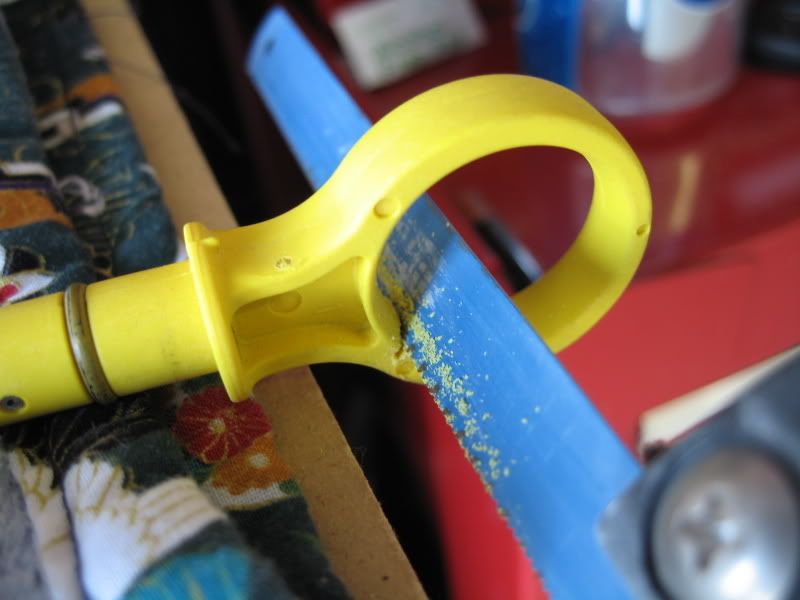
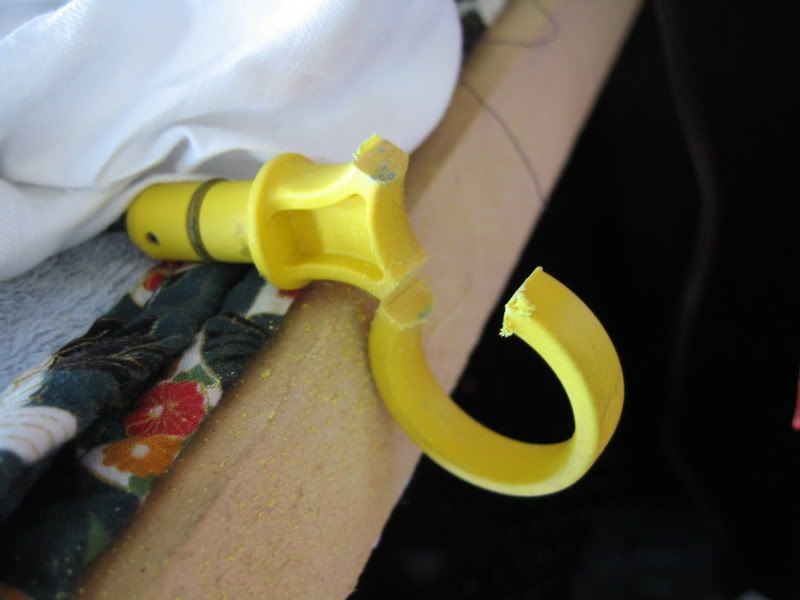
This is what you want to end up with (or close to it).
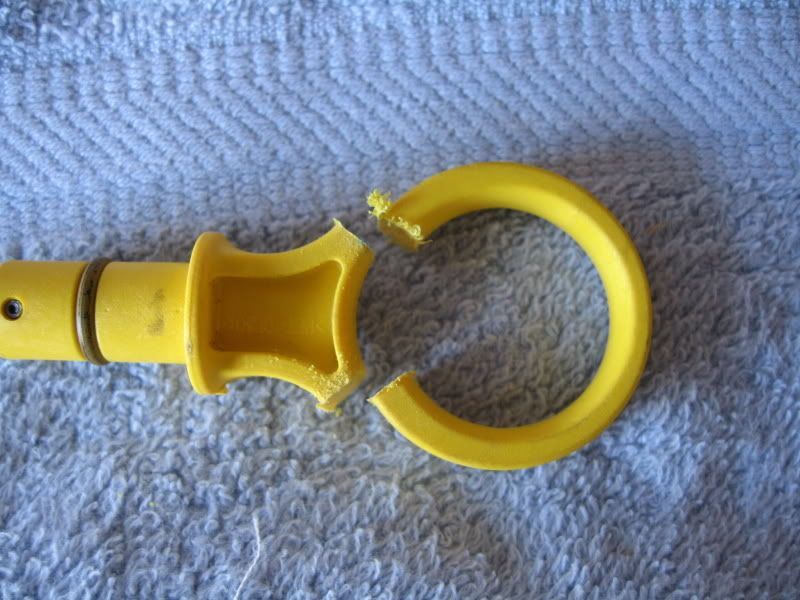
File off any burrs and sharp edges.
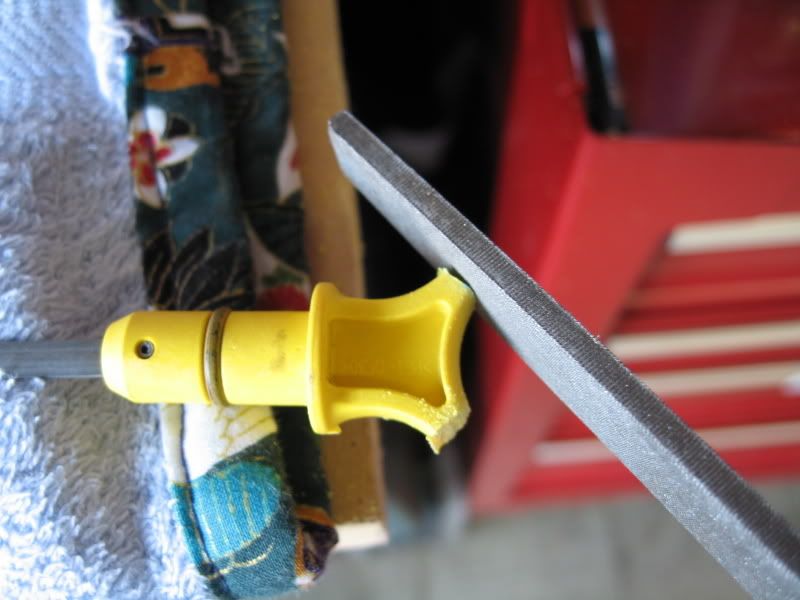
Clean off any traces of file shavings.
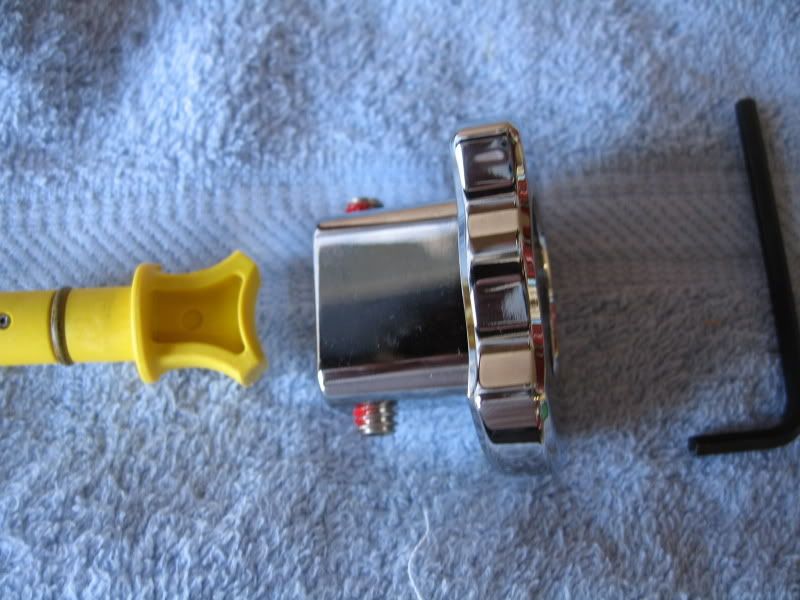
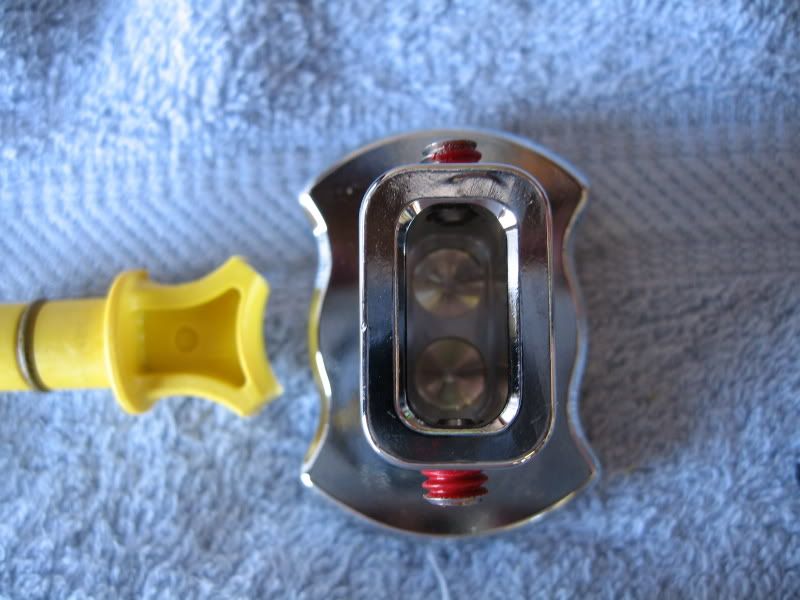
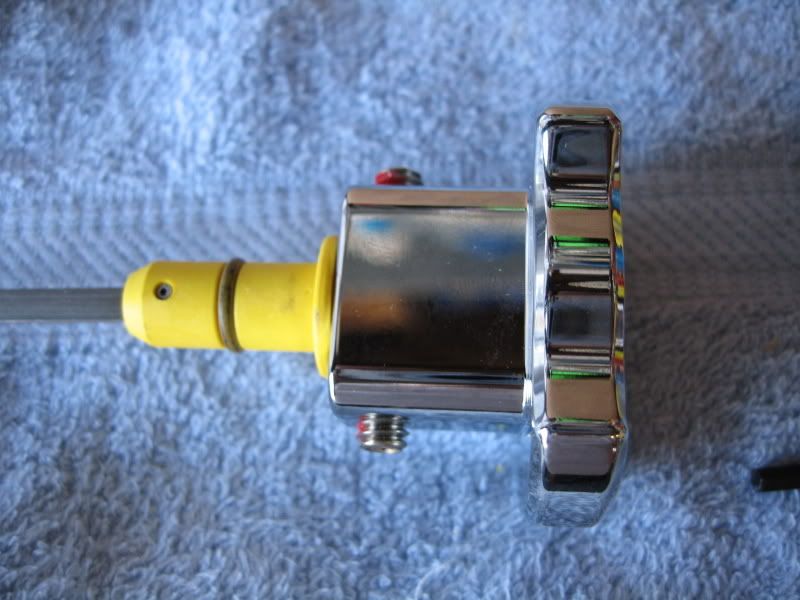
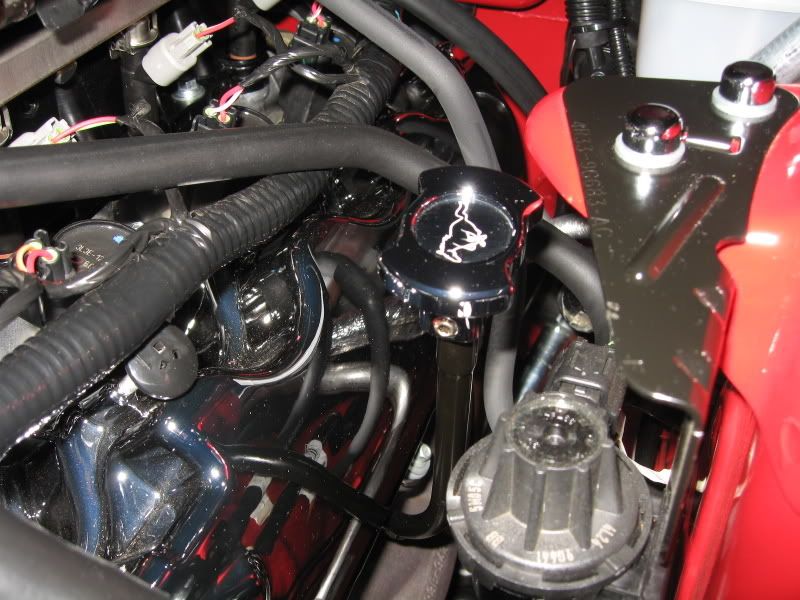
Pictures of the MGW handle in relation to the dipstick.
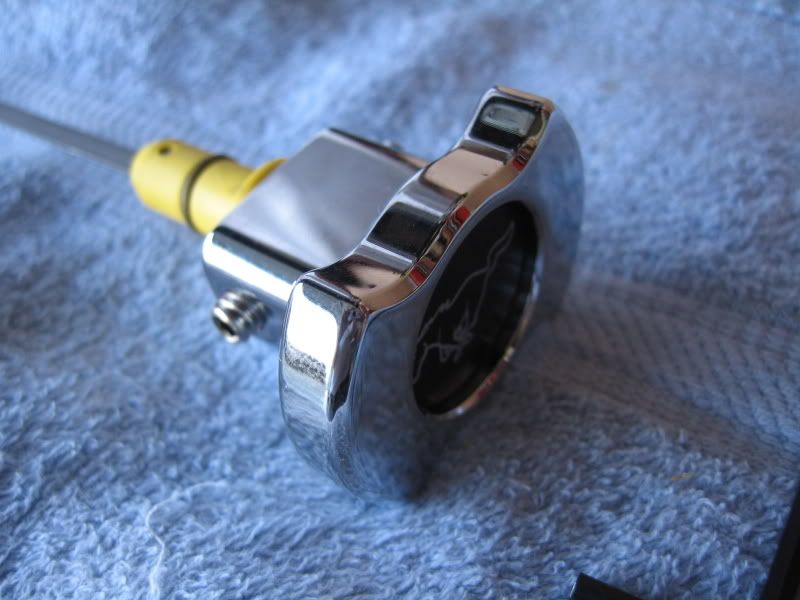
Depending exactly where the 2 cuts were made, you may have to 'rock on' the MGW handle over the cut handle, or it will simply slip on.
Ensure that the MGW handle is pressed down until it contacts the platform stop.
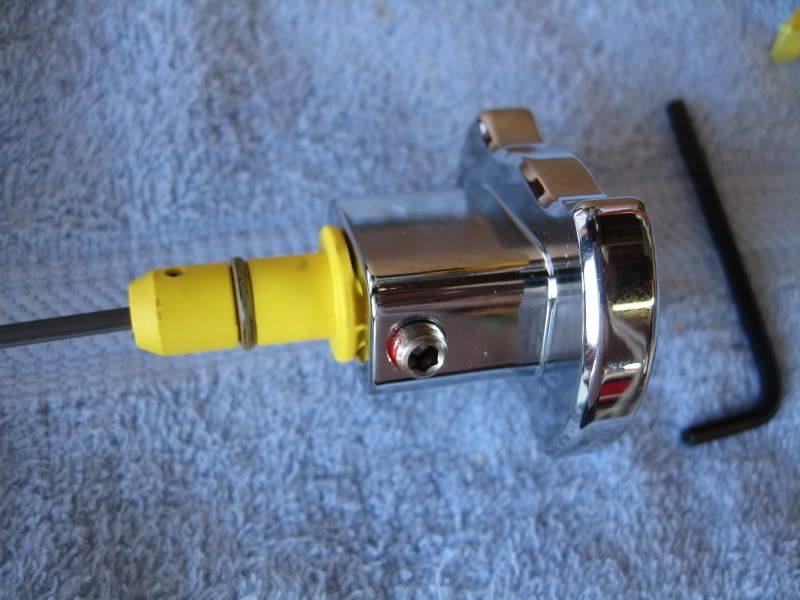
Using the supplied Allen wrench, tighten the 2 screws to lock the MGW handle into place. Switch back and forth between the 2 screws and tighten them down evenly to avoid the handle shifting one way or the other.

Installation complete!
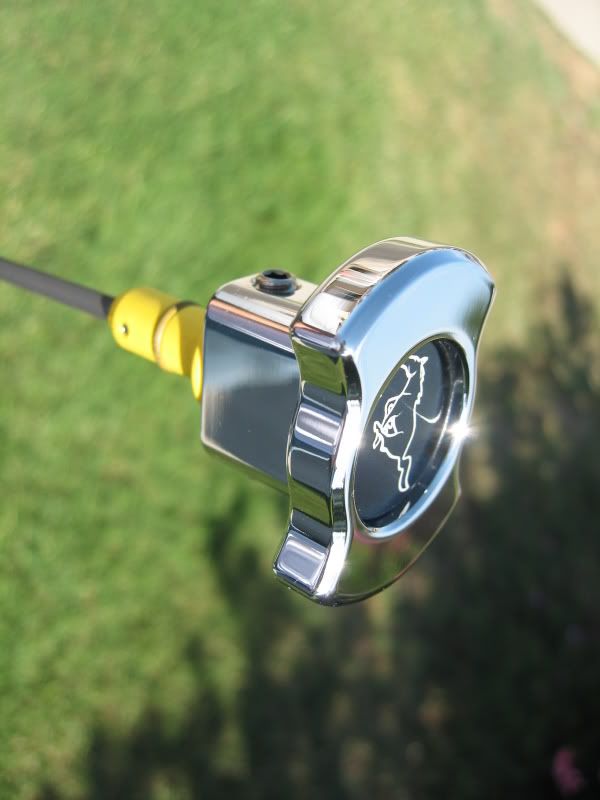
Note: Upon re-installation of the dipstick, you may notice that the handle is not clocked at the position you desire, this is because of the numerous coils and the way it twists into the dipstick tube. Mine was slightly crooked, and all I did was slightly twist the handle in the direction I wanted it to go (plus a little more) and it sprang into the right position (to me).
This 15 minute install was a welcome sight in comparison to my last few mods.
The yellow plastic dipstick handle started to clash with the chrome accents in my engine bay, so I went shopping at the MGW website! I found the perfect dipstick handle to compliment the other MGW caps I have in my engine bay. At a great price and easy installation, it was a slam dunk deal.
Installation time: 15 minutes (tops)
Tools required:
Hacksaw or Dremel (or equivalent to cut through plastic)
File
Cleaner and rags
Baseline picture
Remove the oil dipstick and with a clean rag, wipe clean.
Pictures of the stock handle.
Holding the dipstick up, MGW directions say to cut the handle at the 5 and 7 o'clock positions.
I used a hacksaw (with handle) to accomplish this. The yellow handle is made of plastic, so cutting through it is fairly easy. If you don't have a hacksaw handy, you may be able to sneak a steak knife out from the kitchen, just don't let the wife catch you!
This is what you want to end up with (or close to it).
File off any burrs and sharp edges.
Clean off any traces of file shavings.
Pictures of the MGW handle in relation to the dipstick.
Depending exactly where the 2 cuts were made, you may have to 'rock on' the MGW handle over the cut handle, or it will simply slip on.
Ensure that the MGW handle is pressed down until it contacts the platform stop.
Using the supplied Allen wrench, tighten the 2 screws to lock the MGW handle into place. Switch back and forth between the 2 screws and tighten them down evenly to avoid the handle shifting one way or the other.
Installation complete!
Note: Upon re-installation of the dipstick, you may notice that the handle is not clocked at the position you desire, this is because of the numerous coils and the way it twists into the dipstick tube. Mine was slightly crooked, and all I did was slightly twist the handle in the direction I wanted it to go (plus a little more) and it sprang into the right position (to me).
Last edited by TacoBill; Mar 14, 2008 at 03:16 PM. Reason: sp
Bullitt Member
Joined: December 13, 2006
Posts: 394
Likes: 0
Timely post for me Bill. I just bought the power plug and dipstick handle from MGW and will be installing soon, along with some other "goodies" I have for the engine bay. Thanks for another great write up!

Thread
Thread Starter
Forum
Replies
Last Post
M3hunter
Suspension, Brakes, and Tire Tech
5
Sep 10, 2015 09:26 AM