
another Pypes O/R H-Pipe install


another Pypes O/R H-Pipe install
In my traditional write-up fashion, here goes!
Current axle-back exhaust: FRPP/Borla Stingers
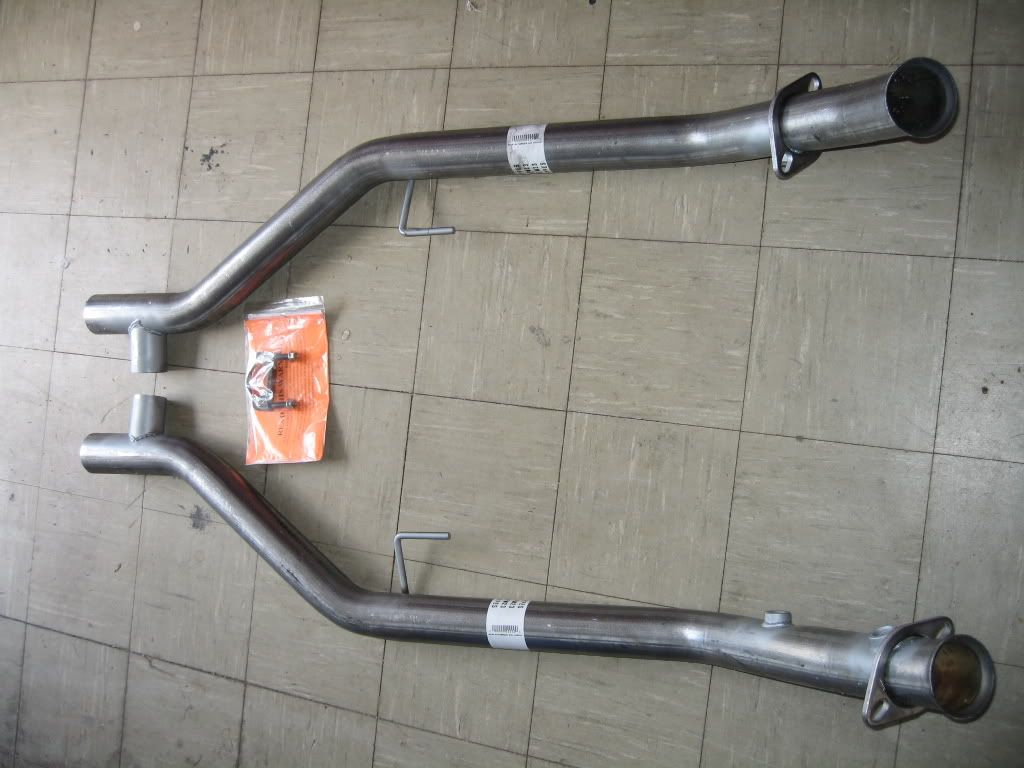
Pypes tubing diameter: 2.50"
Pypes H slip fitting diameters:
Female OD (drivers side): 2.150"
Male OD (passengers side): 1.990"
When the box was delivered, it looked like it was in bad shape. I was worried that the pipes were dented or something, but everything was okay.
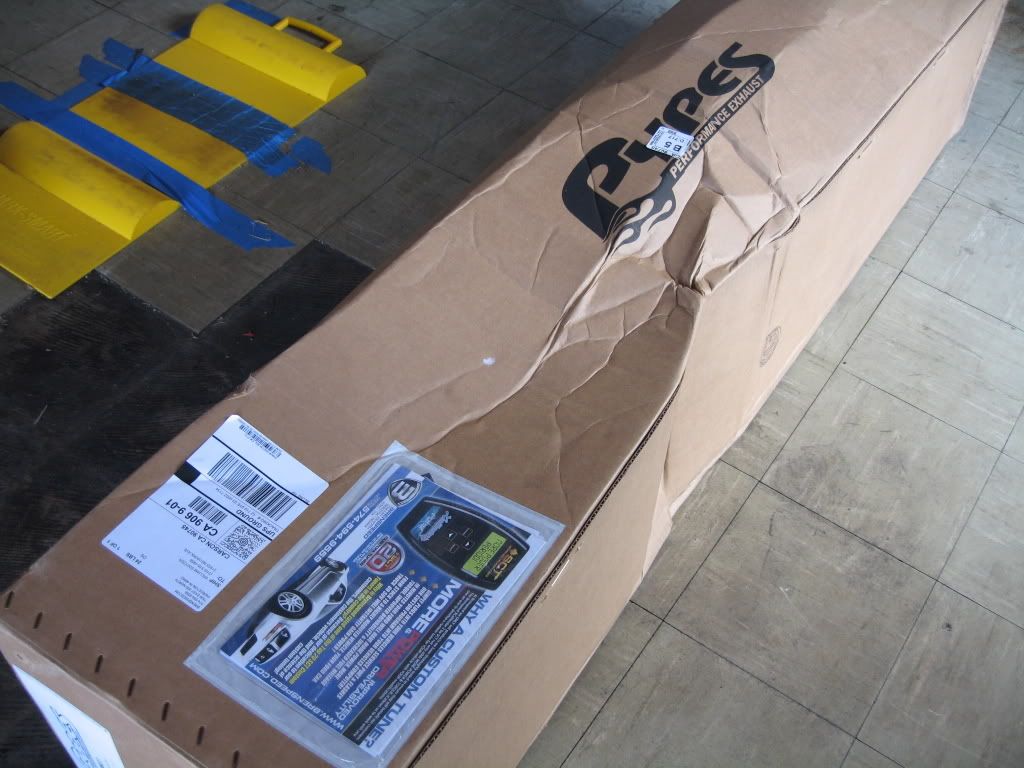
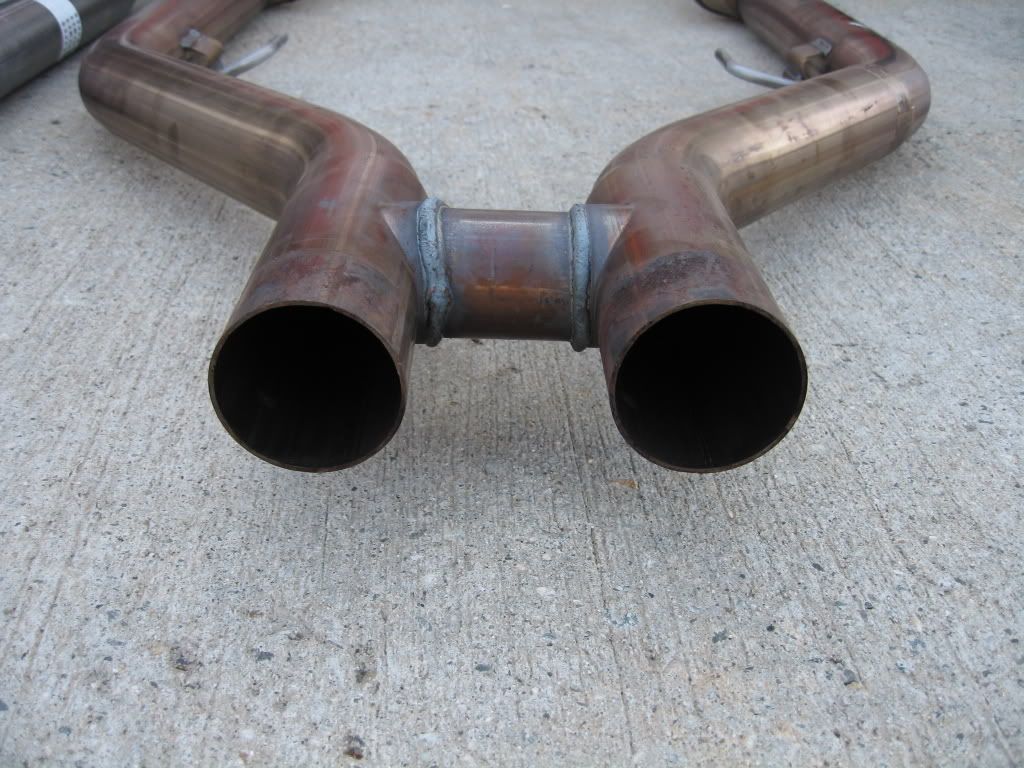
Here's the H-Pipe layed out straight from the box.
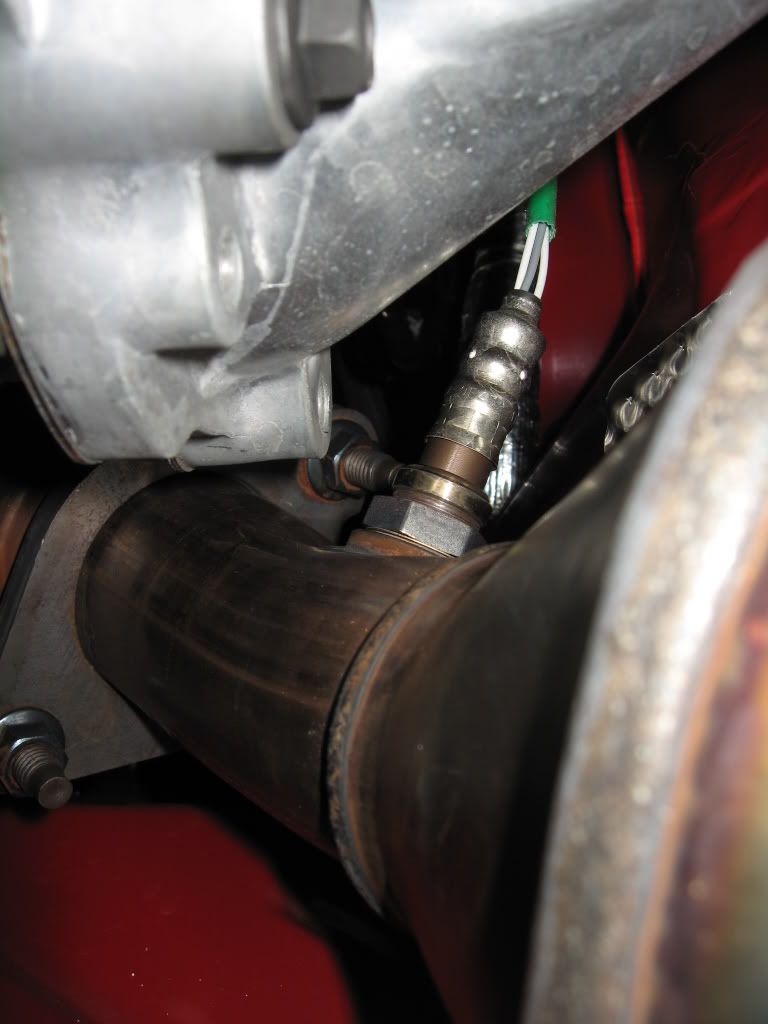
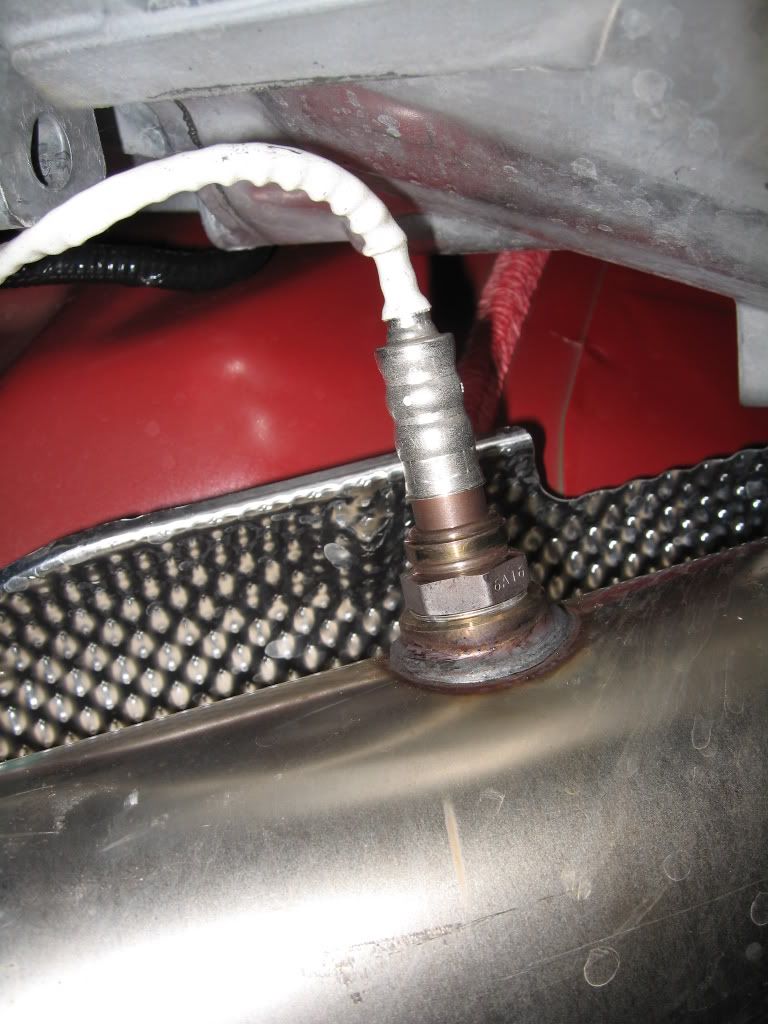
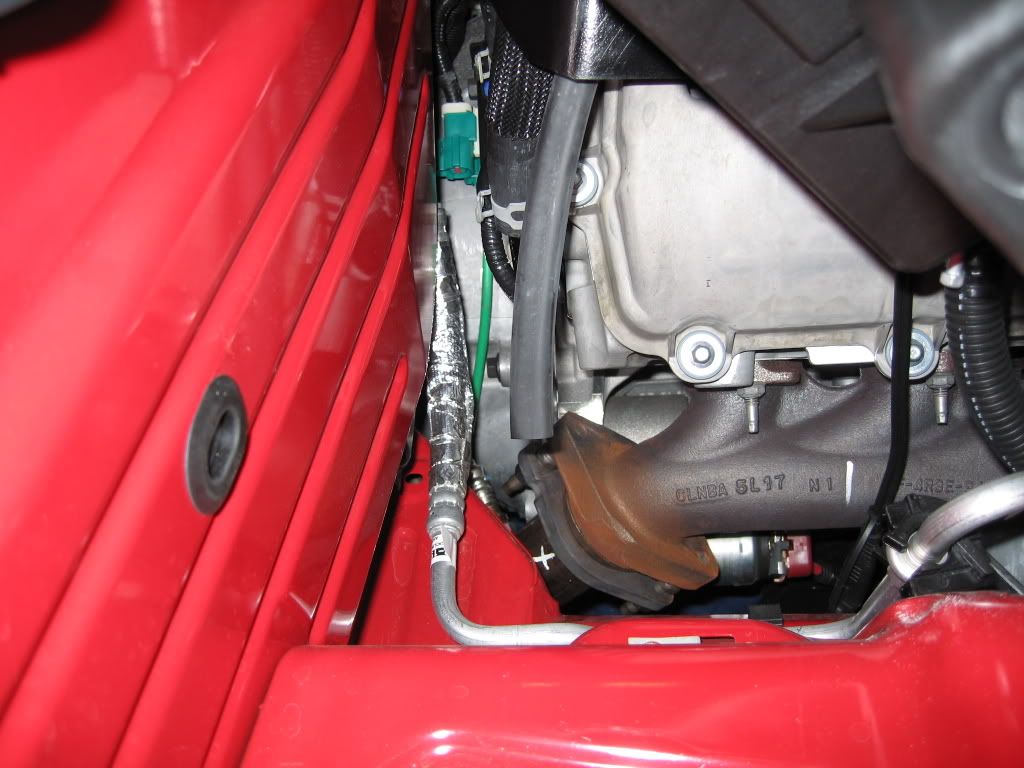
Passengers side forward O2 sensor and manifold flange.
Passengers side rear O2 sensor.
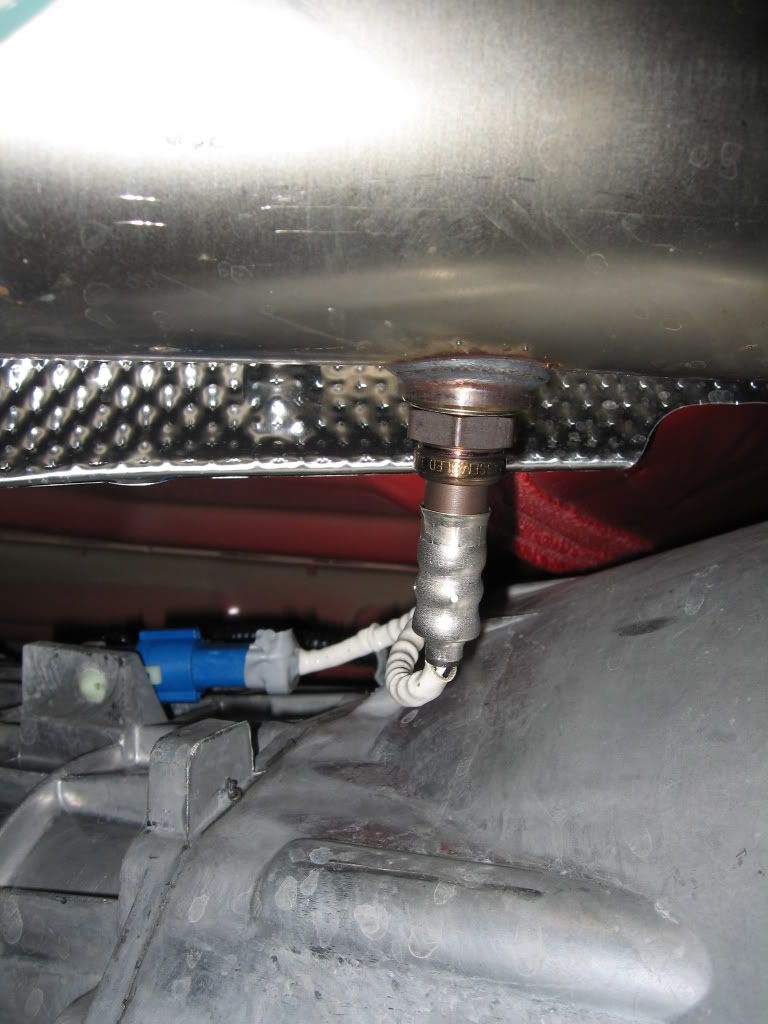
Drivers side rear O2 sensor.
The 2 rear O2 sensors (colored BLUE).
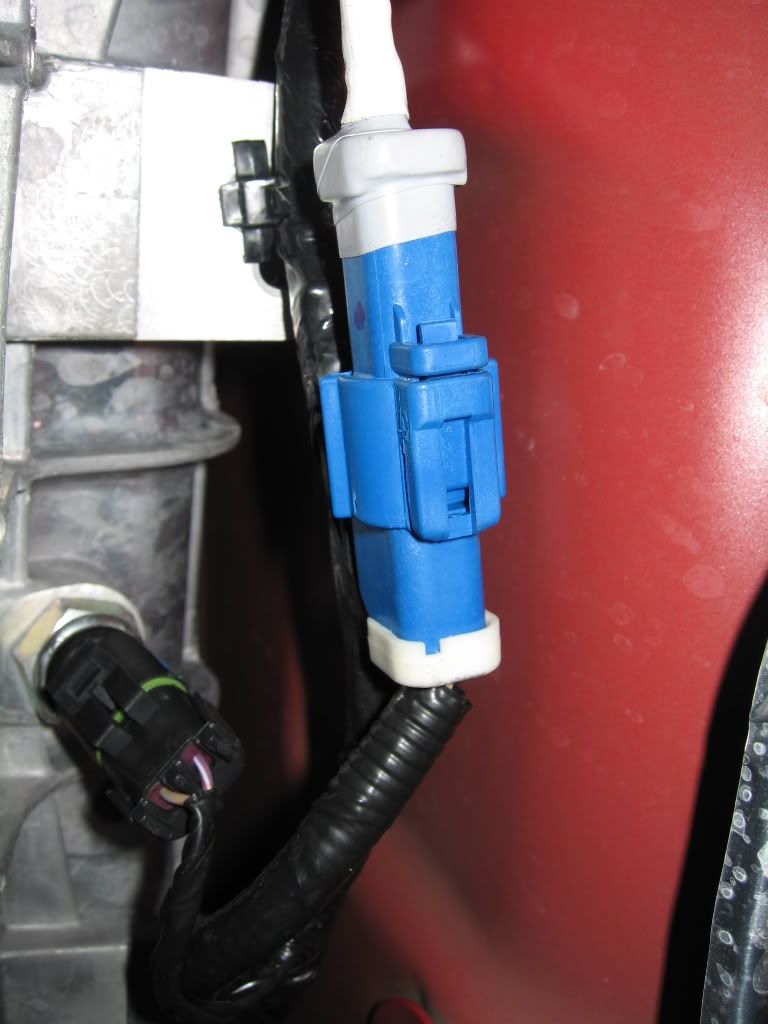
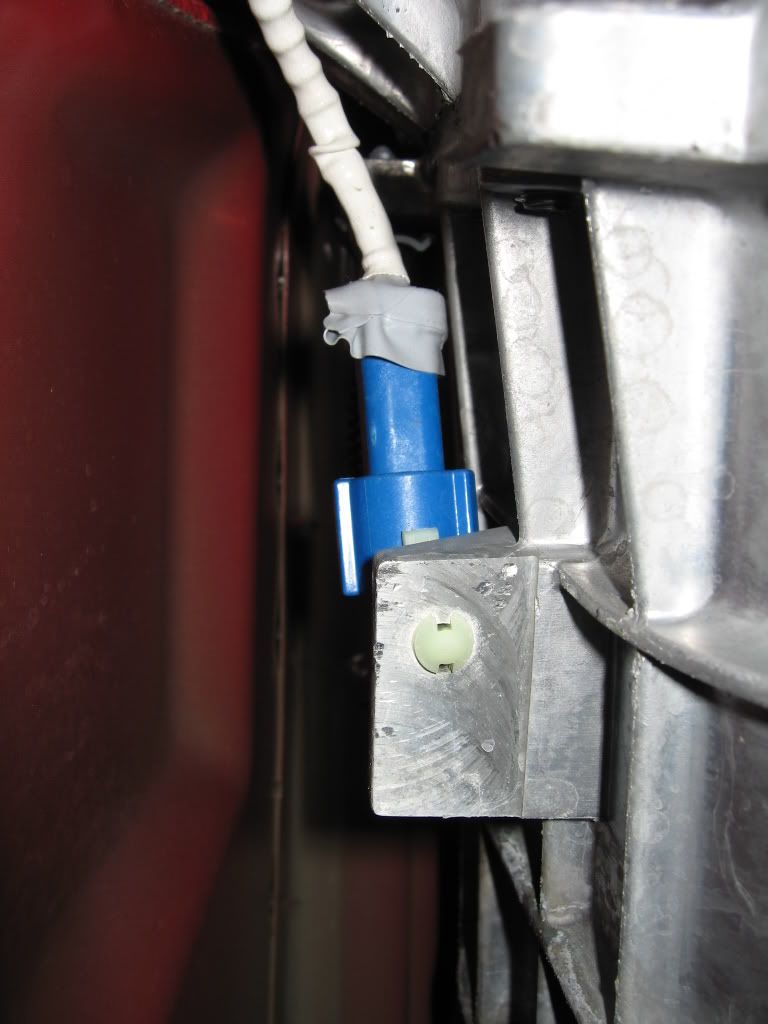
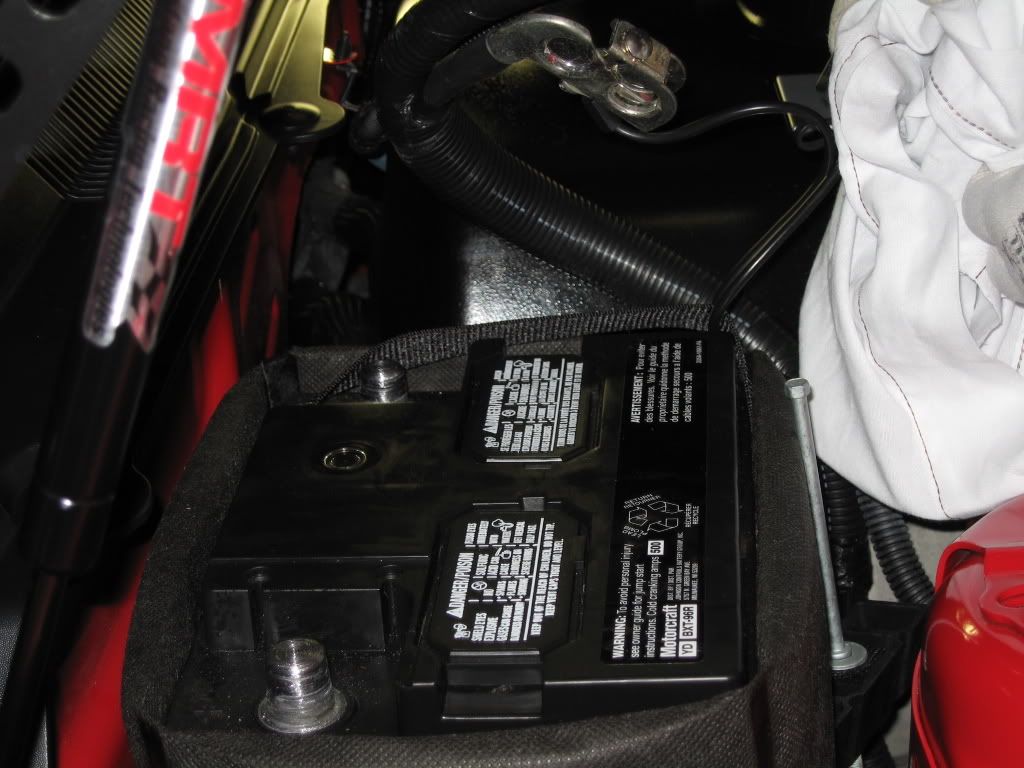
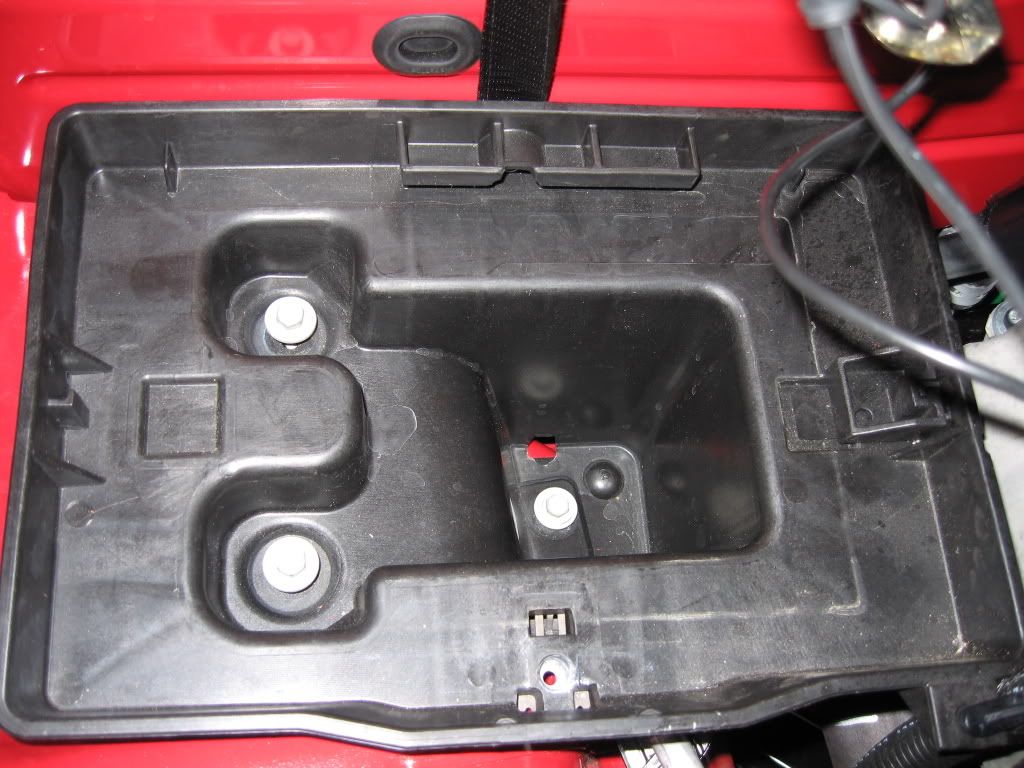
Next came time to unplug the (passenger side) forward O2 sensor (colored GREEN). This proved to be a royal pain in the butt. I tried to reach the connection plug from the bottom (impossible) and from the top (barely touching my fingers on the plug). Not to waste anymore time, I yanked the battery and tray out. Problem solved.
Now it was time to break loose the exhaust manifold bolts. You need a swivel, deep socket, and a long extension to accomplish this, especially for the upper nuts. After fighting the nuts for several minutes (wouldn't budge for the life of me), I sprayed some penetrating oil on the nuts and like magic, they came off with minimal effort! Who knew...
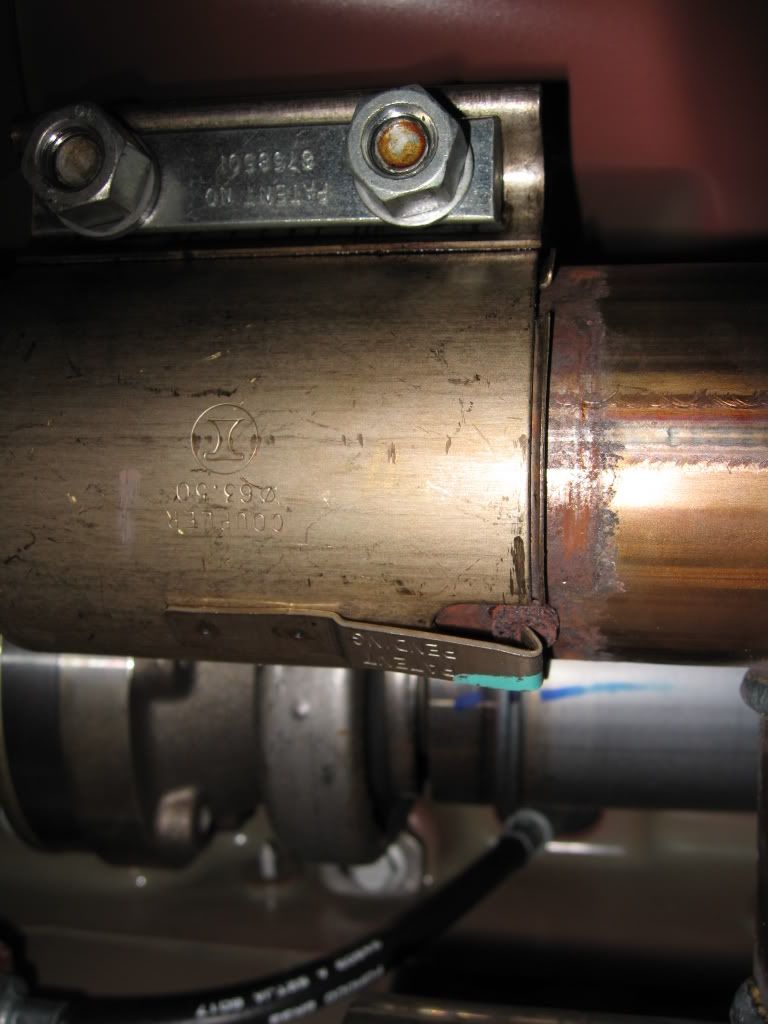
Now it was time to loosen the mid-pipe clamps. They loosed up no problem, but would not slide back onto the over-axle side of the pipes. After wasting more time messing with them, I discovered that you have to lift up on this little tab that indexes with an alignment rivet (just like the muffler pipe to over-axle pipe). Use a screwdriver and gently lift up on the tab.
Once all is loose and ready to drop, carefully pull the hanger rods from the rubber mounts and it'll come down.
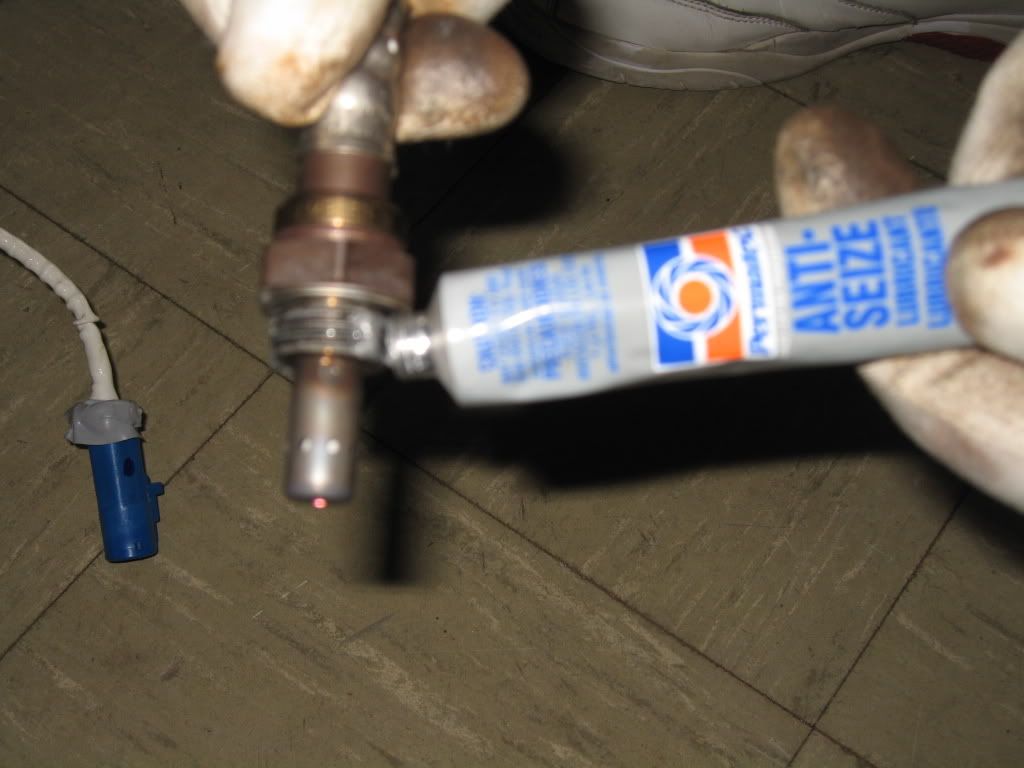
A 22mm open end wrench was used to remove the O2 sensors. I moved them over one at a time. I used a dab of anti-sieze lube on the O2 sensor threads before screwing them into the threaded boss of the H-Pipe.

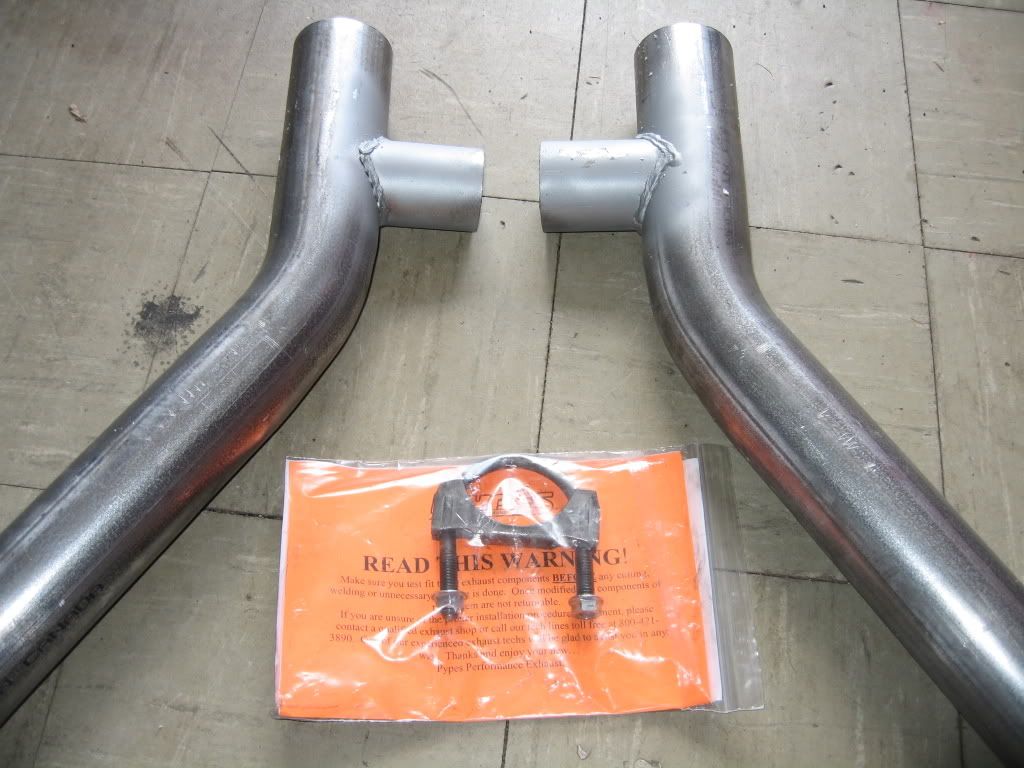
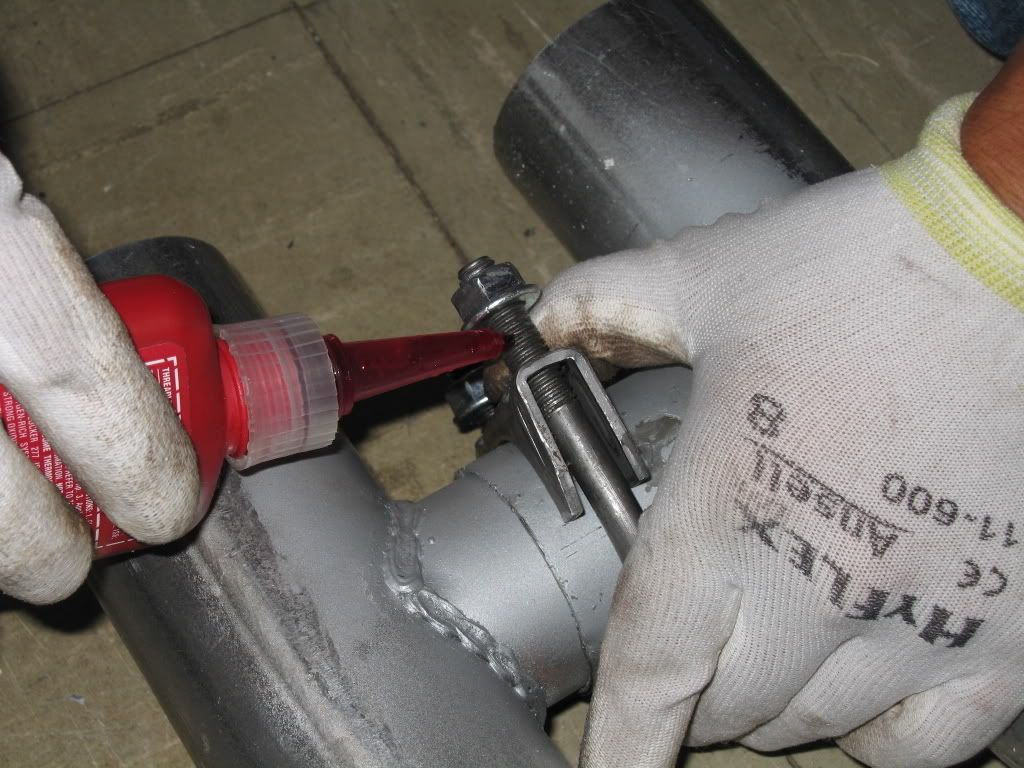
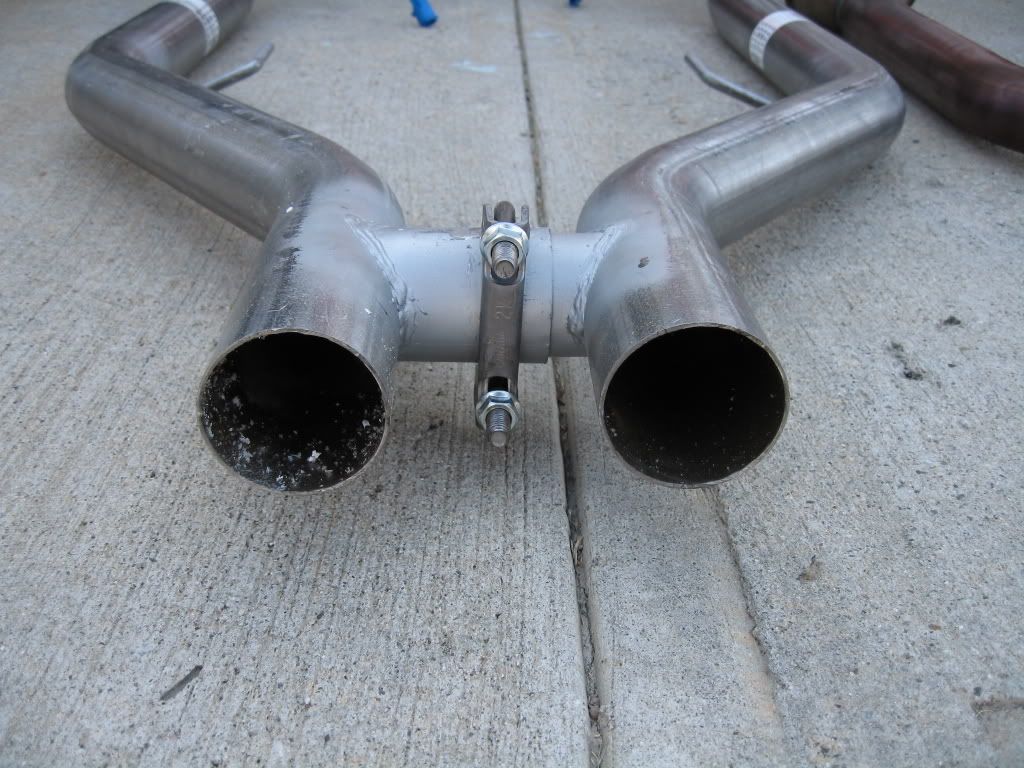
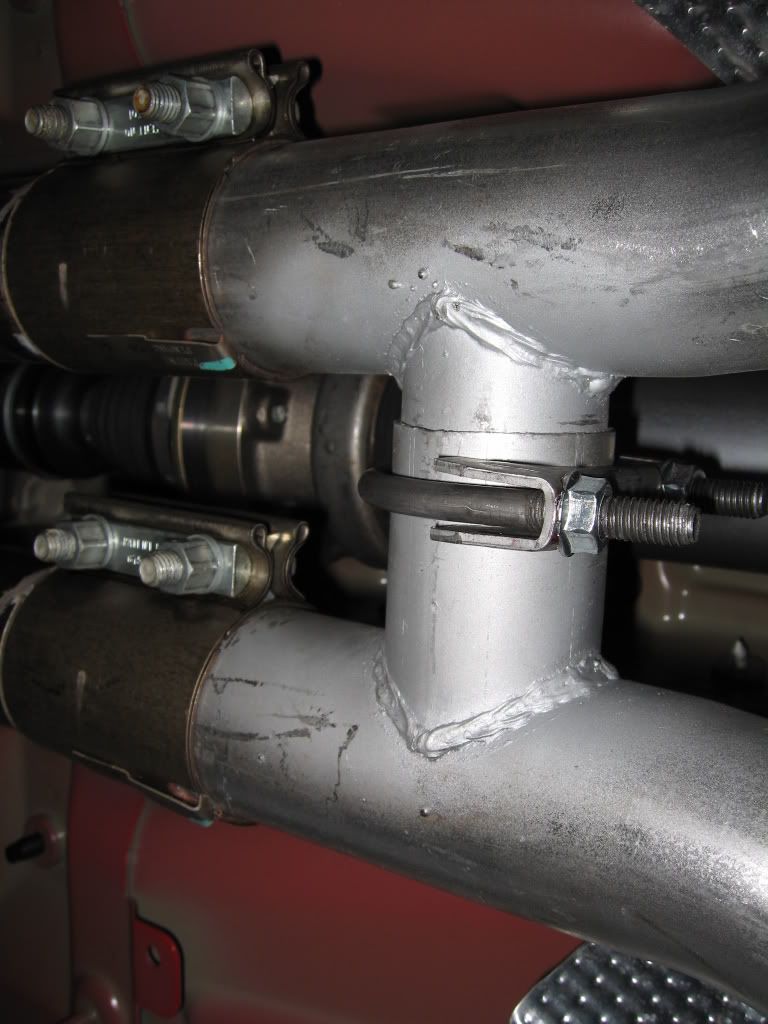
Because I just wanted to install this thing, I chose to use the included saddle clamp. I orientated them facing aft at first, but discovered that it'll interfere with the mid-pipe clamps when tightening. So, I face them forward. A drop of red Loctite was used on the clamp nuts.
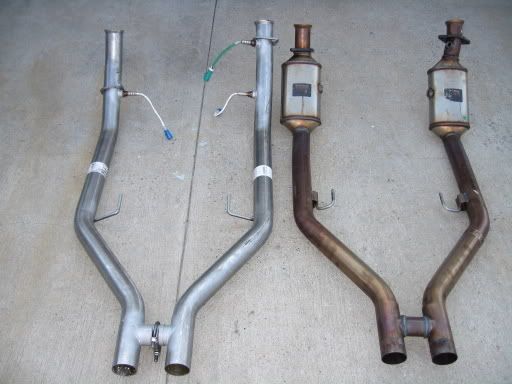
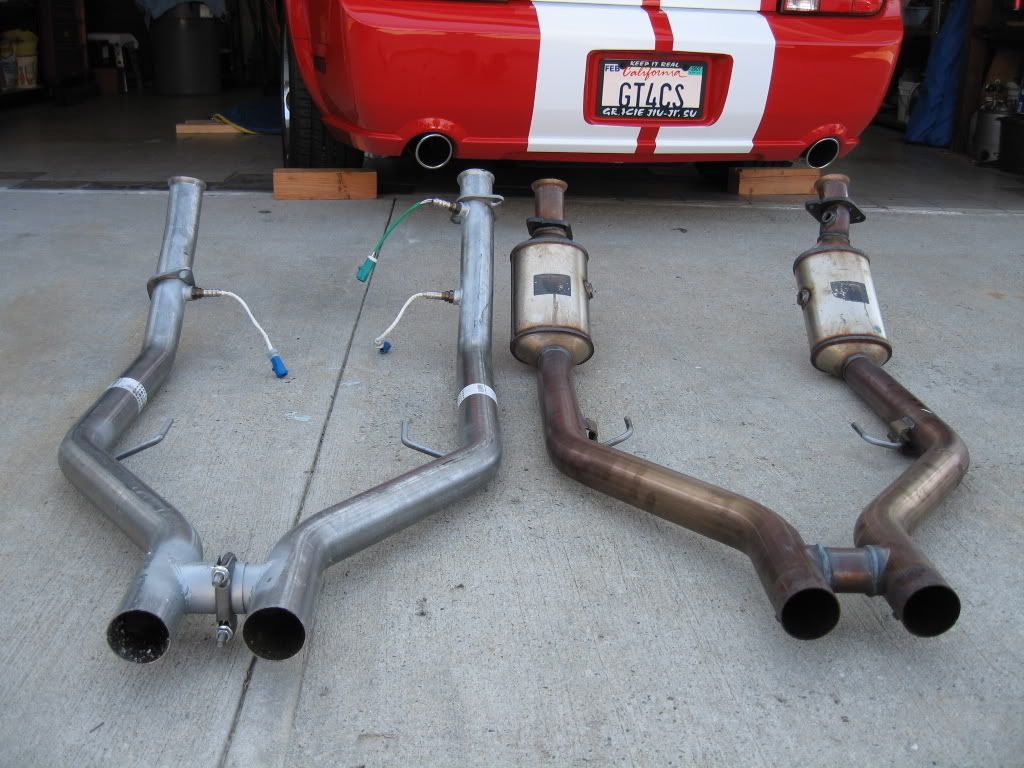
Side-by-side comparison between the factory H-Pipe and the Pypes Off-Road H.
Everything gets re-installed like it was. I put some Anti-Sieze on thet threads of the O2 sensors and on the manifold nuts. And don't forget to reconnect all 3 O2 sensors! I left tightening the the 'H' saddle clamp until last so there's no preload in that section. That clamp is a piece, you can't really crank down on those nuts because they'll start to slip. I'll definately keep an eye on this clamp for any loosening or slipping.
Installation complete!
Eveyone that has this O/R H is right on. This thing sounds awesome! Raw and pure, baby!
Video clips on the next post.
Current axle-back exhaust: FRPP/Borla Stingers
Pypes tubing diameter: 2.50"
Pypes H slip fitting diameters:
Female OD (drivers side): 2.150"
Male OD (passengers side): 1.990"
When the box was delivered, it looked like it was in bad shape. I was worried that the pipes were dented or something, but everything was okay.
Here's the H-Pipe layed out straight from the box.
Passengers side forward O2 sensor and manifold flange.
Passengers side rear O2 sensor.
Drivers side rear O2 sensor.
The 2 rear O2 sensors (colored BLUE).
Next came time to unplug the (passenger side) forward O2 sensor (colored GREEN). This proved to be a royal pain in the butt. I tried to reach the connection plug from the bottom (impossible) and from the top (barely touching my fingers on the plug). Not to waste anymore time, I yanked the battery and tray out. Problem solved.
Now it was time to break loose the exhaust manifold bolts. You need a swivel, deep socket, and a long extension to accomplish this, especially for the upper nuts. After fighting the nuts for several minutes (wouldn't budge for the life of me), I sprayed some penetrating oil on the nuts and like magic, they came off with minimal effort! Who knew...
Now it was time to loosen the mid-pipe clamps. They loosed up no problem, but would not slide back onto the over-axle side of the pipes. After wasting more time messing with them, I discovered that you have to lift up on this little tab that indexes with an alignment rivet (just like the muffler pipe to over-axle pipe). Use a screwdriver and gently lift up on the tab.
Once all is loose and ready to drop, carefully pull the hanger rods from the rubber mounts and it'll come down.
A 22mm open end wrench was used to remove the O2 sensors. I moved them over one at a time. I used a dab of anti-sieze lube on the O2 sensor threads before screwing them into the threaded boss of the H-Pipe.
Because I just wanted to install this thing, I chose to use the included saddle clamp. I orientated them facing aft at first, but discovered that it'll interfere with the mid-pipe clamps when tightening. So, I face them forward. A drop of red Loctite was used on the clamp nuts.
Side-by-side comparison between the factory H-Pipe and the Pypes Off-Road H.
Everything gets re-installed like it was. I put some Anti-Sieze on thet threads of the O2 sensors and on the manifold nuts. And don't forget to reconnect all 3 O2 sensors! I left tightening the the 'H' saddle clamp until last so there's no preload in that section. That clamp is a piece, you can't really crank down on those nuts because they'll start to slip. I'll definately keep an eye on this clamp for any loosening or slipping.
Installation complete!
Eveyone that has this O/R H is right on. This thing sounds awesome! Raw and pure, baby!
Video clips on the next post.
Video clips
Here's some video clips I uploaded.
Clip 1 - 1st test drive on the street, kept it mellow (shows that it can be tame, if you want). Windows up, AC on.
Clip 2 - Slightly aggressive acceleration from 1st to 2nd, nothing too crazy. Windows up, AC on.
Clip 3 - Standing behind the pipes trying to capture it's raw sound. Camera mic failed miserably. I have to stand back further next time. You can actually feel the power!
Addendum (11/15/06)
FYI, there's a 13 pound weight saving difference between the Pypes and the Stock catted H-Pipe. Can make a difference to the drag racing guys.
Team Mustang Source
Joined: September 14, 2005
Posts: 3,477
Likes: 1
From: SoCal
so dumb question here. I'm in SoCal too and can you get the O/R mufflers and H-Pipes and pass smog too ??
I should be getting my '07 in a coupla weeks and am starting to look into my exhaust options. The multiple combinations really has me scratching my head. Not knowing if I can use the O/R equipment or not
I should be getting my '07 in a coupla weeks and am starting to look into my exhaust options. The multiple combinations really has me scratching my head. Not knowing if I can use the O/R equipment or not


GTR Member
Joined: January 26, 2006
Posts: 4,639
Likes: 0
From: Central Florida
Originally Posted by Baginoman2
bill did u get a tune for the pipes?
Thanks for the compliment guys!
Forgot to mention that I also put some anti-sieze on the manifold nuts before re-installing them.
Like Tom mentioned, my Bamachips tune will be here next week. As far as the O/R H and a tune, it'll be programmed to turn off the rear O2 sensors so it won't throw a light.

I believe they were $140. I installed these with help from my brother-in-law. So far, the stripe job has been the most time consuming and 'test your patience' mod I've done. Click on the stripe link in my sig for more pics.
I don't know how you reached up there to disconnect that plug! Between the manifold, heat shield, and firewall, it was a no-go for me. And if I was lucky enough to unplug it from the bottom, I 'd need something just short of a miracle to re-plug it back in!
Forgot to mention that I also put some anti-sieze on the manifold nuts before re-installing them.
Originally Posted by Baginoman2
bill did u get a tune for the pipes?
Originally Posted by emperorjordan
... and habu, hell no you wont pass smog.
Originally Posted by eromzek
BTW, (off topic) how much were your BSM stripes?? I haven't been on here in a while, when did you get those on?
Originally Posted by tom281
PS: reaching the passenger O2 sensor from the bottom is not impossible , lol!
, lol!Shelby GT350 Member
Joined: May 17, 2005
Posts: 2,072
Likes: 1
From: Chesapeake, VA
Nice write up! You don't need a tune for this pipe, confirmed on the dyno by Doug and Bamachips. You may need to turn off the rear 02 sensors or you may get a check engine light.
I have one for sale, already welded, if interested.
I have one for sale, already welded, if interested.

Originally Posted by Burke0011
More sound clips!
So no trumpeting or anything like that?
So no trumpeting or anything like that?
As far as trumpeting, I guess its there.

I'm just having too much fun listening to this set-up that it all sounds good to me!
Originally Posted by Fazm
+1 on it not being impossible to do it from the bottom. I did it on stu's car and i dont think i even remember it being hard.... maybe he will remember if i struggled with it, he was there.
For me, going at it from the top was the way to go. Plus side is now I know how to take my battery out.

Okay guys, as promised, here some new vids I uploaded.
My son was the videographer and co-pilot. Now this was some quality bonding time!
It's amazing that I didn't get a ticket during my 'H-Pipe test run'!!!
VIDEO 1 - start-up / idle / rev (Exhaust comparison between stock-Stingers-Stingers with H-Pipe)
VIDEO 2 - Windows UP
VIDEO 3 - Windows DOWN (This one sounds amazing!)
VIDEO 4 - Acceleration (Sorry for pelting my kid with pebbles as I peeled out!)
VIDEO 5 - Nothing special here, but you get a good side shot of the GT
VIDEO 6 - Just a closure to my 'Terrorizing the Steets of Carson' videos.
VIDEO 7 - Street run with BamaChips 91 Performance tune.