When you click on links to various merchants on this site and make a purchase, this can result in this site earning a commission. Affiliate programs and affiliations include, but are not limited to, the eBay Partner Network.
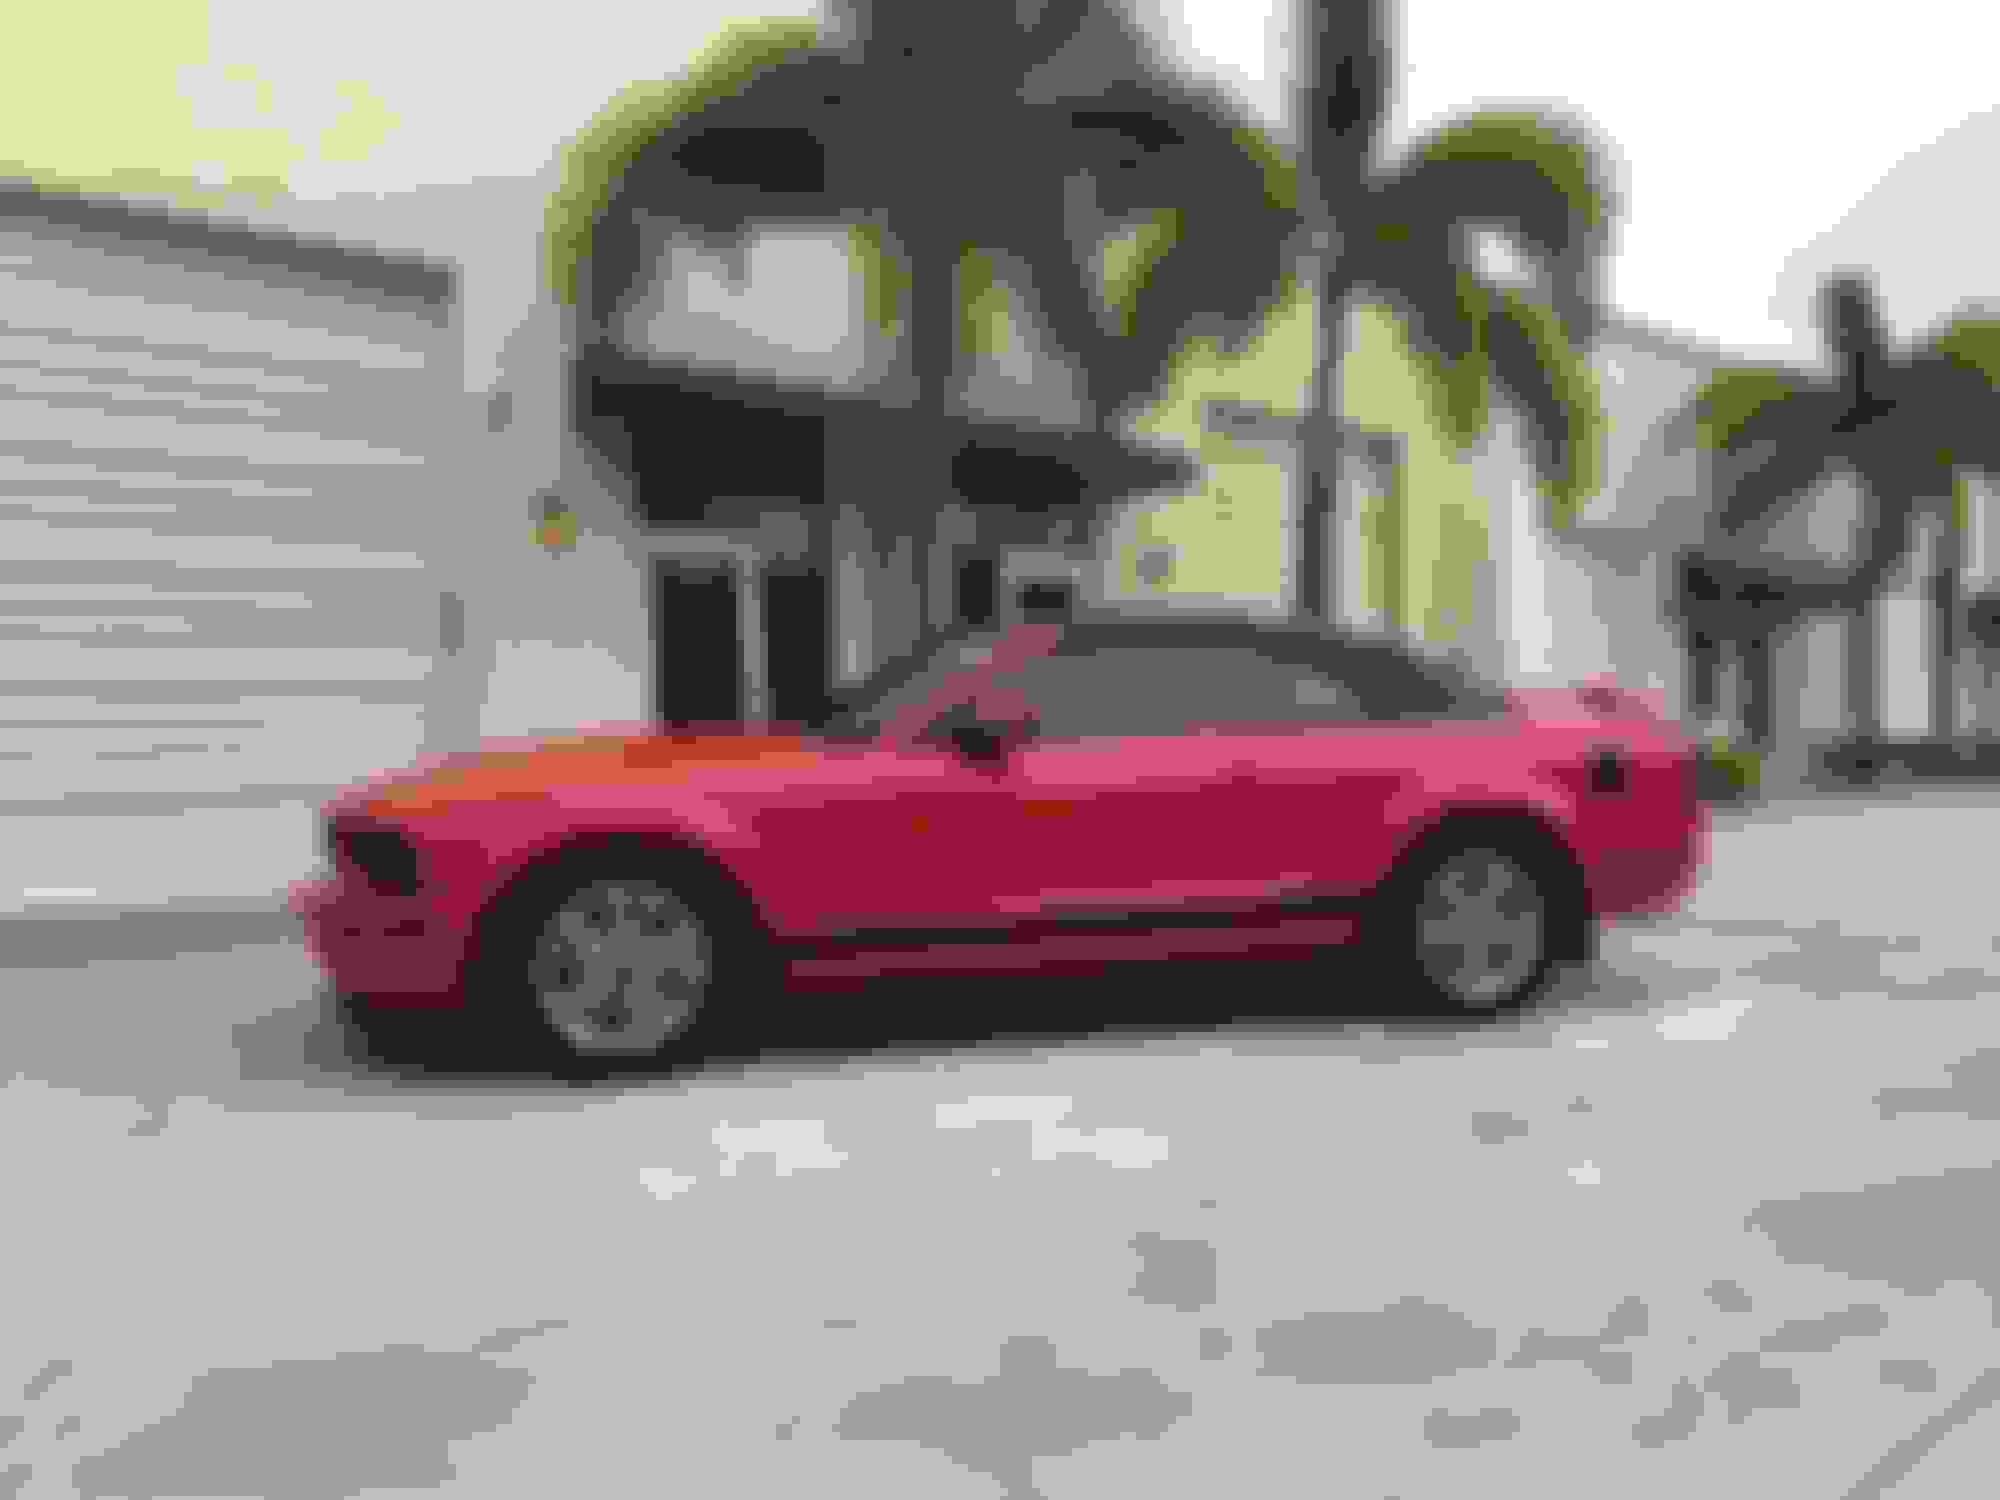
Just got some rocker panel stripes and I am going to attempt to apply them myself. If anyone else has done it and has some advice I would love to hear it. I will probably do it this weekend. I have attached a before pic and the ones that I bought. Any opinions welcome......
There's lots of youtube videos that explain how it's done. I watched a bunch of those before I did mine. The big decision you need to make is wet or dry application; I've tried both and both have pros and cons. The most important things are to be patient, think things through before you do them, and measure carefully.
I prefer to use the wet application coz it allows you the freedom to move the location to the correct spot you want... Like mentioned above, take your time and look up some youtube videos... good luck
When I do a job like that myself, every little flaw and mistake jumps out at me whenever I take a good look. But to everyone else, it looks great. If I just stand back at a reasonable distance, it will look perfectly fine, unless I really screwed the pooch.
As for one side coming out better than the other, nobody ever sees both sides at once, so no worries, right?
I totally agree with you. My eyes are drawn to where I know something is a little off. But the more I look the more I like them. Very good point on only seeing one side at a time
They came in long strips. I've tried cutting them after applying (easier to keep it all straight, but you have to work with awkwardly long pieces) and I've also tried cutting them to size and shape before applying separately (harder to get everything lined up straight, but easier sizes to handle).
Rims are Advanti DST Svelto, mirror titanium finish, 20x9, and only 21 pounds each.
I keeped it simple. I never liked the OG "Mustang" anyway. Since it was at the body shop we made a change. The passenger side didn't get painted, so we needed to cover the old lines.
 8/10/17, 04:54 PM


 they most definitely accent your car very well