
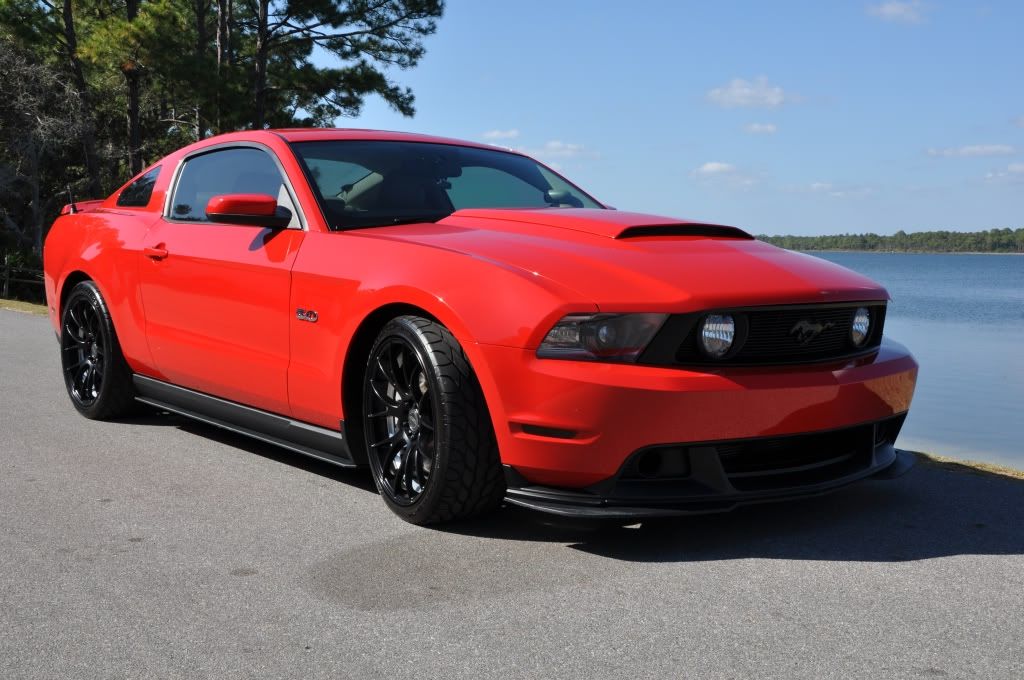
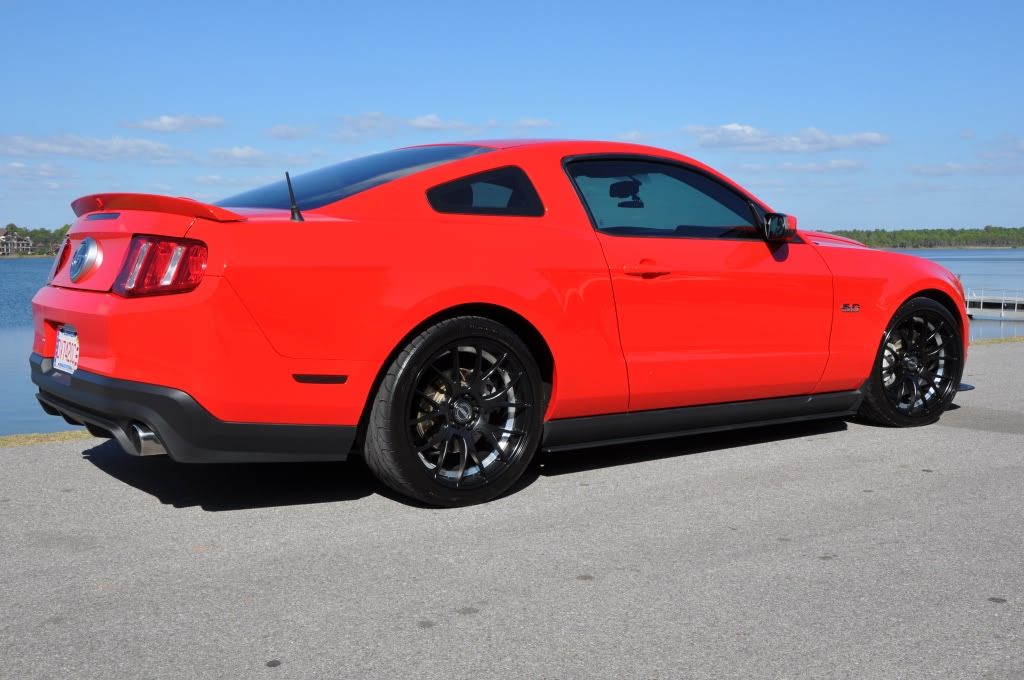
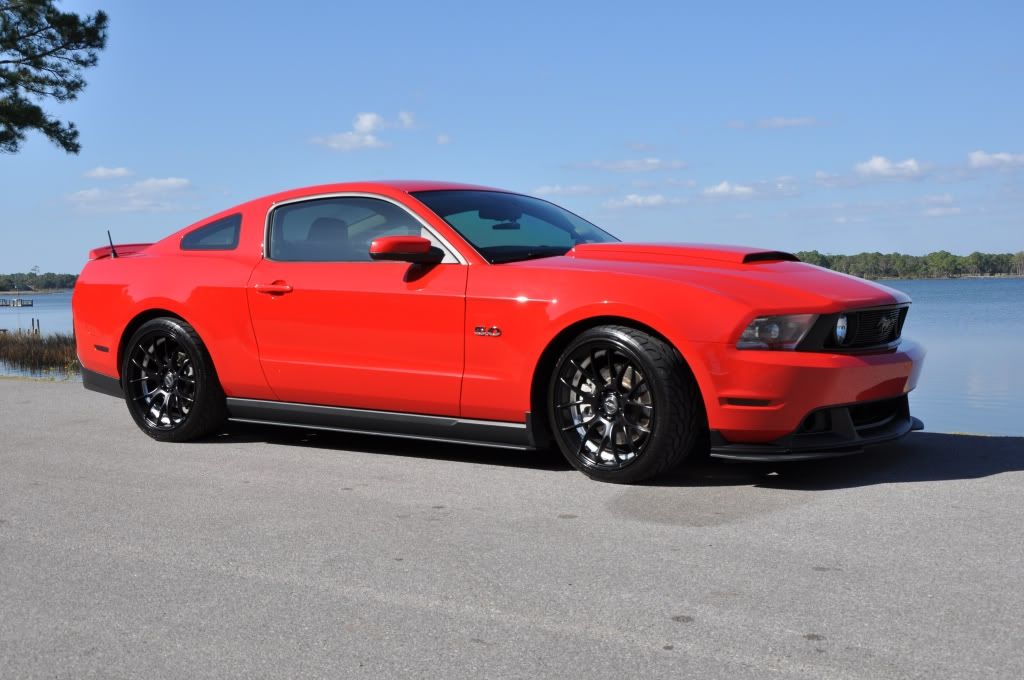
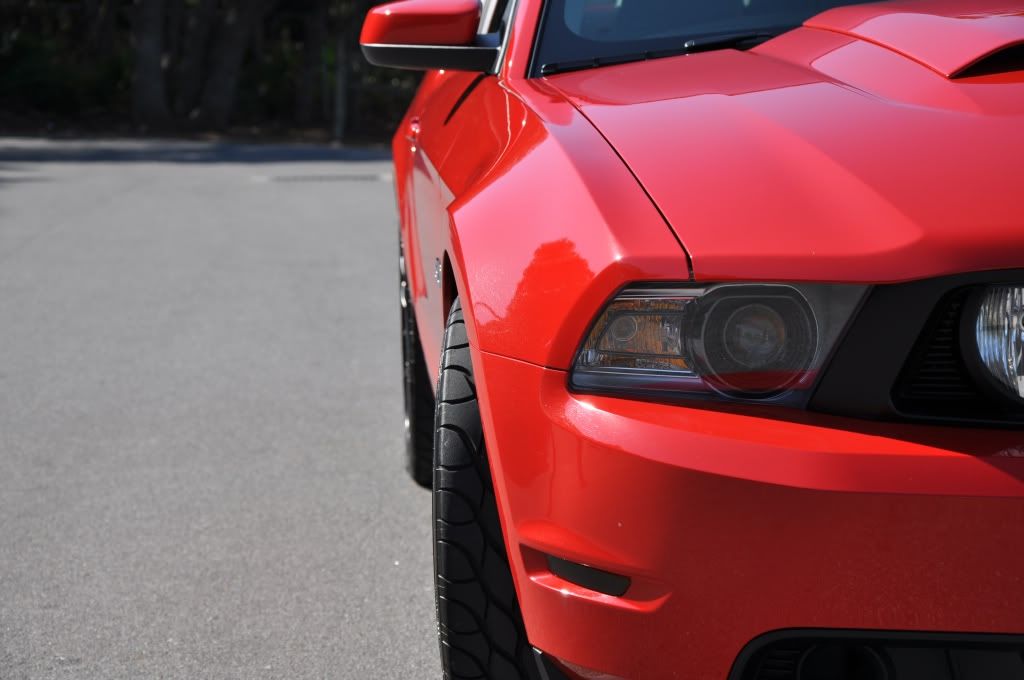
Took a new set of pics today. (Pic heavy!!)

Thread Starter
Bullitt Member
Joined: September 26, 2011
Posts: 278
Likes: 1
From: Santa Rosa Beach, FL
Took a new set of pics today. (Pic heavy!!)
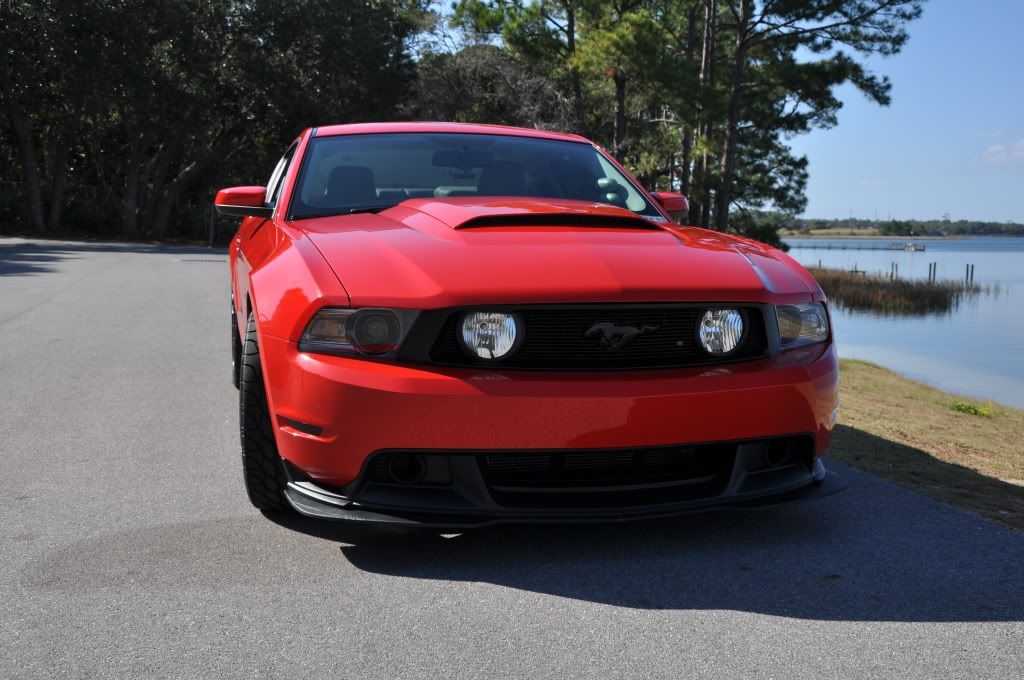
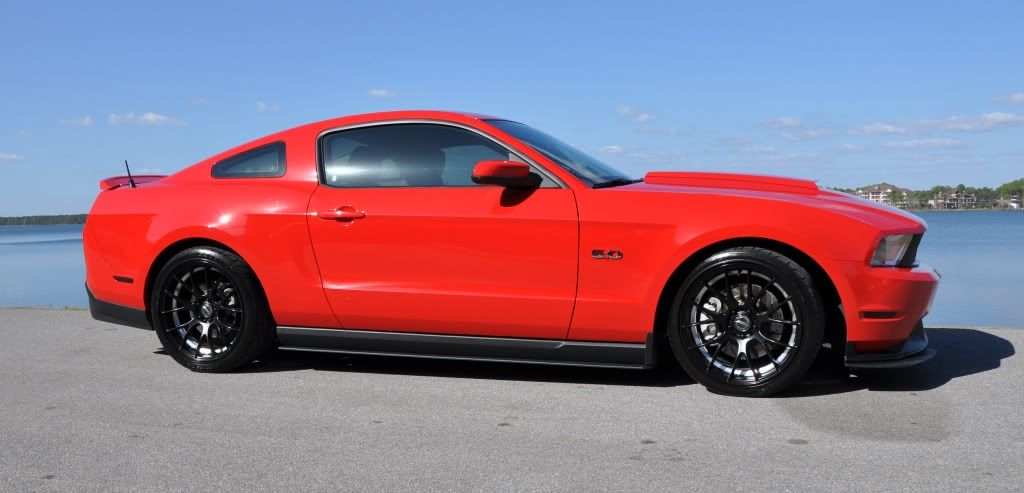
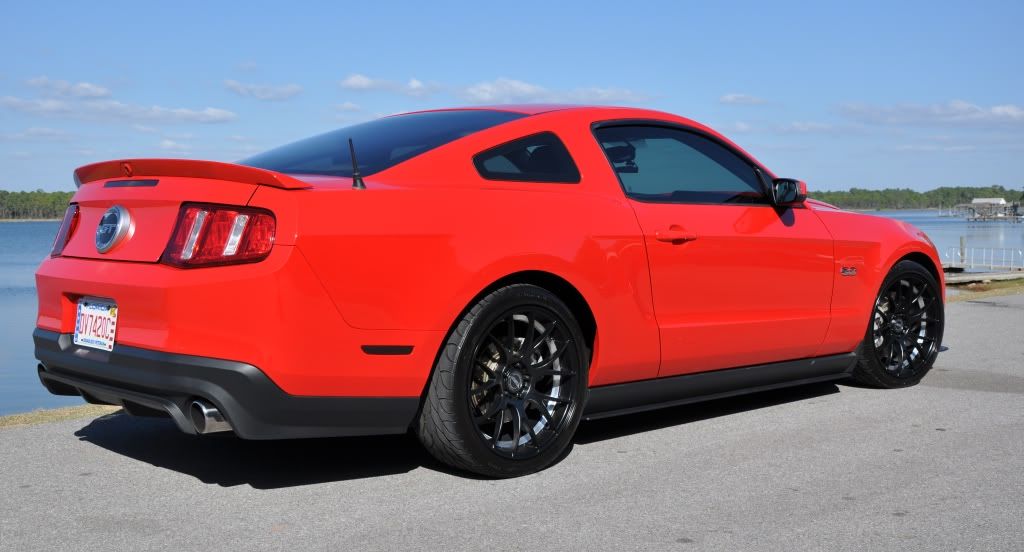
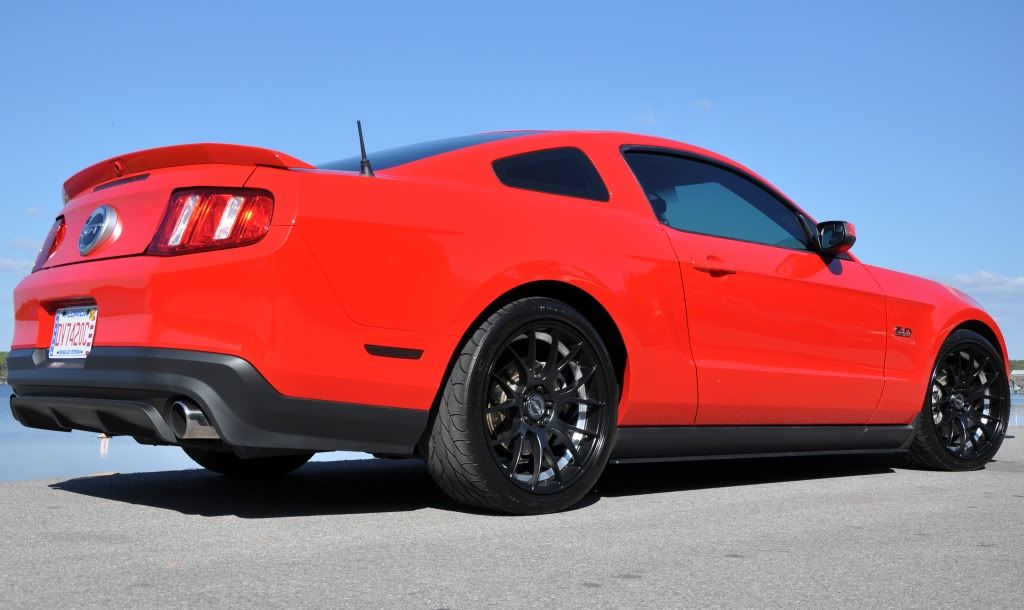
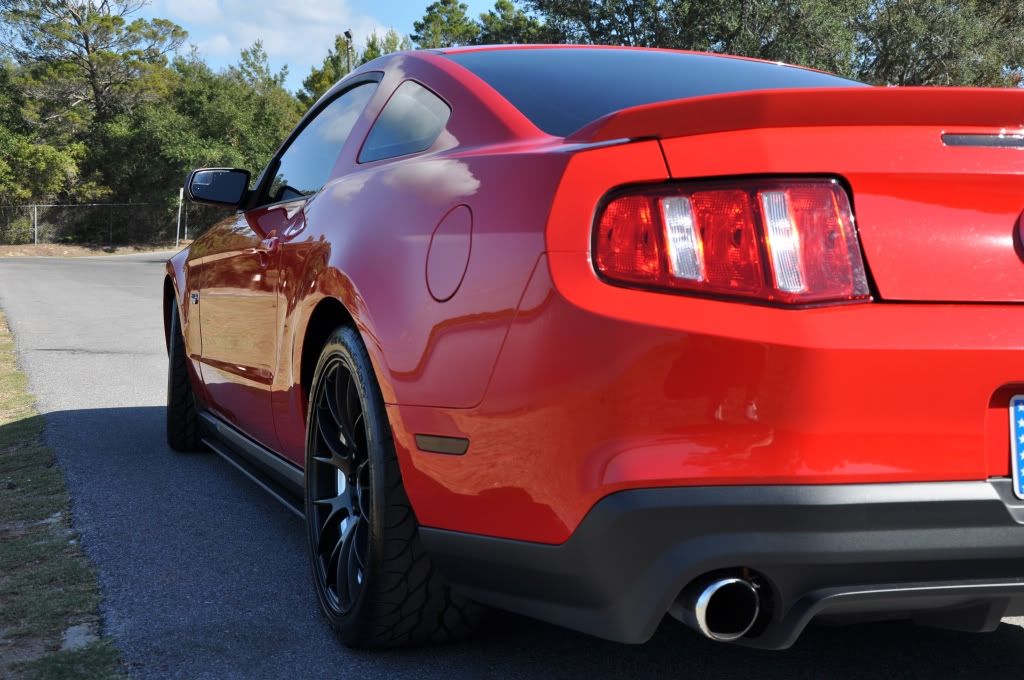
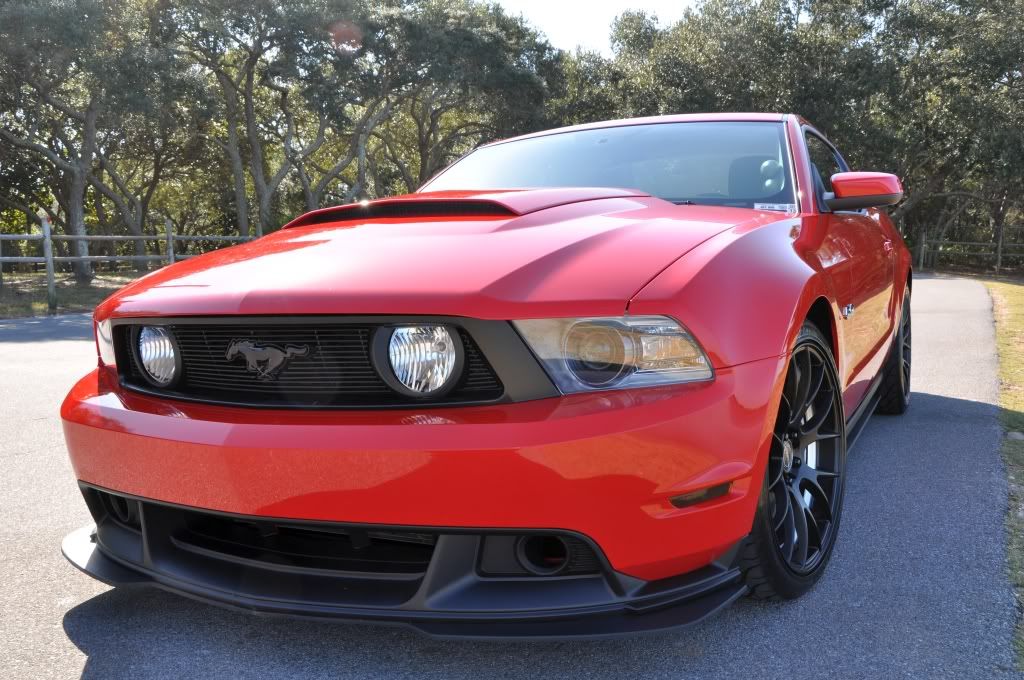
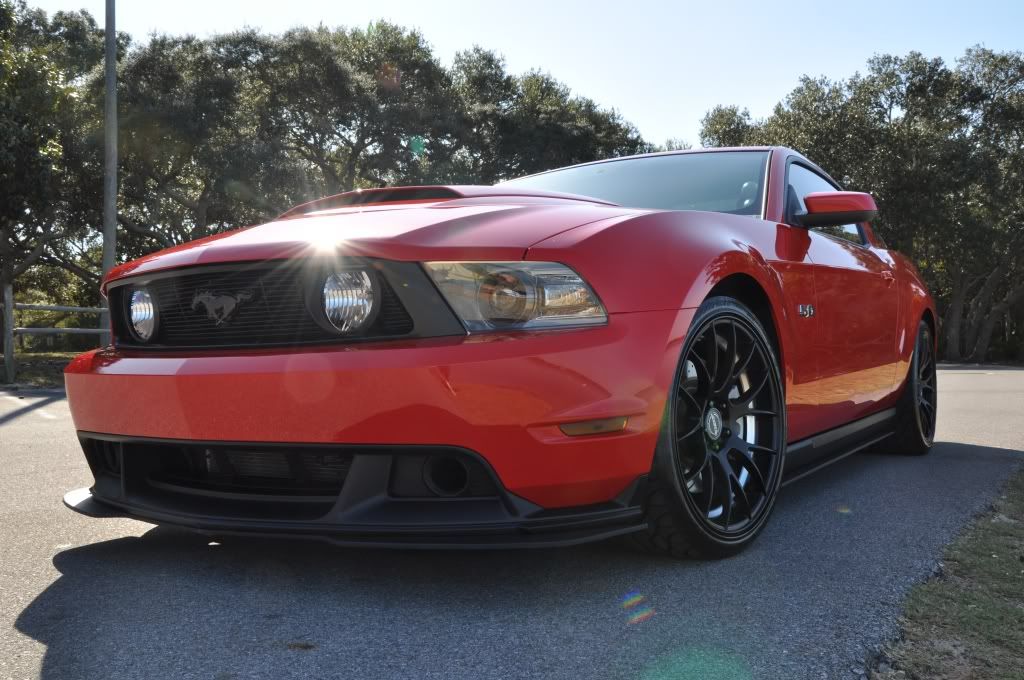
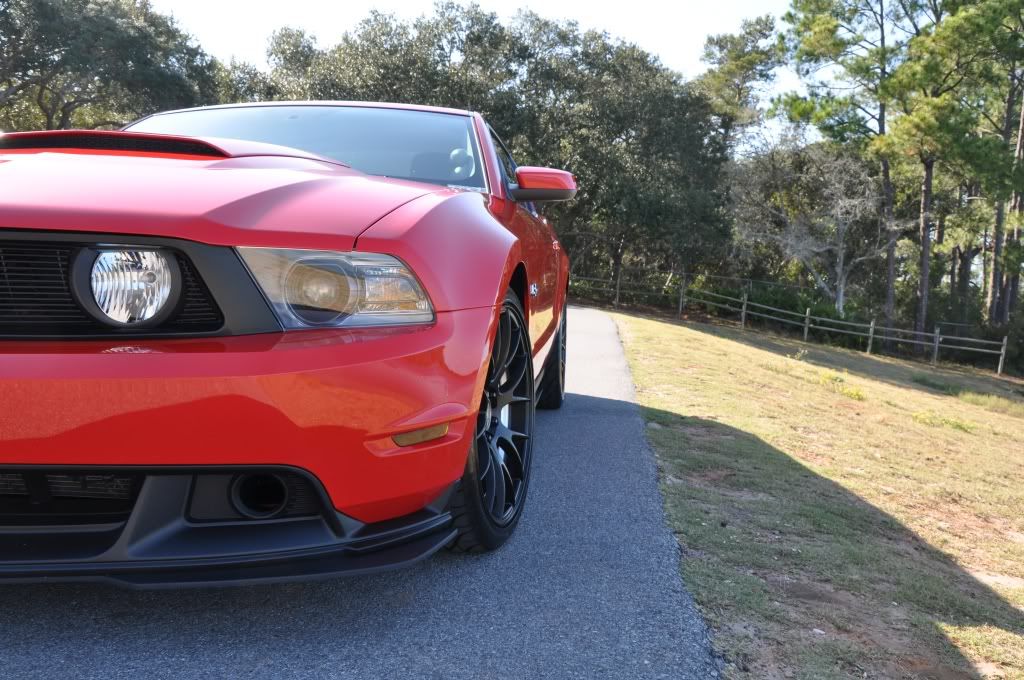
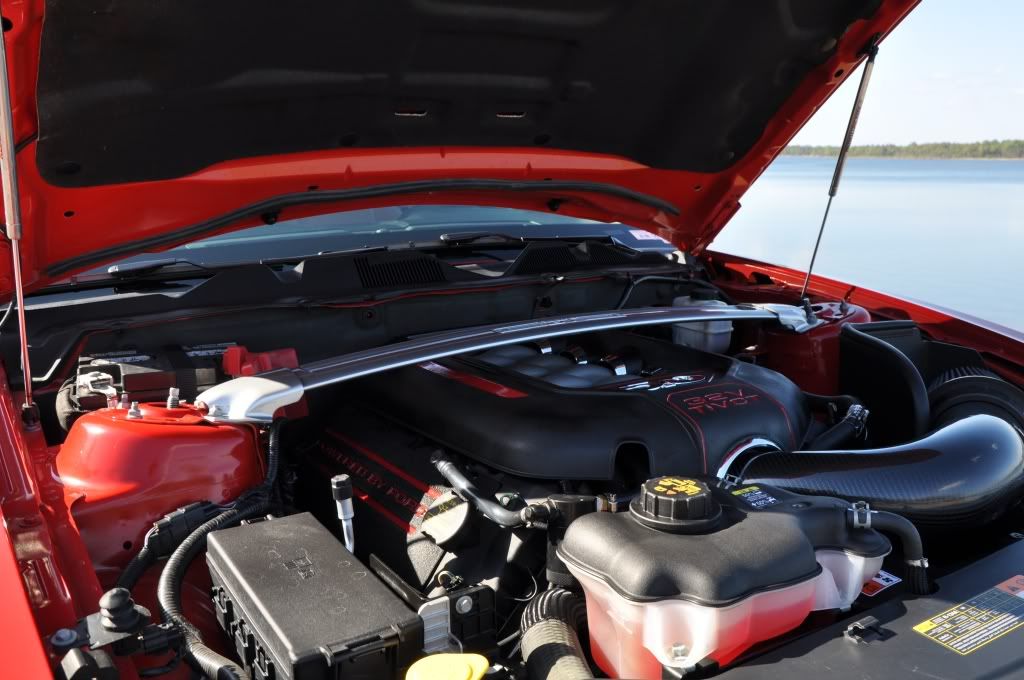
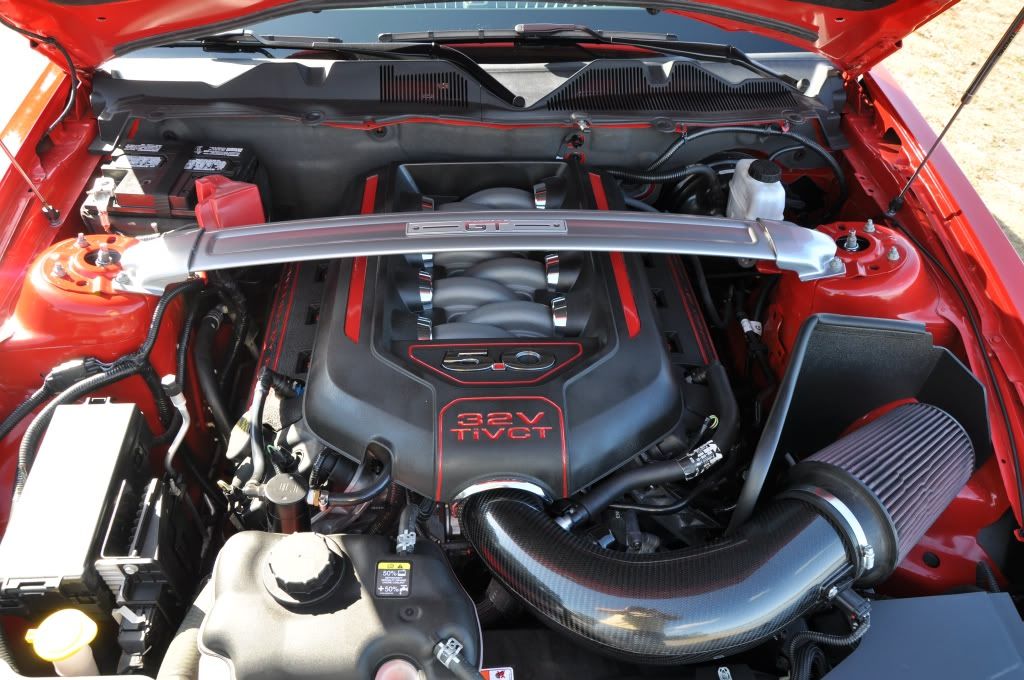
What a beautiful day here in Santa Rosa Beach/Panama City Beach. These pictures were taken at Lake Powell. Lake Powell is a salt water lake that I plan on fishing the hell out of once I get my boat set up.
Enjoy!
Enjoy!

Member
Joined: July 20, 2010
Posts: 16
Likes: 0
From: DFW
You did a fantastic job and it is very tasteful. Would you mind sharing what products you used or any tips? As a fellow RR owner I could see doing something very similar in the future.
Thread Starter
Bullitt Member
Joined: September 26, 2011
Posts: 278
Likes: 1
From: Santa Rosa Beach, FL
They are listed in my sig line. BFG KDW2's in 255/35-19 up front and 275/35-19 out back. I won't be buying these tires again. When they were new, and the fronts pretty much still are, they gripped really well. But the rears have been worn down through some spirited driving and now, they make a lot of road noise and don't grip very well. Even during hot days.
Legacy TMS Member
Joined: January 6, 2006
Posts: 14,053
Likes: 166
From: Bay Area, CA
That's been my experience with ALL Bfg tires. I will never go back to them. The General Exclaim UHPs were some of the best all around tires I've ever had. I think I'm going to try the Continentals next. Car looks awesome btw!
Thread Starter
Bullitt Member
Joined: September 26, 2011
Posts: 278
Likes: 1
From: Santa Rosa Beach, FL
Thread Starter
Bullitt Member
Joined: September 26, 2011
Posts: 278
Likes: 1
From: Santa Rosa Beach, FL
Thread Starter
Bullitt Member
Joined: September 26, 2011
Posts: 278
Likes: 1
From: Santa Rosa Beach, FL
BTW, what would folks recommend for tint % on the headlights and tails when having it done at a tint shop? Of course, I don't want any run-ins with the law over it, but I don't want it to be too light either. Suggestions are welcome. Pictures would be awesome!
Thread Starter
Bullitt Member
Joined: September 26, 2011
Posts: 278
Likes: 1
From: Santa Rosa Beach, FL
Thread Starter
Bullitt Member
Joined: September 26, 2011
Posts: 278
Likes: 1
From: Santa Rosa Beach, FL
I had been looking for just the right paint color to use but also, I wanted what is called, "Self Leveling" paint as well. One day while walking through Lowe's, this is after searching for months for the right paint, I happened to see this paint called "Rust-oleum Marine Coatings Topside Paint." The can said specifically that it had excellent self leveling properties and dries fast in the sun. I knew then that I had found my paint! I thought that any paint that can withstand the full on sun would probably do very well for my intended application. And it certainly has. one year later it's still just as bright and nice as it was the day I put it on. And cleaning it up is a snap too. It can take even the harshest cleaning methods once it's dry.
Here's a picture of the things I used to paint my COP covers and the main cover.

I took the top off of that bottle of 3n1 oil, drained it out, then used brake cleaner to clean out the oil from inside the bottle. Once it was dry, like two minutes later, I mixed up some of that Topside paint and poured some into that bottle. Put the top back on and cut just the very tip off the applicator. Then used that as a means to squeeze out the red paint into the lettering holes and the lines. The larger areas, like the larger stripes on the main engine cover, I used the same bottle type, I had two of those 3n1 bottles, but cut the applicator down lower to have a bigger hole for the paint to flow through. I propped the main cover up so that I could work on one side at a time and have a level surface. Squeezed out the paint and let it fill that whole area in. Used the fine detail brush to get the paint to go right up to the inside edge of that larger stripe area.
I still need to go back and fill in the larger stripes on the main cover area some more. I will eventually fill it all the way in so that the paint it level with the surrounding plastic.
I painted the COP covers and the main cover with the wrinkle black stuff before doing any of the detail work. It's a must to use 300 grit sandpaper to rough up the surfaces and then wash and dry the parts. I then used the Mass Airflow Sensor cleaner and washed down all the parts one final time. This dries up all the water and does a great job of getting rid of any oily spots on the surfaces. Then use the plastic primer. If you don't use the plastic primer, the wrinkle paint, or what ever paint you choose, won't set right. That Topside paint though, it will stick to anything. LOL!
Probably more info than you wanted or needed, but just thought I would share a little info on how I went about it for those who might be wondering or not sure how to do it themselves.
Here's a picture of the things I used to paint my COP covers and the main cover.
I took the top off of that bottle of 3n1 oil, drained it out, then used brake cleaner to clean out the oil from inside the bottle. Once it was dry, like two minutes later, I mixed up some of that Topside paint and poured some into that bottle. Put the top back on and cut just the very tip off the applicator. Then used that as a means to squeeze out the red paint into the lettering holes and the lines. The larger areas, like the larger stripes on the main engine cover, I used the same bottle type, I had two of those 3n1 bottles, but cut the applicator down lower to have a bigger hole for the paint to flow through. I propped the main cover up so that I could work on one side at a time and have a level surface. Squeezed out the paint and let it fill that whole area in. Used the fine detail brush to get the paint to go right up to the inside edge of that larger stripe area.
I still need to go back and fill in the larger stripes on the main cover area some more. I will eventually fill it all the way in so that the paint it level with the surrounding plastic.
I painted the COP covers and the main cover with the wrinkle black stuff before doing any of the detail work. It's a must to use 300 grit sandpaper to rough up the surfaces and then wash and dry the parts. I then used the Mass Airflow Sensor cleaner and washed down all the parts one final time. This dries up all the water and does a great job of getting rid of any oily spots on the surfaces. Then use the plastic primer. If you don't use the plastic primer, the wrinkle paint, or what ever paint you choose, won't set right. That Topside paint though, it will stick to anything. LOL!
Probably more info than you wanted or needed, but just thought I would share a little info on how I went about it for those who might be wondering or not sure how to do it themselves.
Last edited by VTXFrank; Nov 13, 2011 at 06:47 AM.
V6 Member
Joined: March 2, 2007
Posts: 66
Likes: 0
From: San Diego, CA
Your car looks amazing. I love the red accents under the hood. Thanks for providing the step-by-step details of how to do it.
