
New interior mod teaser (full thread to be edited in later)

Thread Starter
Mach 1 Member
Joined: January 6, 2011
Posts: 872
Likes: 3
From: Phoenix, Az
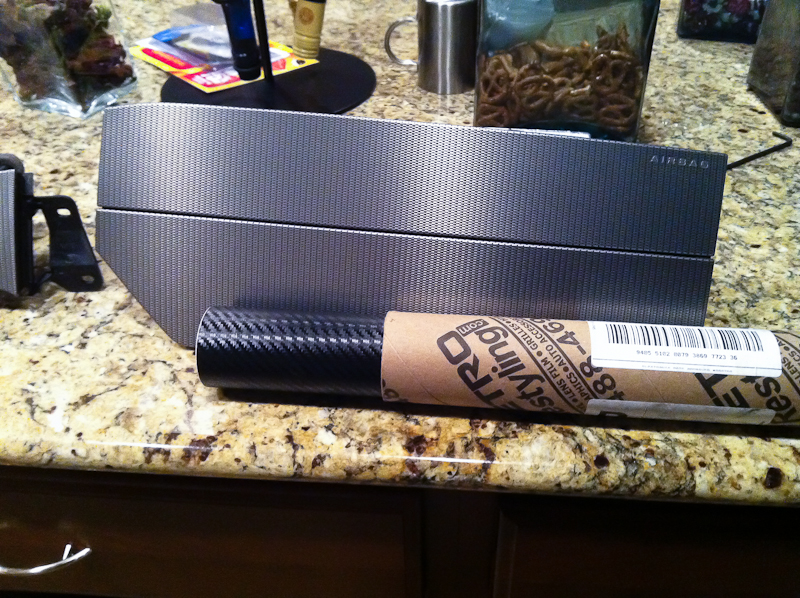
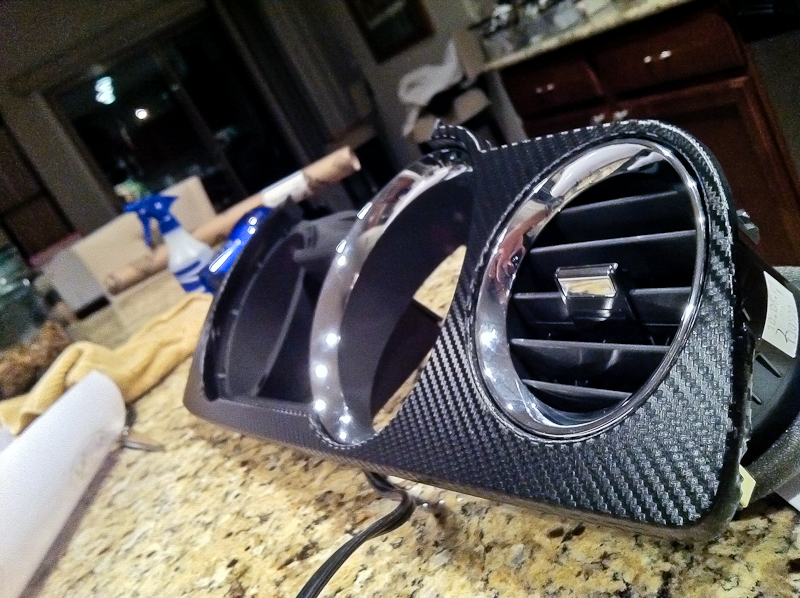
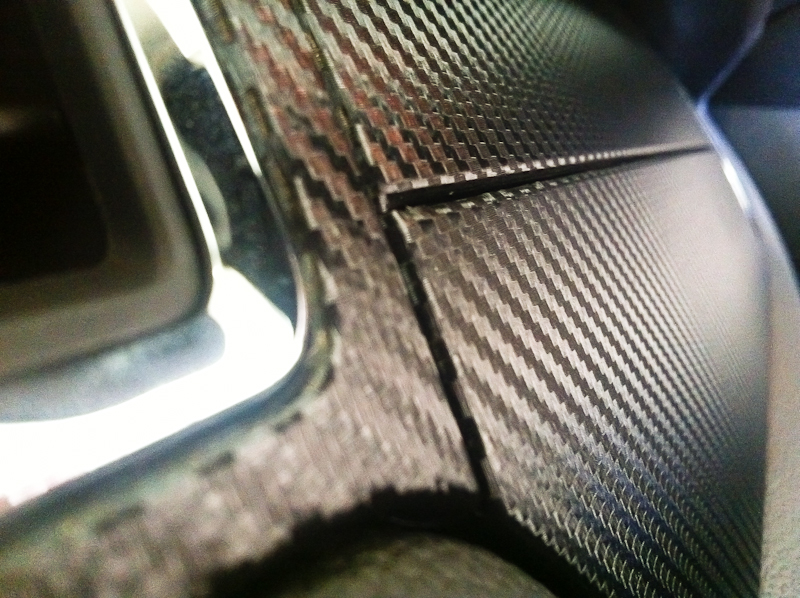
DiNoc CF wrapped my 401A dash panel
I really wanted a darker dash panel in my car with a bit less glare. The 401A dark stainless panel is nice, but its very retro looking and I wanted a bit more modern look for the car. Unfortunately all pics are with an iPhone, my dslr setup is currently missing a wide angle lens (something I keep meaning to buy/replace)
So I hopped on ebay, and bought a length of carbon fiber vinyl wrap.
I carefully removed all the dash panels (pretty straightforward, just remember to disconnect battery before disconnecting airbag on passenger side). I used this link: http://iihs.net/fsm/?dir=499 to read the service manual on removing the panels (the cluster surround pulls out, the airbag is removed by two bolts you access from under the glovebox with it dropped, and the remaining panels are held in by 5x 7mm bolts). Once the parts were out, I made quick work of disassembling the chrome trim rings, AC vents and other parts to get to the bare panels. There's no real documentation on how to do it, but its pretty straight forward. Some smooth flat objects (I used some old butterknives) make quick work of undoing all the latches.
I tried a couple different methods of installing the vinyl, but there's two basic techniques that are musts: water + heat. Using a spray bottle, I sprayed down the part (and the vinyl) that was getting applied:
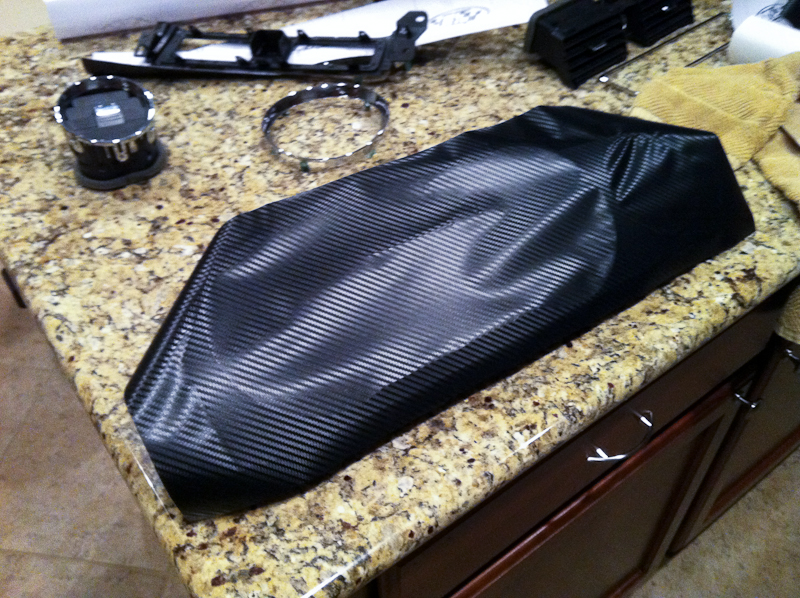
Id apply the vinyl, then using a squeegee get all the bubbles and water out, leaving a well adhered smooth surace.
Then using heat from a blowdryer, I "pulled" all the edges around to "form" the vinyl to the complex shapes (may appear to be flat panels, but you really need to wrap all around to get the OEM look and quality of finish I wanted). I'd trim the excess, and make sure that there
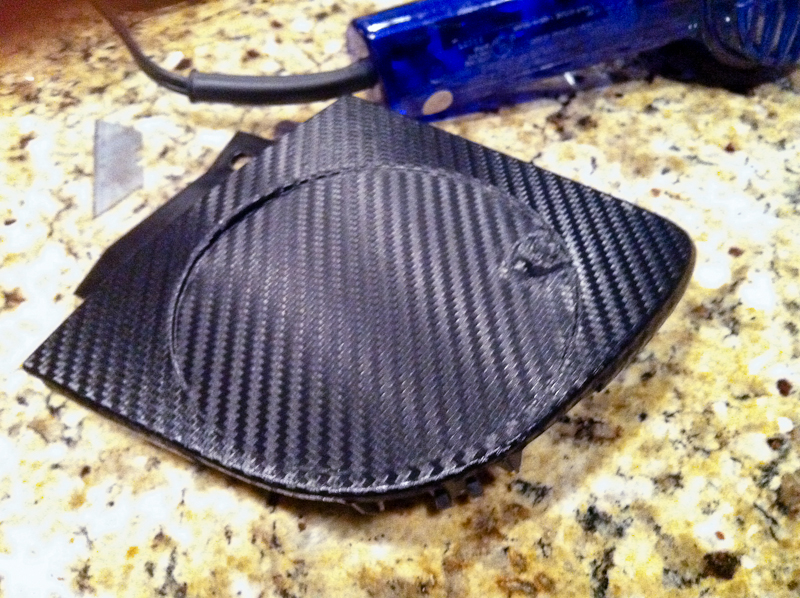
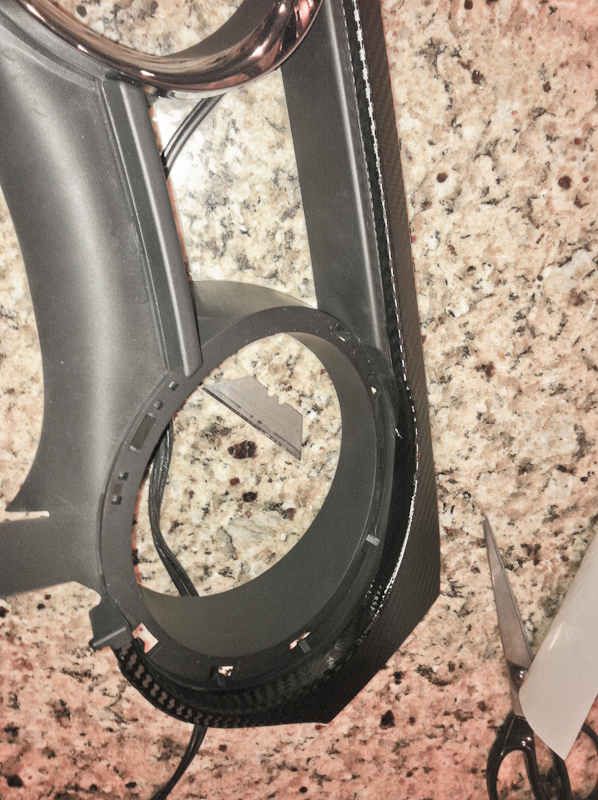

here is one finished piece:
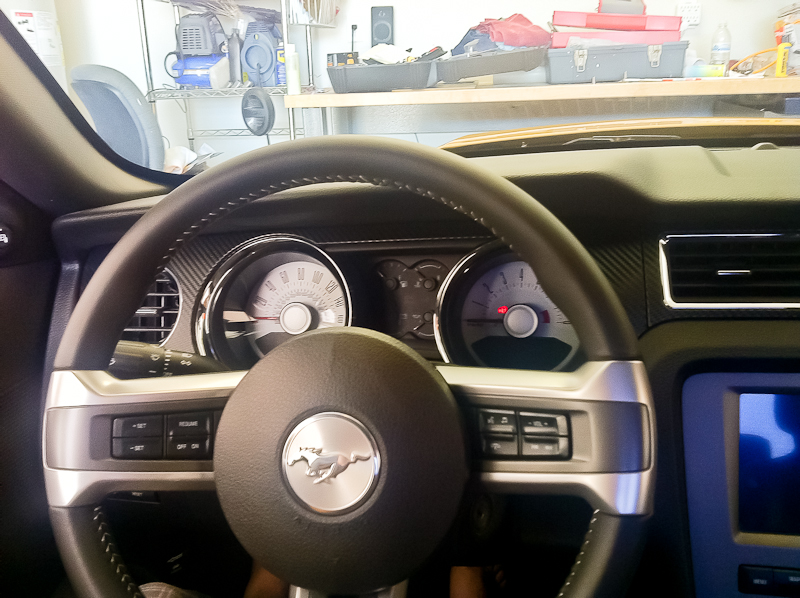
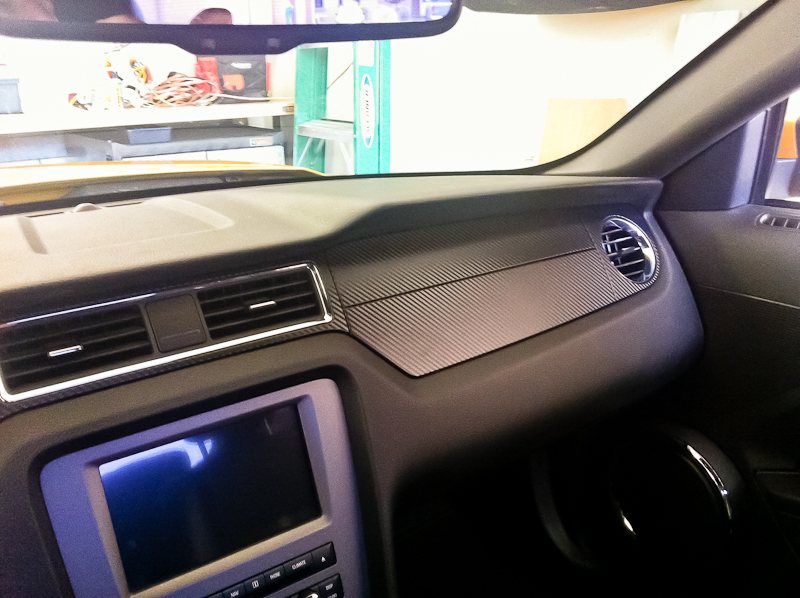
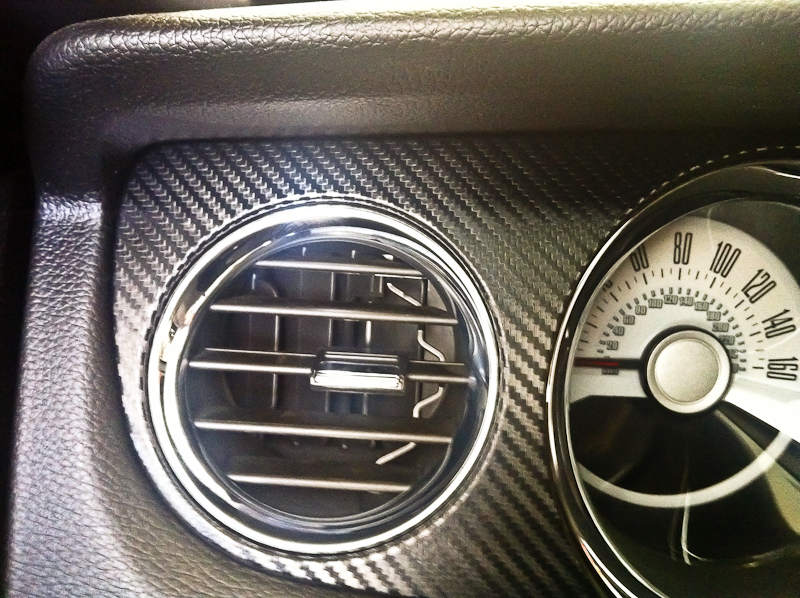
some installed shots:
So I hopped on ebay, and bought a length of carbon fiber vinyl wrap.
I carefully removed all the dash panels (pretty straightforward, just remember to disconnect battery before disconnecting airbag on passenger side). I used this link: http://iihs.net/fsm/?dir=499 to read the service manual on removing the panels (the cluster surround pulls out, the airbag is removed by two bolts you access from under the glovebox with it dropped, and the remaining panels are held in by 5x 7mm bolts). Once the parts were out, I made quick work of disassembling the chrome trim rings, AC vents and other parts to get to the bare panels. There's no real documentation on how to do it, but its pretty straight forward. Some smooth flat objects (I used some old butterknives) make quick work of undoing all the latches.
I tried a couple different methods of installing the vinyl, but there's two basic techniques that are musts: water + heat. Using a spray bottle, I sprayed down the part (and the vinyl) that was getting applied:
Id apply the vinyl, then using a squeegee get all the bubbles and water out, leaving a well adhered smooth surace.
Then using heat from a blowdryer, I "pulled" all the edges around to "form" the vinyl to the complex shapes (may appear to be flat panels, but you really need to wrap all around to get the OEM look and quality of finish I wanted). I'd trim the excess, and make sure that there
here is one finished piece:
some installed shots:
Last edited by CaptDistraction; Jun 9, 2011 at 01:17 PM.
Thread Starter
Mach 1 Member
Joined: January 6, 2011
Posts: 872
Likes: 3
From: Phoenix, Az
completed with minor write-up.
I wish the pictures showed off how great this turned out. Its very much darker, less glare despite the carbon texture, and just really gave the interior a unique but not overdone facelift.
I wish the pictures showed off how great this turned out. Its very much darker, less glare despite the carbon texture, and just really gave the interior a unique but not overdone facelift.


Bullitt Member
Joined: August 11, 2010
Posts: 417
Likes: 1
From: Vancouver, BC
Wow that looks great!! I always dislike "stick on" trim pieces because it always looks sooooooo fake. The vinyl wrap, being so thin, totally looks OEM.
As soon as I read his post, the first thing I did was
- check where he's located (Phoenix, Arizona)
- Google Map the distance between Vancouver BC and Phoenix Arizona

- check where he's located (Phoenix, Arizona)
- Google Map the distance between Vancouver BC and Phoenix Arizona
Wow dude, awesome job!
Ricer.
Ricer.


Thread
Thread Starter
Forum
Replies
Last Post
robjh22
Suspension, Brakes, and Tire Tech
4
Sep 8, 2015 12:31 PM