SGT hood scoop?

Thread Starter
Mach 1 Member
Joined: December 13, 2008
Posts: 844
Likes: 7
From: Midwest
SGT hood scoop?
I saw an used '07 SGT at a local dealership. One thing that stood out was that the hood scoop was screwed to the hood. Looked cheap.
This was the first SGT if really looked at. Are they all like that?
This was the first SGT if really looked at. Are they all like that?
Cobra R Member
Joined: February 18, 2008
Posts: 1,511
Likes: 3
From: Biloxi,Mississippi

Bullitt Member
Joined: January 5, 2009
Posts: 336
Likes: 3
From: Carrollton, VA
'07 rivets were fake. Originally, there were four internal bolts that held the scoop to the hood. the '08 rivets were the real deal and actually fastened the scoop to the hood. A lot of warranty claims were made because the scoops were made out of a really soft plastic. The initial replacements for the '07s were similar to the '08 set up, but after the '08s started to have problems, SAI eventually switched to a fiberglass scoop.
Bottom line: the scoop you saw on the '07 could have been original.
Bottom line: the scoop you saw on the '07 could have been original.
Team Mustang Source
Joined: January 15, 2005
Posts: 1,424
Likes: 0
From: So. FL
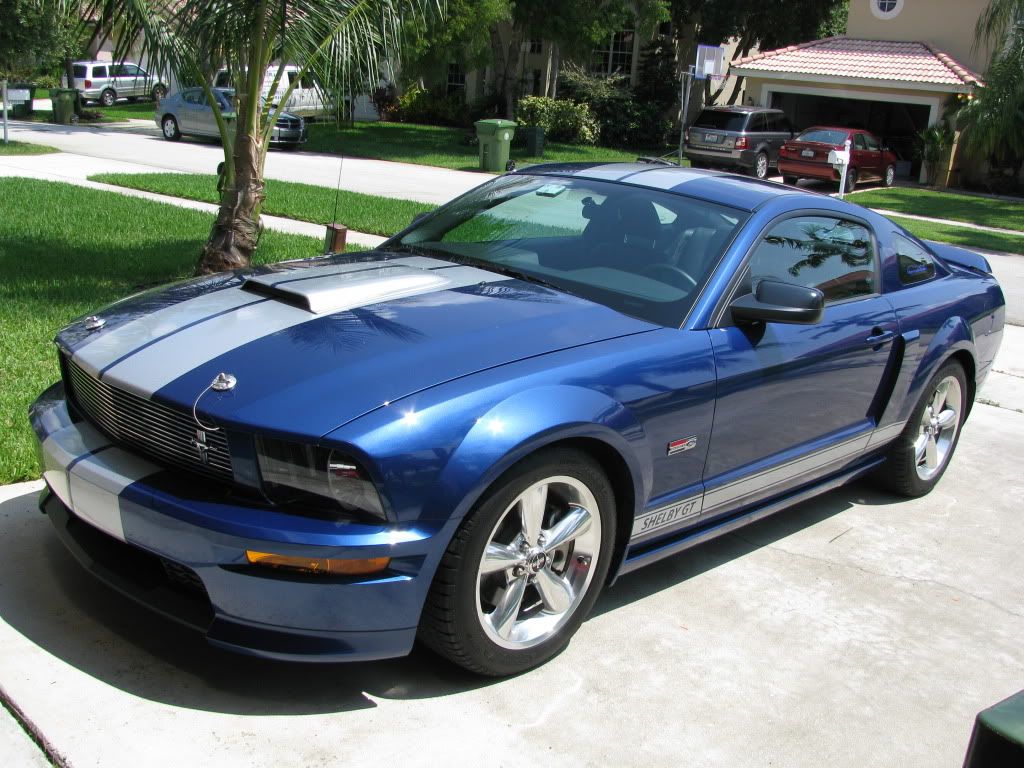
The original scoop on my 08 SGT was all warped when I purchased the car. Fortunately, I had it replaced with the new fiberglass scoop a year ago. The new scoops are perfect!
Last edited by SoFlaBoss; Feb 13, 2010 at 06:35 AM.
Shelby GT500 Member
Joined: July 1, 2006
Posts: 2,911
Likes: 1
'07 rivets were fake. Originally, there were four internal bolts that held the scoop to the hood. the '08 rivets were the real deal and actually fastened the scoop to the hood. A lot of warranty claims were made because the scoops were made out of a really soft plastic. The initial replacements for the '07s were similar to the '08 set up, but after the '08s started to have problems, SAI eventually switched to a fiberglass scoop.
Bottom line: the scoop you saw on the '07 could have been original.
Bottom line: the scoop you saw on the '07 could have been original.


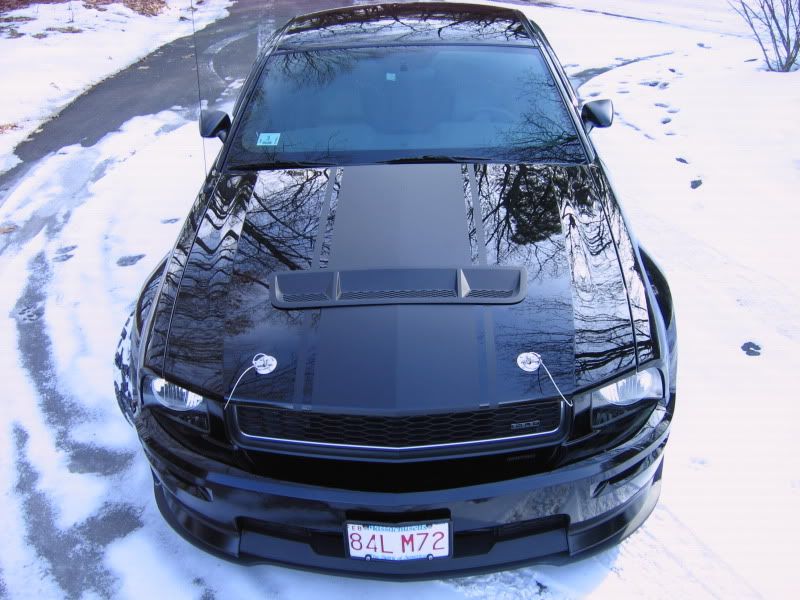
here's how i took care of the hood scoop issue on my 07...
Team Mustang Source
Joined: November 9, 2005
Posts: 398
Likes: 2
From: Texarkana, AR
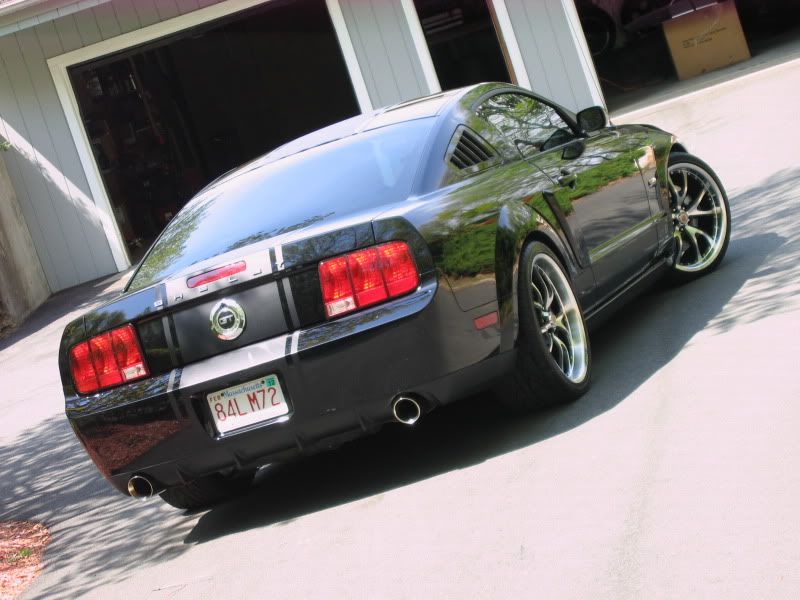
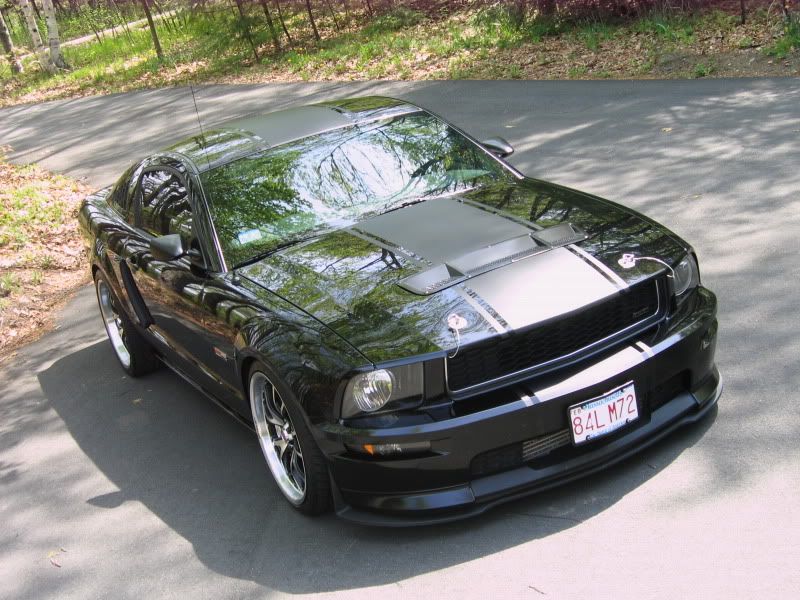
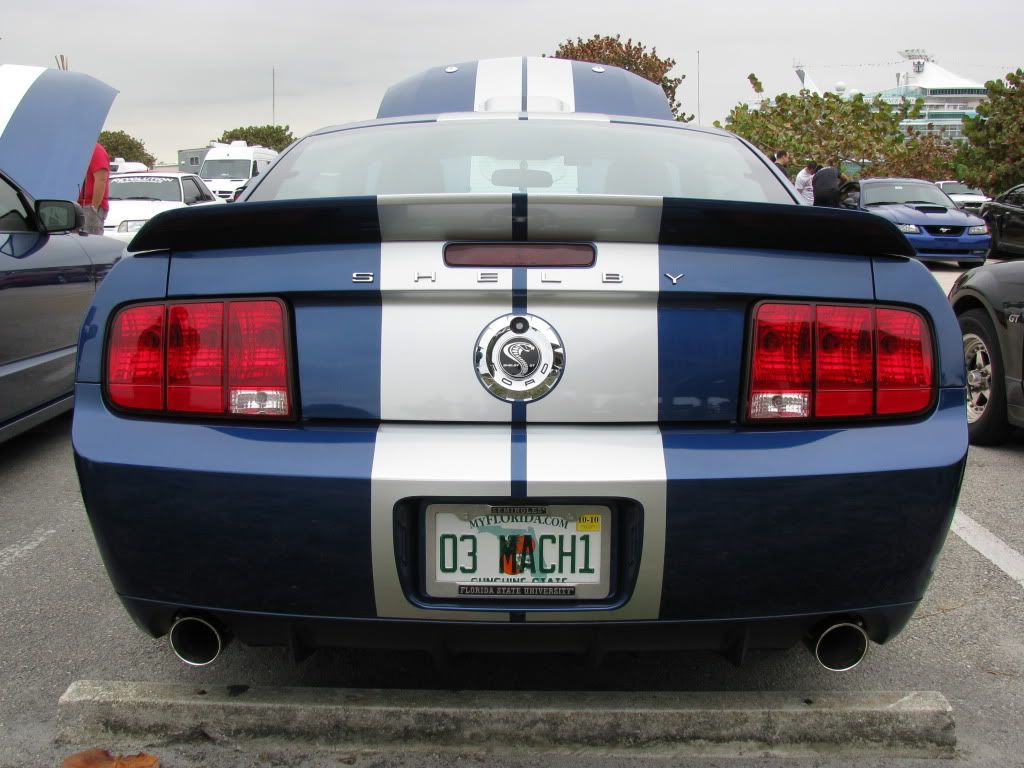
My scoop was removed and remounted with rivet nuts a different method, it came from Shelby with rivets around the edges, I had to remove it when the car had new stripes put on it and repainted the scoop and reattached. I liked this method better than pop rivets, I'm liking this black mustang with what looks like a gt 500 hood can't see if the bumper is Shelby GT or GT 500 - Sweet
GG
GG
thanks, tapd. it's # 07sgt4812.
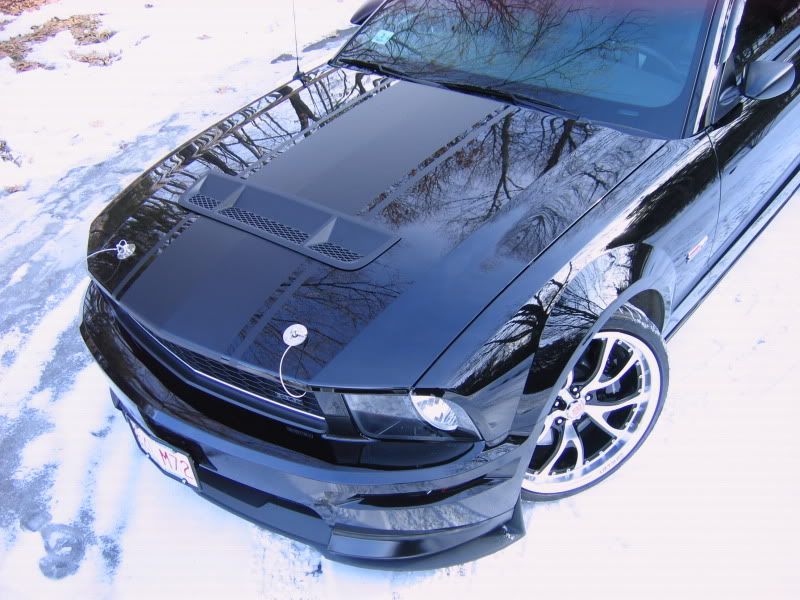
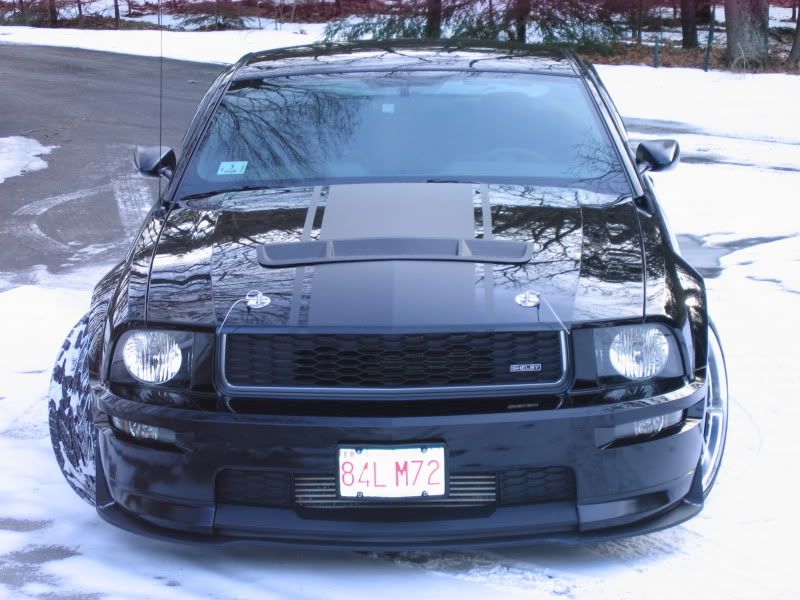
i cut a gt take-off hood for the vent and the mounted the gt500 splitter under the stock bumber.

i cut a gt take-off hood for the vent and the mounted the gt500 splitter under the stock bumber.
here's a quick n dirty write-up that i've posted elsewhere...
I'm sure you've seen the directions on how to modify the gt500 splitter to fit the standard gt bumper... well, this is very similar, except that I removed the entire raised 'grid' along the backside of the splitter, including the center section that gt uses; didn't need it because I'd made my own piece to fill in the center gap (gives a much cleaner look than the gt installs that I've seen).
i removed the front plastic cover from underneath the bumper and stored it away. i suppose it could be reinstalled, but I didn't bother. to make the center piece, I just measured the opening in the bumper, cut a piece of plywood, trimmed to fit, and applied an adhesive backed flat stock foam rubber trim to the front edge of the plywood. I also used 3m double-sided tape better adhesion of the foam rubber. Once that was completed, I drilled 4 holes and used (I think) 1/4" bolts, along with wide circumference washers (washers over and under) and vinyl lock-nuts to secure them.
once the center was installed, I lined up the splitter and used the same method to secure it to the underside of the bumper; about 8 bolts total and that thing is on there for good. the sides are secured the same way as the gt writeup suggests.
this is the best i could do for pics, as didn't take any during the installation...
i only used one screw at the top for each side. that seemed to be all that was needed, so i left it at that. all of the original wheel well/bumper screws remain in place and i drilled holes for these...


here you can see how the foam rubber creates a nice seal as it's sandwiched between the splitter and the bottom of the bumper...

btw, when you install the center piece, make sure you offset it about 1/2" - 3/4" behind the leading edge of the bumper. when i first installed it, I mounted it right along the leading edge of the bumper and it didn't look right, so i moved it back a bit and achieved a much cleaner look.
some under-body shots (driver side, pass side and a bit of the center)...


as you can see, it looks quite rough from underneath, but it's not a show car and it sits so low that there's not too many people, besides myself, that are ever gonna see under there, so it's all good afaic. I'm sure that there are a number of other materials that can be used, as opposed to plywood, that will provide a cleaner look.
hope this helps!
Paul
i removed the front plastic cover from underneath the bumper and stored it away. i suppose it could be reinstalled, but I didn't bother. to make the center piece, I just measured the opening in the bumper, cut a piece of plywood, trimmed to fit, and applied an adhesive backed flat stock foam rubber trim to the front edge of the plywood. I also used 3m double-sided tape better adhesion of the foam rubber. Once that was completed, I drilled 4 holes and used (I think) 1/4" bolts, along with wide circumference washers (washers over and under) and vinyl lock-nuts to secure them.
once the center was installed, I lined up the splitter and used the same method to secure it to the underside of the bumper; about 8 bolts total and that thing is on there for good. the sides are secured the same way as the gt writeup suggests.
this is the best i could do for pics, as didn't take any during the installation...
i only used one screw at the top for each side. that seemed to be all that was needed, so i left it at that. all of the original wheel well/bumper screws remain in place and i drilled holes for these...
here you can see how the foam rubber creates a nice seal as it's sandwiched between the splitter and the bottom of the bumper...
btw, when you install the center piece, make sure you offset it about 1/2" - 3/4" behind the leading edge of the bumper. when i first installed it, I mounted it right along the leading edge of the bumper and it didn't look right, so i moved it back a bit and achieved a much cleaner look.
some under-body shots (driver side, pass side and a bit of the center)...
as you can see, it looks quite rough from underneath, but it's not a show car and it sits so low that there's not too many people, besides myself, that are ever gonna see under there, so it's all good afaic. I'm sure that there are a number of other materials that can be used, as opposed to plywood, that will provide a cleaner look.
hope this helps!
Paul
I don't do trannies
or rear-ends anymore!
or rear-ends anymore!
Joined: September 23, 2008
Posts: 995
Likes: 0
From: Memphis
thanks, rob! 

I lust for a M24
Joined: November 6, 2004
Posts: 7,042
Likes: 4
From: Football HOF, Canton OH
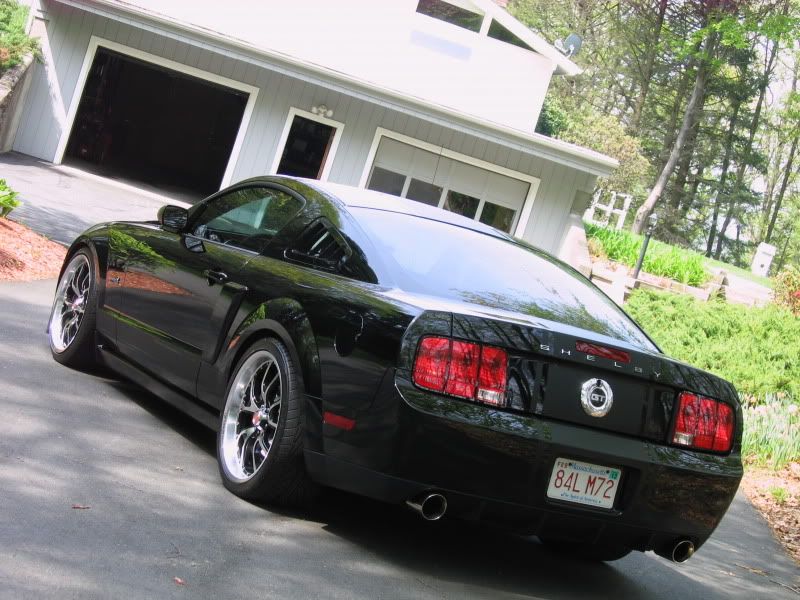
 Got any more pics? I'm interested to see what you did w/ the back end. Nice, nice work.
thank you, john! here's some updated pics...