
Koni Yellow Rear Install questions...

Thread Starter
I Have No Life
Joined: September 24, 2011
Posts: 10,141
Likes: 173
Folks... I have a set of Koni Yellows on its way to me (thanks Jay/Dan/HYPERMOTIVE!!!) tomorrow.
I know the front struts have to be professionally installed, I get that. But for the rears, I wanted to do myself. I've never done a rear shock install before. From my talk with Dan and other folks, I hear it's just 2 bolts? 1 accessed from the trunk, 1 accessed from the bottom by the axle? Is it really that simple?
Jack car up on stands
Remove Wheels
Remove bolts
Remove shock
Install new shock
Done
That's it??? Any other tips or tricks? Also, I don't have an impact wrench or anything... just hand tools. For removal of the stock shock, I assume for the trunk bolt, one wrench on the collar, one on the bolt to loosen, and prevent the stock strut from "spinning".... and voila?
And what's the torque setting on bolts for install? Over 100 ft/lbs?
Last edited by FromZto5; Apr 3, 2014 at 03:25 PM.
GTR Member
Joined: February 18, 2010
Posts: 4,990
Likes: 1
From: S.E. Texas
Best to have a shock stud tool or similar tool to prevent the shock stud from turning as you loosen the nut, although it can be done with vice grips.
And who says the front struts have to be professionally installed???
Millions have been installed by DIY'ers in their driveway or garage.
And who says the front struts have to be professionally installed???
Millions have been installed by DIY'ers in their driveway or garage.
Thread Starter
I Have No Life
Joined: September 24, 2011
Posts: 10,141
Likes: 173
Best to have a shock stud tool or similar tool to prevent the shock stud from turning as you loosen the nut, although it can be done with vice grips. And who says the front struts have to be professionally installed??? Millions have been installed by DIY'ers in their driveway or garage.

As for the shock stud, I thought the collar had a "nut" I could latch onto using a wrench? No? So it's a smooth cylindrical surface that I have to latch on to hence the vise grips??
Legacy TMS Member
Joined: August 7, 2011
Posts: 5,246
Likes: 567
From: NC
This is me doing the front stuff with spring compressors rented from the local Autozone:
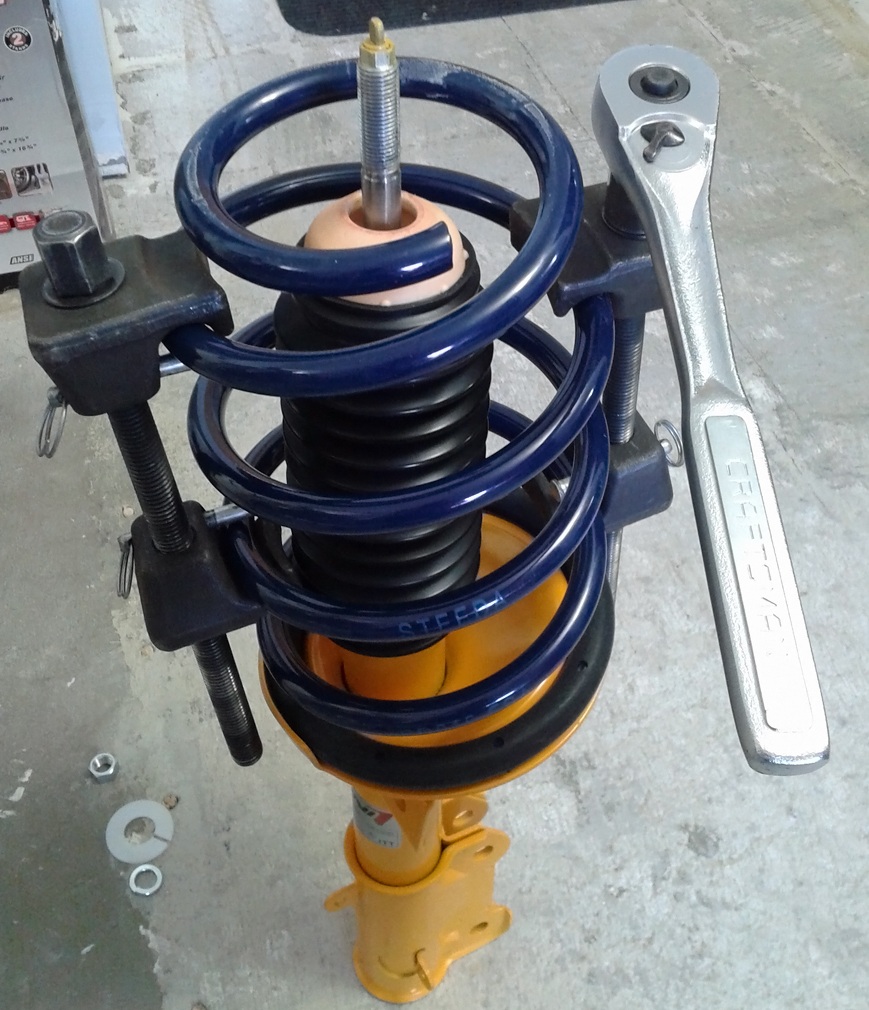
The front strut lower bolts are on VERY tight, definitely need a strong impact gun to loosen/tighten them
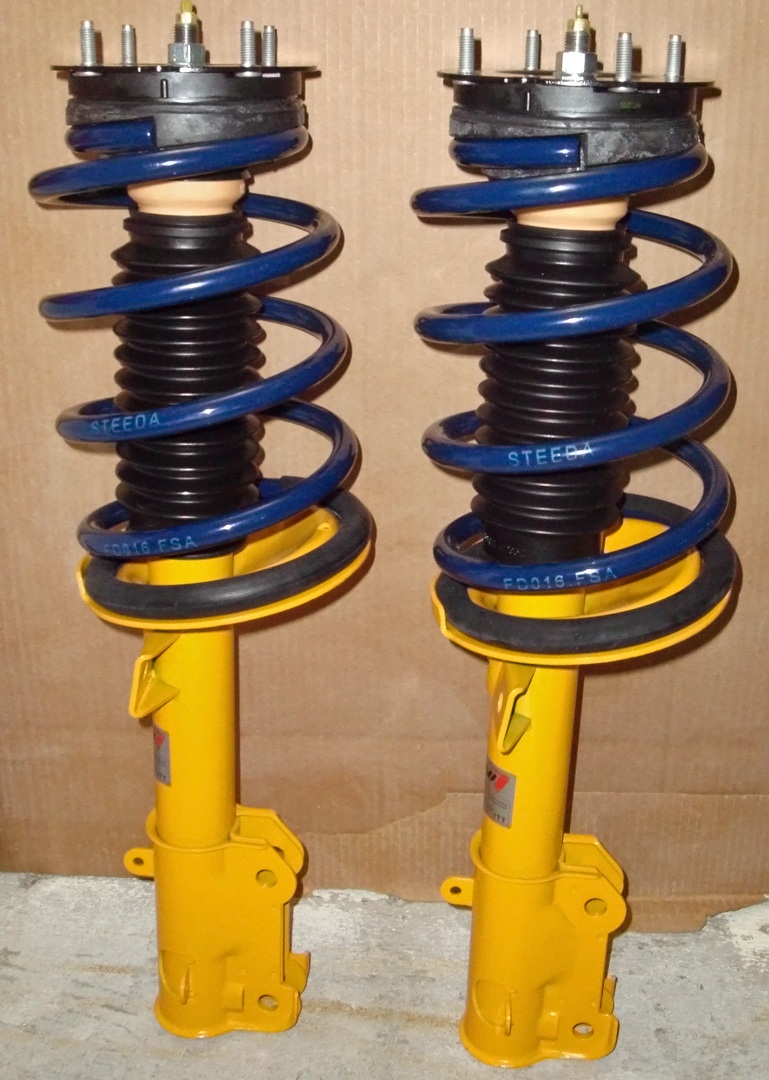
I put the fronts together in my condo before going out to the car to remove old set-up, install new.
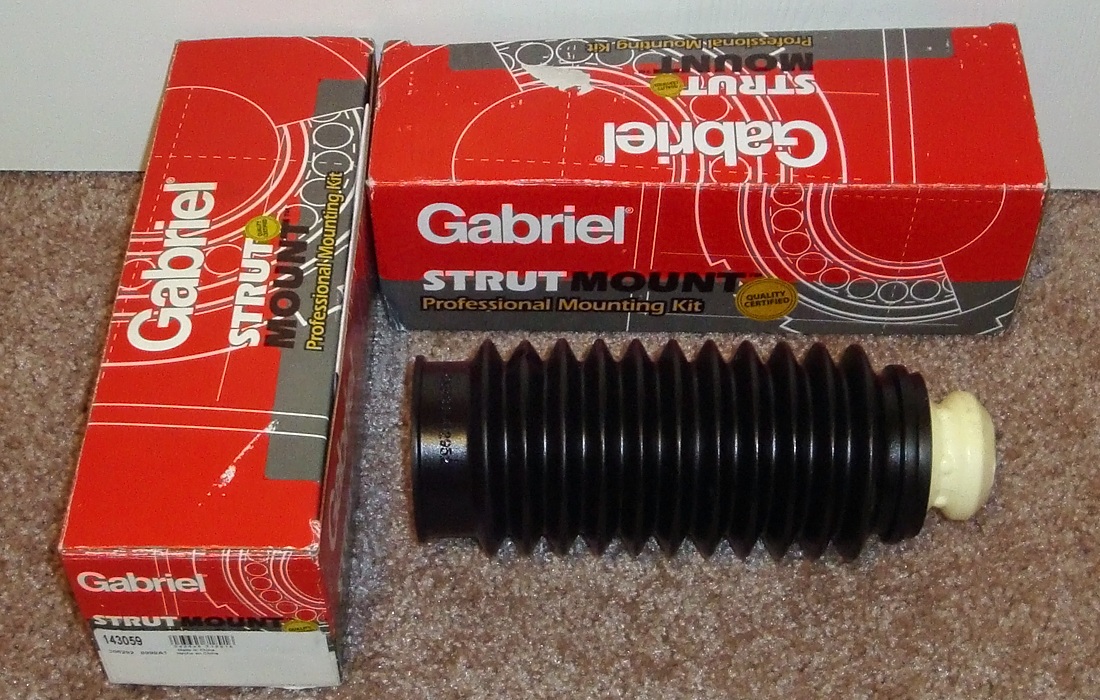
New Steeda Sport springs, Koni Sport struts, GT500 strut mounts, Gabriel dust boots, FRPP jounce bumpers, Ford oem bottom-spring sleeves:
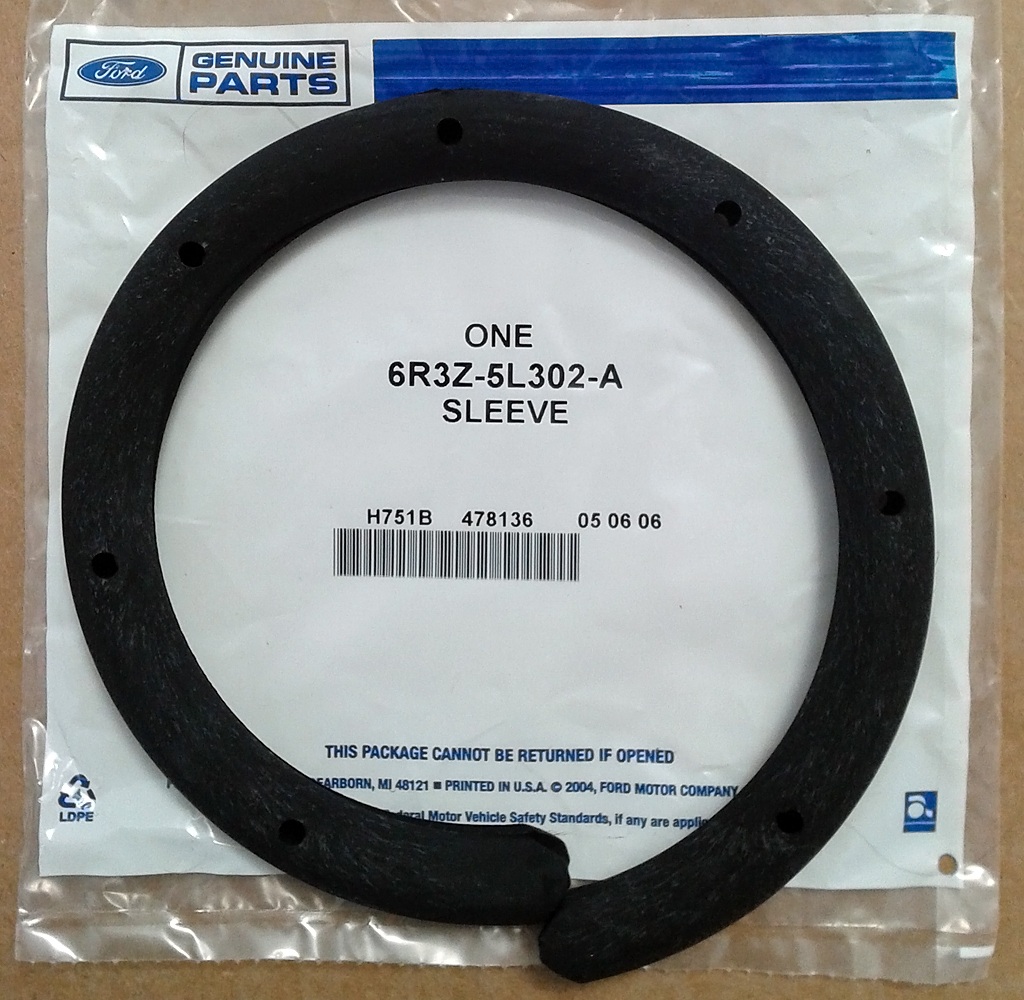
The spring sleeves I mention above:
The dust boots:
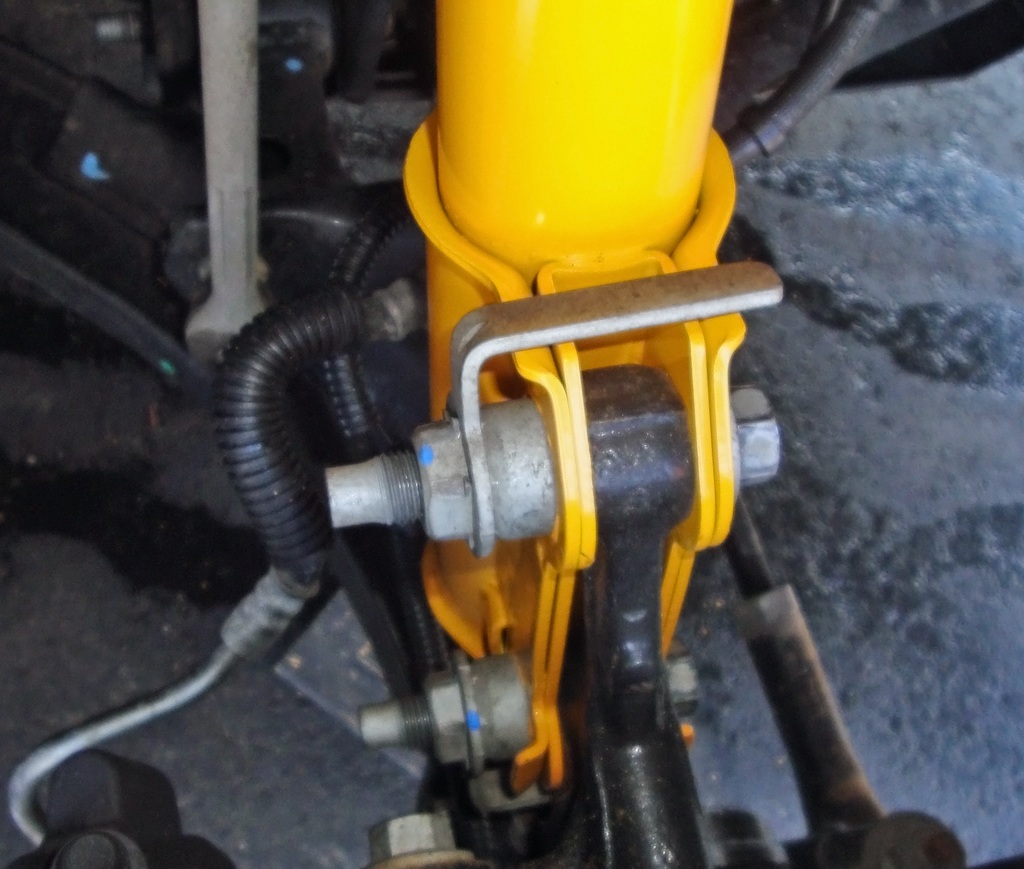
As far as the rear shocks, yes you'll need something to keep the center stud from spinning. Putting the new nut on, you only need to tighten it as much as to push a bit of pressure on the washer that pushes onto the fat rubber bushing below it. You don't want to squeeze that bushing out too much. I think the shocks come with a picture that shows you. I was surprised how little torque it took to get them to look like the picture.
The bottom bolt though, I think that gets tightened to the usual 129 ft-lbs that just about everything under there gets tightened to.
The front strut lower bolts are on VERY tight, definitely need a strong impact gun to loosen/tighten them
I put the fronts together in my condo before going out to the car to remove old set-up, install new.
New Steeda Sport springs, Koni Sport struts, GT500 strut mounts, Gabriel dust boots, FRPP jounce bumpers, Ford oem bottom-spring sleeves:
The spring sleeves I mention above:
The dust boots:
As far as the rear shocks, yes you'll need something to keep the center stud from spinning. Putting the new nut on, you only need to tighten it as much as to push a bit of pressure on the washer that pushes onto the fat rubber bushing below it. You don't want to squeeze that bushing out too much. I think the shocks come with a picture that shows you. I was surprised how little torque it took to get them to look like the picture.
The bottom bolt though, I think that gets tightened to the usual 129 ft-lbs that just about everything under there gets tightened to.
Last edited by Gabe; Apr 3, 2014 at 05:30 PM.
Thread Starter
I Have No Life
Joined: September 24, 2011
Posts: 10,141
Likes: 173
This is me doing the front stuff with spring compressors rented from the local Autozone: The front strut lower bolts are on VERY tight, definitely need a strong impact gun to loosen/tighten them I put the fronts together in my condo before going out to the car to remove old set-up, install new. New Steeda Sport springs, Koni Sport struts, GT500 strut mounts, Gabriel dust boots, FRPP jounce bumpers, Ford oem bottom-spring sleeves: The spring sleeves I mention above: The dust boots: As far as the rear shocks, yes you'll need something to keep the center stud from spinning. Putting the new nut on, you only need to tighten it as much as to push a bit of pressure on the washer that pushes onto the fat rubber bushing below it. You don't want to squeeze that bushing out too much. I think the shocks come with a picture that shows you. I was surprised how little torque it took to get them to look like the picture. The bottom bolt though, I think that gets tightened to the usual 129 ft-lbs that just about everything under there gets tightened to.
GT Member
Joined: October 30, 2013
Posts: 110
Likes: 10
From: West Of St Louis MO
I remember the bottom rear shock getting torqued to 85....
Here is what I used that I found on another forum...
REAR:
Rear shock absorber upper nut 30
Rear shock absorber lower bolt 85
Lower arm-to-body bolt 129
Brake caliper anchor plate bolts 76
Lower arm-to-axle bolt 129
Panhard rod-to-body mount bolt 129
Panhard rod-to-axle bolt 129
Lateral stiffener bar-to-body mount nut 85
Lateral stiffener bar-to-body bolts 46
Stabilizer bar bracket nuts 52
Stabilizer bar link bolts 85
Parking brake cable bracket-to-lower arm 20
Upper control arm front bolt 129
Upper control arm rear bolts 85
Upper control arm bushing nut 129
Fuel tank strap bolt 38
Brake hose bracket bolt 15
Mach 1 Member
Joined: March 27, 2014
Posts: 919
Likes: 0
From: Winnipeg, MB
Actually LMR has a suspension swap video on their site where they use an alternative method to separate the spring/strut without a spring compressor. They put the car on jackstands, then jack up the knuckle, to compress the spring, remove the top bolt, then slowly lower the jack. For reassembly they used a lower spring low enough they didn't need a compressor to put it back together. I've tried it before, and it works...but you better have a jack with a lotta leeway when you back it off to lower it. 
GT Member
Joined: October 30, 2013
Posts: 110
Likes: 10
From: West Of St Louis MO
Also...
I had a bit of a problem getting the upper shock stems of my Koni oranges fully thru the hole and into the trunk to reattach the upper nut. It was thru enough to start the nut, but not torque in properly.
I jacked the car up from the side with nothing else under it, then let the floor jack "off" quickly. The rapid drop of the weight of the car seated the stems perfectly to finish the job. I know a few others had similar problem, but yellows might be different.

Mach 1 Member
Joined: March 10, 2014
Posts: 564
Likes: 0
From: Manchester, NH
Or could pay the manager at your local Midas muffler $20 to make use if their branick spring compressor like I do. They are the safest quickest spring compressor. Just be certain to mark the clocking position of the strut plate prior to assembly.
http://branick.com/products-strut-tools.php
http://branick.com/products-strut-tools.php
GTR Member
Joined: February 18, 2010
Posts: 4,990
Likes: 1
From: S.E. Texas
Best bet with the front strut upper nut is an impact, and you can buy a really nice electric 1/2" impact at Harbor Freight for less than $50, an invaluable tool for a compressorless shop. Great for all kinds of jobs.
GTR Member
Joined: February 18, 2010
Posts: 4,990
Likes: 1
From: S.E. Texas
Shock stud tool: http://www.lislecorp.com/divisions/products/?product=78
Cheap at rockauto: http://www.rockauto.com/catalog/x,ex...rttype,1001086
Cheap at rockauto: http://www.rockauto.com/catalog/x,ex...rttype,1001086
Last edited by Ltngdrvr; Apr 3, 2014 at 07:03 PM.
Thread Starter
I Have No Life
Joined: September 24, 2011
Posts: 10,141
Likes: 173
Shock stud tool: http://www.lislecorp.com/divisions/products/?product=78 Cheap at rockauto: http://www.rockauto.com/catalog/x,ex...rttype,1001086
GTR Member
Joined: February 18, 2010
Posts: 4,990
Likes: 1
From: S.E. Texas
Now go get that electric impact so you can do those front struts too!
http://www.harborfreight.com/12-in-e...nch-68099.html
__
Last edited by Ltngdrvr; Apr 3, 2014 at 08:38 PM.
GT Member
Joined: October 15, 2012
Posts: 190
Likes: 2
From: Seattle
This is me doing the front stuff with spring compressors rented from the local Autozone: The front strut lower bolts are on VERY tight, definitely need a strong impact gun to loosen/tighten them I put the fronts together in my condo before going out to the car to remove old set-up, install new. New Steeda Sport springs, Koni Sport struts, GT500 strut mounts, Gabriel dust boots, FRPP jounce bumpers, Ford oem bottom-spring sleeves: The spring sleeves I mention above: The dust boots: As far as the rear shocks, yes you'll need something to keep the center stud from spinning. Putting the new nut on, you only need to tighten it as much as to push a bit of pressure on the washer that pushes onto the fat rubber bushing below it. You don't want to squeeze that bushing out too much. I think the shocks come with a picture that shows you. I was surprised how little torque it took to get them to look like the picture. The bottom bolt though, I think that gets tightened to the usual 129 ft-lbs that just about everything under there gets tightened to.
Thanks for all the info/ tips guys.
Mach 1 Member
Joined: April 3, 2012
Posts: 971
Likes: 144
From: Indy
When I was adding my panhard bar, and lca's I found this link, if you want for reference. Look at posts 2, 3, and 9.
Legacy TMS Member
Joined: August 7, 2011
Posts: 5,246
Likes: 567
From: NC
This is helpful info.....I just ordered that Gabriel set on amazon, and I'm going to get the spring sleeves as well. Did the struts come with new top nuts? My oranges didn't have any.....just the black cap they are strapped down on in the box.
Thanks for all the info/ tips guys.
Thanks for all the info/ tips guys.
Thread Starter
I Have No Life
Joined: September 24, 2011
Posts: 10,141
Likes: 173
Guys, pardon the dumb question.
I went through the box tonight and instructions, and even watched the install vids on YouTube. Looks pretty straight forward.
Couple things...
I assume the bottom axle bolt is reused on the new konis since a new pair of bolts was not provided?
The lock washers (2) that came with it, are not shown on diagram. I assume it goes on the bottom bolt by the axle?