
BOSS rear diffuser for 2013 GT

Thread Starter
Bullitt Member
Joined: July 30, 2008
Posts: 425
Likes: 8
From: Indianapolis, IN
UPDATED w/ PICS - BOSS rear diffuser for 2013 GT
Anyone have any idea if these 2 parts are identical:
DR3Z-17F828-AA (Original Part # for BOSS diffuser)
DR3Z-17F828-BA (Aftermarket Part # for BOSS diffuser)
DR3Z-17F828-AB (Original Part # for GT500 diffuser (quad-tip exhaust cutouts))
They look to both be the Boss rear diffuser and there is like a $70-$80 difference in price. I know one is original equipment (the AA), and the other is listed as an accessory (the BA). I have seen numerous posts here and on other sites where people installed the AA part, has anyone ordered and installed the BA?? Trying to figure out if there is any legitimate reason to pay the extra $$$.
TIA
Last edited by MADSCOTSMAN; Jun 18, 2013 at 05:14 PM.

Thread Starter
Bullitt Member
Joined: July 30, 2008
Posts: 425
Likes: 8
From: Indianapolis, IN
My local Ford dealer had no insight for the difference. I added the part number to my original post for the GT500 diffuser he gave me as well. I ordered the aftermarket part for an $80 savings from the original OEM part. One last question for anyone who has already done this, doe the diffuser come with any hardware or do I need to order seperately the mounting hardware i've seen in multiple other posts???
Thanks again
Thanks again
Thread Starter
Bullitt Member
Joined: July 30, 2008
Posts: 425
Likes: 8
From: Indianapolis, IN
UPDATE!!
Went with the DR3Z-17F828-BA part. It came with almost all the harware (6 clips, 2 quick nut screws, 2 plasitc push rivet type fasteners, and only one of the special clips for the middle section). I was able to get the bumper off and save one of the original ones so it was all good:
I changed out the center panel and faux cap, tinted the taillights, bumper reflectors, and 3rd brake light. Also got an AM GT500 spolier. All thats left to do on the outside is lower her and start with the suspension mods.
Before:
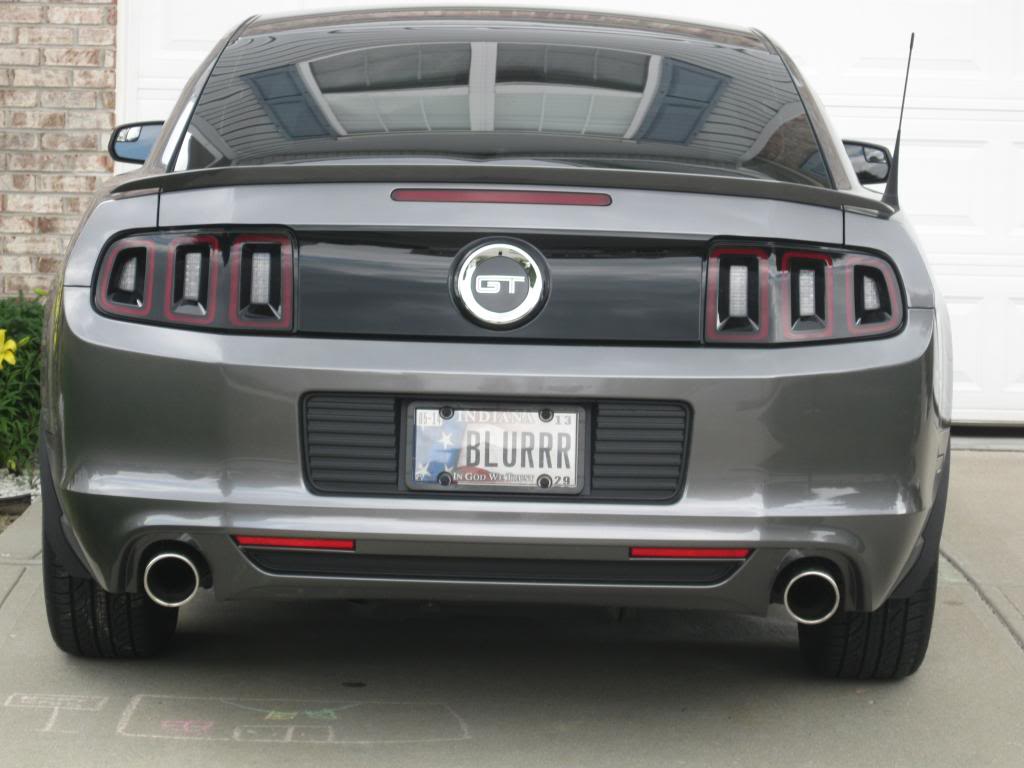
After:
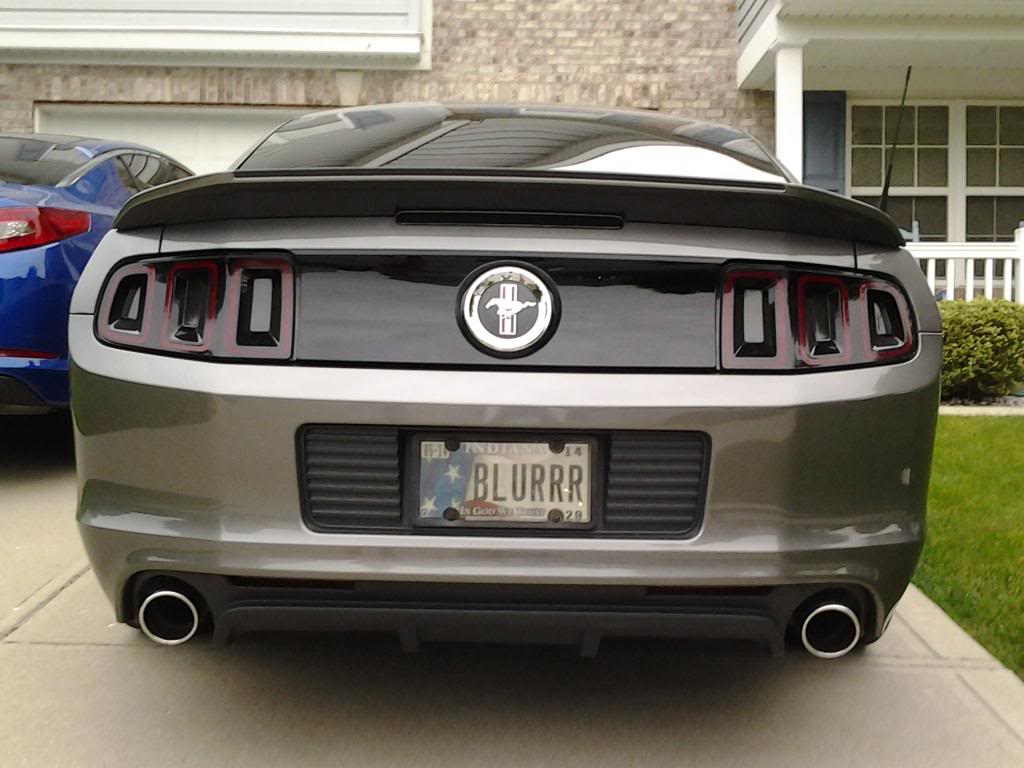
I changed out the center panel and faux cap, tinted the taillights, bumper reflectors, and 3rd brake light. Also got an AM GT500 spolier. All thats left to do on the outside is lower her and start with the suspension mods.
Before:

After:

Cobra Member
Joined: December 4, 2011
Posts: 1,418
Likes: 3
From: Central Florida
These newer ('13 and up) diffusers look to be easier to install over the '11 and '12's, as getting the 3 tabs from the license plate area are a pain to push out when removing the old diffuser.
Thread Starter
Bullitt Member
Joined: July 30, 2008
Posts: 425
Likes: 8
From: Indianapolis, IN
Thread Starter
Bullitt Member
Joined: July 30, 2008
Posts: 425
Likes: 8
From: Indianapolis, IN
Awesome... The hardest part about the install is 1st, working up the nerve to cut on your car, and 2nd, actually cutting the rear bumper. I bought an electric body saw from harbor freight and went through 6 or 7 blades and had a heck of a time with that POS tool (Not sure what else to expect from HF tools though). I would definately recommend a decent quality air saw. Even though the bumper is plastic, it is not that easy to cut (melting plastic binds up the blade). I traced the guideline with a Sharpie so I could see it better and had to use a coping saw by hand on a few spots the electric saw just wouldn't cut through... Good Luck
Legacy TMS Member
Joined: December 23, 2011
Posts: 384
Likes: 0
From: Indianapolis, IN

Thread Starter
Bullitt Member
Joined: July 30, 2008
Posts: 425
Likes: 8
From: Indianapolis, IN
Bryan