
Pics of Rousharger Install

Thread Starter
GT Member
Joined: June 10, 2005
Posts: 131
Likes: 0
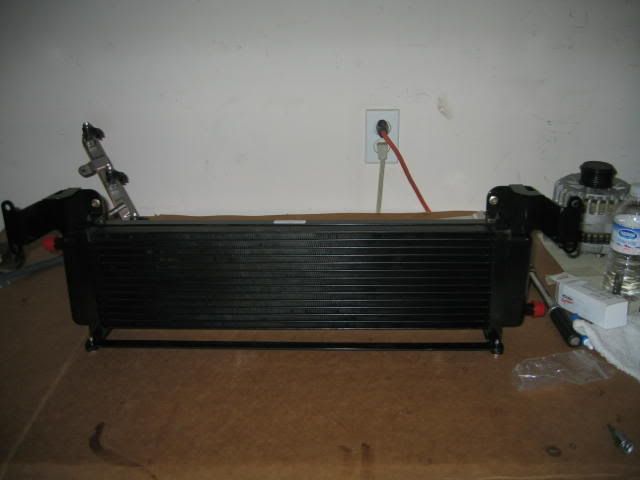
Well the last day of 05 and we started of by mounting the water tank for intercooler

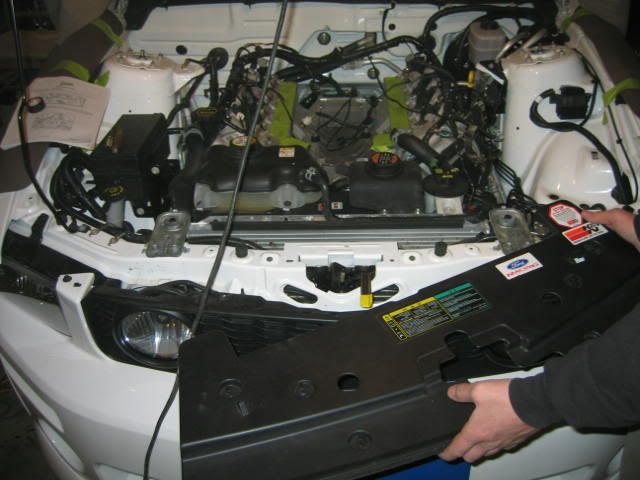
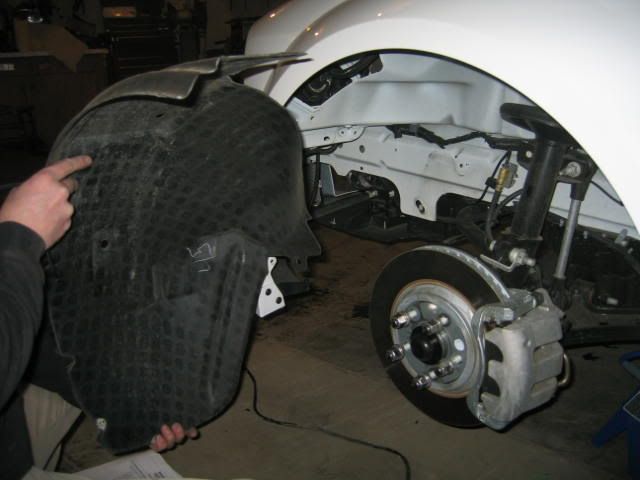
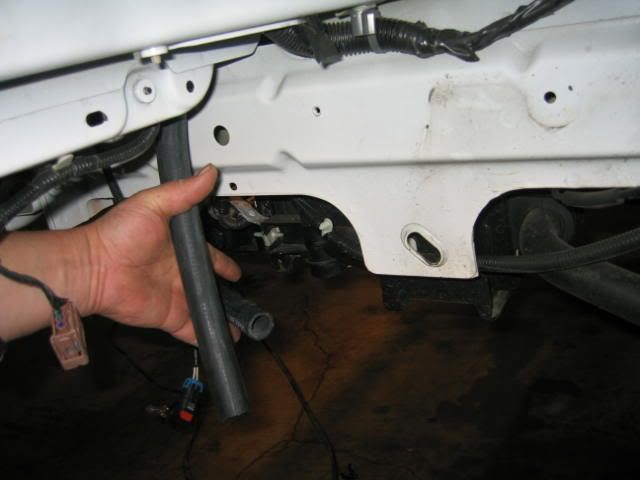
Then we jacked up car took off front wheels to be able to remove front half of inner fenders and the front bumper. Actually remove the front of the car was probably the easiest thing we have done. This is to install the cooler for intercooler.
[IMG]http://i29.photobucket.com/albums/c259/toolttime/superchargerproject099.jp
g[/IMG]
[
Thread Starter
GT Member
Joined: June 10, 2005
Posts: 131
Likes: 0
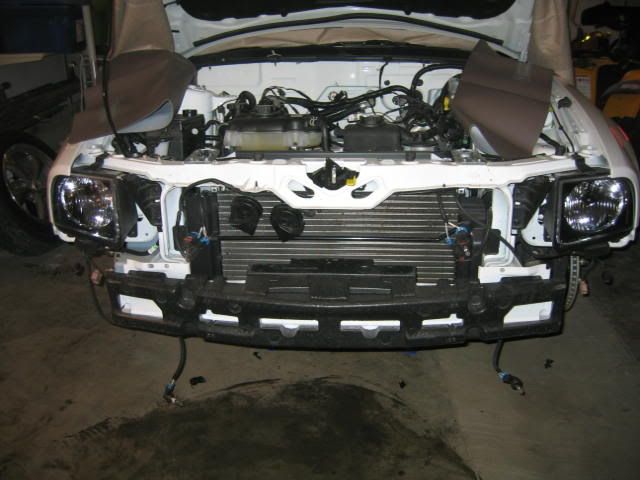
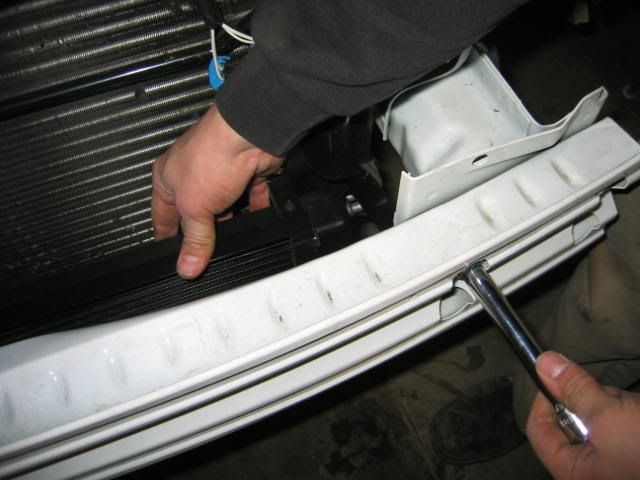
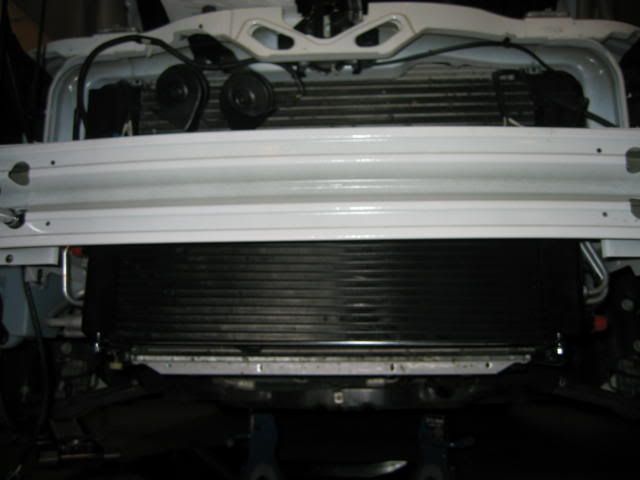
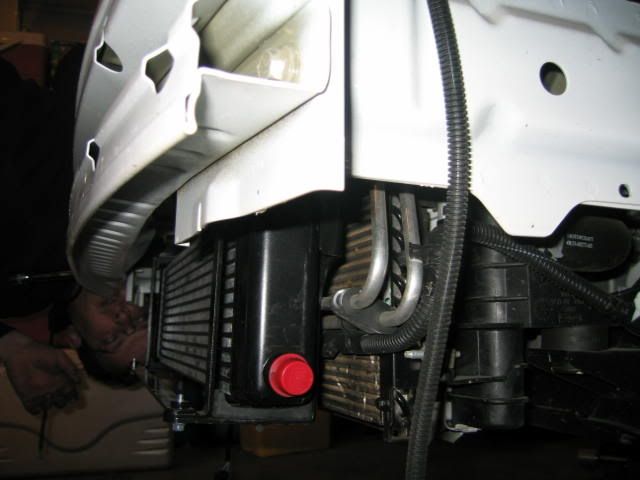
We now installed the cooler and I must say the way it was built was like it came right from ford themselves it was perfect fit. We removed the crush beam
(styrofoam lol)from the front . Removed the 2 inside bumper bolts. this is where the cooler mounts. We then installed the 2 supllied hoses to the engine compartment on paseenger side the other to the drivers side fender area. this is where the water pump for inter cooler goes. On the pump side we had to cut a few inches of hose off at a time to get the kinks out of the hose.
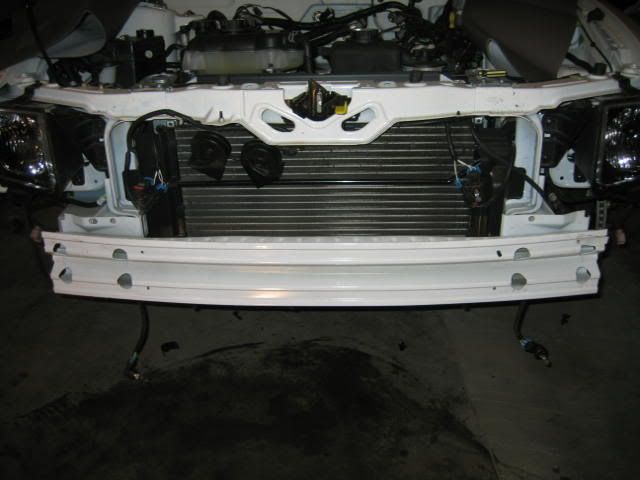
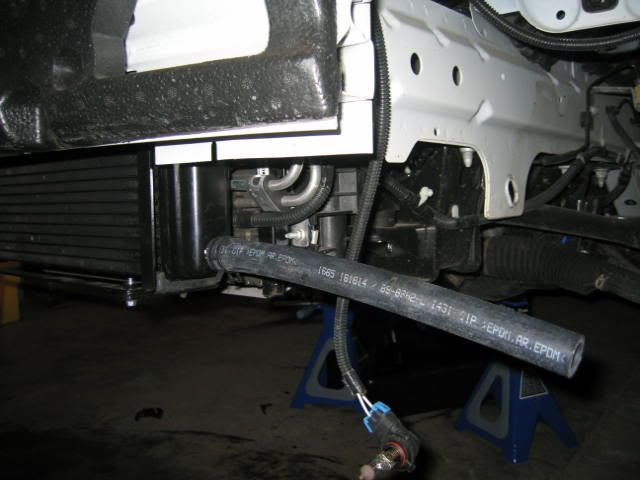

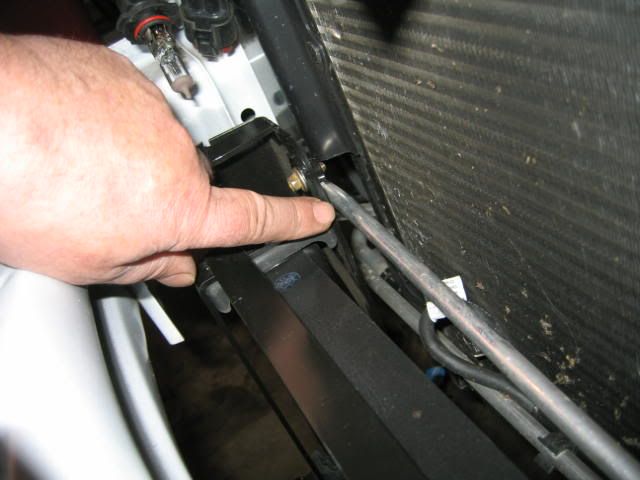
Had to adjust a/c lines to make sure they didn't rub against cooler
(styrofoam lol)from the front . Removed the 2 inside bumper bolts. this is where the cooler mounts. We then installed the 2 supllied hoses to the engine compartment on paseenger side the other to the drivers side fender area. this is where the water pump for inter cooler goes. On the pump side we had to cut a few inches of hose off at a time to get the kinks out of the hose.
Had to adjust a/c lines to make sure they didn't rub against cooler
Thread Starter
GT Member
Joined: June 10, 2005
Posts: 131
Likes: 0
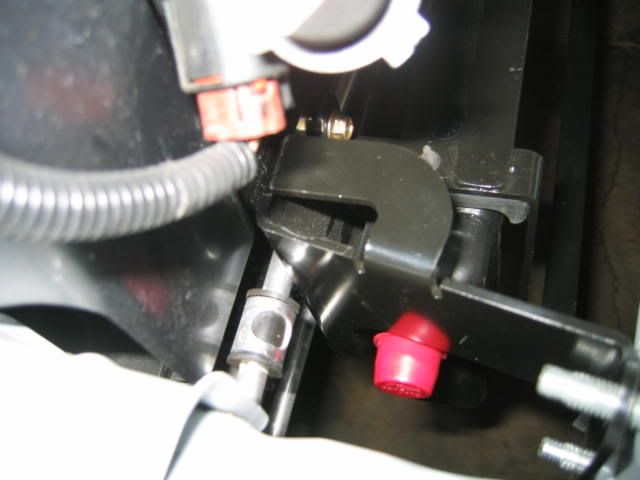
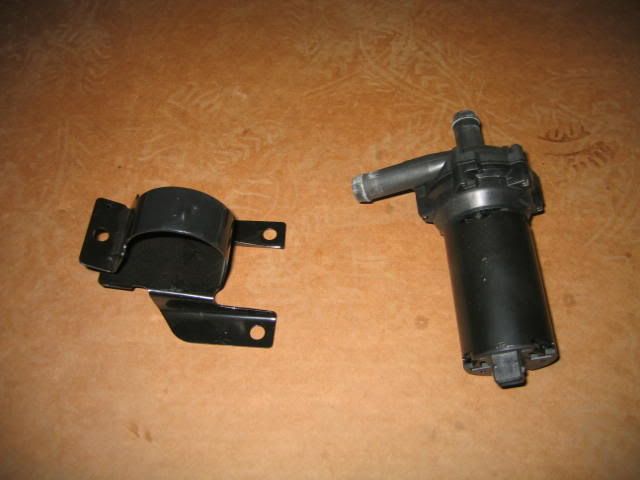
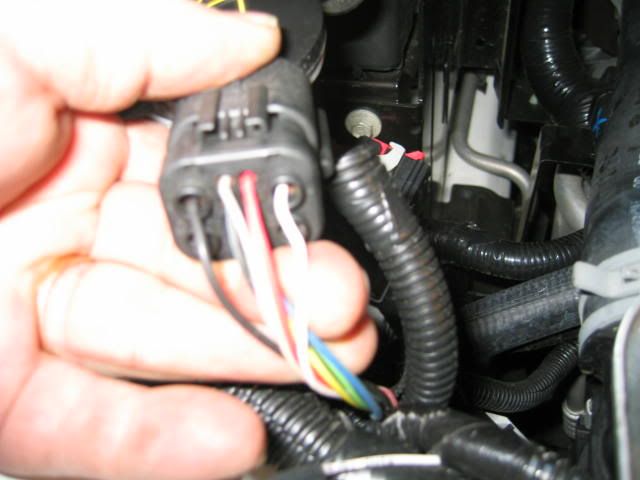
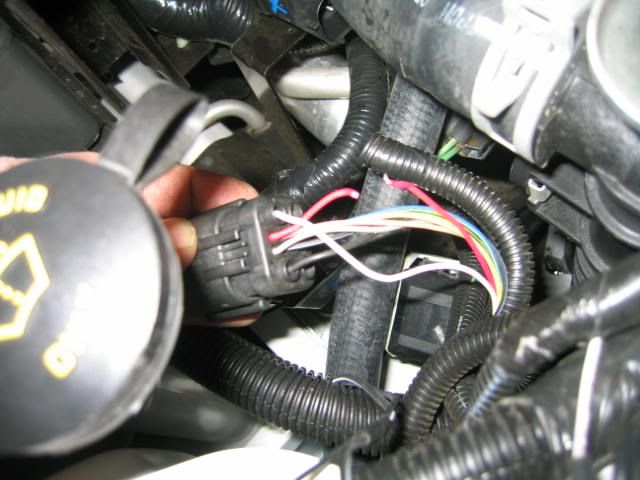
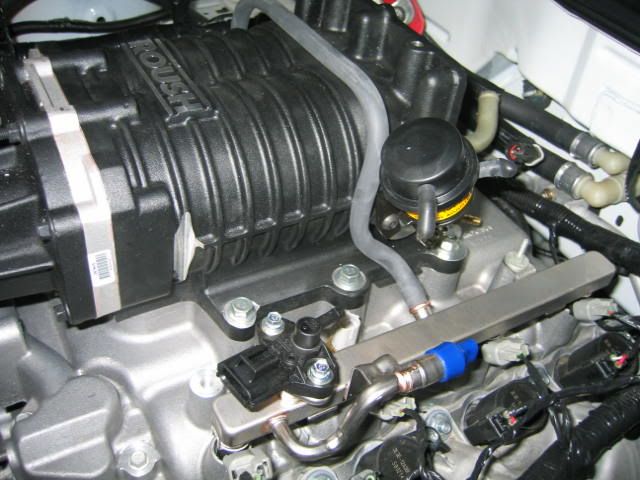
Here's the intercooler water pump and bracket. We had to remove a plug from close to cpu and cut of a red wire. We then solderd the supllied harness for pump and ran near top of rad to the drivers side.
Thread Starter
GT Member
Joined: June 10, 2005
Posts: 131
Likes: 0
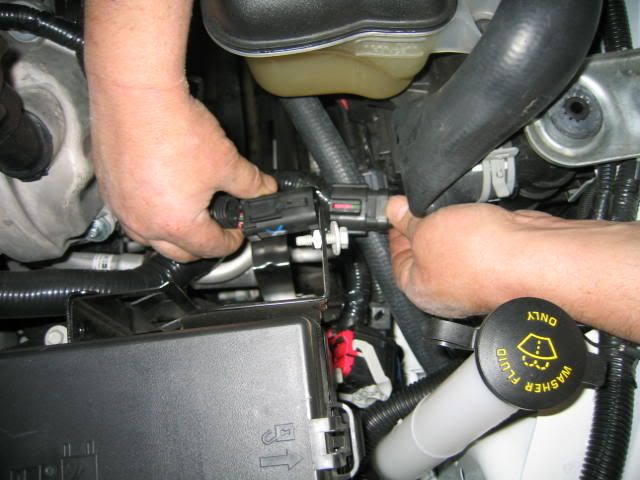
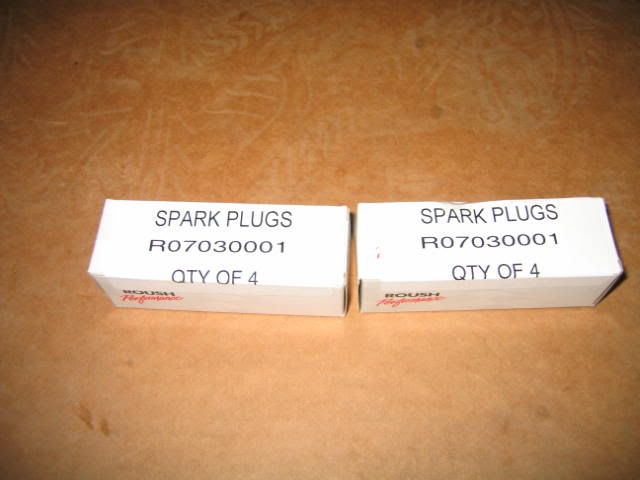
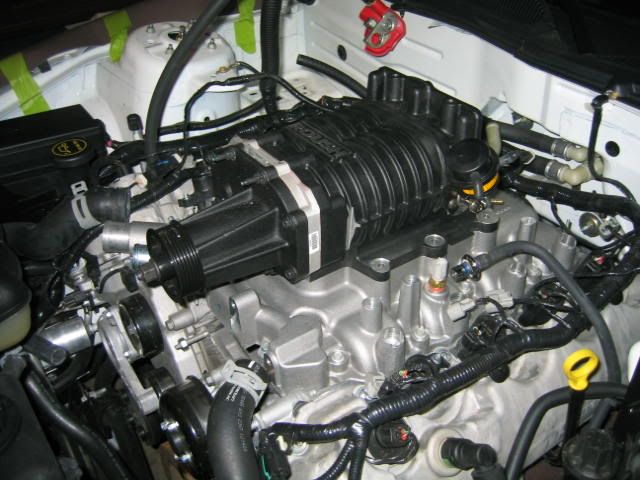
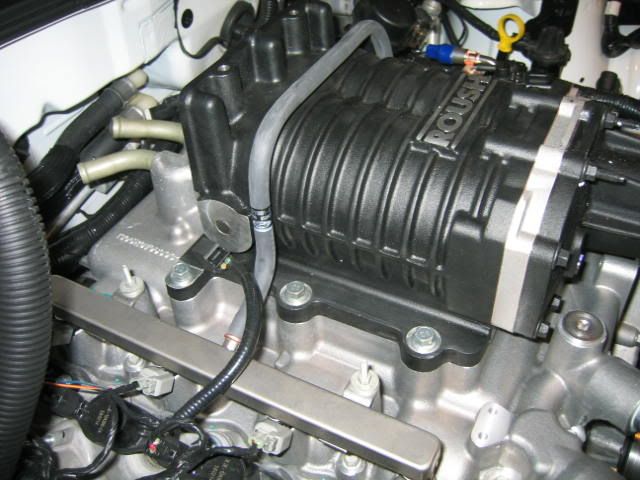
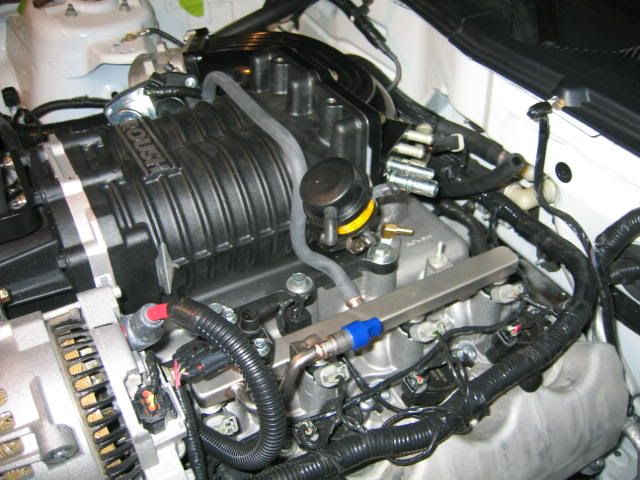
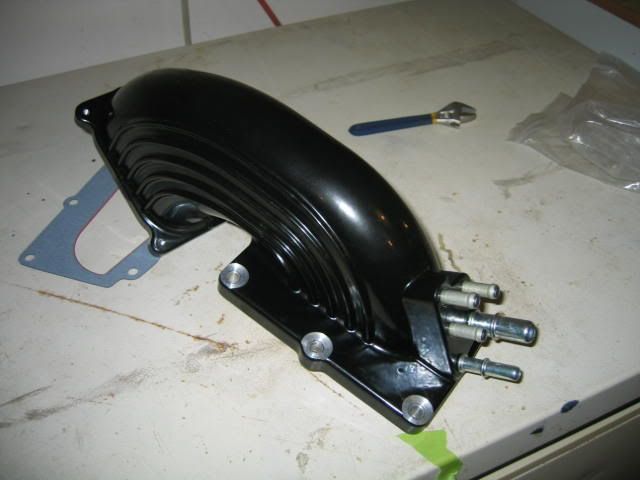
Next we installed the supplied cooler autolite spark plugs. the order They do things in the instructions seem to make things easier to do. Like the spark plugs we be a little tight with everything on to change.
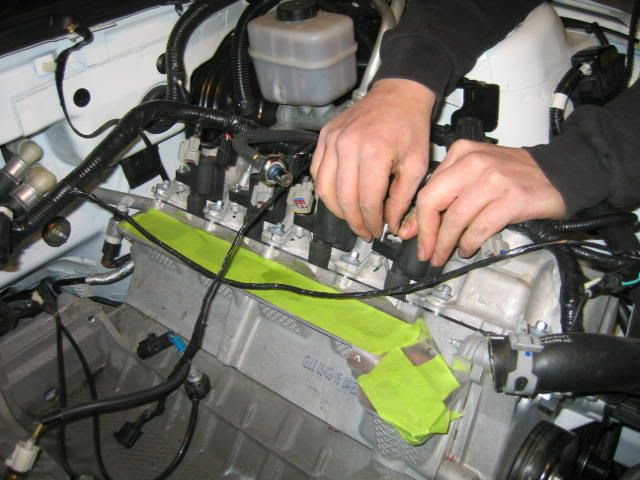
we then reinstalled the cooler lines we haad to modify into water pump under intake. Remove tape and clean the surface area to insatl the intake
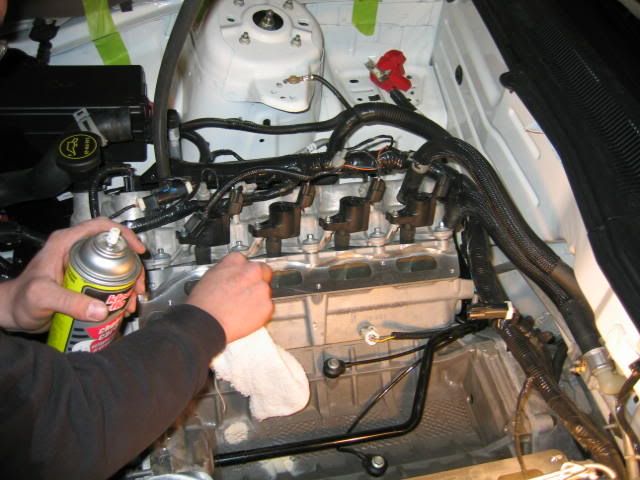
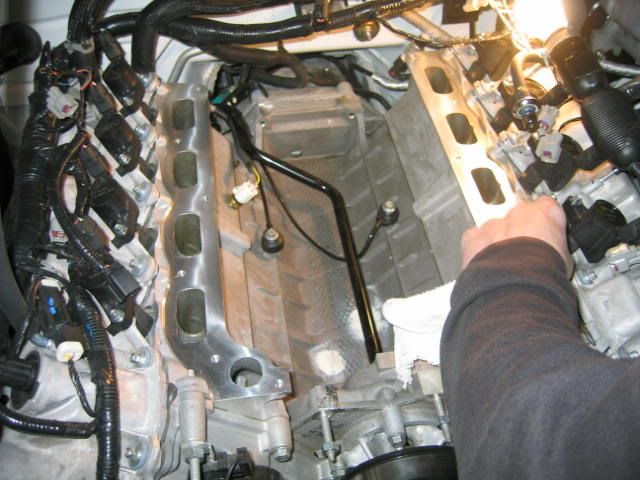
we then reinstalled the cooler lines we haad to modify into water pump under intake. Remove tape and clean the surface area to insatl the intake
Thread Starter
GT Member
Joined: June 10, 2005
Posts: 131
Likes: 0
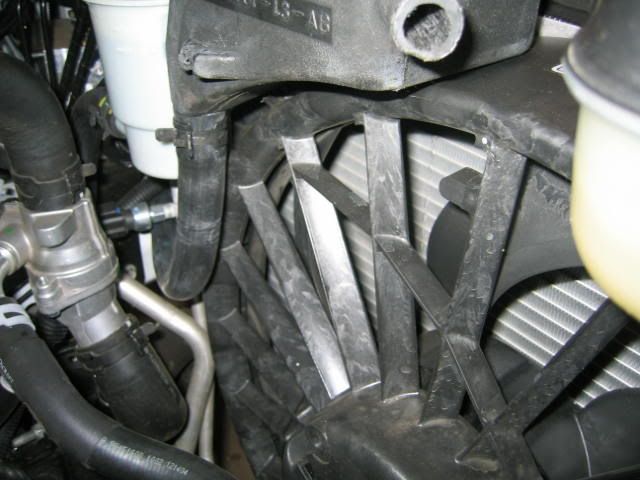
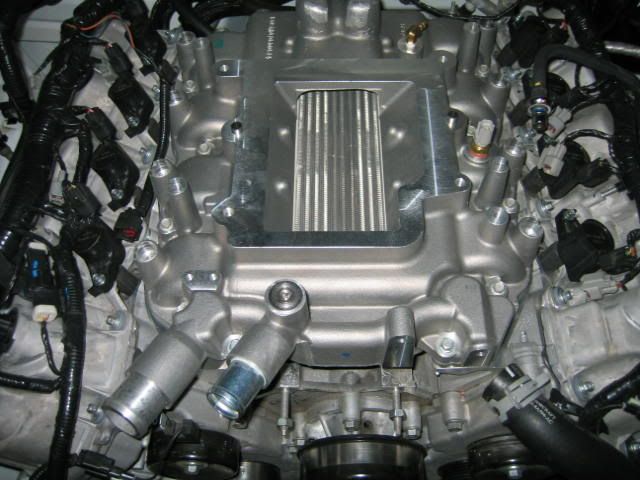
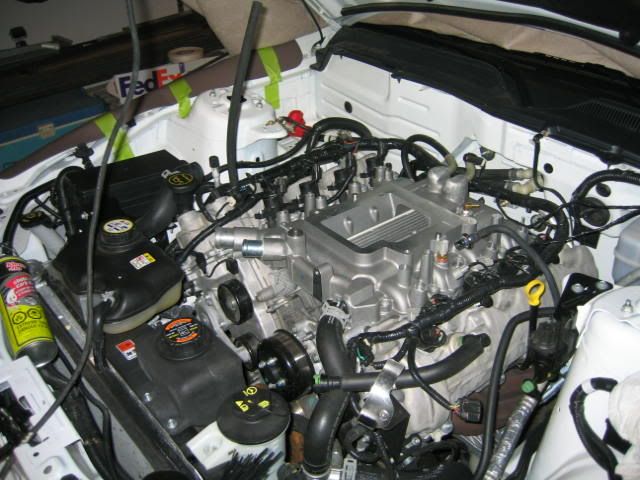
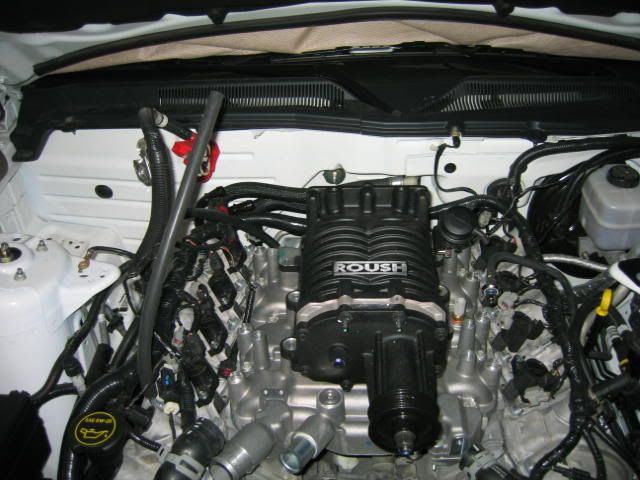
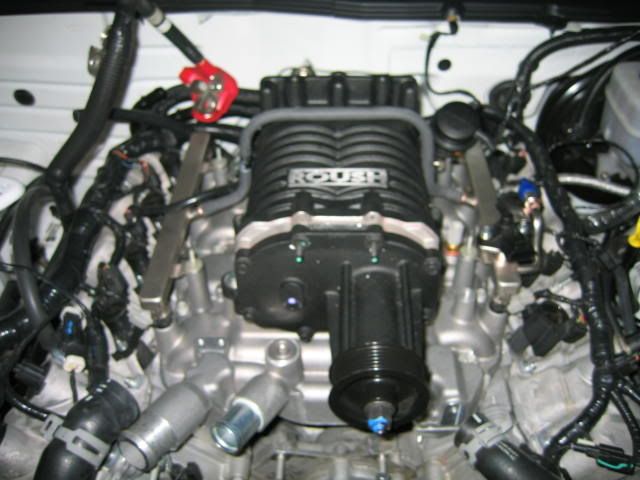
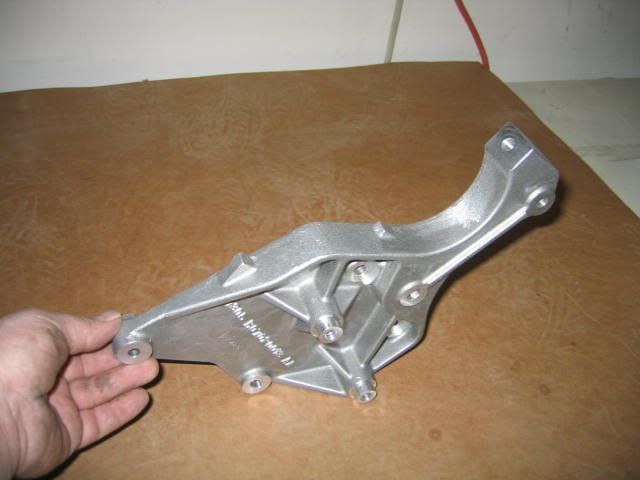
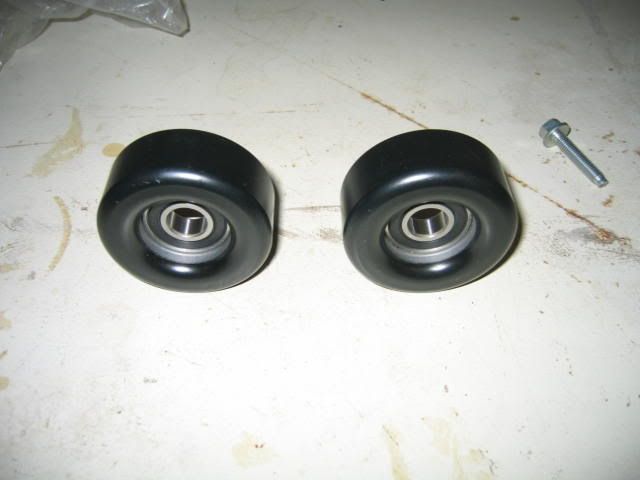
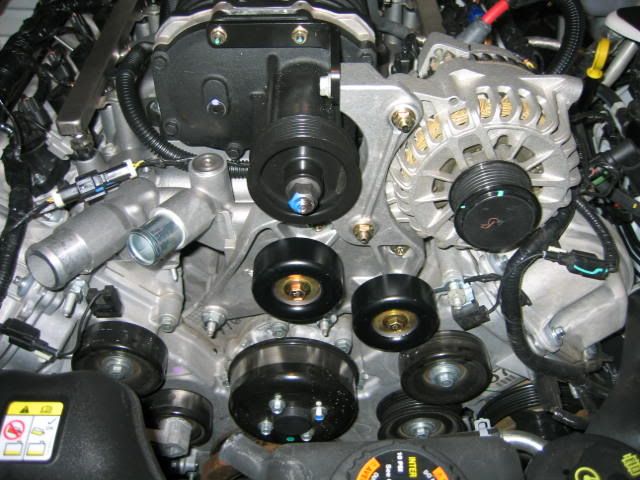
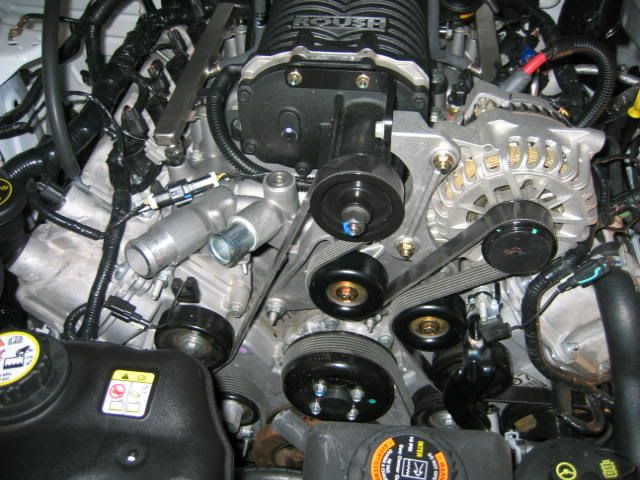
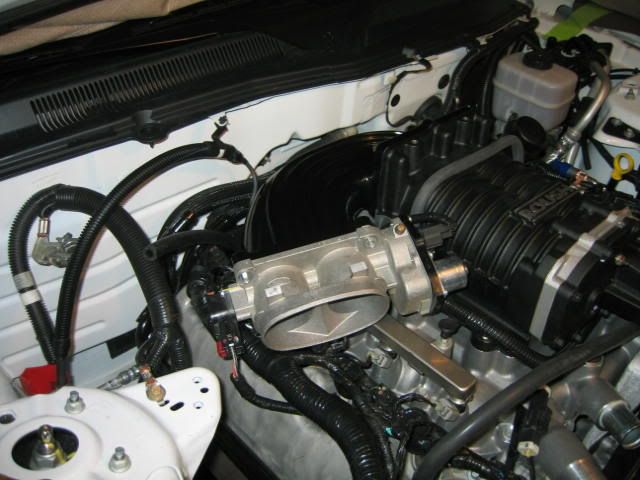
We now had to mount the new alternator bracket. It is of high quality aluminum and it mounted on the 2 studs from the old location. It Looked like a factory piece high quality when installed. .We the installed a couple of idler pulleys and installed the new belt. Just one belt drives everthing. Belt was alost as tall as me. Definetly the page that shows where the belt goes is a must keeper in car in case you ever have to replace or remove belt. Even with the instructions it was a maze lol.


Bullitt Member
Joined: May 4, 2004
Posts: 238
Likes: 0
Incredible write up! Thank you!
Do you still get the 3 year drivetrain warranty by doing all the work yourself? I figured Ford would have to do it in order for the warranty to be honored. ??
How long did it take you beginning to end?
Nice job!!
Do you still get the 3 year drivetrain warranty by doing all the work yourself? I figured Ford would have to do it in order for the warranty to be honored. ??
How long did it take you beginning to end?
Nice job!!


Paul... thanks for the detailed writeup and pics! Looks like you are going to have a sweet setup when you're all done! 
Bullitt Member
Joined: August 10, 2005
Posts: 431
Likes: 0
Nice write, looks awesome! Jack would be proud  Enjoy
Enjoy
If you added the suspension, you could get your STG1 certified and documneted into a STG3 You would get a new dash emblem, and rear STG3 deck emblem as well.
EnjoyIf you added the suspension, you could get your STG1 certified and documneted into a STG3
You would get a new dash emblem, and rear STG3 deck emblem as well.
Thread Starter
GT Member
Joined: June 10, 2005
Posts: 131
Likes: 0
Originally posted by porkster@January 1, 2006, 7:30 AM
Incredible write up! Thank you!
Do you still get the 3 year drivetrain warranty by doing all the work yourself? I figured Ford would have to do it in order for the warranty to be honored. ??
How long did it take you beginning to end?
Nice job!!
Incredible write up! Thank you!
Do you still get the 3 year drivetrain warranty by doing all the work yourself? I figured Ford would have to do it in order for the warranty to be honored. ??
How long did it take you beginning to end?
Nice job!!
Thread Starter
GT Member
Joined: June 10, 2005
Posts: 131
Likes: 0
Originally posted by 05STG1@January 1, 2006, 11:13 AM
Nice write, looks awesome! Jack would be proud Enjoy
If you added the suspension, you could get your STG1 certified and documneted into a STG3 You would get a new dash emblem, and rear STG3 deck emblem as well.
Nice write, looks awesome! Jack would be proud
EnjoyIf you added the suspension, you could get your STG1 certified and documneted into a STG3
You would get a new dash emblem, and rear STG3 deck emblem as well.

Bullitt Member
Joined: August 30, 2005
Posts: 321
Likes: 0
Originally posted by killo-11@January 1, 2006, 10:52 AM
This kit looks like one of the best I have seen.
This kit looks like one of the best I have seen.