
One trashed Mustang and the power of Meguiars 205
 8/17/14, 06:14 AM
#1
Member
Thread Starter
Join Date: May 24, 2013
Location: Charlotte, NC
Posts: 39
Likes: 0
Received 0 Likes
on
0 Posts
One trashed Mustang and the power of Meguiars 205
Every now and then as detailers, we'll come across a car that is in such poor shape that we take the job hoping for some improvement, any improvement, knowing whatever we do will be leaps and bounds better than where it started. We don't go into it expecting too much, but somehow we manage to find a process that gives us better results than we could have ever hoped for, and in the end we're able to present our client with a MUCH better outcome than what we'd initially promised. This is definitely one of those rare occasions, and I wanted to share it with you.
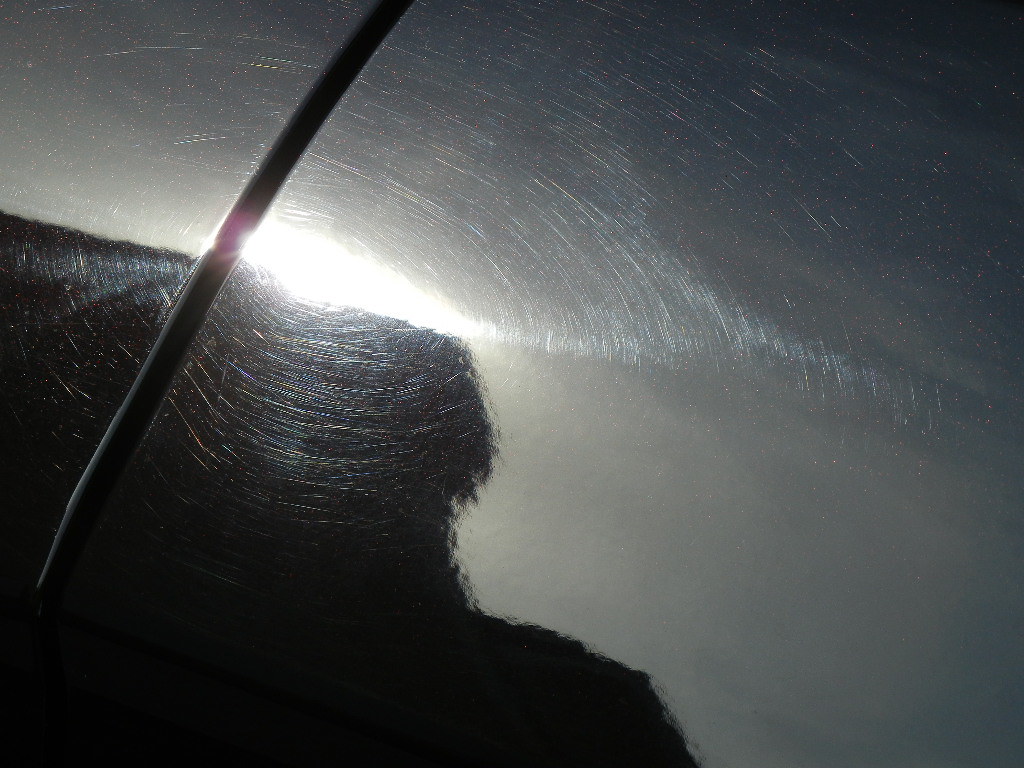
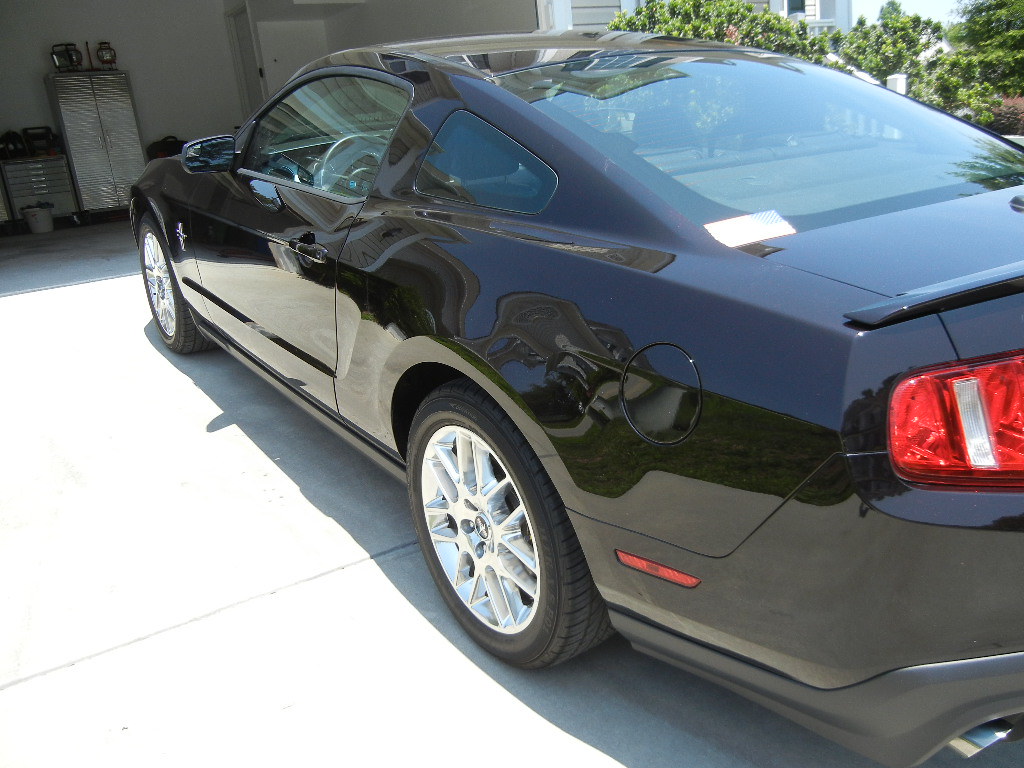
This 2012 Mustang spent the first couple of years of its life as a rental car....and it shows. When I performed my initial inspection, the first thing that jumped out was the obscene amount of DEEP front-to-back scratches running along the length of the car. It was clear these where from spinning-brush tunnel washes, but the severity of them is what really threw me. Even under fluorescent light, these scratches dominated the appearance of the car and I was certain that without wetsanding, nothing would come close to touching them. Unfortunately, a full wetsand and correction just wasn't feasible given the client's budget and goals for this car.
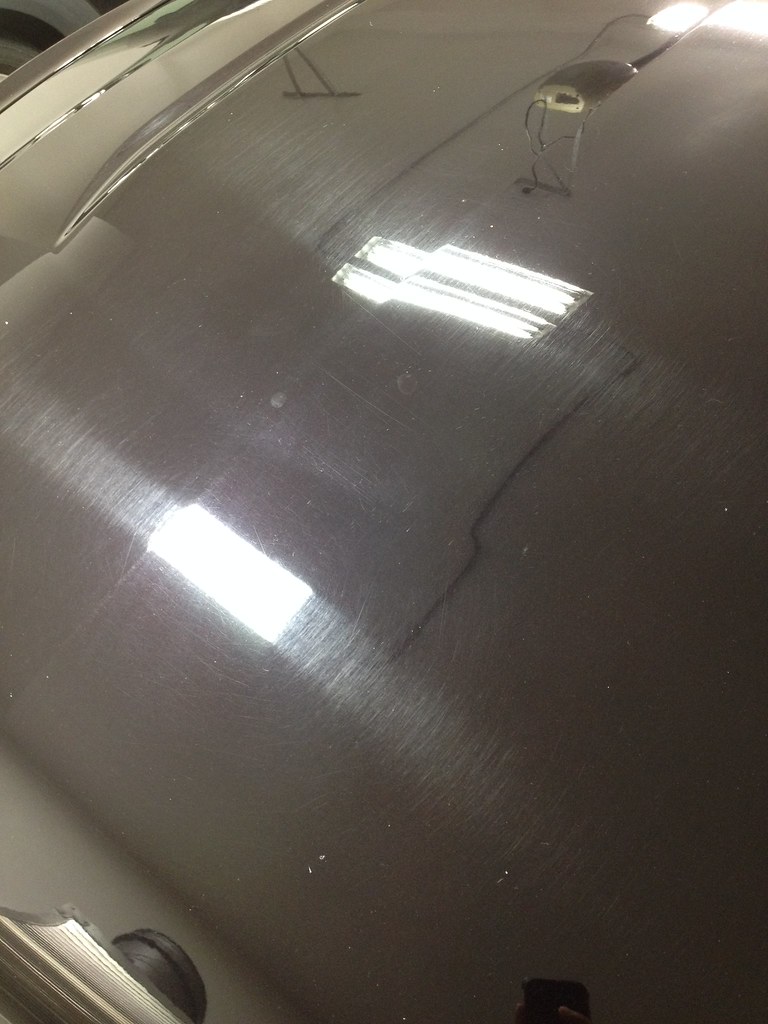
Along with the straight-line brush scratches, this car also had plenty of swirls and noticeable buffer trails from a previous detail. All in all, the paint condition of this car was probably the worst I've been called upon to fix so far. Given the condition and the client's budget, I recommended a two-stage correction and told him I'd shoot for somewhere in the neighborhood of 70% correction.
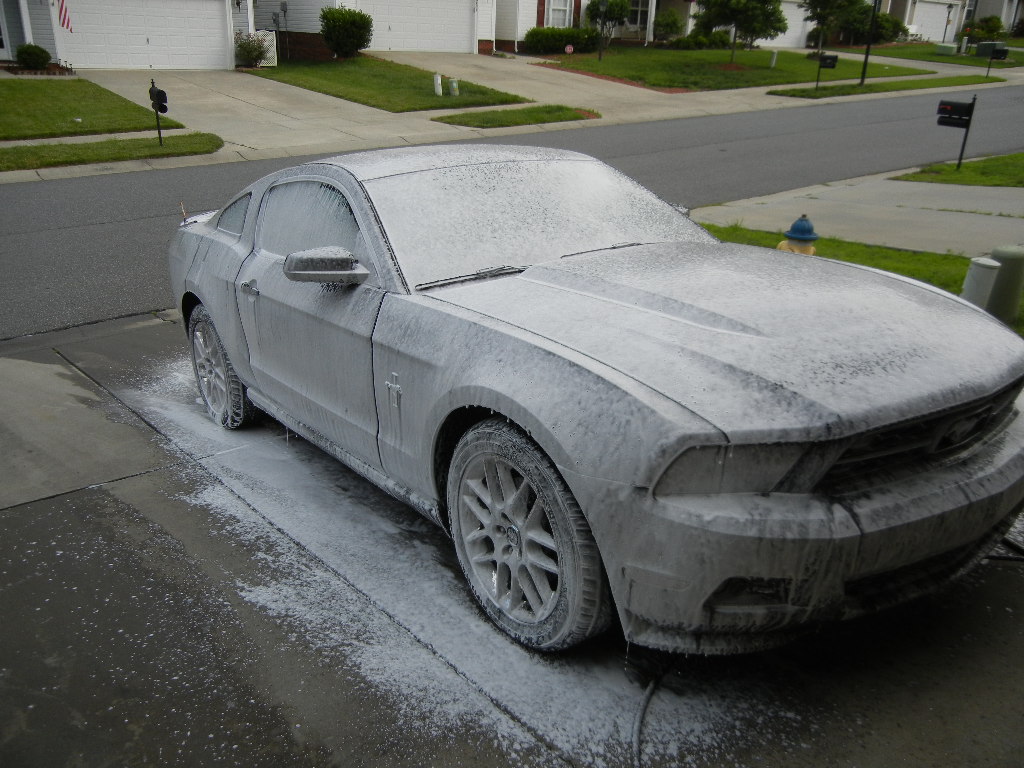
As always, I started with a foaming of the car to loosen heavier debris, followed by a two-bucket hand wash. I probably could have washed it with handfuls of sand and it wouldn't have made it any worse. The obligatory foam shot...these never get old to me.
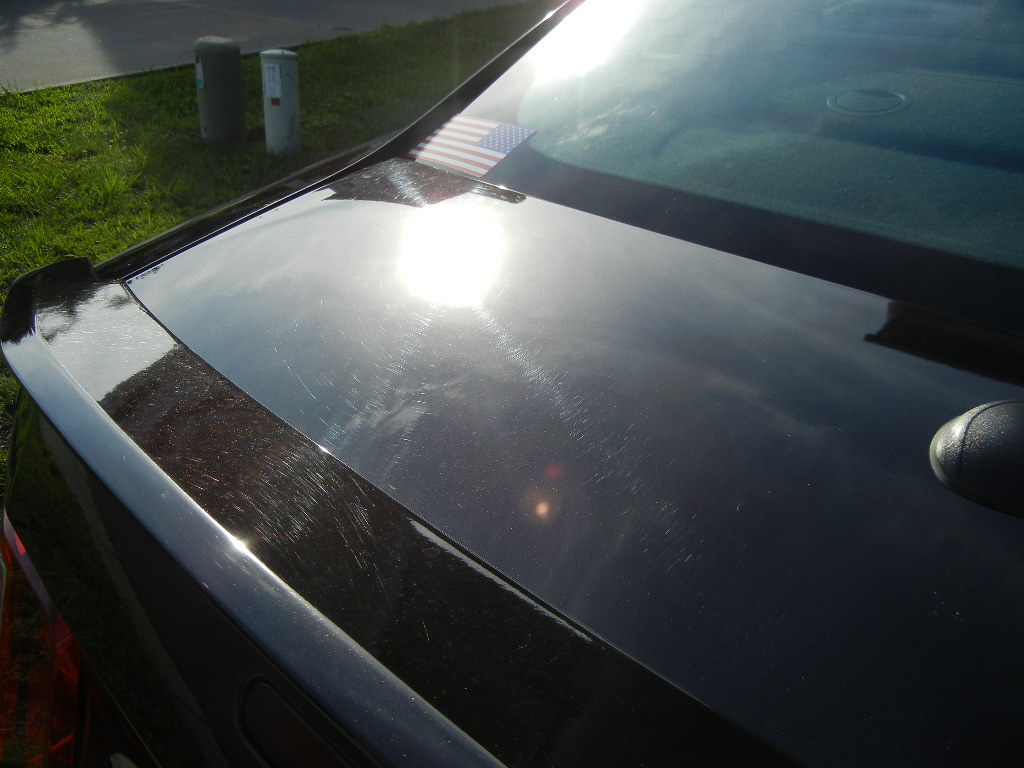
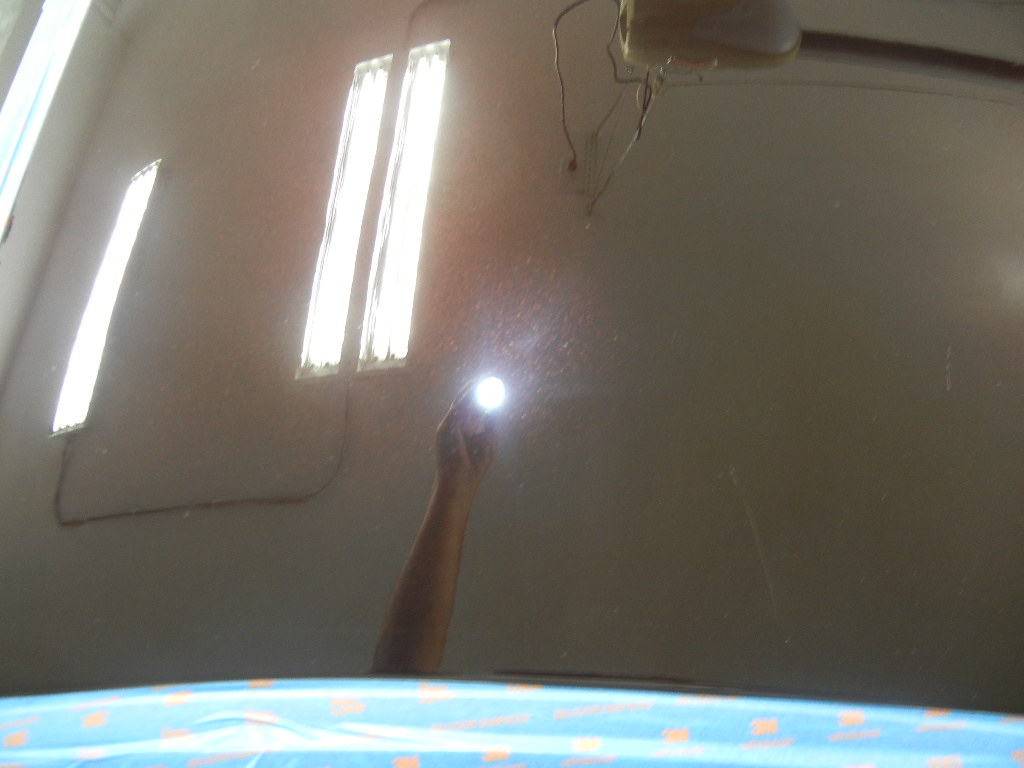
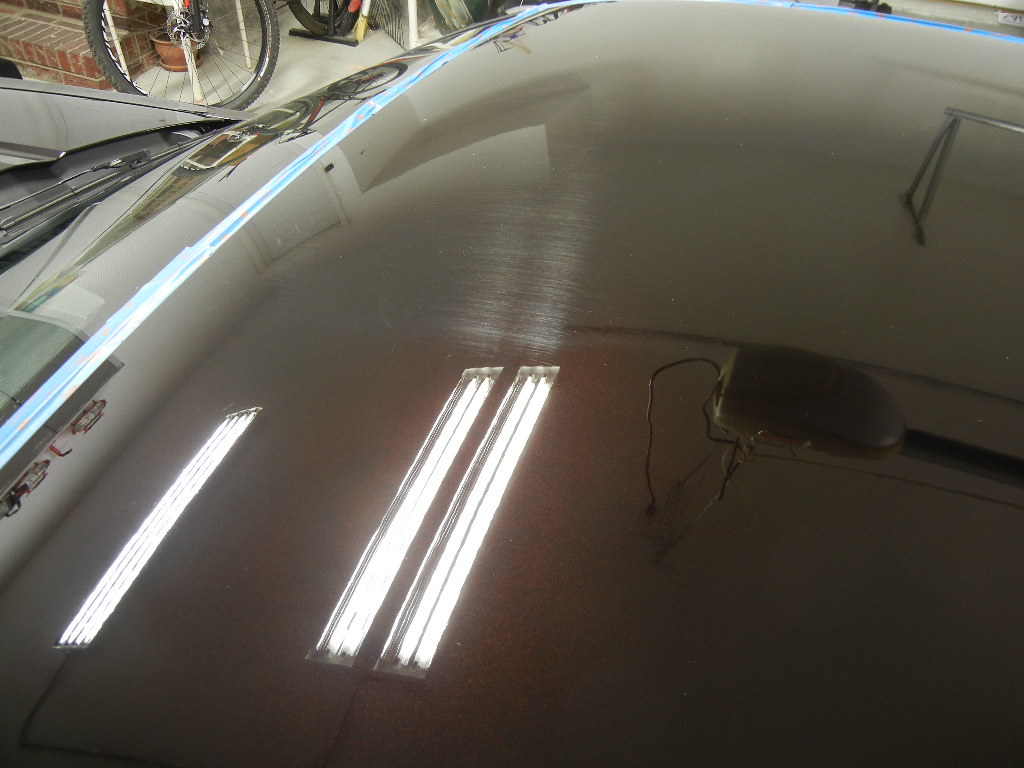
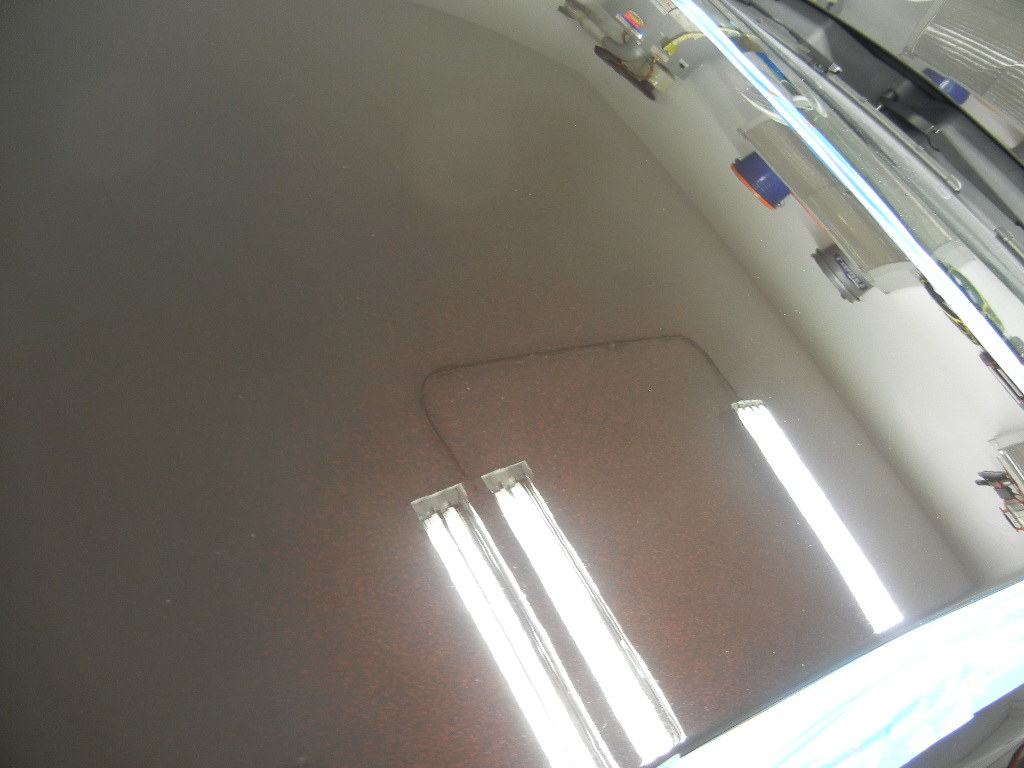
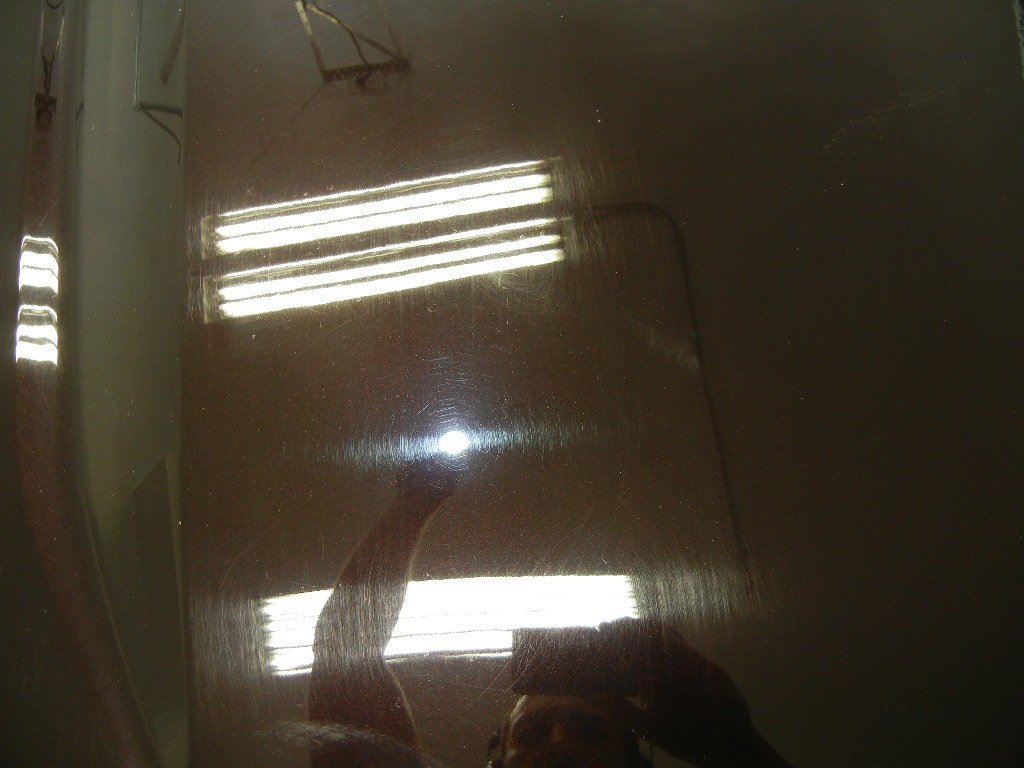
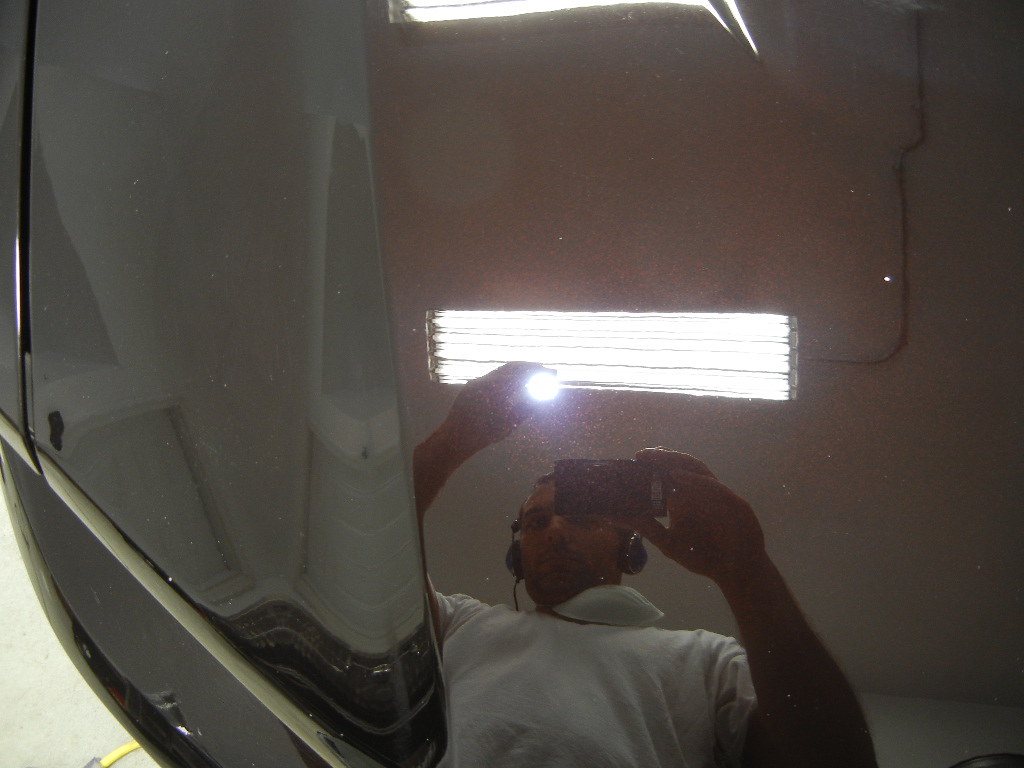
Once the car was washed, clayed and decontaminated with Carpro Iron X, I proceeded to do a test spot on the roof. All the horizontal panels were equally beat, and roofs get it worse than most other panels since people tend to use them for a shelf whenever they get in and out of a car. Don't believe me? Next time you're in a parking lot see how many people lay their coffee cups, purses, cell phones, etc. on the roof while looking for their keys! So I knew the roof was the perfect test spot. Now here's where things get interesting.
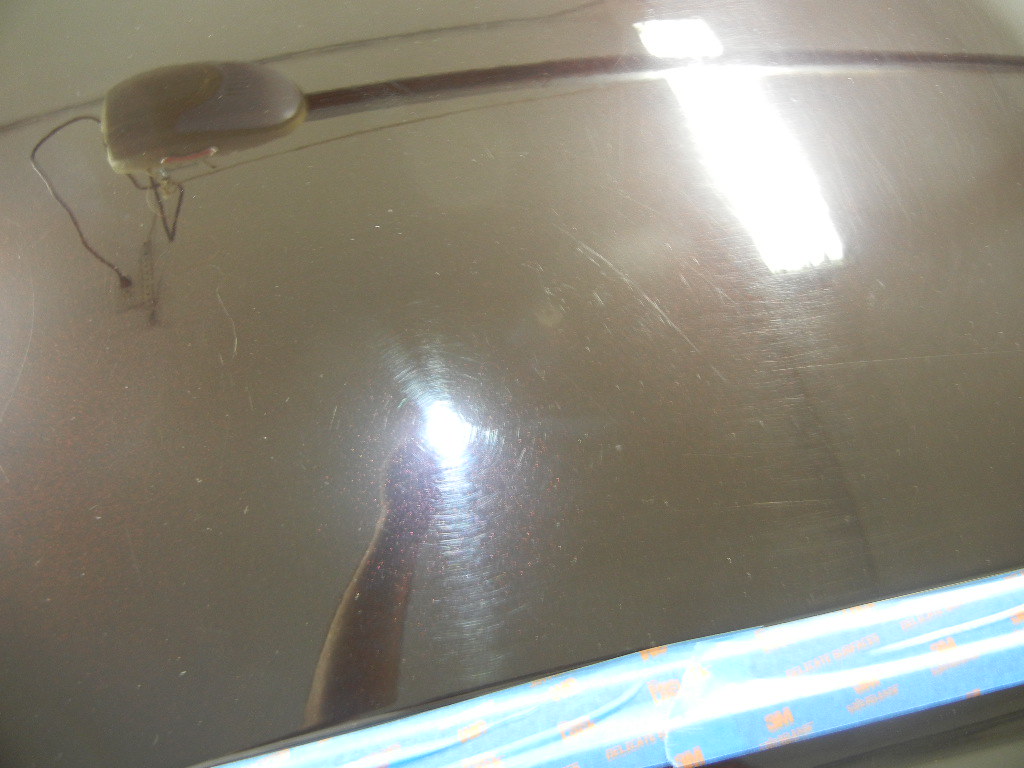
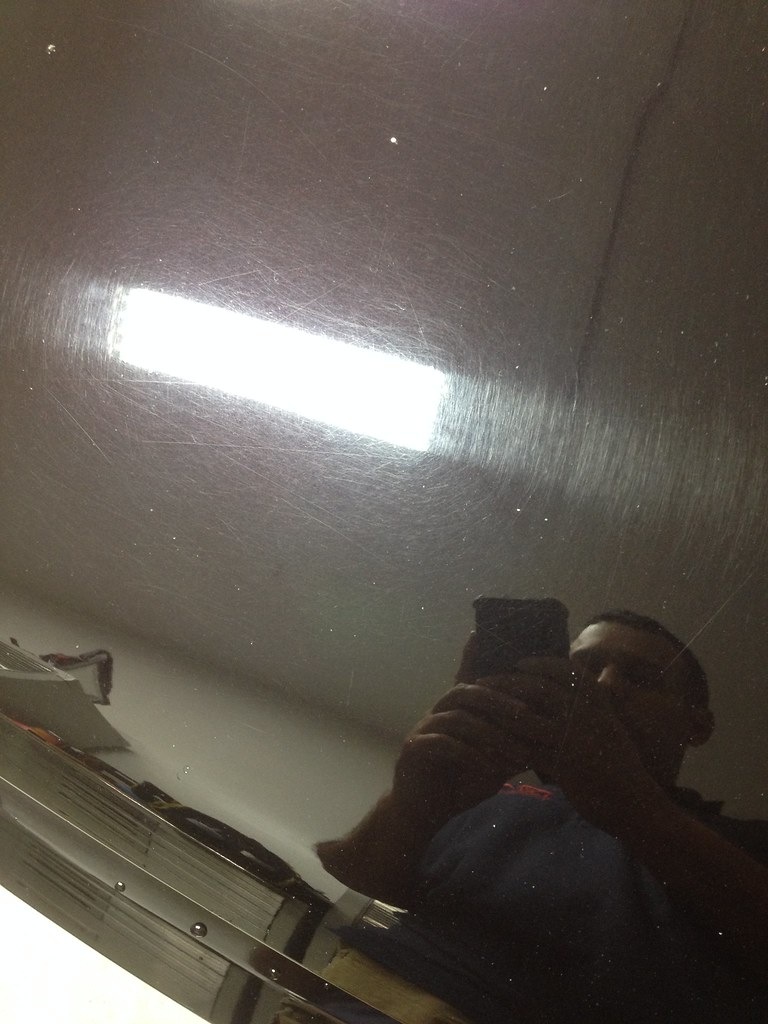
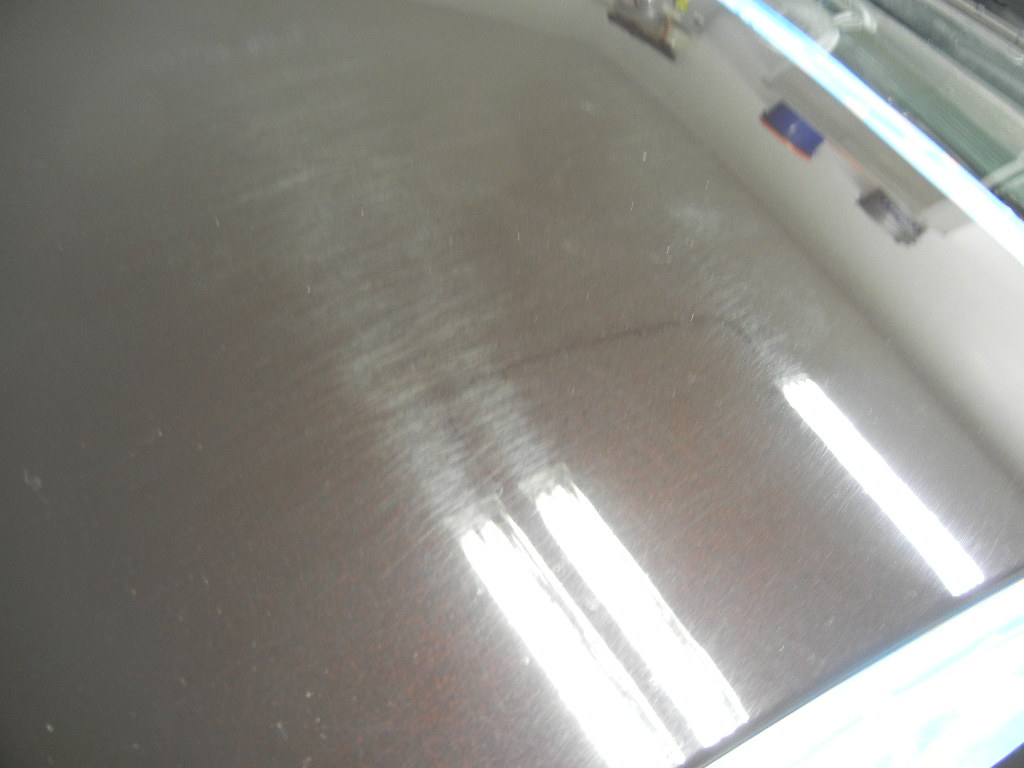
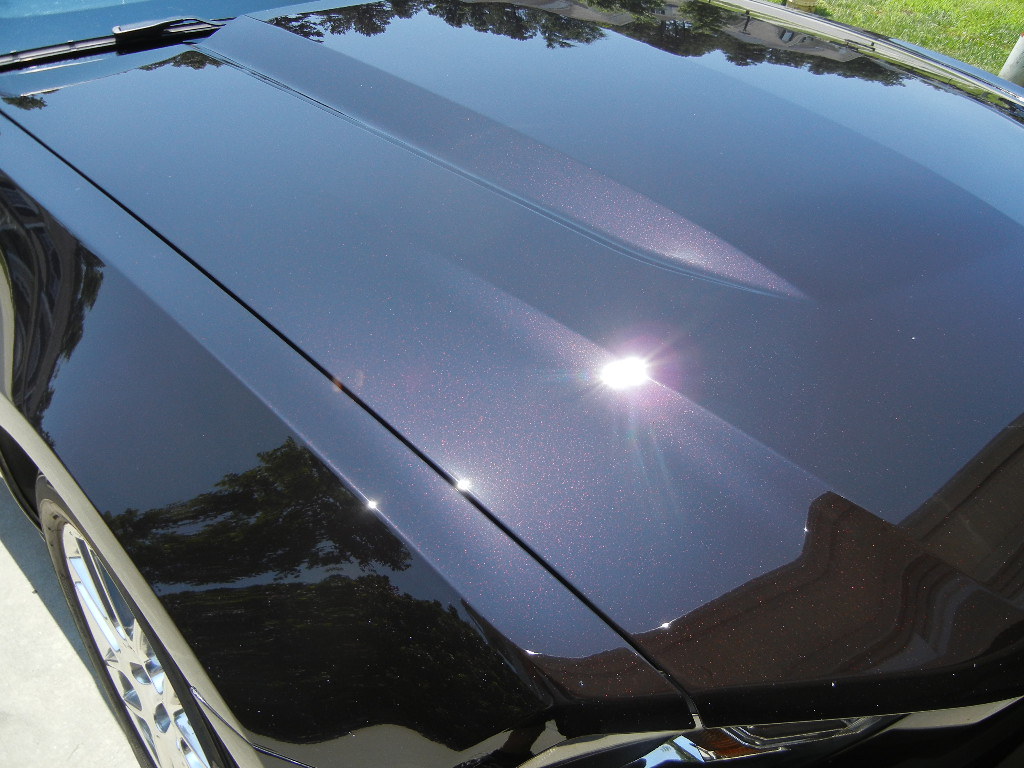
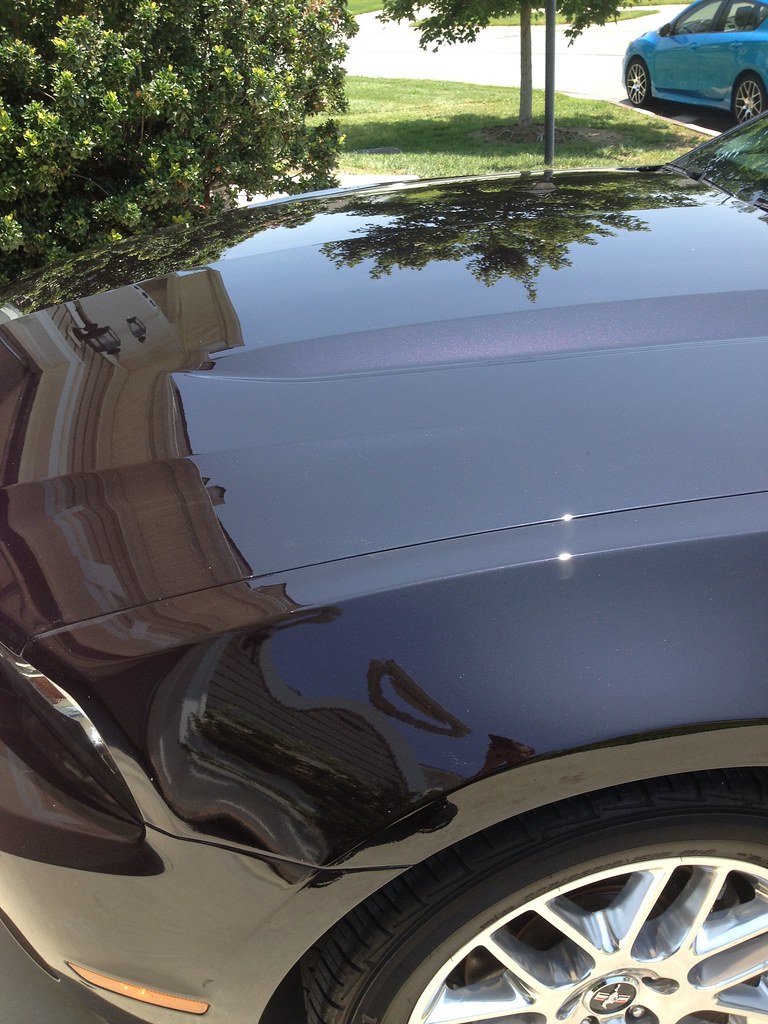
Under LED lights, you can see just how bad the surface really is. Swirls, deep RIDS and even a couple of fat, squared off gouges in the roof. Lately, a lot of buzz has been given to using Meguiar's M205 finishing polish as a compound, when combined with the long-throw action of the Rupes 21 and microfiber pads. I've personally seen this surprising combo do incredible amounts of cutting while leaving a finish that can usually be cleaned up in only one subsequent step, so I already knew this would be my first combo to test out. As it turns out, it did exactly what I hoped it would...annihilate these heavy defects QUICKLY and leave me with as little haze to finish off as possible. It worked so well, I didn't even bother looking for another combo!
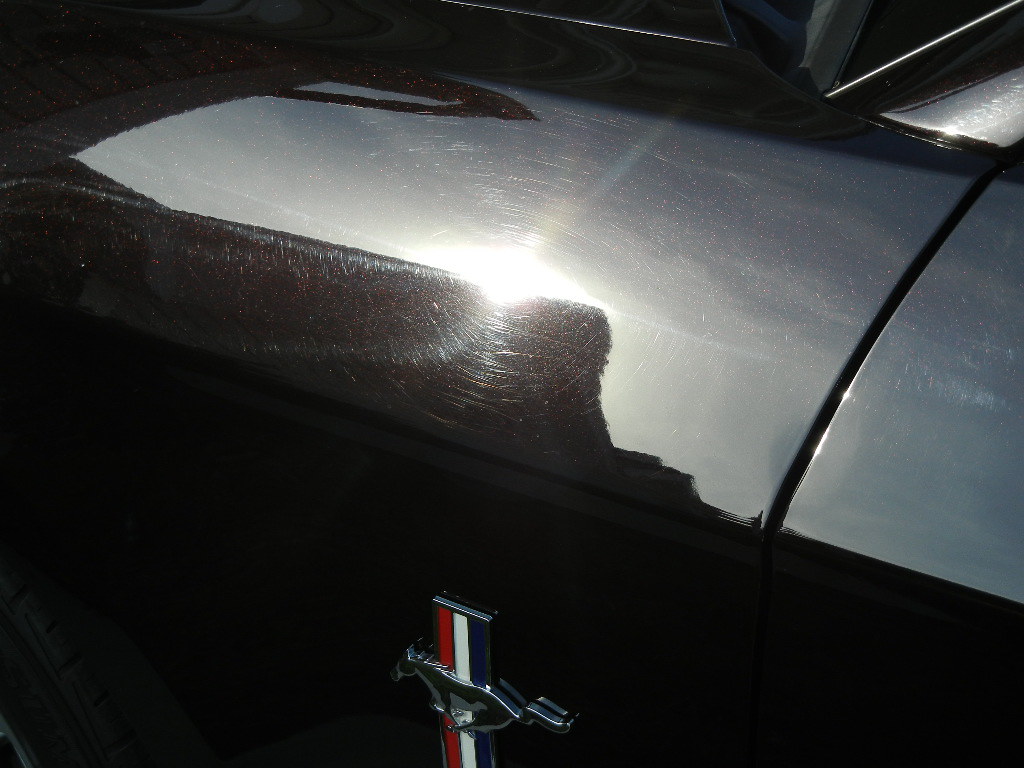
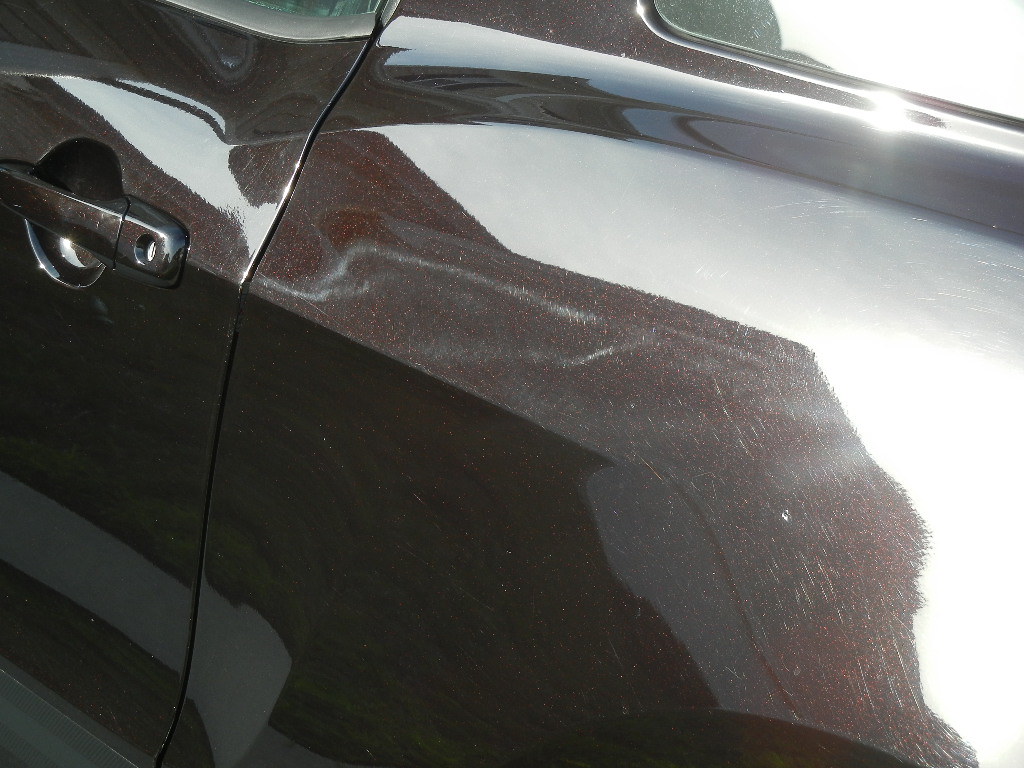
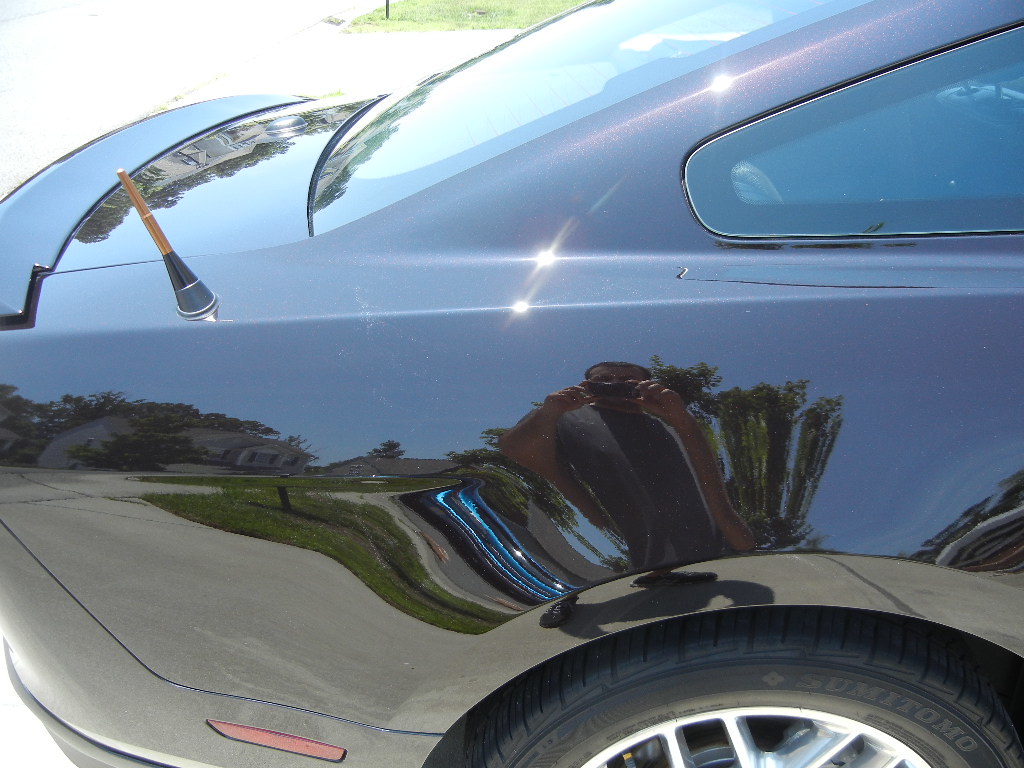
This little beauty was obviously from someone trying REALLY hard to rub something off the paint, probably with a scrubber pad. I was certain this would be too deep, so I had the sandpaper soaking. But given how well 205 was cutting on the rest of the car, I figured I'd try it first. Keep an eye on the tape in the second two pics.
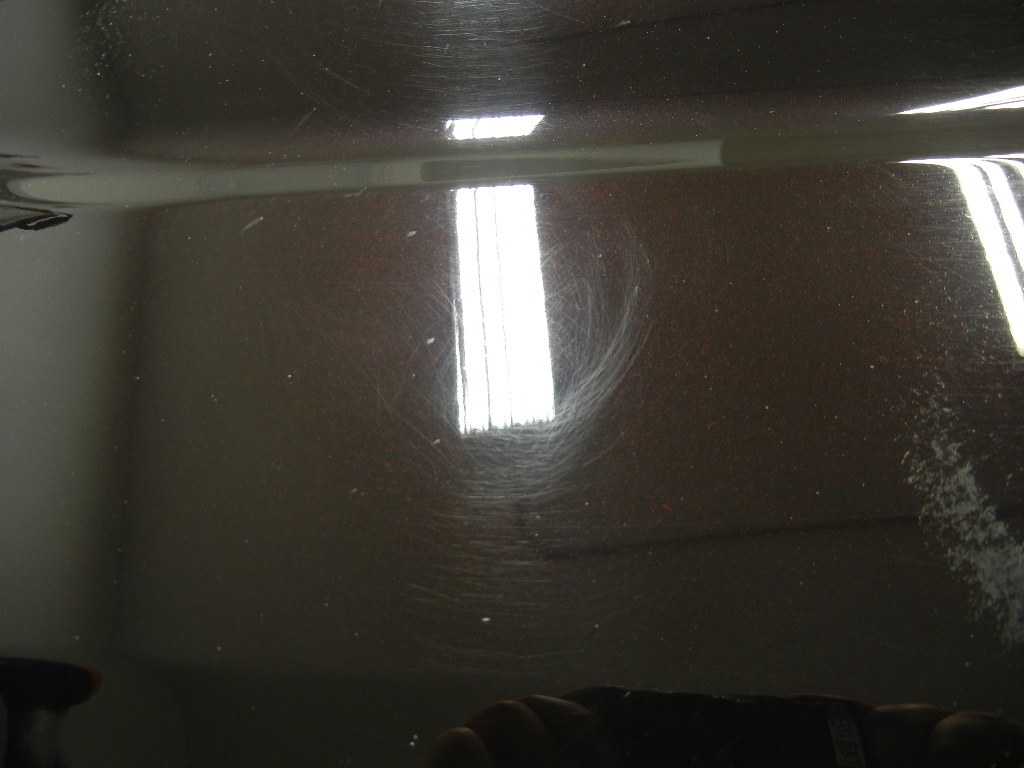
That's right, the sandpaper never left the bucket! With just a little work, this combo cut that nasty scratch out without breaking a sweat. Now I was on a roll, so I just kept on going.
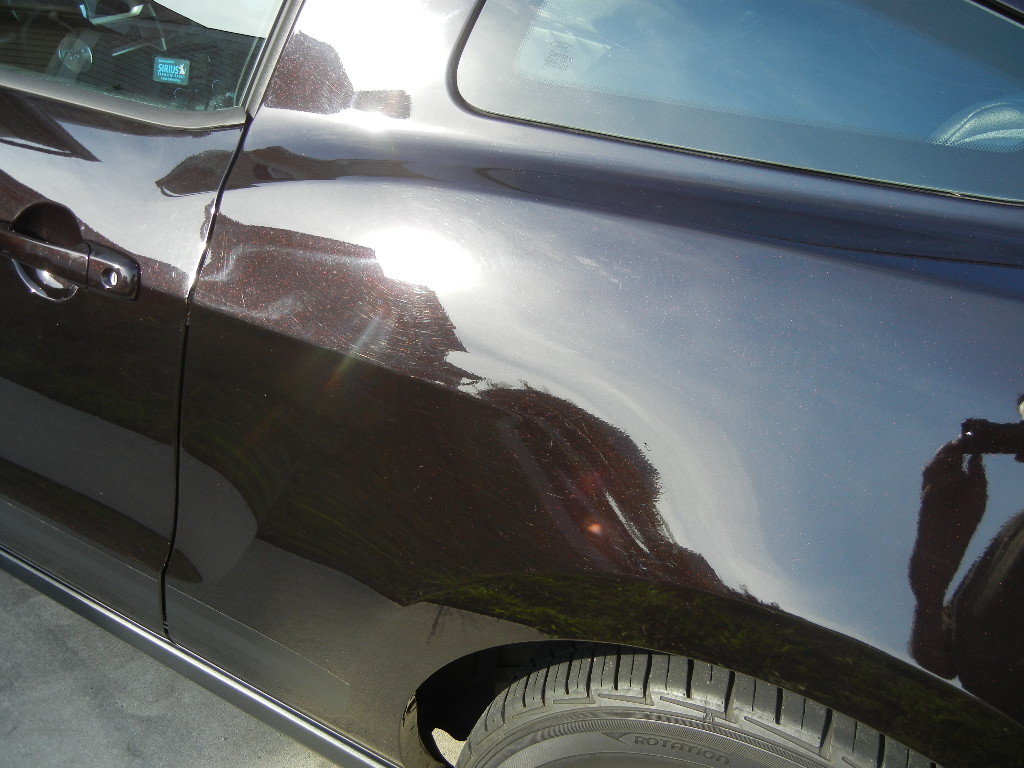
Final polishing was done with HD Polish on a black B&S pad. Since the massive cutting combo was leaving such minimal haze, this very light final step had no problem clearing up the compounding haze and leaving a glossy finish that surprised even me. It honestly didn't look like the same car that was dropped off two days before! (Please excuse the dust in a couple of the pics, it was cleaned up prior to delivery.)
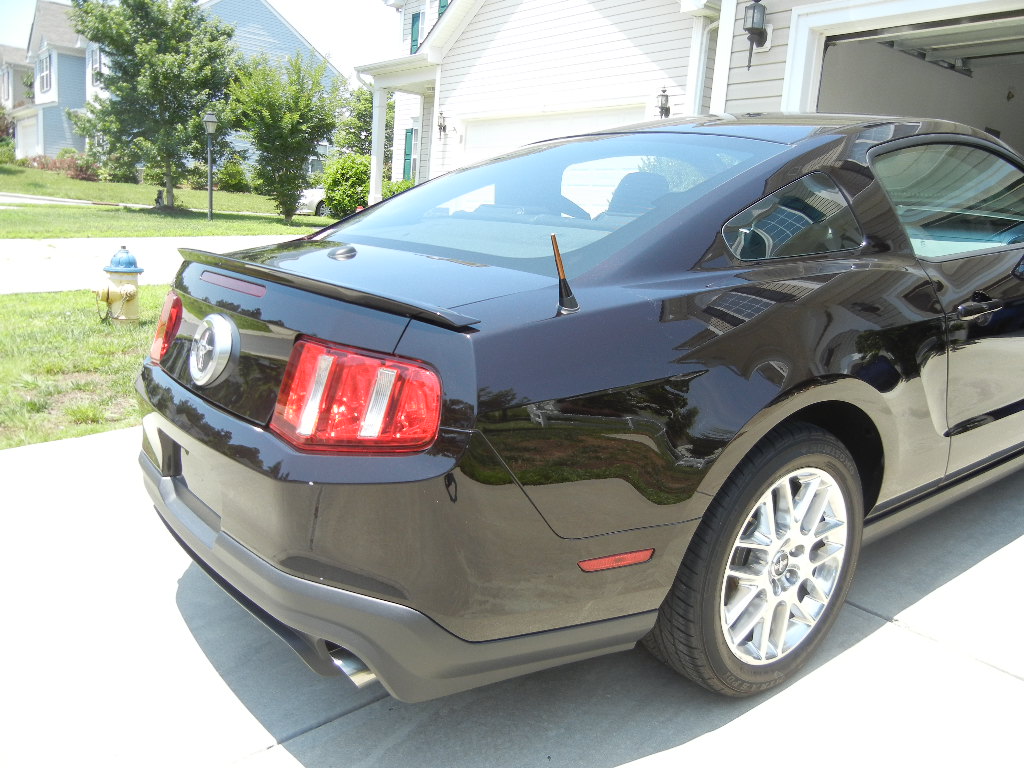

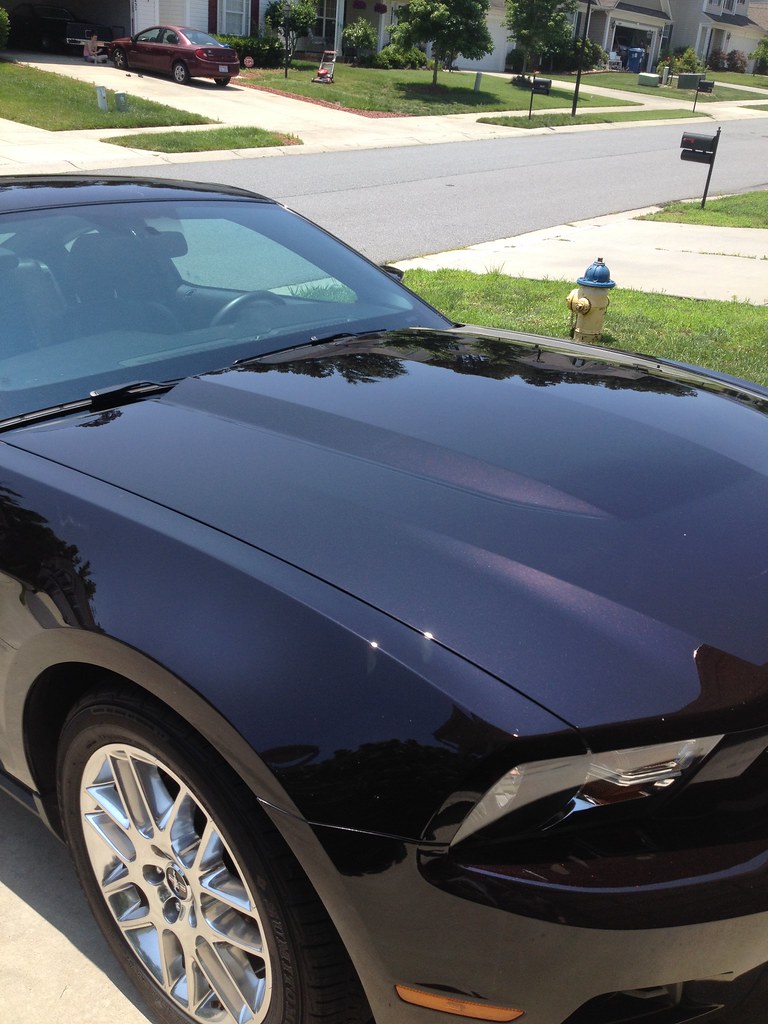
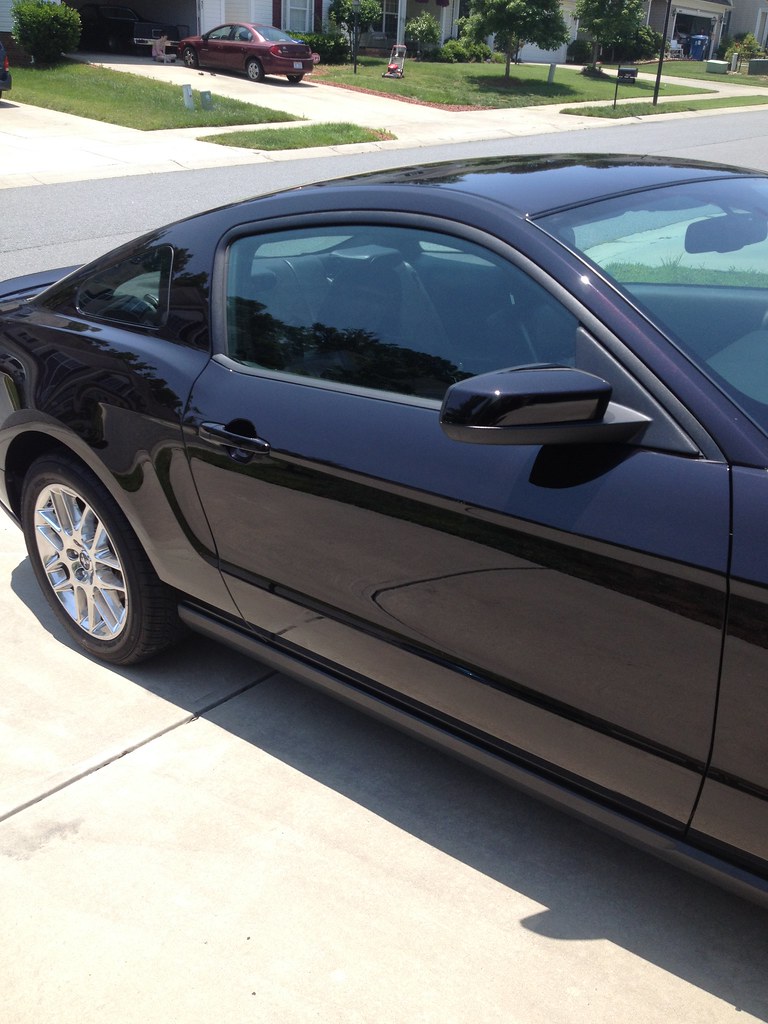
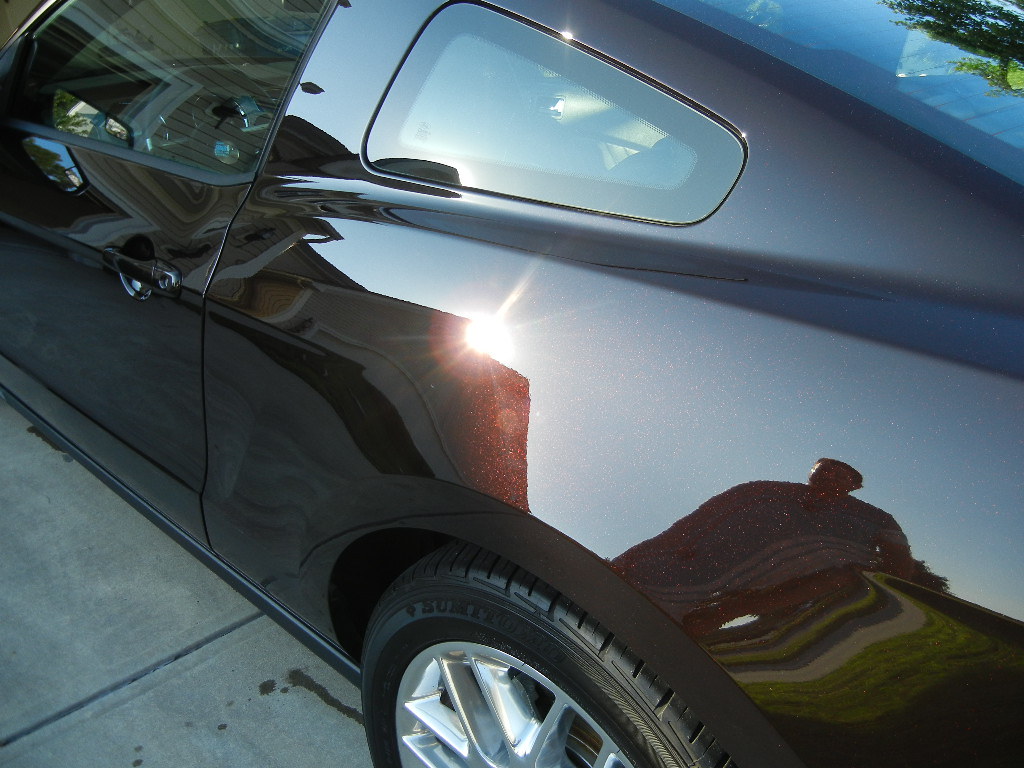

At the end of the day, Meguiar's M205 once again proved its versatility. It cut deep defects with surprising speed, with great working time and little to no dust....except when cleaning the pads out during use, then it was like being trapped inside a snowglobe! But it didn't leave much of a mess on the car, and made finishing a breeze. I'd conservatively say this car achieved 90%+ correction, with only some really deep RIDS and those roof gouges left behind. I was pleased beyond words with the final outcome, and the owner couldn't stop staring!
Total time, roughly 16 hours.
Foam cannon- Optimum Car Wash mixed with 3D APC
Wash- Optimum Car Wash
Clay- Speedy Prep Towel/Meguiar's Blue Mild Clay
Compounding- Meguiar's M205/Rupes 21/Meguiar's MF Cutting Pads
Finishing- HD Polish/Rupes 21/Buff and Shine Black finishing pads
Tight areas- Americana AmeriRocks/Meguiar's G110 w/ ExactFit backing plate/LC Cyan pad
As always, thanks for looking!
This 2012 Mustang spent the first couple of years of its life as a rental car....and it shows. When I performed my initial inspection, the first thing that jumped out was the obscene amount of DEEP front-to-back scratches running along the length of the car. It was clear these where from spinning-brush tunnel washes, but the severity of them is what really threw me. Even under fluorescent light, these scratches dominated the appearance of the car and I was certain that without wetsanding, nothing would come close to touching them. Unfortunately, a full wetsand and correction just wasn't feasible given the client's budget and goals for this car.
Along with the straight-line brush scratches, this car also had plenty of swirls and noticeable buffer trails from a previous detail. All in all, the paint condition of this car was probably the worst I've been called upon to fix so far. Given the condition and the client's budget, I recommended a two-stage correction and told him I'd shoot for somewhere in the neighborhood of 70% correction.
As always, I started with a foaming of the car to loosen heavier debris, followed by a two-bucket hand wash. I probably could have washed it with handfuls of sand and it wouldn't have made it any worse.
The obligatory foam shot...these never get old to me.Once the car was washed, clayed and decontaminated with Carpro Iron X, I proceeded to do a test spot on the roof. All the horizontal panels were equally beat, and roofs get it worse than most other panels since people tend to use them for a shelf whenever they get in and out of a car. Don't believe me? Next time you're in a parking lot see how many people lay their coffee cups, purses, cell phones, etc. on the roof while looking for their keys! So I knew the roof was the perfect test spot. Now here's where things get interesting.
Under LED lights, you can see just how bad the surface really is. Swirls, deep RIDS and even a couple of fat, squared off gouges in the roof. Lately, a lot of buzz has been given to using Meguiar's M205 finishing polish as a compound, when combined with the long-throw action of the Rupes 21 and microfiber pads. I've personally seen this surprising combo do incredible amounts of cutting while leaving a finish that can usually be cleaned up in only one subsequent step, so I already knew this would be my first combo to test out. As it turns out, it did exactly what I hoped it would...annihilate these heavy defects QUICKLY and leave me with as little haze to finish off as possible. It worked so well, I didn't even bother looking for another combo!
This little beauty was obviously from someone trying REALLY hard to rub something off the paint, probably with a scrubber pad. I was certain this would be too deep, so I had the sandpaper soaking. But given how well 205 was cutting on the rest of the car, I figured I'd try it first. Keep an eye on the tape in the second two pics.
That's right, the sandpaper never left the bucket! With just a little work, this combo cut that nasty scratch out without breaking a sweat. Now I was on a roll, so I just kept on going.
Final polishing was done with HD Polish on a black B&S pad. Since the massive cutting combo was leaving such minimal haze, this very light final step had no problem clearing up the compounding haze and leaving a glossy finish that surprised even me. It honestly didn't look like the same car that was dropped off two days before! (Please excuse the dust in a couple of the pics, it was cleaned up prior to delivery.)
At the end of the day, Meguiar's M205 once again proved its versatility. It cut deep defects with surprising speed, with great working time and little to no dust....except when cleaning the pads out during use, then it was like being trapped inside a snowglobe! But it didn't leave much of a mess on the car, and made finishing a breeze. I'd conservatively say this car achieved 90%+ correction, with only some really deep RIDS and those roof gouges left behind. I was pleased beyond words with the final outcome, and the owner couldn't stop staring!
Total time, roughly 16 hours.
Foam cannon- Optimum Car Wash mixed with 3D APC
Wash- Optimum Car Wash
Clay- Speedy Prep Towel/Meguiar's Blue Mild Clay
Compounding- Meguiar's M205/Rupes 21/Meguiar's MF Cutting Pads
Finishing- HD Polish/Rupes 21/Buff and Shine Black finishing pads
Tight areas- Americana AmeriRocks/Meguiar's G110 w/ ExactFit backing plate/LC Cyan pad
As always, thanks for looking!
 8/17/14, 06:29 AM
#3
FR500 Member
WOW!!! Truly amazing.
Got a question....I have a black Mustang. It's new, but black being black, well there are some surface scratches, mostly swirls from hand buffing, and really only visible in direct sunlight.
I don't have a buffer, never used one, and have no intentions of attempting to practice on a new, black car.
Do you think similar results can be achieved by hand without a DA buffer?
I'd like to stress that my paint is in very good condition, but I know those swirls are there and it bothers me seeing them in bright sun.
Thanks
8/17/14, 06:43 AM
#4
Member
Thread Starter
Join Date: May 24, 2013
Location: Charlotte, NC
Posts: 39
Likes: 0
Received 0 Likes
on
0 Posts
WOW!!! Truly amazing.
Got a question....I have a black Mustang. It's new, but black being black, well there are some surface scratches, mostly swirls from hand buffing, and really only visible in direct sunlight.
I don't have a buffer, never used one, and have no intentions of attempting to practice on a new, black car.
Do you think similar results can be achieved by hand without a DA buffer?
I'd like to stress that my paint is in very good condition, but I know those swirls are there and it bothers me seeing them in bright sun.
Thanks
Got a question....I have a black Mustang. It's new, but black being black, well there are some surface scratches, mostly swirls from hand buffing, and really only visible in direct sunlight.
I don't have a buffer, never used one, and have no intentions of attempting to practice on a new, black car.
Do you think similar results can be achieved by hand without a DA buffer?
I'd like to stress that my paint is in very good condition, but I know those swirls are there and it bothers me seeing them in bright sun.
Thanks
If you really don't want to go that route, look into Prima Car Care products, especially something like Prima Amigo and Banana Gloss. They won't remove swirls, but do a pretty good job of filling and concealing them. As long as you continue to use them AND don't add more swirls from improper washing or drying, you should be golden.

Last edited by mikenapoli; 8/17/14 at 06:45 AM.
8/18/14, 08:19 AM
#8
Wow, what a difference! That is one happy customer!
I see scratches in my grey Mustang already but being a daily driver, I am not too concerned yet. The thing is, the scratches are mostly on the trunk, both on the top and rear, and no where else. Could there be a difference in the hardness of the clear coat or is there some chemical exposure in the back due to the exhaust?
I see scratches in my grey Mustang already but being a daily driver, I am not too concerned yet. The thing is, the scratches are mostly on the trunk, both on the top and rear, and no where else. Could there be a difference in the hardness of the clear coat or is there some chemical exposure in the back due to the exhaust?
8/19/14, 05:14 AM
#13
Member
Thread Starter
Join Date: May 24, 2013
Location: Charlotte, NC
Posts: 39
Likes: 0
Received 0 Likes
on
0 Posts
Thanks Ron!
Appreciate it man!
Wow, what a difference! That is one happy customer!
I see scratches in my grey Mustang already but being a daily driver, I am not too concerned yet. The thing is, the scratches are mostly on the trunk, both on the top and rear, and no where else. Could there be a difference in the hardness of the clear coat or is there some chemical exposure in the back due to the exhaust?
I see scratches in my grey Mustang already but being a daily driver, I am not too concerned yet. The thing is, the scratches are mostly on the trunk, both on the top and rear, and no where else. Could there be a difference in the hardness of the clear coat or is there some chemical exposure in the back due to the exhaust?
Generally, the clear on painted body panels is the same density so I'm not sure why these scratches are only localized in that area.
 On bumpers and plastic/composite panels, the paint is usually harder due to the addition of a flex agent, although on a handful of cars I've seen where bumpers are actually softer than metal panels. That seems to be the exception rather than the rule, though. Thanks bro!
He was pleased! And I know he's doing a better job of maintaining it than it had ever seen in the past!
Thanks for the kind words, and thanks for checking it out!
Thank you!
8/19/14, 09:34 AM
#14
NTTAWWT
Nice work! Have to wonder if the client knew before his car was dark red instead of black! 
Question on the buffer trails. I noticed the last car I did had a couple minor ones. What does that come from? Is it from the surface not being clean enough to start or an incomplete breakdown of product or what exactly?
Question on the buffer trails. I noticed the last car I did had a couple minor ones. What does that come from? Is it from the surface not being clean enough to start or an incomplete breakdown of product or what exactly?
8/19/14, 09:52 AM
#15
Member
Thread Starter
Join Date: May 24, 2013
Location: Charlotte, NC
Posts: 39
Likes: 0
Received 0 Likes
on
0 Posts
Nice work! Have to wonder if the client knew before his car was dark red instead of black!
Question on the buffer trails. I noticed the last car I did had a couple minor ones. What does that come from? Is it from the surface not being clean enough to start or an incomplete breakdown of product or what exactly?
Question on the buffer trails. I noticed the last car I did had a couple minor ones. What does that come from? Is it from the surface not being clean enough to start or an incomplete breakdown of product or what exactly?
Last edited by mikenapoli; 8/19/14 at 09:56 AM.
8/19/14, 07:14 PM
#16
Bullitt Member
Join Date: April 3, 2011
Posts: 457
Likes: 0
Received 0 Likes
on
0 Posts
Cool, I am west of Boston(495 rte 2) area. When I got the GT there were some spots where fingerprints seem like they are embedded in the paint. I have tried using Mothers paint cleaner and polishing compound by hand and initially it looks good but the marks come back, and I think its time for a more professional approach.
8/20/14, 07:46 PM
#17
Member
Thread Starter
Join Date: May 24, 2013
Location: Charlotte, NC
Posts: 39
Likes: 0
Received 0 Likes
on
0 Posts
Cool, I am west of Boston(495 rte 2) area. When I got the GT there were some spots where fingerprints seem like they are embedded in the paint. I have tried using Mothers paint cleaner and polishing compound by hand and initially it looks good but the marks come back, and I think its time for a more professional approach.
8/25/14, 08:24 AM
#19
Member
Thread Starter
Join Date: May 24, 2013
Location: Charlotte, NC
Posts: 39
Likes: 0
Received 0 Likes
on
0 Posts
 .
8/25/14, 10:24 AM
.
8/25/14, 10:24 AM
#20
Mach 1 Member
No problem, Mike. I have to make it to Stoneham to see Rick's shop someday, I would love to spend a day at Unique Car Care just to watch him detail and learn a few new things!