
so what kind of crap does arin do at school all day?

 11/18/08, 04:58 PM
#23
Team Mustang Source
I can definitely see the shark and iron aspect but, it also reminded me of a Cruise ship!
I think it does look like something designed by your designer guy so you should be safe as far as that goes.
I think it does look like something designed by your designer guy so you should be safe as far as that goes.
11/18/08, 06:22 PM
#24
Legacy TMS Member Pr
 It has the basic design of the Opera house in it, no prob with that.
Keep us updated bro.
 11/18/08, 06:54 PM
#25
Post *****
Thread Starter
Join Date: May 13, 2004
Location: Berkeley/Redwood City, CA
Posts: 18,614
Likes: 0
Received 3 Likes
on
2 Posts
I did alot of sanding and cleaning up, I'm not done yet though. I've still got to smooth it all out so its perfectly symmetrical, and then make it as smooth as butter
After that, split it in half, Vacuform a styrene mold, fill it with some kind of resiny stuff, put the two halves together, smooth/sand, prep for paint, primer, prep some more, paint, sand some more, wet sand, clearcoat, more assorted sandings, buffing, waxing and then presentation
I ordered Dark Highland Green Metallic paint today
11/18/08, 06:59 PM
#27
Post *****
Thread Starter
Join Date: May 13, 2004
Location: Berkeley/Redwood City, CA
Posts: 18,614
Likes: 0
Received 3 Likes
on
2 Posts
at school. you have to order paint to paint the teapot with, and they have binders full of paint codes from different cars in different years
naturally I chose DHG. If theres any leftover, well... I could get a termy wing and paint it and install it
naturally I chose DHG. If theres any leftover, well...
I could get a termy wing and paint it and install it
11/18/08, 07:04 PM
#29
Legacy TMS Member Pr
Dooo eeeeeeeet!!!
11/25/08, 08:55 PM
#30
Post *****
Thread Starter
Join Date: May 13, 2004
Location: Berkeley/Redwood City, CA
Posts: 18,614
Likes: 0
Received 3 Likes
on
2 Posts
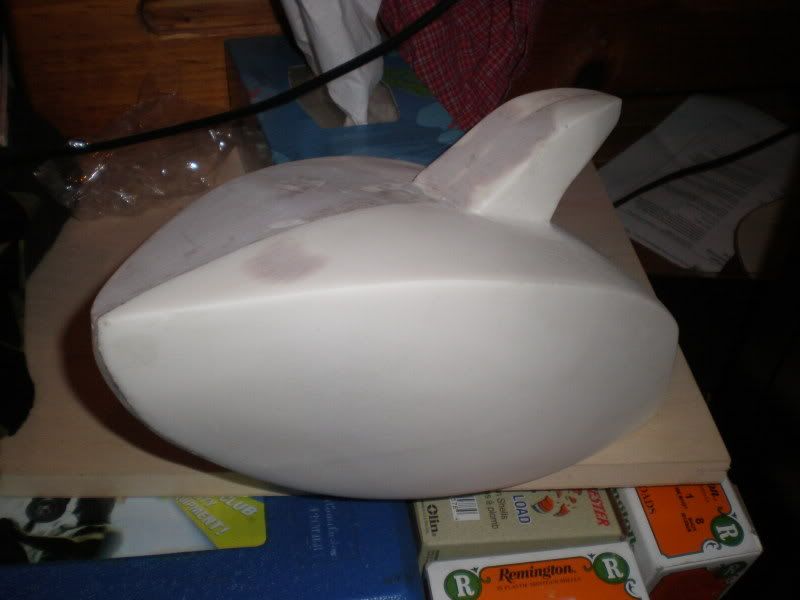
Here it is partially smoothed out from a few days ago.
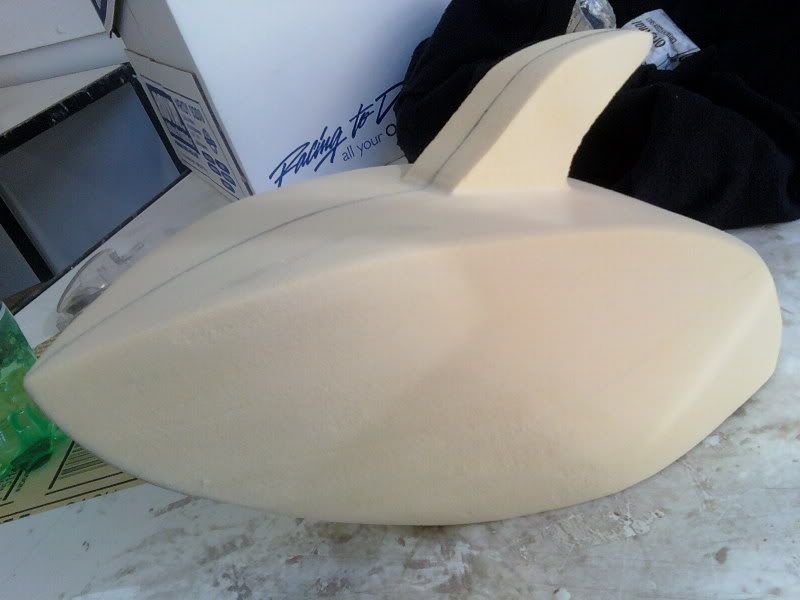
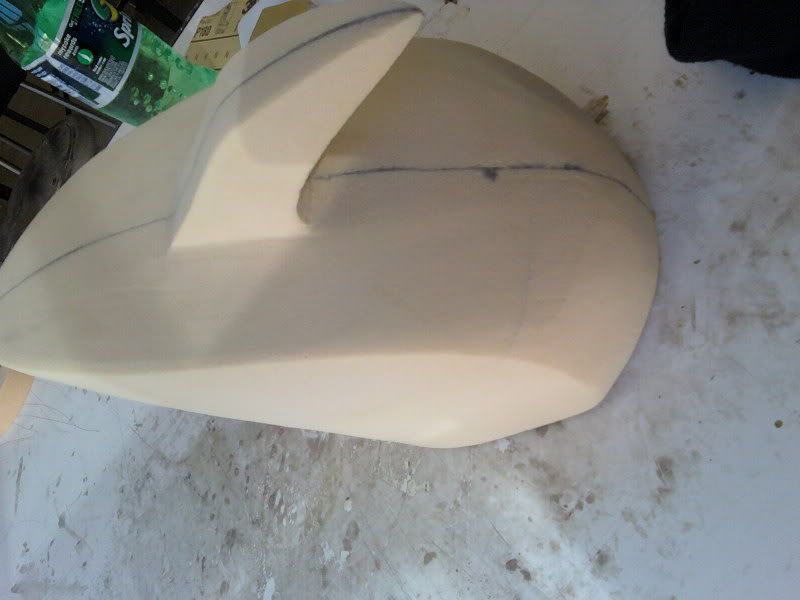
I ended up sanding it even smoother than that. that pic is just using 320. the next day i went from 320 to 400 to 600, and man it was smooth.
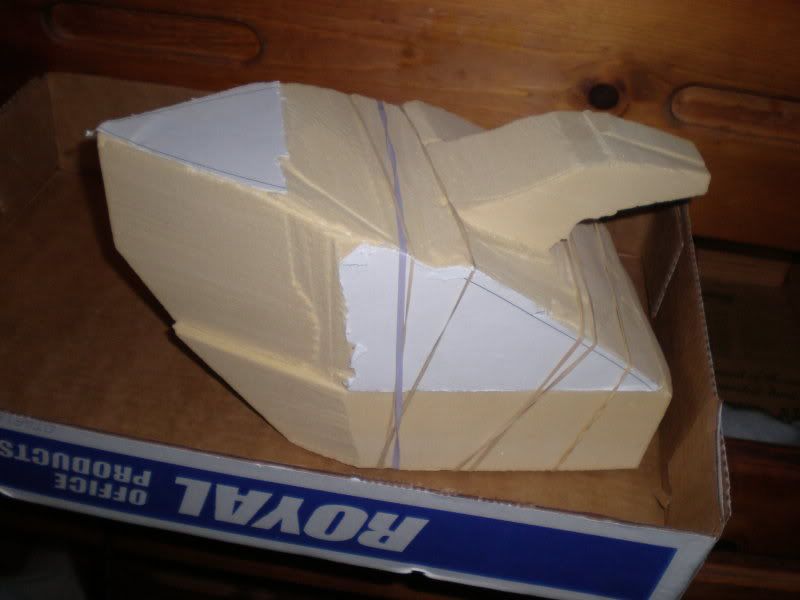
the next step was to vacuum form a mold using styrene. ,I never got a shot of the mold itself, but heres a few pieces of the mold after i tore it apart getting the cast teapot halves out lol:

After we made the mold, we filled it with quick cast and let it sit. since my teapot is pretty big compared to some of the others, I decided to not use JUST quick cast, because that would have gotten expensive. I shaved a bit off of my original foam model, and mounted it on the mold in such a way that the quick cast could fill in underneat the foam. Even with the massive amount of foam i used, I still ended up using a bit over 75oz of the quick cast, about $40 worth if anyone wanted to know. Thats what most people use for their entire teapot WITHOUT using any foam filler

total cost for today:
$6 for second sheet of styrene (first was free)
$40 for quick cast
$1 for a chisel i broke
$2 for the cups to the quick cast gets poured into
$49 total
not to mention the infinity pieces of sandpaper and the intial cost of the foam which is $27. Then another $17 for the DHG paint, and I'm gonna have to shell out more next week for primer and clearcoat too
This class is ridonkulolusly expensive hahaha
I ended up sanding it even smoother than that. that pic is just using 320. the next day i went from 320 to 400 to 600, and man it was smooth.
the next step was to vacuum form a mold using styrene. ,I never got a shot of the mold itself, but heres a few pieces of the mold after i tore it apart getting the cast teapot halves out lol:
After we made the mold, we filled it with quick cast and let it sit. since my teapot is pretty big compared to some of the others, I decided to not use JUST quick cast, because that would have gotten expensive. I shaved a bit off of my original foam model, and mounted it on the mold in such a way that the quick cast could fill in underneat the foam. Even with the massive amount of foam i used, I still ended up using a bit over 75oz of the quick cast, about $40 worth if anyone wanted to know. Thats what most people use for their entire teapot WITHOUT using any foam filler
total cost for today:
$6 for second sheet of styrene (first was free)
$40 for quick cast
$1 for a chisel i broke
$2 for the cups to the quick cast gets poured into
$49 total
not to mention the infinity pieces of sandpaper and the intial cost of the foam which is $27. Then another $17 for the DHG paint, and I'm gonna have to shell out more next week for primer and clearcoat too
This class is ridonkulolusly expensive hahaha
11/26/08, 03:27 PM
#31
Legacy TMS Member Pr
Holy coffee batman! That's one expensive teapot >_< Man! But as long as you learn, it's worth every penny 
That was my case
That was my case

 11/26/08, 03:53 PM
#34
Post *****
Thread Starter
Join Date: May 13, 2004
Location: Berkeley/Redwood City, CA
Posts: 18,614
Likes: 0
Received 3 Likes
on
2 Posts
Thanks guys!
It's nice to get some kind words since my teacher seems to excell as tearing student self esteem into tiny pieces... and then lighting it on fire lol
It's nice to get some kind words since my teacher seems to excell as tearing student self esteem into tiny pieces... and then lighting it on fire lol

 11/27/08, 05:26 AM
#37
Legacy TMS Member Pr
That was a good one Gary! Happy Thanksgiving day to all of you and your families!!
12/1/08, 11:56 AM
#38
Post *****
Thread Starter
Join Date: May 13, 2004
Location: Berkeley/Redwood City, CA
Posts: 18,614
Likes: 0
Received 3 Likes
on
2 Posts
so heres what got done this weekend. the two halves were sanded and epoxied together. then came the bondo work
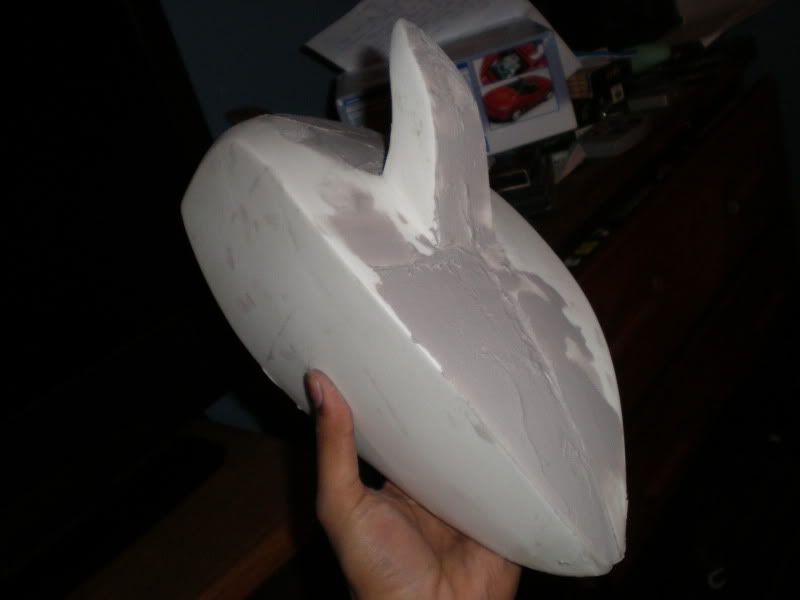

the application of all that bondo was done on friday. and thats pretty much all i did friday. saturday i took the day off, got my bike delivered to a wiring guy. yesterday and part of today i spent sanding it til it was smooth
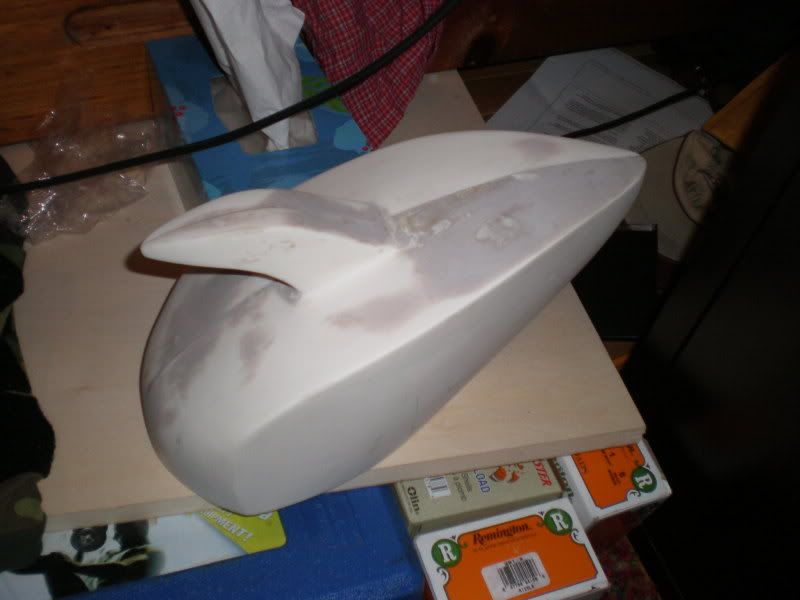
time for primer today, hopefully...
the application of all that bondo was done on friday. and thats pretty much all i did friday. saturday i took the day off, got my bike delivered to a wiring guy. yesterday and part of today i spent sanding it til it was smooth
time for primer today, hopefully...