When you click on links to various merchants on this site and make a purchase, this can result in this site earning a commission. Affiliate programs and affiliations include, but are not limited to, the eBay Partner Network.
I thought I had already posted this but not sure what happened....
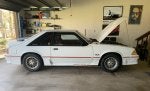
I have a couple of progress threads ongoing in some other forums but sharing here as well...partially to ***** out my videos but also to have access to as many Mustang owners as possible who can provide suggestions or tips. I picked up a 1988 Mustang GT in late January. I've wanted a fox body for a long time. The first Mustang I ever rode in was a fox body. The first Mustang I ever drove was a fox body. I�ve been a huge fan of these cars since I was a teenager and always wanted to own one. I also wanted a project car that I could tinker with and build up and mod and learn on. I've been making time for that experience whenever I have had free weekends over the past two months. It's definitely a work in progress but it's been fun and a learning experience. I've been partially documenting my progress through videos on my YouTube channel and I am always open to suggestions either through these types of threads or through comments on the videos.
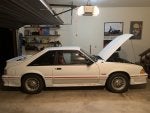
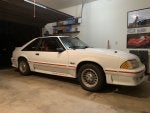
Anyways, here's the car as it sits currently:
Obviously it's quite a bit of a different driving experience than my 2014 GT but the times I've driven it, it's been a blast. For now, I'm trying to focus on getting some of the obvious problems fixed and I'd like it to eventually be sort of a resto-mod cruiser/occasional track day car.
So far I've fixed (mostly) the horn, returned the cold air intake to stock (and added a K&N air filter), replaced some random hardware bits and pieces, added the red lettering to the rocker panel and rear bumper, and replaced the battery. Currently tackling issues with rust underneath the battery tray and battery not holding a charge (waiting for a trickle charger to arrive). I've been documenting the progress on my YouTube channel. Will share some links along with more detailed progress soon. Cheers.
Last edited by DudeStang; Nov 17, 2021 at 05:20 PM.
Reason: Updating thread title
Back around 1991, I had a roommate who had an '89 GT and a 90 T-bird SC. Both were a blast to drive. At that time, I had a '90 Probe GT and a '66 Corvair Corsa coupe.
Back around 1991, I had a roommate who had an '89 GT and a 90 T-bird SC. Both were a blast to drive. At that time, I had a '90 Probe GT and a '66 Corvair Corsa coupe.
I've never driven a T-Bird but I did see one competing in the AER series at Summit Point in WV last year. It definitely stood out in a field of BMWs, Nissans, and....
Wait, edit. Scratch that thought...it was a Mercury Cougar, lol.
So you've owned a few Corsairs it seems....are those and Mustangs your favorite vehicles?
I'm currently patiently waiting for a POR-15 kit, the trickle battery charger, a heat gun, and vacuum caps (so I can change the fuel filter without burning down the car and the house). I also went ahead and ordered the PA Performance battery cable kit, since I had some leftover gift card credit.
I've never driven a T-Bird but I did see one competing in the AER series at Summit Point in WV last year. It definitely stood out in a field of BMWs, Nissans, and....
Wait, edit. Scratch that thought...it was a Mercury Cougar, lol.
So you've owned a few Corsairs it seems....are those and Mustangs your favorite vehicles?
They are my favorites, but my all time favorite is a Porsche 911. Preferably the Turbo S.
They are my favorites, but my all time favorite is a Porsche 911. Preferably the Turbo S.
I'm a huge Porsche fan myself. I literally have a savings account specifically for my future 911, lol. I drove a 911 GT3 for a few laps around Summit Point a little over three years ago. It was phenomenal. With a limitless budget, I'd have a ton of cars but most of them would be Porsches and Mustangs.
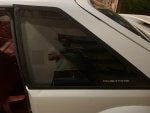
On the Fox Body - finally managed to get rid of the old yellow stickers on the inside of the quarter windows.....took a long time though.
Before:
After:
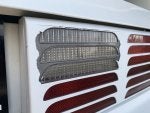
Really looking forward to getting the red body molding strip updated and touching up the paint in some spots, including the taillights:
Keep up the good work on the fox. I drive a 911 Carerra 4S at the Porsche Experience Center in Atlanta a few years ago. 90 minutes with an instructor in the passenger seat. It was a blast!
Interesting update on the Fox. I had a person comment on YouTube that I should check the lights on the vanity mirrors to see if they are draining the battery. Battery was out of the car, attached to trickle charger that just arrived so I couldn't see if the lights were functioning. I had taken a picture a while back though and noticed one of the vanity mirror lights was still on even though there was electrical tape across the little button. So I pulled the sun visors out (they need to be repaired or replace anyways) and disconnected the vanity mirror lights. That update can be partially seen in my newest video (just skip to the 9:00 minute mark):
So after this video...I hooked the battery back up to the trickle charger and let it charge over night. Yesterday, I threw the battery back in and the Fox started right up. I ran voltage test on the battery and it appeared normal. Even took the Fox for a little spin around the block.
This morning I checked the voltage again and it appears the battery is still holding a charge. I have some work to do but will try to start it again around lunch time and confirm that it's still holding enough juice to start the car.
Also, I ordered a PA Performance Premium Battery Cable kit that is supposed to be arriving today, so I'll be getting that installed as soon as possible.
Got the Fox to crank yesterday and the battery seems to be doing find holding a charge since being on the trickle charger over night and with the sun visors/vanity mirror lights removed.
I've started the car a few times with no problems since recharging the battery and removing the sun visors. Last night I replaced the old battery cables, which were in even worse condition than I thought, with the PA Performance kit. I couldn't figure out the alternator cable yet because I couldn't see where it was routed exactly...but I will try to get that installed sometime in the next few days.
Got a new video up with the fuel filter replacement, arrival of some more parts, and installing/testing out the Steeda Tri-Ax Shifter Handle (just the handle, not the actual replacement shifter):
Plans for this week include tracing the alternator cable to see if I can figure out if there's already a mega fuse or something similar somewhere hidden in there. Also going to remove the air intake silencer since I'm probably going to have to remove the air box anyways while I'm tracing the alternator cable. Also got some additional wire brushes for the drill so I want to pull the battery and tray again and get back to working on the rust.
Also thinking about maybe draining and fully replacing the power steering fluid or just replacing the power steering pump since I have an extra one that came in the box of parts that came with the car. The loud whining noise has become worse than the Flowmaster drone the last few times I've driven the car.
Heat gun finally arrived..along with some other random stuff. On Friday evening, something else arrived. Our foster dog, Lady, gave birth to one puppy at our house and then was having trouble delivering the next one. We ended up having to take her to the clinic and she got an emergency c-section. An little over an hour later we were driving home with Lady and six tiny puppies. Hell of a Friday, lol.
Once things settled down, I managed to get some garage time. Took advantage of the heat gun and started removing the body molding stripe.
I need to look a little bit closer but it seems like the stripe on the door moldings is possibly a different material or might even be painted on. I didn't want to melt the door moldings so I didn't mess with those much longer while removing the rest of the stripe around the car. I also got the front driver side wheel off again and started doing some more work on the rust. I need some spray bottles for the degreaser and metal treatment from the POR-15 kit. I had initially ordered them from Chemical Guys but the order got cancelled due to lack of inventory. Fortunately I was able to pick up a couple of alternatives with my grocery pick-up at Wal-Mart today. Hopefully these will work fine and I can get at least one side of the apron done with POR-15.
On the alternator power cable situation, I finally just sucked it up and ordered the SR performance cable which already has the 200 amp in-line fuse. I figured between everything else I'd need to order to do it myself, I'd only be saving 15 bucks and at least with this kit I have everything already put together. That should be here in a day or two.
Anyways, I got a new video up documenting some of these things.
Thanks, yeah they are really cute. They are getting pretty big now after almost two weeks. A couple of them started opening their eyes today for the first time.
Following up on the alternator cable issue - I wasn't able to re-use the ring terminal from the green wire and all the ones I have (that came with my cheap, crappy wire stripper) are too small. So I am waiting on some of those to arrive in the mail. I also ordered some more wire loom tubing, wiring harness clips, cloth wiring tape, and electrical tape.
In the meanwhile, I managed to make a little bit of progress using the POR 15 on the area underneath the battery tray (wheel well side). Unfortunately, I didn't think ahead and planned poorly with brush usage, so I have to wait until I get some more brushes before I can get to the engine bay side. I have some cheap brushes ordered for curbside pick up so fingers crossed that those are actually in stock). I managed to get two coats of the POR 15 on with the two brushes I had available.
Once I get the brushes, I should be able to get some more rust work done and then eventually get the alternator cable situation squared away. Oh, in other exciting news, got a new t-shirt (and HP sticker) via Blipshift that I think some folks will appreciate.
Anyways, here's my latest video documenting recent progress:
I made some progress on applying the POR-15 kit on the frame underneath the battery tray. I will likely need some more of the POR-15 to get the shock tower done. On the shock tower though, I'm wondering if it would make sense to remove the master cylinder (and how difficult that is) in order to apply the POR-15 better. It's not the easiest space to get into.
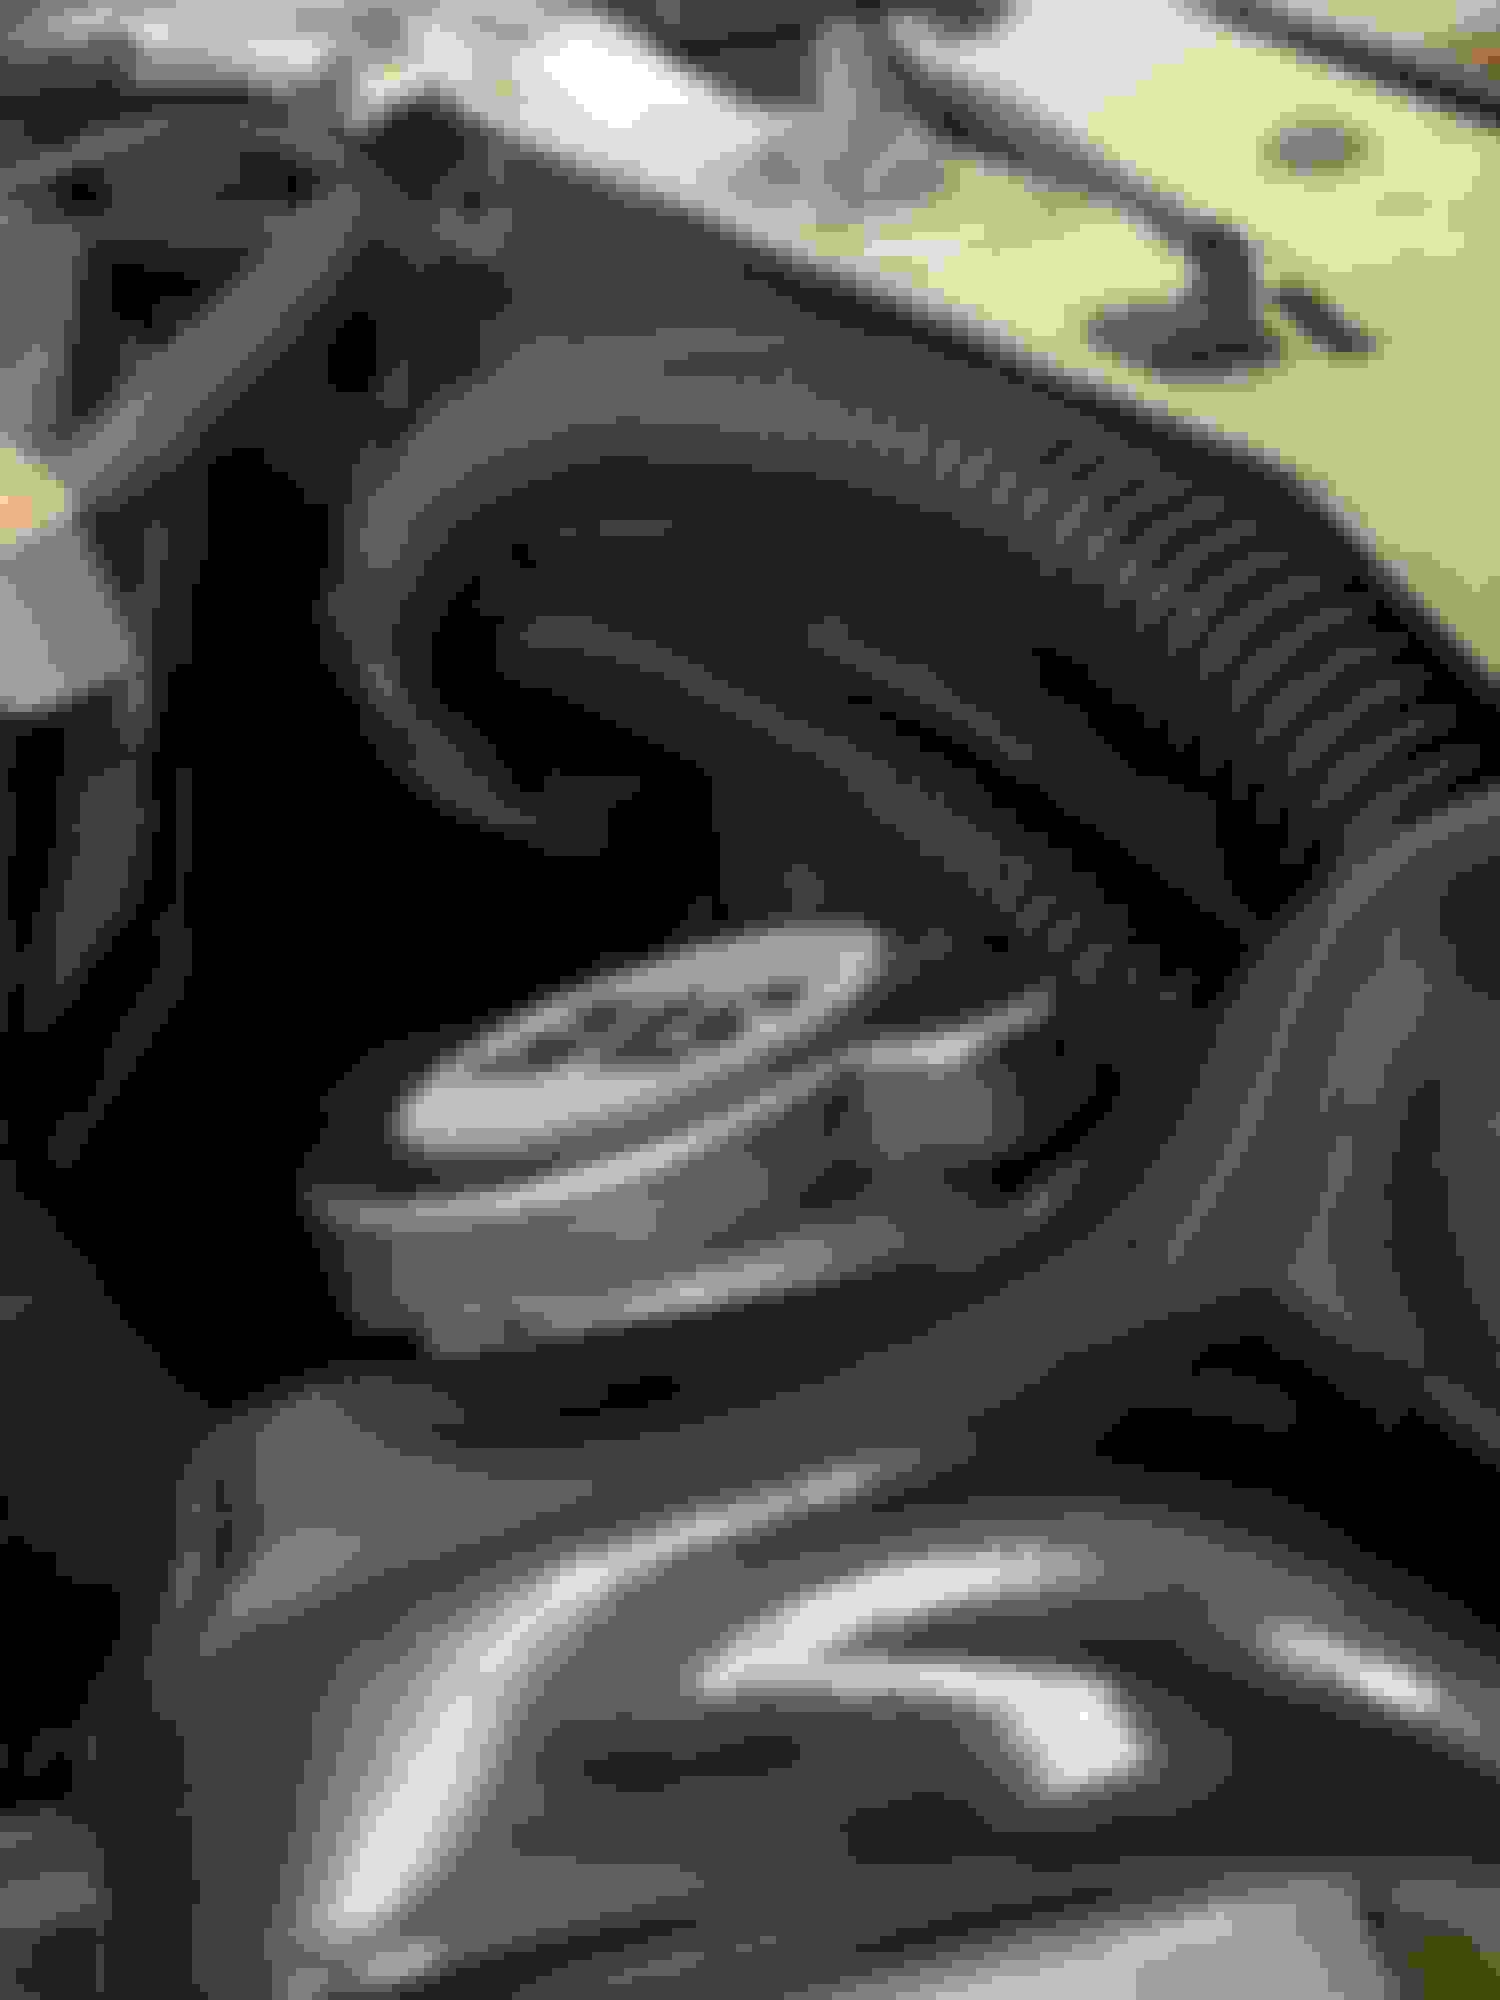
Back to the horn issue...I was finally able to get the screw out of the horn bracket, thanks to the torch idea. I found a couple of random screws that actually fit in the holes on the bracket (looks like they are from IKEA) but they fit in the bracket pretty tightly and they are too narrow for any of the holes on the frame. For now, I used some washers and attached both horns to the same hole but with that placement, I can't get the fender protector back in and I'm also wondering if the second horn is too close to where the tire will turn in. I will carefully test it out once I get the alternator and battery hooked back in. I am thinking I might need to just have someone weld the bracket back in eventually.
Anyways, here's my latest video documenting these efforts.
I finally got some electrical tape and ring terminals, at least one of which will hopefully work. Planning to try and get the alternator and battery squared away and put back in this weekend.
So on another forum, someone pointed out that my brake lines look like they might be copper. My car has a rear disc brake conversion but it looks like whoever did it kept the factory master cylinder and made custom lines coming from that MC.
A few folks have chimed in that copper lines are not good and that I should try to address this. Initially I was looking at purchasing the 1993 Cobra Master Cylinder, which appears to be somewhat of an upgrade, and can fit on 87-93 GT Mustangs without major modifications. The problem I'm anticipating though, is the Maximum Motorsports master cylinder installation kit doesn't appear to include the front port brake line, which I obviously need to replace too. I'm not seeing any front port lines available on MM or LMR.
I also looked at the 94-95 Cobra MC on MM and it looks like their installation kit does include a complete line kit. Anyone have thoughts on the 94-95 Cobra MC for a mostly stock 1988 GT?
Happy to report that I finally got the alternator power cable finished. I ended up running the power cable in one loom and the rest of the wires in a separate loom. It took a while but I got it looking how I wanted it, for the most part. I might need to redo the tape around some of the clips but for now, I'm pretty happy. Trying to get both looms to sit well and fit underneath the battery tray took the most time.
Got a new video up documenting this progress and talking about a few other things:
Foster puppy madness has occupied most of our time at the house the past few weeks. I found some time to make a new video but not a ton of progress on the car. The foster puppy goon squad should be gone this weekend so I'm hoping to start working on the master cylinder/brake line project soon. I believe I have everything I need for that but I do still need to pick up another can of POR-15 to use on the shock tower so I can do both of those at the same time.
I also ordered the lower door hinge tension spring so I can finally fix the driver side door. Also managed to make some progress on getting the residue from the body molding stripe cleaned off (documented in the video a little bit as well).