Brian's 67 Resto-Mod Project

Thread Starter
Bullitt Member
Joined: February 24, 2007
Posts: 223
Likes: 0
From: Manteca, California
Brian's 67 Resto-Mod Project
So I recently was given a 1967 Mustang 289 2v Coupe C4 automatic for Father's Day by my lovely wife Although the car was in my opinion decent shape I could not resist the urge to make it my own project. So I started to tear it apart piece by piece with just the help of forums like this one. The Mustang is a California car built out of San Jose, Ca from what I can tell the original color is clearwater aqua green.
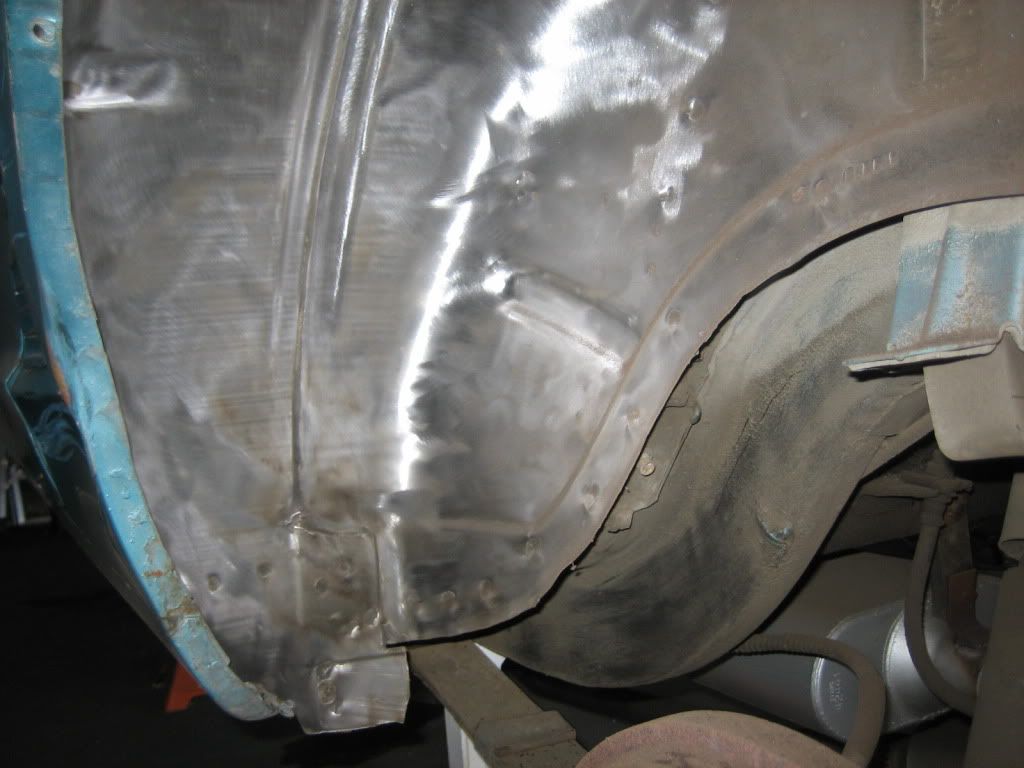
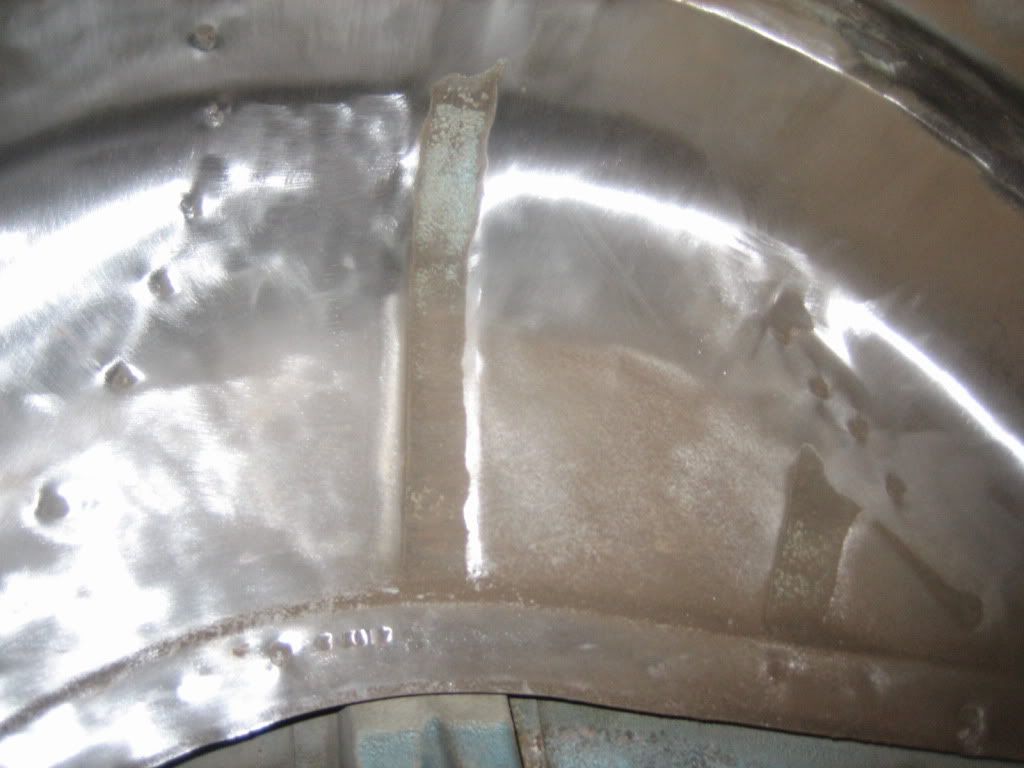
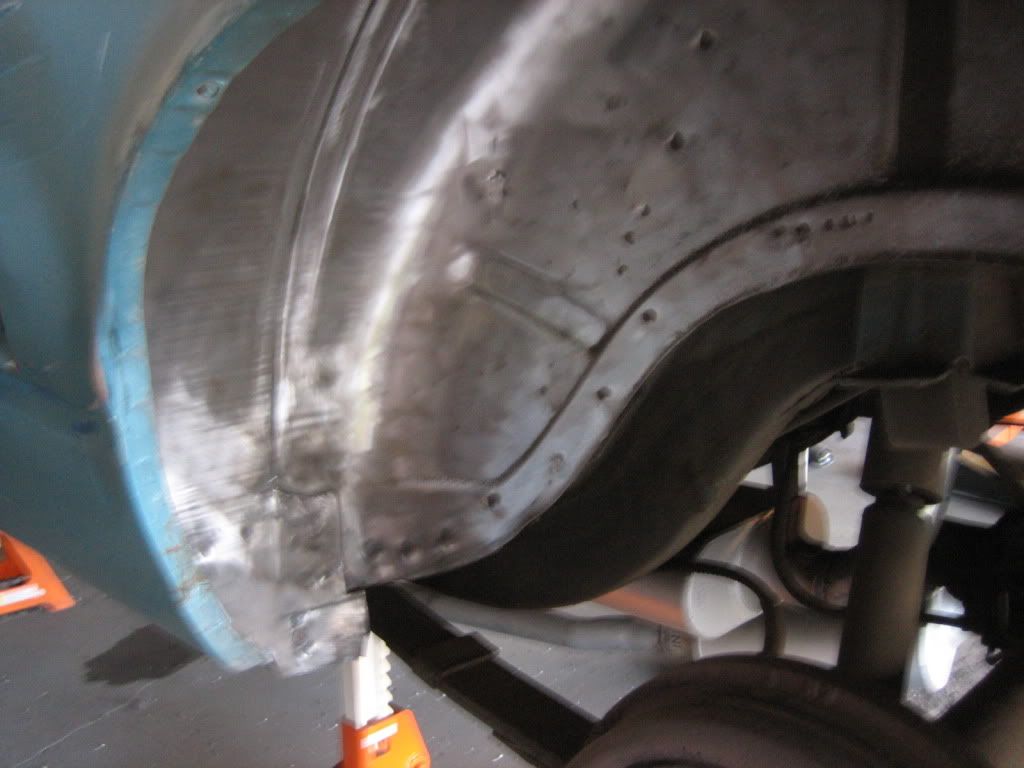
Well the car has basically no rust whatsoever. The only rust I found was around the battery apron. Unfortunately both shock towers have come face to face with a plasma torch and have seen better days. Other than that and a little body damage to the driver's side the 67 is a solid foundation for my plans.
I would like to point out I am in no shape or form an auto mechanic but am somewhat mechanically inclined. Also the progress I have made so far has been with basic hand tools and many trips to my local harbor freight for a few specialty tools, like a spring compressor.
So here are the basic plans for the 67, although I'm sure some ideas will come and go as time goes by:
Replace most if not all front and rear suspension components.
(plan to a 1 inch drop all the way around)
Replace and or repair to new all steering components, to include new steering column and steering wheel.
Replace current non-power drum brakes upfront with power disc brakes.
Replace or repair both shock towers and battery apron.
(this will not be done by me)
Repaint engine bay satin black
Redo interior to be all black with aftermarket front buckets.
Rebuild stock engine and transmission.
(not sure on which way I'm going on this one yet)
Rebuild rear end or look into other options
(not sure on which way I'm going on this one yet)
Repaint car original color
(clearwater aqua green)
Here are pics of the car before I started and where I am currently...
Although the car was in my opinion decent shape I could not resist the urge to make it my own project. So I started to tear it apart piece by piece with just the help of forums like this one. The Mustang is a California car built out of San Jose, Ca from what I can tell the original color is clearwater aqua green. Well the car has basically no rust whatsoever. The only rust I found was around the battery apron. Unfortunately both shock towers have come face to face with a plasma torch and have seen better days. Other than that and a little body damage to the driver's side the 67 is a solid foundation for my plans.
I would like to point out I am in no shape or form an auto mechanic but am somewhat mechanically inclined. Also the progress I have made so far has been with basic hand tools and many trips to my local harbor freight for a few specialty tools, like a spring compressor.
So here are the basic plans for the 67, although I'm sure some ideas will come and go as time goes by:
Replace most if not all front and rear suspension components.
(plan to a 1 inch drop all the way around)
Replace and or repair to new all steering components, to include new steering column and steering wheel.
Replace current non-power drum brakes upfront with power disc brakes.
Replace or repair both shock towers and battery apron.
(this will not be done by me)
Repaint engine bay satin black
Redo interior to be all black with aftermarket front buckets.
Rebuild stock engine and transmission.
(not sure on which way I'm going on this one yet)
Rebuild rear end or look into other options
(not sure on which way I'm going on this one yet)
Repaint car original color
(clearwater aqua green)
Here are pics of the car before I started and where I am currently...
Thread Starter
Bullitt Member
Joined: February 24, 2007
Posts: 223
Likes: 0
From: Manteca, California
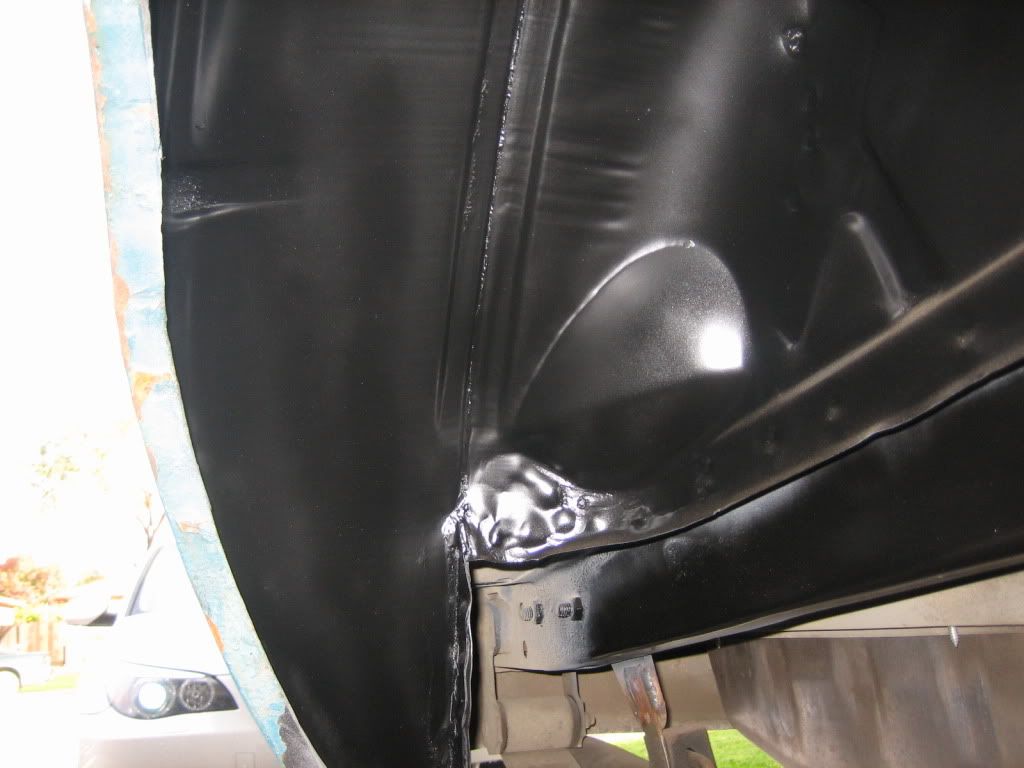
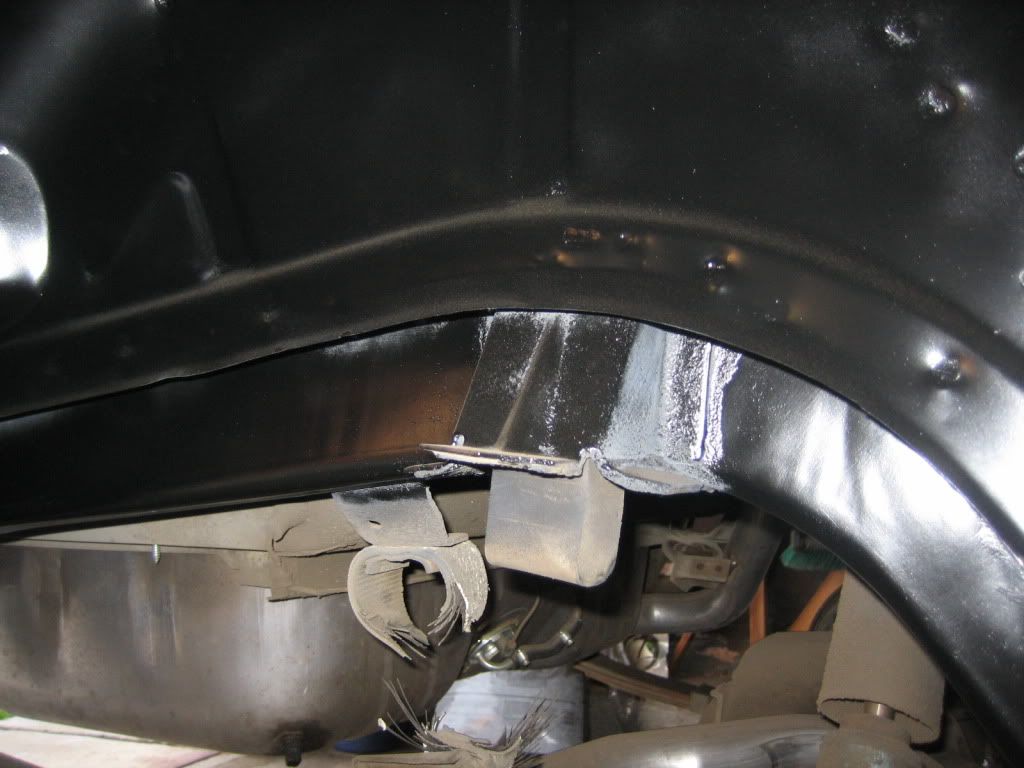
Well I finished painting the entire apron and engine bay of the car. I would have to say I am very disappointed with the final results. As you can see from the pictures the black did not come out smooth like the primer did.... I feel as if all my hard work was for nothing :-(
Thread Starter
Bullitt Member
Joined: February 24, 2007
Posts: 223
Likes: 0
From: Manteca, California
Moving on to the interior. I completely gutted what was left of it, which was not much. Removed the carpet found surface rust under the back seat and up front in the foot wells. Sanded it all down (sorry no pics of the rust) and just sprayed the areas I sanded. In my opinion the other areas look fine and it will be carpeted anyway. I also sanded down the rear door panels or whatever they are called and will be painting them black. I still need to sand and prime/paint the inside of the doors and the dash.
Last edited by HEADACHEZ; Sep 29, 2010 at 09:16 PM.

wow! lots of love goin into that!
Thread Starter
Bullitt Member
Joined: February 24, 2007
Posts: 223
Likes: 0
From: Manteca, California
Thanks!!!! This is my first rebuild.
That's why I love California....... No snow ever. Me personally I have only been to the snow twice in my life....lol
 Nice work and keep the updates coming!
Thread Starter
Bullitt Member
Joined: February 24, 2007
Posts: 223
Likes: 0
From: Manteca, California
Thanks again for all the encouraging comments......
Well here all this weeks updates and pics......
I finished sanding down both doors to bare metal and primed them both. I would have painted them but my paint is on back on order, so it will have to wait until next weekend. Still have to do the dash but I'm saving that for last.
Well here all this weeks updates and pics......
I finished sanding down both doors to bare metal and primed them both. I would have painted them but my paint is on back on order, so it will have to wait until next weekend. Still have to do the dash but I'm saving that for last.
Last edited by HEADACHEZ; Oct 3, 2010 at 11:40 PM.
Thread Starter
Bullitt Member
Joined: February 24, 2007
Posts: 223
Likes: 0
From: Manteca, California
Finished up the doors, rear passenger panels and dash. I forgot to take a pic after I sanded the dash to bare metal, ****. Well I will let the primer sit overnight and give it a quick sand tomorrow, wipe it down and paint it black. I am very happy with the results......
Shelby GT500 Member
Joined: April 25, 2007
Posts: 2,959
Likes: 2
From: Kansas City, MO
You mentioned the shock towers are/were being replaced, why did you paint them then? Or have they already been done.... Reminds me of my first 67, never again. Keep in mind 67 was the year Ford changed compoenents and made for a rough time finding donar parts over replacements parts for me back in 1990-1991.
Thread Starter
Bullitt Member
Joined: February 24, 2007
Posts: 223
Likes: 0
From: Manteca, California
You mentioned the shock towers are/were being replaced, why did you paint them then? Or have they already been done.... Reminds me of my first 67, never again. Keep in mind 67 was the year Ford changed compoenents and made for a rough time finding donar parts over replacements parts for me back in 1990-1991.

Team Mustang Source
Joined: October 12, 2004
Posts: 502
Likes: 0
From: Tampa, FL
The original color on your car looks to be Brittany Blue. I'm very familiar with the color as I've spent the past several years going through exactly what you're doing now. And finally finished it! Here's a pic from it's first showing last Saturday.