
New Mods - Boss Diffuser, Boss H-pipe & Axle-back

Thread Starter
Team Mustang Source
Joined: January 15, 2005
Posts: 1,424
Likes: 0
From: So. FL
New Mods - Boss Diffuser, Boss H-pipe & Axle-back
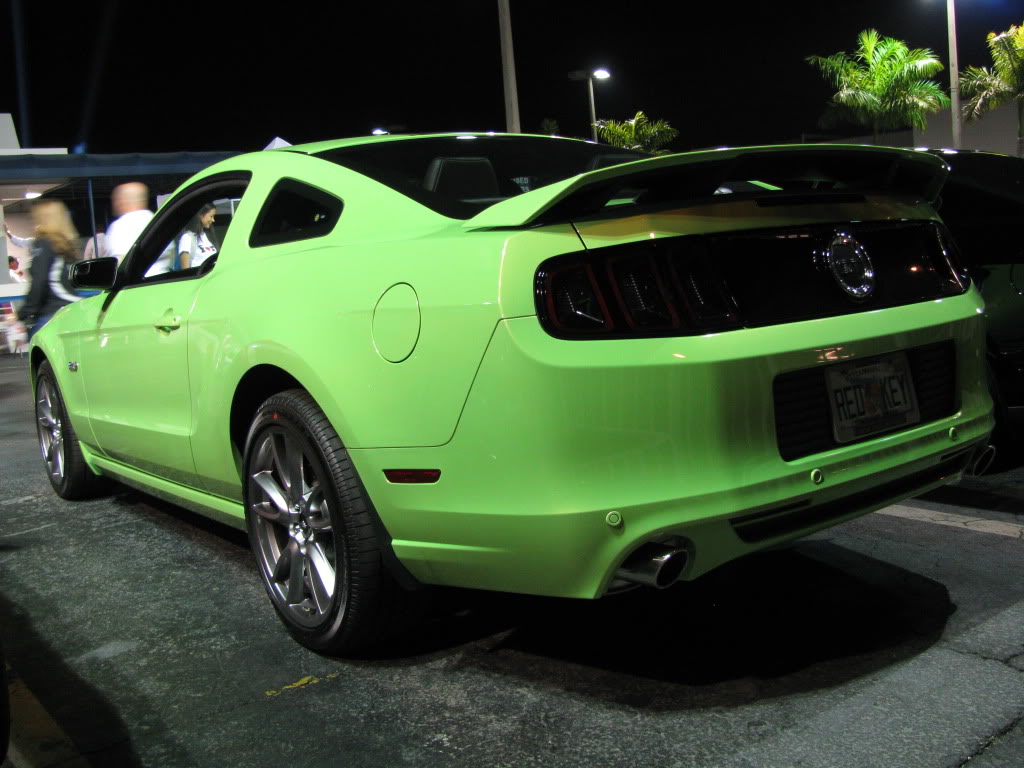
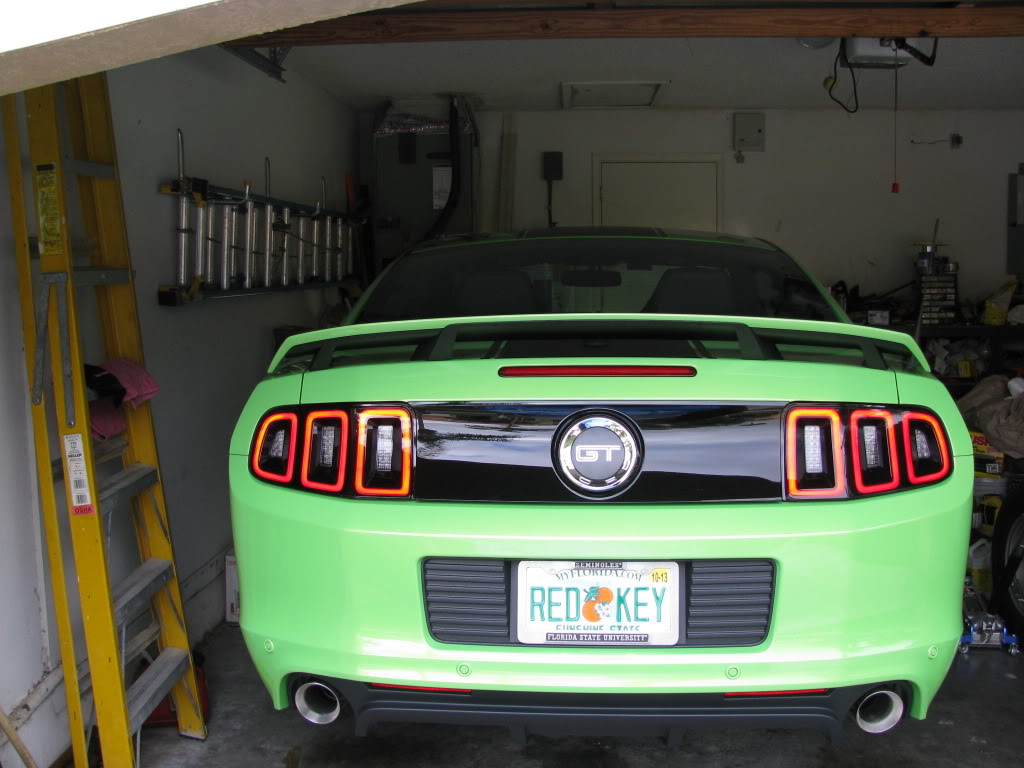
I was very busy today modding the new stang. I added an OE Boss Rear Diffuser, FRPP Boss H-pipe with side pipes, and Magnaflow Street Series Axle-Back. The new exhaust sounds amazing! Below are notes and photos of everything done.
Before rear view
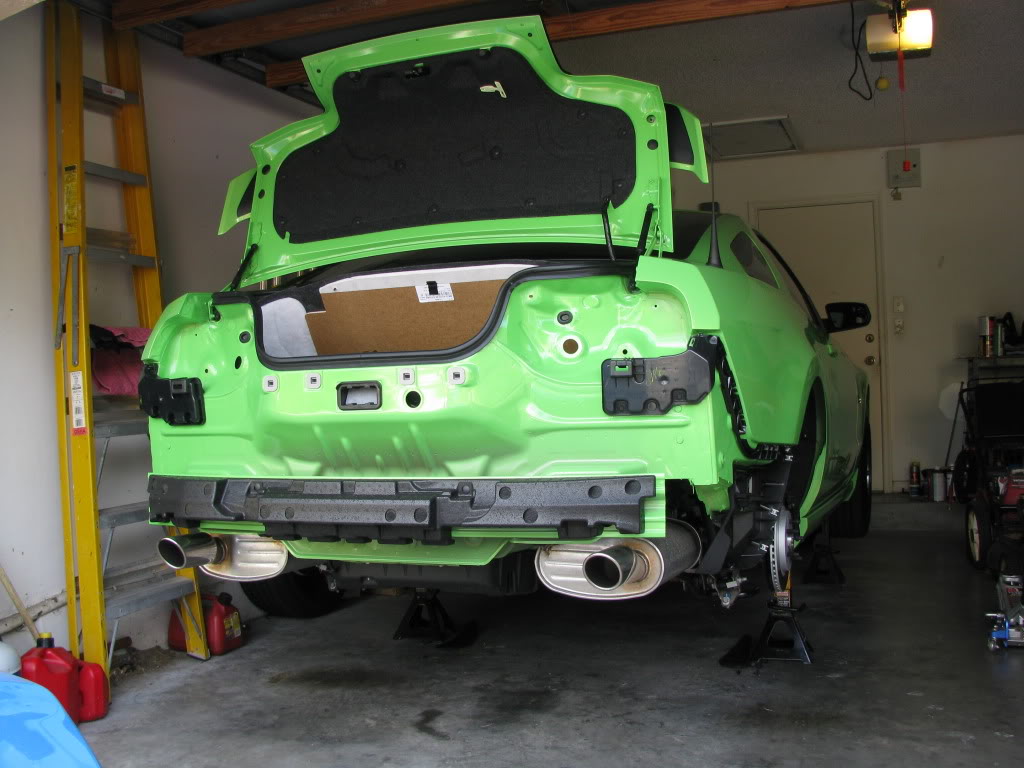
Rear wheels, tail lights and rear bumper cover removed
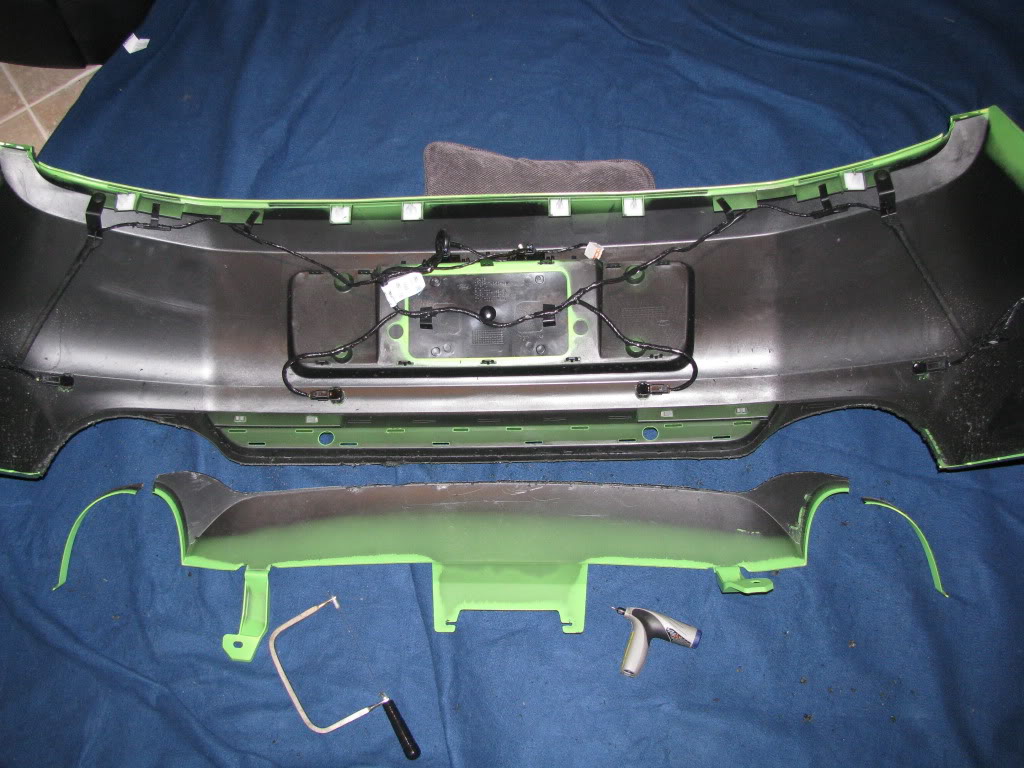
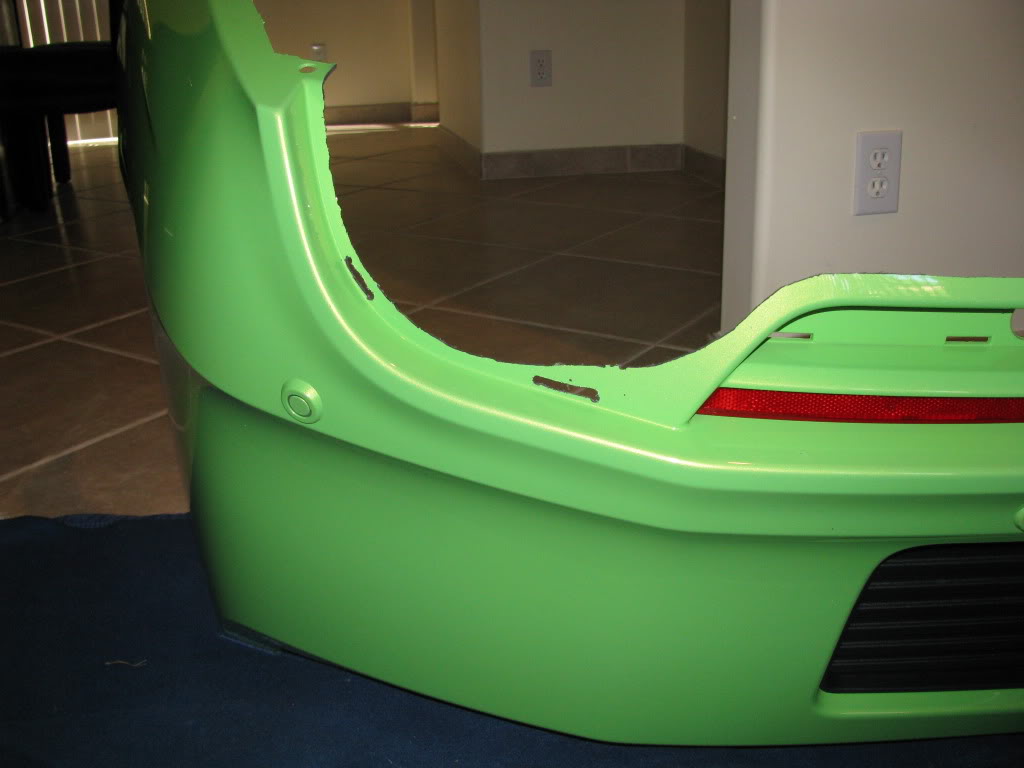
Trimming off portion of bumper cover. There are lines inside the cover showing where to cut :thumbsup:
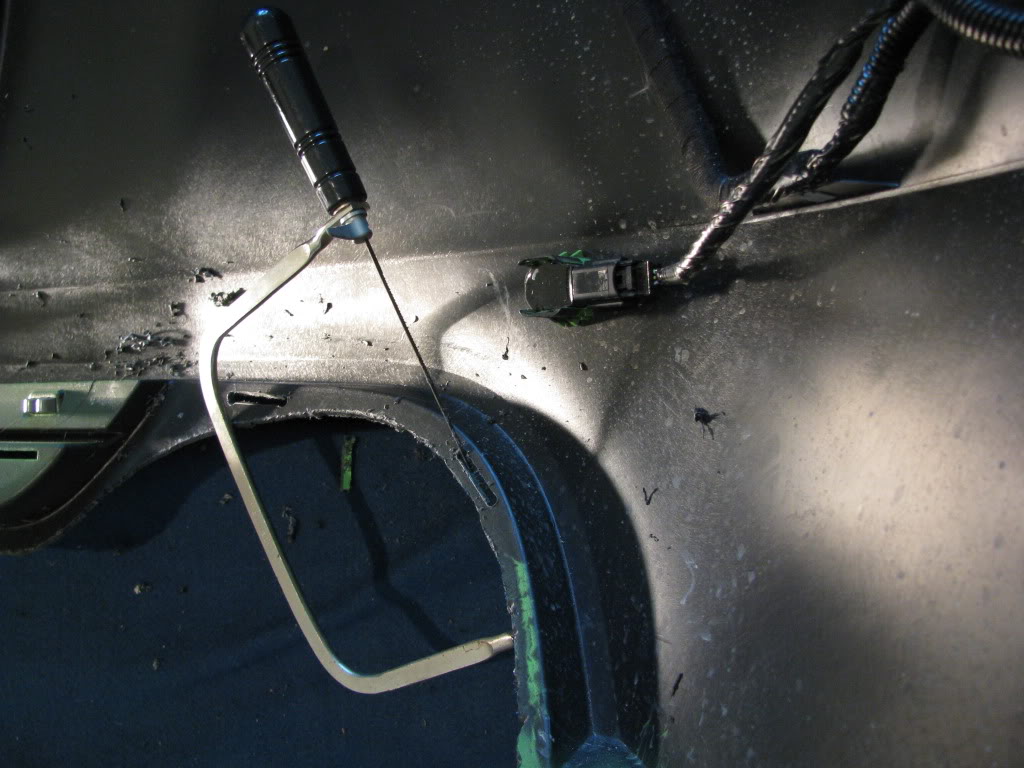
First drill where slots need to be cut - two slots at each exhaust outlet
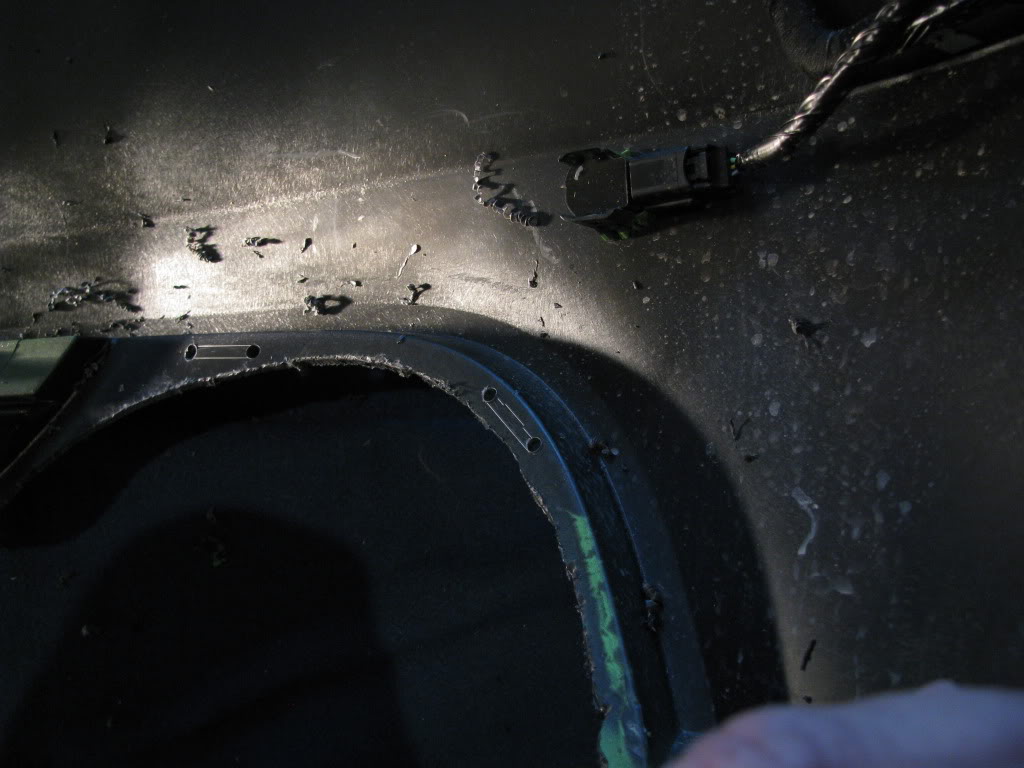
Cut remainder of slot with coping saw
Trimming/Cutting all done

Diffuser installed on bumper cover
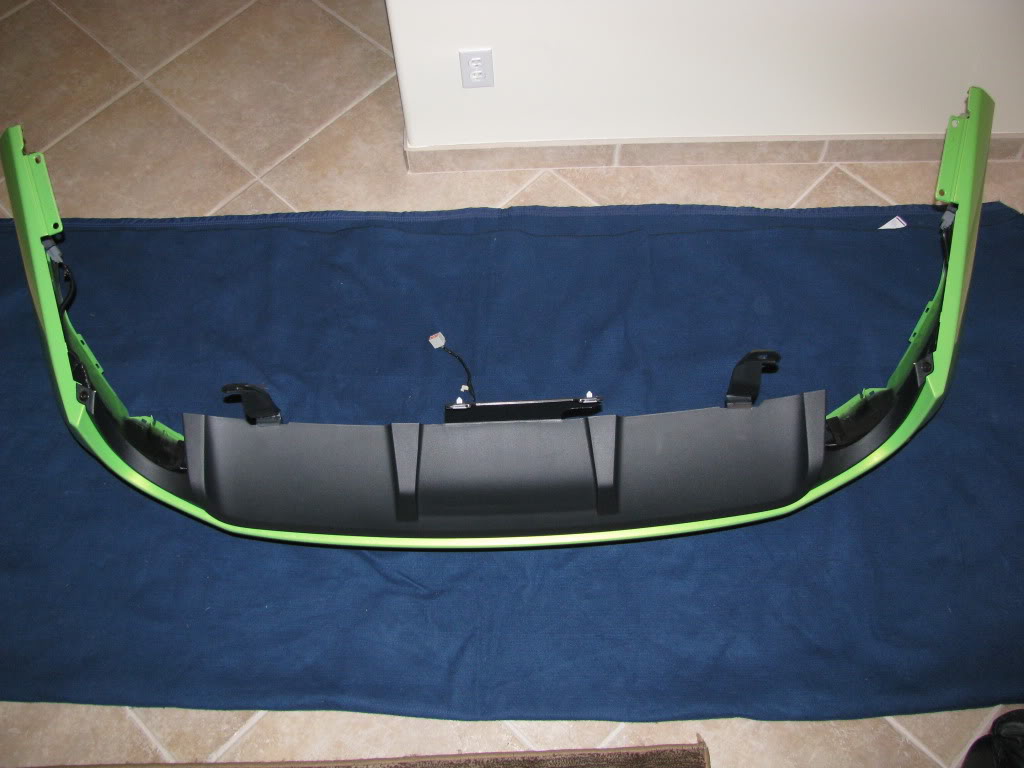
All tabs snapped into place, plus 6 white clips pressed into place

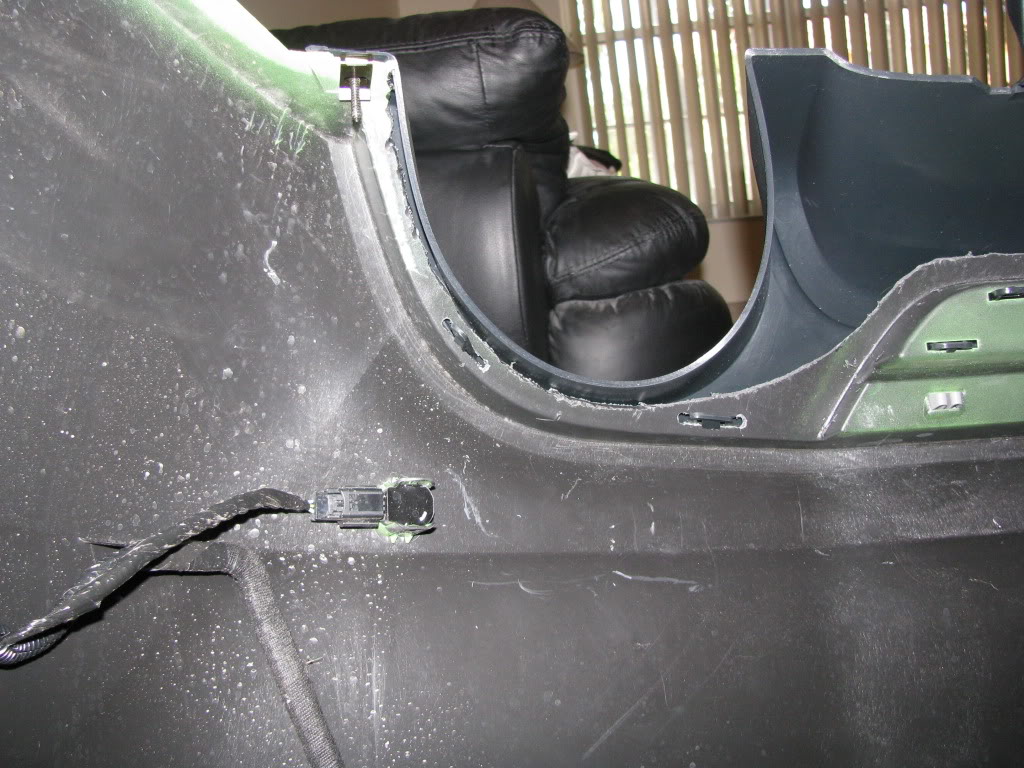
One exhaust outlet showing where two tabs snap into freshly cut slots
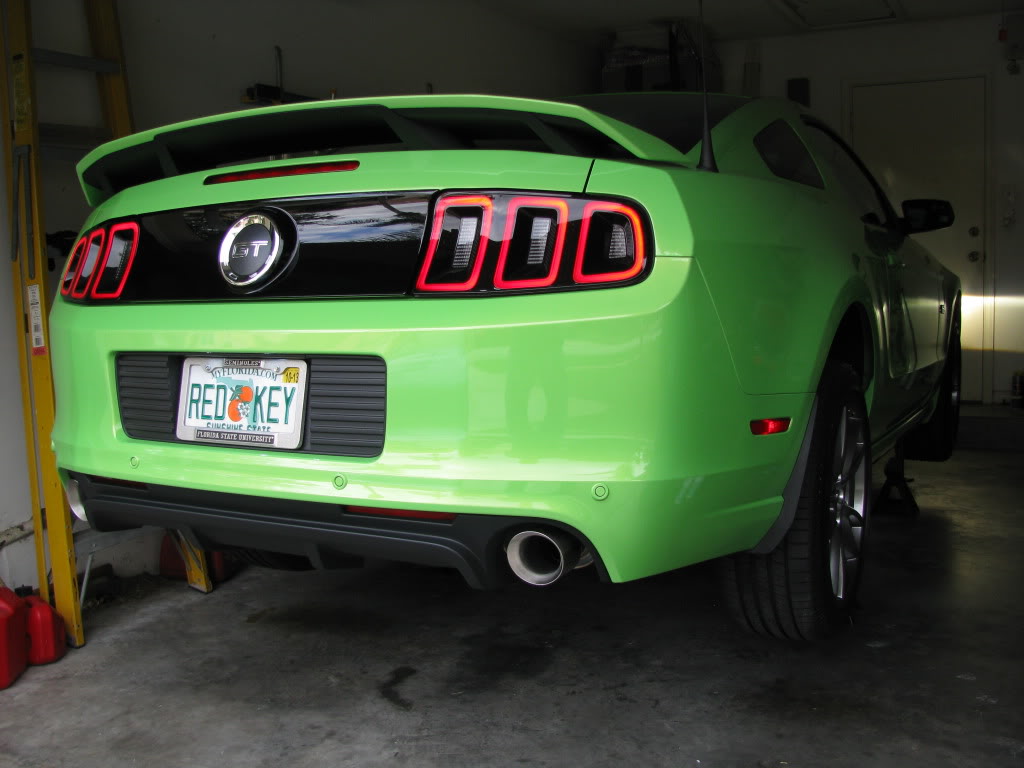
Completed look
Original h-pipe
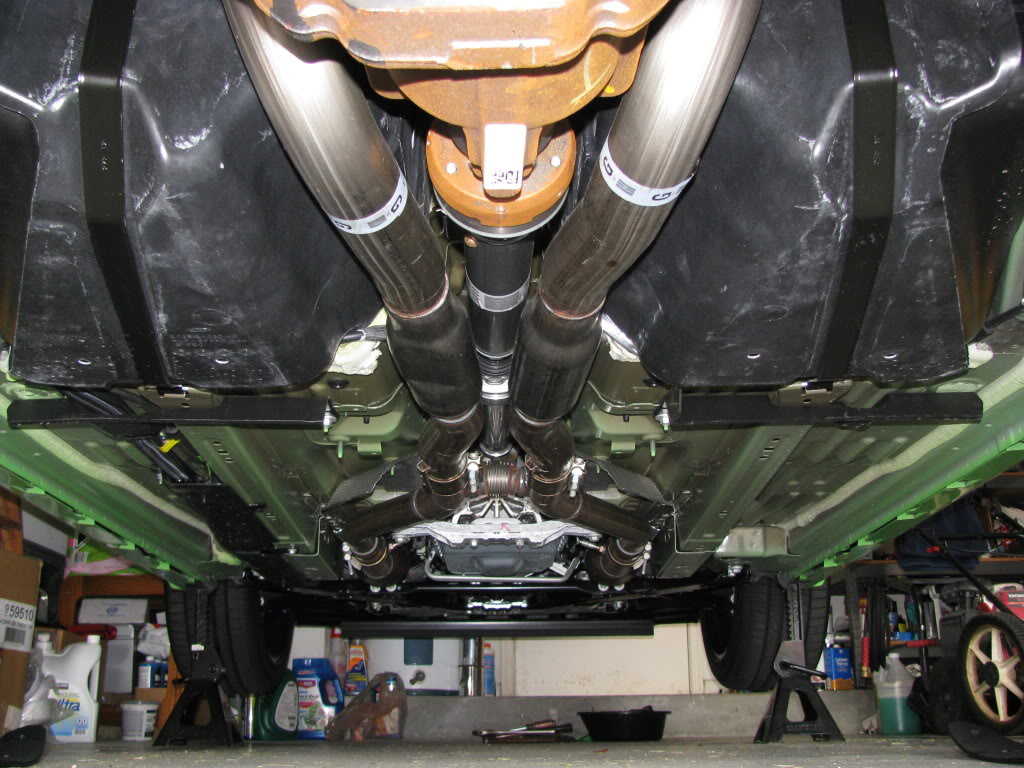
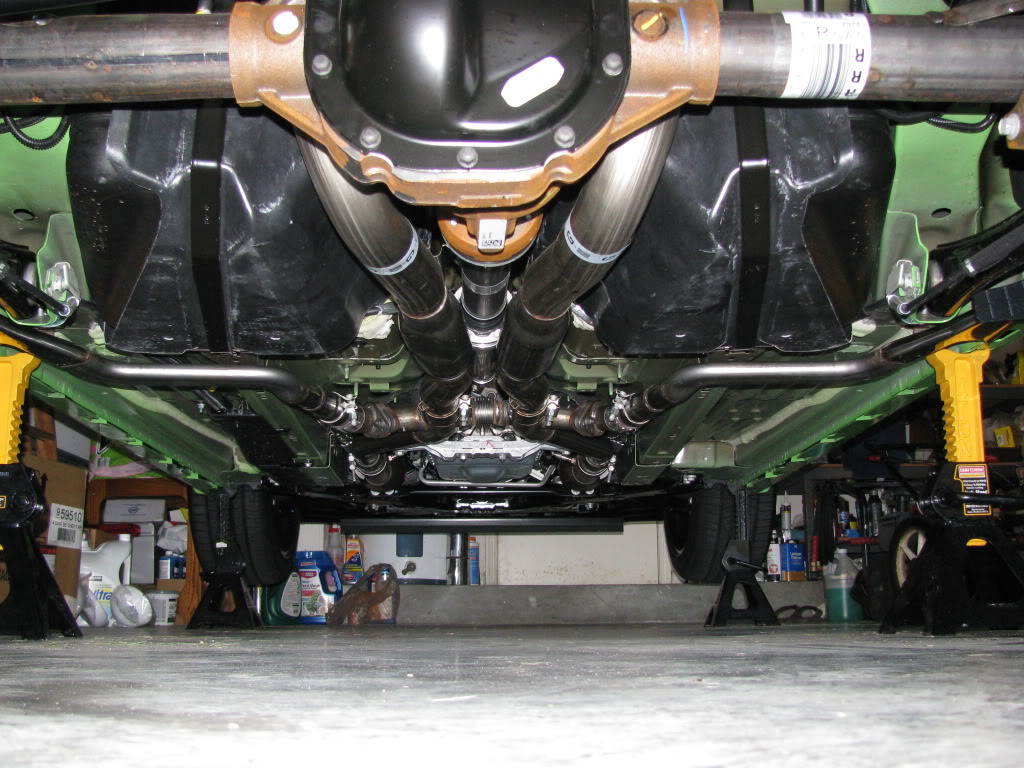
New Boss h-pipe with side pipes (restrictor plates removed)
Before rear view
Rear wheels, tail lights and rear bumper cover removed
Trimming off portion of bumper cover. There are lines inside the cover showing where to cut :thumbsup:
First drill where slots need to be cut - two slots at each exhaust outlet
Cut remainder of slot with coping saw
Trimming/Cutting all done
Diffuser installed on bumper cover
All tabs snapped into place, plus 6 white clips pressed into place
One exhaust outlet showing where two tabs snap into freshly cut slots
Completed look
Original h-pipe
New Boss h-pipe with side pipes (restrictor plates removed)

V6 Member
Joined: August 9, 2012
Posts: 52
Likes: 0
What was the part number for the rear diffuser? I've seen two different numbers DR3Z-17F828-AA and DR3Z-17F828-BA. The second one is listed on ford accessories and says no drlling/cutting required. My only guess is the first one is the replacement part for the Boss/Cali Special while the second one is a retrofit kit. Can anyone confirm that?
Thread Starter
Team Mustang Source
Joined: January 15, 2005
Posts: 1,424
Likes: 0
From: So. FL
What was the part number for the rear diffuser? I've seen two different numbers DR3Z-17F828-AA and DR3Z-17F828-BA. The second one is listed on ford accessories and says no drlling/cutting required. My only guess is the first one is the replacement part for the Boss/Cali Special while the second one is a retrofit kit. Can anyone confirm that?
Last edited by SoFlaBoss; Nov 18, 2012 at 07:44 PM.
Thread Starter
Team Mustang Source
Joined: January 15, 2005
Posts: 1,424
Likes: 0
From: So. FL
Bullitt Member
Joined: April 2, 2012
Posts: 286
Likes: 0
From: Texas
Yea it took me longer than I thought...but it doesn't help that I have mickey mouse tools...lol. Its definitely not something I would want to do on a regular basis. Thanks for the price info!!

Banned
Joined: July 4, 2012
Posts: 2,982
Likes: 0
From: Washington, DC
Looks awesome. Kinda now wish I hadn't been so impatient when I got mine and installed it. basically i cut off the tabs around the tips and got a little creative. at some point I'll probably try to get another boss diffuser and do it the right way.
Thread Starter
Team Mustang Source
Joined: January 15, 2005
Posts: 1,424
Likes: 0
From: So. FL
Thanks!
I'm sure no one has noticed your missing or broken tabs, lol. But it would bother me too! Thanks!
I'm sure no one has noticed your missing or broken tabs, lol. But it would bother me too! Thanks!
Bullitt Member
Joined: September 8, 2012
Posts: 233
Likes: 0
From: Toronto
Boss great job on the install and pics. I will be installing the same diffuser as well as soon as my car arrives. Didn't expect so much cutting was required. Is the bumper cover marked inside where to remove material?
Thread Starter
Team Mustang Source
Joined: January 15, 2005
Posts: 1,424
Likes: 0
From: So. FL
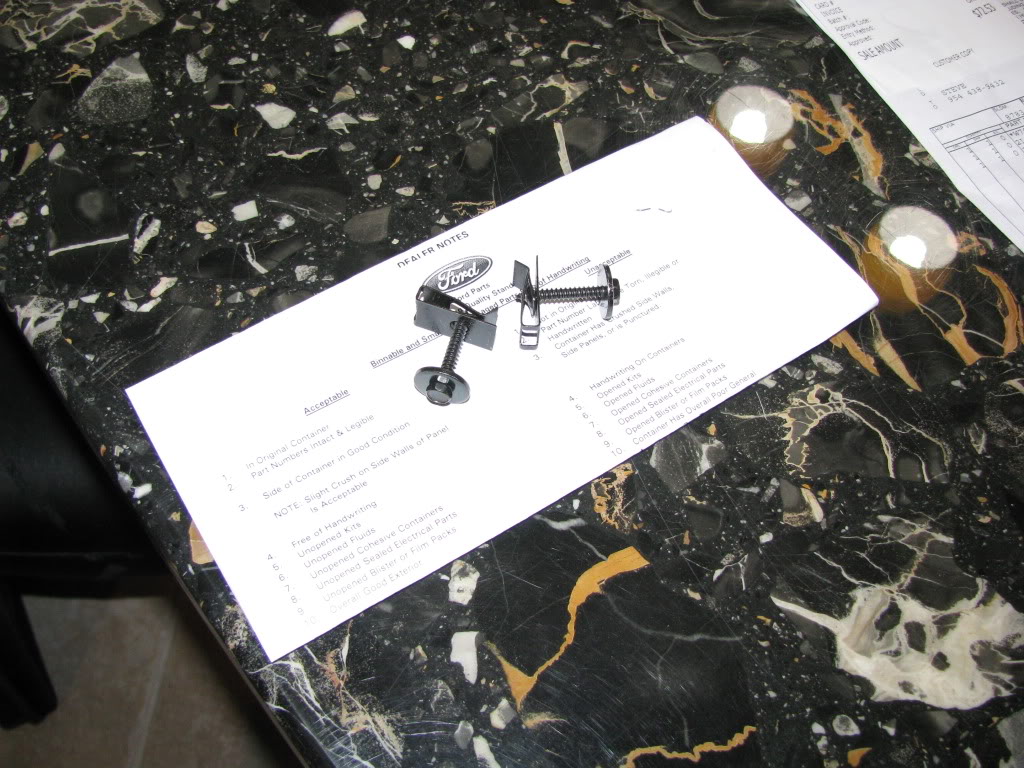
Also, below are photos of the only extra hardware you should need for the install.
A speed nut and screw like pictured for each exhaust outlet. I could never locate the part numbers for these. However, my local Ford Parts Dept. had these on hand that worked perfect.
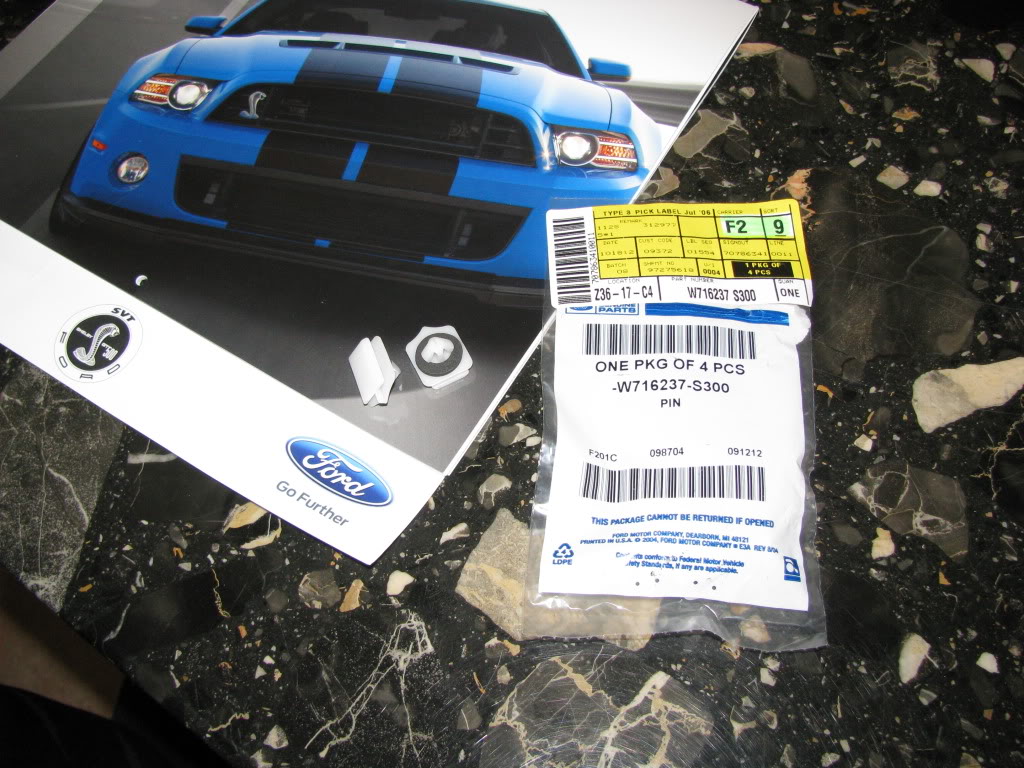
Six of these small white clips for securing the tabs across the center area that aren't self-securing.
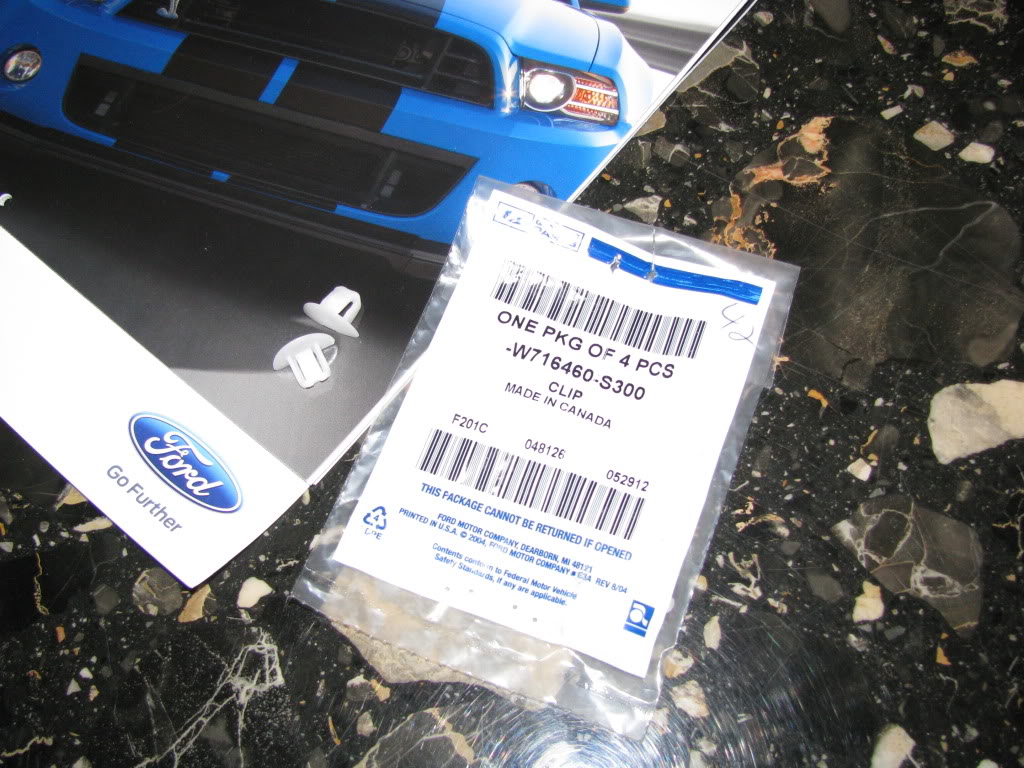
Two of these clips for the bottom center support, as you can't remove the original ones without destroying them.
Last edited by SoFlaBoss; Nov 19, 2012 at 08:40 PM.
Bullitt Member
Joined: September 8, 2012
Posts: 233
Likes: 0
From: Toronto
Originally Posted by SoFlaBoss
Yes, it's clearly marked where to cut on the inside of the cover. Thanks!
Also, below are photos of the only extra hardware you should need for the install.
A speed nut and screw like pictured for each exhaust outlet. I could never locate the part numbers for these. However, my local Ford Parts Dept. had these on hand that worked perfect.
Six of these small white clips for securing the tabs across the center area that aren't self-securing.
Two of these clips for the bottom center support, as you can't remove the original ones without destroying them.
I'll be sure to tell my wife that doing all the cutting and bringing the bumper cover into the family room
is just part of doing things properly.
I haven't told her yet about having to cut anything on my new $40 k car.
Lol