
Clear Corner Lights Install

Thread Starter
Shelby GT500 Member
Joined: November 22, 2006
Posts: 2,932
Likes: 0
From: Planet Earth
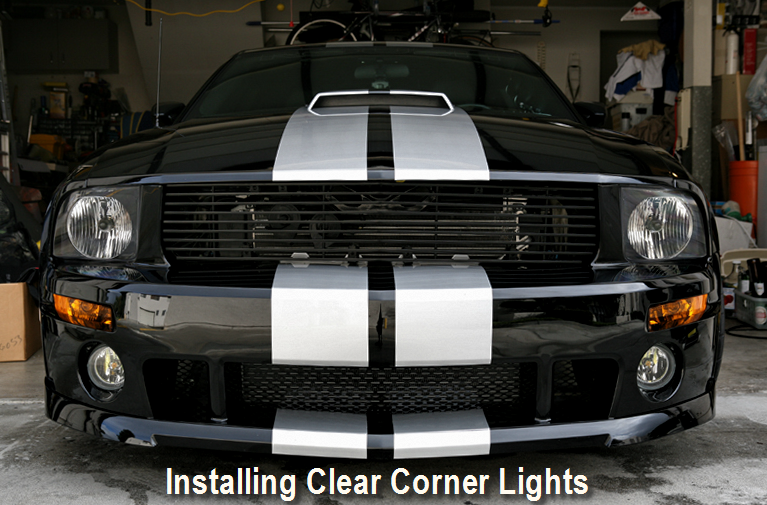
Clear Corner Lights Install
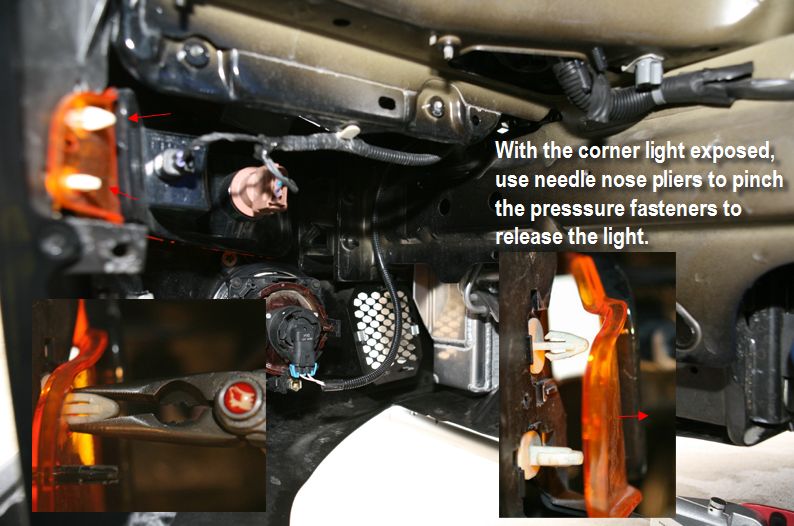
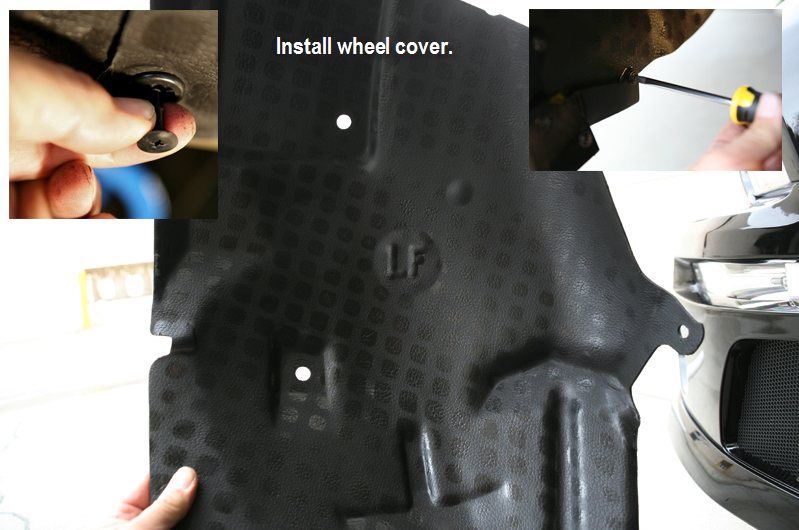
Here's a step by step to install your corner lights install. I have a ROUSH front end so there maybe a few variations. The left side took me about 30 mins because I was taking pictures. The right side done in 12 minutes. So easy a cave man can do it! 
Jed


Jed
Last edited by JedCranium; Dec 26, 2008 at 02:28 PM.
Cobra Member
Joined: August 5, 2008
Posts: 1,369
Likes: 0
From: Arvada, CO
Already have the supplies, gotta finish the audio and interior first, then it's this.
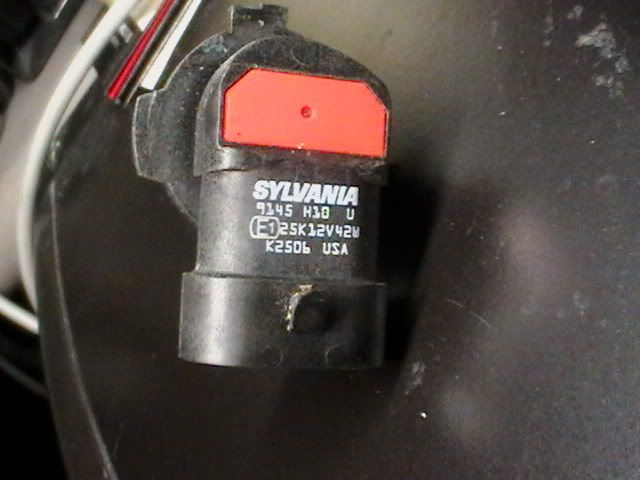
Anyway could you tell me what the bulb type in the Roush fog light is? Searched all over looking for it, but it's not even in the Roush install manual; plan on doing the Saleen Heritage grill in a while and putting those in, but want to do HID if it's possible.
Thanks.
Last edited by CO_VaporGT_09; Dec 26, 2008 at 12:54 PM.
Thread Starter
Shelby GT500 Member
Joined: November 22, 2006
Posts: 2,932
Likes: 0
From: Planet Earth
You rock, man. Great pictures and write up.
Already have the supplies, gotta finish the audio and interior first, then it's this.
Anyway you could tell me what the bulb type in the Roush fog light is? Searched all over looking for it, but it's not even in the Roush install manual; plan on doing the Saleen Heritage grill in a while and putting those in, but want to do HID if it's possible.
Thanks.
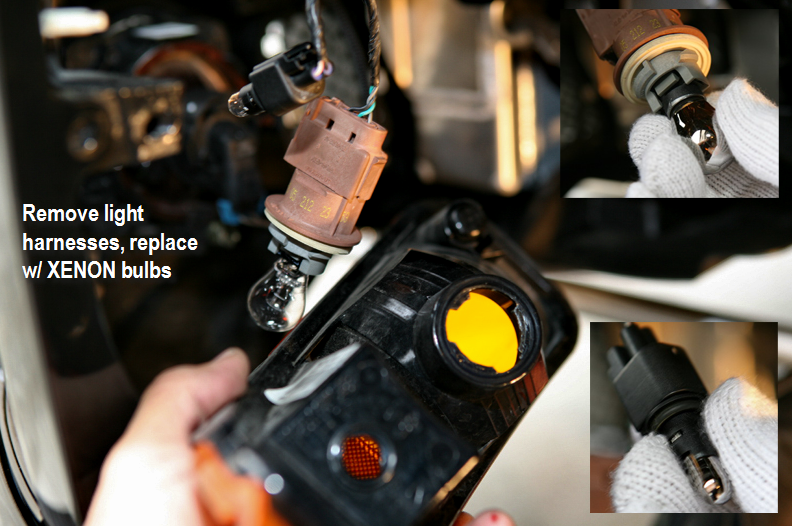
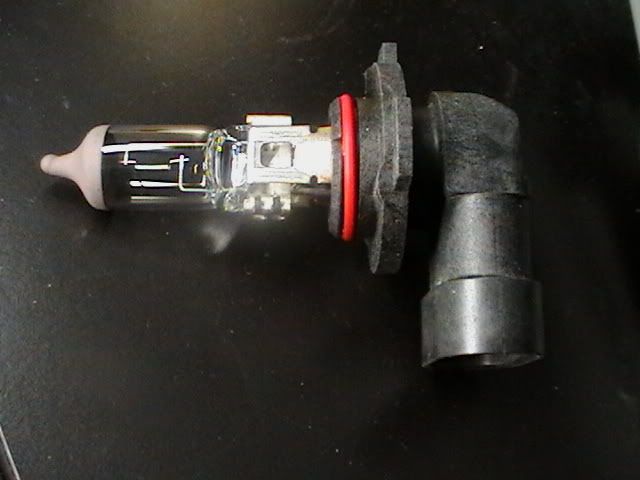
Sylvania
9145
H10
I actually replaced mine with lights with a yellow tint.
Jed
Last edited by JedCranium; Dec 26, 2008 at 11:52 AM.
Cobra Member
Joined: August 5, 2008
Posts: 1,369
Likes: 0
From: Arvada, CO
Thanks!

Great write-up Jed! 
I'll add this to the Hotlinks thread later.

I'll add this to the Hotlinks thread later.
Team Mustang Source
Joined: January 5, 2005
Posts: 13,223
Likes: 14
Here's a step by step to install your corner lights install. I have a ROUSH front end so there maybe a few variations. The left side took me about 30 mins because I was taking pictures. The right side done in 12 minutes. So easy a cave man can do it!
http://www.youtube.com/watch?v=YD36ZhpHPpE
http://www.youtube.com/watch?v=YD36ZhpHPpE
Thread Starter
Shelby GT500 Member
Joined: November 22, 2006
Posts: 2,932
Likes: 0
From: Planet Earth
Thanks!
Coolness I'm in the TB HOW-TO hall of fame!
I wonder if the captain owns a ROUSH?
Jed
Coolness I'm in the TB HOW-TO hall of fame!
Here's a step by step to install your corner lights install. I have a ROUSH front end so there maybe a few variations. The left side took me about 30 mins because I was taking pictures. The right side done in 12 minutes. So easy a cave man can do it!
http://www.youtube.com/watch?v=YD36ZhpHPpE
http://www.youtube.com/watch?v=YD36ZhpHPpE
Jed
GT Member
Joined: February 12, 2008
Posts: 163
Likes: 1
From: Coatesville, PA
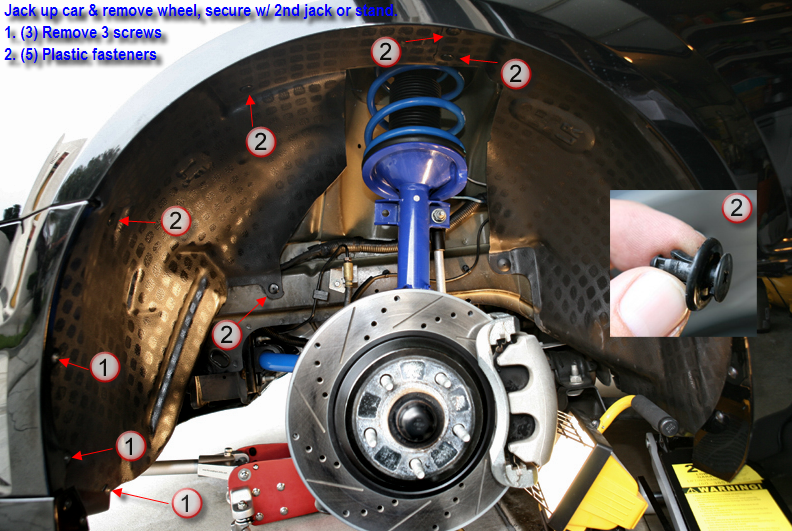
nice write-up. Thats exactly how I did mine. I know guys say you can do this install with the wheels on, but unless you are extremely flexible the wheels off method is much, much easier.
Thread Starter
Shelby GT500 Member
Joined: November 22, 2006
Posts: 2,932
Likes: 0
From: Planet Earth
Jed
Last edited by JedCranium; Dec 26, 2008 at 02:41 PM.

Cobra Member
Joined: August 5, 2008
Posts: 1,369
Likes: 0
From: Arvada, CO
Just put in my right side lens -- had to remove the wheel and inner well liners to snake some power cable to the battery for my audio install, so thought I'd get it done now.
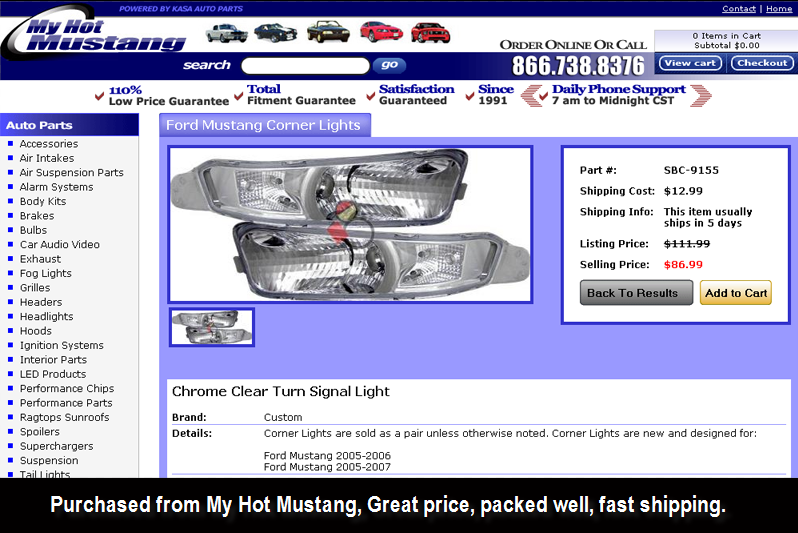
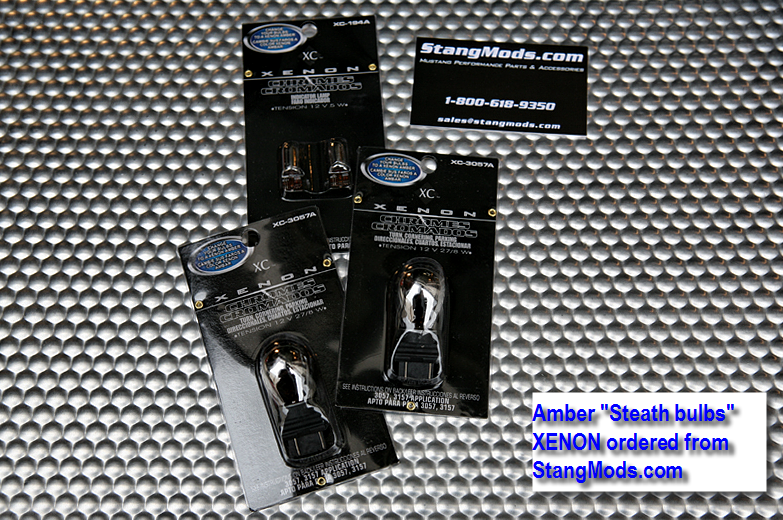
Bought my bulbs through StangMods like Jed, but got the lens much cheaper than any of the traditional online stores, off Ebay, $35 w/ free shipping from seller zizalighting, have both clear and smoked:
http://cgi.ebay.com/ebaymotors/ws/eB...2BSI%26otn%3D4


Some others have stated the various other replacement lenses fit a bit loose. The ones I got are actually a tighter fit than the OEM. Fit perfect and look great.


Haven't powered them up yet (battery still disconnected for the audio install) but should work the same way as they're the same StangMods bulbs (which are also available on Ebay for less, by the way, but I did StangMods cause of their lifetime warranty).
So feel free to get the cheaper Ebay lenses, all together about $70 for the full lighting upgrade!
Bought my bulbs through StangMods like Jed, but got the lens much cheaper than any of the traditional online stores, off Ebay, $35 w/ free shipping from seller zizalighting, have both clear and smoked:
http://cgi.ebay.com/ebaymotors/ws/eB...2BSI%26otn%3D4
Some others have stated the various other replacement lenses fit a bit loose. The ones I got are actually a tighter fit than the OEM. Fit perfect and look great.
Haven't powered them up yet (battery still disconnected for the audio install) but should work the same way as they're the same StangMods bulbs (which are also available on Ebay for less, by the way, but I did StangMods cause of their lifetime warranty).
So feel free to get the cheaper Ebay lenses, all together about $70 for the full lighting upgrade!
Last edited by CO_VaporGT_09; Dec 28, 2008 at 07:03 PM.
Cobra Member
Joined: August 5, 2008
Posts: 1,369
Likes: 0
From: Arvada, CO
V6 Member
Joined: August 27, 2007
Posts: 83
Likes: 0
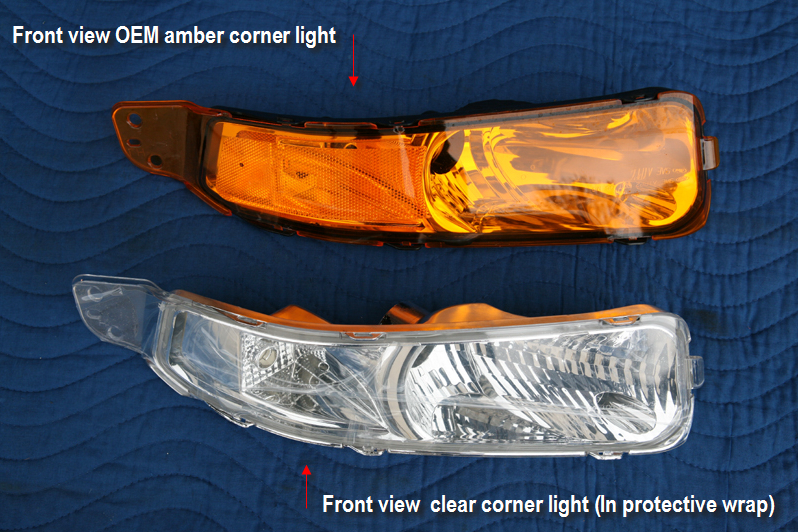
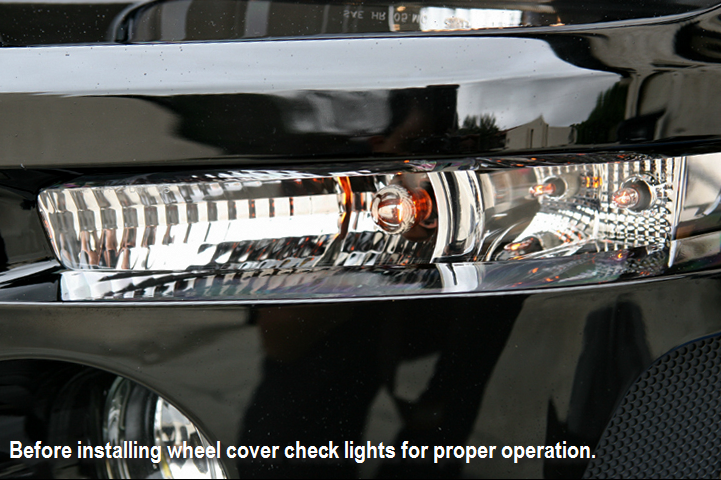
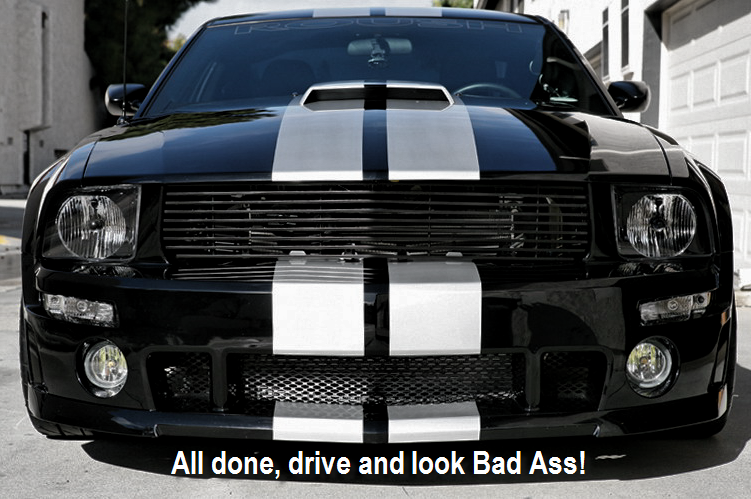
This was one of the first mods I did. I think it makes a tremendous improvement in the looks not having those yellow things. It looks consistent with the headlights.  Although most people don't notice as they are so used to the yellow ones.
Although most people don't notice as they are so used to the yellow ones.