DIY: 2010-2014 Ford Mustang GT Brembo Brake Job
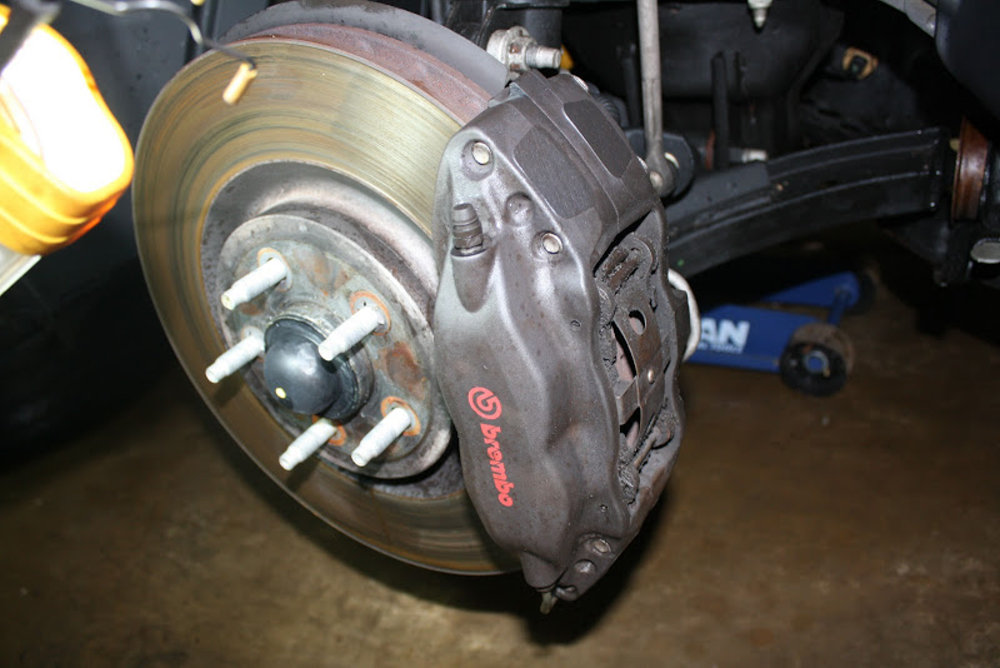
Even with little mechanical knowledge, doing a brake job on your Mustang GT is a surprisingly simple way to save some money.
In the grand scheme of things, the Ford Mustang GT is not an inexpensive vehicle. While the price might sit towards the bottom of the spectrum for V8-powered muscle cars, a modern Mustang with Brembo brakes is generally far more expensive than your average commuter car and along the same lines, the original pony car also costs a bit more to maintain. Fortunately, even models equipped with the Brembo braking package have a design that is remarkably easy to work on, so with the help of this great DIY thread, you can fix your own brakes at home with simple tools and no previous mechanical experience.
The Introduction
This Brembo brake job DIY was originally posted in the 2010-2014 Mustangs section by forum member m4a1mustang, and he begins with a simple explanation of the project, including how this information applies to other models from the same years.
This is a DIY for changing the rotors and pads on a Brembo-optioned GT. This should also apply to the GT500s and Boss, and the rear brakes will be the same on the base GTs and V6s.
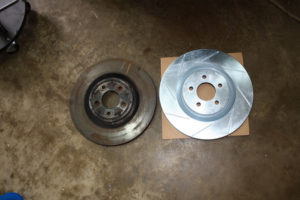
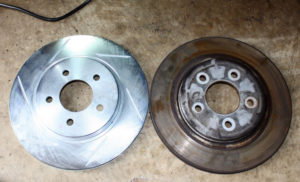
I installed Stillen Slotted rotors and Hawk HPS pads on my car. For a detailed review on this combo, check out my review here:
https://themustangsource.com/f800/br…review-501150/On with the installation:
To make your life a little easier, here are the tools you’ll need to handle the brakes:13mm socket
15mm socket
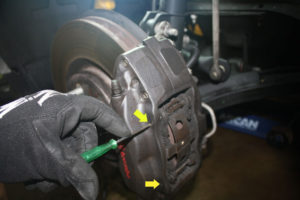
Some sort of punch (to push out the retaining pins on the front calipers… a small screw driver will work)
Rubber mallet
Needle nose pliers
Metal coat hanger or a very short bungee cord
Anti-seize (optional, but recommended)
Brake-quiet (optional, but recommended)
Rear Brakes
The OP starts by replacing the components of the rear braking system of his Ford Mustang GT, stating that they are the harder units to service and he is correct. This project really isn’t very hard at all, but the rears are slightly more difficult than the front.
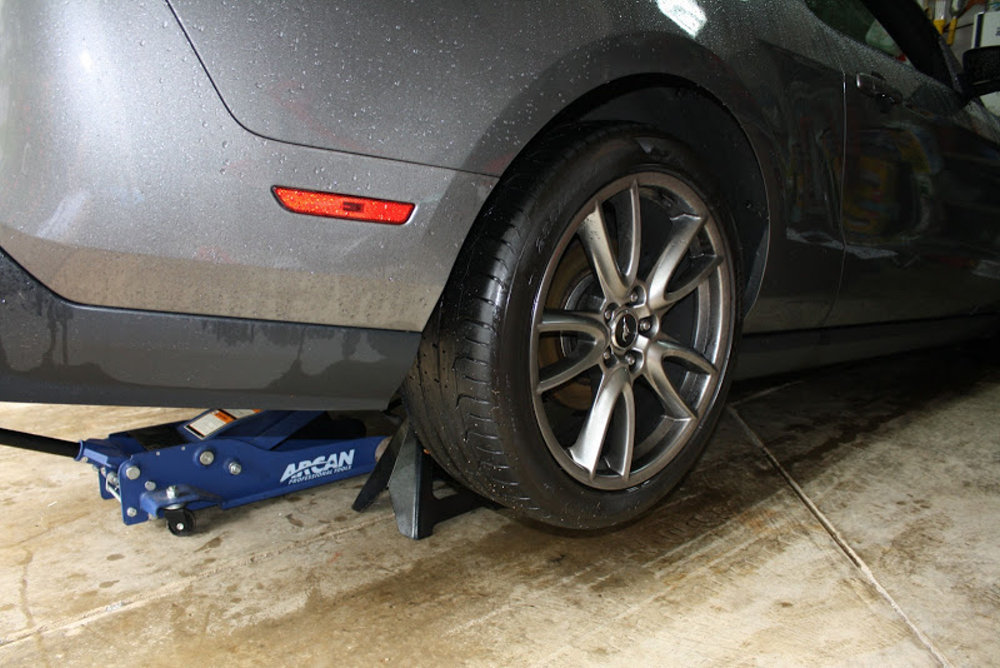
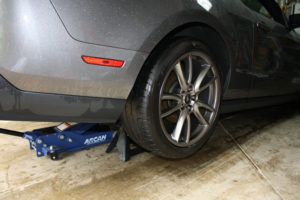
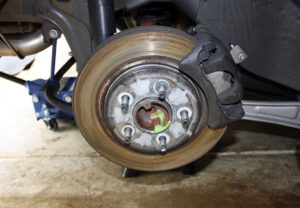
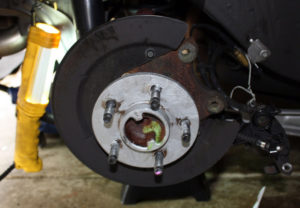
The thread walks us through the process, starting by jacking the car up and removing the wheels before tearing into the brakes themselves. The OP shows how to remove the calipers, the pads and the rotors, while also showing how to safely hang the calipers when working on the rest of the system.
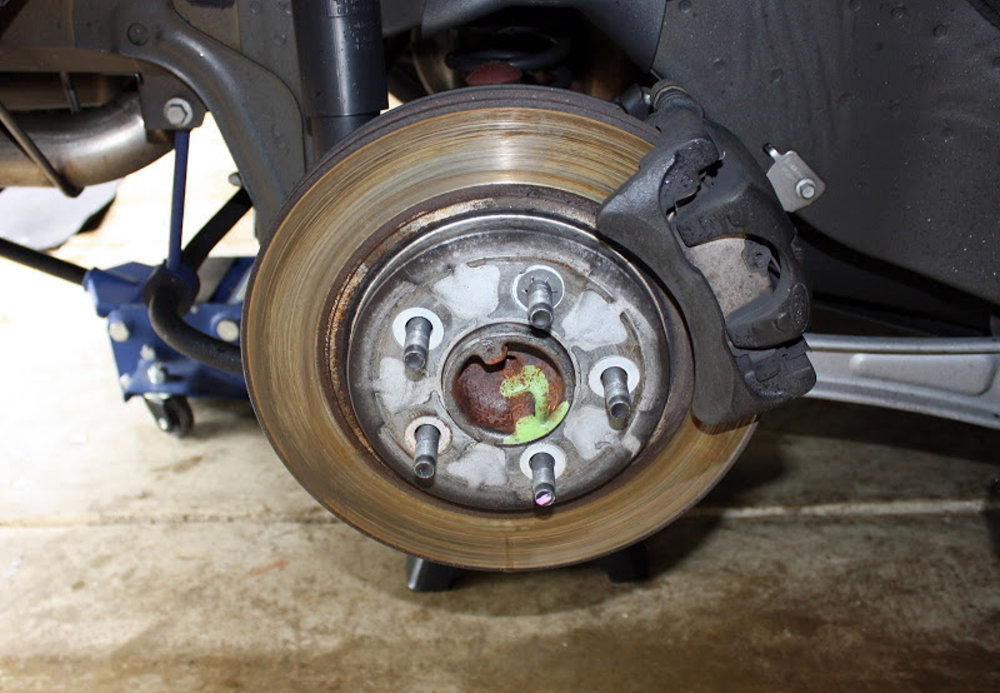
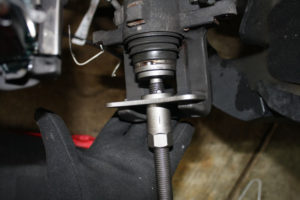
Once the new rotors go on and it is time to add the new pads and re-install the calipers, this is the tricky part of the modern Mustang brake job. The rear calipers have a screw-in style piston that requires a special tool. That tool can be rented at any parts store and the OP explains how to use it from beginning to end.
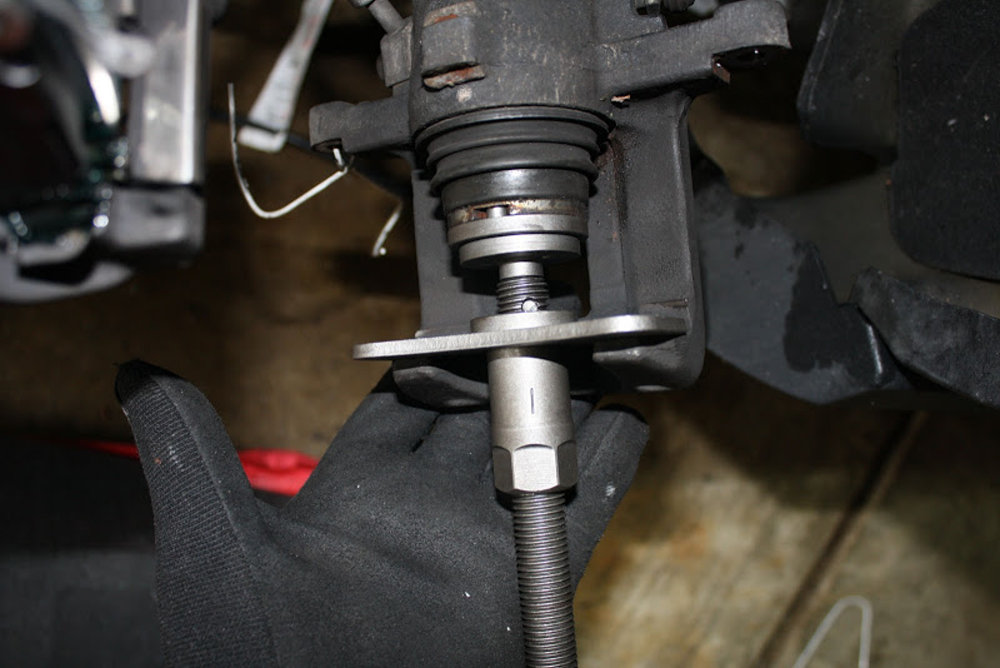
After the piston is screwed back into the caliper, you install the pads, bolt the caliper to the bridge and put the wheels back on. It is really that easy, provided that we have skimmed over a few steps. Fortunately, the OP doesn’t skim over anything in his project thread.
Front Brakes
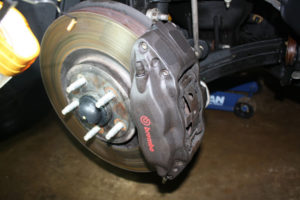
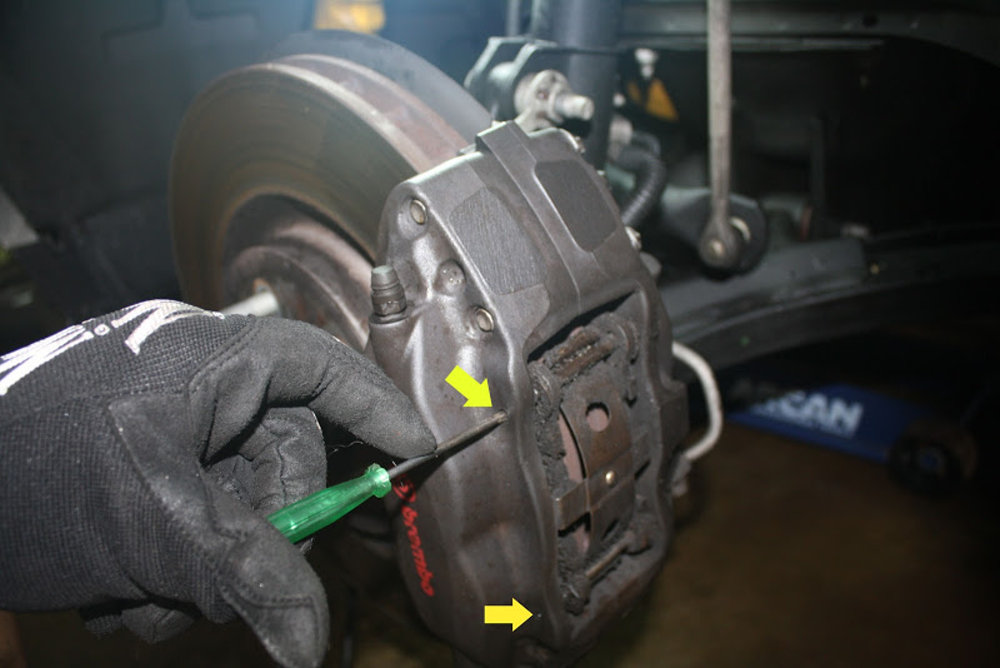
Like the rears, the front brake job begins by safely getting your Ford Mustang in the air and removing the wheels. Unlike the rears, the Brembo front caliper comes off in one big piece, so you start by removing the pads, then the calipers and finally the rotors.
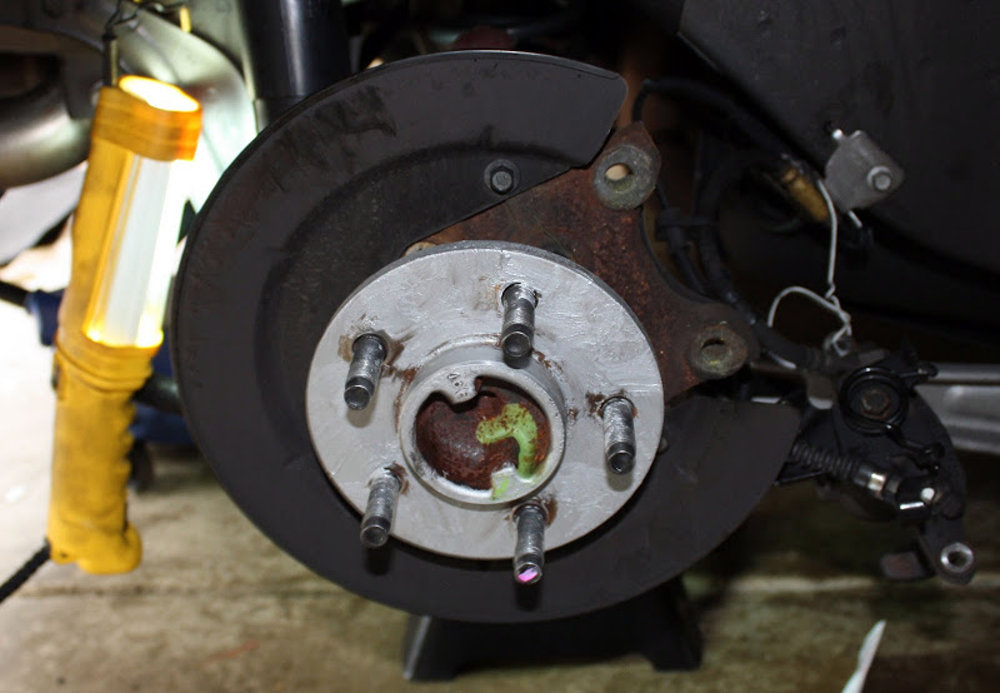
As for the pistons in the front calipers, they simply push back in, but you need to push them both in at the same time and the thread details how to do that by using the old pads. Once the pistons are pushed back in, you just slide on the new rotors, bolt up the calipers, drop in the pads and re-install the pins that hold the pads in place.
Finally, the OP explains how to break-in the new pads and that is just a matter of driving and braking in specific patterns – all of which is detailed in the DIY thread.

