When you click on links to various merchants on this site and make a purchase, this can result in this site earning a commission. Affiliate programs and affiliations include, but are not limited to, the eBay Partner Network.
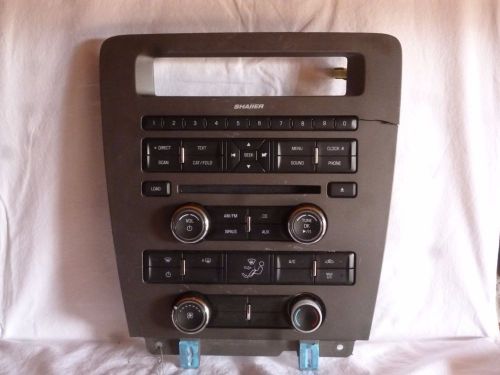
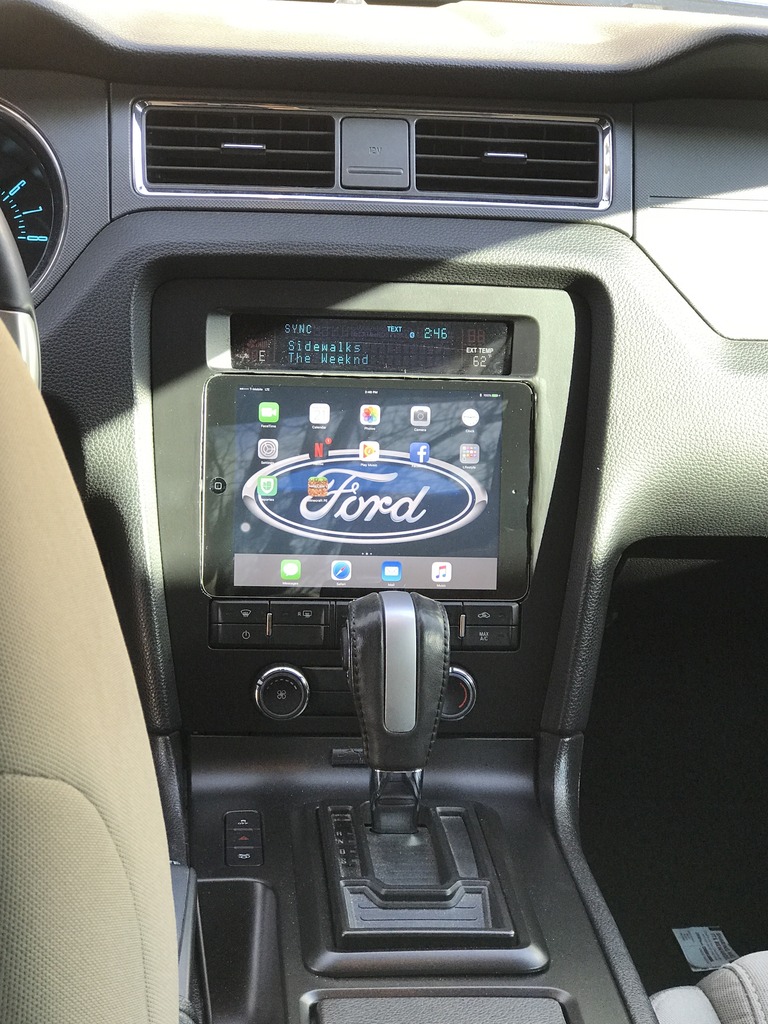
So when i first heard about the iPad mini mount that a couple of audio shops were making and now Americanmuscle.com, I got exited like everyone else, but when i saw the price of $350 i decided to just make my own.
Also, this will only work if you have Sync on your phone and steering wheels controls as you can skip and pit volume up from them.
I started to researched online and on youtube when i found the channel SoundmanCA. They're the ones that started the whole iPad in the dash thing so i changed my direction from just a mount so integrating the iPad into the Dash.
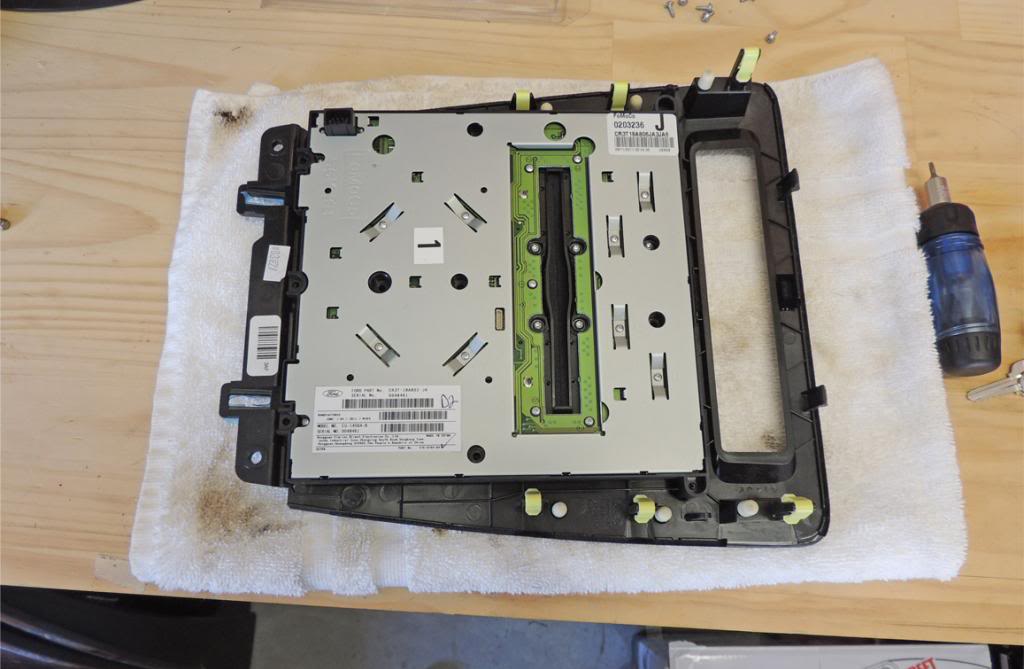
I started with buying an extra radio control unit for about $50. (part number is CR3T-18A802-JA)
If you dont have a dremel then you will need one as well
Then after that i bought some:
Super Glue with the Accelerator
3M 262 Lightweight Filler (incase you make the cut for the ipad too big so you can refill it )
Transtar 4603 Grey 2-in-1 Primer
and
2 cans of SEM Paint SEM152453 Satin Black Color Coat Aerosol
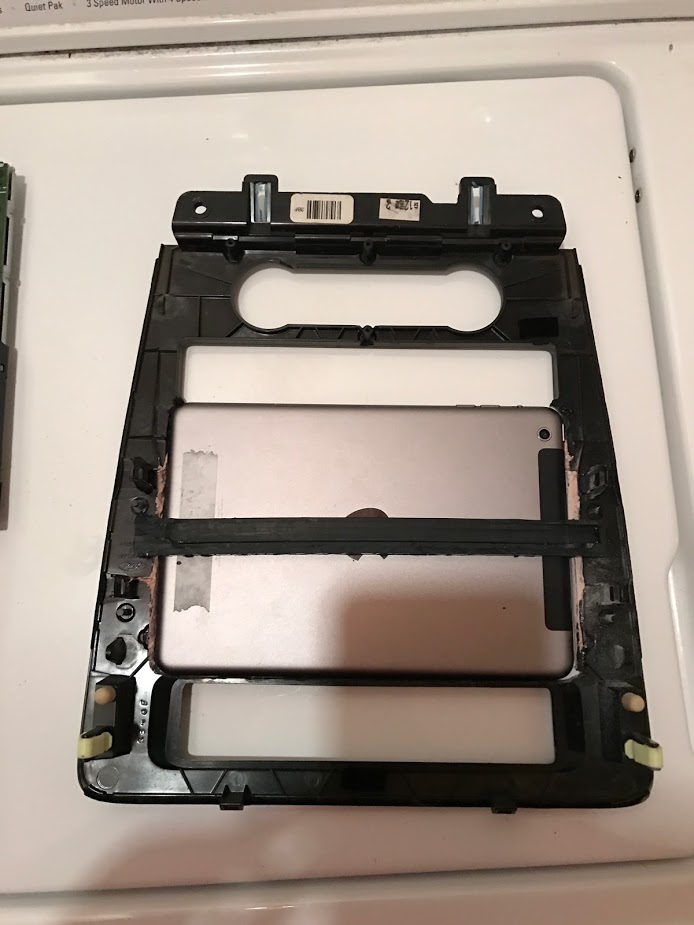
1) i started by removing the circuit board from the bezel. Its screwed on by a couple of Torx-10 screws and some small phillips screws.
You have to remove the metal backing first before you see the circuit board. Its held on by some small tabs around it.
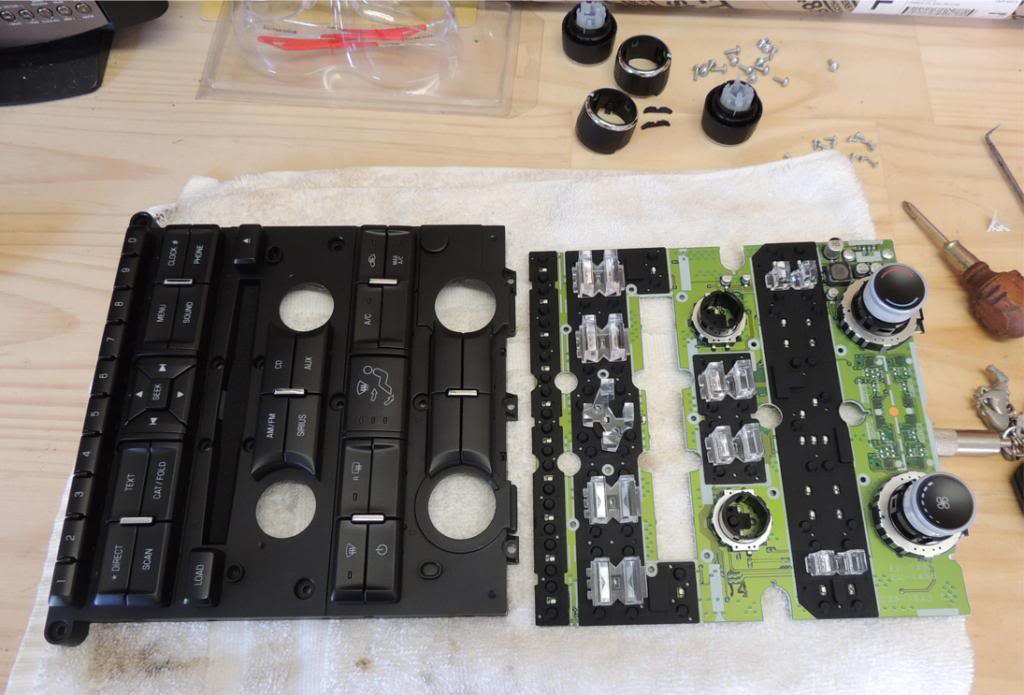
2) to remove the circuit board from the back of radio controls, you must remove the Volume, Tune, and A/C ***** by just pulling on them with a bit of force
3) you have to remove the small base where the Volume and Tune ***** used to be. On the back theres pieces where theyre are soldered on to the circuit board. I do recomend to melt the solder to remove them. I did not and removed them by force (trust me not a good idea as you will spend a good amount of time like that.)
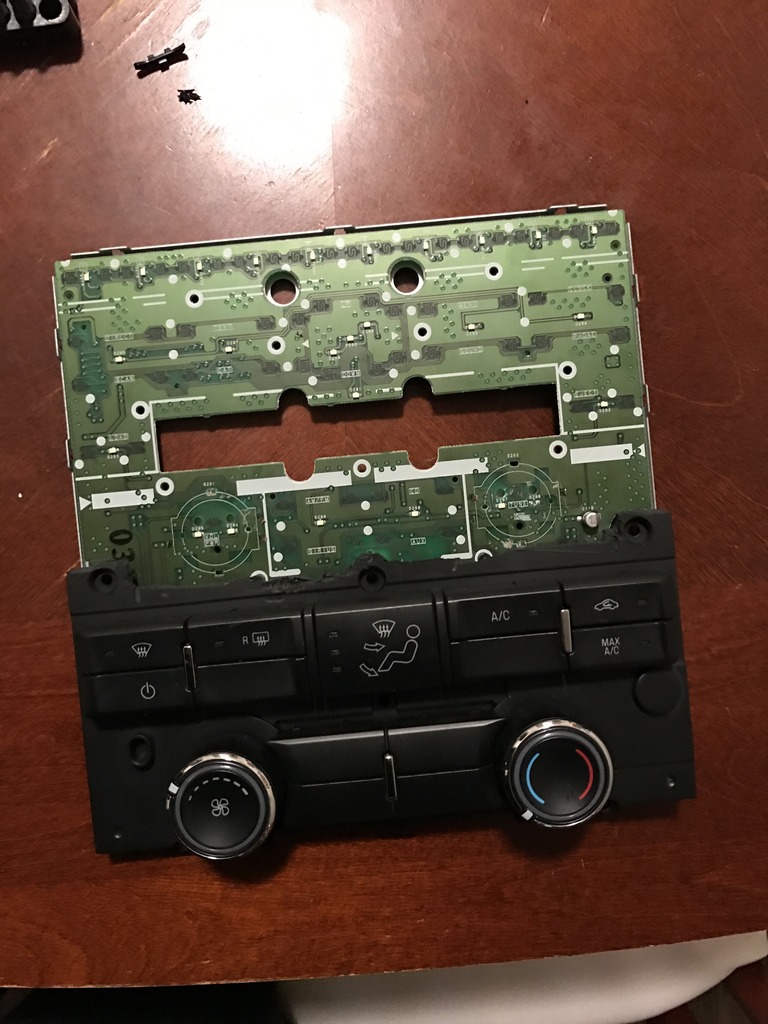
4) Next you cut the radio controls with leaving only the A/C controls in place
(The circuit board stays the same)
5) You will traced the iPad on the front of the bezel so you can see what to cut and how much.
(no idea why i didnt take a picture of when i cut the bezel lol)
6) In case you made the whole to big the ipad, this is where the body filler comes into play so you can refill it and sand it down so you can make it just the right size.
(you dont want the ipad to fit loose in the bezel. I made mine to be semi-permanent so the ipad doesn't come out easily. In order to remove it you have to take apart the whole dash.)
7) Next what i did was get a piece of hard abs plastic as a backing for the iPad so it doesn't fall back if you accidentally press to hard on the screen
(this is where the super glue comes into play so the backing doesn't come put, you glue it on there and the accelerator will dry it immediately
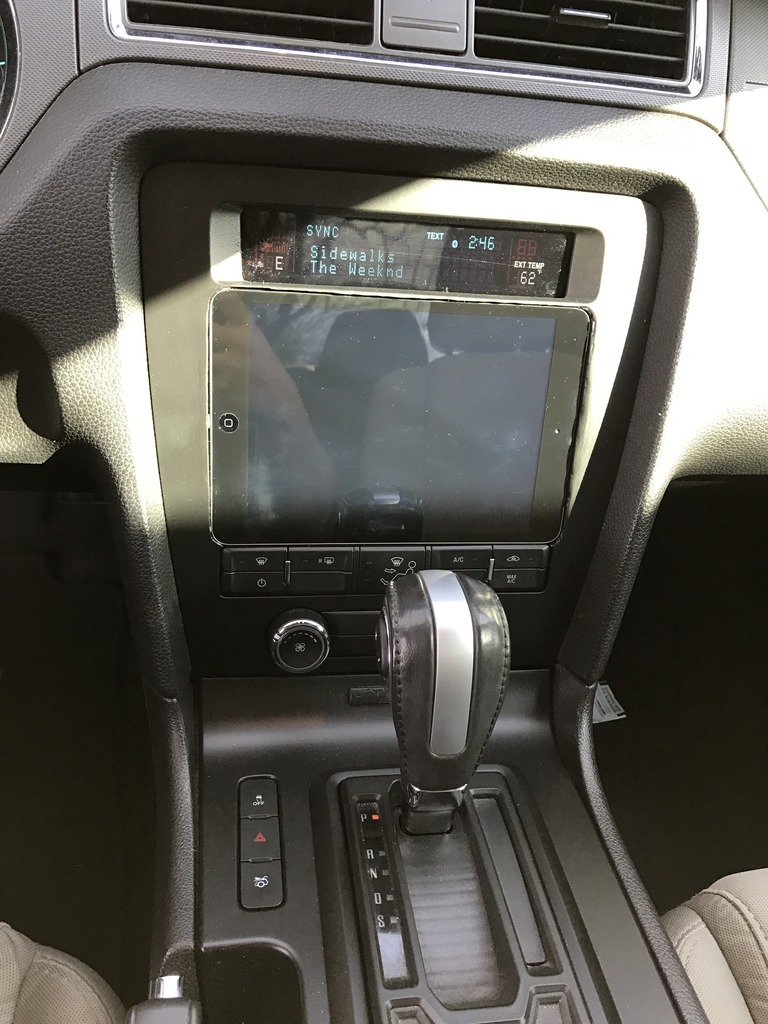
Once everything is done, all you have to do is just primer and paint.
Yes great macgyvering! Was curious if the OEM Nav Housing and controls would work? I know its a different system -wiring harness, radio etc.
I still think that you could possibly use the Nav Radio controls with the Non-nav radio.
Am I dreaming?
Yes great macgyvering! Was curious if the OEM Nav Housing and controls would work? I know its a different system -wiring harness, radio etc.
I still think that you could possibly use the Nav Radio controls with the Non-nav radio.
Am I dreaming?
I did thought about buying a nav-dash from ebay or cragislist but i really didn't want to mess with a different wire harness and extra buttons lol