Less Then $500 Brembo Brake Upgrade
 11/17/16, 02:55 PM
#1
Member
Thread Starter
Less Then $500 Brembo Brake Upgrade
Here is my less than $500 Brembo brake upgrade. I wanted to get the calipers from the dealership or a chain parts store but at the time no one could get a hold of them. It would have been nice to get them from the part store because they are only $90ish plus core and they are not powder coated hence the cheap price. I was planning on having them powder coated red anyways.
So I next started to look at the junkyard and see what I could find when I stumbled across a set of 2012 GT500 4-piston Brembo Calipers at the ridiculous low price of $250 for the set. I called the junkyard in NC to see what was up with them and found out that someone had been track-daying their 2012 GT500 with less the 2,500 mile on it and slammed it into the wall and it caught on fire. Pretty sure insurance doesn�t cover that. So I took the risk and bought them.
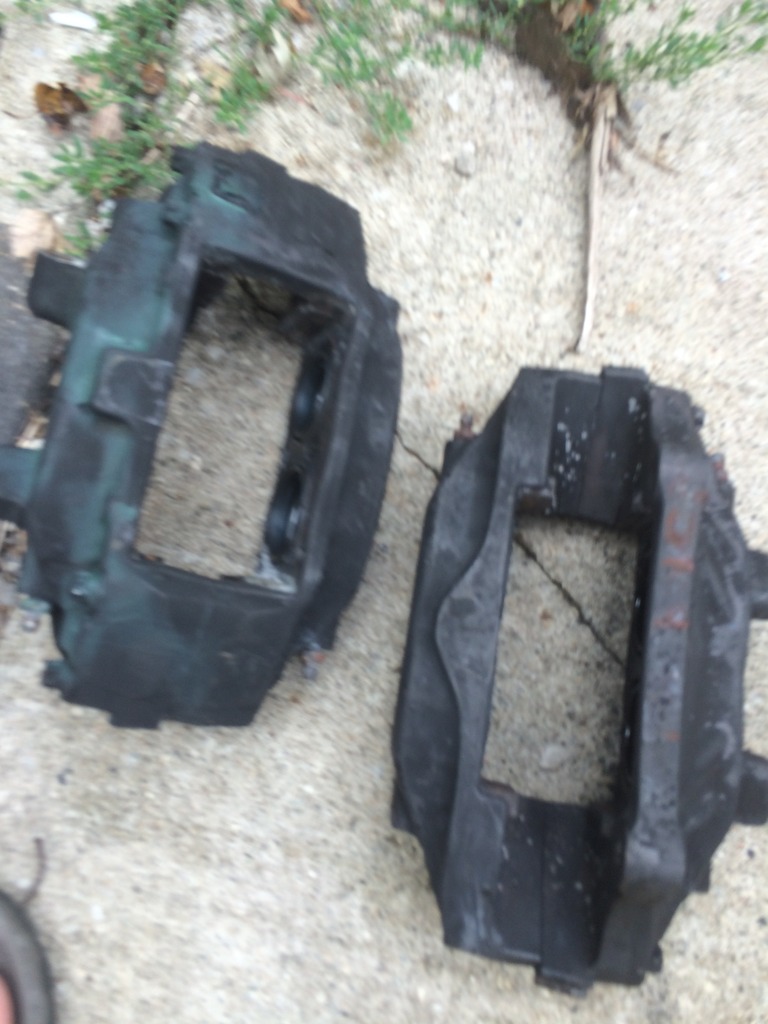
As you can see from the picture they were pretty rough shape, I had to completely dissemble them other them splitting them (I was told by a few mechanics to never take them totally apart). I went through a lot of brake cleaner and spent a lot of like on clean up to get them to the point I could rebuild them. The next step was to send them to a brake shop and have them checked to see if they were worth saving and they were. I then took them to a blaster and powder coater and have them done it that beautiful red that is a great contrast to my all black Mustang GT. I then had them professionally rebuild, I could have done it but when it comes to the safety of myself and other sometimes it�s better to let the pros do it. While this was all going on I ordered new pads and drilled and slotted rotors to finish the package out.
I�ve had them on for over a year now and I have to say they perform wonderfully. I�ve had no leaks or any problems at all.
Here is what I started with I had already taken out the pistons
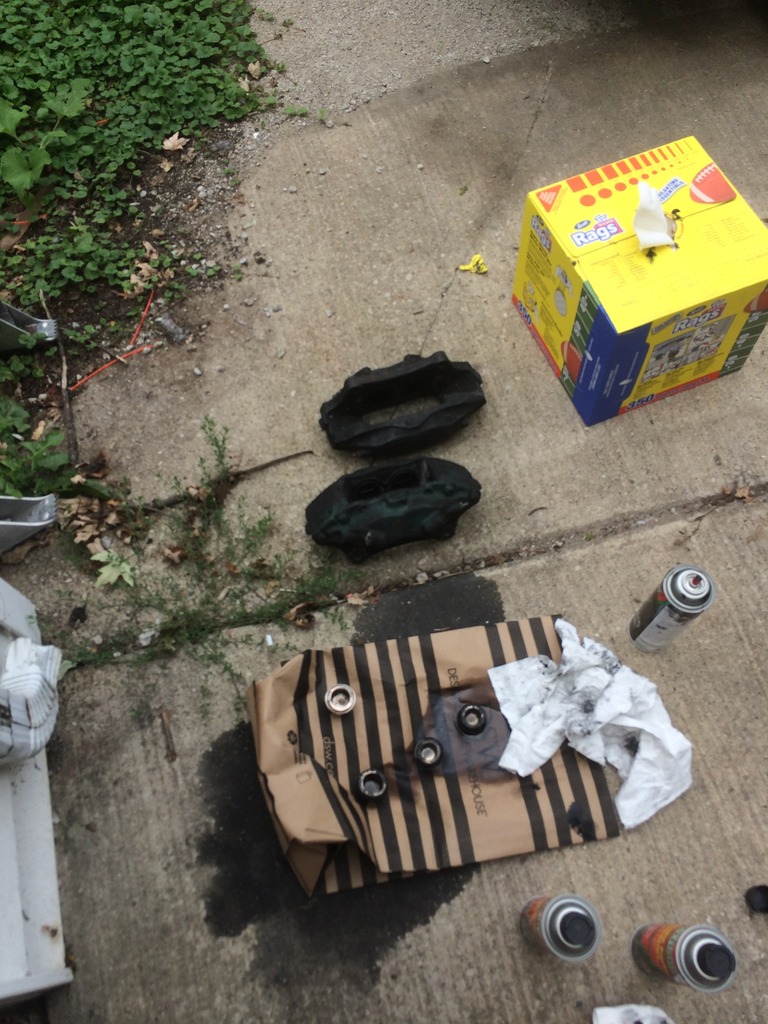
The pistons where covered in melted sticky rubber and took a lot of work to get clean.

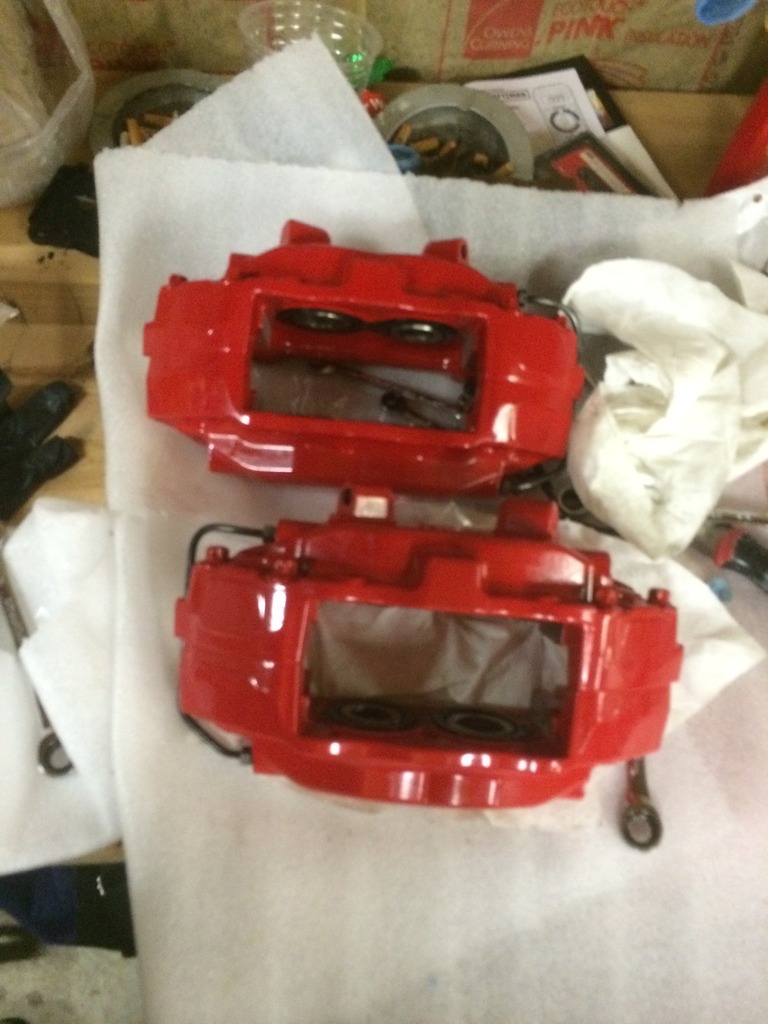
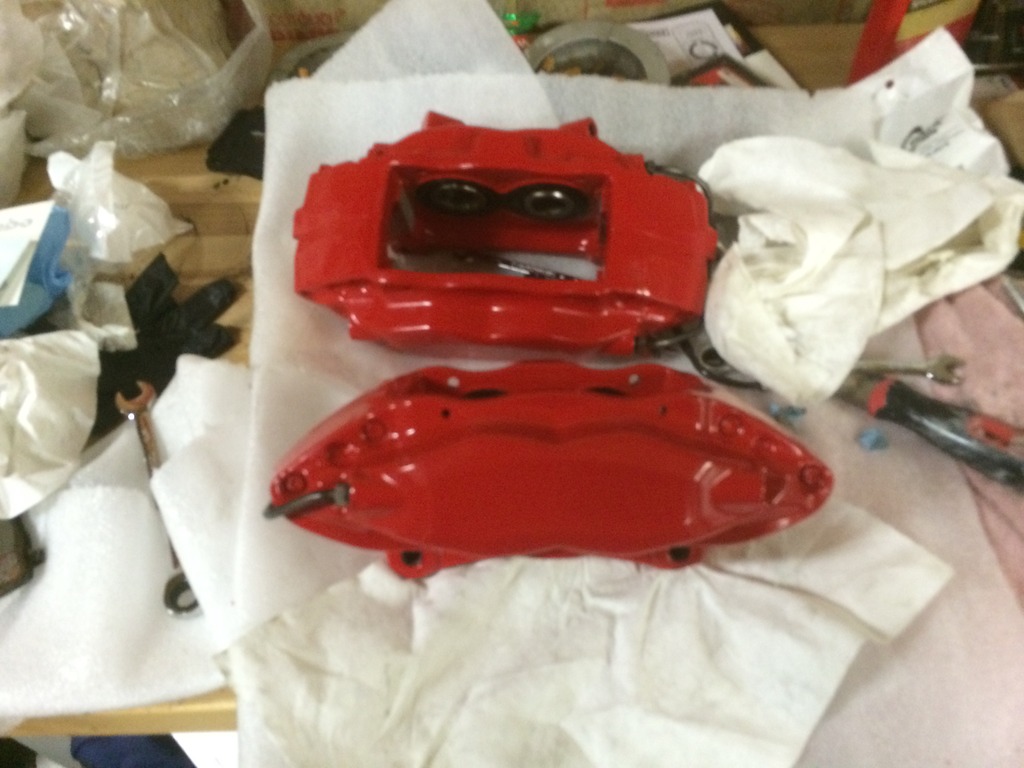
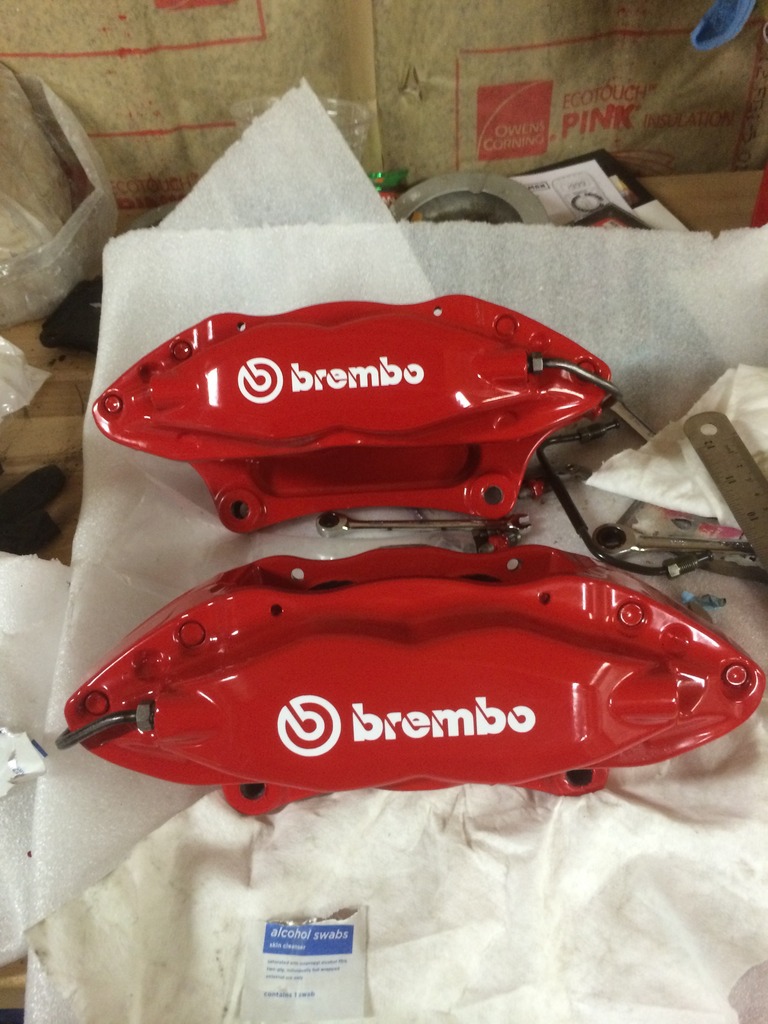
Here they are back from the powder coater before I put on the high heat Brembo decals.
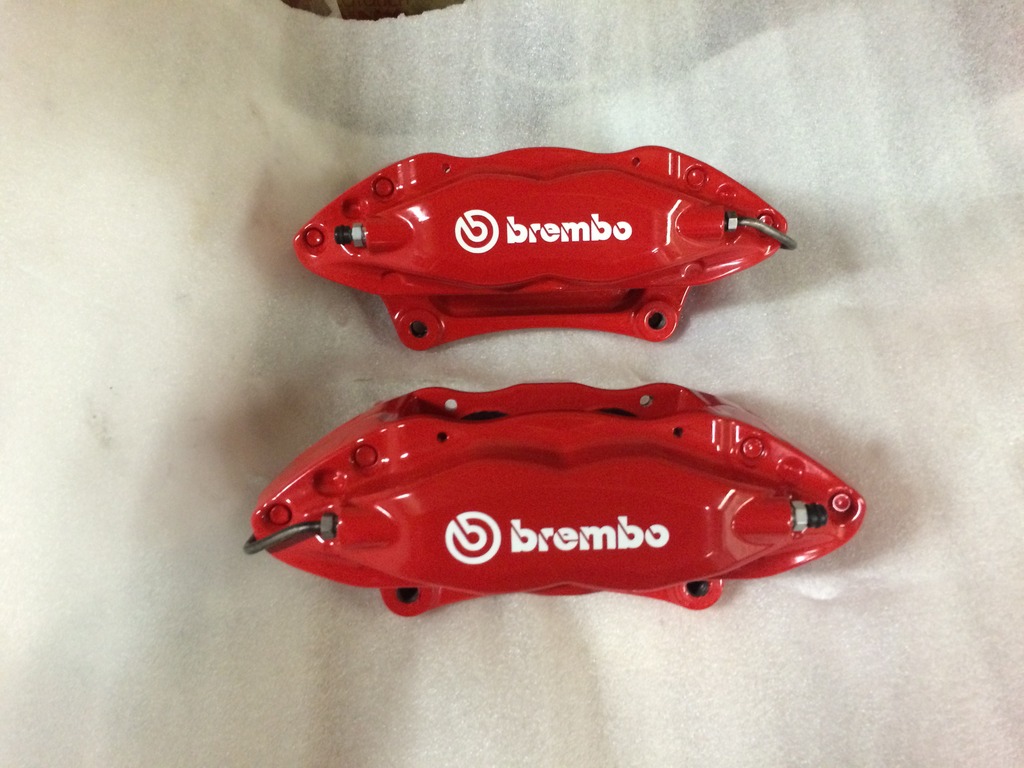
After the decals.
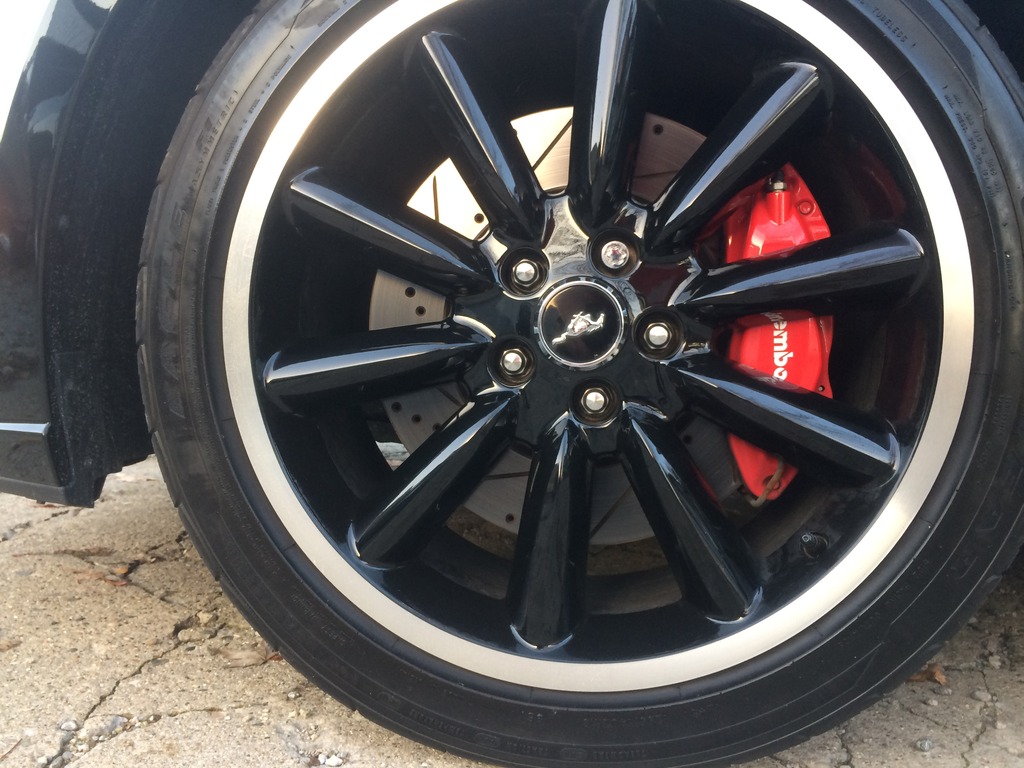
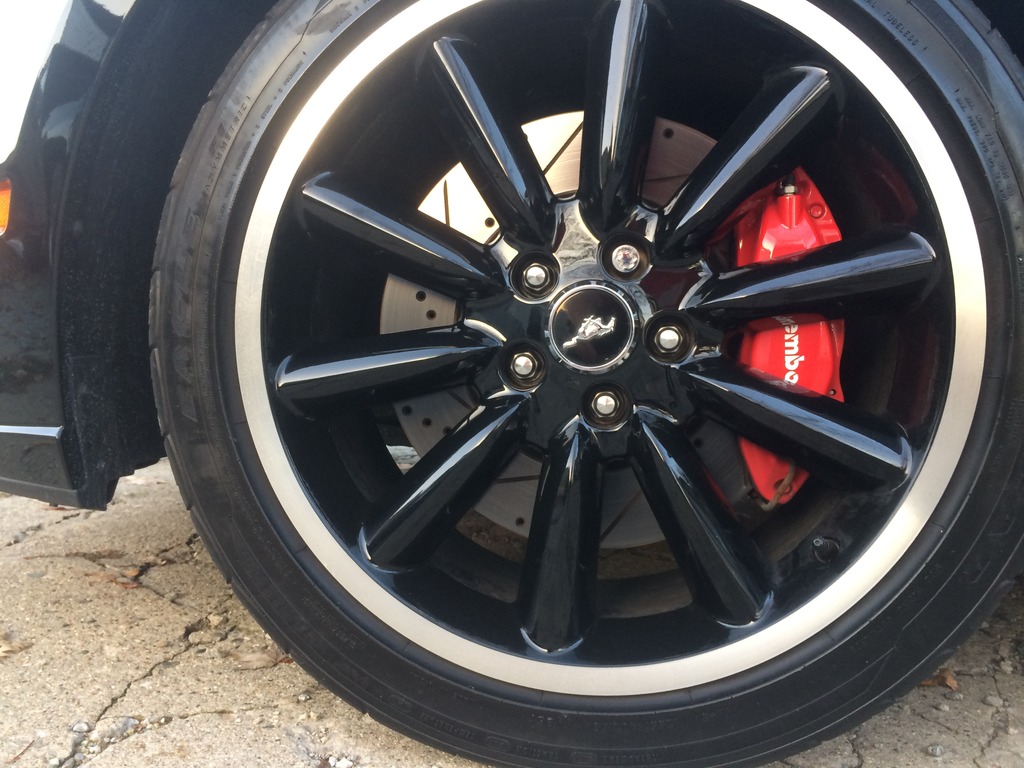
On the car behind those great Boss 302 Wheels.
So I next started to look at the junkyard and see what I could find when I stumbled across a set of 2012 GT500 4-piston Brembo Calipers at the ridiculous low price of $250 for the set. I called the junkyard in NC to see what was up with them and found out that someone had been track-daying their 2012 GT500 with less the 2,500 mile on it and slammed it into the wall and it caught on fire. Pretty sure insurance doesn�t cover that. So I took the risk and bought them.
As you can see from the picture they were pretty rough shape, I had to completely dissemble them other them splitting them (I was told by a few mechanics to never take them totally apart). I went through a lot of brake cleaner and spent a lot of like on clean up to get them to the point I could rebuild them. The next step was to send them to a brake shop and have them checked to see if they were worth saving and they were. I then took them to a blaster and powder coater and have them done it that beautiful red that is a great contrast to my all black Mustang GT. I then had them professionally rebuild, I could have done it but when it comes to the safety of myself and other sometimes it�s better to let the pros do it. While this was all going on I ordered new pads and drilled and slotted rotors to finish the package out.
I�ve had them on for over a year now and I have to say they perform wonderfully. I�ve had no leaks or any problems at all.
Here is what I started with I had already taken out the pistons

The pistons where covered in melted sticky rubber and took a lot of work to get clean.


Here they are back from the powder coater before I put on the high heat Brembo decals.


After the decals.


On the car behind those great Boss 302 Wheels.


The following users liked this post:
Bedrat2 (11/17/16)

The following users liked this post:
Bedrat2 (12/1/16)
11/19/16, 04:01 PM
#4
Shelby GT350 Member
Is the rebuild simple? I need to do that for mine this winter, my dust boots are totally gone (race car problems...) and I've been holding off doing the rebuild cause it's something I've never done before... good write up you know of?
And nice work! Setup looks great and that's a great deal!
And nice work! Setup looks great and that's a great deal!
11/19/16, 06:18 PM
#5
Shelby GT500 Member
Is the rebuild simple? I need to do that for mine this winter, my dust boots are totally gone (race car problems...) and I've been holding off doing the rebuild cause it's something I've never done before... good write up you know of?
And nice work! Setup looks great and that's a great deal!
And nice work! Setup looks great and that's a great deal!
11/19/16, 06:21 PM
#6
2013 RR Boss 302 #2342
Join Date: March 6, 2012
Location: Lancaster, PA
Posts: 11,658
Likes: 0
Received 2,171 Likes
on
1,619 Posts
 12/1/16, 05:57 PM
#7
Member
Thread Starter
Is the rebuild simple? I need to do that for mine this winter, my dust boots are totally gone (race car problems...) and I've been holding off doing the rebuild cause it's something I've never done before... good write up you know of?
And nice work! Setup looks great and that's a great deal!
And nice work! Setup looks great and that's a great deal!
The basic steps are as followed:
1. I remove caliper from car I would take a picture or mark the calipers so you know which side they go on bleeder valve always up.
DO NOT SPLIT THE CALIPER.
2. Get a piece of wood about the thickness of 3 brake pad and hold it in the middle of the pad pocket using your airgun on the brake hose port to push the pistons out allowing you to pull them out after you remove the dust boots with a small pick. The boots have a ring of metal in them that you can get your pick under. DO NOT PUT YOUR FINGERS BETWEEN THE PISTON AND THE PIECE OF WOOD.

3. On the inside of the piston bore there will be a rubber ring seal, before you take it out take a picture of it some are flat and some have a slight taper for better sealing. Also per-soak the ring seals in brake fluid.

4. Check the bore there should be no scoring or groves. Then clean everything with brake cleaner and then let dry.

5. Lube each bore and piston with brake fluid and put in your new ring seals. Then gently push in the piston, do not turn the piston as you are pushing it into the bore. Push them in 3/4 of the way and then seat your new dust boot to the piston then gently seat the new boot in the boot pocket.

6. Check your work using the piece of wood apply air to the caliper and check to make sure the boots are seated and that the pistons move freely. I would do it at least twice pushing the pistons back in after each.

7. Reinstall on car and go thru your normal brake beading procedure.
If you have any questions PM me I will try to help.
12/2/16, 07:22 PM
#8
Shelby GT350 Member
Great info, thanks. I bought a rebuild kit earlier this week and will do this over the winter to support next season. I started using the Ti backing plates late in the 2015 season and they really do make a difference. Also with the new 2-piece floating rotors I just picked up (front and rear!) I think next season might not eat my dust seals for once!
Good stuff, thanks
Good stuff, thanks
12/3/16, 02:29 PM
#10
Shelby GT350 Member
12/12/16, 01:21 AM
#11
Mach 1 Member
Originally Posted by dmichaels
eBay. Look for used ones from Evo, STI, 350z, mustang brembo, etc. all the same pads