When you click on links to various merchants on this site and make a purchase, this can result in this site earning a commission. Affiliate programs and affiliations include, but are not limited to, the eBay Partner Network.
So a few months back I ended up wrapping the headers in DEI Titanium header wrap and it was a bit of a pain in the butt since I have never done anything like that before and my stainless steel tie wraps wouldn't fit all the way around the collector and I didn't think they came out all that great. There were some spots that weren't wrapped due to the tight gaps between each pipe so I decided to take them off and wrap them and ceramic coat them since I now had plenty of time to do that.
I ended up contacting Jet-Hot and was looking for a ceramic coating that would be able to handle 30 minutes of on track session without skipping a beat. Since the primary tubes are so close to the heads I wanted to try and keep them as cool as possible considering their close proximity to the headers. Their sales rep Dustin contacted me within an hour and sent me some product info about their Extreme 2500 Ceramic Coating finish which is below:
Extreme 2500 ceramic coating is a blend of full ceramic oxides that provide an insulative barrier from the conductive transfer of heat. The coating also provides excellent corrosion protection from both salt spray and chemical attack due to the inert materials that are fused together creating the coating film. The corrosion protections provides the ability for a blanket or wrap to be used in conjunction with this coating without the negative effects of corrosion by entrapped moisture between the wrap and the metal substrate.
This type of coating is typically used in applications where ceramic-metallic hybrid coatings will not operate. Applications with temperatures above 1300F benefit from this coating to reduce the external skin temperature. However even lower temperature applications can benefit from the low thermal conductivity of this coating.
Extreme 2500 coating is applied to mild steel, low carbon steel, stainless steel, nickel alloys, ductile, and gray cast iron.
The application method utilizes flame spray equipment to deliver the product to the external part surfaces requiring coating. Multiple layers can be applied achieving a maximum thickness near 0.013� (0.33mm).
This coating can only be applied to line of sight exterior surfaces due to the equipment size limitations and extreme heat at the gun nozzle. Care must be exercised to ensure that temperatures do not exceed 1000F during application.
Where this coating is a full ceramic, it is susceptible to cracking when applied beyond 0.07� (0.178mm).
Product Data: Materials: Yttrium stabilized zirconium and magnesium Volatile Organic Content: None
Dry Film Thickness range: 6 to 13 mils (0.006-0.013�) or (0.15-.33mm)
Service Temperature: >2500F (1371C) continuous
Corrosion resistance B-117 salt spray: >10,000 hours
Thermal shock 1000F to 70F: No change in coating properties
Thermal Conductivity (ASTM D5470): 0.07 to 0.12 W/m*K
I mean I am no expert about Ceramic coatings so when I went to go ahead and look at what the coating does beyond what Dustin sent over to me I found that this is the level of coating that they would recommend on supercharged and turbo charged applications due to the high amounts of heat that these systems generate. The coating itself can withstand up to 4,200 degree Fahrenheit temperatures and actually insulates the pipes so that there is almost no heat radiation from the headers. If you have ever opened the hood of your 5.0 and felt the blast of hot air smack you, you would know this will be a good thing. I figured that the coating having the ability to withstand these kind of temperatures and keeping things under the hood of the car nice and cool while keeping the exhaust gases nice and toasty I was ok to spend the ~$750 for the coating plus shipping.
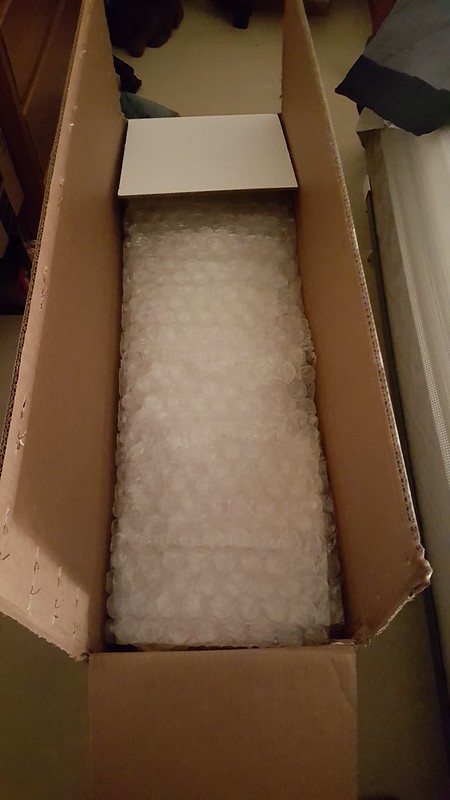
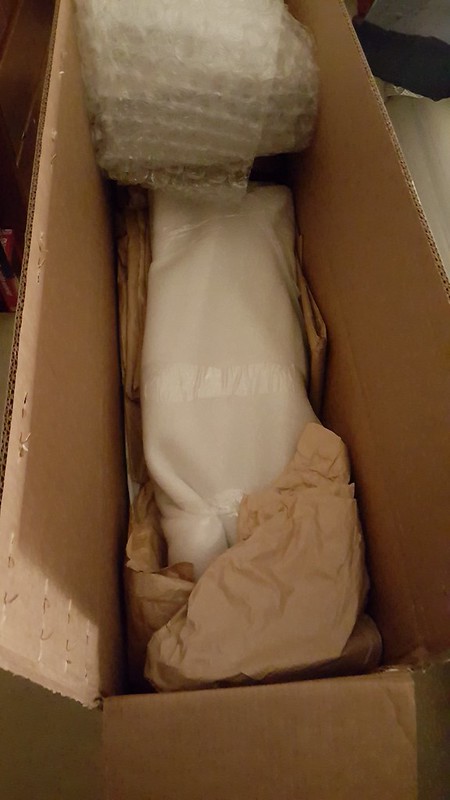
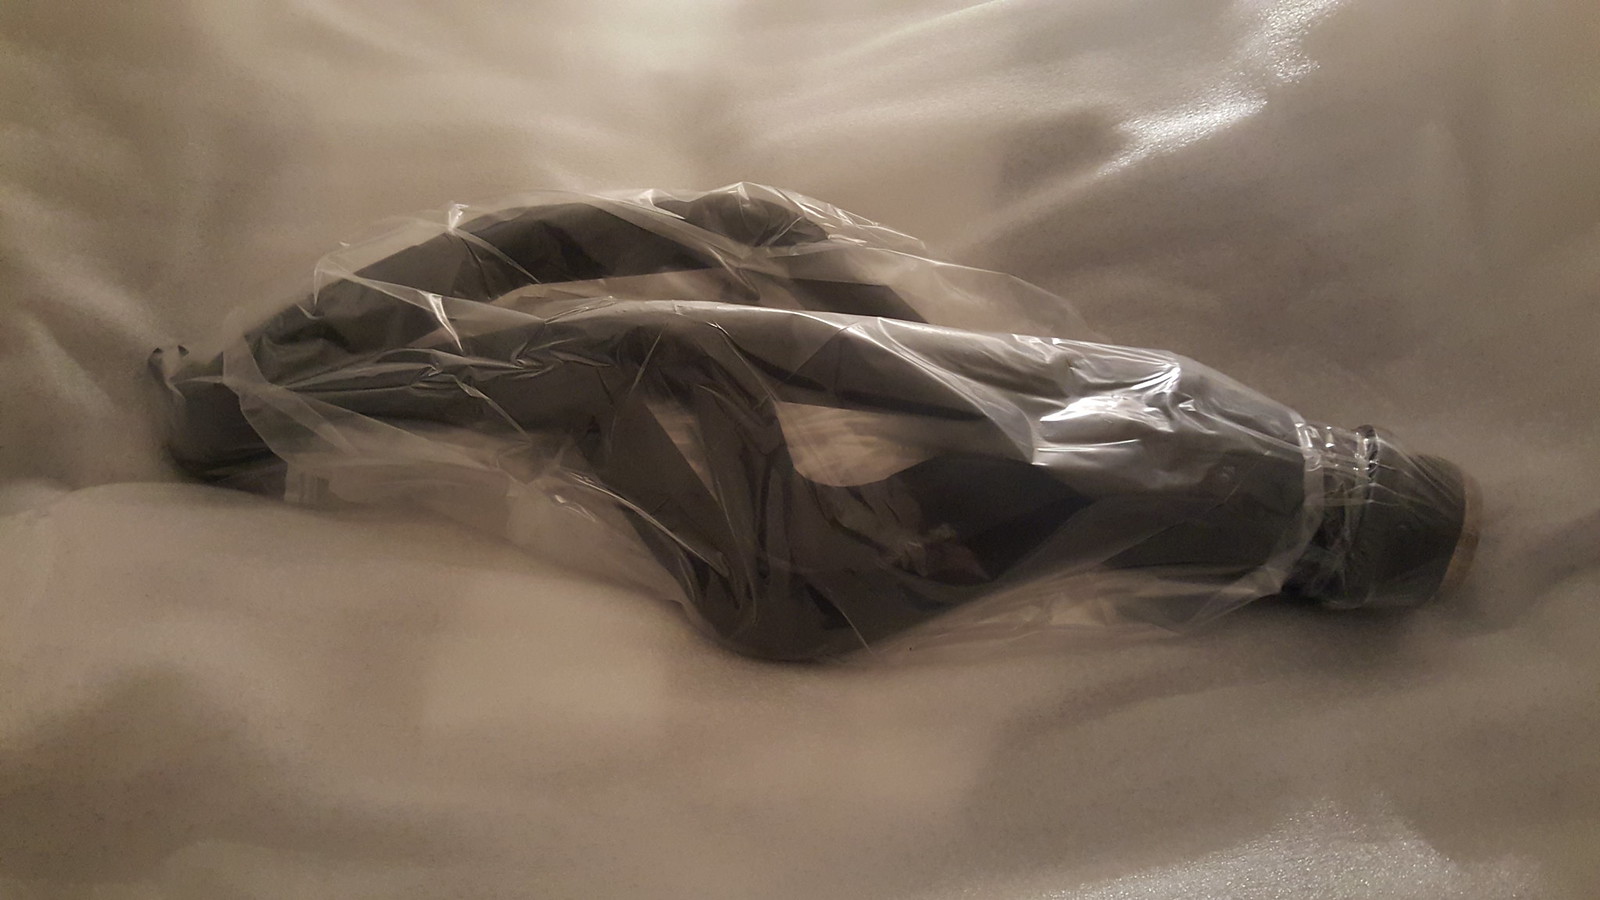
When I got them back holy schnikes dude! The box I received them in was bigger and the headers were packed better than they were from Kooks. I haven't taken them out of the bags yet, but the finish is black and has a gritty texture to it. You can get them top coated with another one of their finishes if you would like to. I chose not to since you can see the bones on my piggy bank.
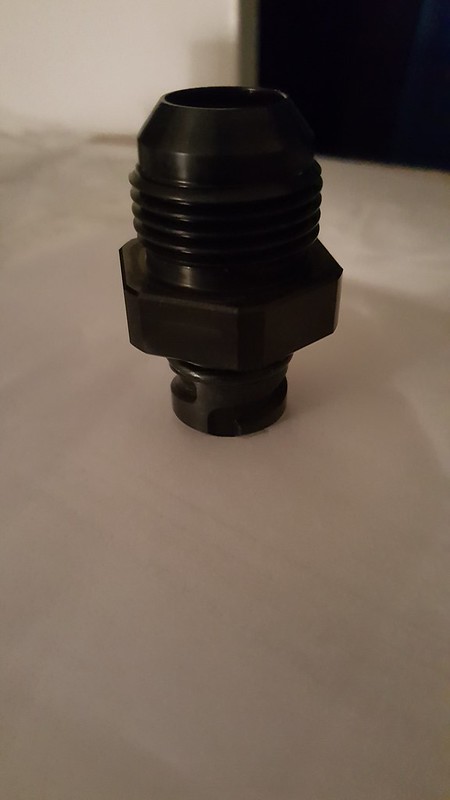
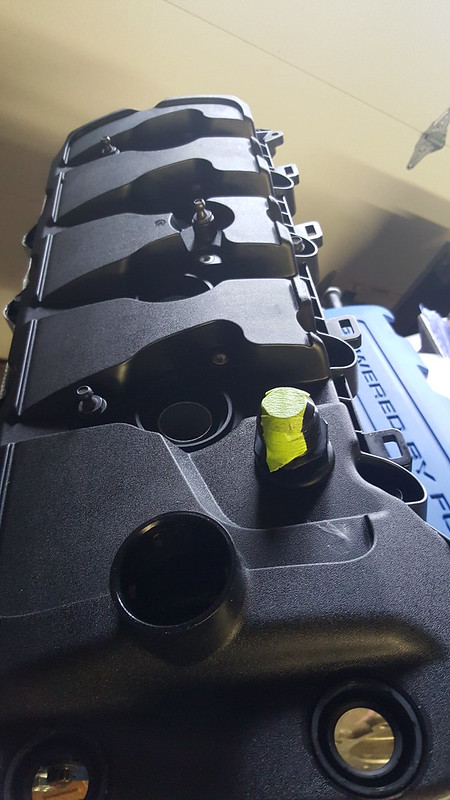
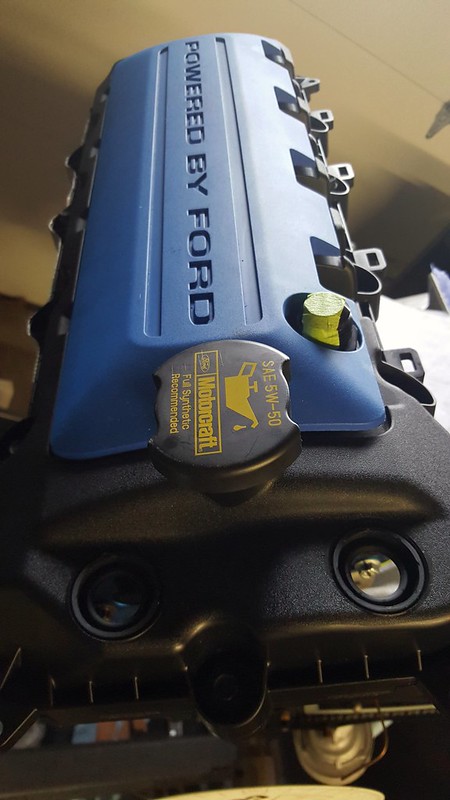
I received in my -12AN PCV fitting from JPC Racing as well. They are a very high quality little piece IMO.
The reason why I got these was because Darren who has a 318ci N/A road race car was having excessive blow by issues. A few suggestions thrown his way was to run a vacuum pump or to go with larger AN hoses from the valvetrain to the catch can to try and prevent it from choking the motor by not dispensing the blow by fast enough. Another person chimed in saying that they have run -12 lines to the Peterson Catch can without issues.
This just seemed like the easier thing to do than to try and setup a vacuum pump that was capable of handling road course duty without if failing. The less moving parts the better. Who knows whether my car would run into the issues that Darren's car was having in terms of blow by, but if I could stop an issue before it presented itself then I figured I would go ahead and jump on it. In doing so I removed the -10 AN lines from my Peterson Breather Can and got to work assembling some -12AN hoses.
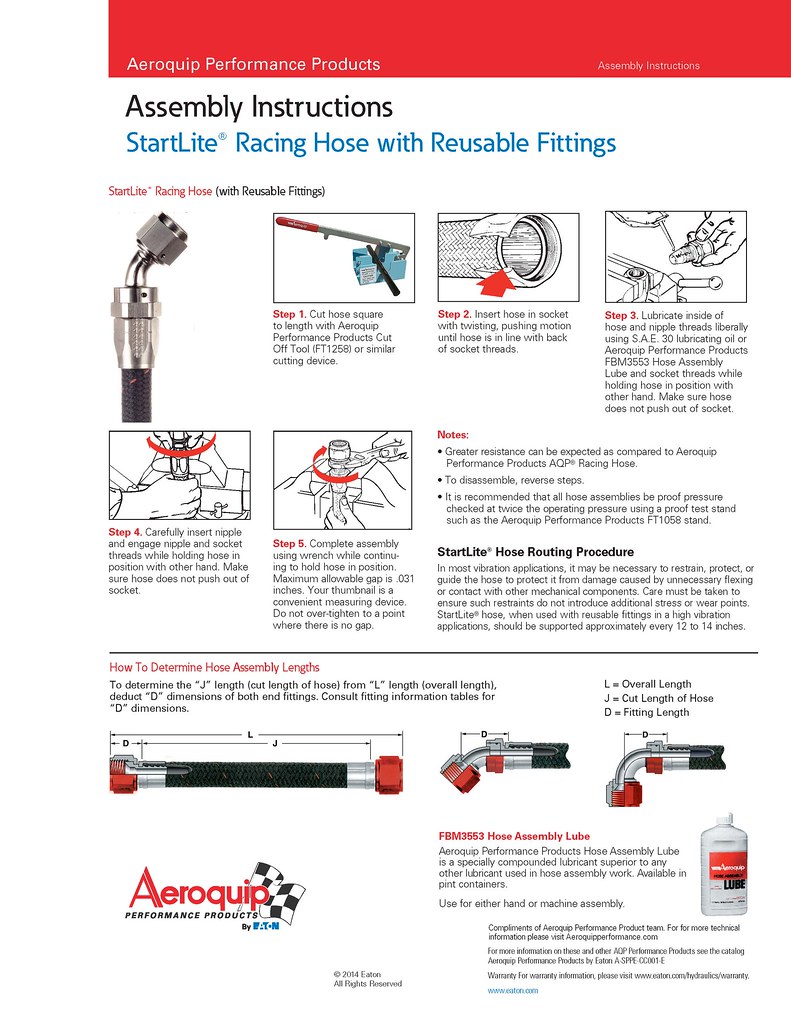
I ended up getting the Aeroquip Startlite Hose for this application as it is 45% lighter than their Stainless Steel hoses. Granted the weight difference is extremely nominal, .16lb-ft for the startlight compared to .29 lb-ft. for the stainless steel but racecar so I went with the Startlight.
I went ahead and put them in and started working on cutting the AN hoses to length.
I grabbed my Earls Hose cutter that I bought and began measuring the hoses to cut to length. For this I used Aeroquip's assembly instructions except that I used Mineral Oil instead of their assmebly lube as that is what I have seen most people use while assembling the hoses.
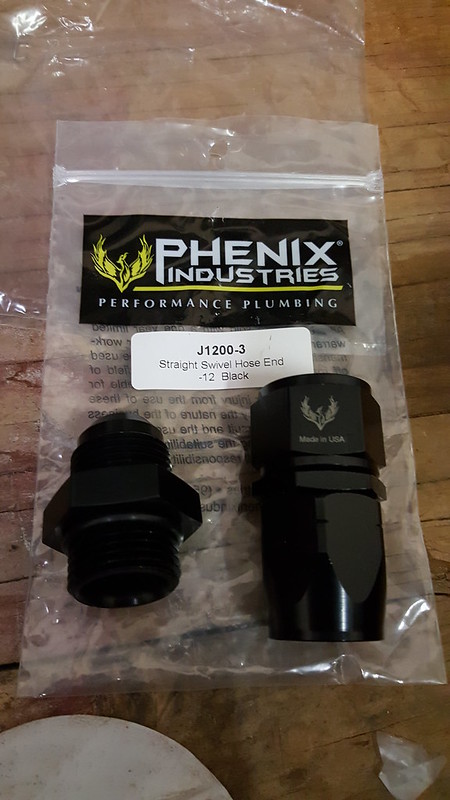
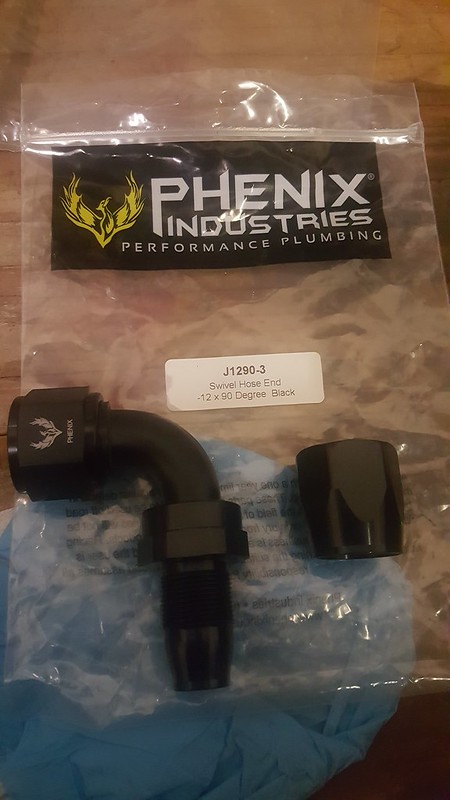
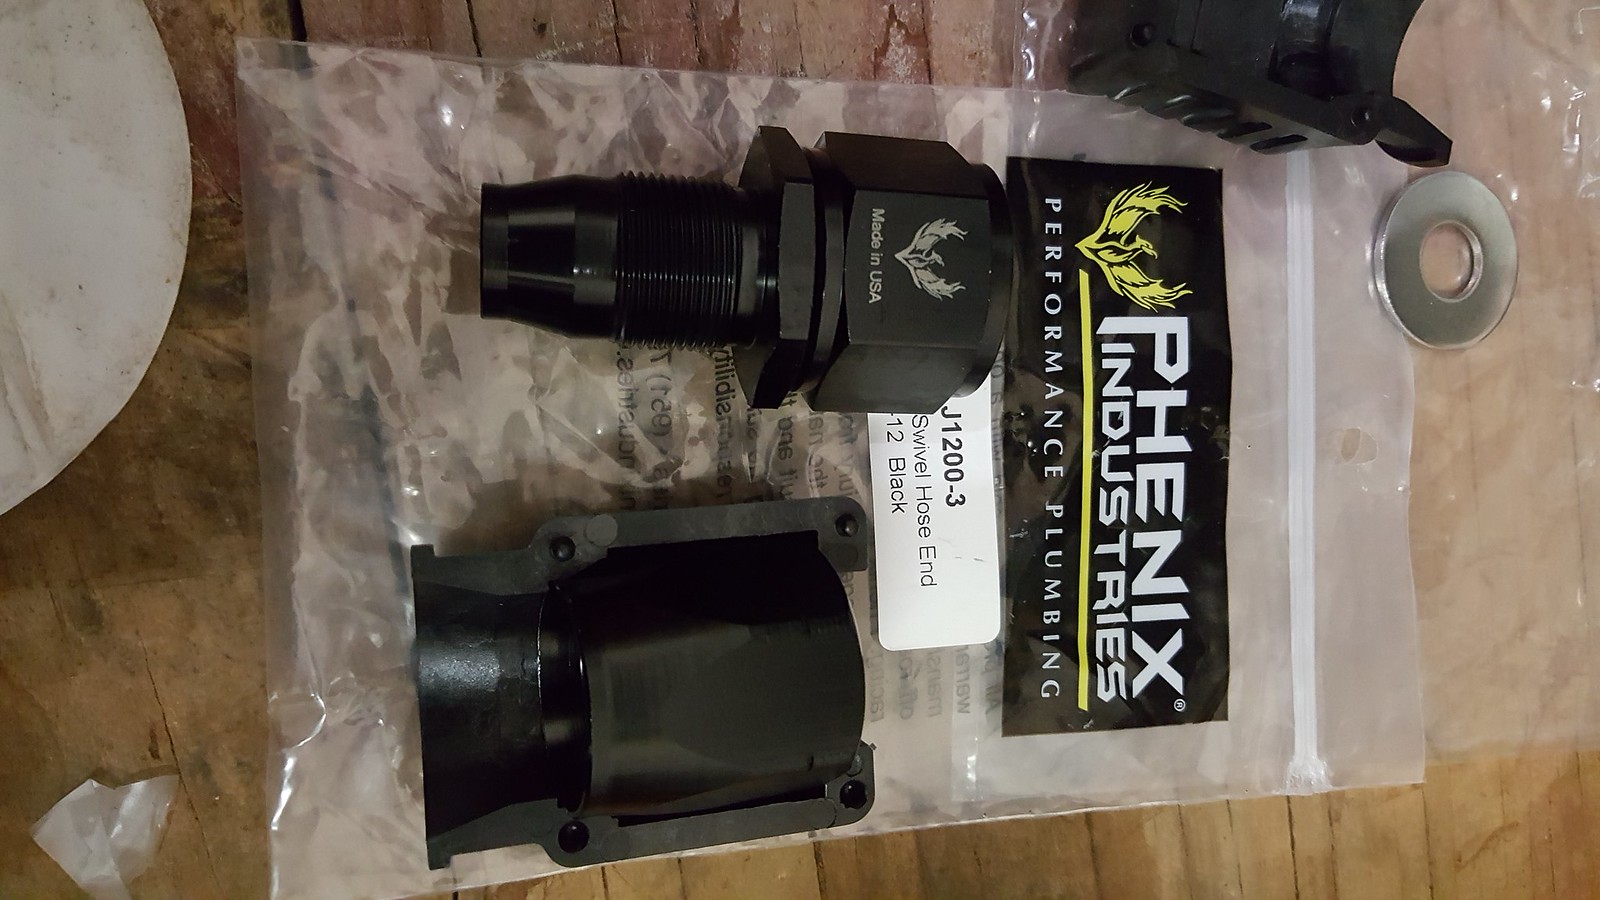
After I cut my hoses I went ahead and grabbed my AN fittings that I bought from Phenix Industries. These are made out of 6061 Aluminum. Their elbows are made of one solid piece of billet aluminum and they appear to be quality pieces and they are Made in the USA.
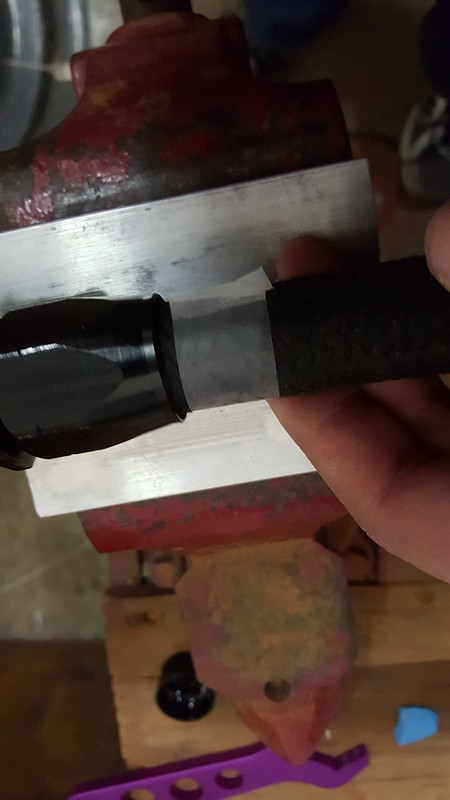
I then grabbed my Koul Tool and pressed the hose into the fitting. This part was so simple and if you plan on assembling a bunch of hoses, I would say this is a nice tool to have. You just put the fitting into the tool and you just push the hose in the other end and boom, all nice and seated. I then put a piece of scotch tape on the end of the hose right up against the fitting so that I can tell if the hose had pushed out during assembly.
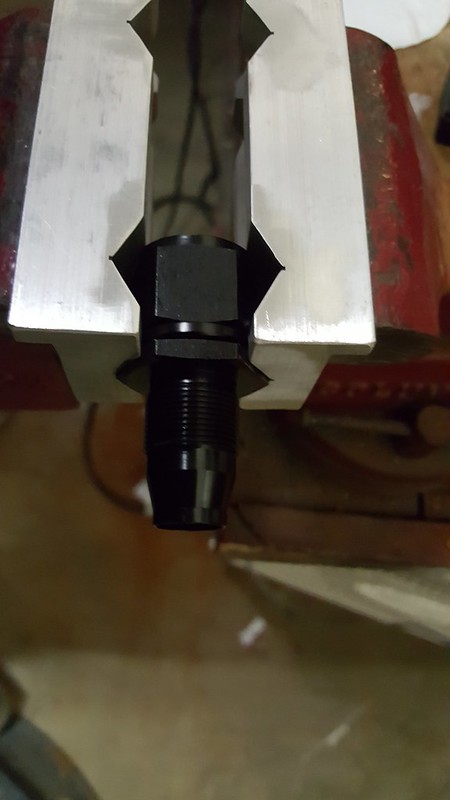
I then put the other half of the fitting into the aluminum vice insert as such, and placed some mineral oil on the fitting and pressed it in, then spun it onto the threads.
You want to try and put some pressure on the hose as you are screwing the fittings together. When you are putting them together I have been told that you want to leave a very small gap between the fittings, something like the thickness of your fingernail is a good gauge to go by. As you can see the hose did push out a little bit so I twisted and pushed the hose at the same time and got it seated back all the way into the end of the fitting.
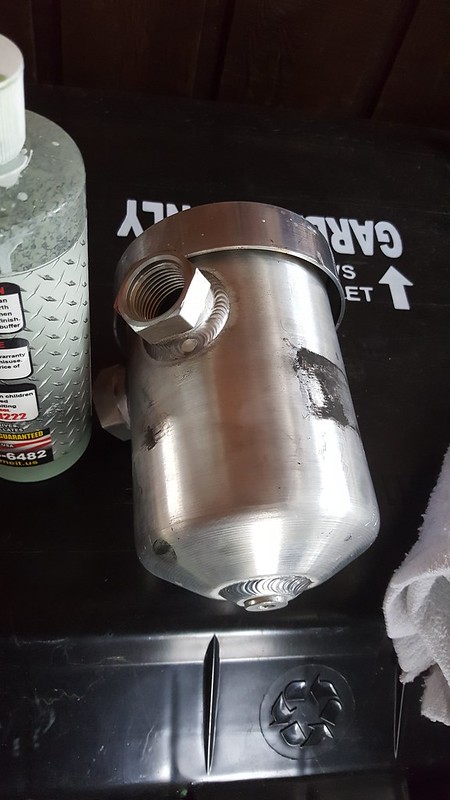
I then went out and grabbed my Peterson Breather Tank and wanted to give it some TLC. As you can see, it looks like it has seen some better days so I just wanted to clean it up a little bit to make it look a bit nicer.
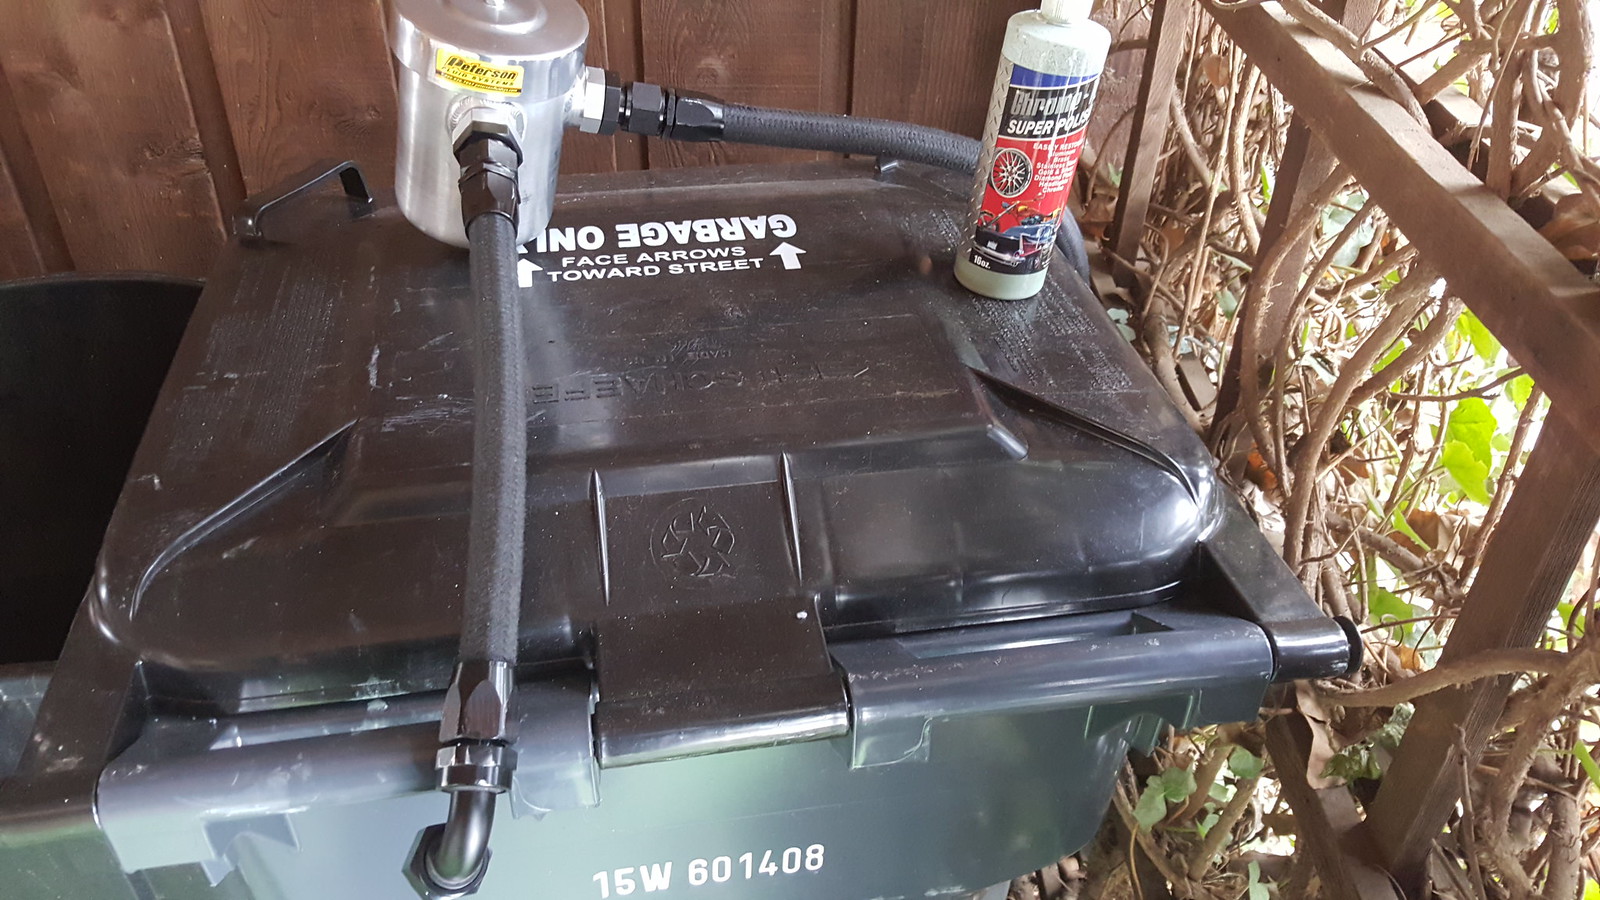
I grabbed a rag and this stuff I picked up at Carlisle called Chrome it and started working on the Breather Tank. I think it came out decent, nothing spectacular although I think it looks a lot better then it did before I started out on it. I grabbed my hoses and some Teflon Tape and ran the Teflon Tape on the -12AN bungs that go into the Peterson Breather Tank and tightened everything up.
This is how it looks all assembled on Kelly from BMR's car, very nice. I hope he doesn't mind me whoring out his picture a little bit.
Parts Used
JPC -12AN PCV fittings - 02017
Phenix Industries -12AN Compression Swivel Hose End Straight - J1200-3
I'm happy with the way they came out seeing as how it was my first time doing it. I do have to try and paint the fittings since they look in pretty poor shape even though I used an AN wrench for the job.
Heck yeah! He recently went 8.9X with it which is awesome. He has put a lot of hard work into that car!!
You did great bro.
Yeah,...that car is killer. VMP powered. Suspension is a lot of it too though. And that dude knows suspension. If I get a S550,.....BMR all the way around, no question.
Wait...why didnt you have the engine replaced under warranty? What am I missing here?
When I bought the car I was told that the warranty was only good for 6 more months not to mention it had a tune on it. Instead of bringing it to my local Ford dealer who would have charged me an arm and a leg to try and diagnose the problem I figured I would do it myself.
I also wanted to do something different that hadn't really been done before. When I started this build, no one that I know if had gone down the N/A route with custom cams and larger displacement etc., but in the year and a half that my car has been down I know a whole bunch of people who have started it once I outlined realistic goals for the new engine.
Originally Posted by Stage_3
You did great bro.
Yeah,...that car is killer. VMP powered. Suspension is a lot of it too though. And that dude knows suspension. If I get a S550,.....BMR all the way around, no question.
Easily!! I think he is cutting low 1.2 60' which is pretty darn good! If BMR actually sponsored people like UPR does, I think you would see a lot more of the big name racers running BMR suspension over UPR.
Easily!! I think he is cutting low 1.2 60' which is pretty darn good! If BMR actually sponsored people like UPR does, I think you would see a lot more of the big name racers running BMR suspension over UPR.
BMR is huge with the S550 crowd. If I do a S550, it's BMR, no question about it. That 60' is NASTY!
When I bought the car I was told that the warranty was only good for 6 more months not to mention it had a tune on it. Instead of bringing it to my local Ford dealer who would have charged me an arm and a leg to try and diagnose the problem I figured I would do it myself.
I also wanted to do something different that hadn't really been done before. When I started this build, no one that I know if had gone down the N/A route with custom cams and larger displacement etc., but in the year and a half that my car has been down I know a whole bunch of people who have started it once I outlined realistic goals for the new engine.
Couldn't you have at least brought it in? They could see the debris in the engine and if they decided to cover it, you'd at least have a brand new Boss motor you could've pulled and sold for a lot of cash to put towards your build...if you're gonna pull the engine anyway... Oh well, it's too late now.
Couldn't you have at least brought it in? They could see the debris in the engine and if they decided to cover it, you'd at least have a brand new Boss motor you could've pulled and sold for a lot of cash to put towards your build...if you're gonna pull the engine anyway... Oh well, it's too late now.
This has been a great thread with tons of documented info.
Stop being a Monday morning QB, his reasons for doing said things are his own.
This has been a great thread with tons of documented info.
Stop being a Monday morning QB, his reasons for doing said things are his own.
I think that is the #3 most asked question after is it done yet?!?!?! and What happened to the warranty? so I am pretty used it by now haha.
Originally Posted by Coyote5-0
Well, that was uncalled for. I was just curious what the reasoning was being it.
No worries brother. Well it was knocking so bad that I knew it was a bearing. It had some terrible rod knock going on which was pretty bad. I'm about 90% positive that the rod was about to shoot out the block the last time I moved it to its final resting place.
With that said, I did do a quick calculation off the top of my head considering my local Ford dealer gets $110/hr. IIRC
Tow- $150 from the guys we use to tow our trucks at work
Engine removal - I guessed at 4 hours with a lift. It took me about 8 hours to do it in my driveway - $440
Engine disassembly - Probably 8 or 10 hours worth of work - $880-1100
So I was looking at spending roughly$1350-1650 in order for them to tell me that I had spun bearings and there was a VERY high chance I would be footing the bill. With spun bearings the most common cause is oil starvation which Ford would have said, you didn't take care of your oil changes properly so we aren't going to foot the bill for a $15,000 engine. Another cause I am told is because of engine knock which will really hit your rod bearings hard and you can find evidence of that knock in your wrist pins which again since I had a tune on the car previously Ford could have said well you had a tune on it and the tune caused the knock which down the road could have caused issues with the rod bearings. Instead of being out almost $1500 that I didn't have being 26 at the time due to paying all my bills off I said F it I will just pull it out myself and spend the same amount of money on a fully built motor.
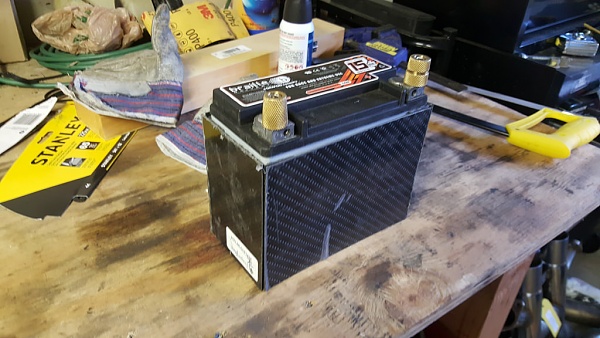
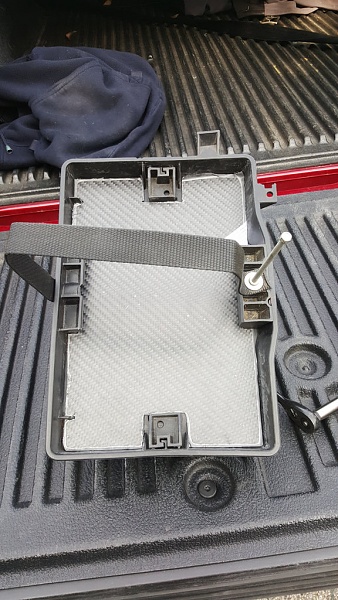
Since my car has been sitting for so long I definitely needed a new battery and I wanted to go ahead and go with something a little bit lighter than stock. JPC Racing built this really cool looking and functional battery tray and breather combo right here and used a Braille B2015 battery.
Considering I already have my Peterson Breather Can, I couldn�t justify spending all of the money on the new setup right away. I might go ahead and grab it in the future, but as of now I couldn�t do it. So I went out and bought the same Braille B2015 battery which should be perfect for what I will use it for. It is very small and compact and only weighs 15 lbs. which will save me about 16lbs. off the front end and have enough CCA to get the car up and running without issue. The problem is that the battery is MUCH smaller than the factory battery so I would have to fabricate a way to keep it in place. Since weight savings is life bc racecar I decided to make it out of Carbon fiber. So I went out and bought a 12� x 24� sheet of Carbon fiber and some carbon fiber 1� angle to make and reinforce the battery box with. After taking my measurements I went ahead and fabricated the box. Here it is with the front and back all mocked up followed by the sides.
In order to cut the carbon fiber I used a hacksaw and a tungsten carbide blade as it will not cause the carbon fiber to chip or splinter as you cut it like it would with a wood cutting or metal cutting blade. You should also wear gloves and a long sleeve shirt when cutting carbon fiber as in my research, it is very much like fiberglass as the particles can get stuck in your pores and cause all sorts of itching everywhere and it is a worse sensation than fiberglass is. Also, some sort of mask would be advisable as well as safety goggles just in case. I�m still sneezing Carbon Fiber dust out of my nose 4 days later so it would be a nice thing to have thought about at the moment.
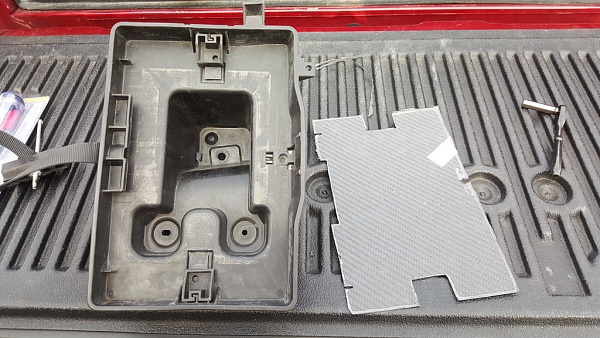
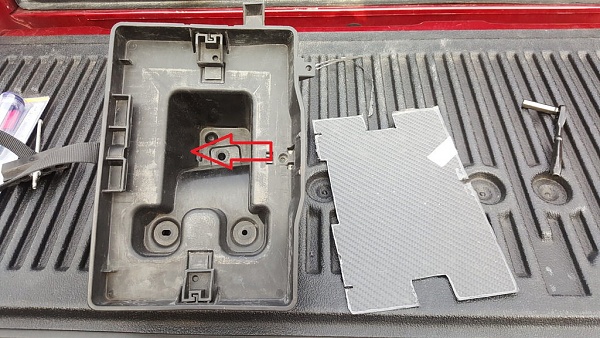
From there I cut the bottom of the carbon fiber piece to fit in the battery tray to give it a sort of finished look to it. After a lot of sanding I got it to sit nice and flat in the tray
I still have to cut the bottom try so that I can put the bolts in and take them out with ease as well as cut the insert for the nylon strap to go through since I am changing the way it mounts. I am thinking of mounting it to the battery tray down here with 2 rivets in the same way that the factory strap is mounted assuming I can fit a rivet gun in that space so that the rivet is mounted directly to the strap the way it is from the factory.
I ended up buying these rivets from McMaster-Carr and looking at the material thickness range I think I will be in good hands considering the plastic at that spot I believe is .118� judging by the plastic closest to it where I could take a measurement and the nylon strap is .074-.080� so with any luck this will work. This rivet appears to be almost the same rivet used ts the factory except that the factory one has a large washer for lack of a better term built into the back of the rivet where this one doesn�t.
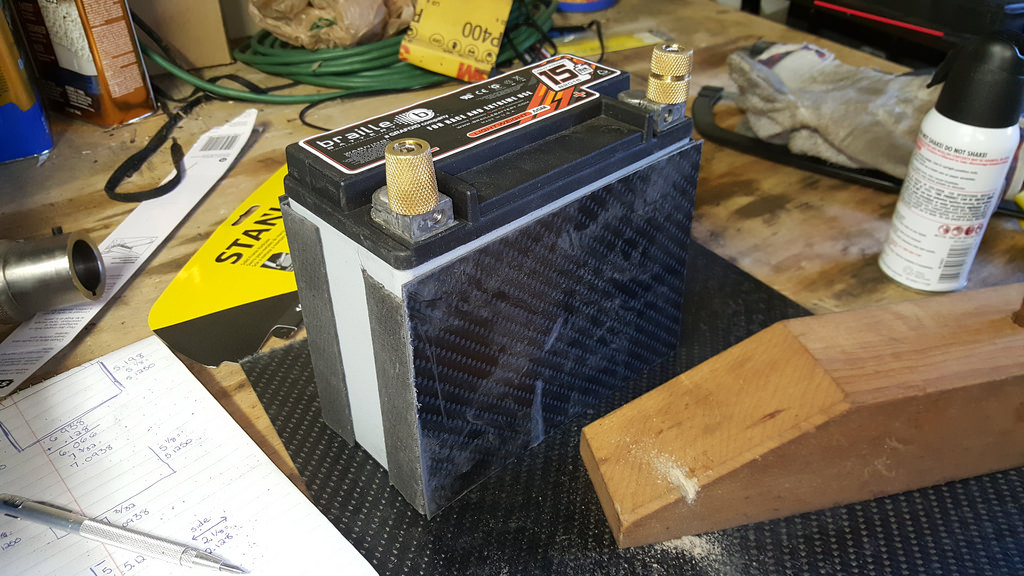
Anyway, I got the box all mocked up and grabbed my 3M 110 Epoxy and started epoxying the Carbon Fiber angle onto the sheets of Carbon Fiber. I opened up the box a little bit more to allow the battery to be put in easier so there is a little bit of a gap where you can see the carbon fiber angle, but nothing too bad. Here is where I ran in to a bit of an error as per the norm with me. When I got my epoxy, they sent me a mixing nozzle for a 200ml tube which has a large round ended hole when I actually got a 50 ML tube which has a rectangular attachment that fits into a slot. So I ended up modifying it and it sort of worked. The epoxy barely made it through the tube before leaking out on me so I aborted that idea and cleaned everything off. So I went to the Home Depot and grabbed some Loctitie Epoxy which has a mixing nozzle in it that is a similar mounting design, only problem is that it was too small :/. So I finally got the correct ones from the vendor yesterday and went ahead and started epoxying all of the pieces together. Today I will go ahead and finish the supports for the bottom so that I can mount it to the bottom tray once I cut all my holes and put the strap into the battery tray etc.
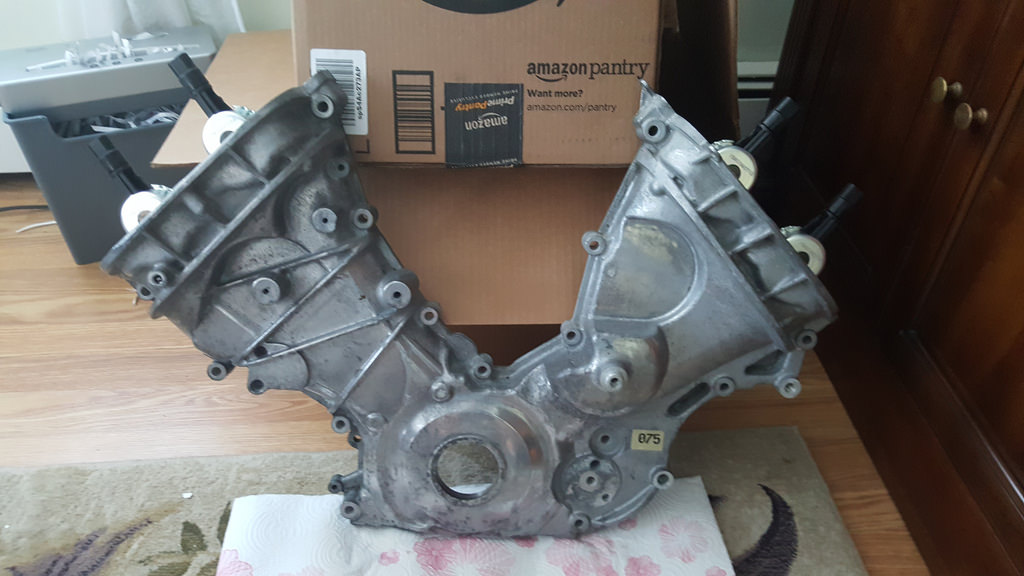
In other news, if you remember I had the rusting issue with some of the items on the inside of the engine, so I went ahead and sprayed them down with some WD-40 and used a brass wire brush to remove the layer of surface rust that I had on those parts and so that I didn�t do any to damage any of the aluminum parts on the engine or the engine itself.
Sorry no after pics haha.
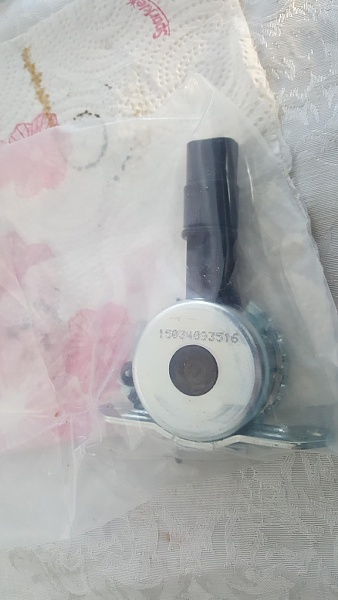
Everything came out looking perfect so I went ahead and grabbed my front cover and VCT actuators and installed those. It was a very easy process although I couldn�t find any torque specs on them so I used the German Specs for the Actuators.
These are the actuators that you have to use with the wiring harness that I got from Ford Racing. They were from cars built after 2/27/12 so they looked different than what I had previously in my engine since it was built on 12/30/2010.
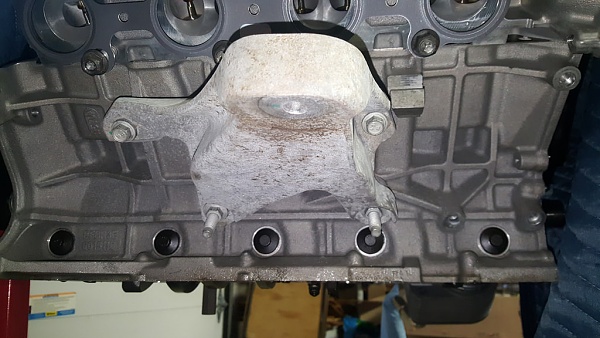
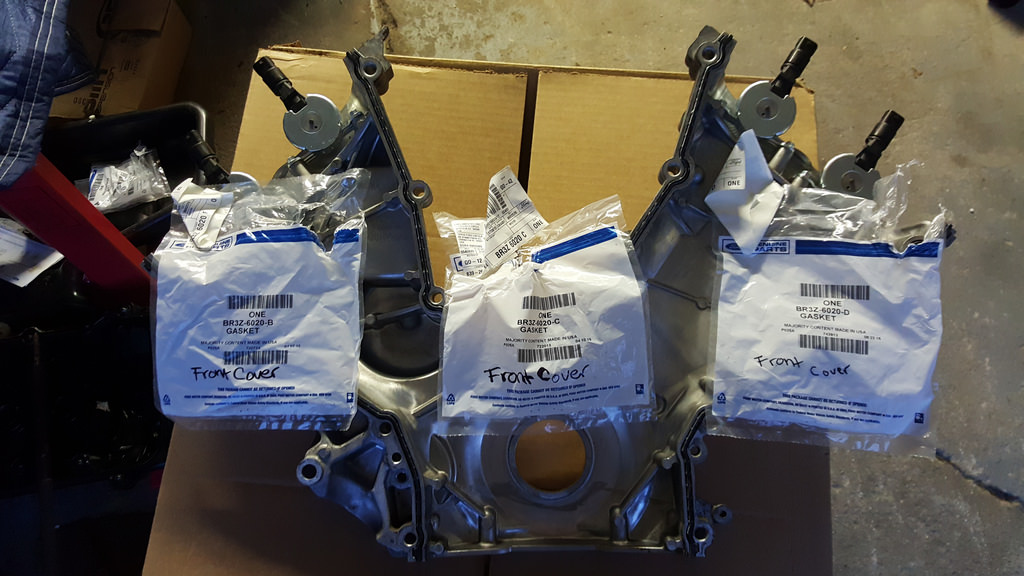
So once I got those bolted in I went ahead and grabbed my gaskets for the front cover and put them on as such:
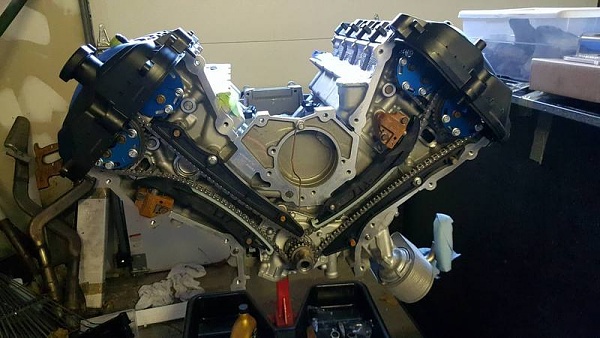
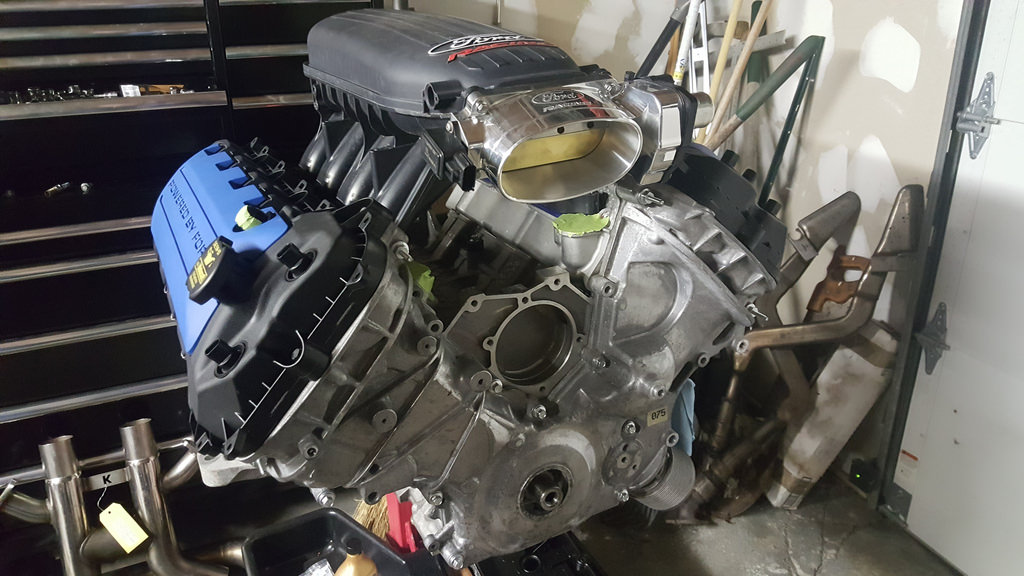
Then I went ahead and put the engine mount brackets on the engine as such since you have to use a combination of studs and bolts. I will get the part numbers for the studs and for the bolts when I can get my notebook back since I sent it down there with the engine so they can use that for reference. I think the front cover & the engine mount brackets are two of maybe 15 items that aren�t brand spanking new for this engine. That is one reason why this has been taking so long to get done. **** near every nut, bolt and whatever else has been bought from Ford or JPC so that added to the expense for sure.
Here it is in all its glory! I wish I took a picture of the front cover with all the bolts in the correct place as it took me a while to figure out where they all went from a variety of pictures, but these are just the 8 10mm bolts that are installed along with the 2 studs IIRC.
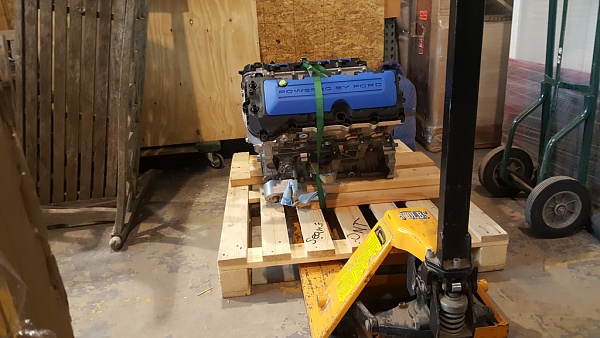
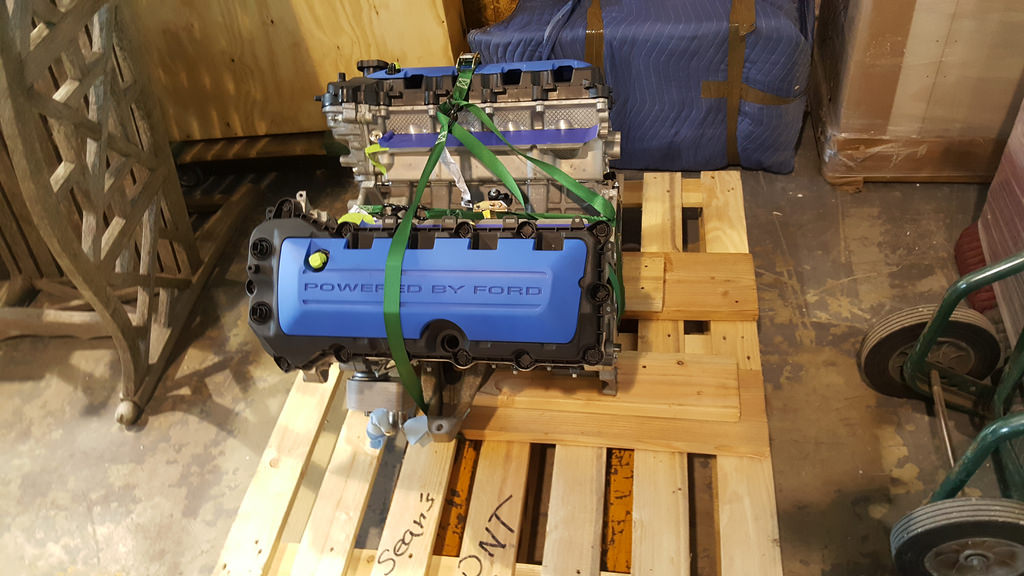
From there I put the engine on the pallet and screwed it into the wood than strapped it to the pallet and sent it down on one of our trucks that was heading down to DC. You could throw this thing off an airplane and the motor wouldn�t budge haha.
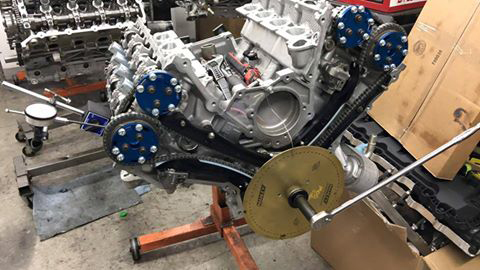
So the motor got to JPC and they got to work on it. The intake cam was degreed correctly and the exhaust cam was off by a few degrees if I am remembering correctly. They said that the motor rotated freely and they had no issues so I have no idea what the heck the case was. I swear to God this thing stopped rotating on me. The good news though was that it rotated freely without issue. I just spoke with Eric and the motor is now done so I will have to figure out how to get my car down there. I tried renting a trailer from UHaul and they said my truck wasn�t good enough to tow my car so I will have to find another trailer to tow it down there soon.
It should easily be north of 550. If I can get 580 out of it on E85, I would be happier than a tornado in a trailer park and would put me in stock 2013 GT500 territory.
 1/26/16, 01:22 PM